samenstellen en bouwen van een ministratocaster elektrische gitaar
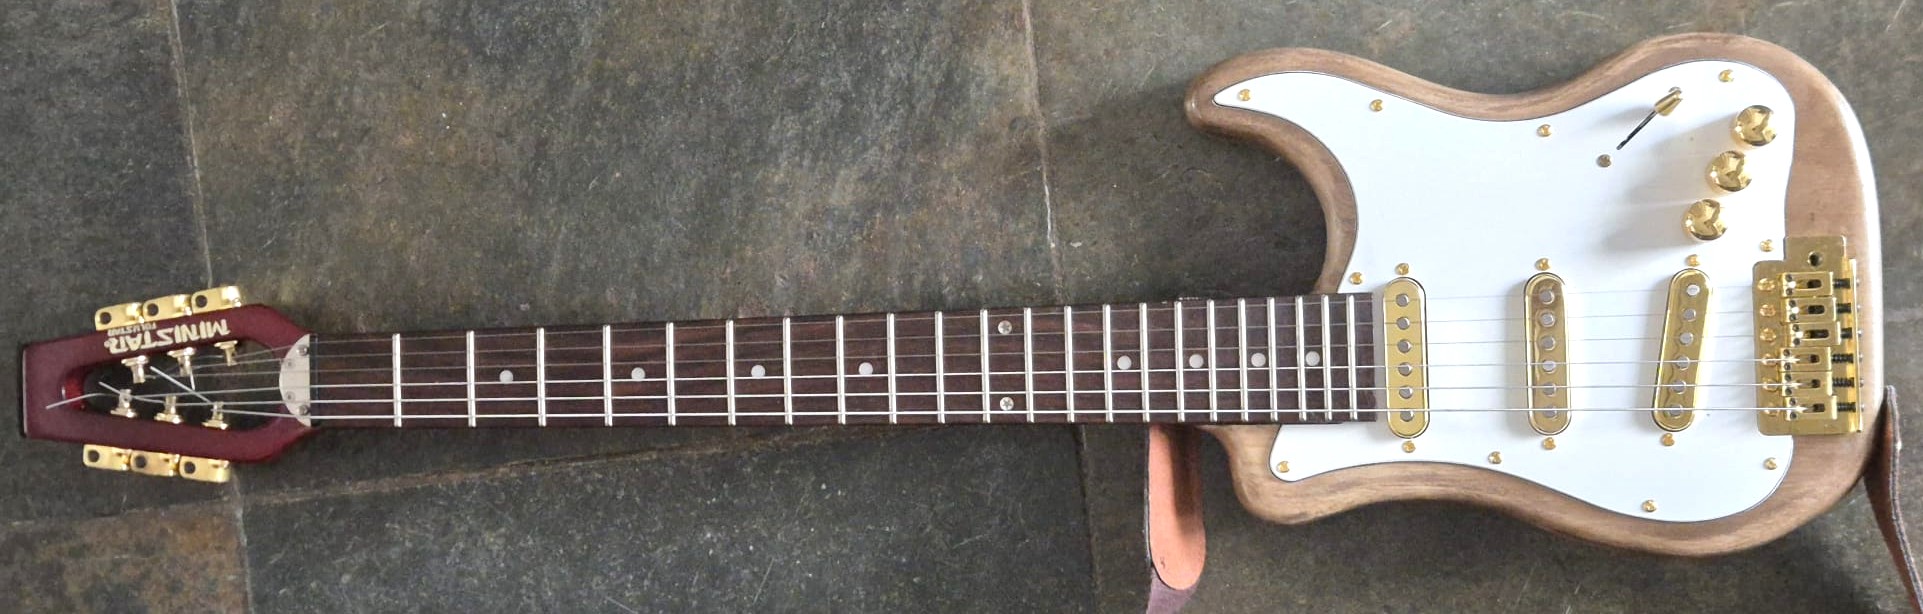
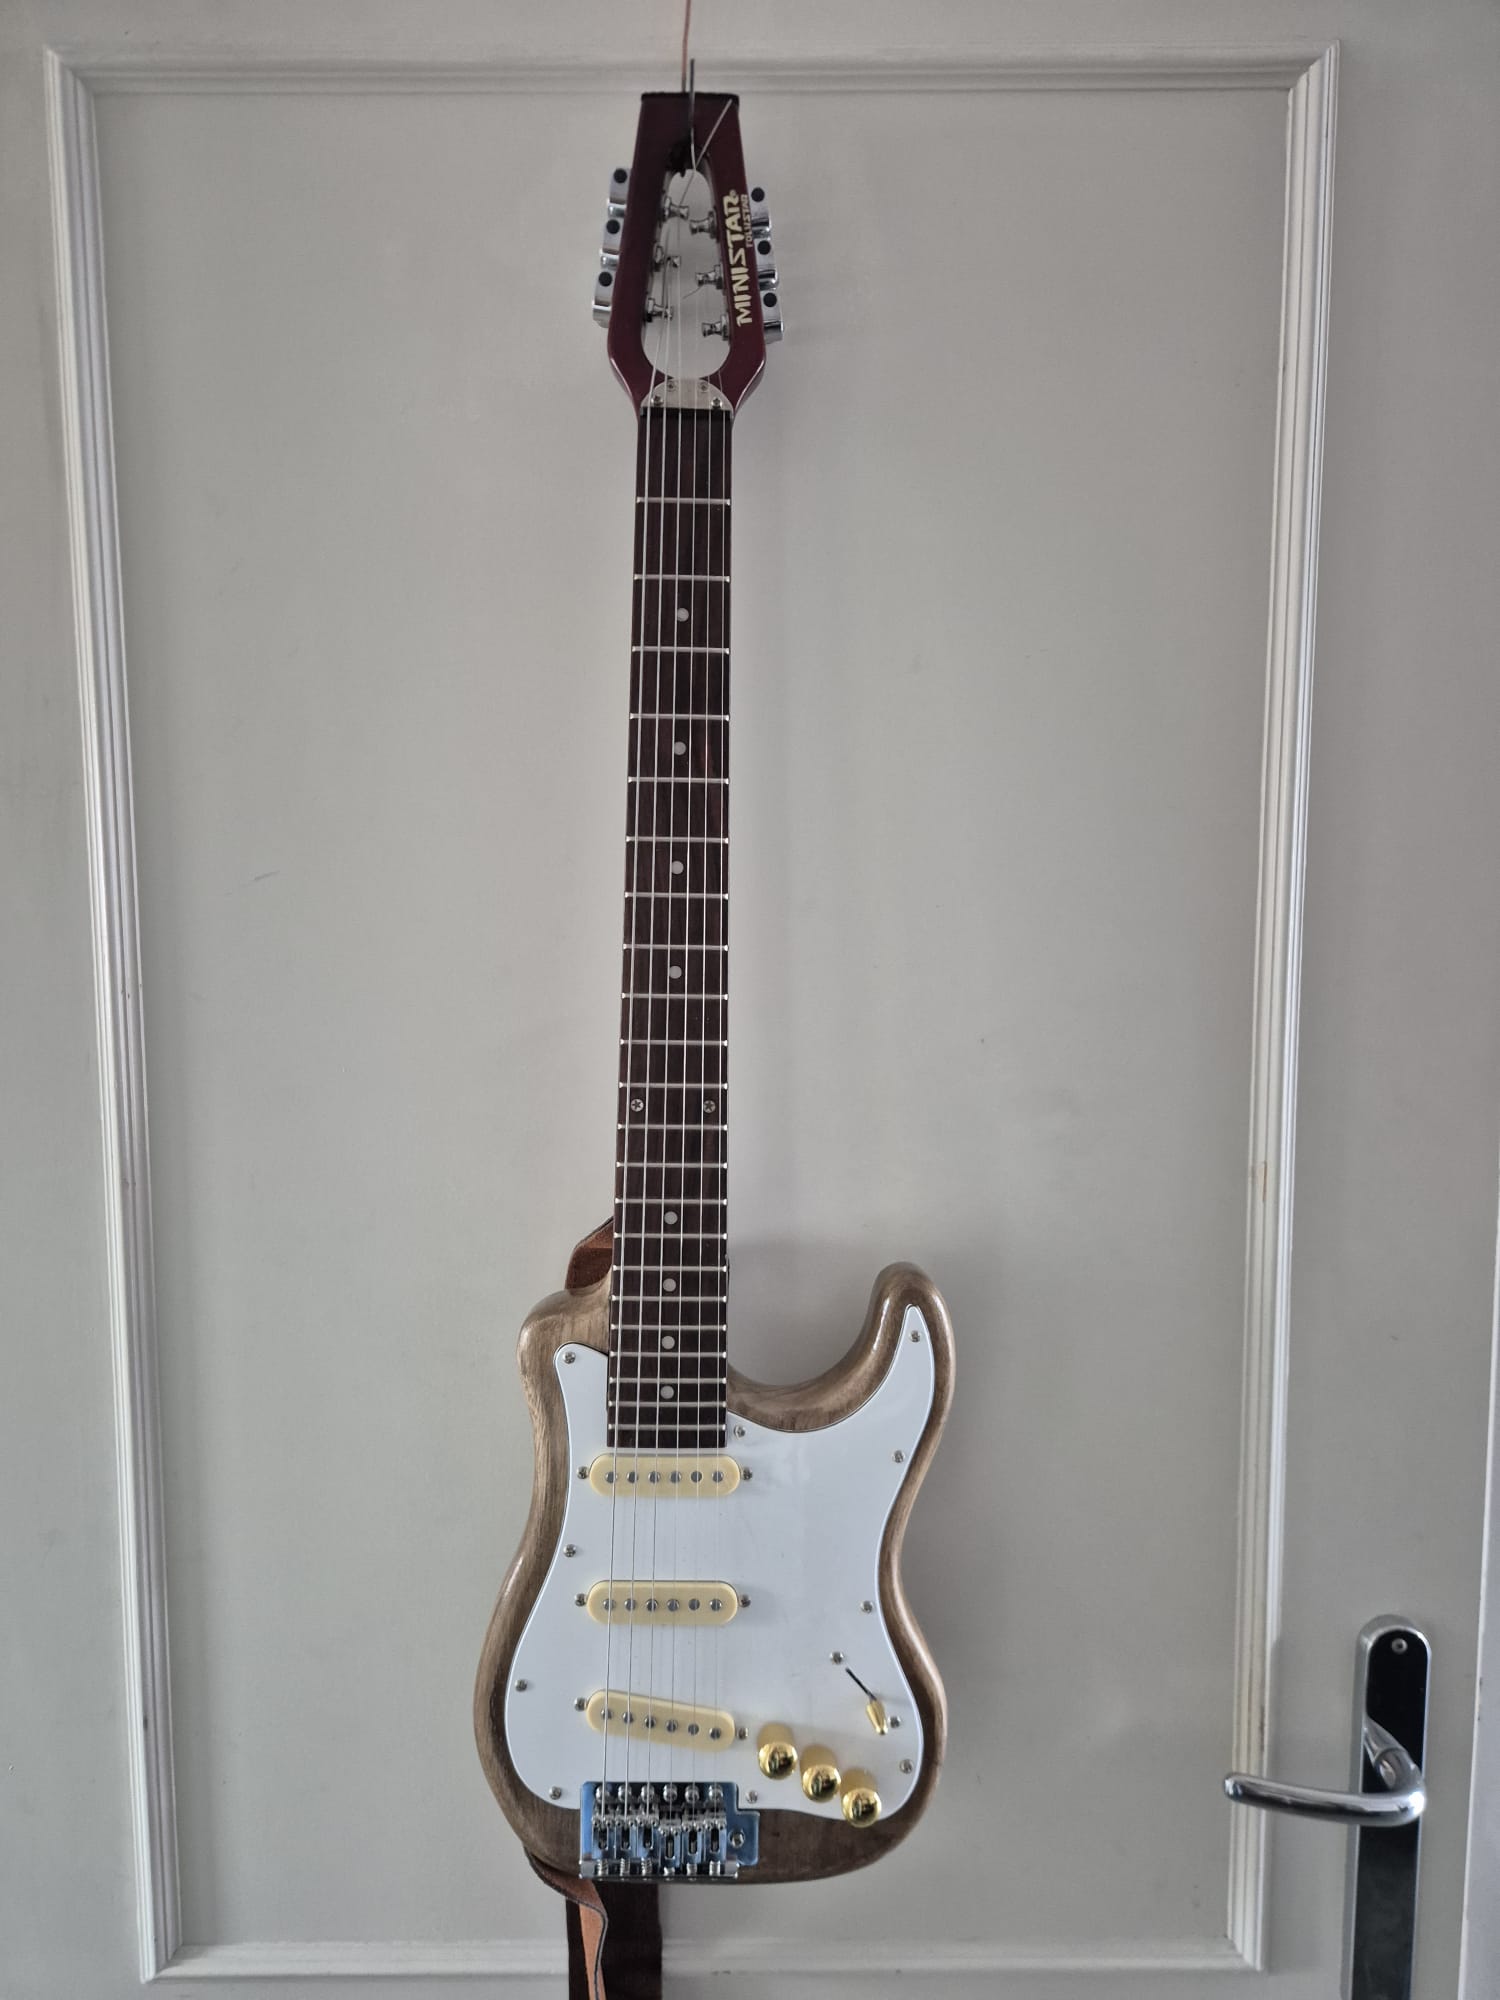
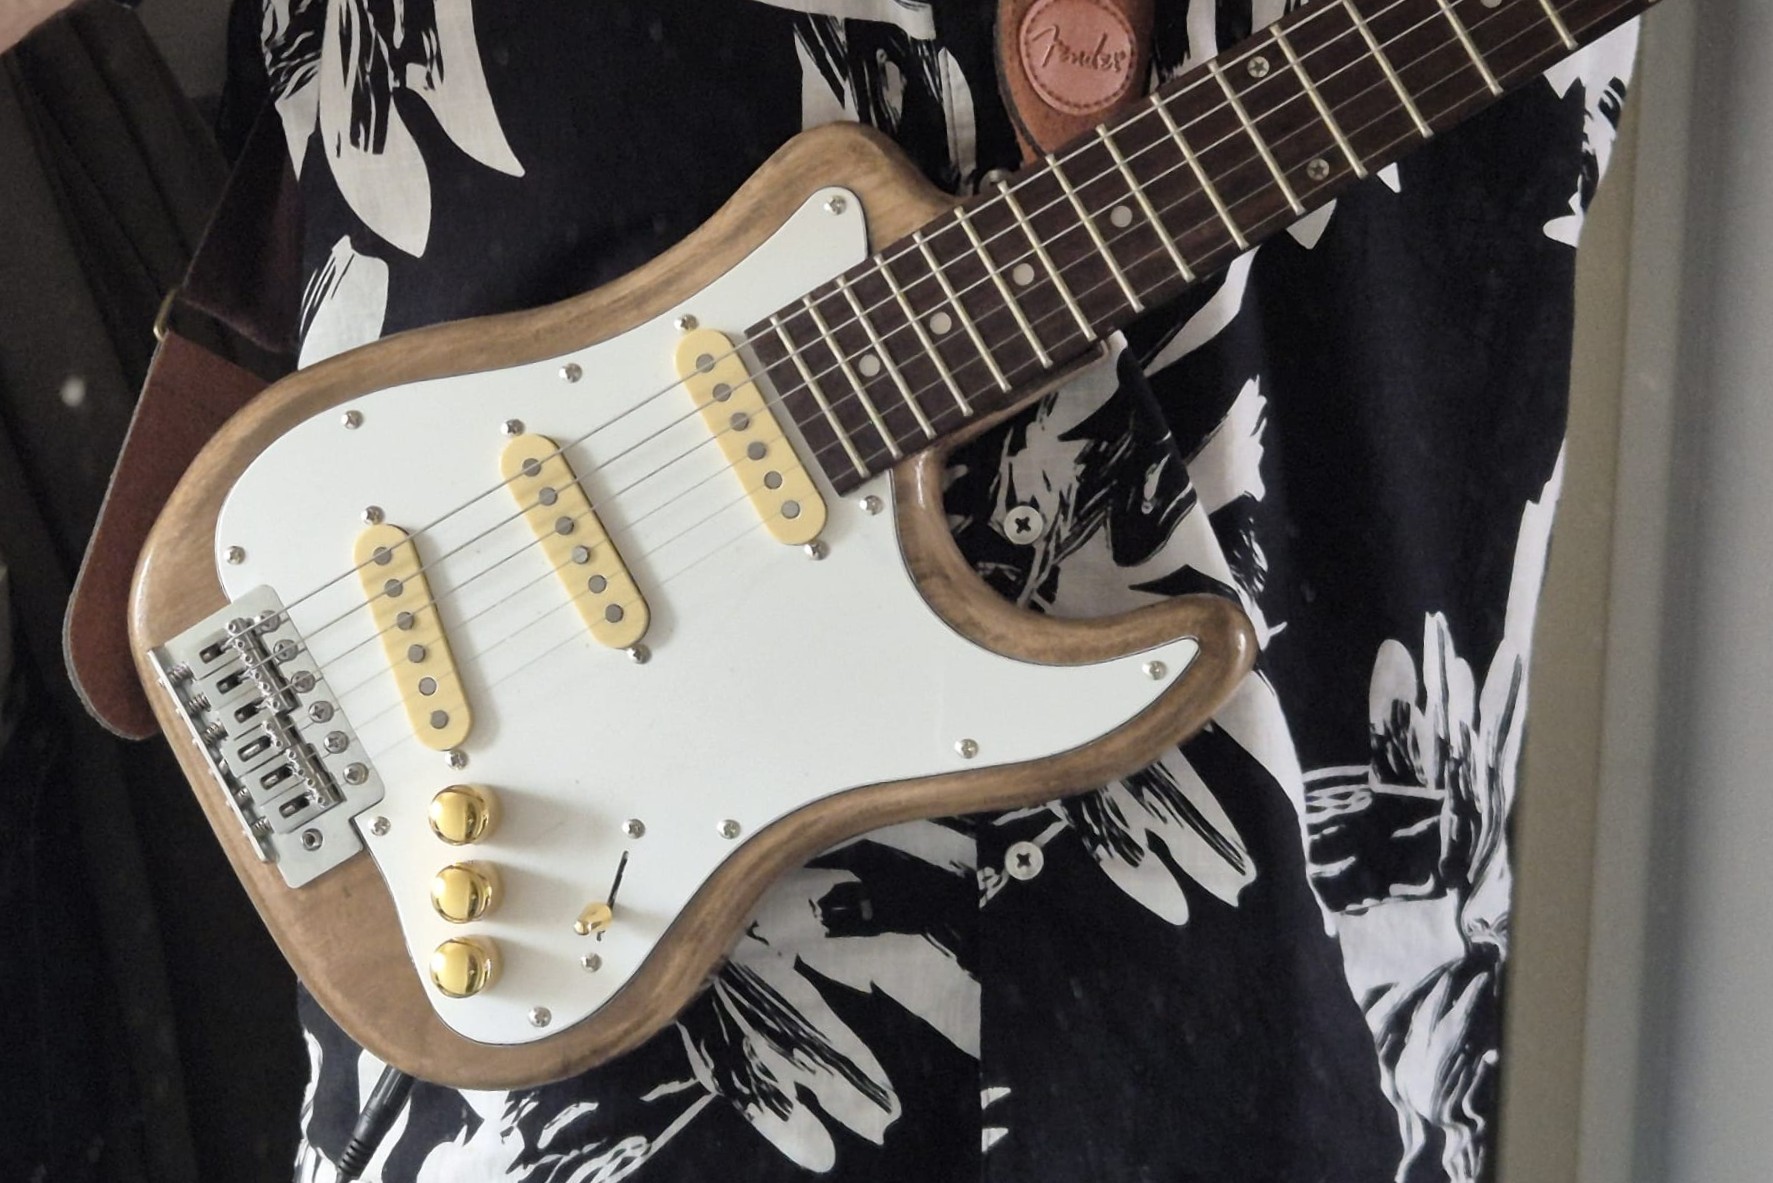
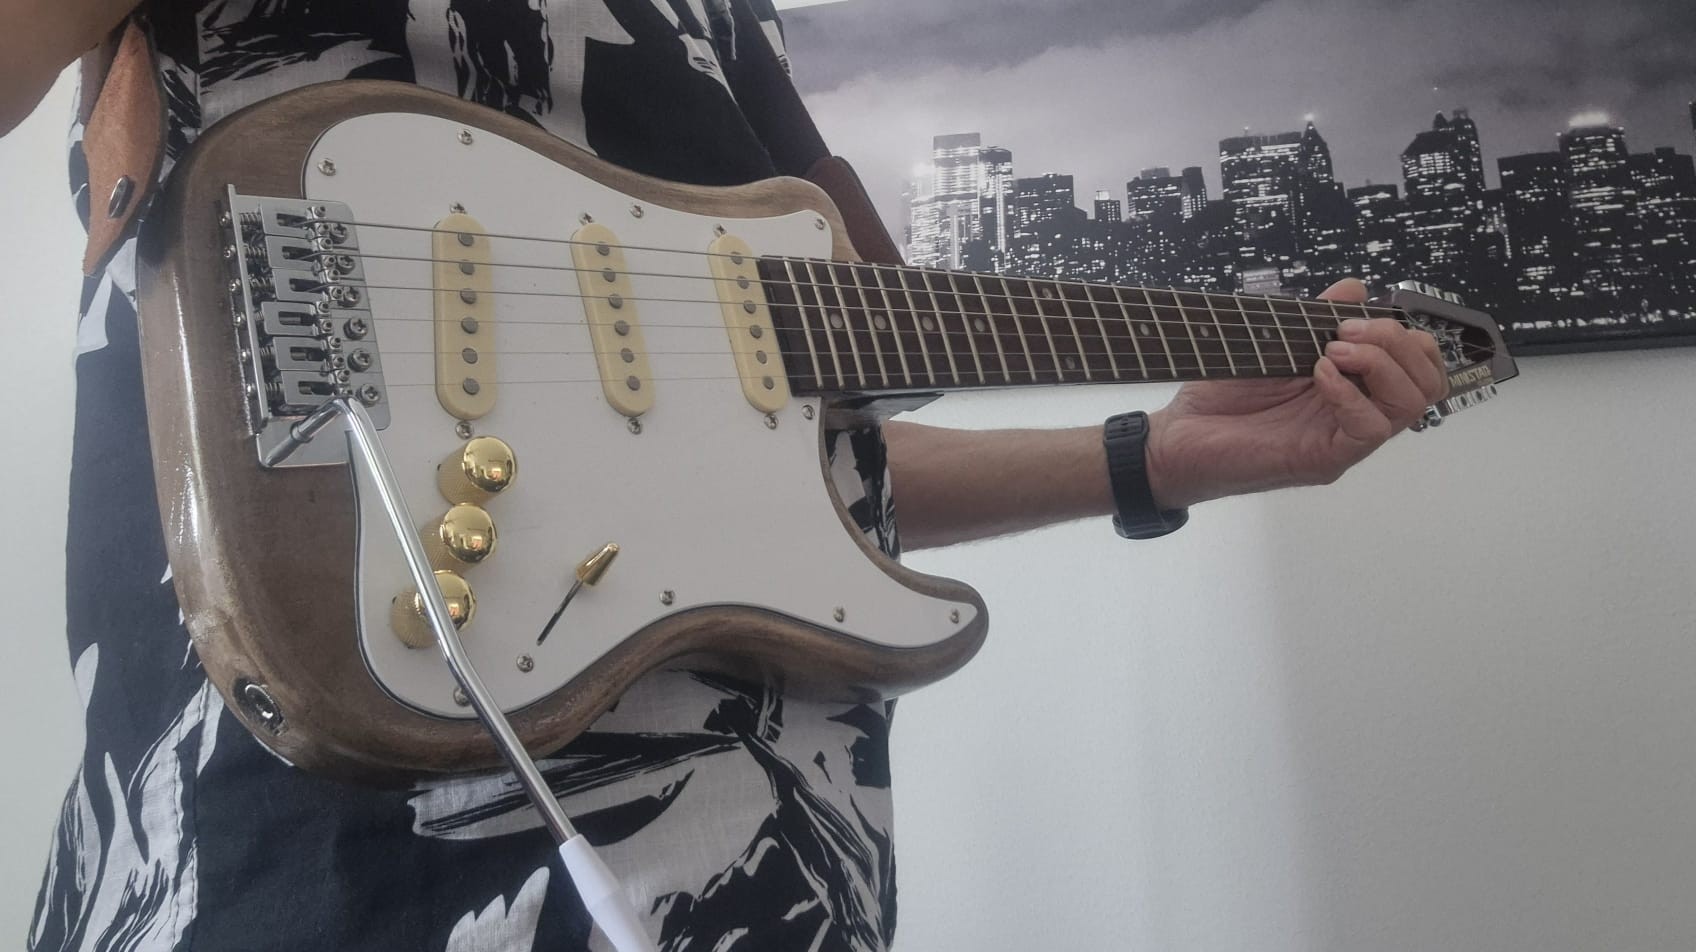
The final result
Waarom zou je een ‘Ministrat’ willen bouwen?
Nou, ik wilde graag een elektrische gitaar hebben die ik gemakkelijk mee kan nemen als ik op reis ga.
Bovendien wil ik hiervoor de restanten van eerdere bouwprojecten gebruiken.
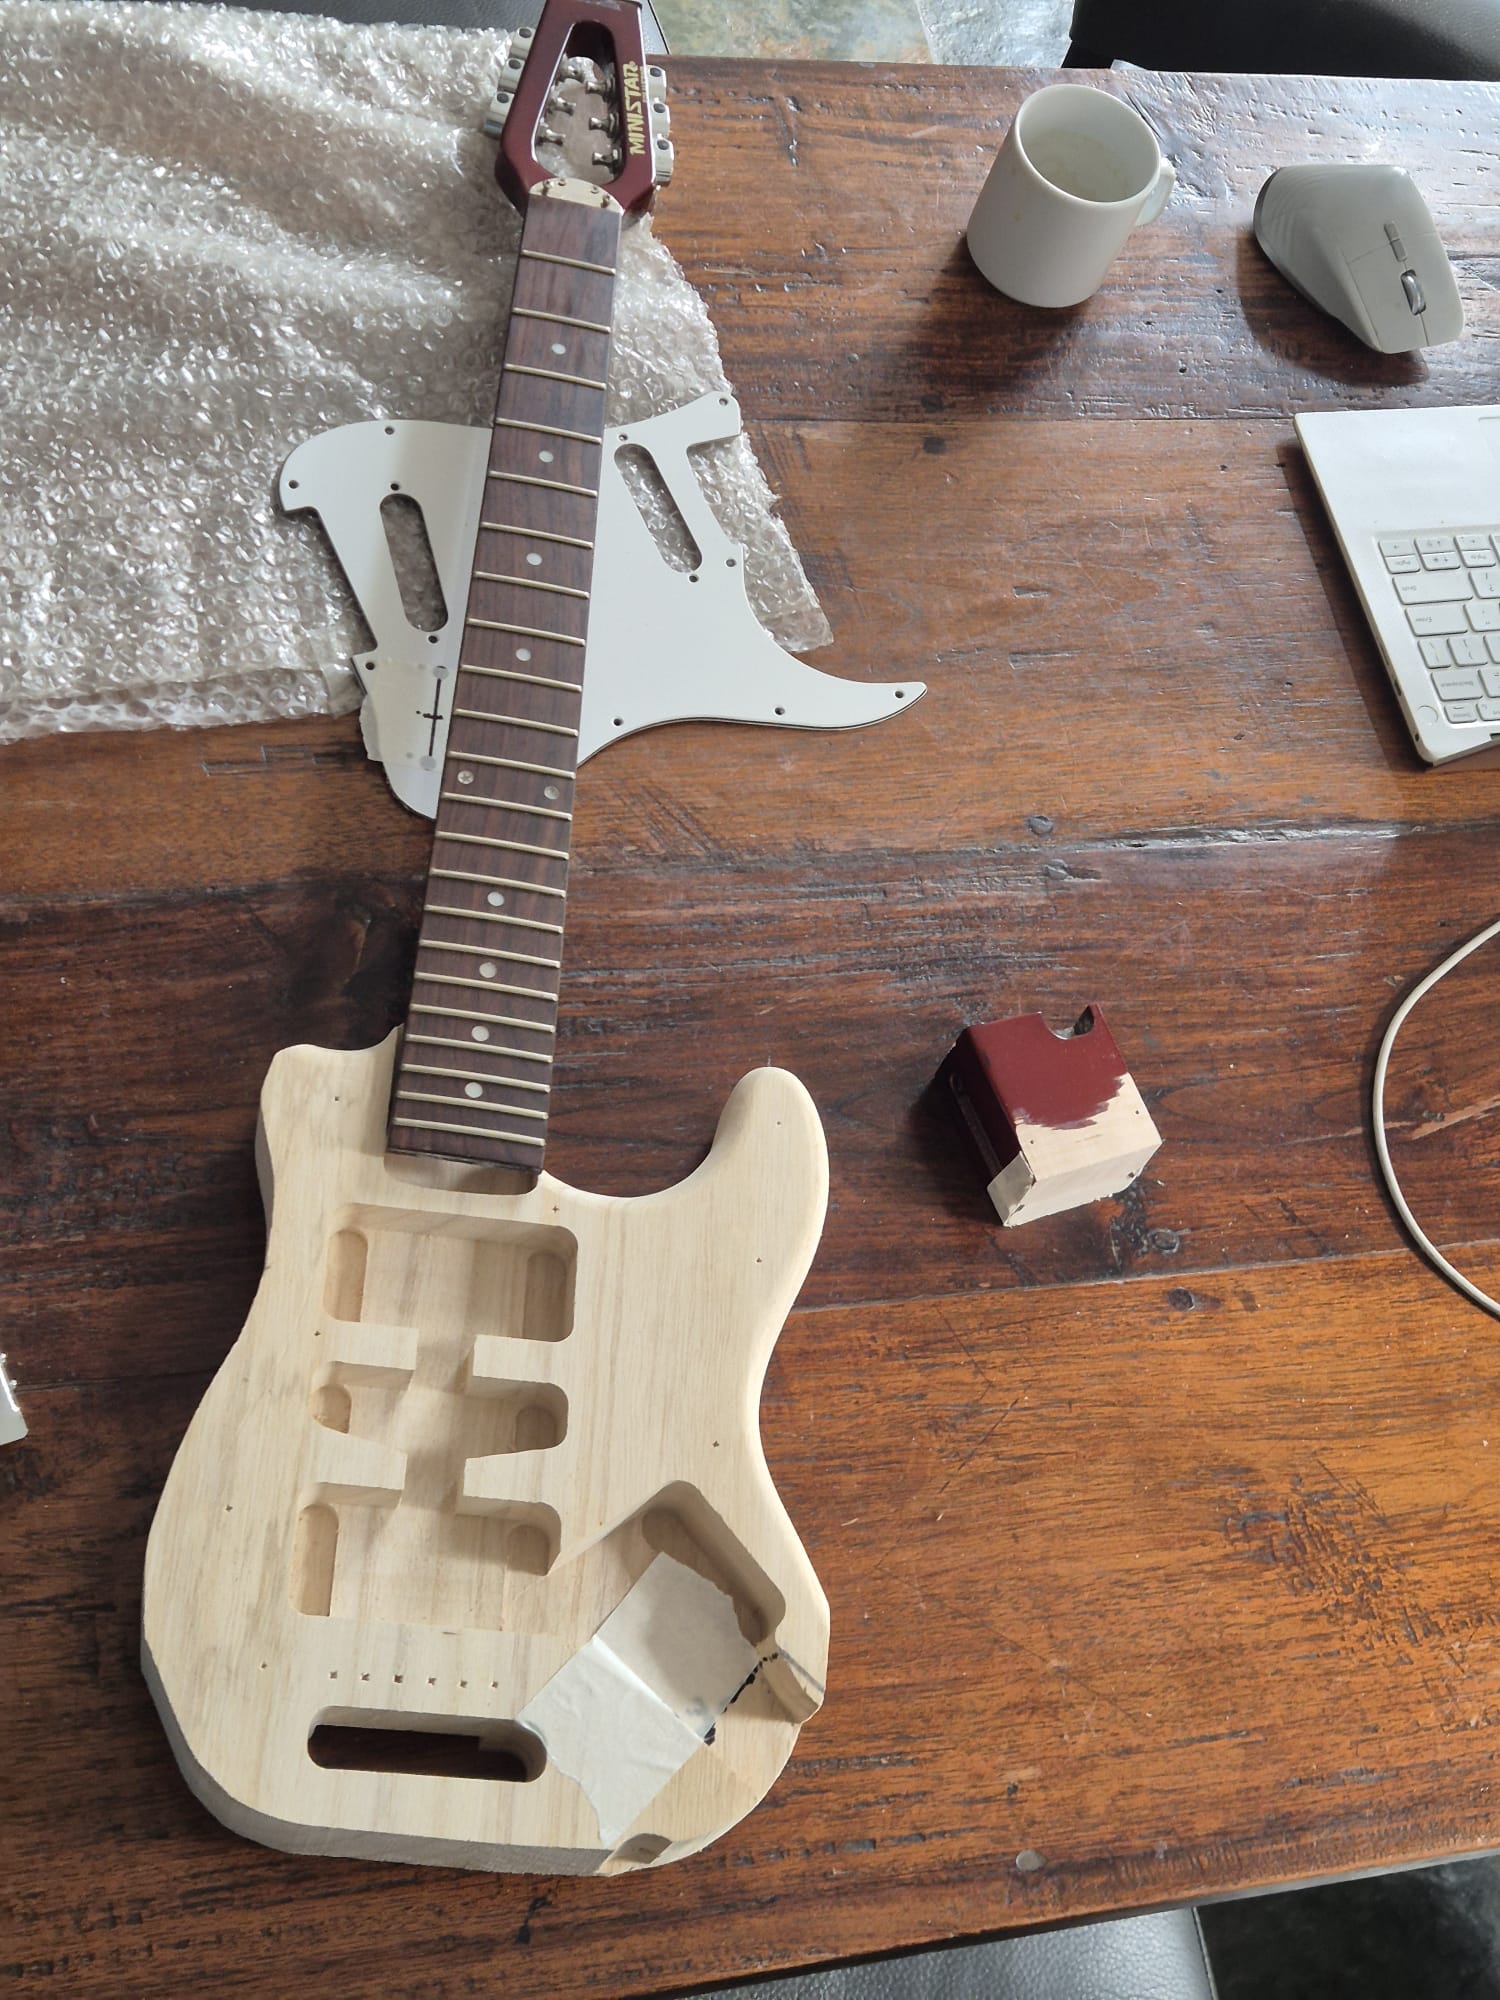
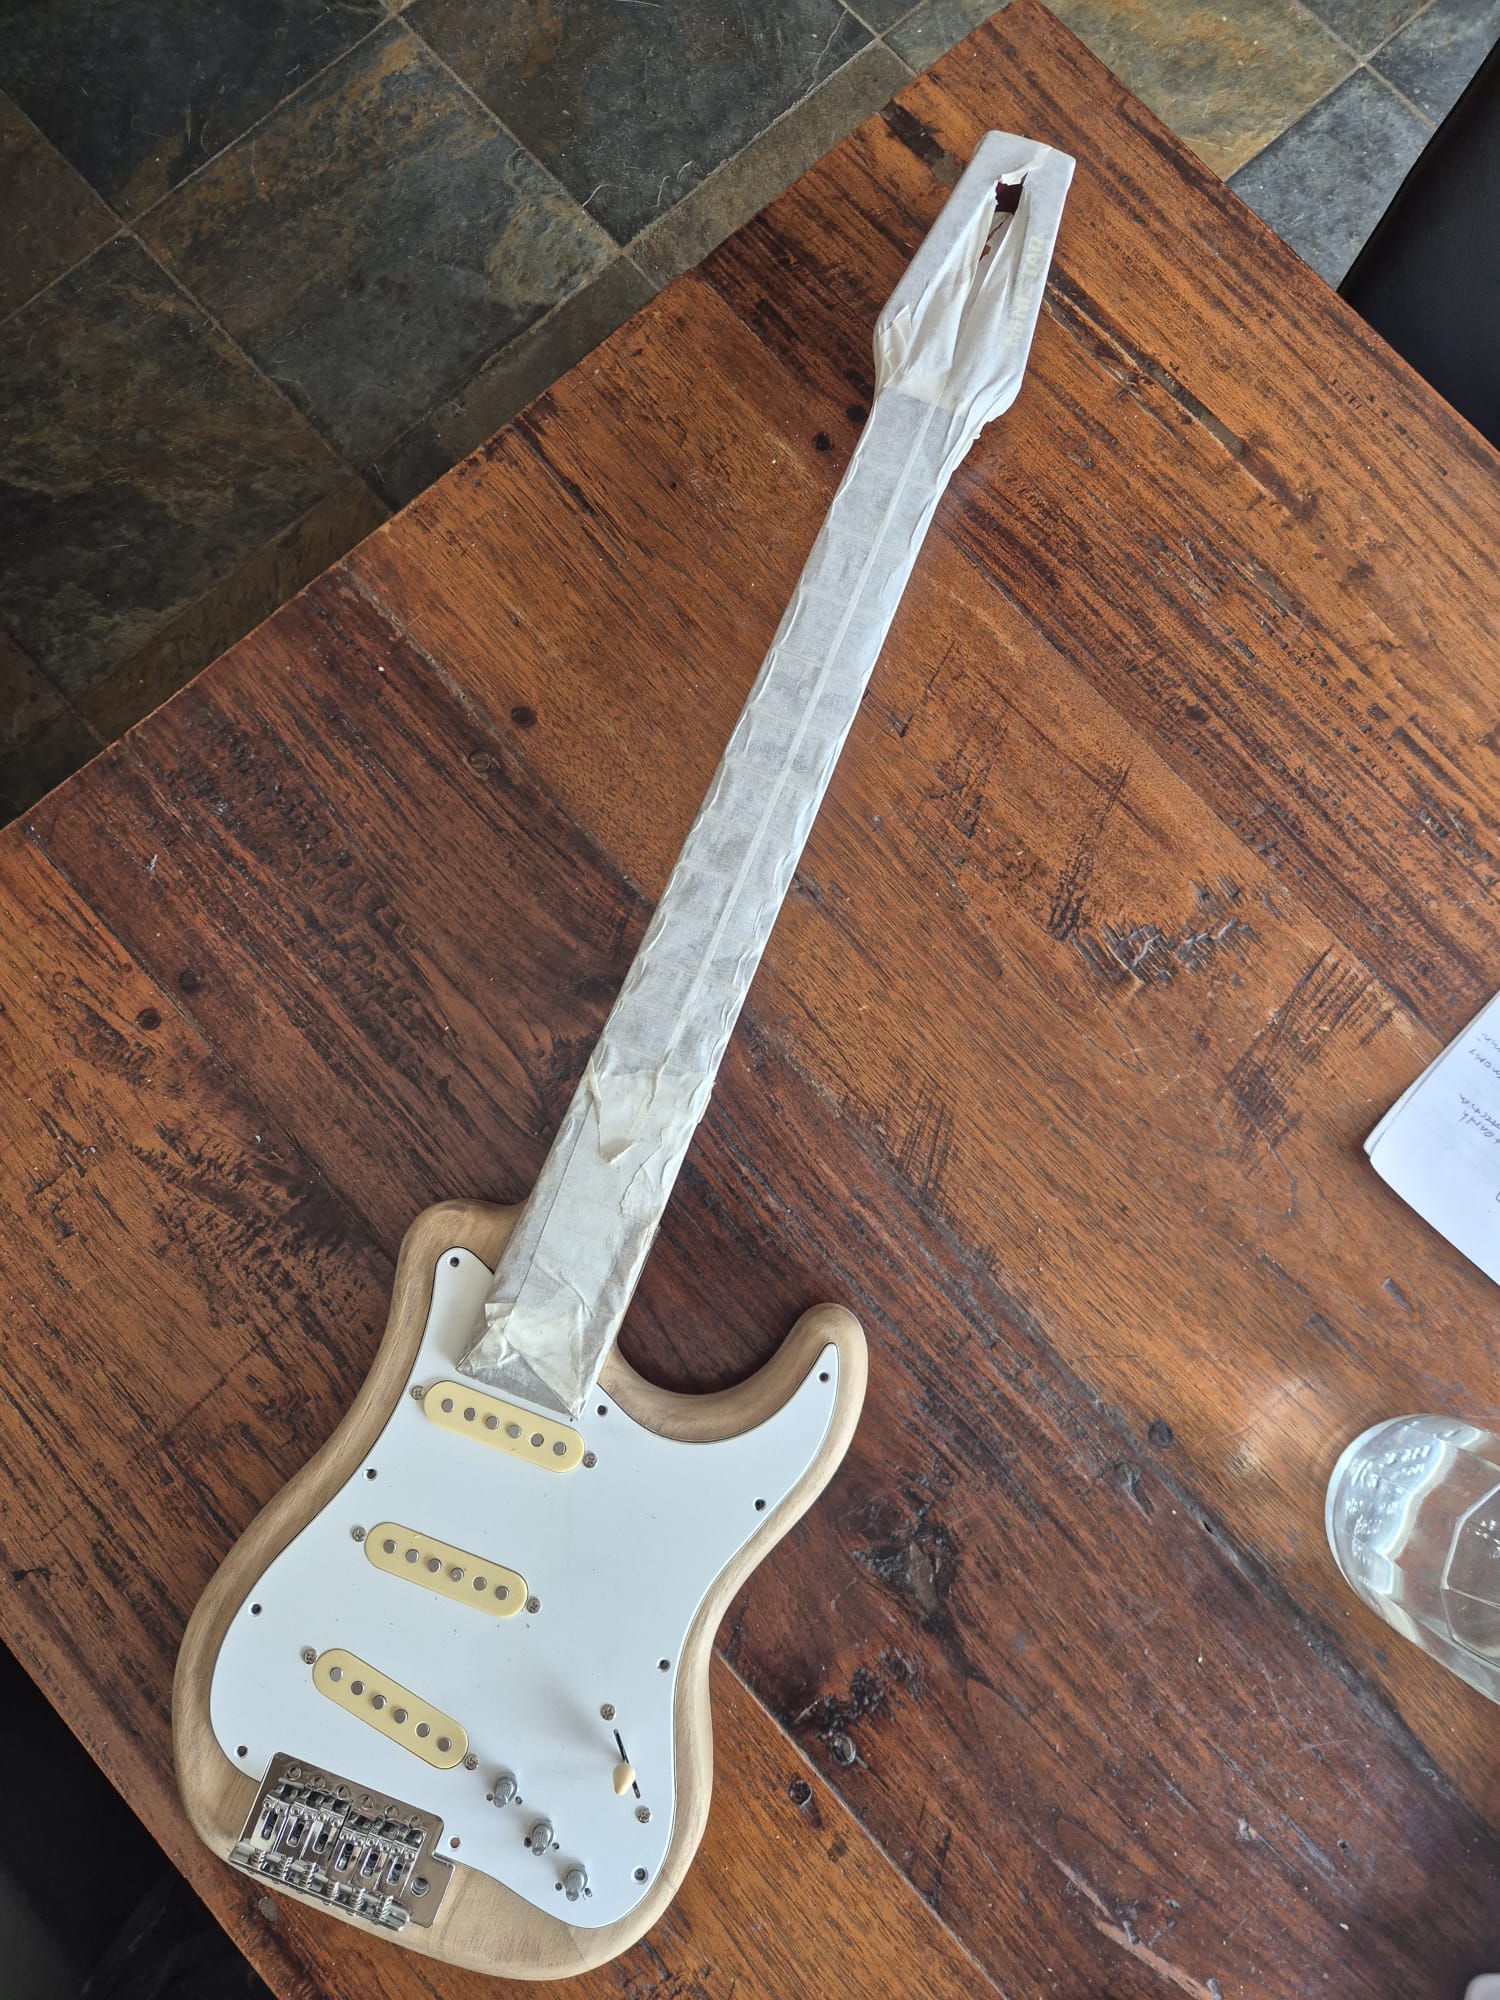
Dus ga ik de hals van mijn semi-akoestische Ministar-oefengitaar hergebruiken en deze verbinden met een zeer lichtgewicht Strat-body van basishout die ik nog niet voor een gitaarbouwproject had gebruikt.
Uiteindelijk was het een zeer bevredigend bouwproject, omdat alles heel goed in elkaar paste. En de gitaar speelt erg prettig.
Veel plezier met het bekijken van mijn bouwproject!
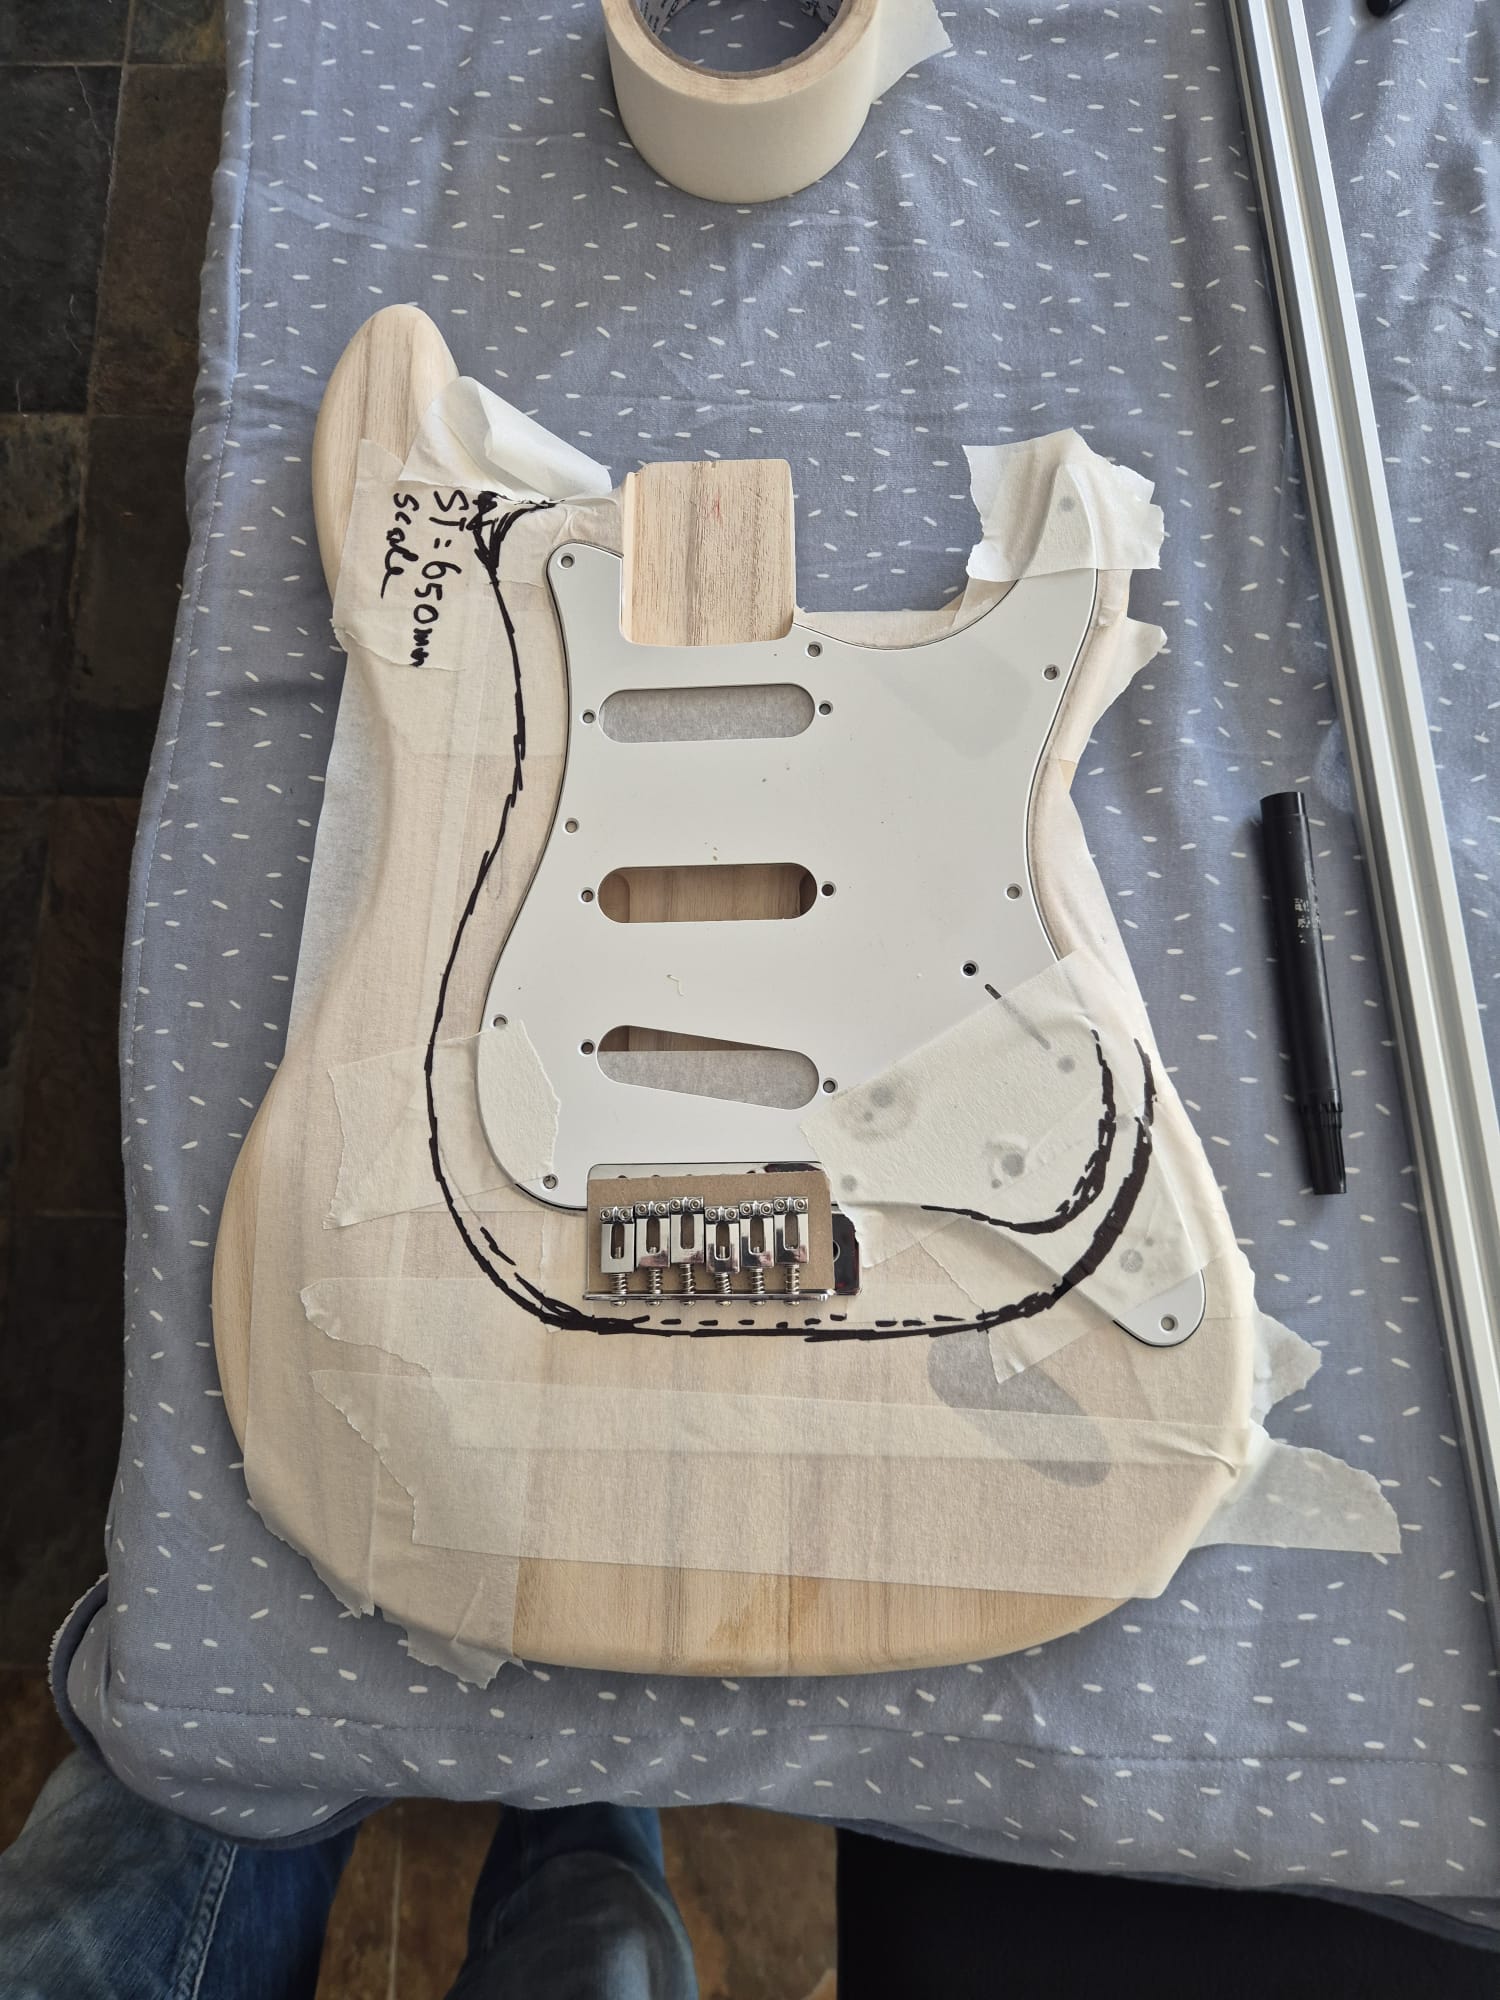
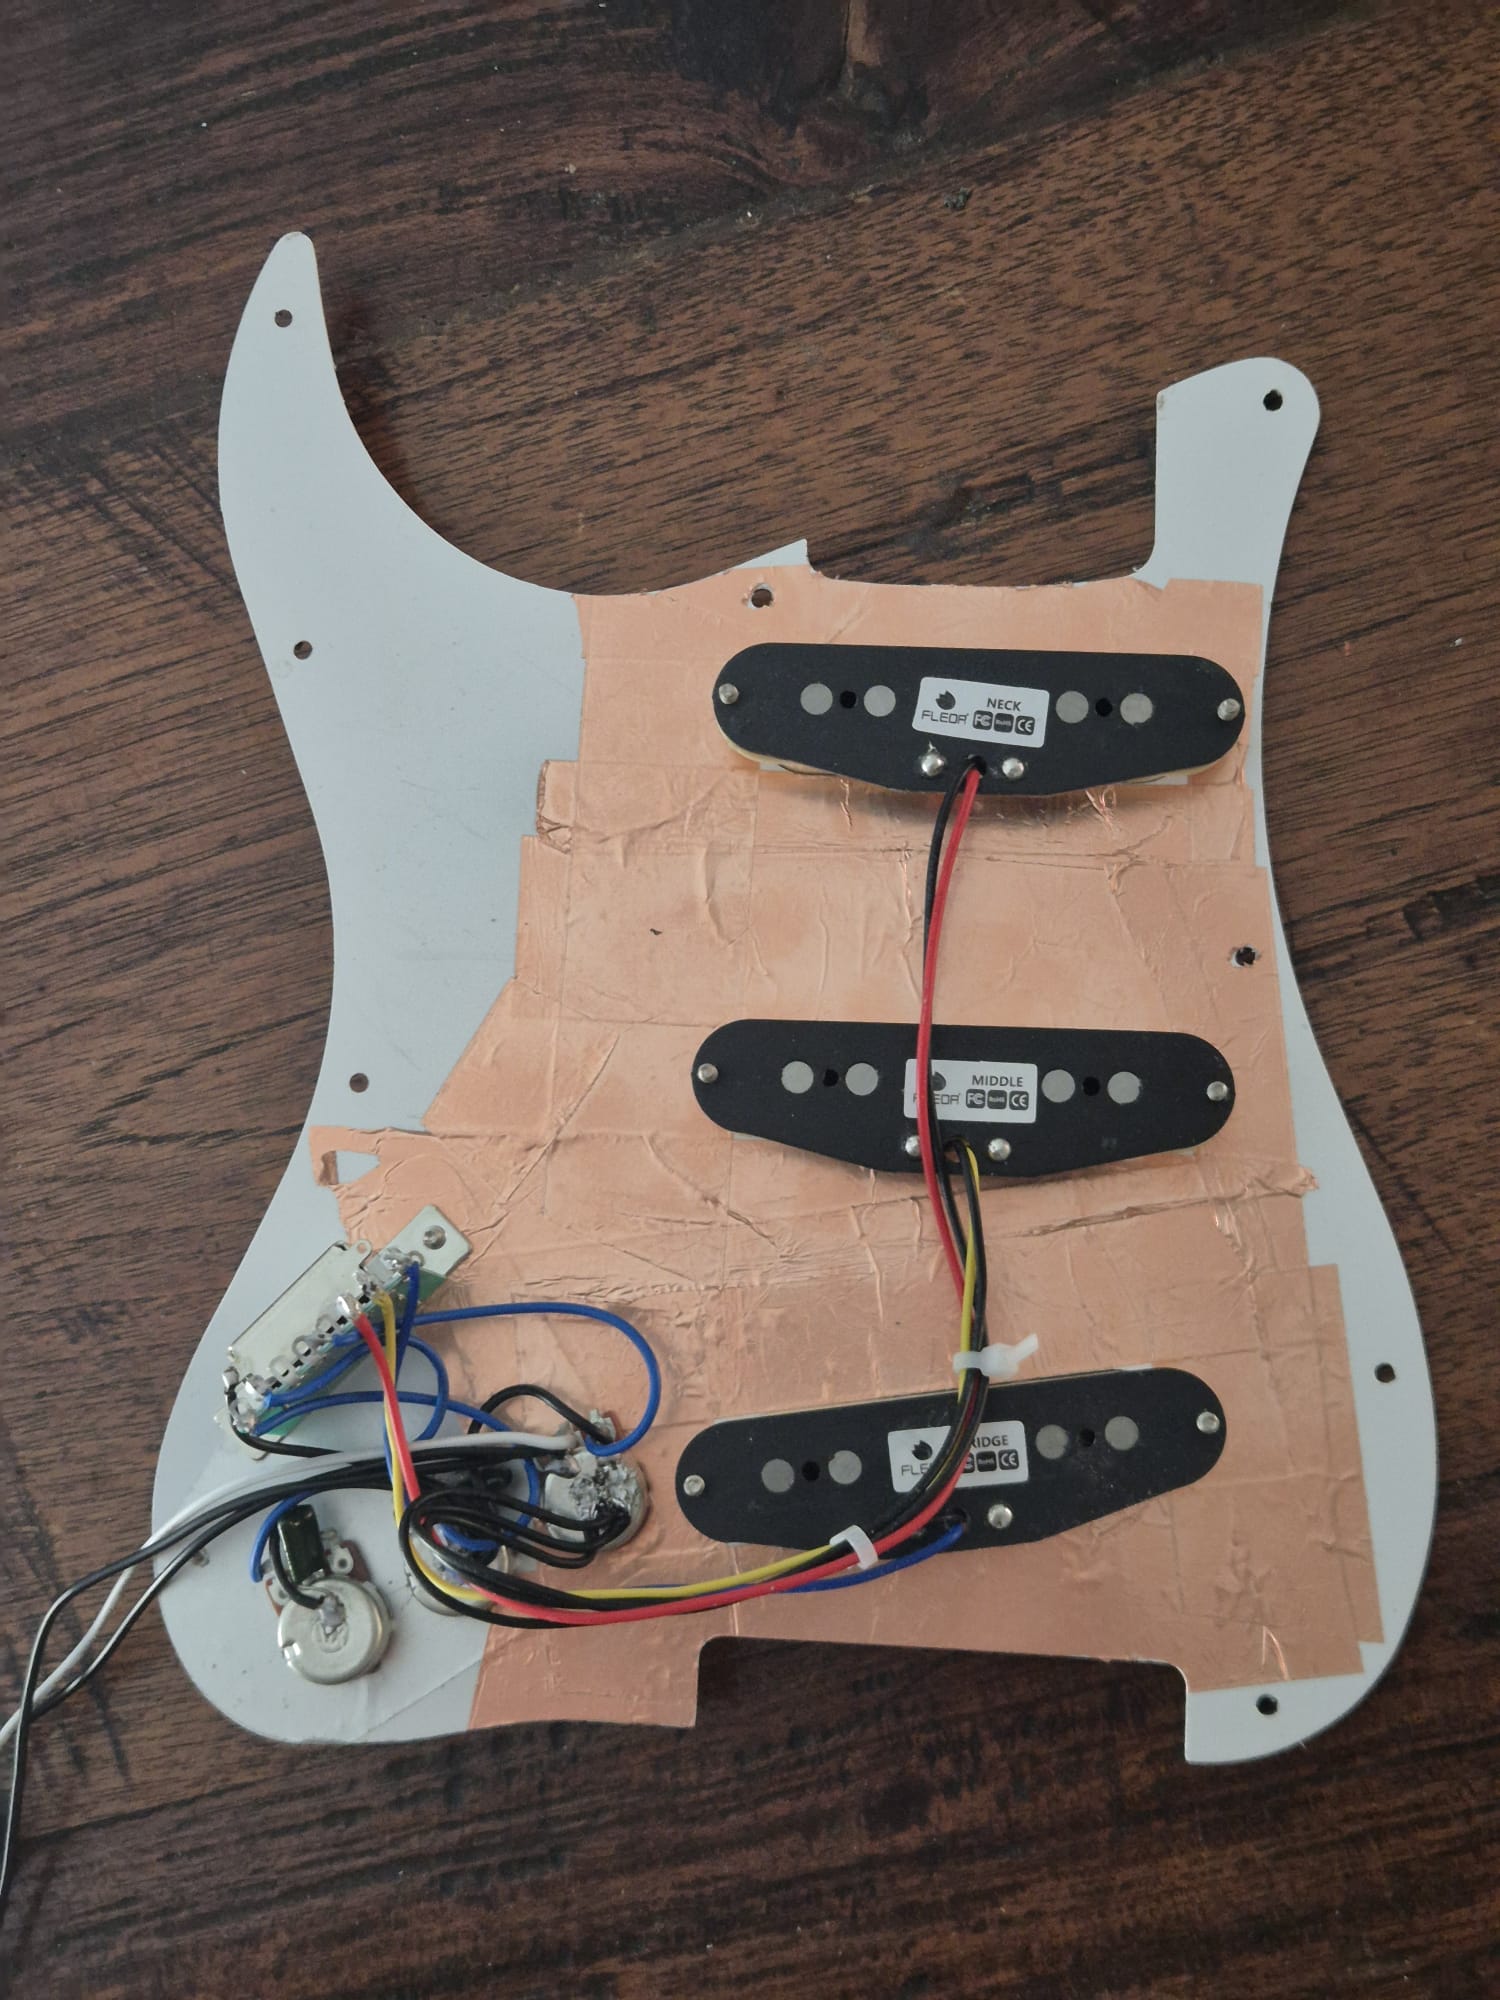
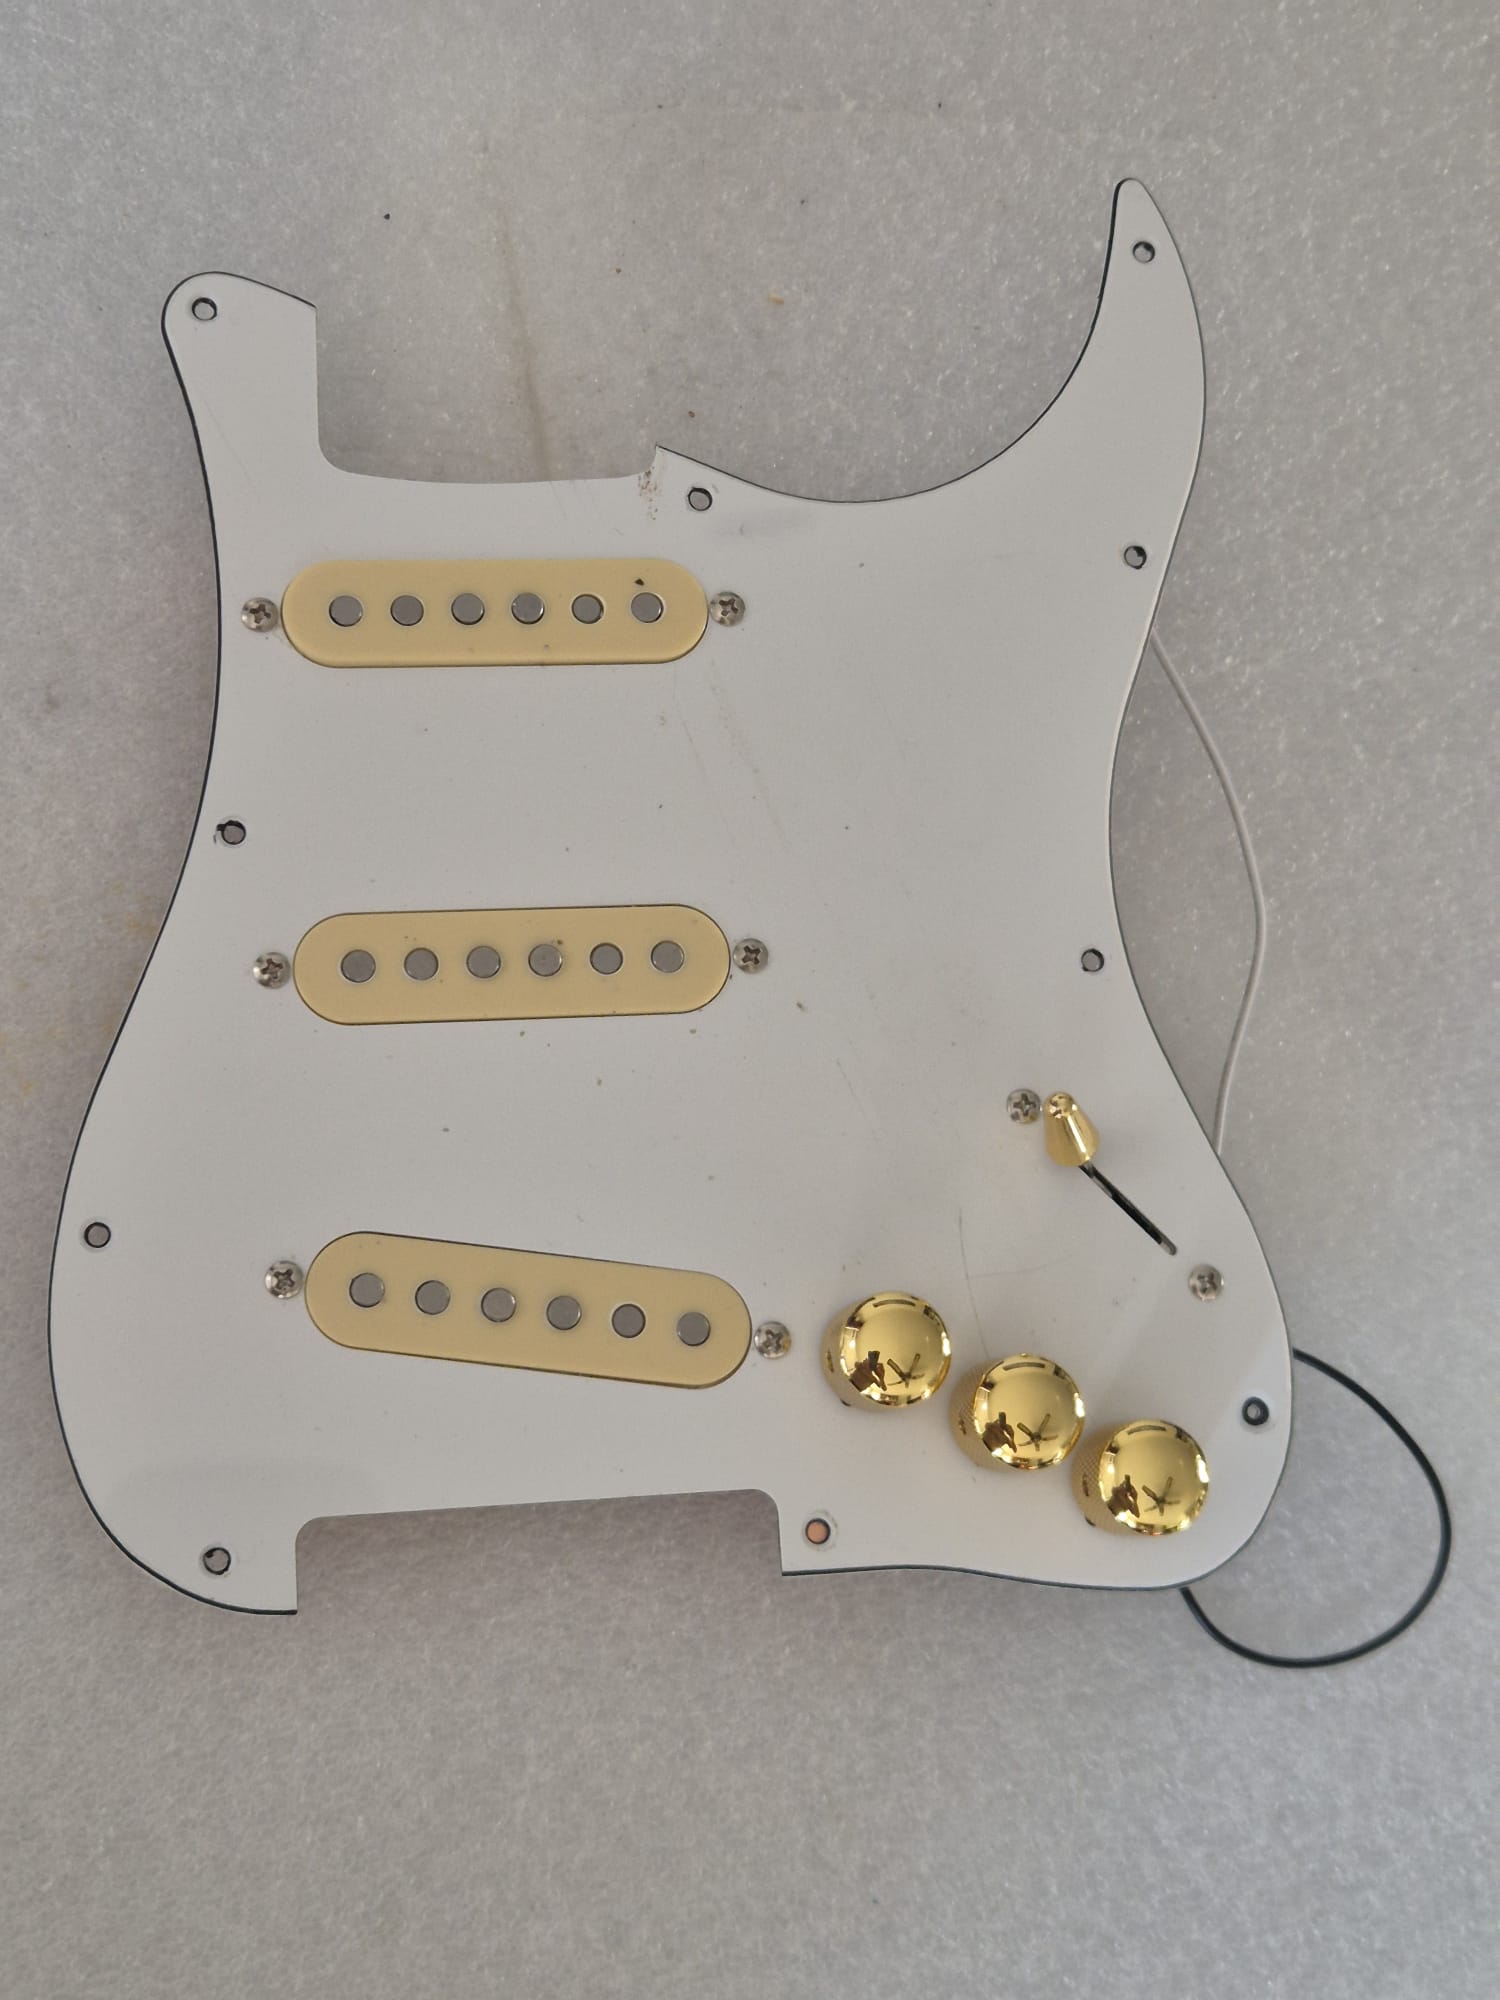
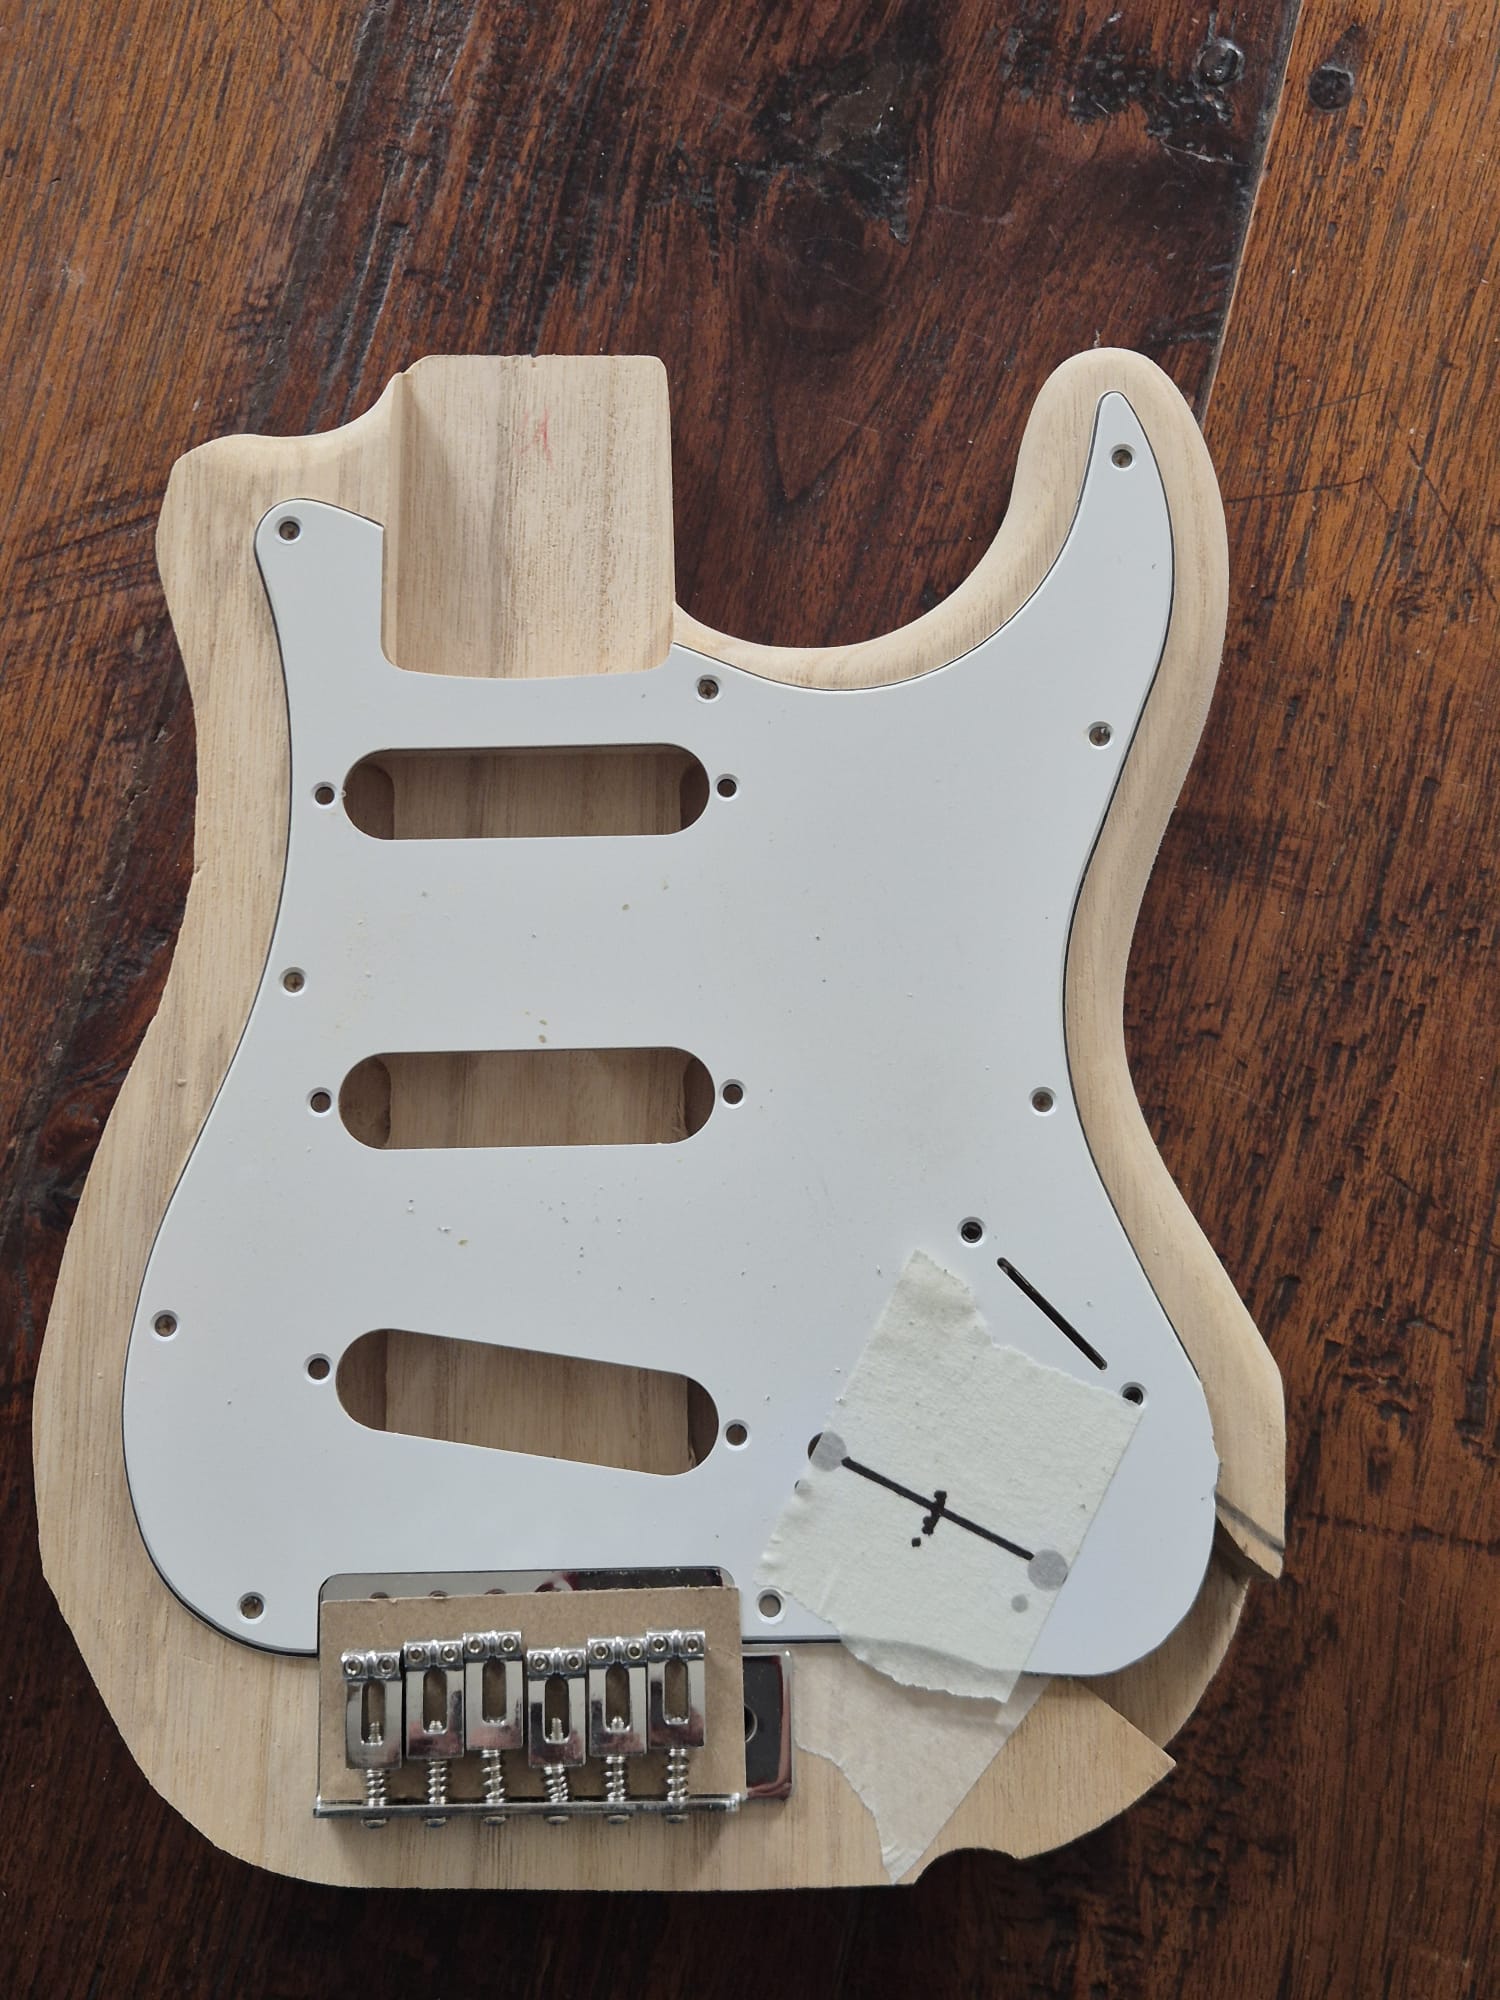
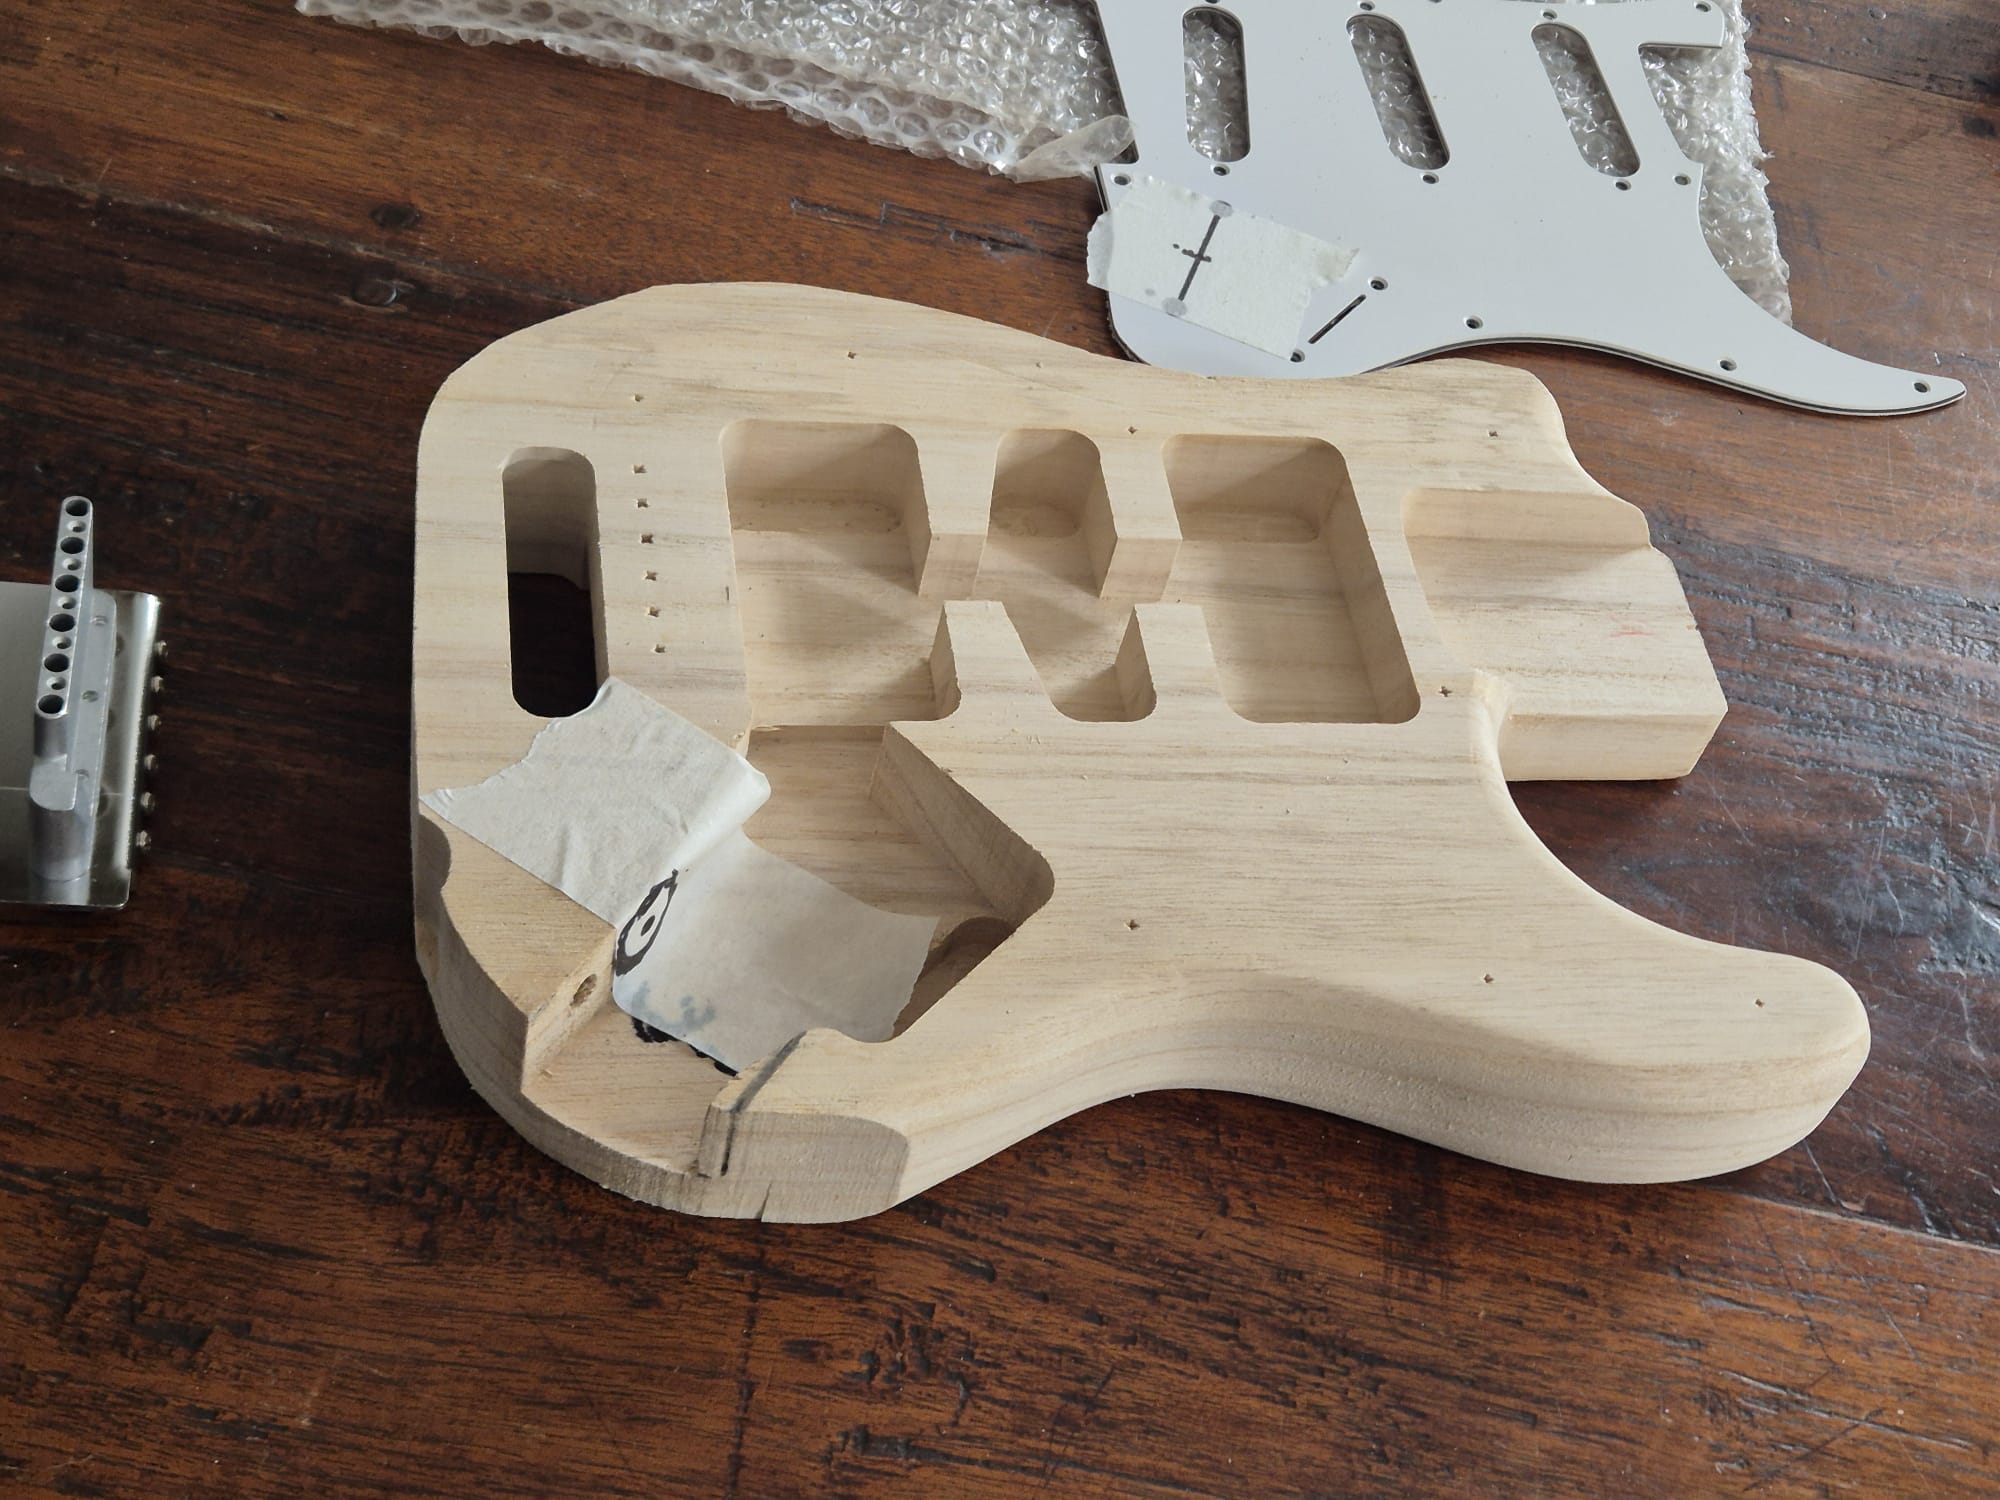
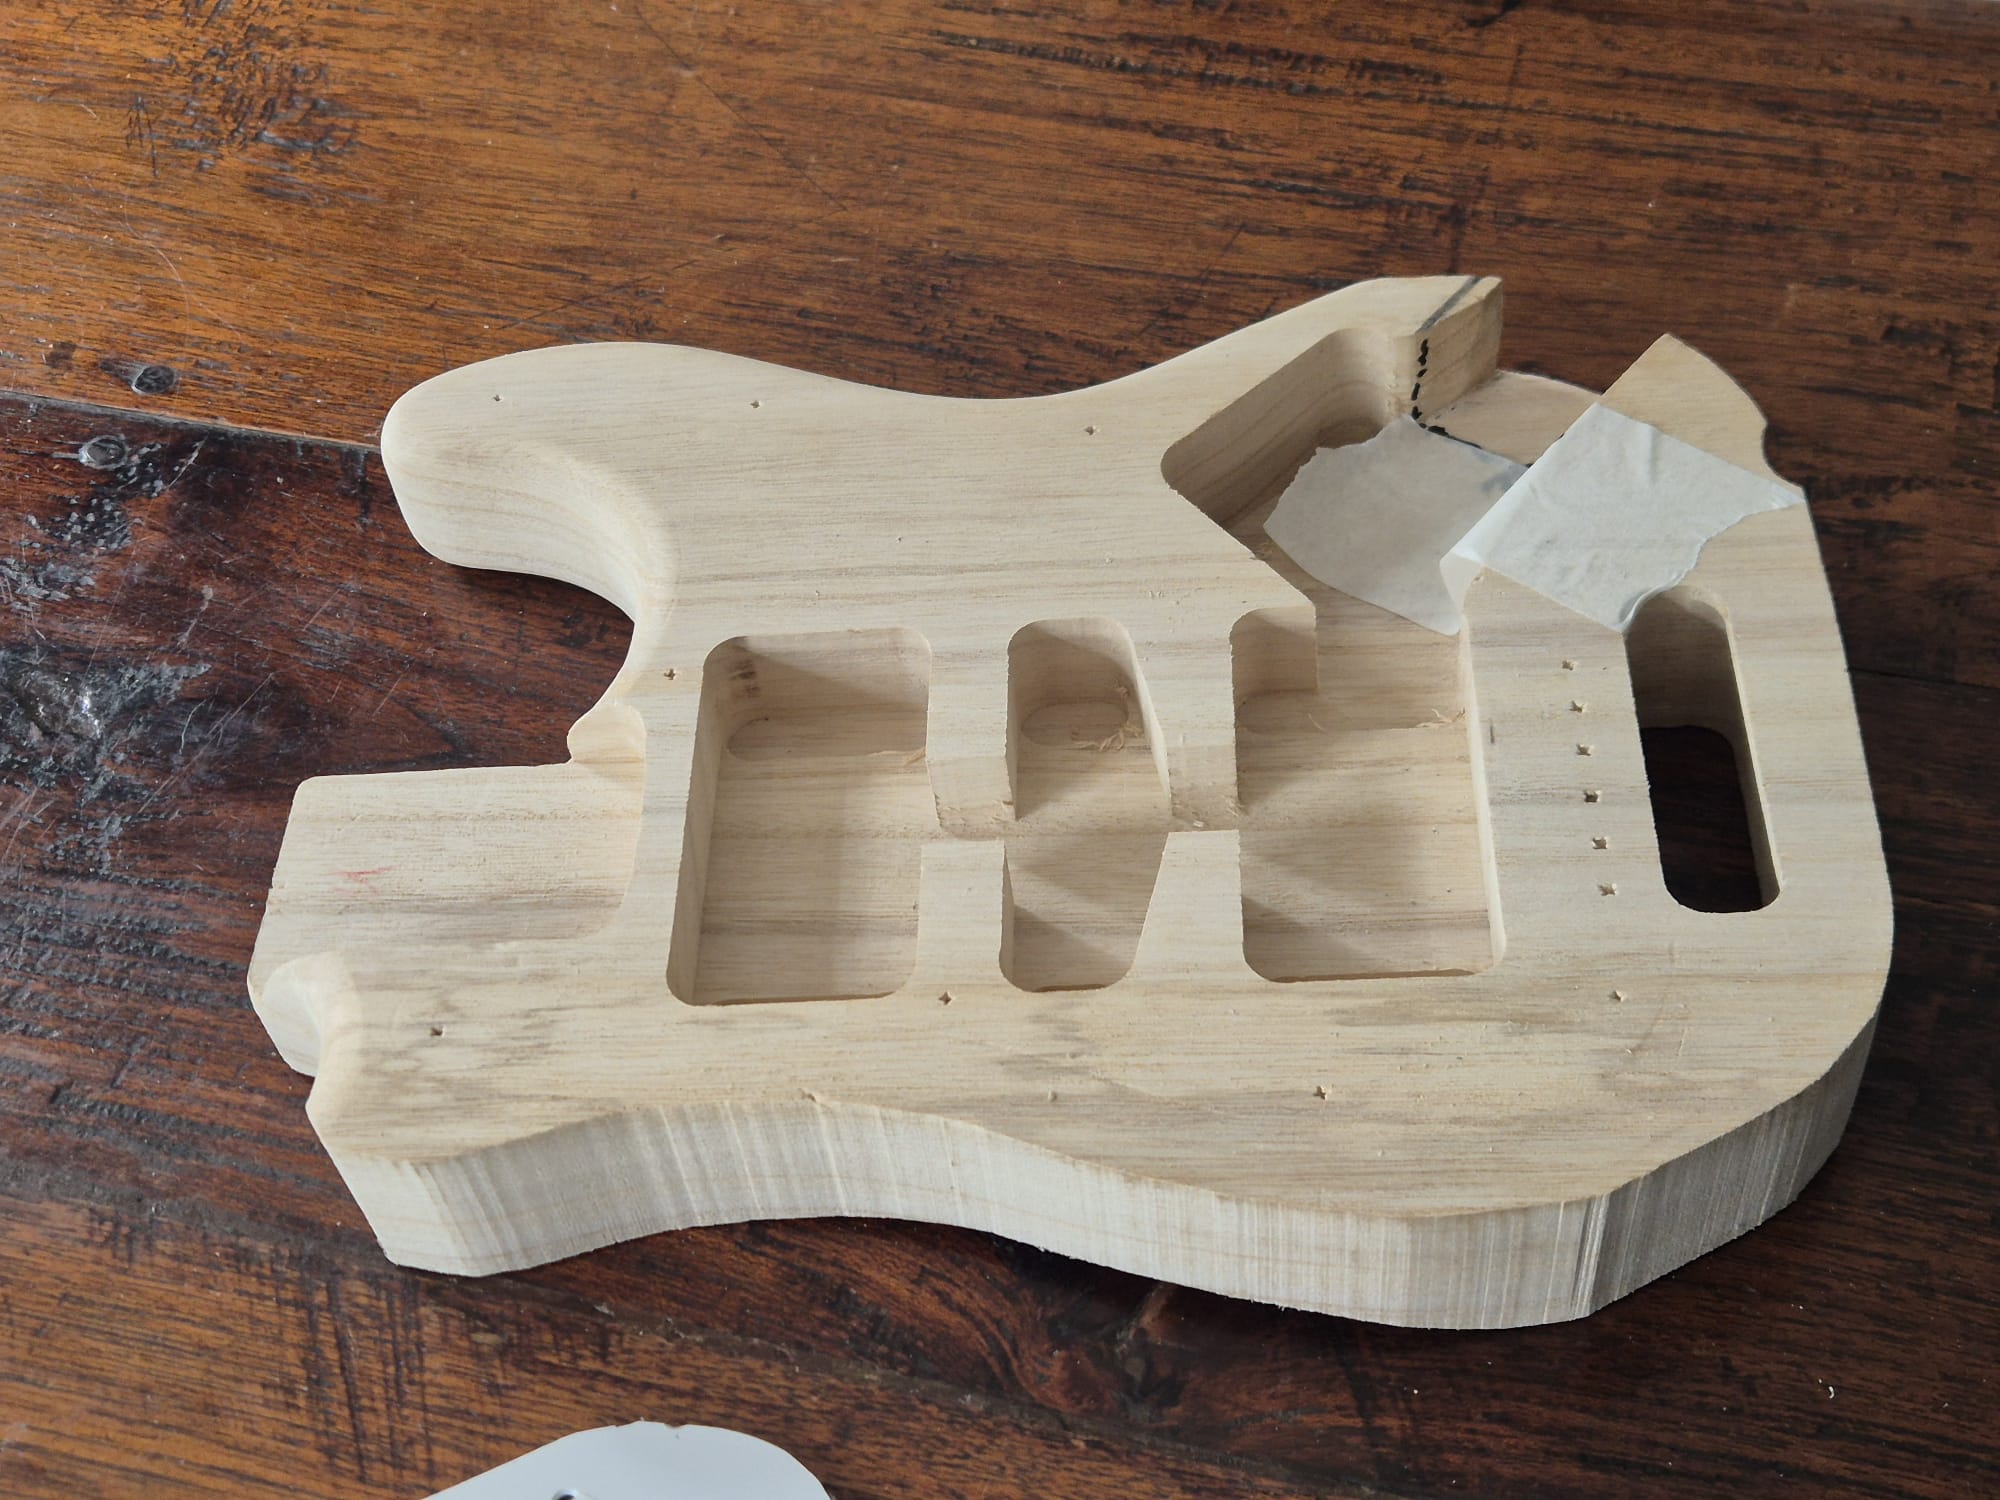
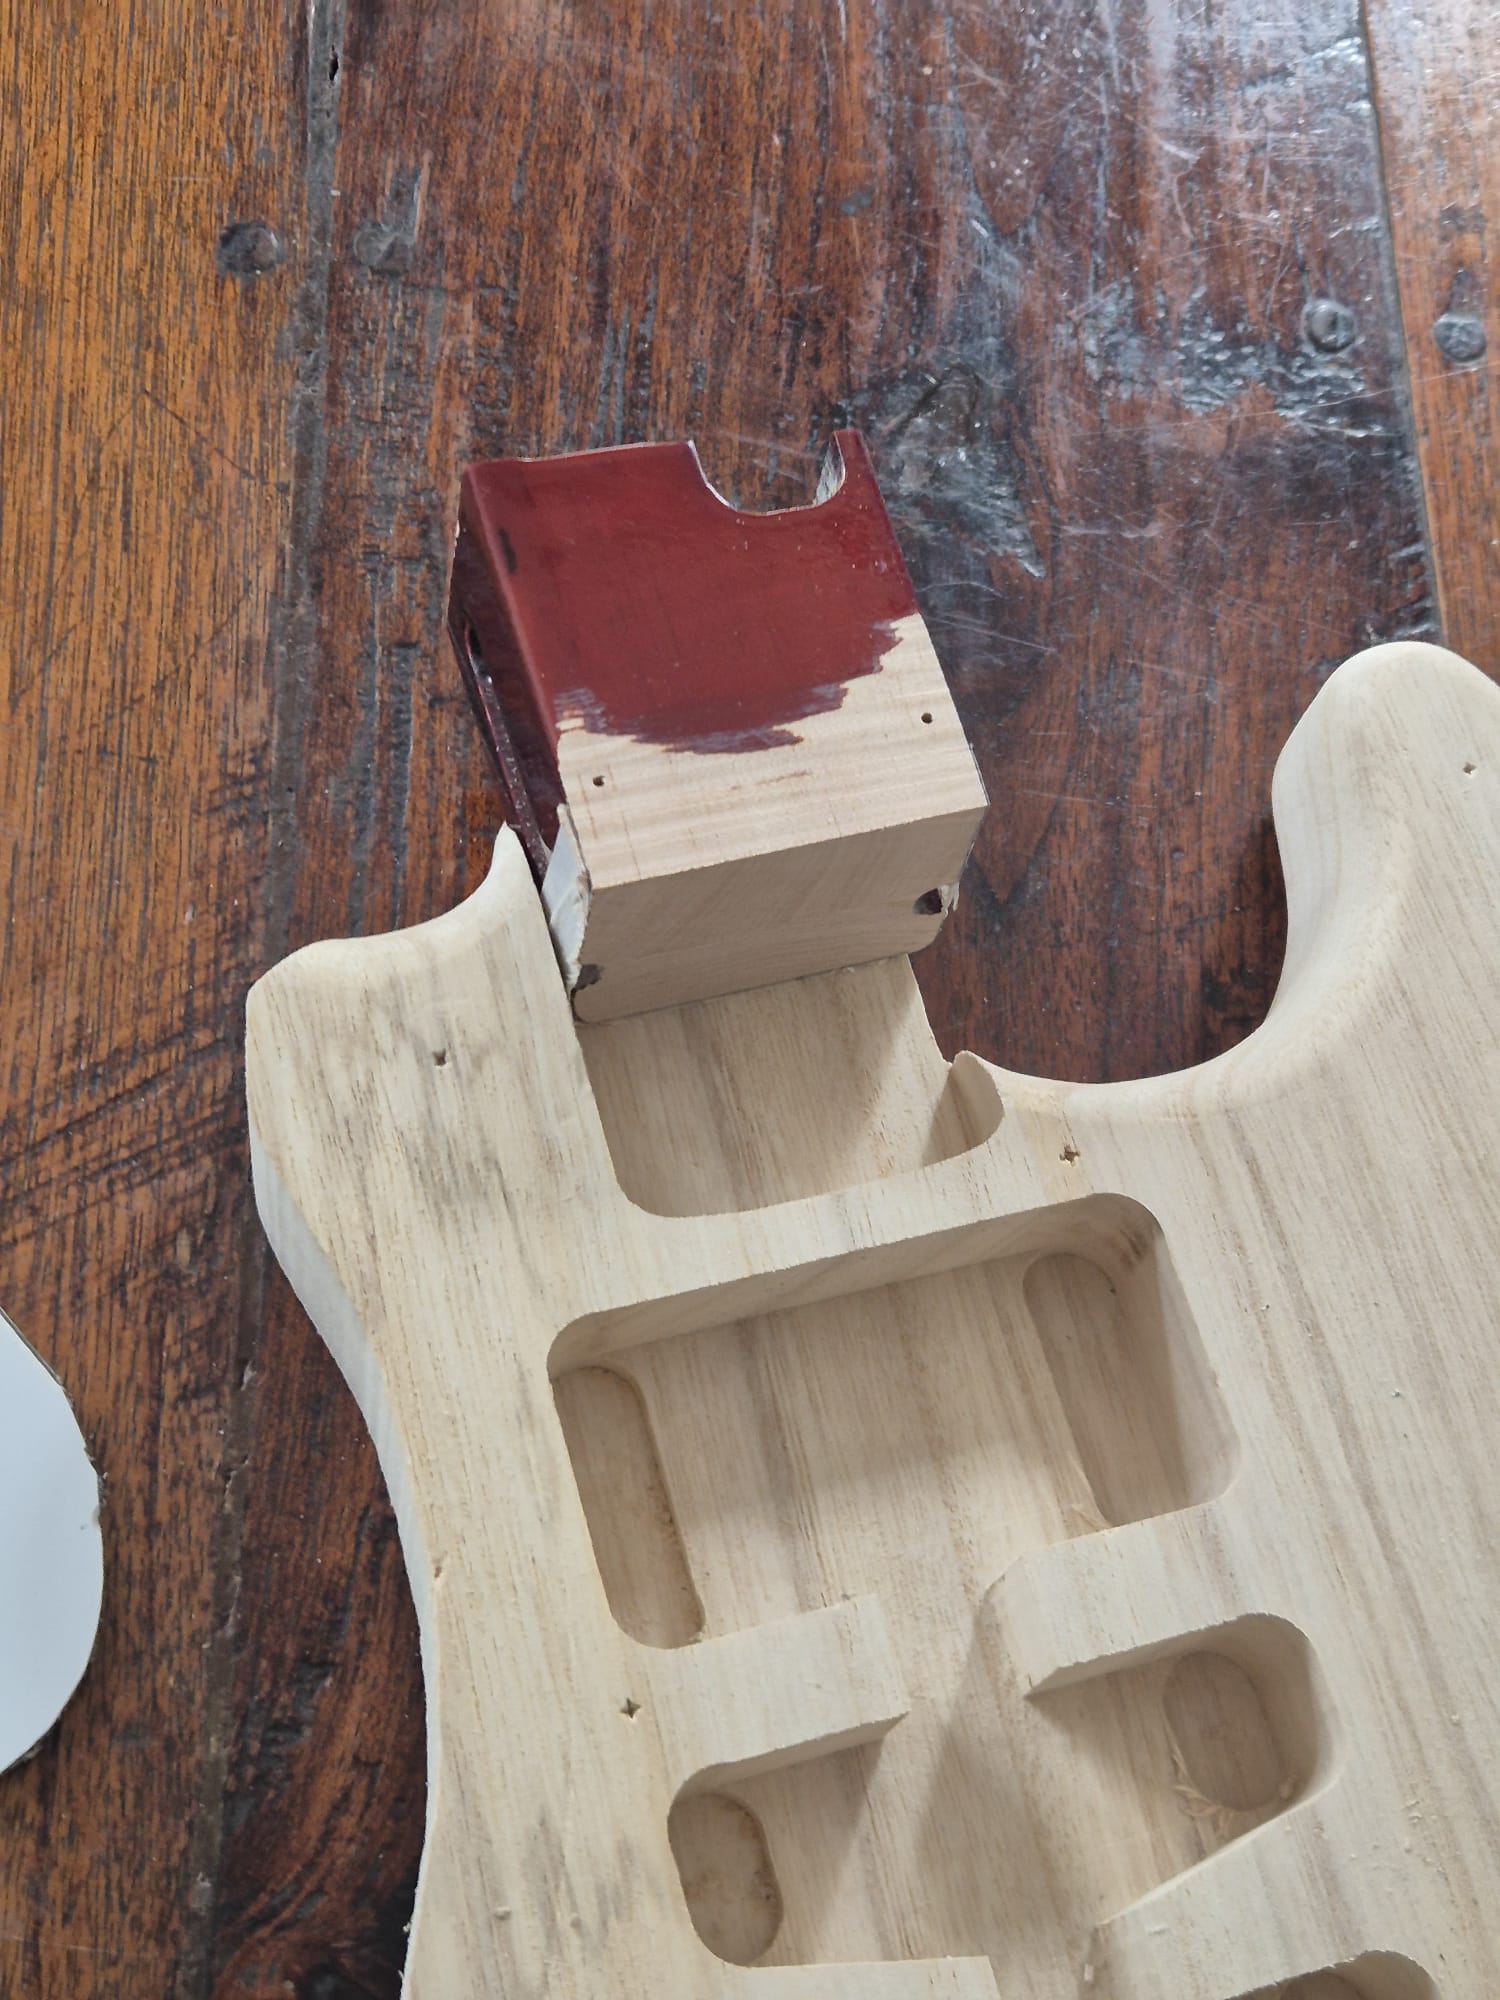
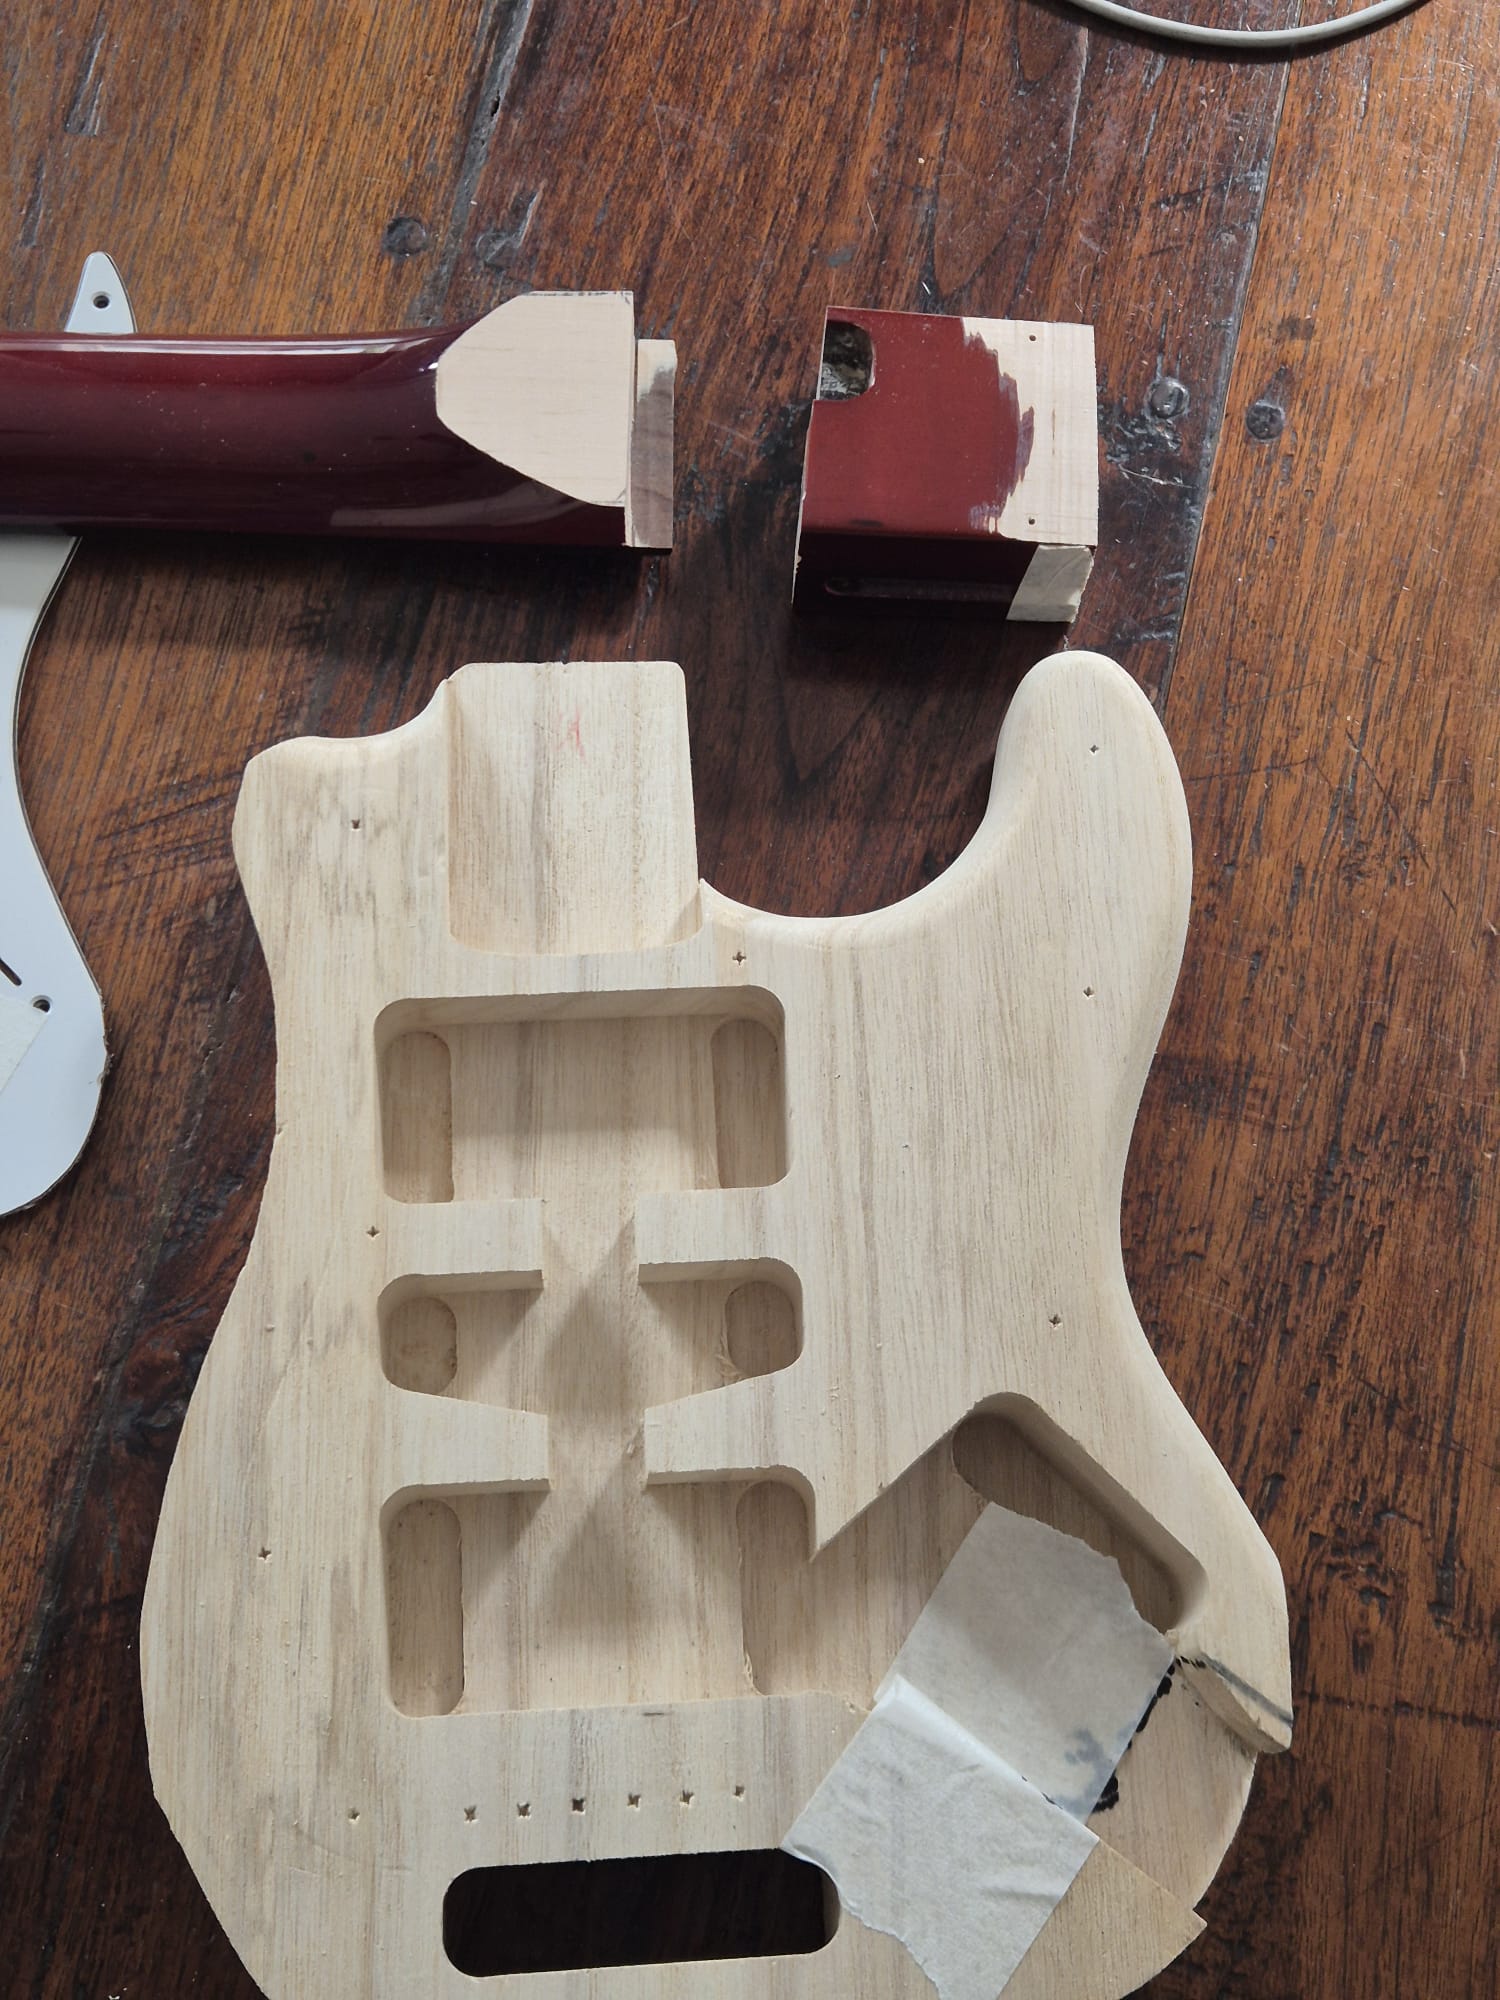
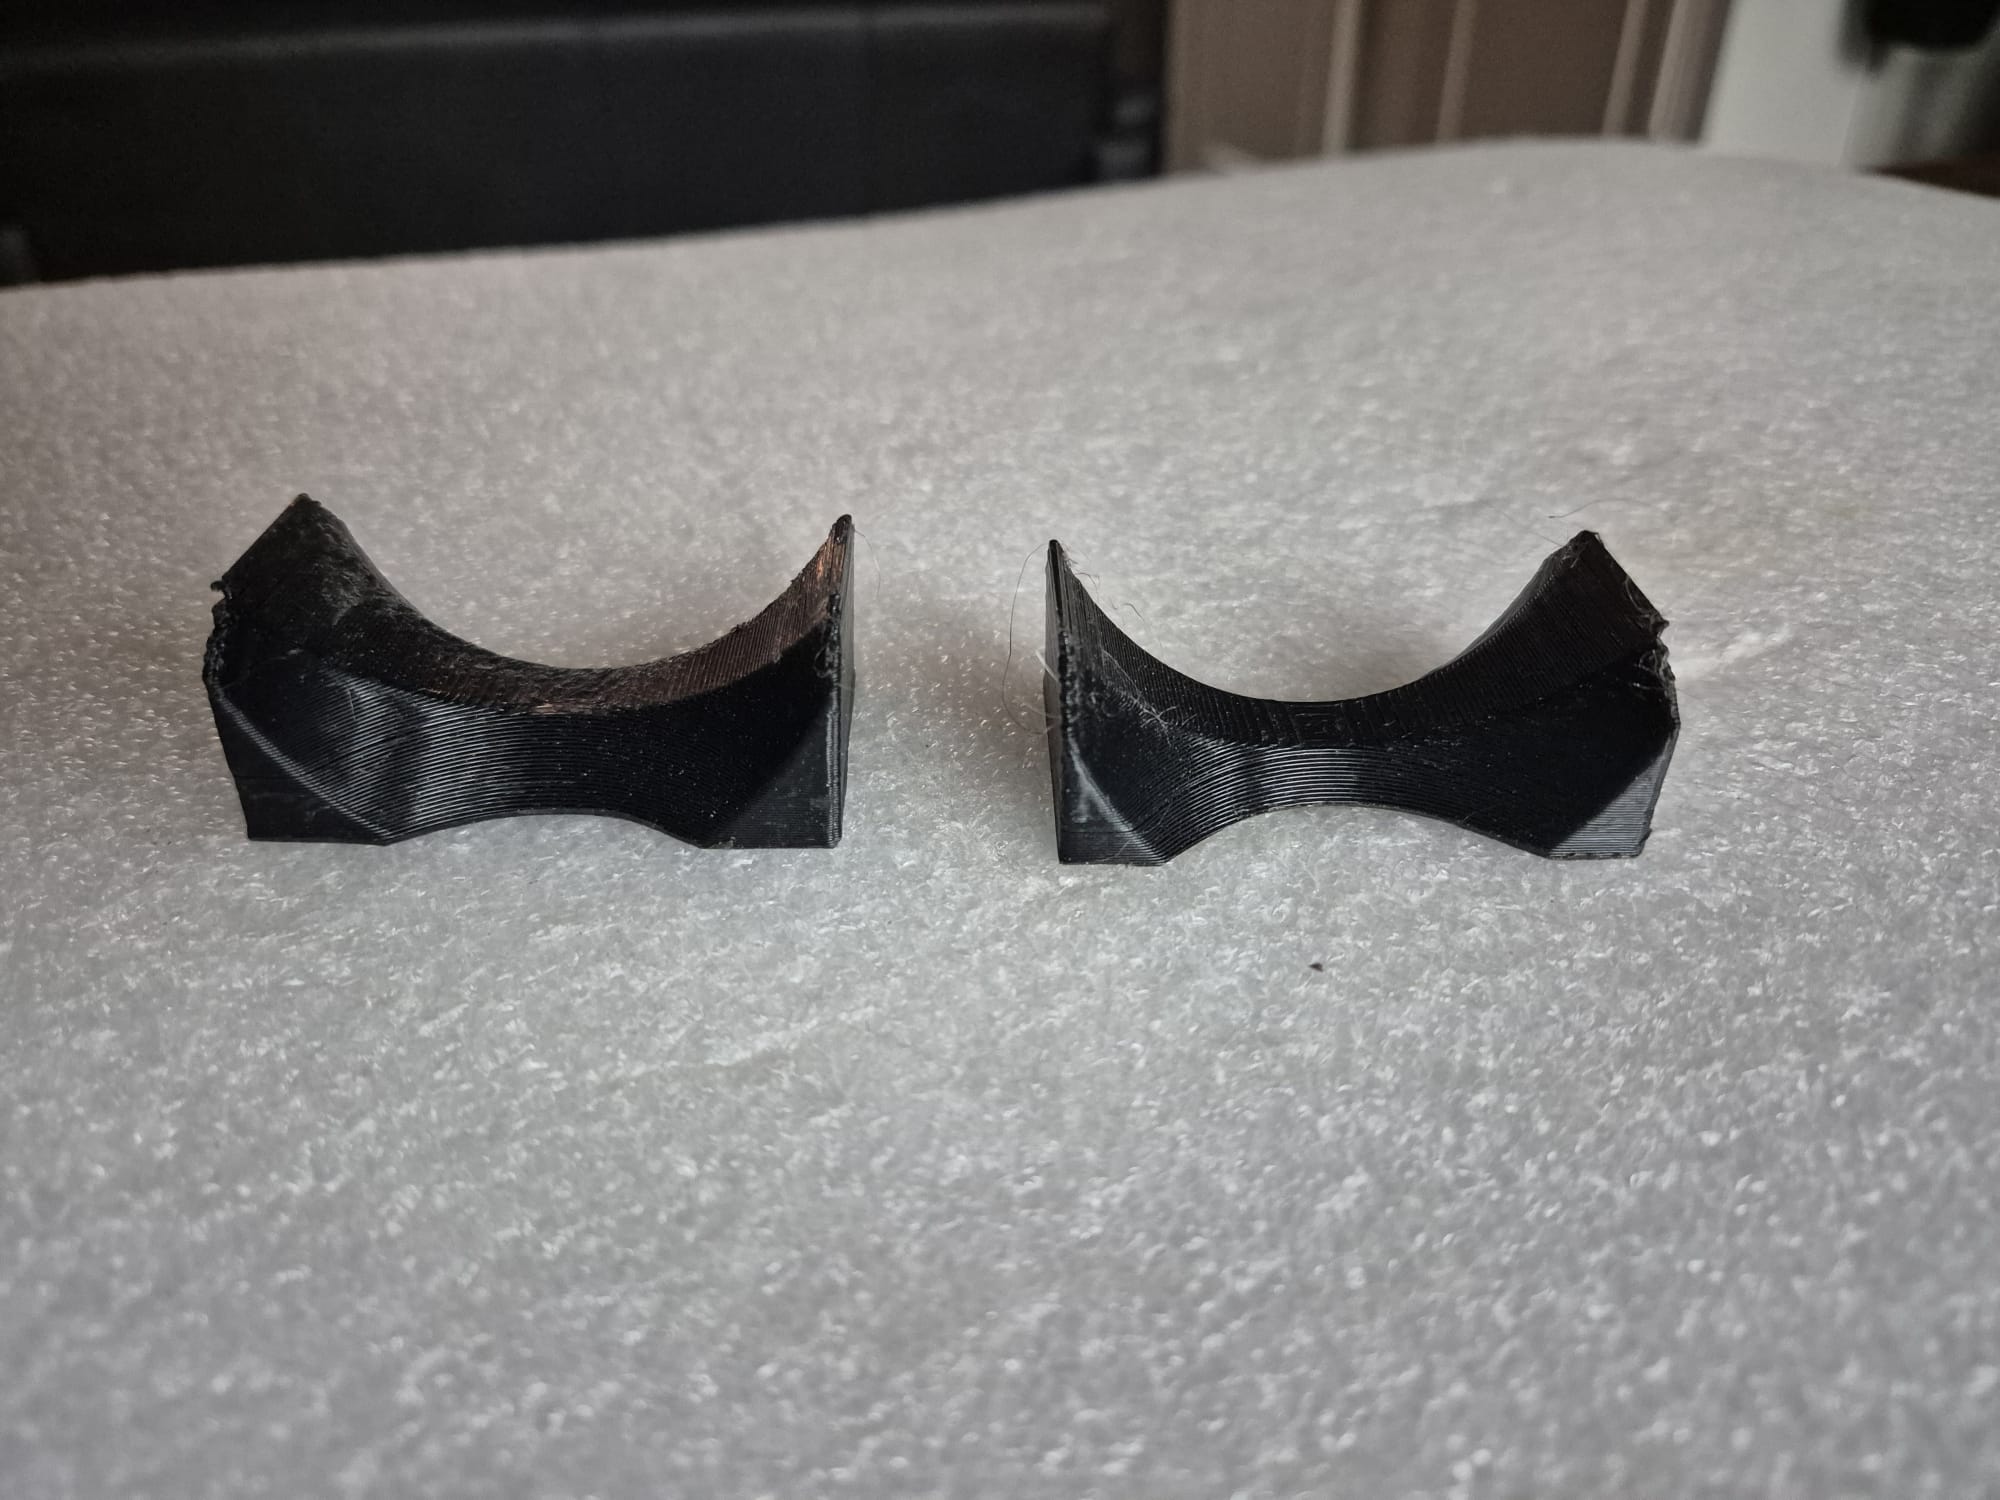
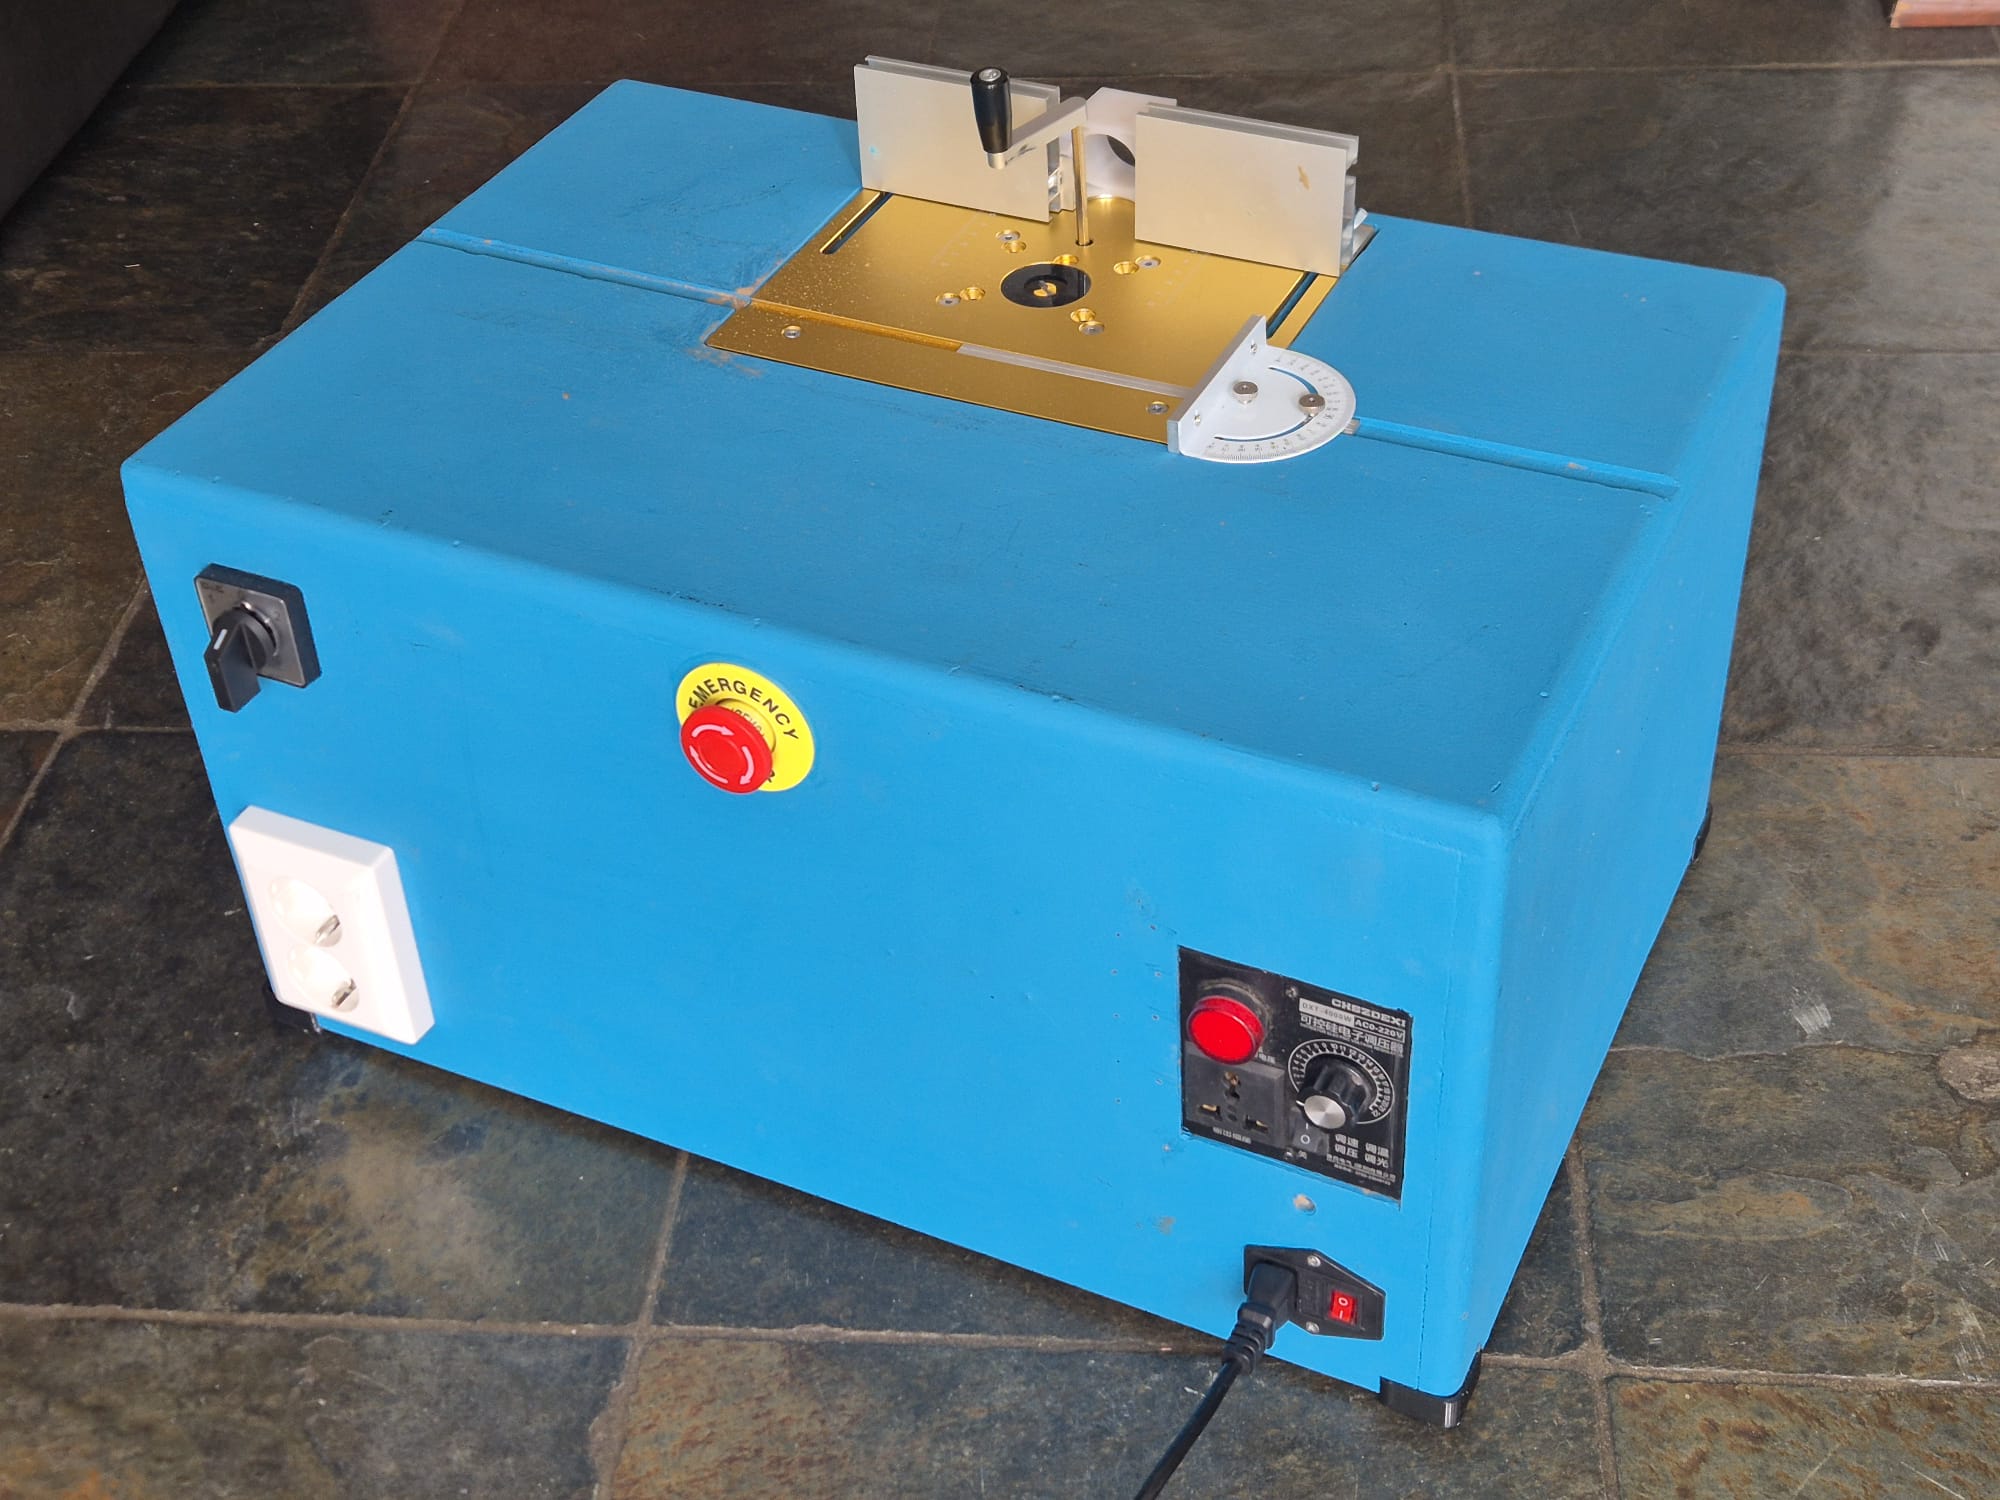
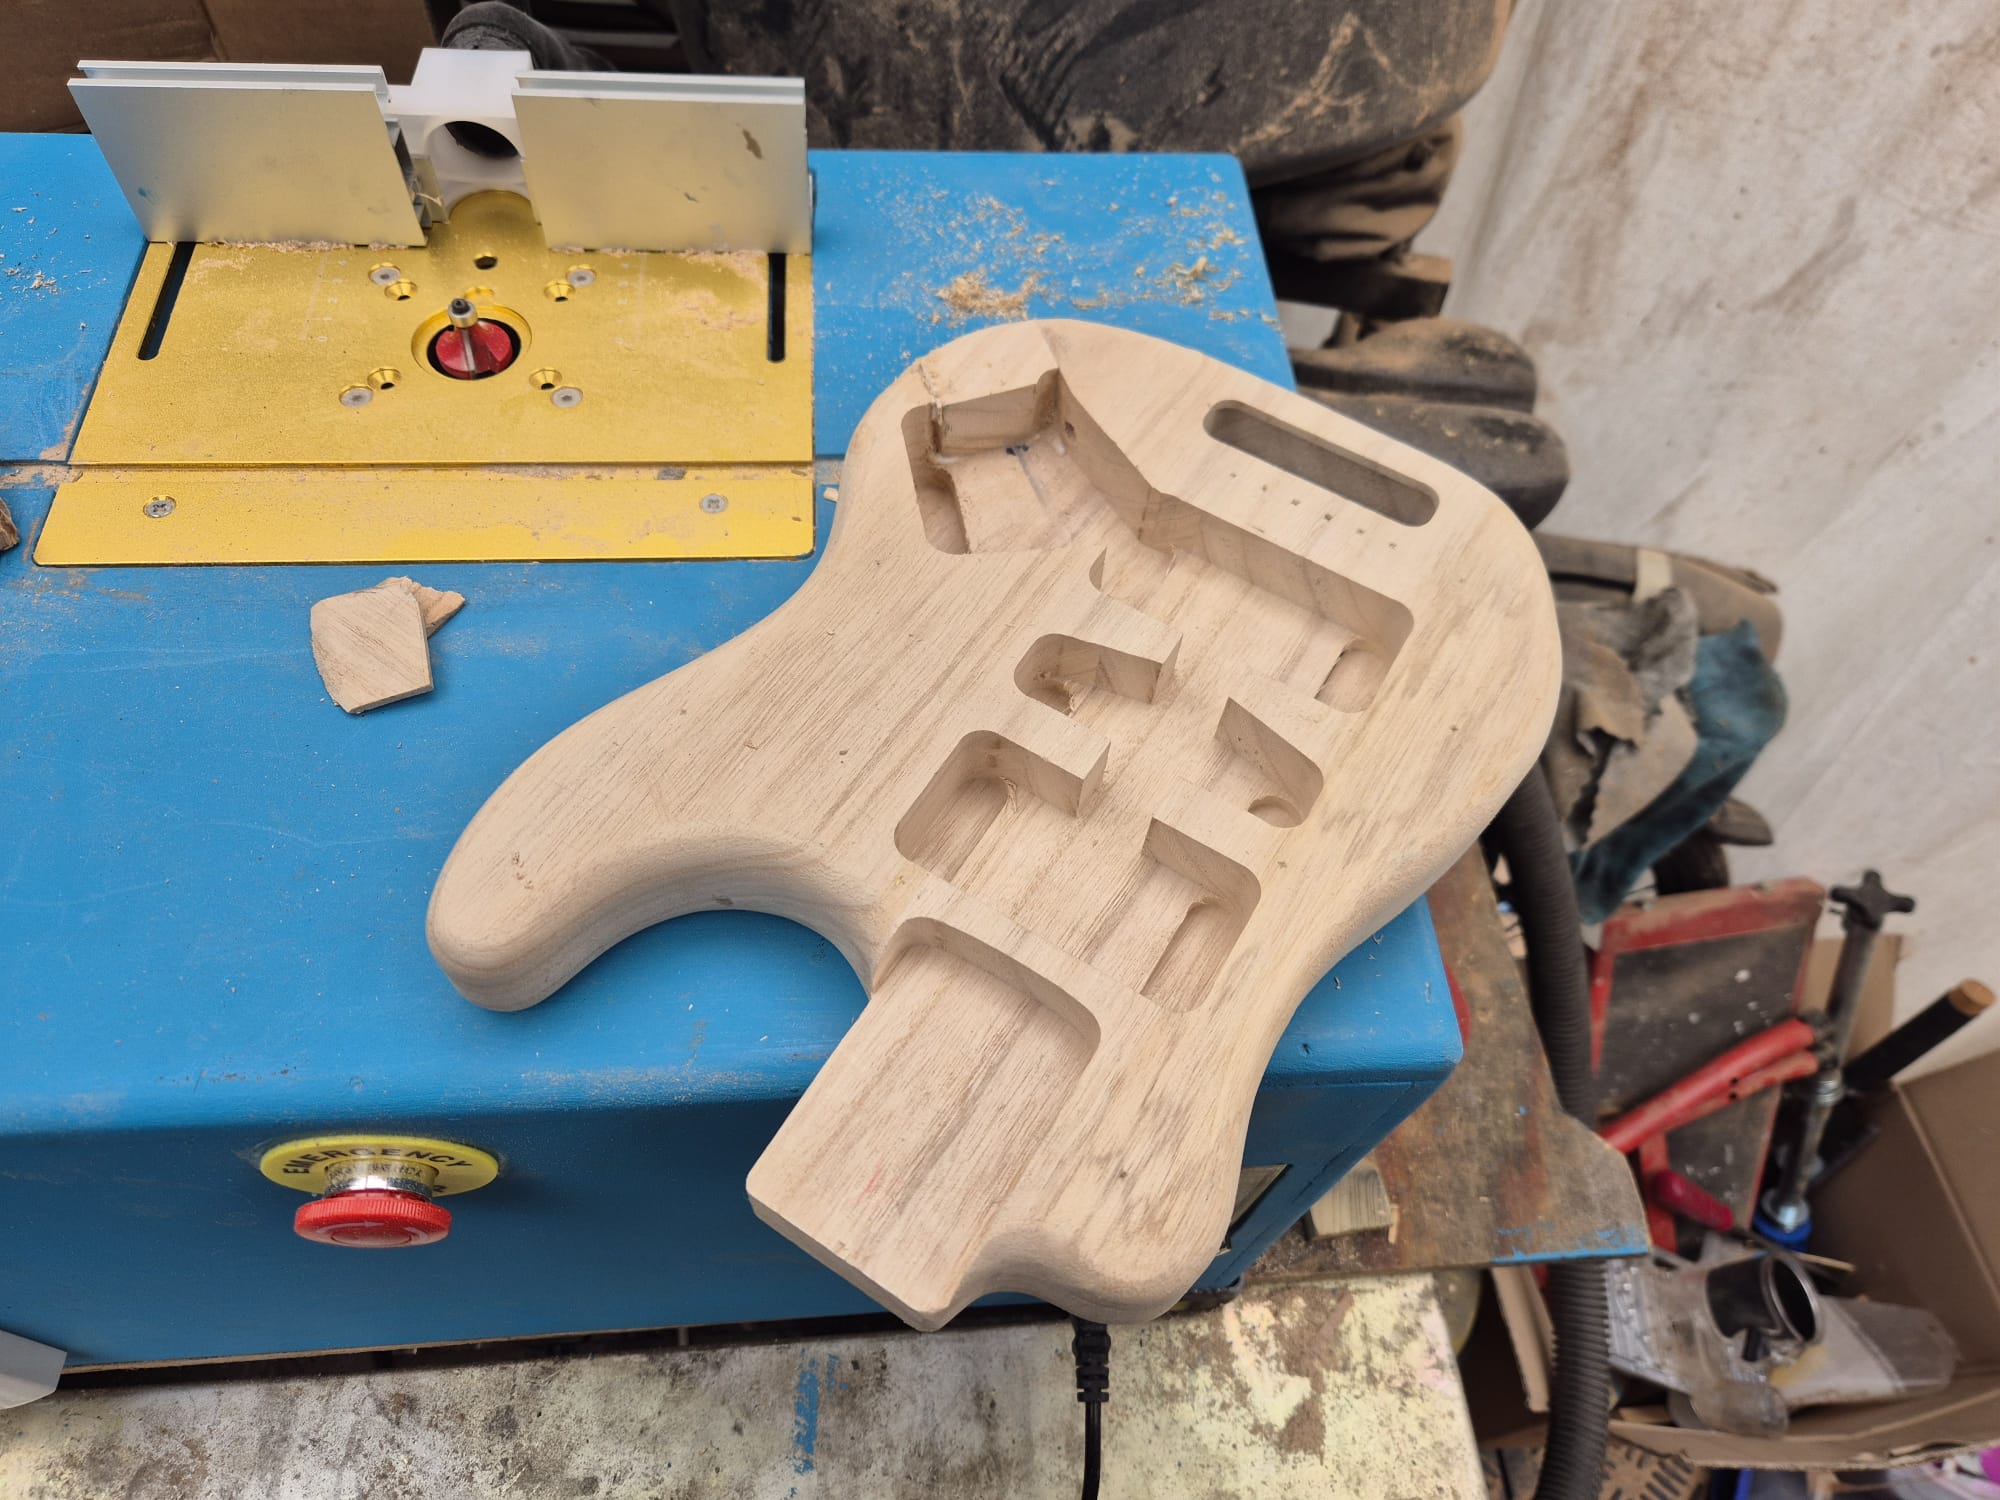
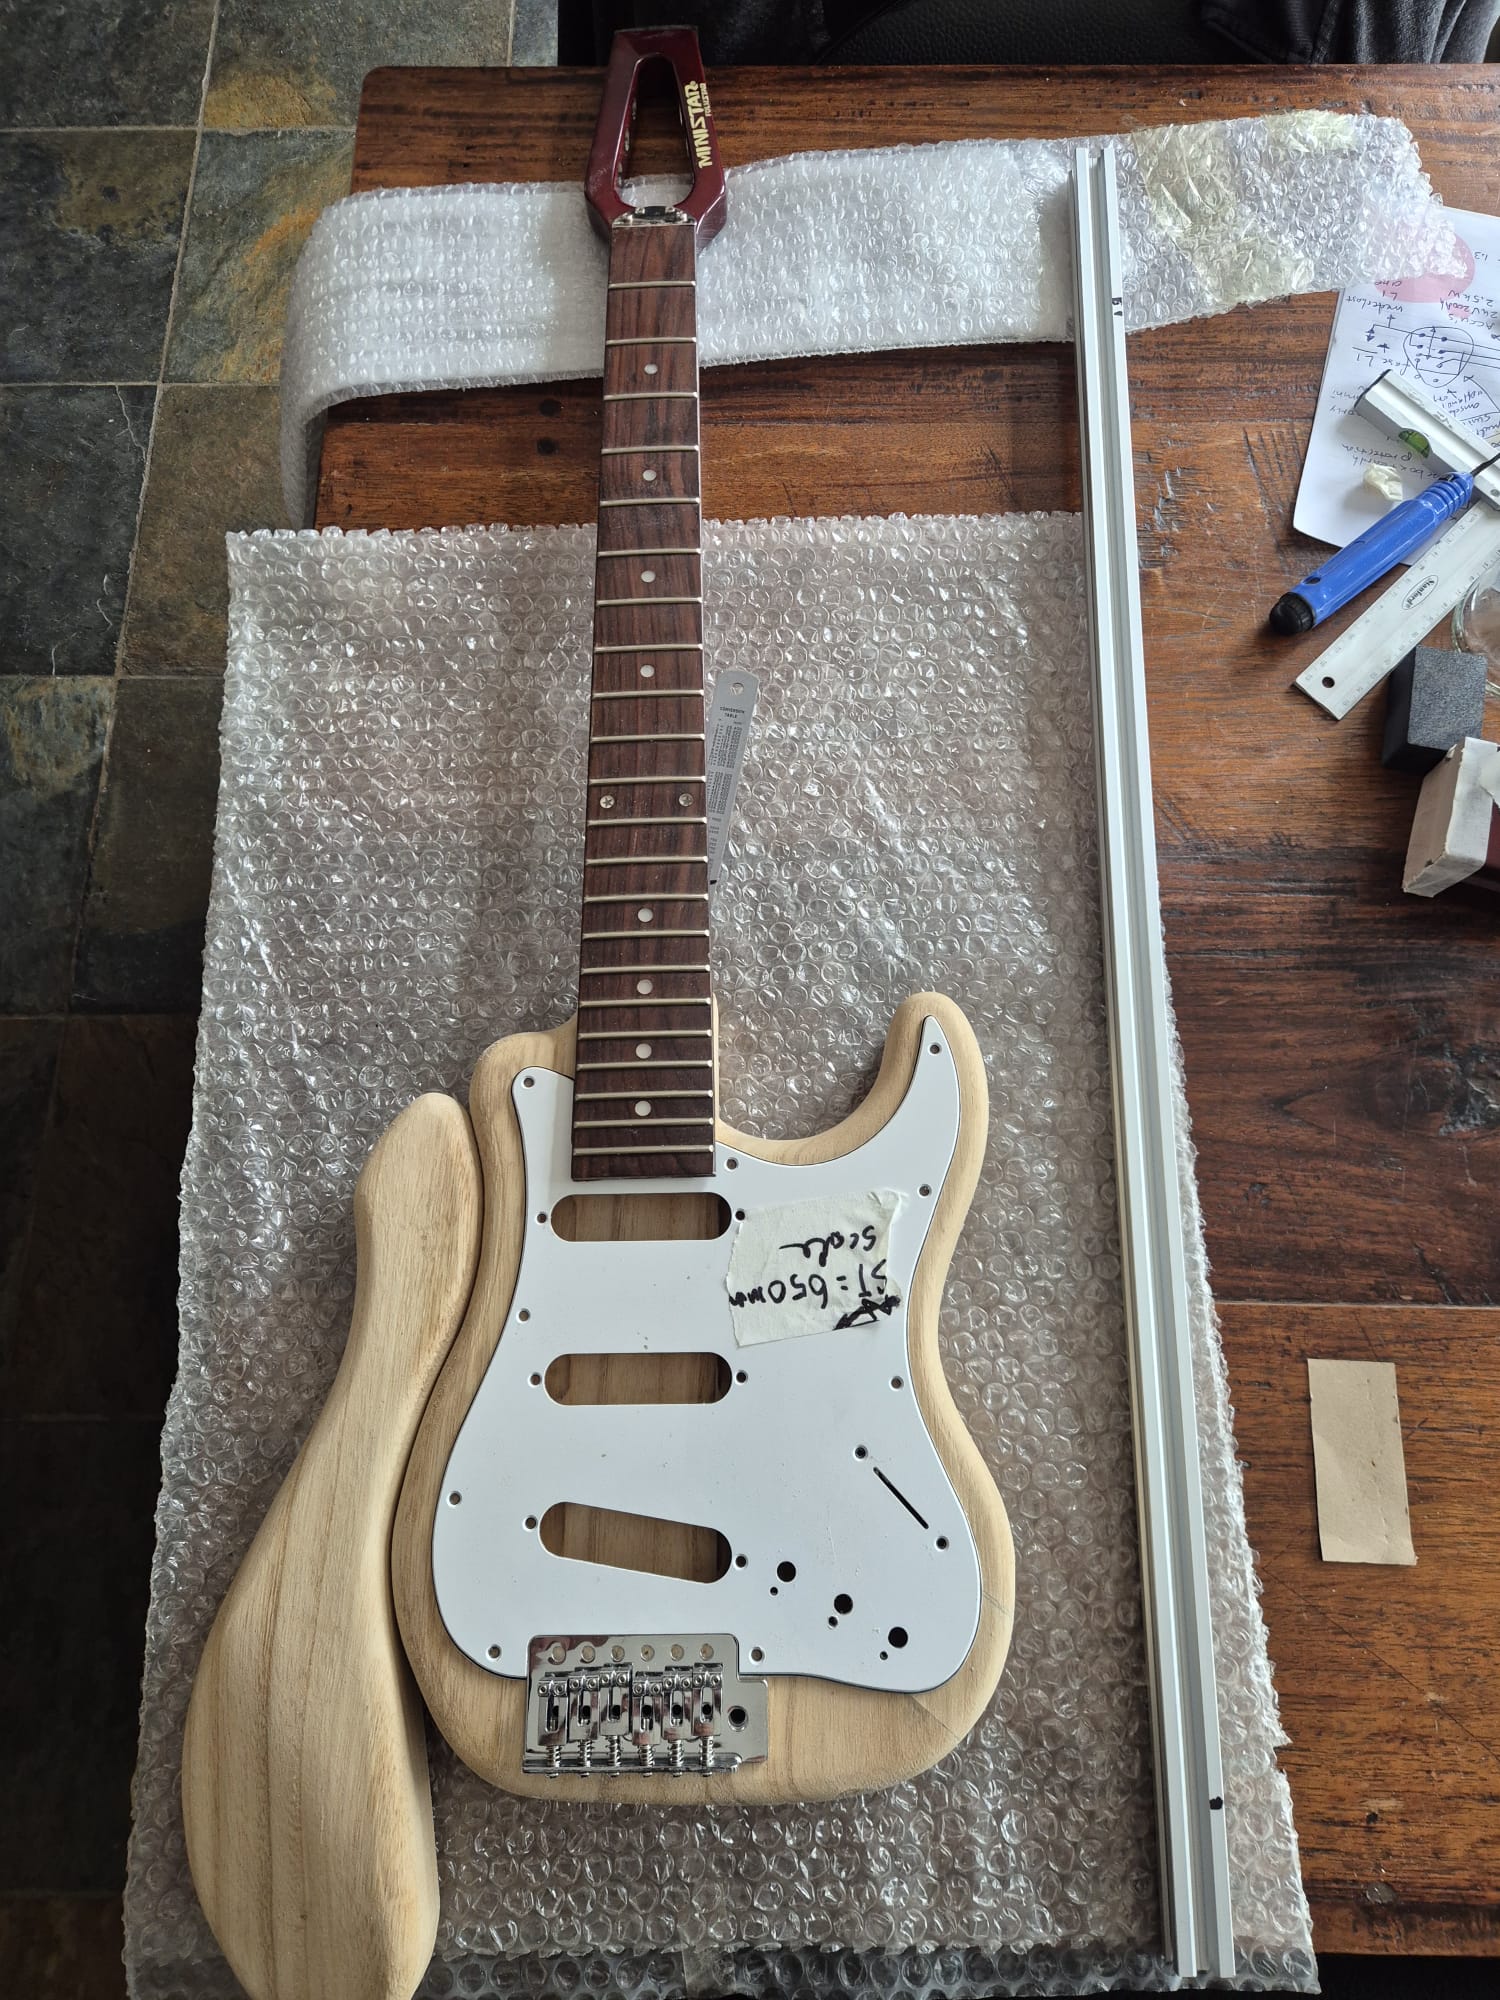
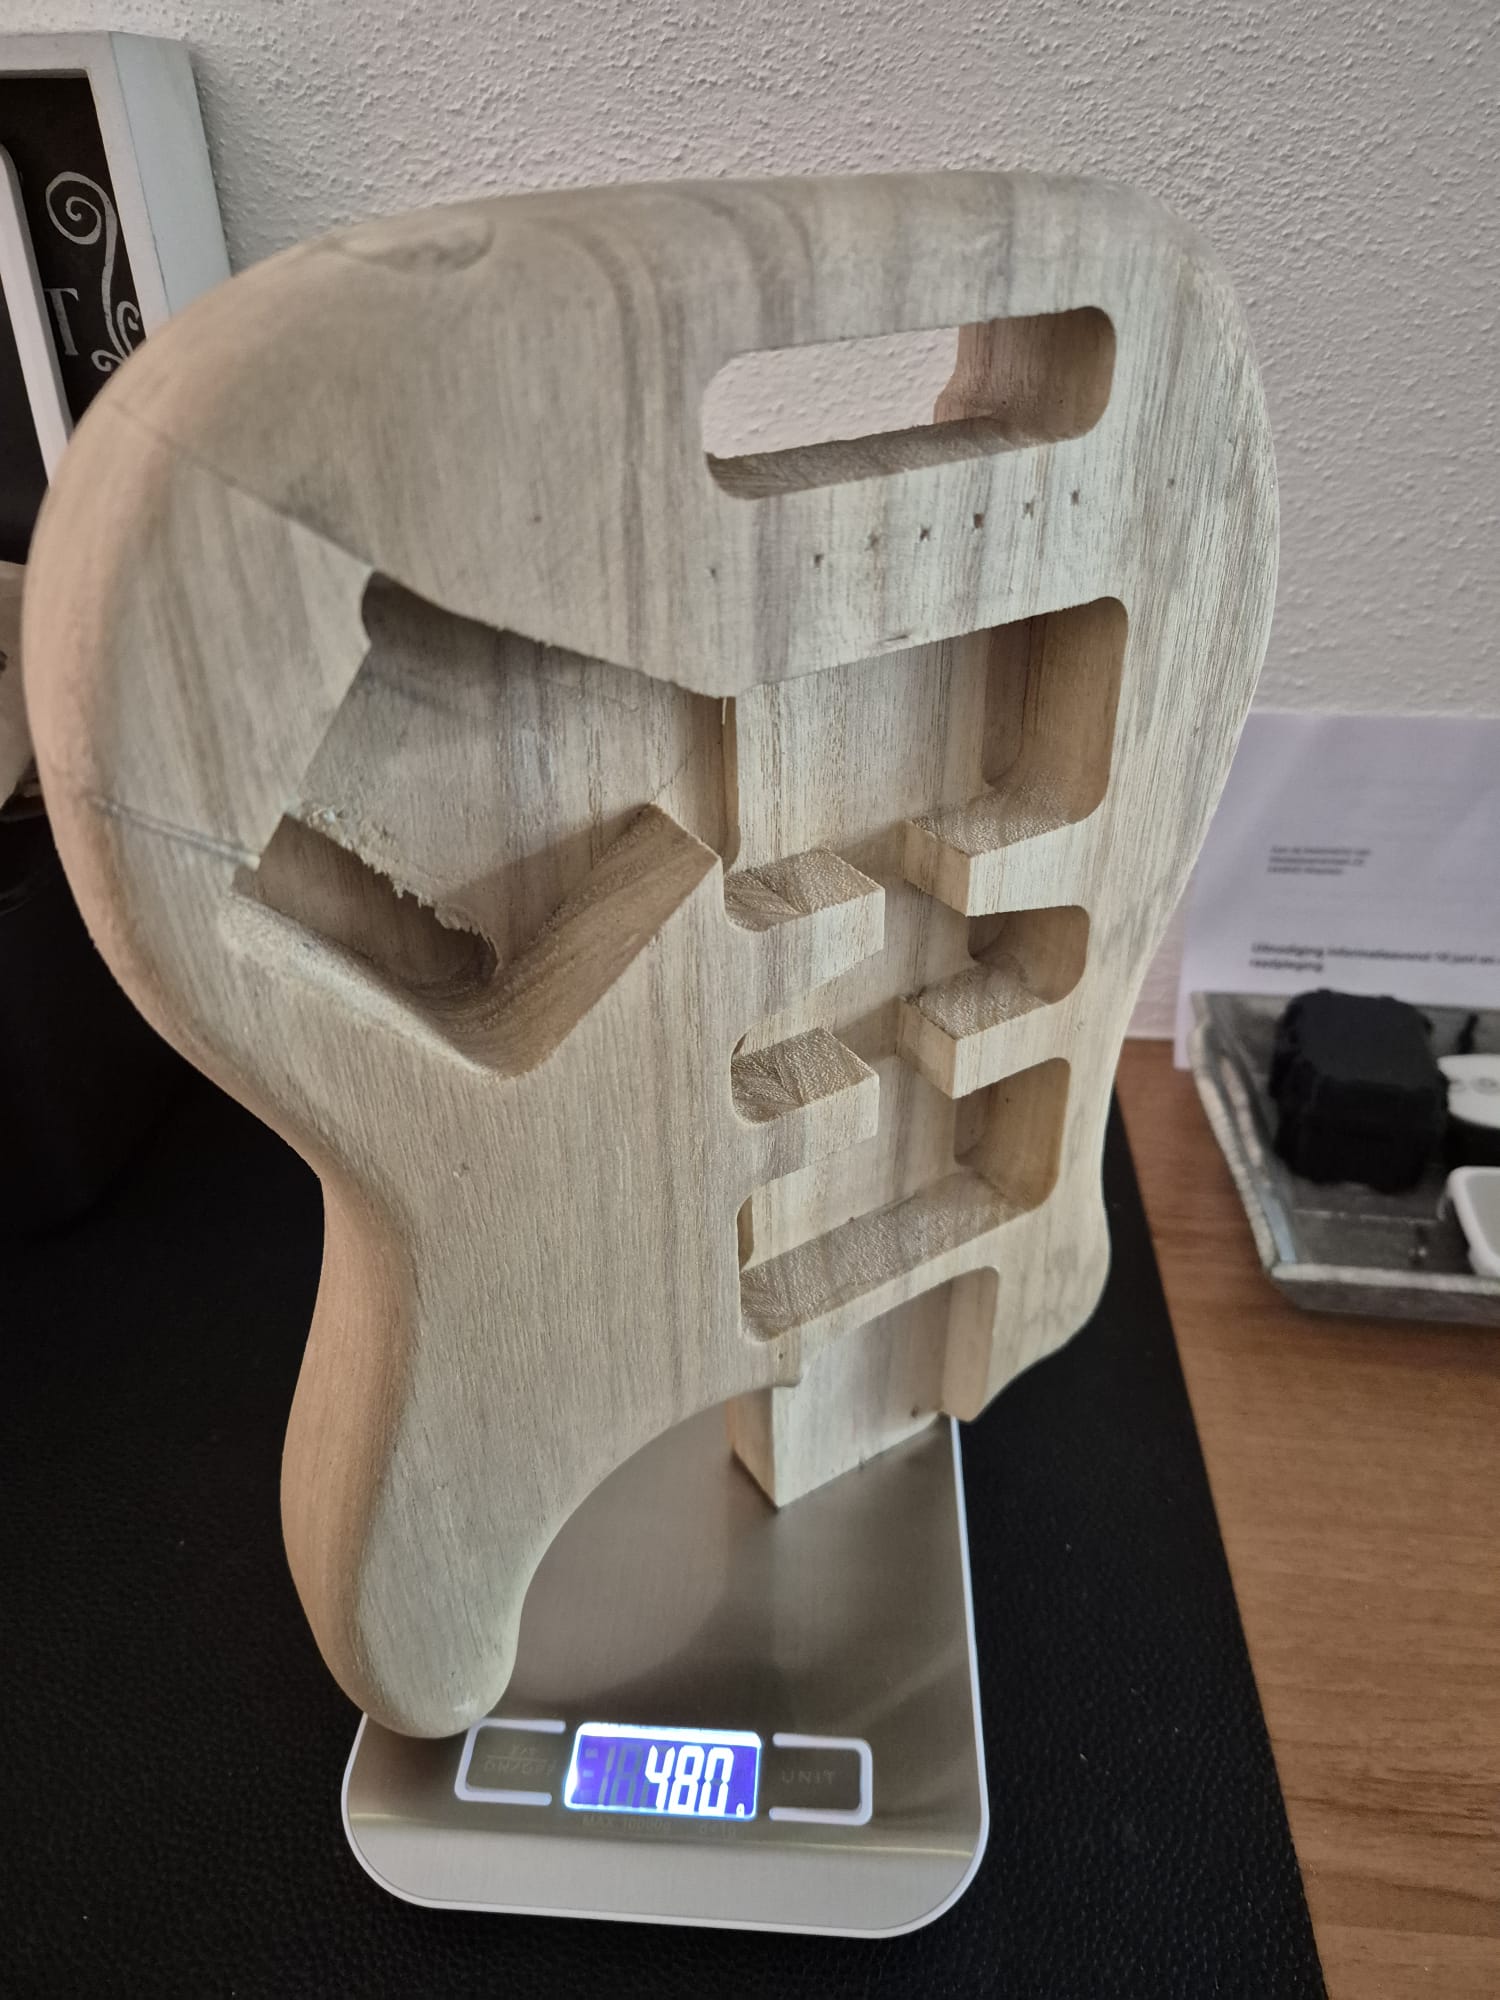
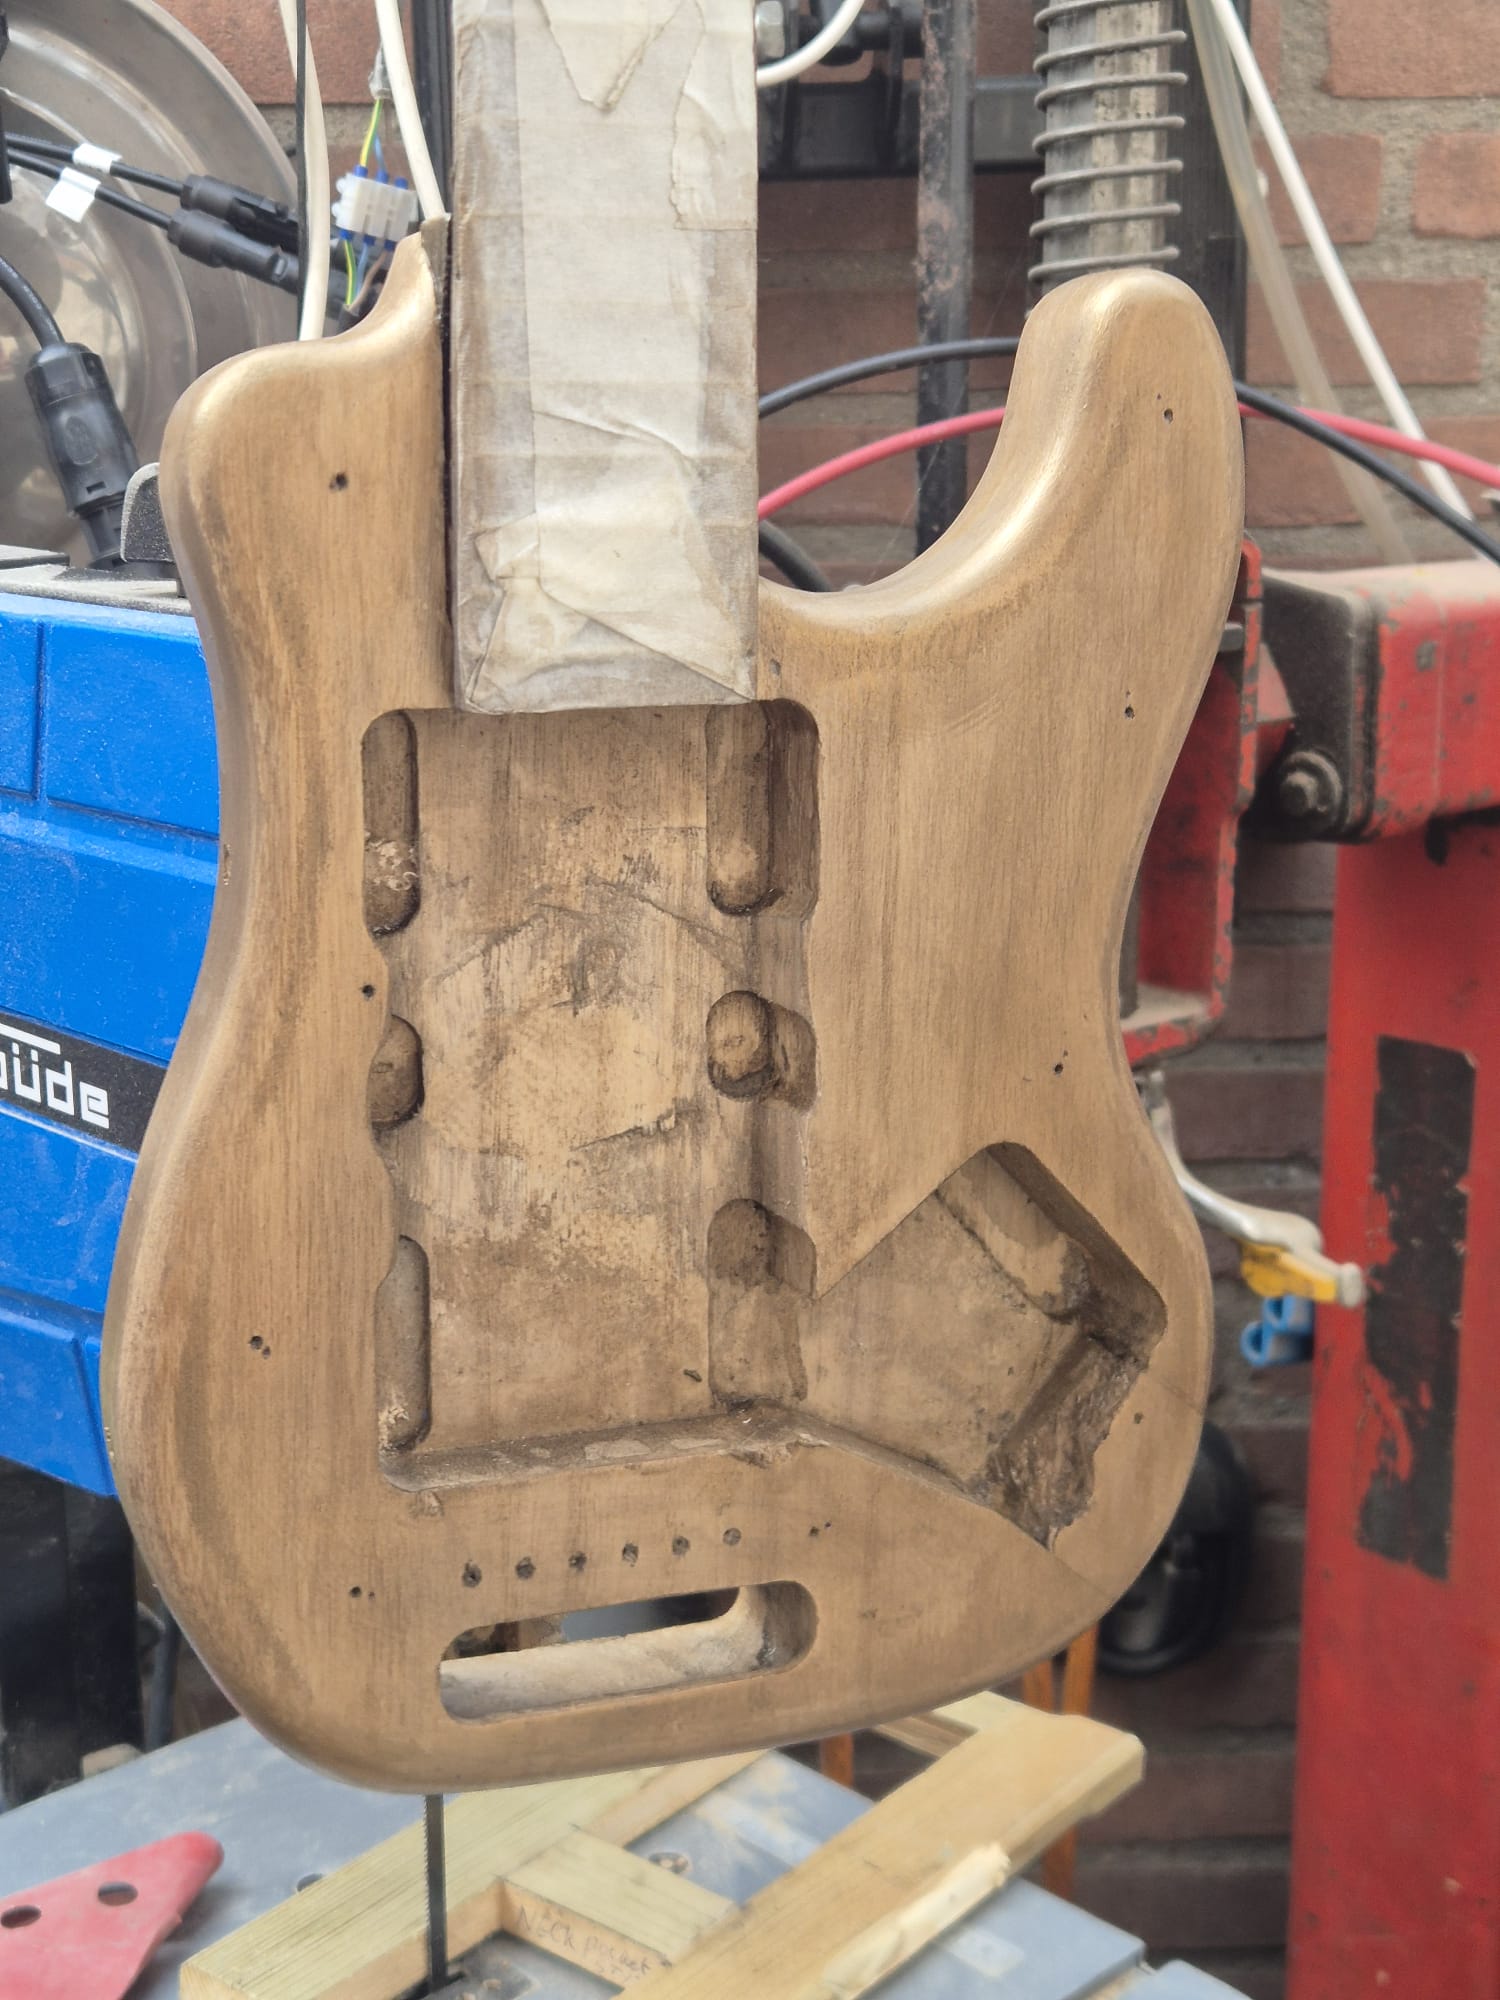
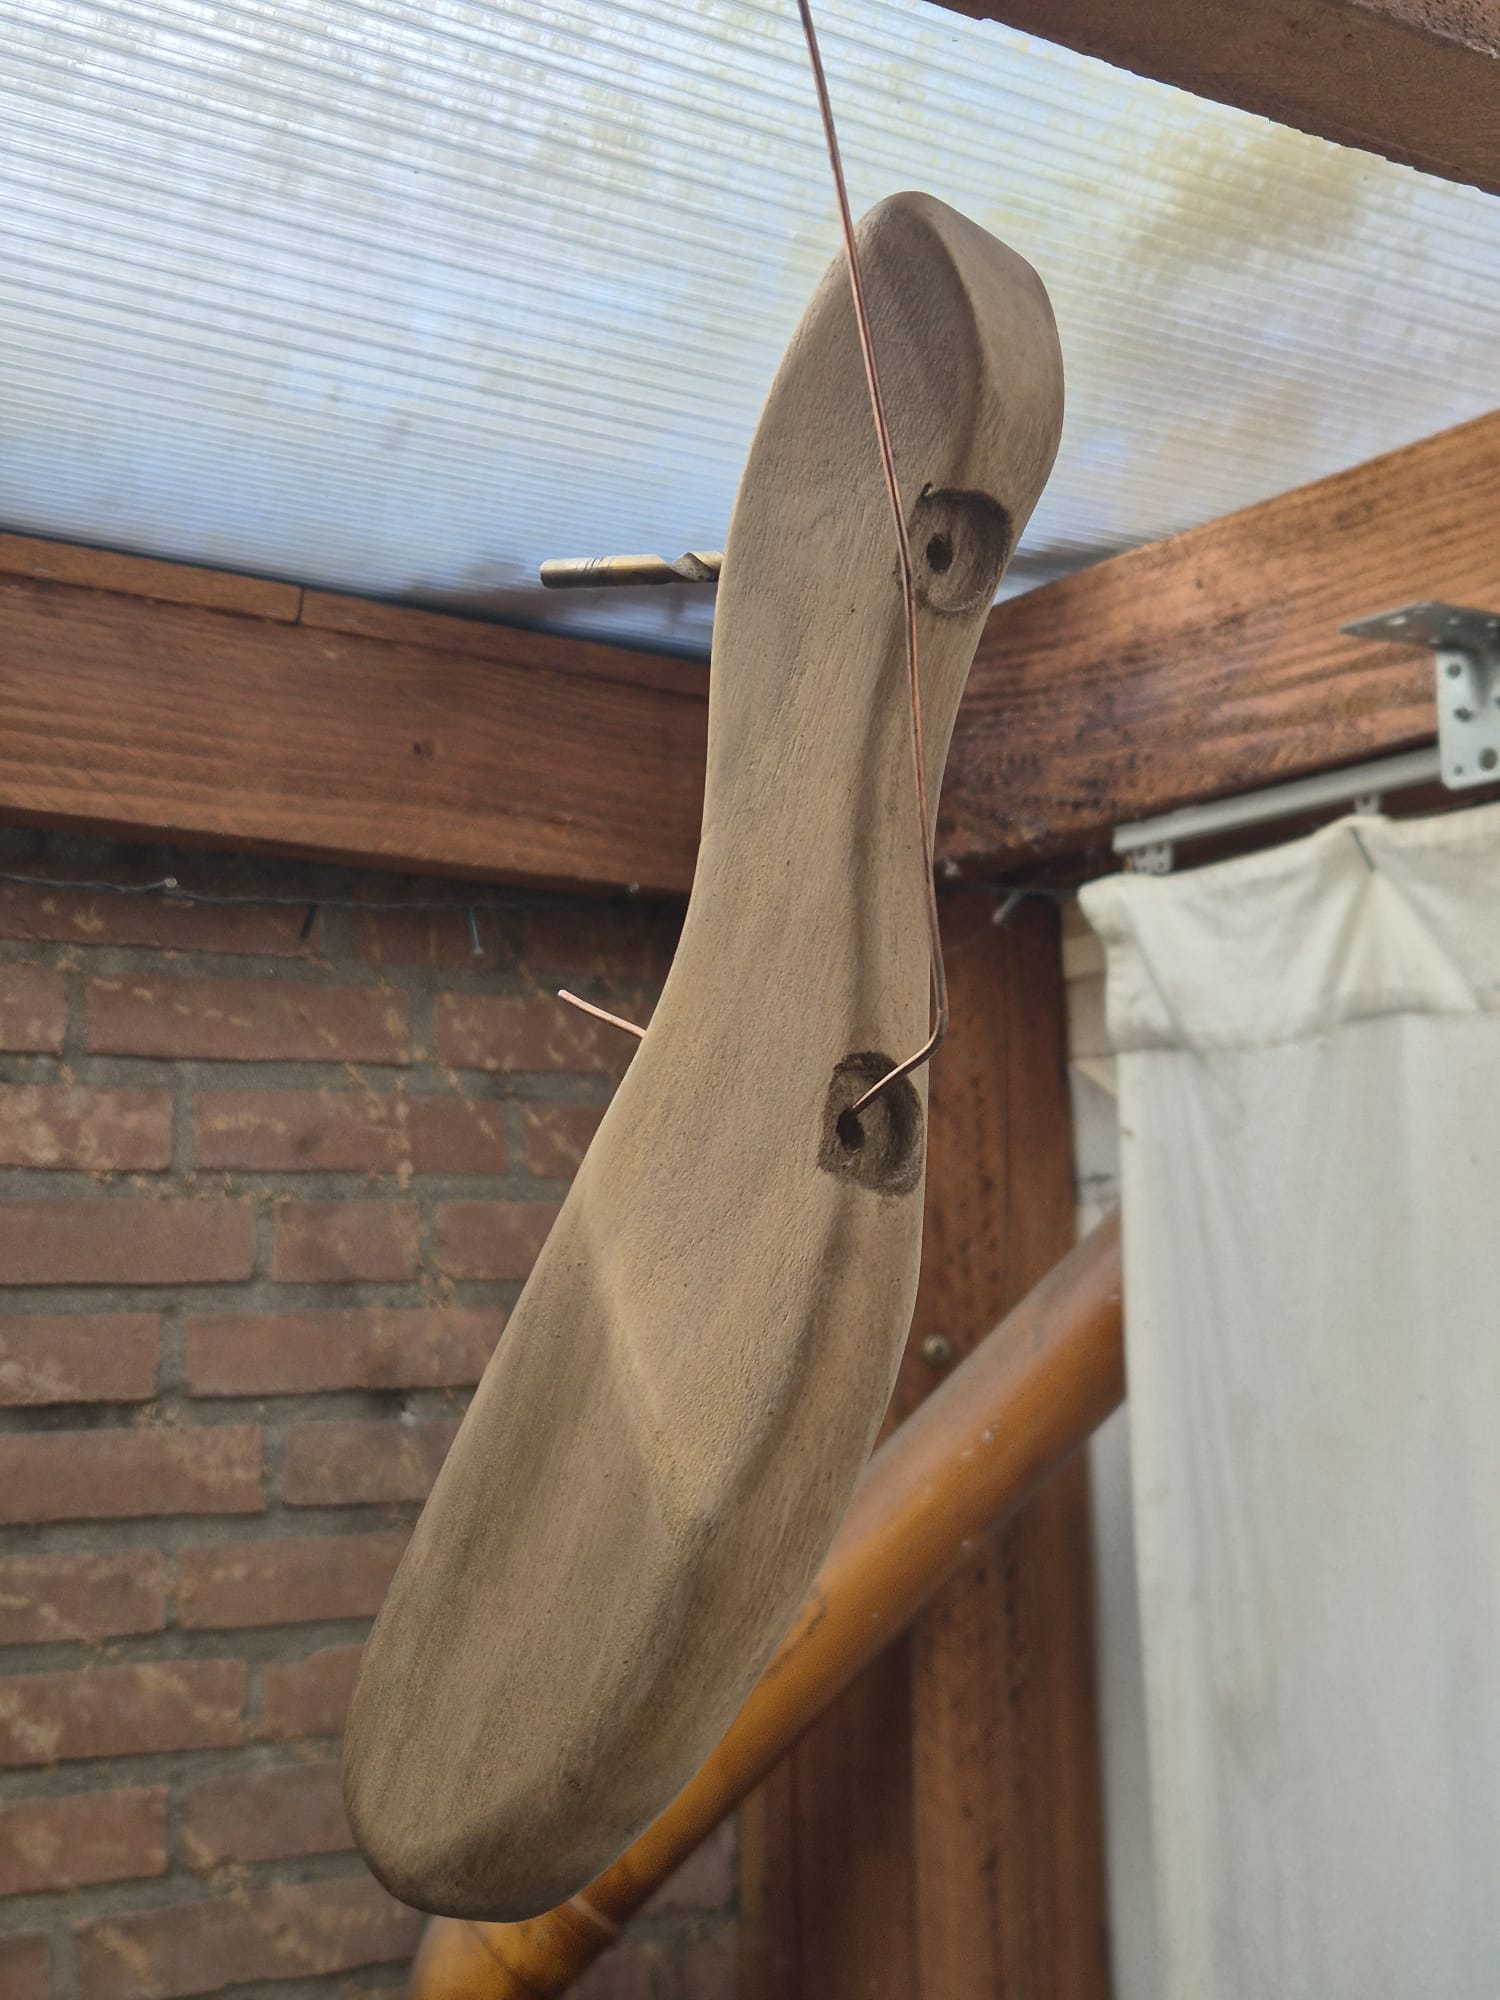
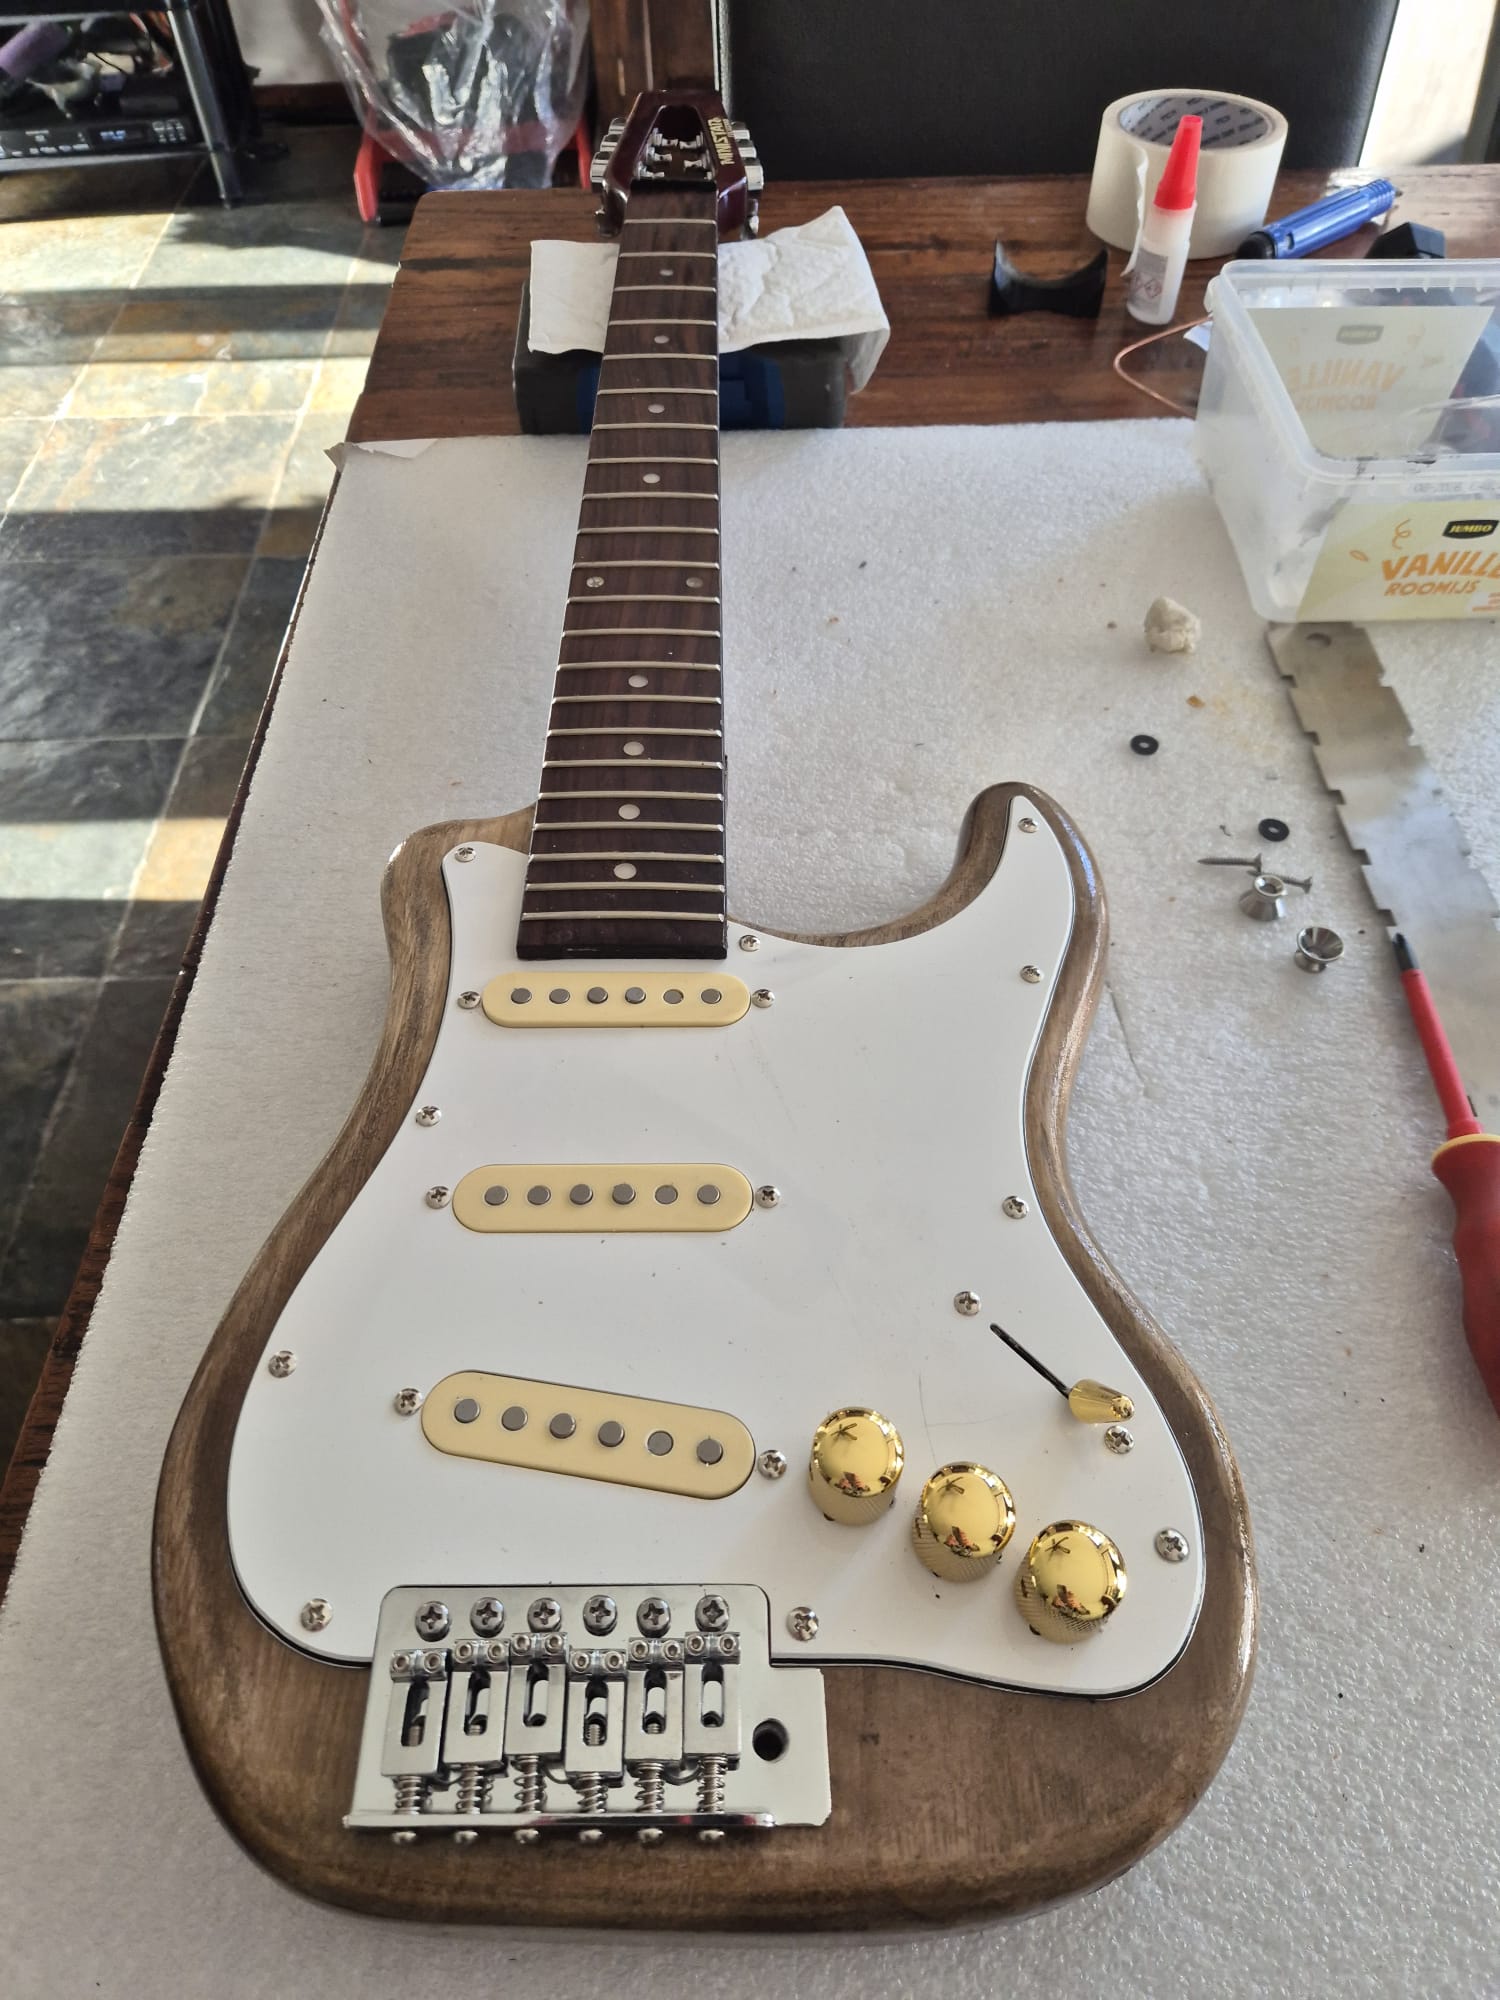
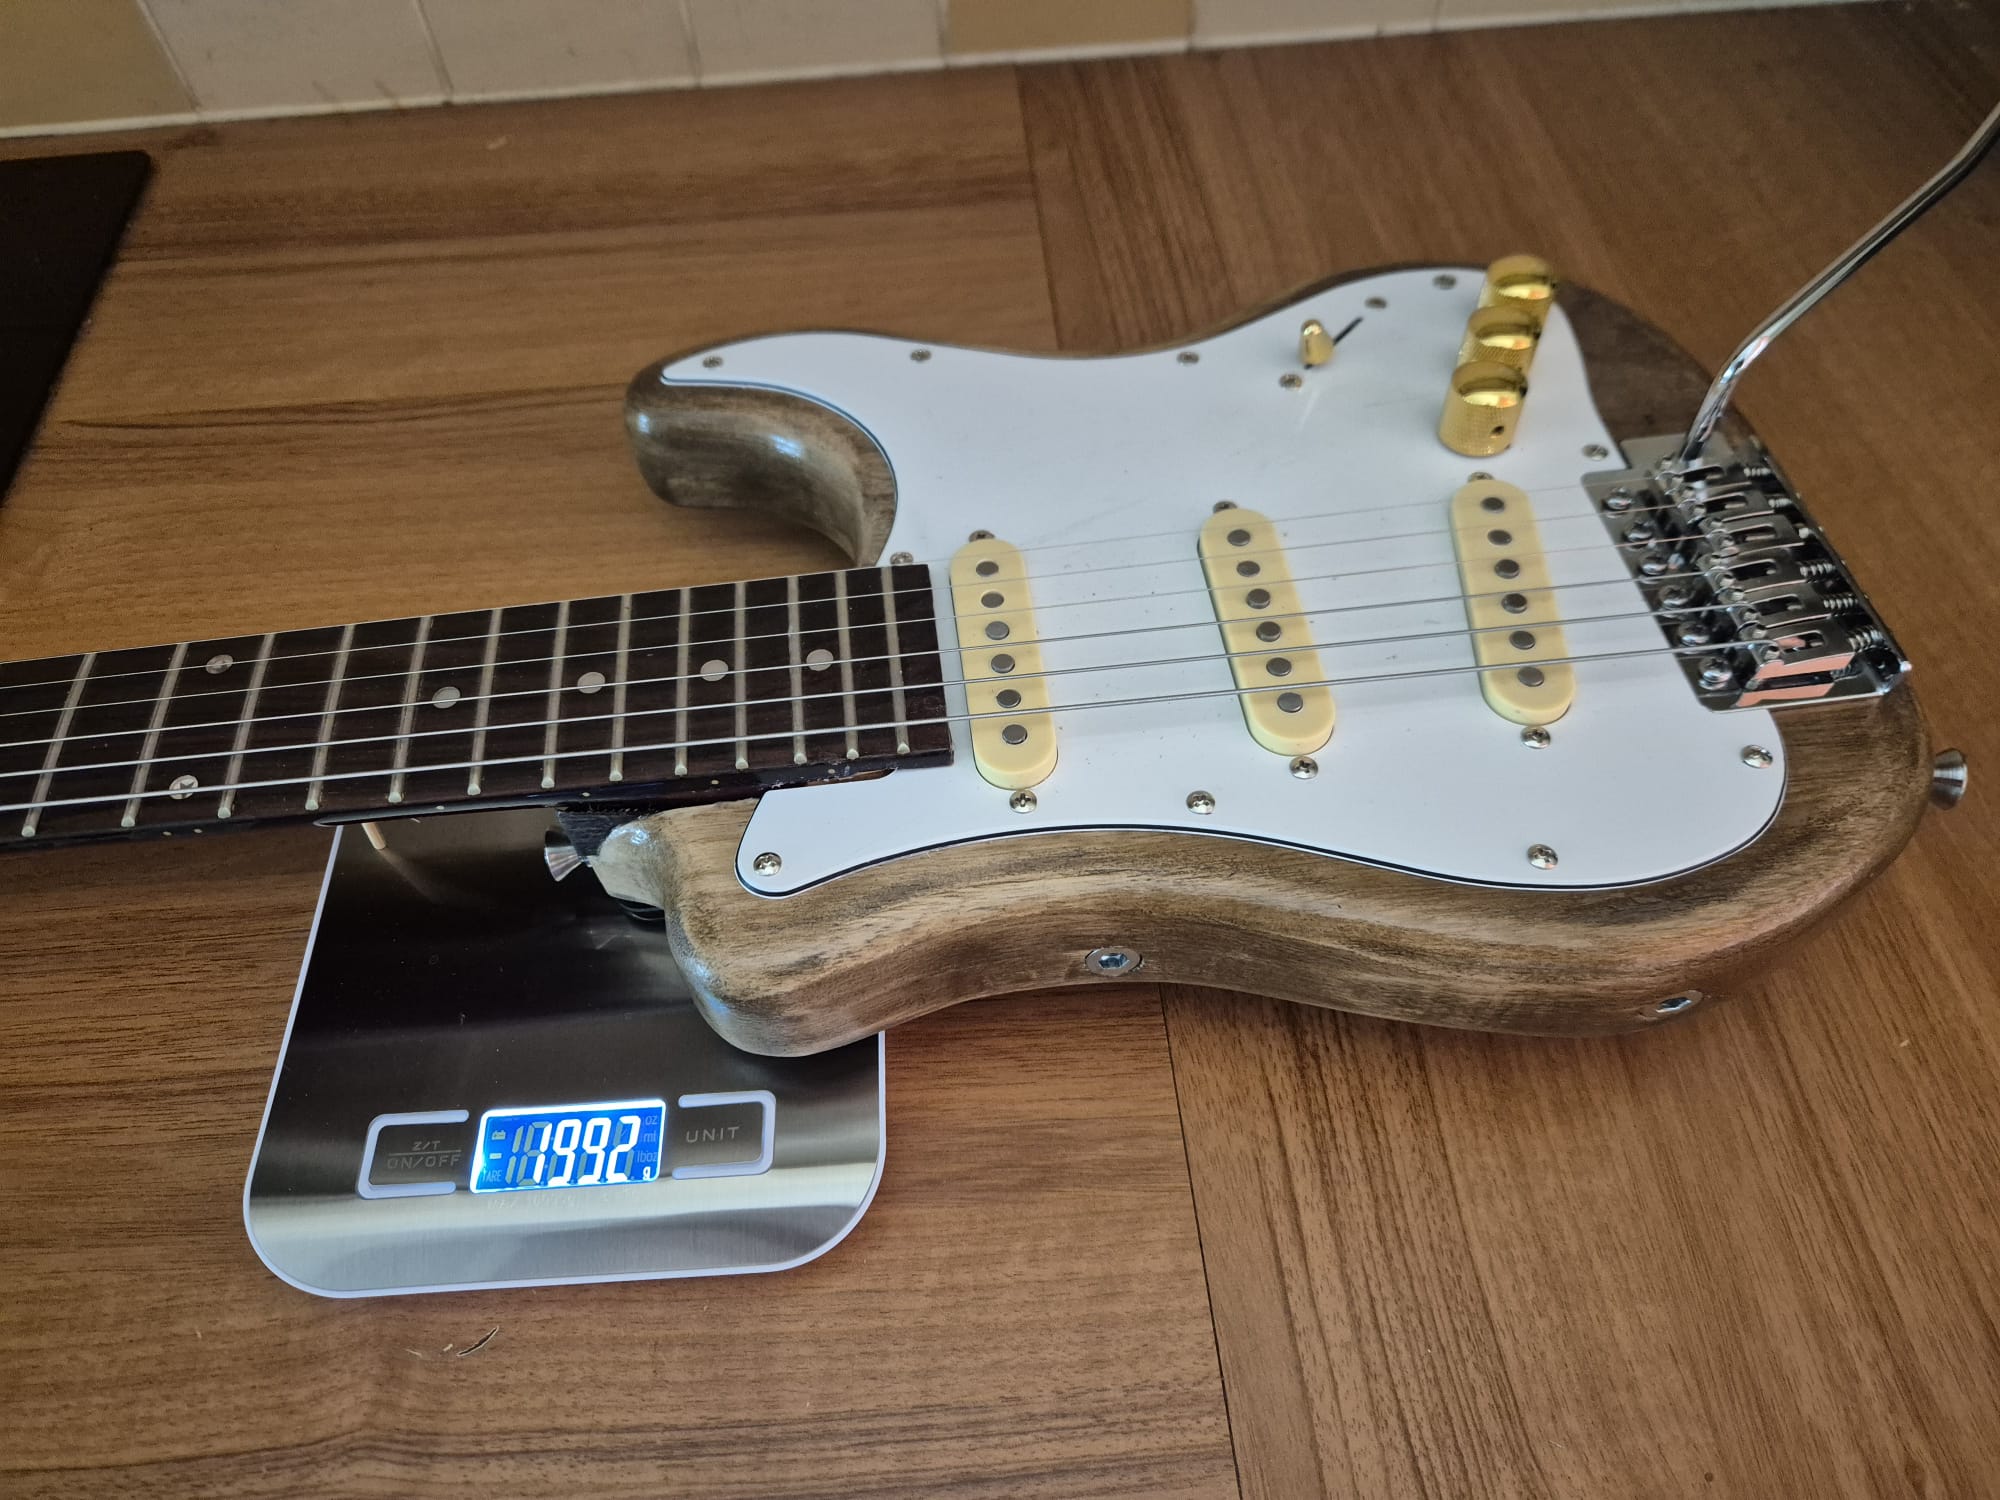
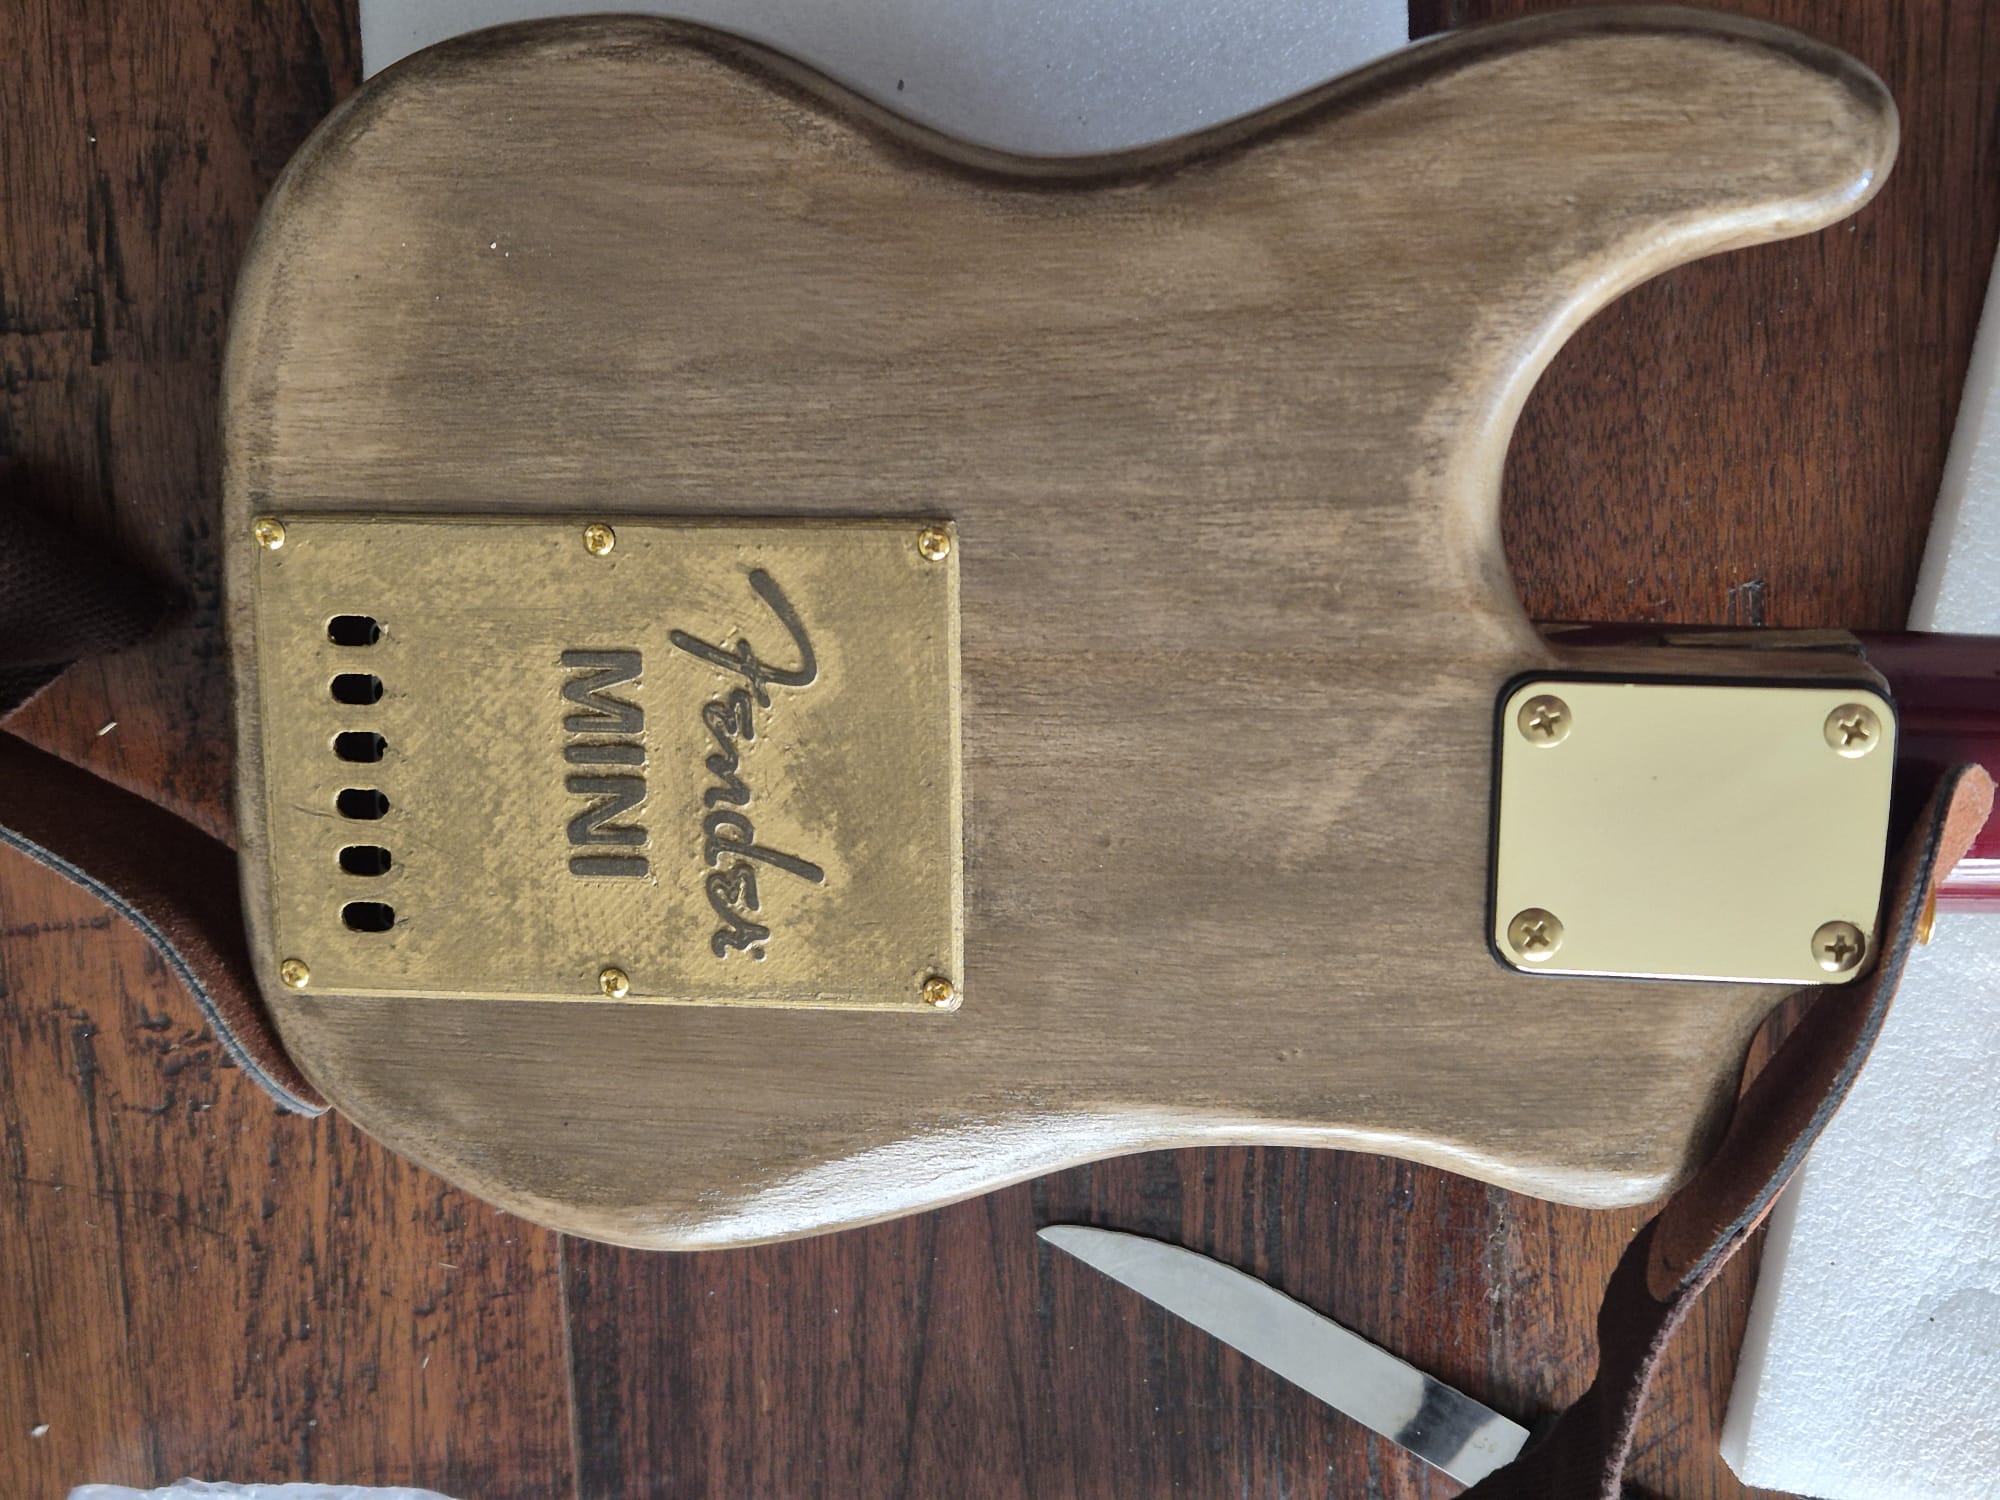
the body’s rough planned cutout lines. This also shows how the pickguard had to be reworkedI had to use mini pots due to size restrictions of the rebuild, so the Fleor big pots -and switch- will be re-used for something elseNicely cutoff the right hand lower bottom of the pick guard and replaced the 2 right hand side pots to get it all to fit within the smaller available space. Also, made a new mounting hole for the pickguard, next to the RH potAfter the body’s rough cutout: Right from the bandsaw, both the pickguard and the remaining part of the body. Unfortunately, 2 holes need to be filled.,need to plug 2 holesand need some work at the oscillating sanding machinetrying fitment of the ministar neck with the neck’s cutoff. This obviously does not fit, and rework at the neck’s width and height is required to get it ot fit in the body’s neck pocketthe neck and the rough cutoff on the bandsaw., Later I routed the neck to fit the body’s neckpocket at 19.2mm thickness (height)the 2 jigs I made to level the neck at fret 12 and fret7 while cutting the fitment of the neck in the body’s neck pocket to 19.2mm…first fitting the ministar’s neck on the reworked stat bodyhad to finally build me a proper router table for the neck and for the body edgesboth sides of the body has been rounded. I first made the body side curves smooth with my oscillating tube sander, forgot to make any pictures, thoughthe neck has been mounted semi-fixed with screws and a couple of drops superglue. Left the detachable extender is shown that will be mounted to the body with some screws if it is in use. The extender/attachment is made from the body’s offcut. First, I put 3 layers of wood impregnant sealer on the wood.the mini body only weighs 480 grams. Later I removed some more flesh between the pickups, so I can slide the loaded pickup guard under the fretboard a bit easier.the finished guitar body and mounted neck with loaded pickguard, and the bridge. Nothing is fixed yet but all has been made to fit and to be mounted at the appropriate positions. I am making the body and extension piece bronze with shellac. This takes some time and I do take my time here.After the 3 layers of sealant were dry, I sanded with 180 grit and started the 3 bronze tinted shellac layers. Final 2 layers I put on a bit thicker transparant shellac.
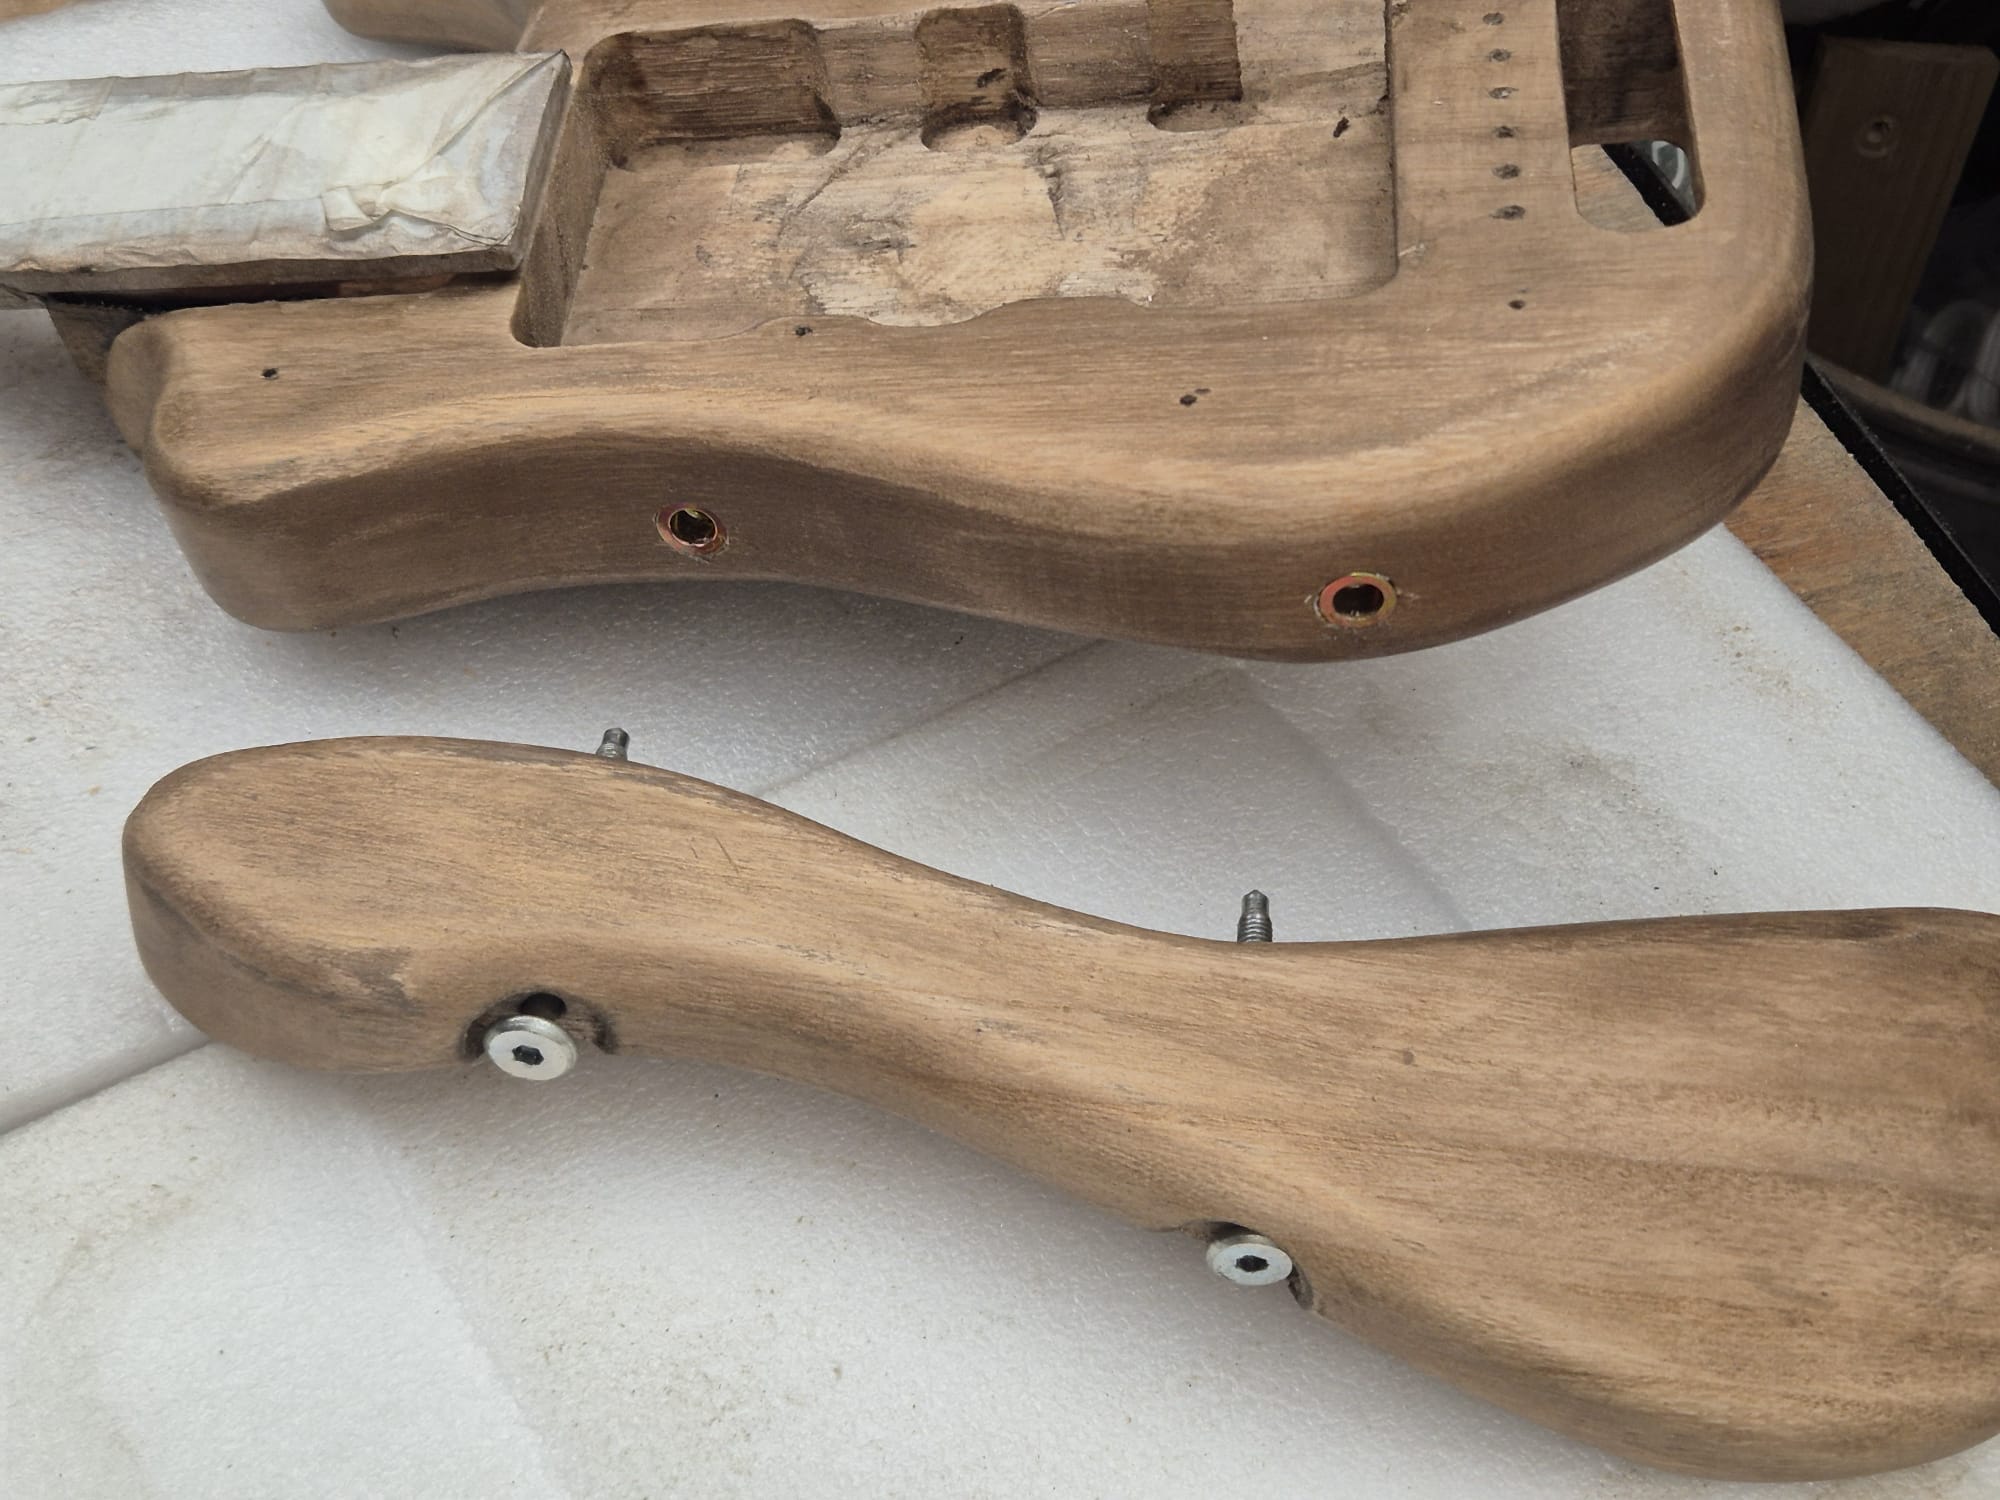
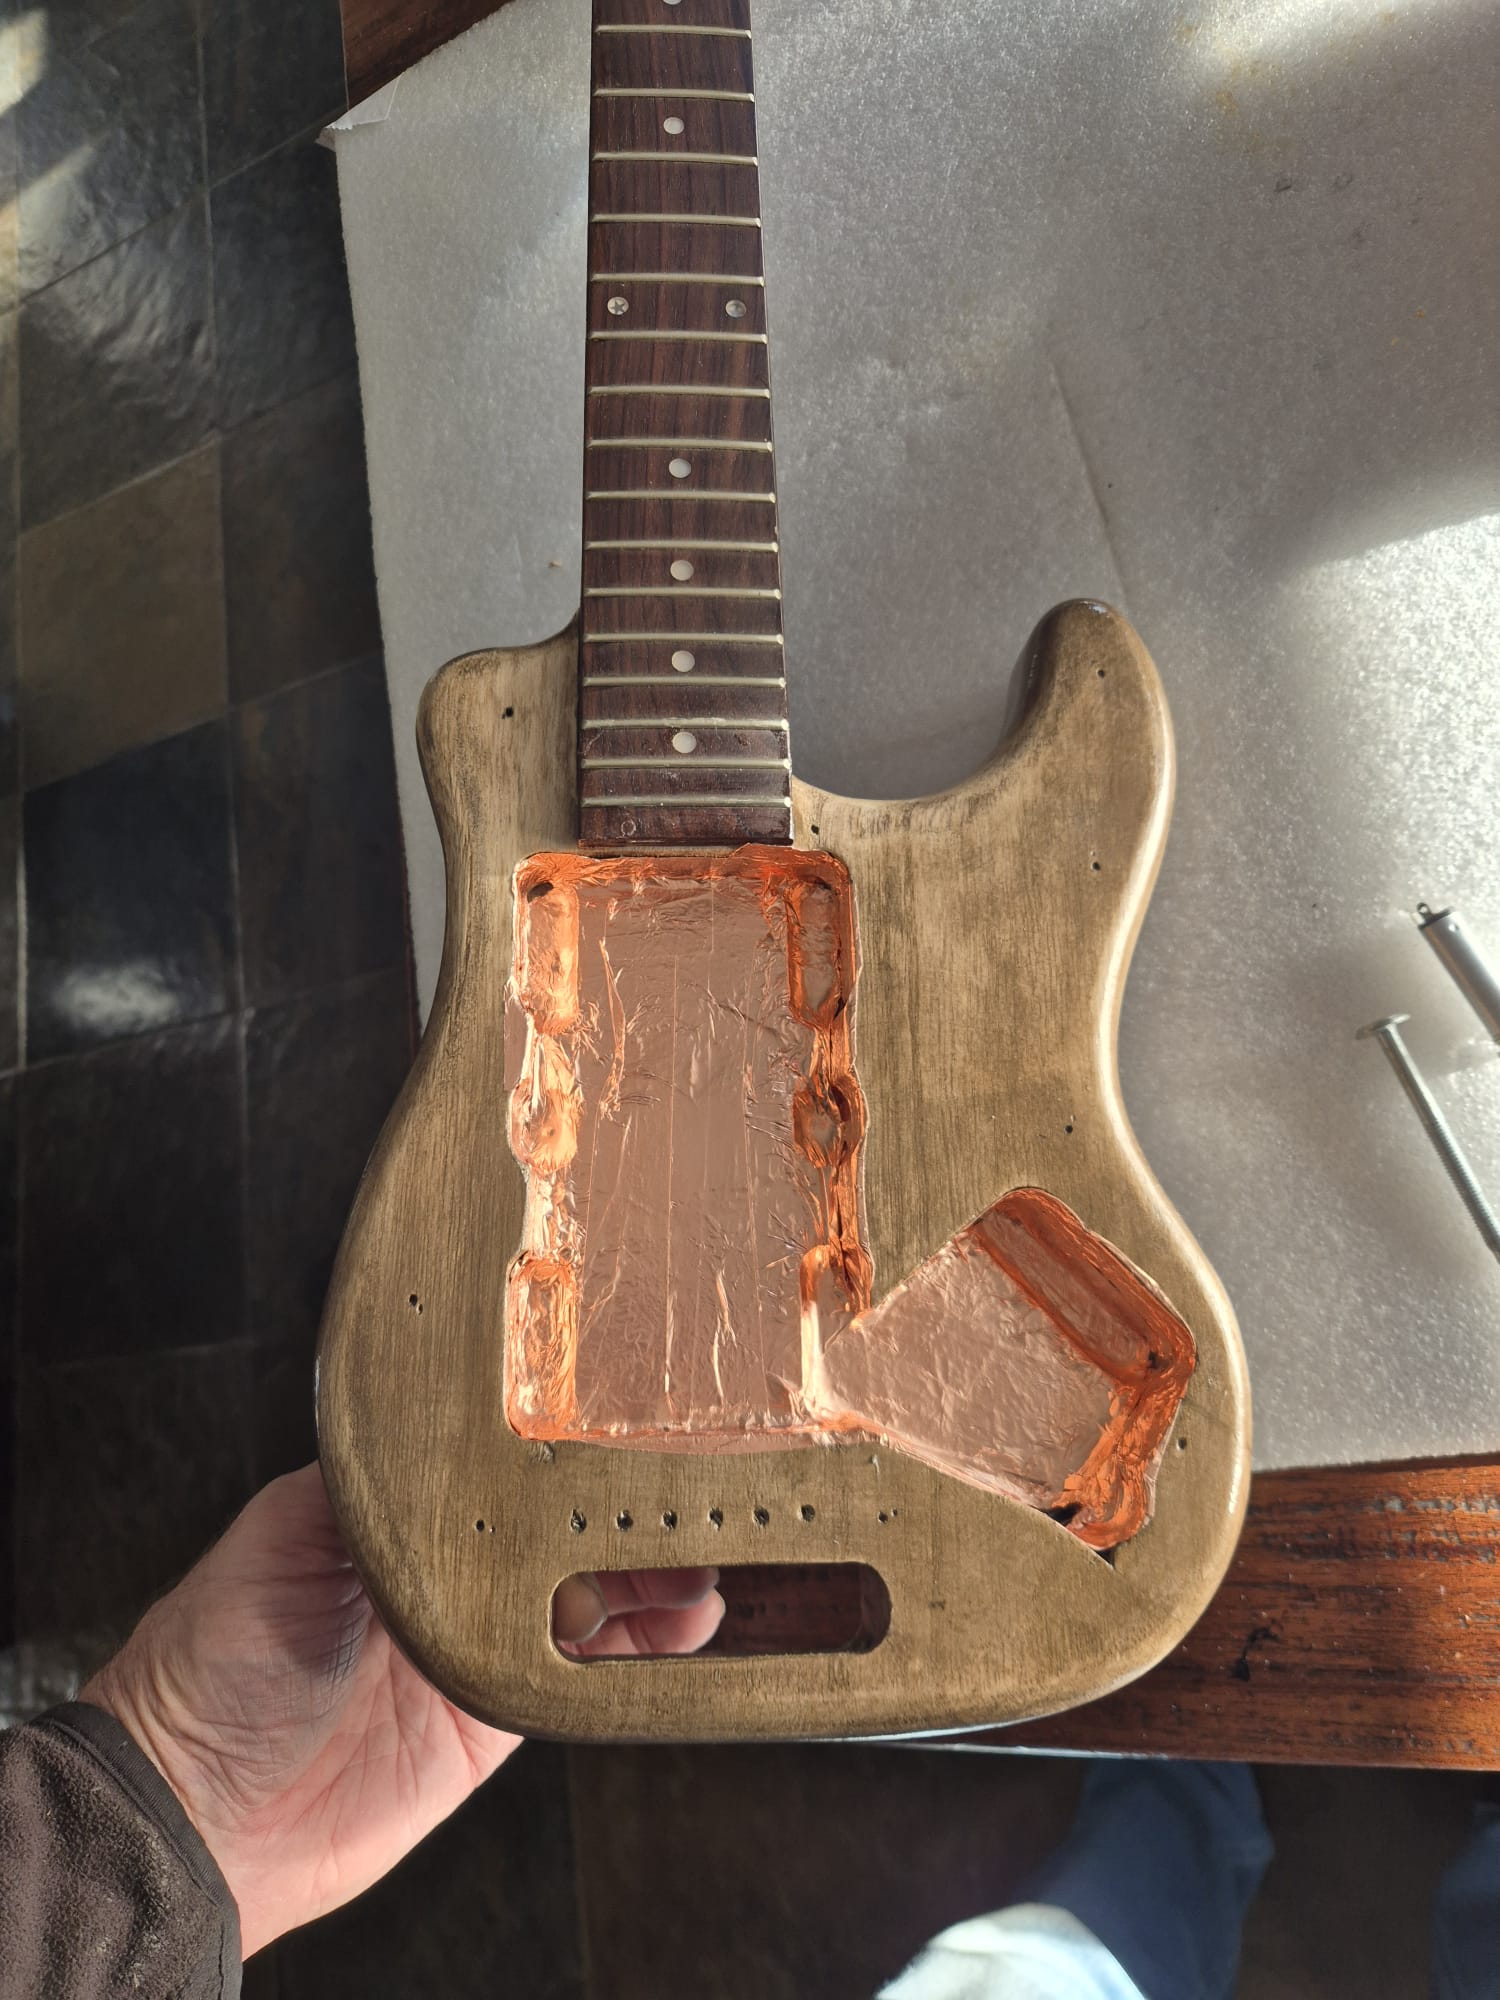
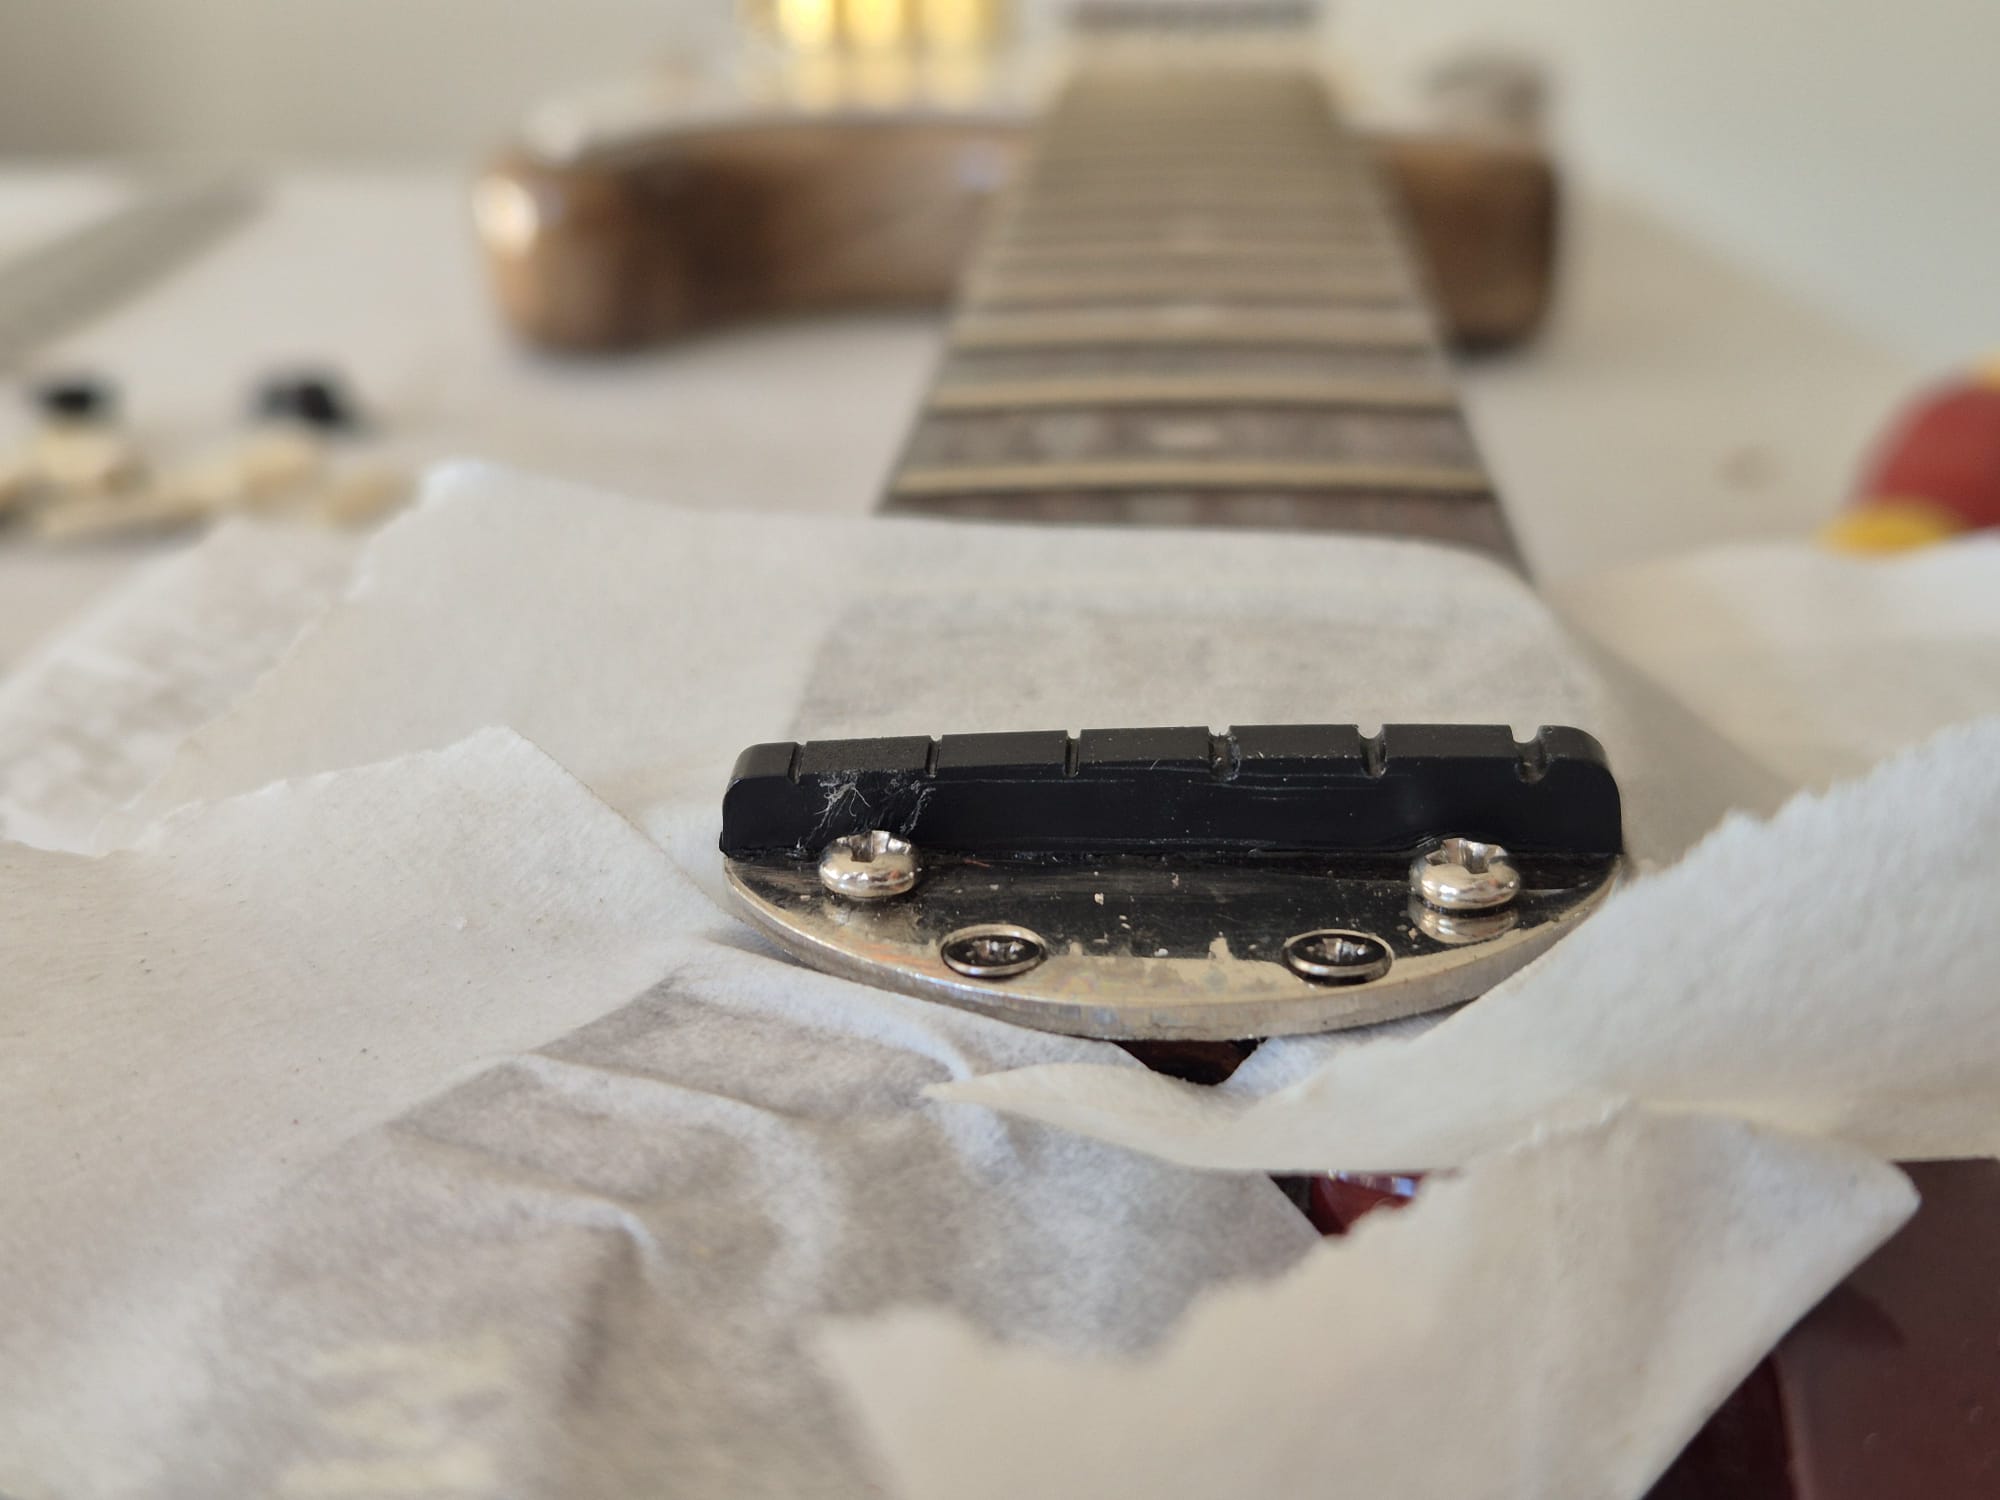
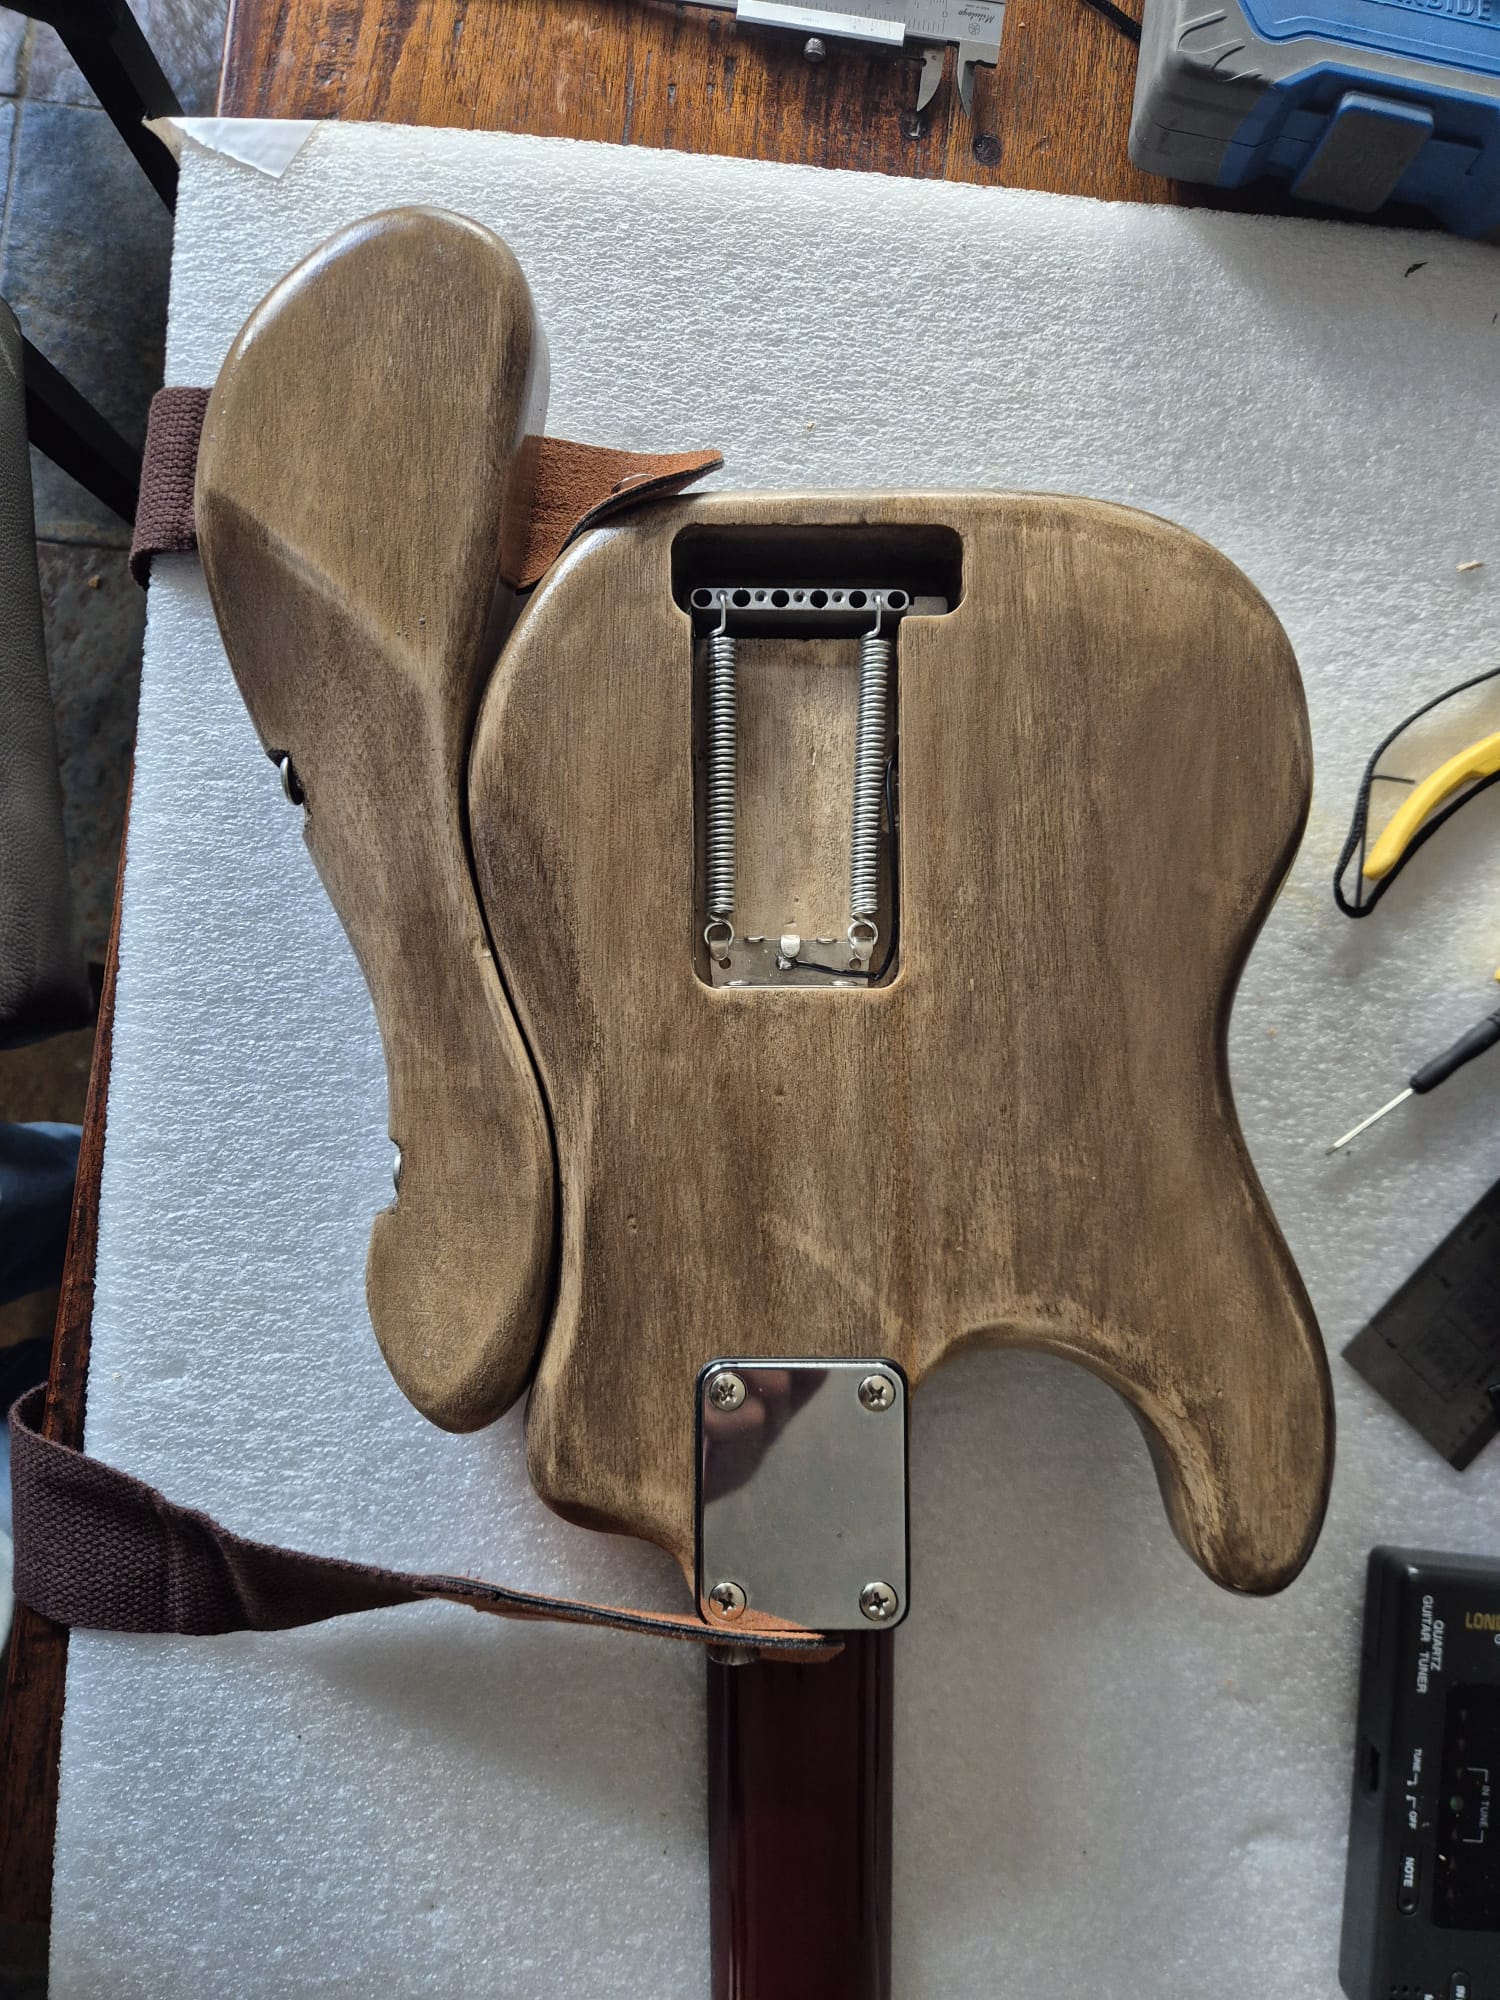
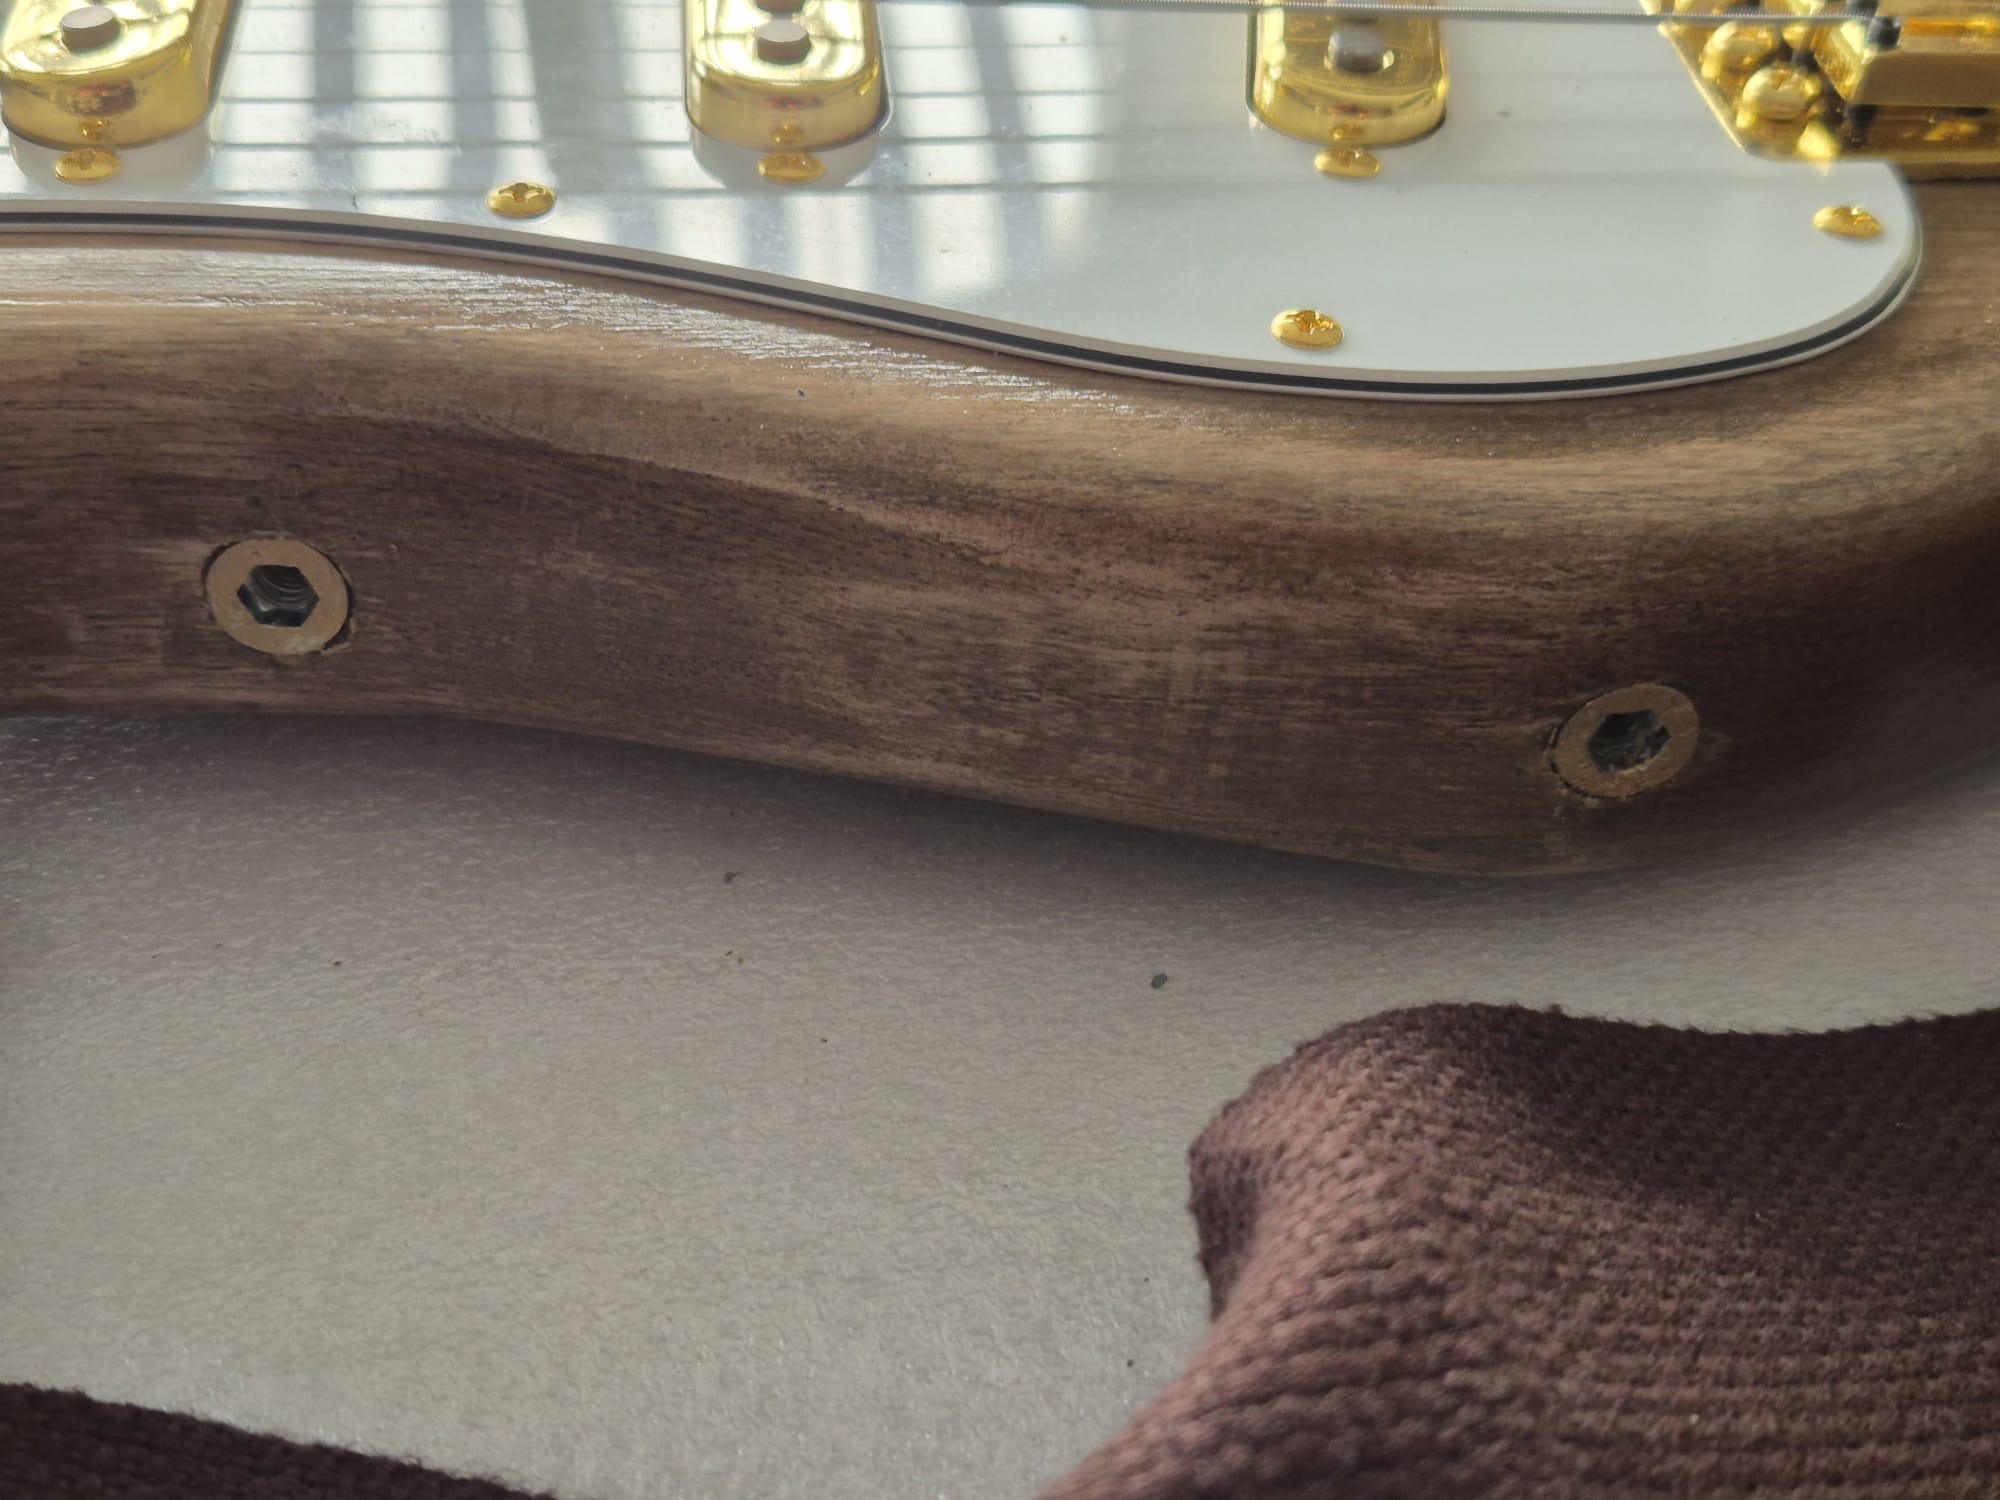
Drilled the holes, made recess pockets and mounted 2 M6 threaded inserts for the through-bolts of the add-on sidepiece. Still not decided wether I will use bolts with a fly head or leave it as is, with the allen key bolt headsI put copper shielding foil in as well in the wood cavities as under the pickquard, before mounting the electronicsglued the nut back to the adjustable steel holder plate2 springs are enough for the tremelo, I also grounded the spring’s end holder
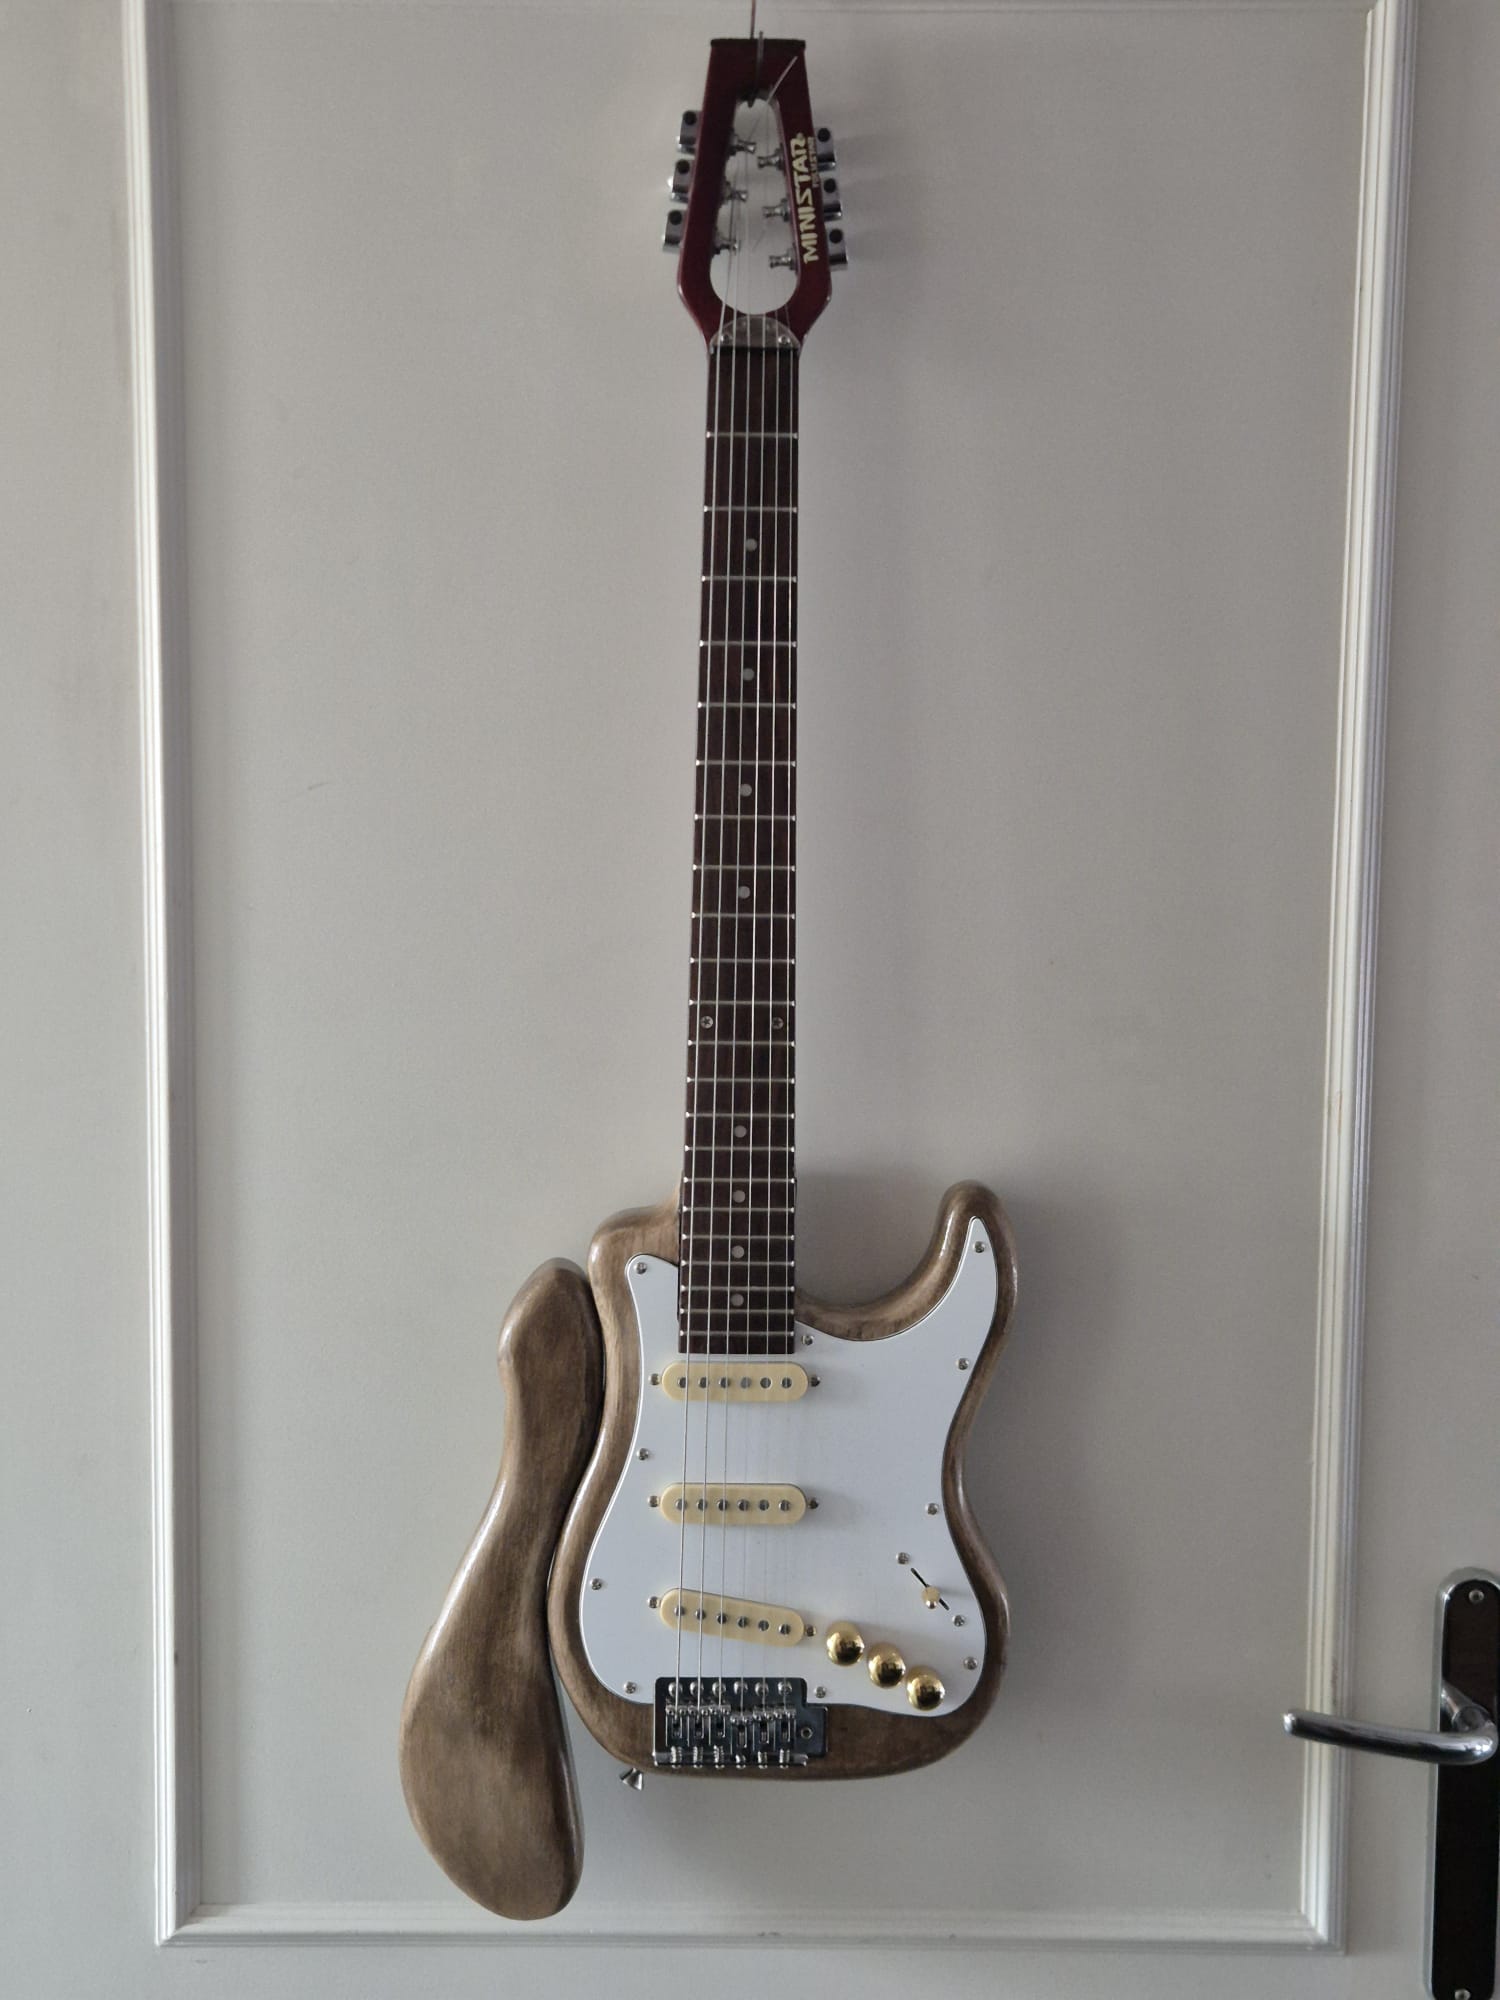
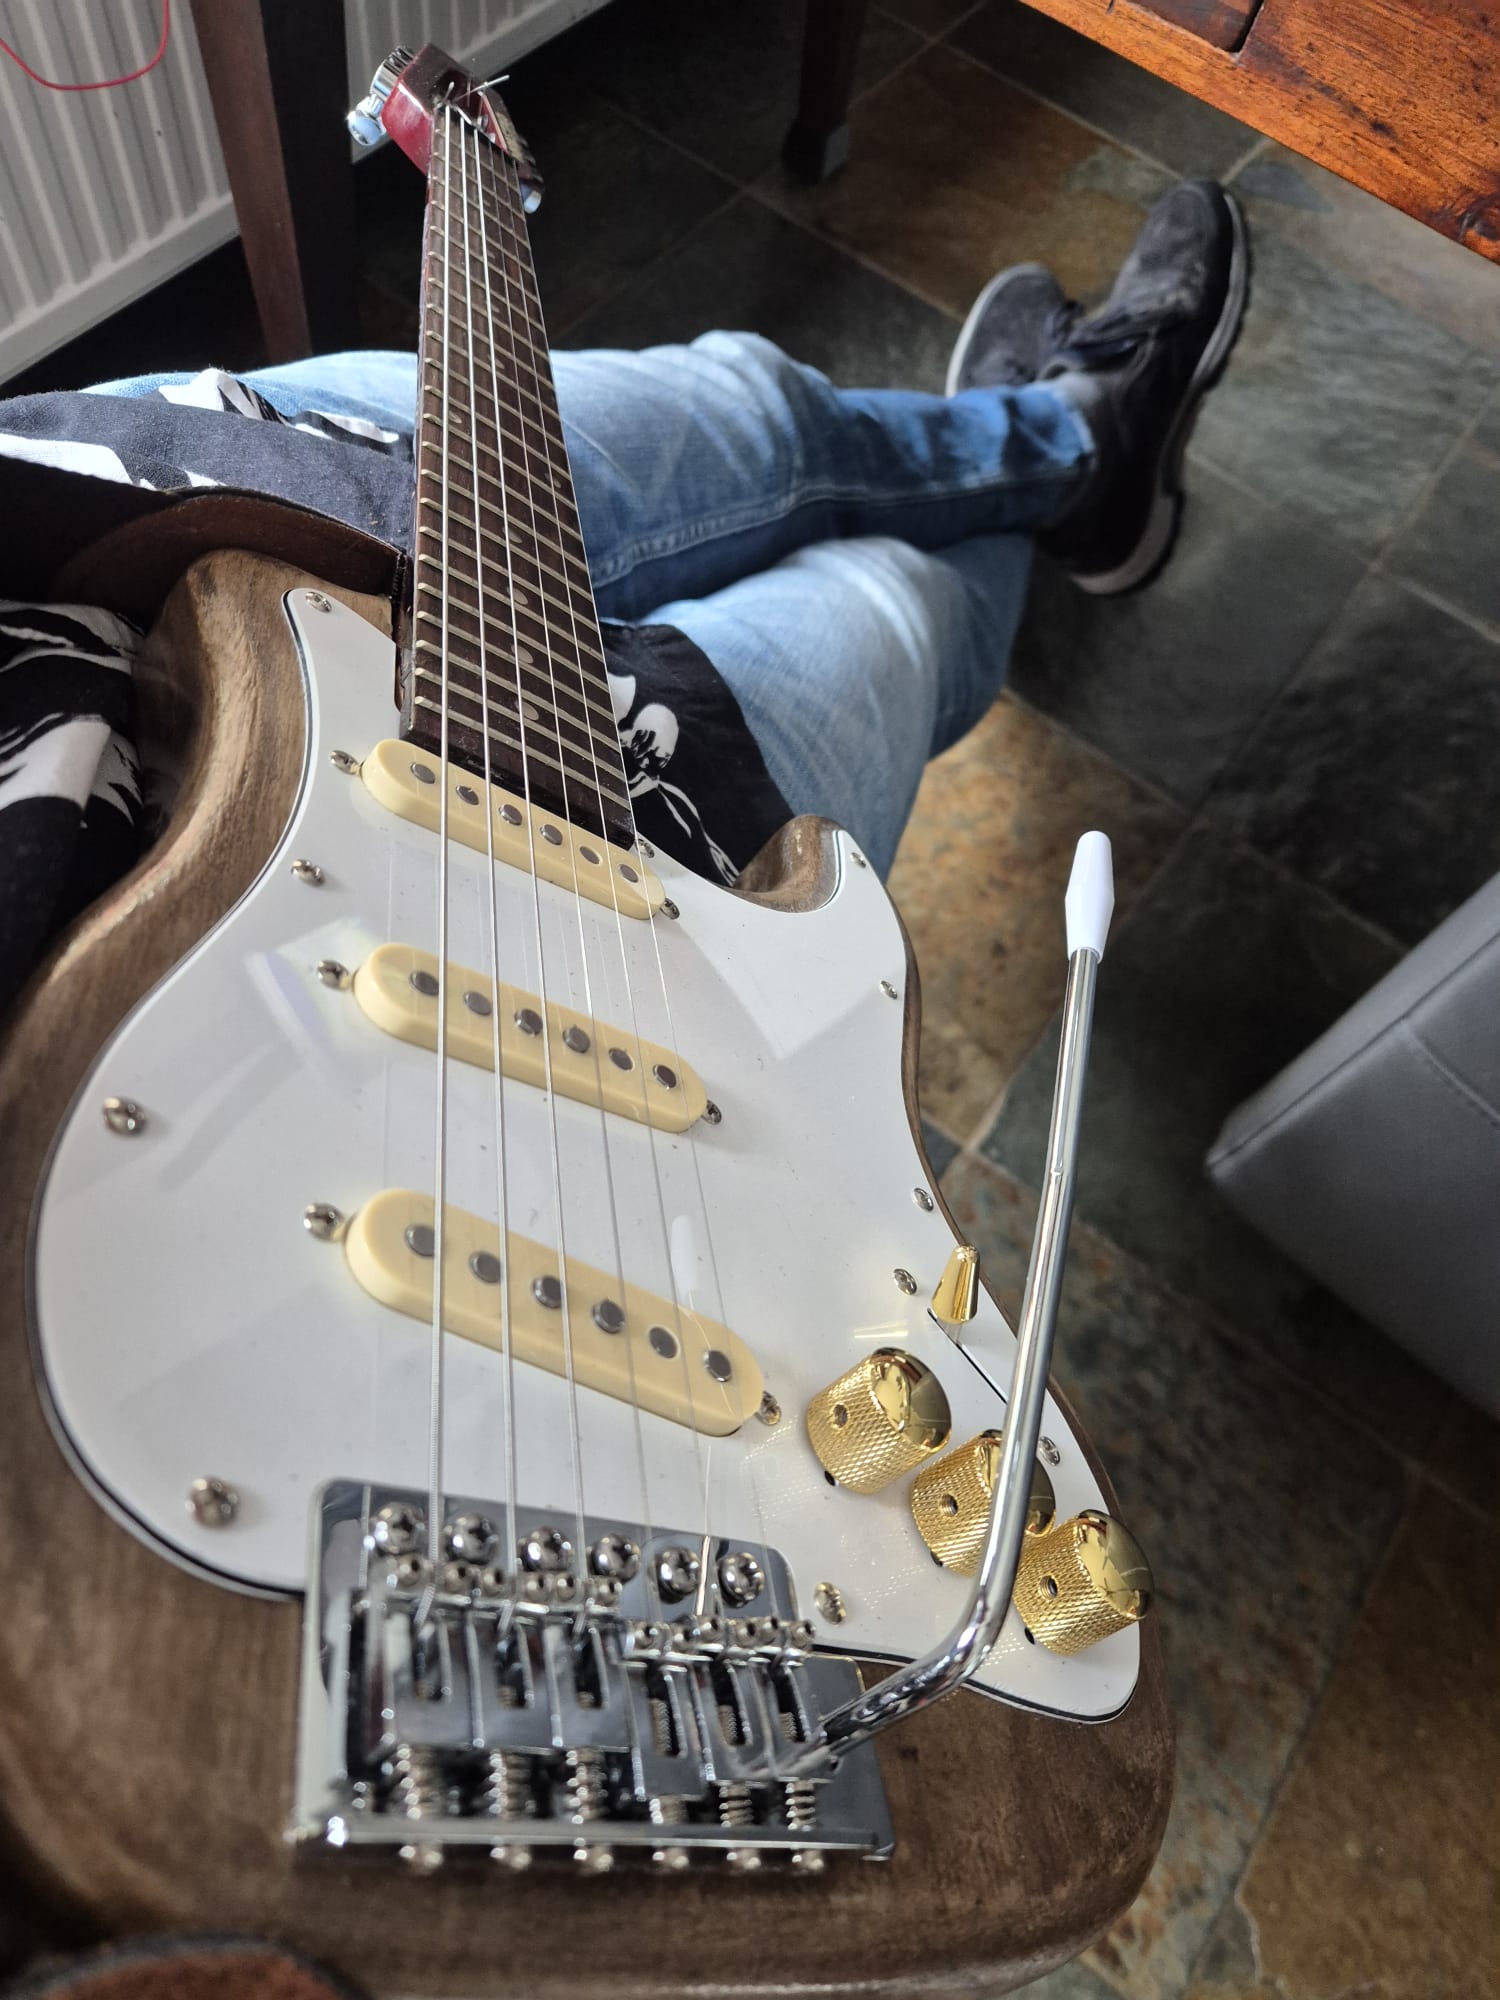
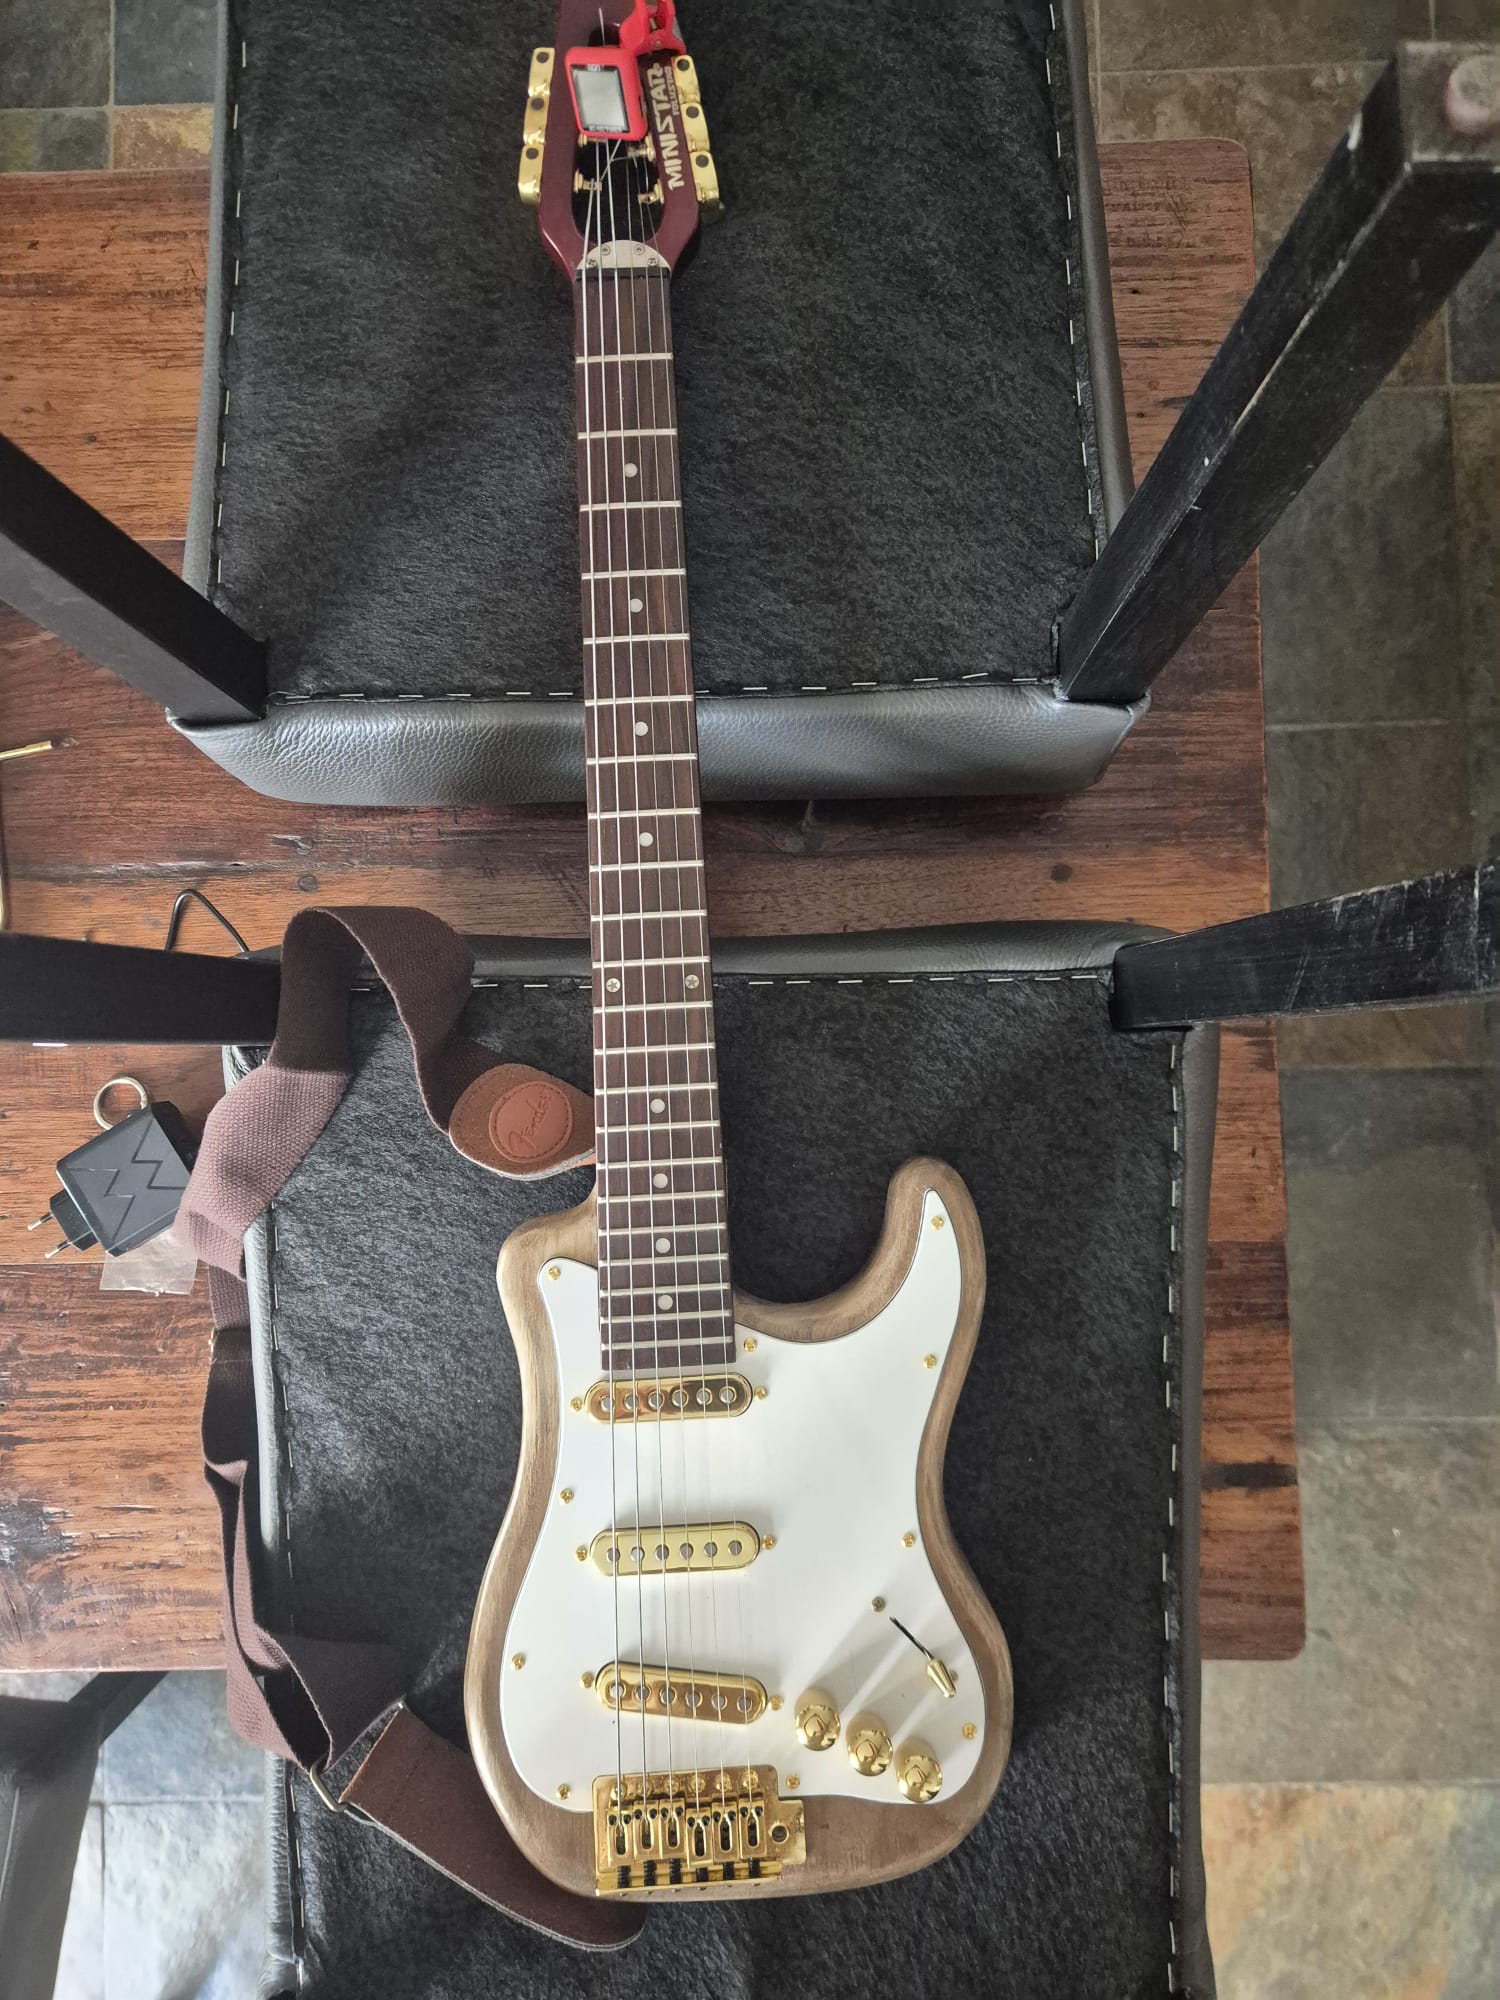
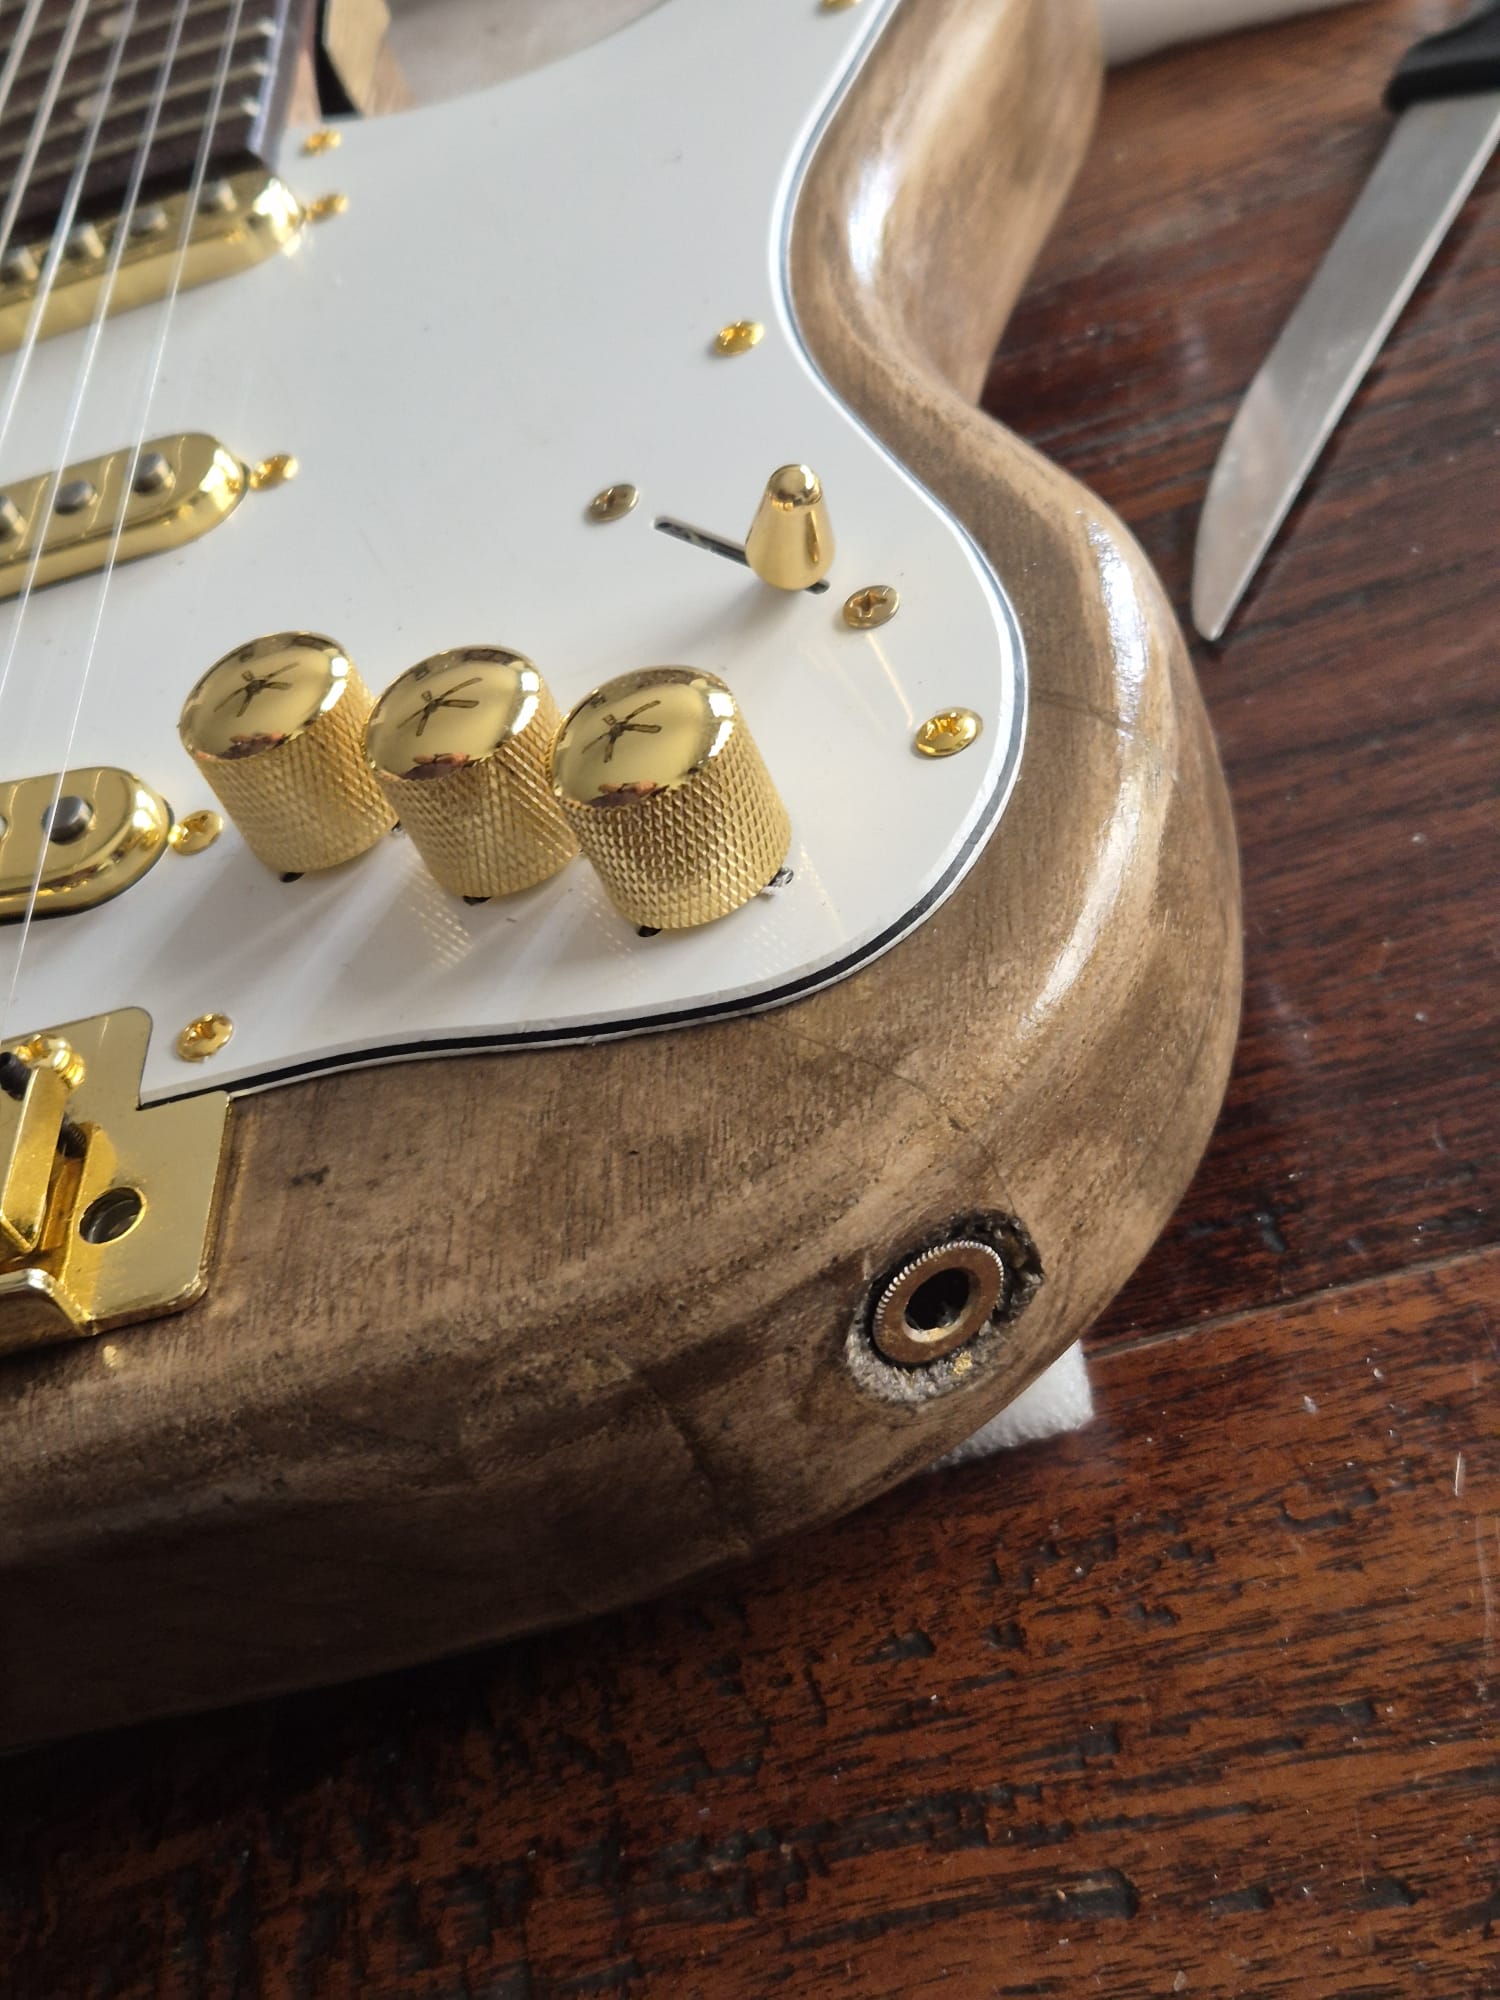
Flat on the table, still without any strings. The jack output is placed in the round curved wood at the right, near the right sound potmeterShown with the attachment mounted at at the left. When placing the strings, I also adjusted the nut- and bridge height to 1.7m mm string height vs top of fret 12. And- also adjusted the bridge strings length for correct intonation. Apparantly I measured everything correctly and the neck is mounted at the correct position.And just as the ministrat, no attachment needed? Still looking for a case or bag that can hold the guitar and the separate attachment. The required inside size is 25 cm wide, 7 cm high and 85 cm long…
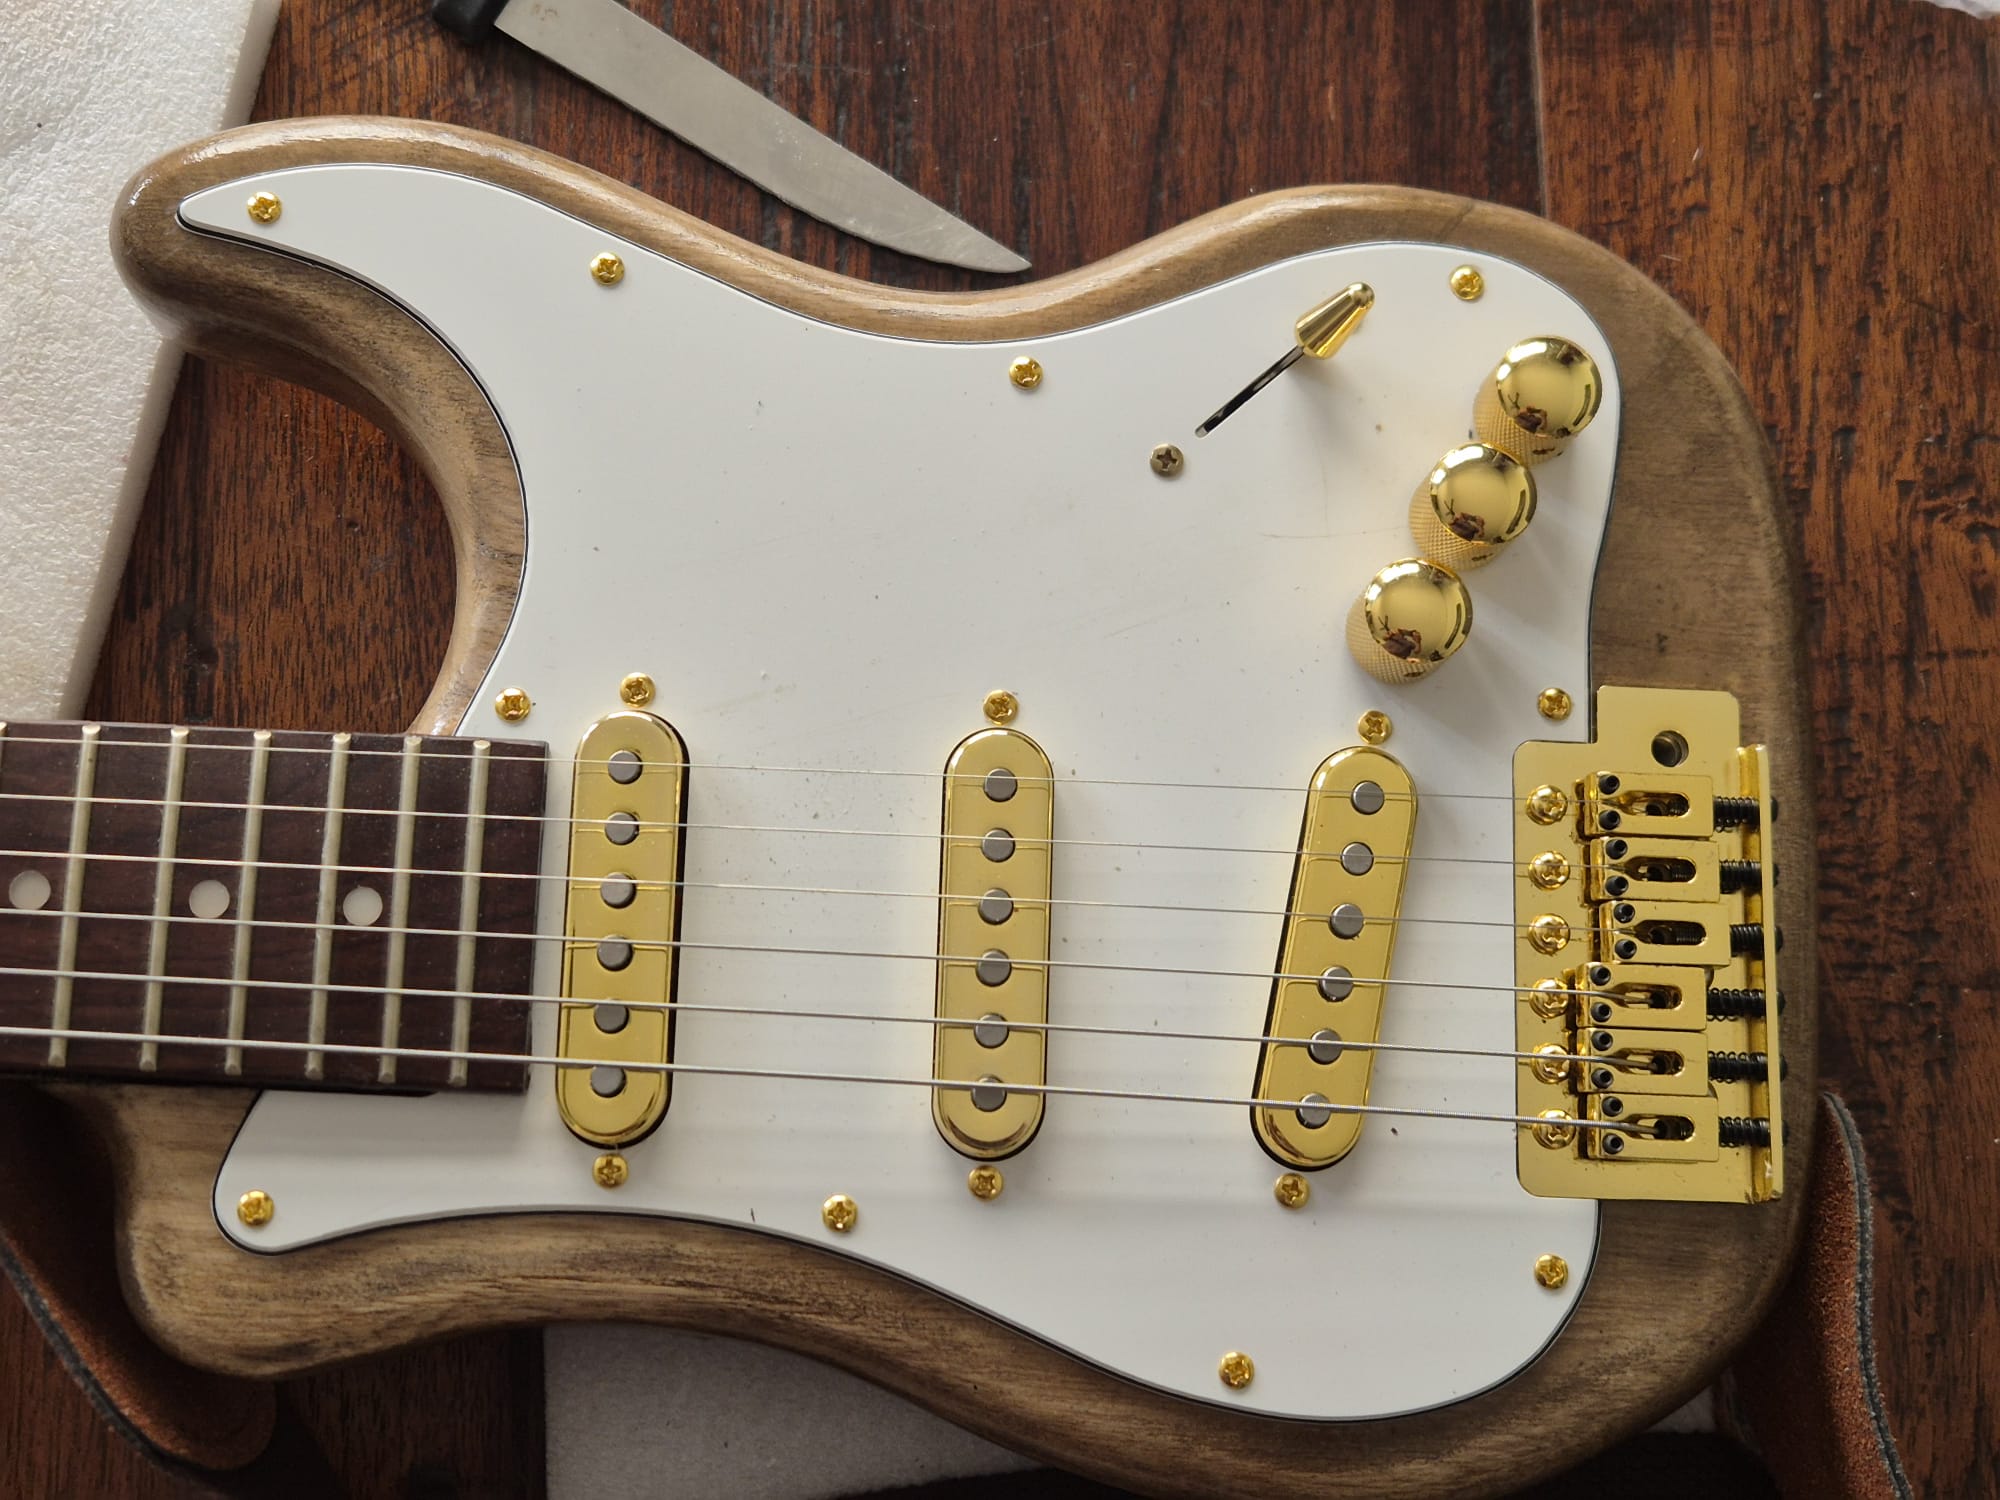
Here the ministrat build is almost done, but some gold colored parts were still in transit… could not wait to play and do some settings like the nut and string settings by filing the nut recesses ..Total weight: just under 2 kilograms
Ik heb de crèmekleurige pickup-covers vervangen door de goudkleurige die ik had besteld.
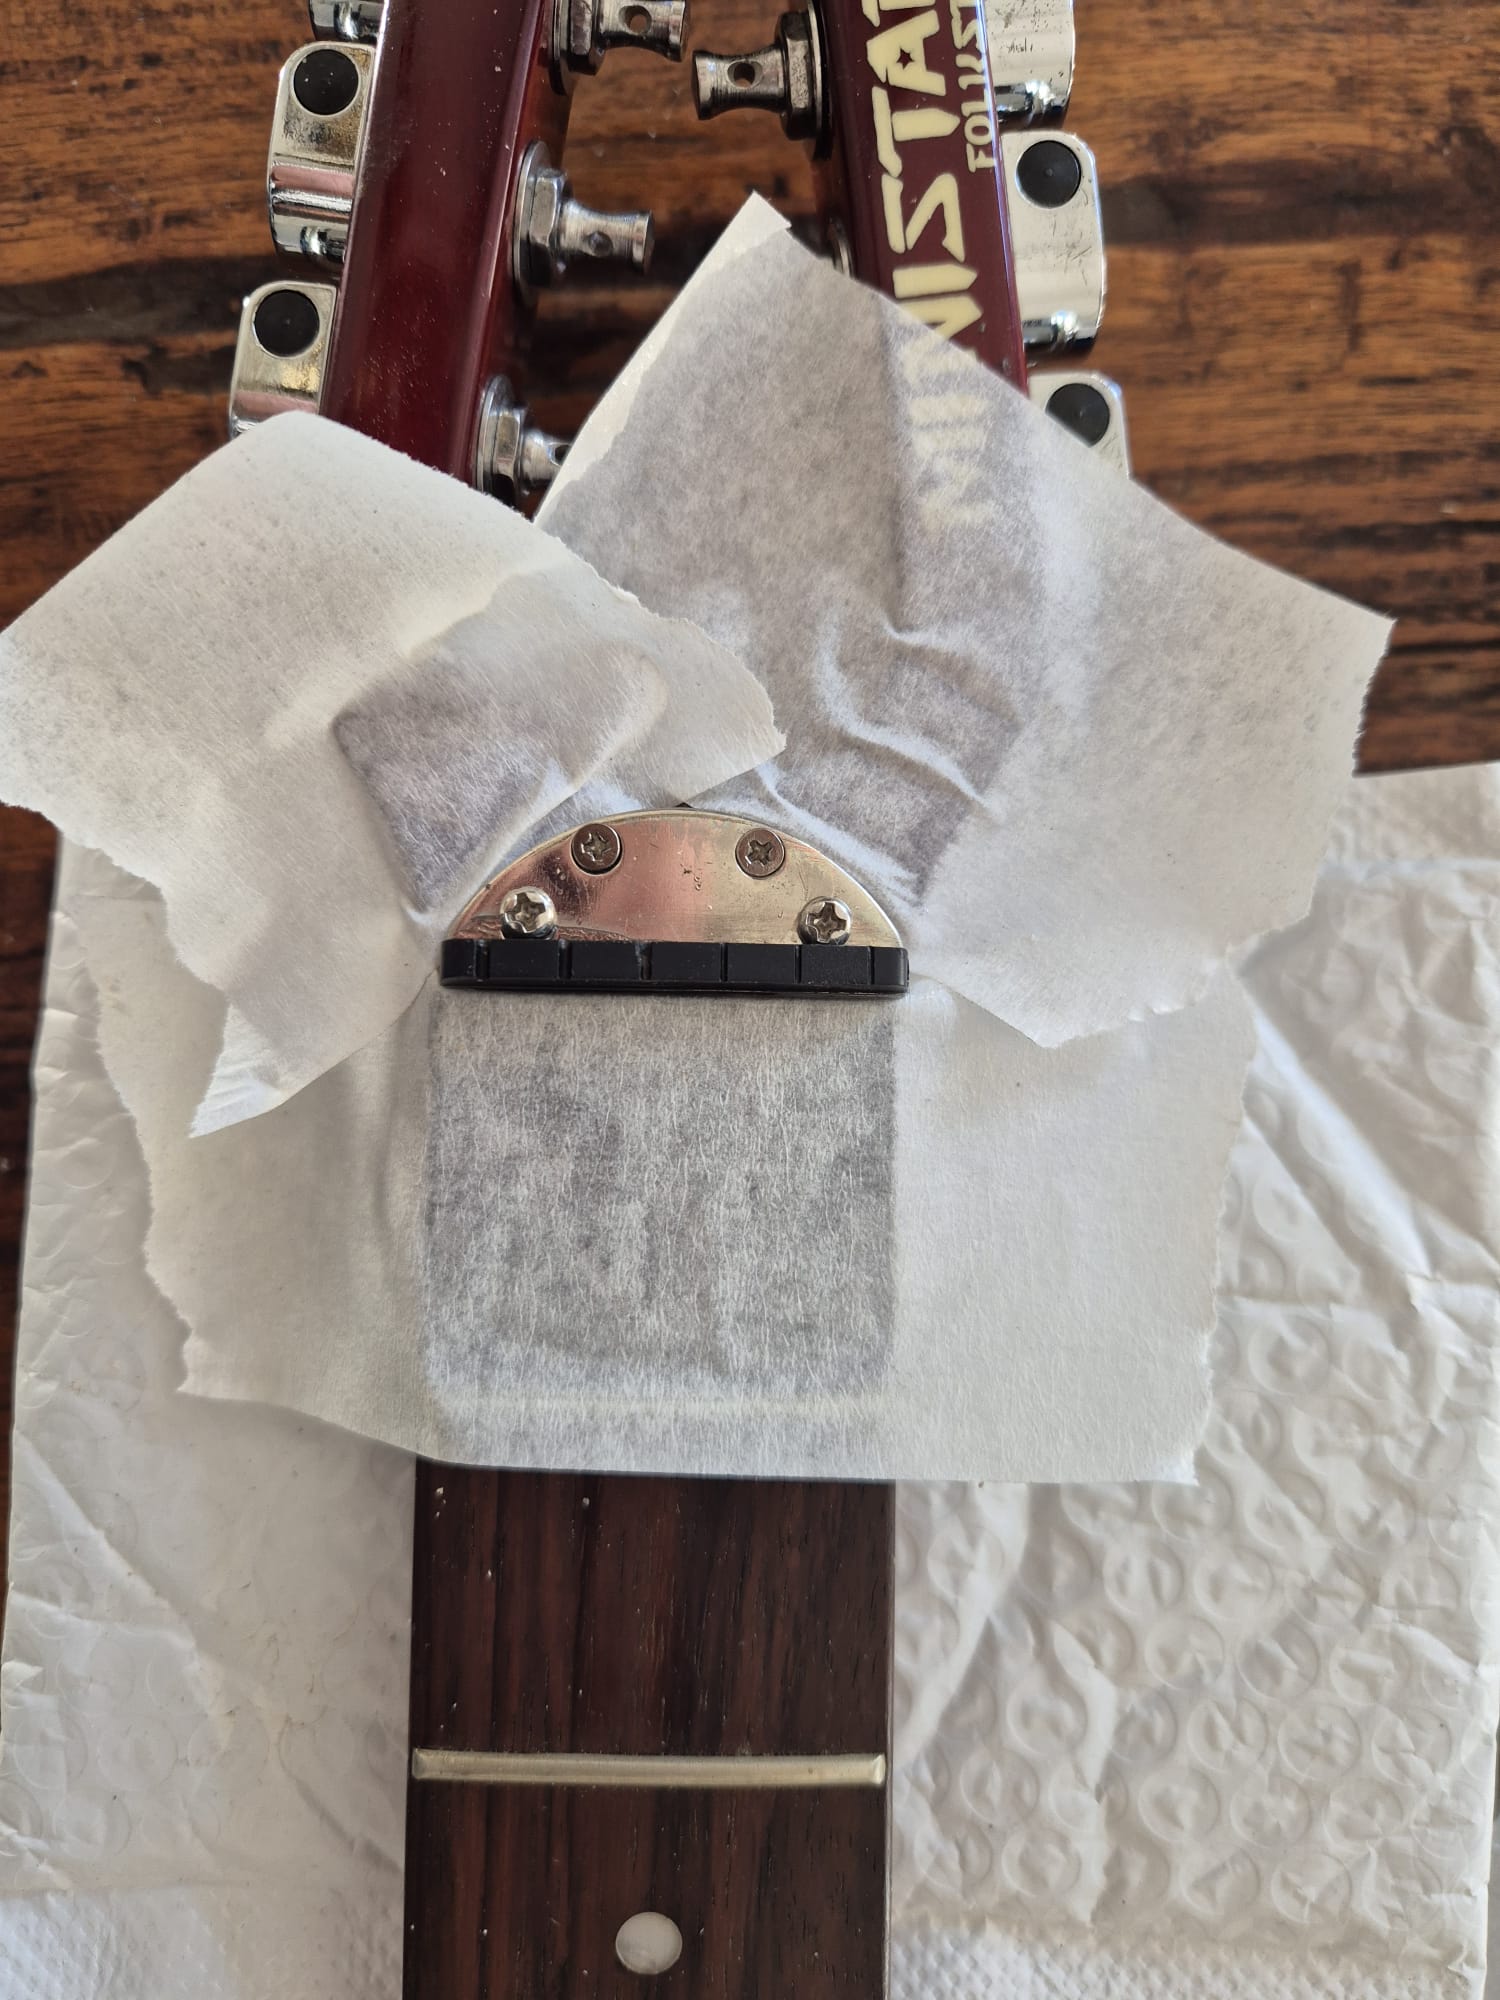
En ik heb de hals wat beter schoongemaakt om de restjes lijm en tape te verwijderen.
Ik had wat problemen met de dunste snaar tijdens het monteren. Die brak gewoon toen ik hem erop wikkelde. En ik weet wel dat je dit in fasen moet doen: eerst een beetje spanning aanbrengen, een paar minuten wachten en dan in twee of drie stappen naar de uiteindelijke vereiste spanning gaan. Maar ik was dat vergeten en moest (alweer) een nieuwe set snaren van gemiddelde sterkte bij elkaar sprokkelen, alleen voor deze vervanging.
Ondertussen heb ik een pakket van tien goedkope snaren van 0,009 inch besteld om verder te kunnen werken…
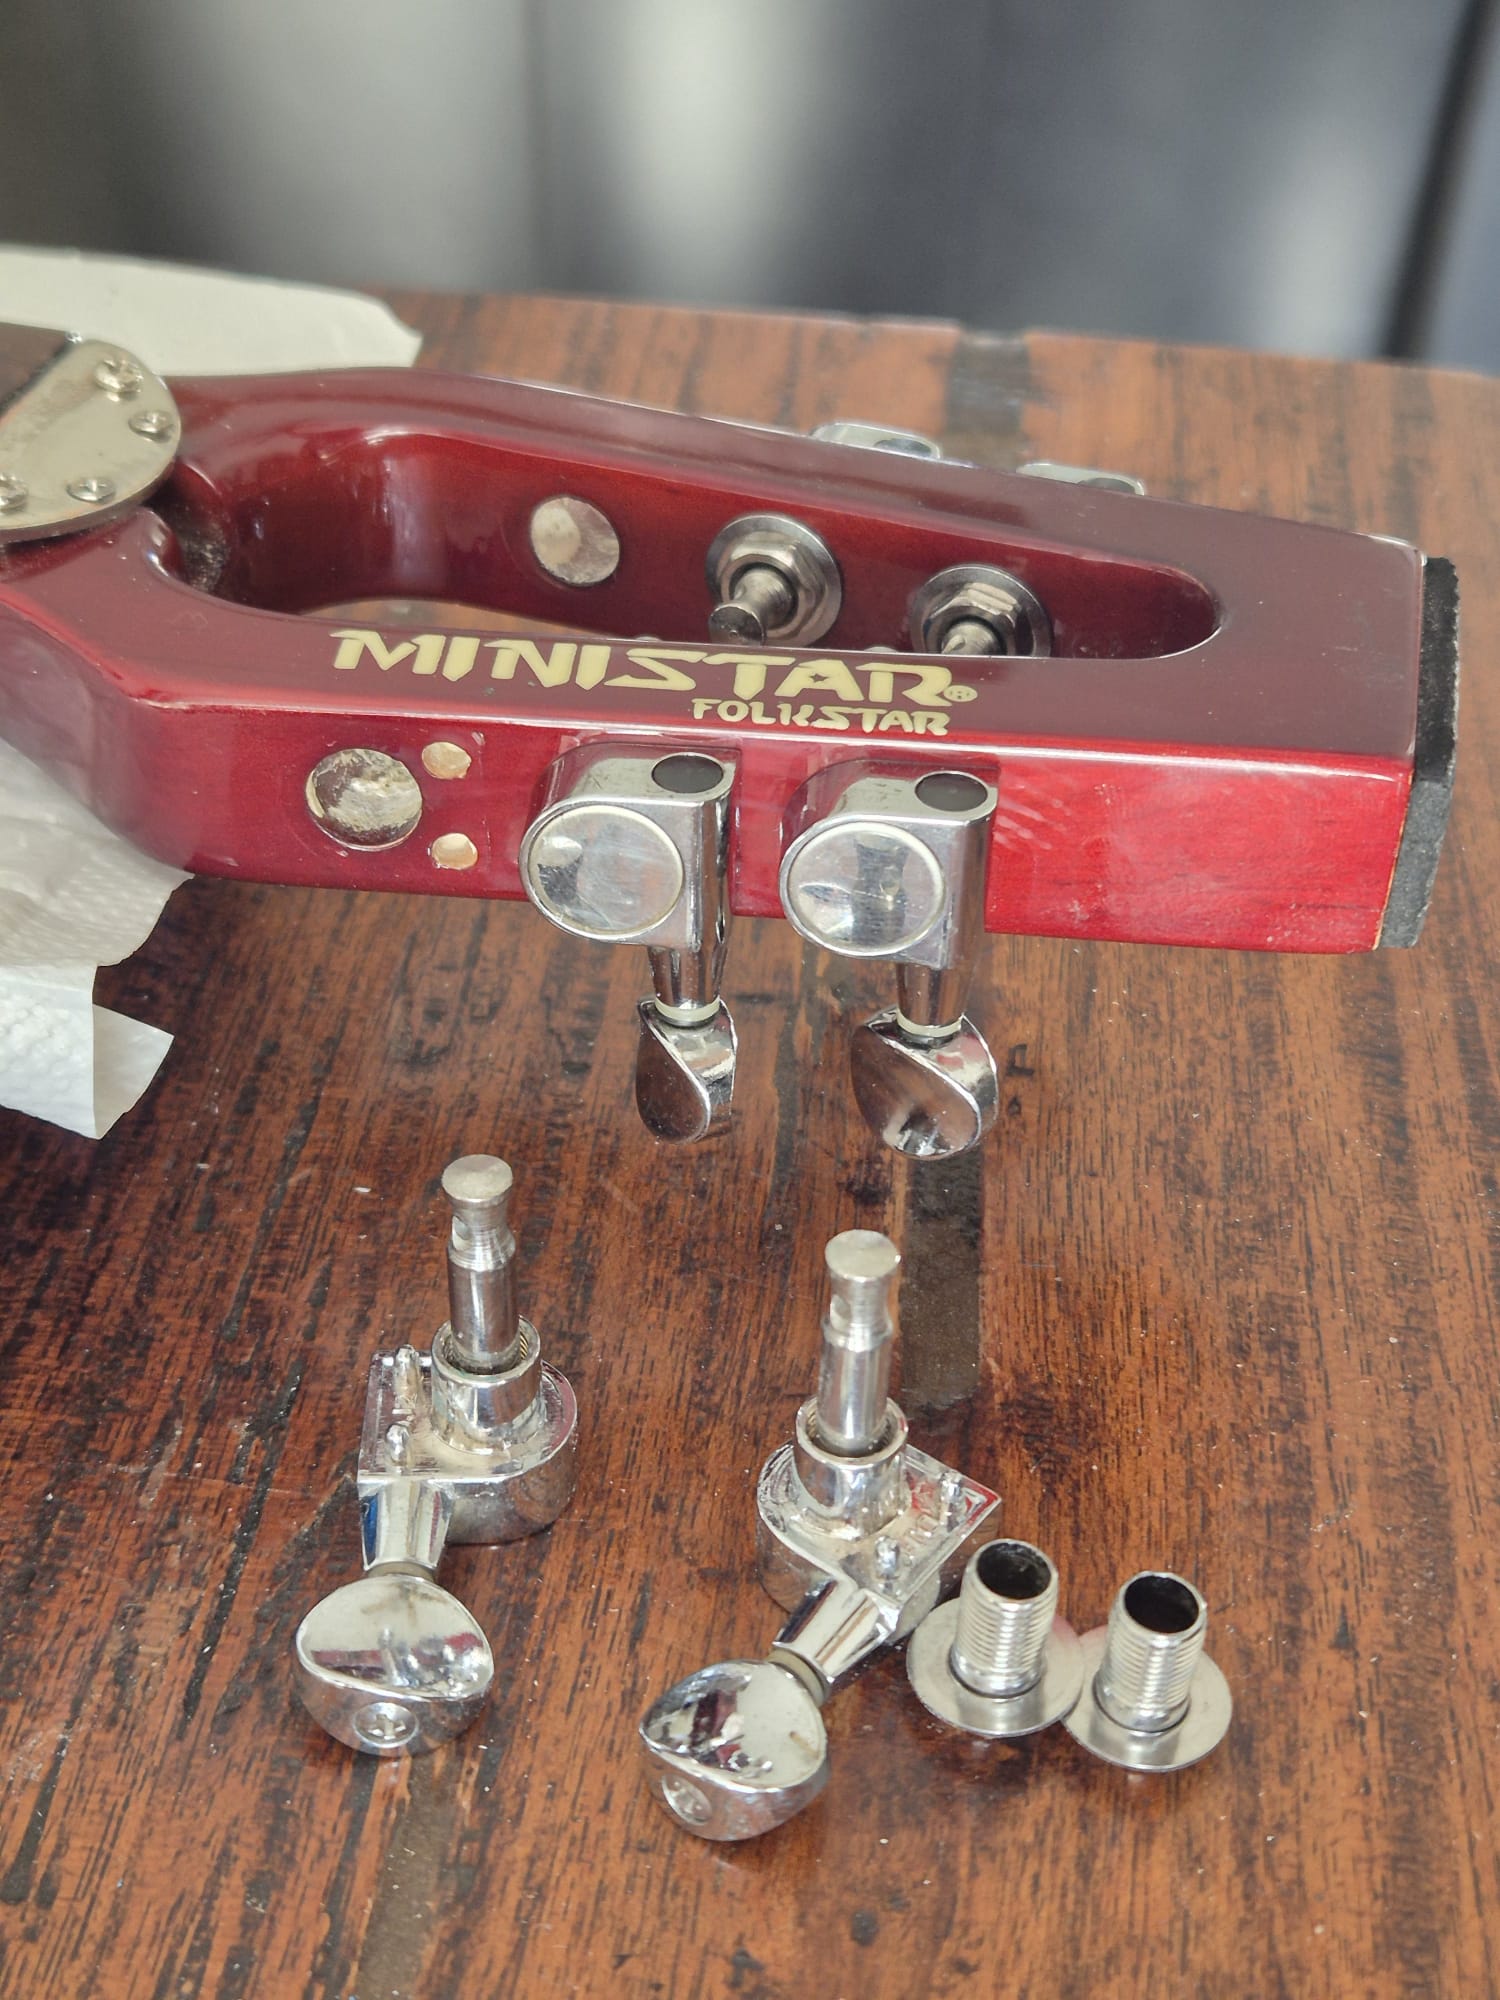
Ook heb ik alle overige verchroomde onderdelen vervangen door goudkleurige exemplaren (alle schroeven, riembevestigingen, signaaluitgang, bevestigingsschroeven van het verlengstuk, stemmechanieken, brug en de bevestigingsplaat aan de achterkant van de hals).
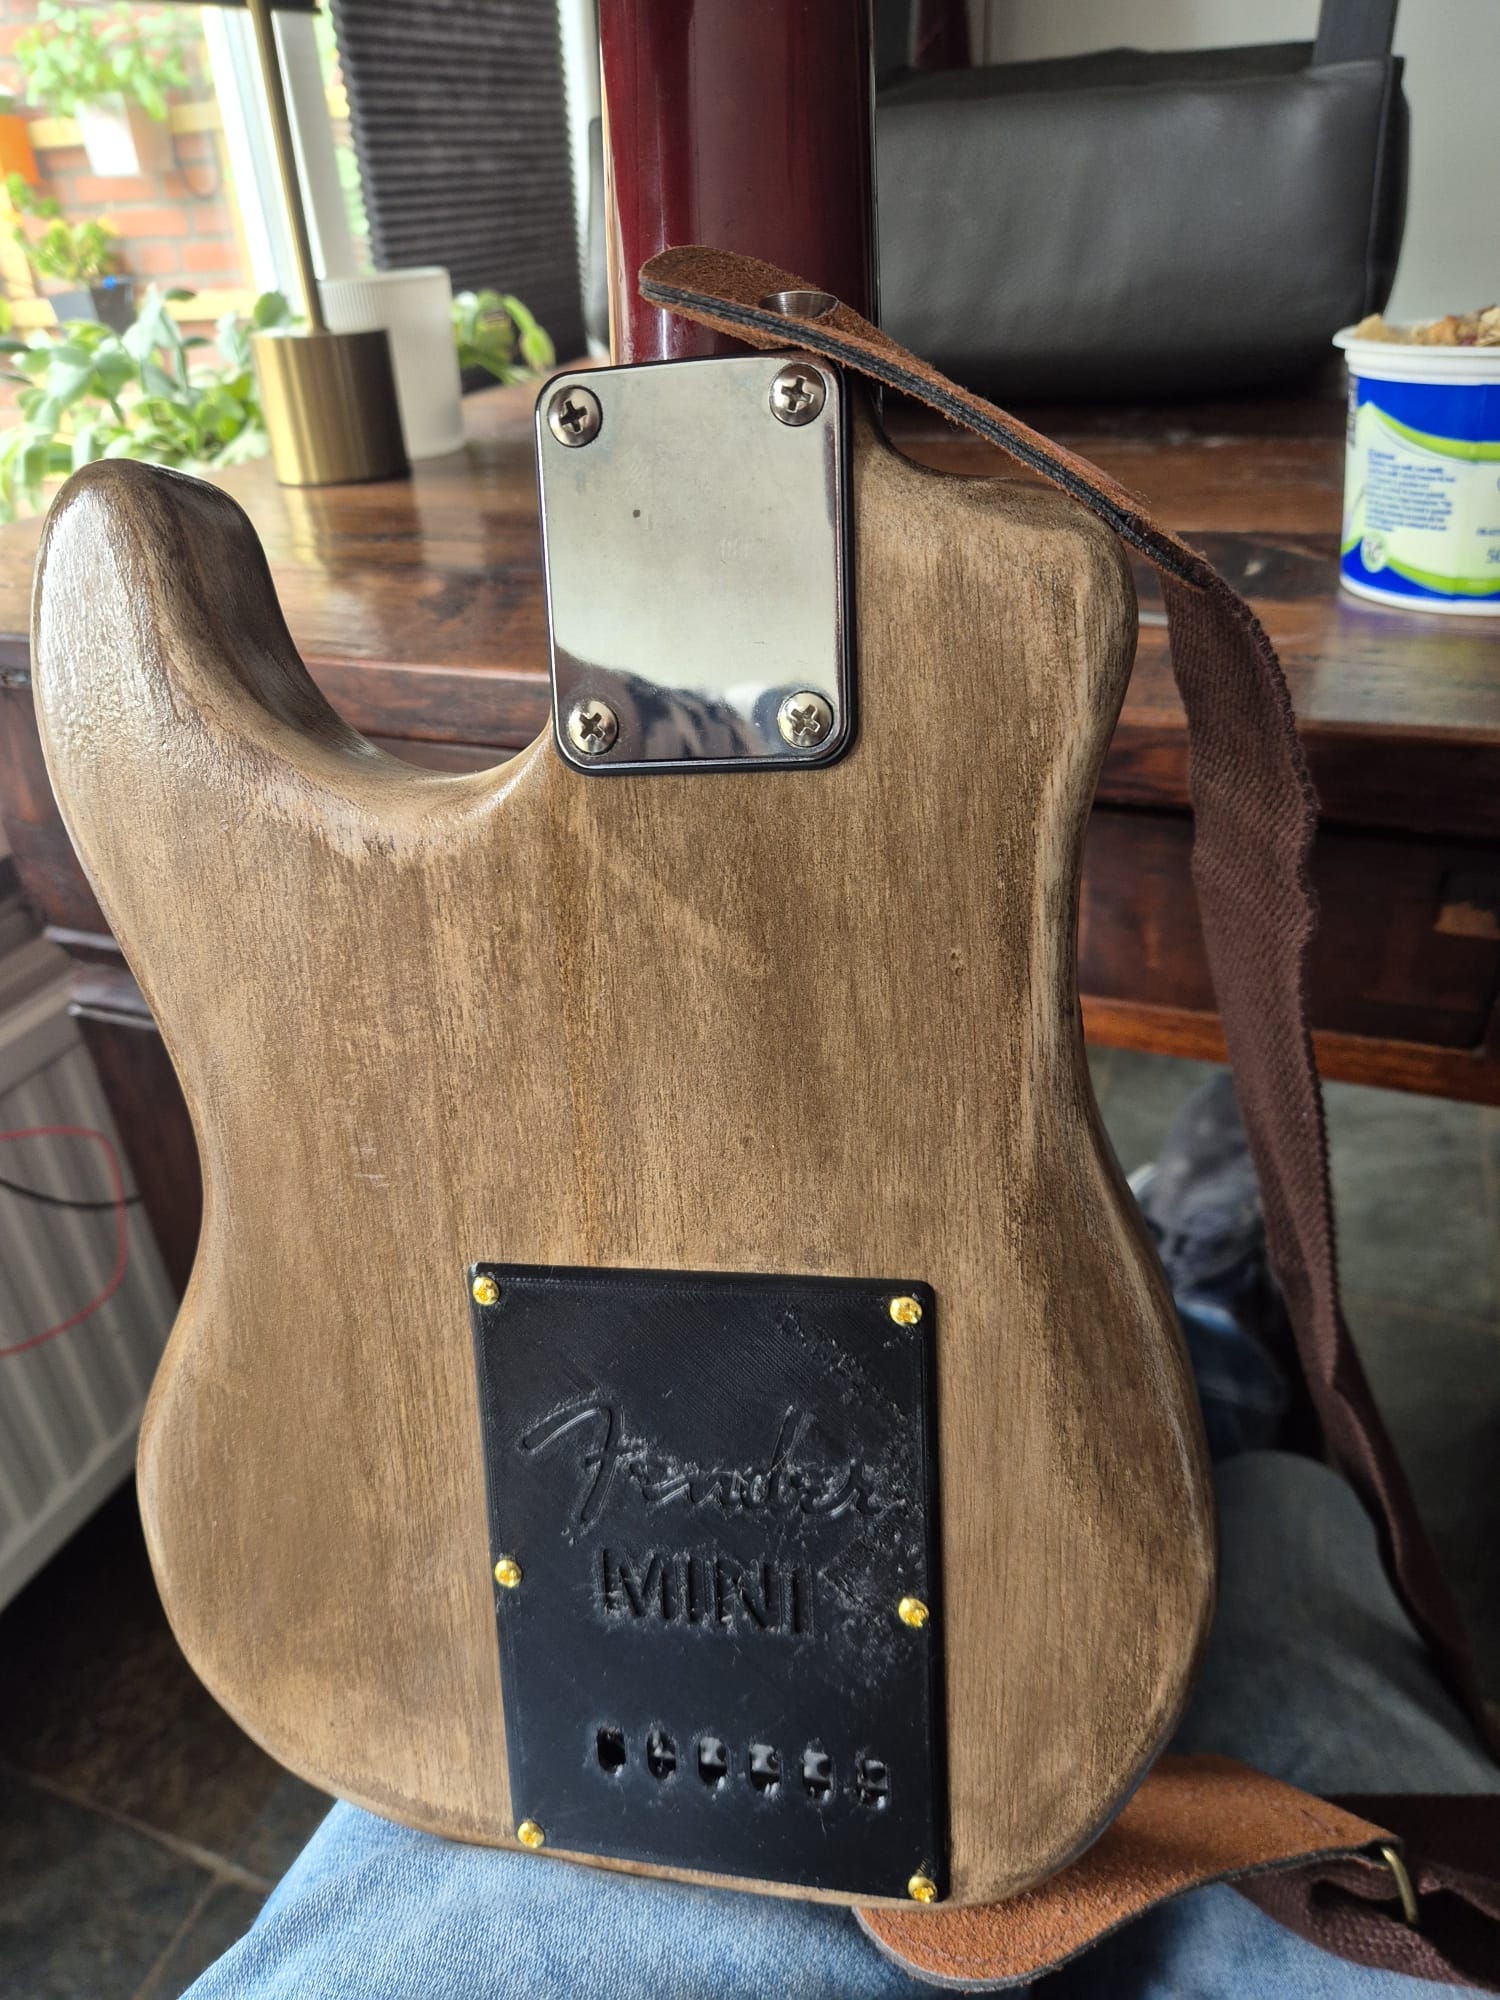
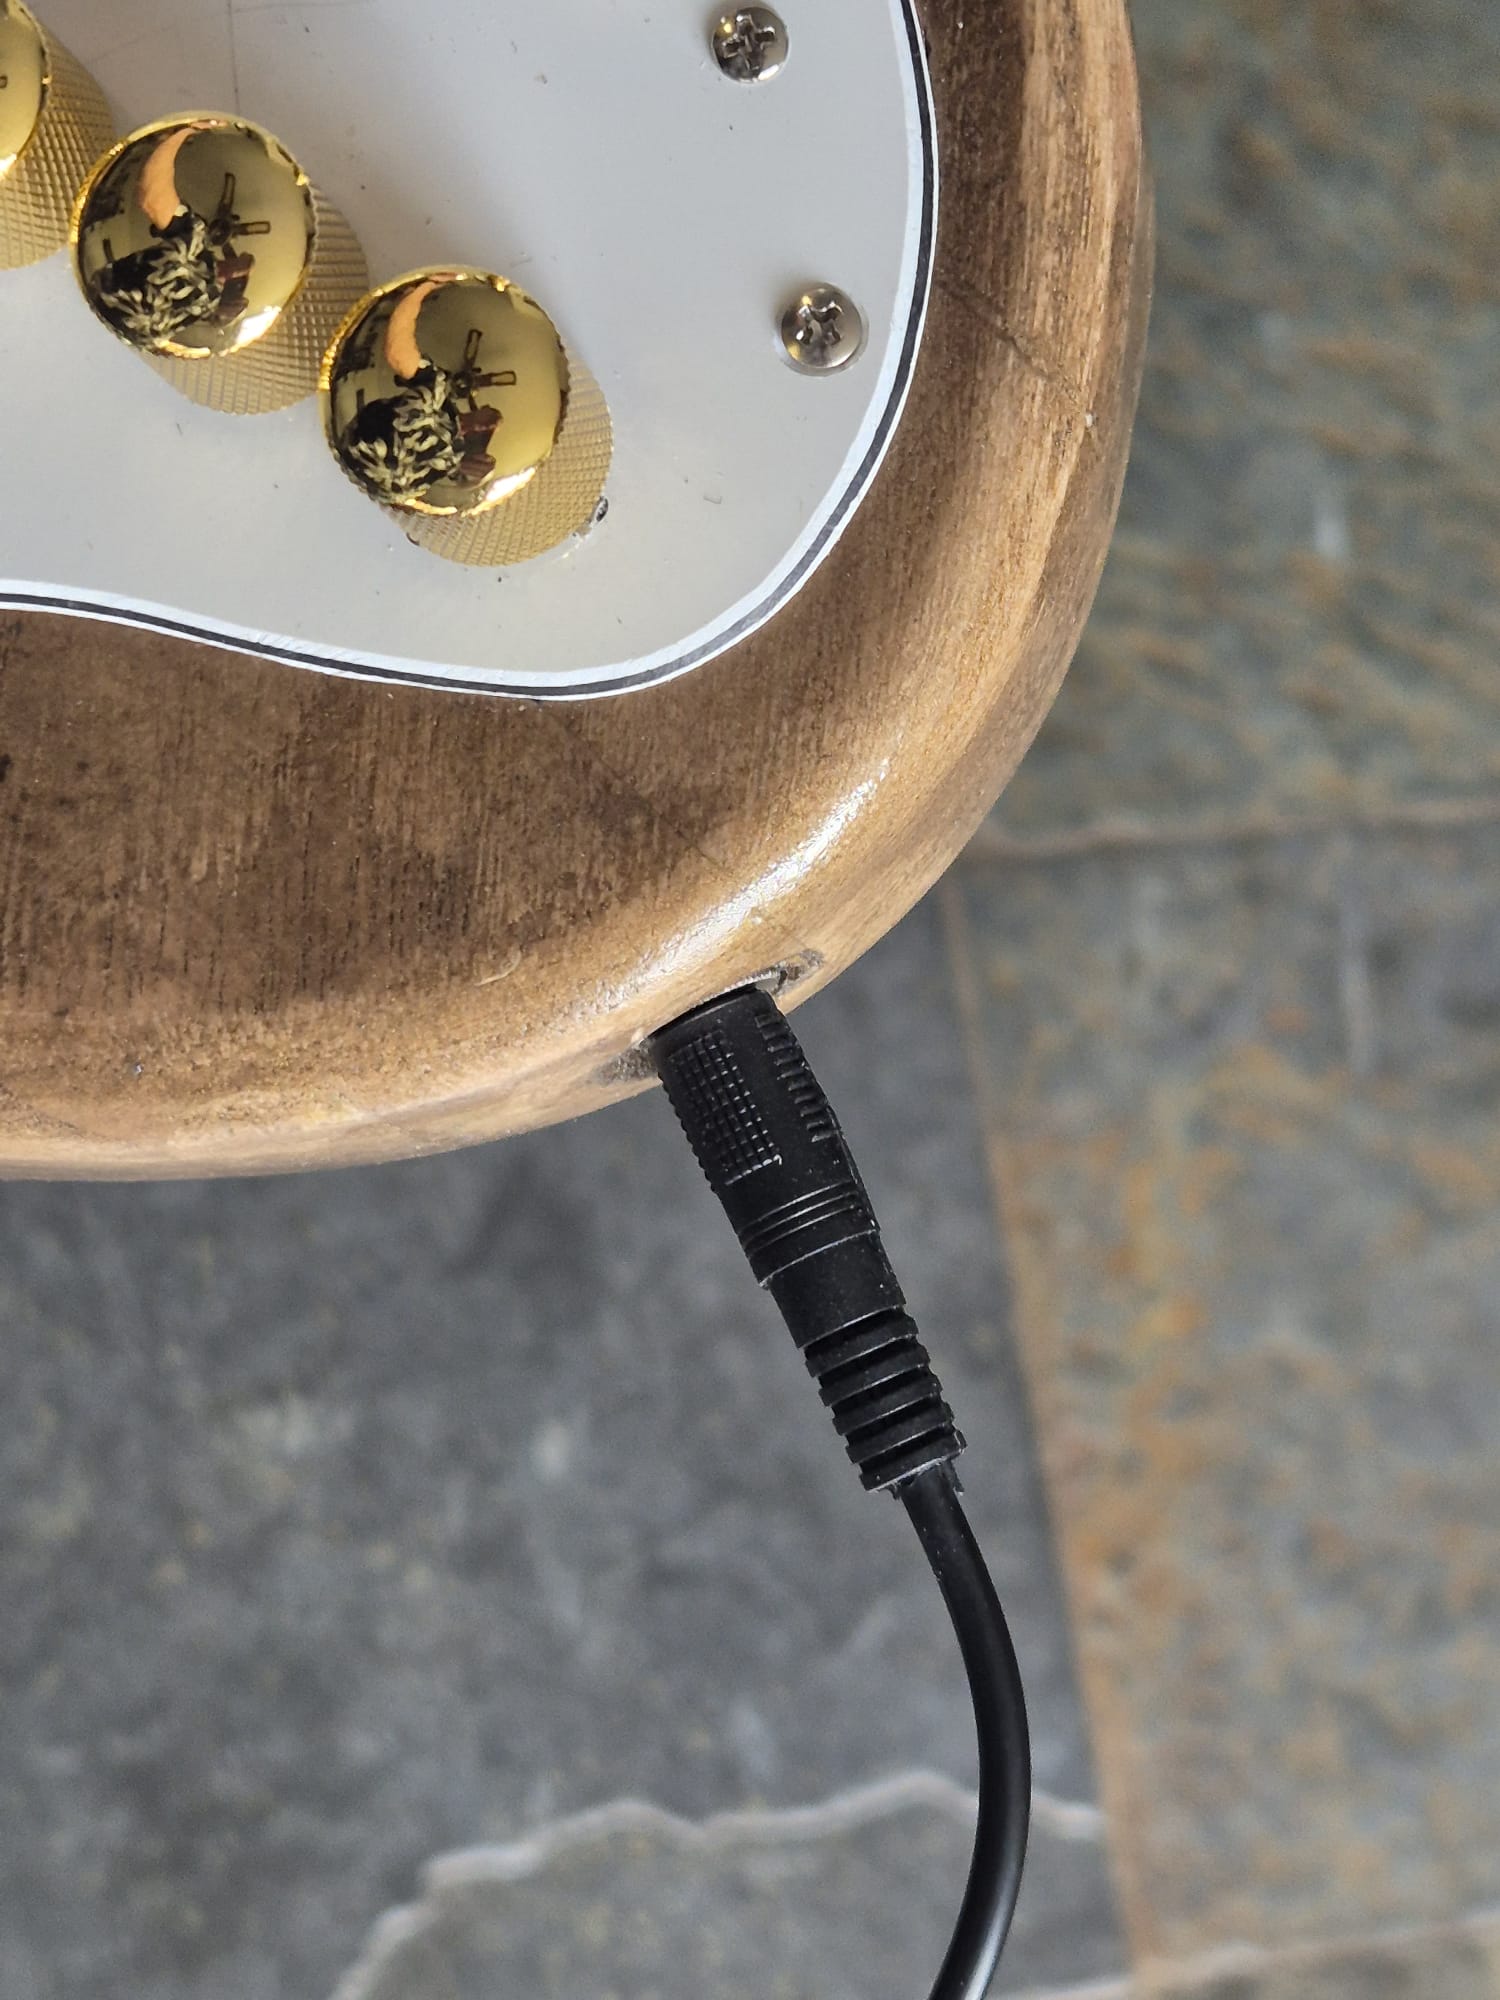
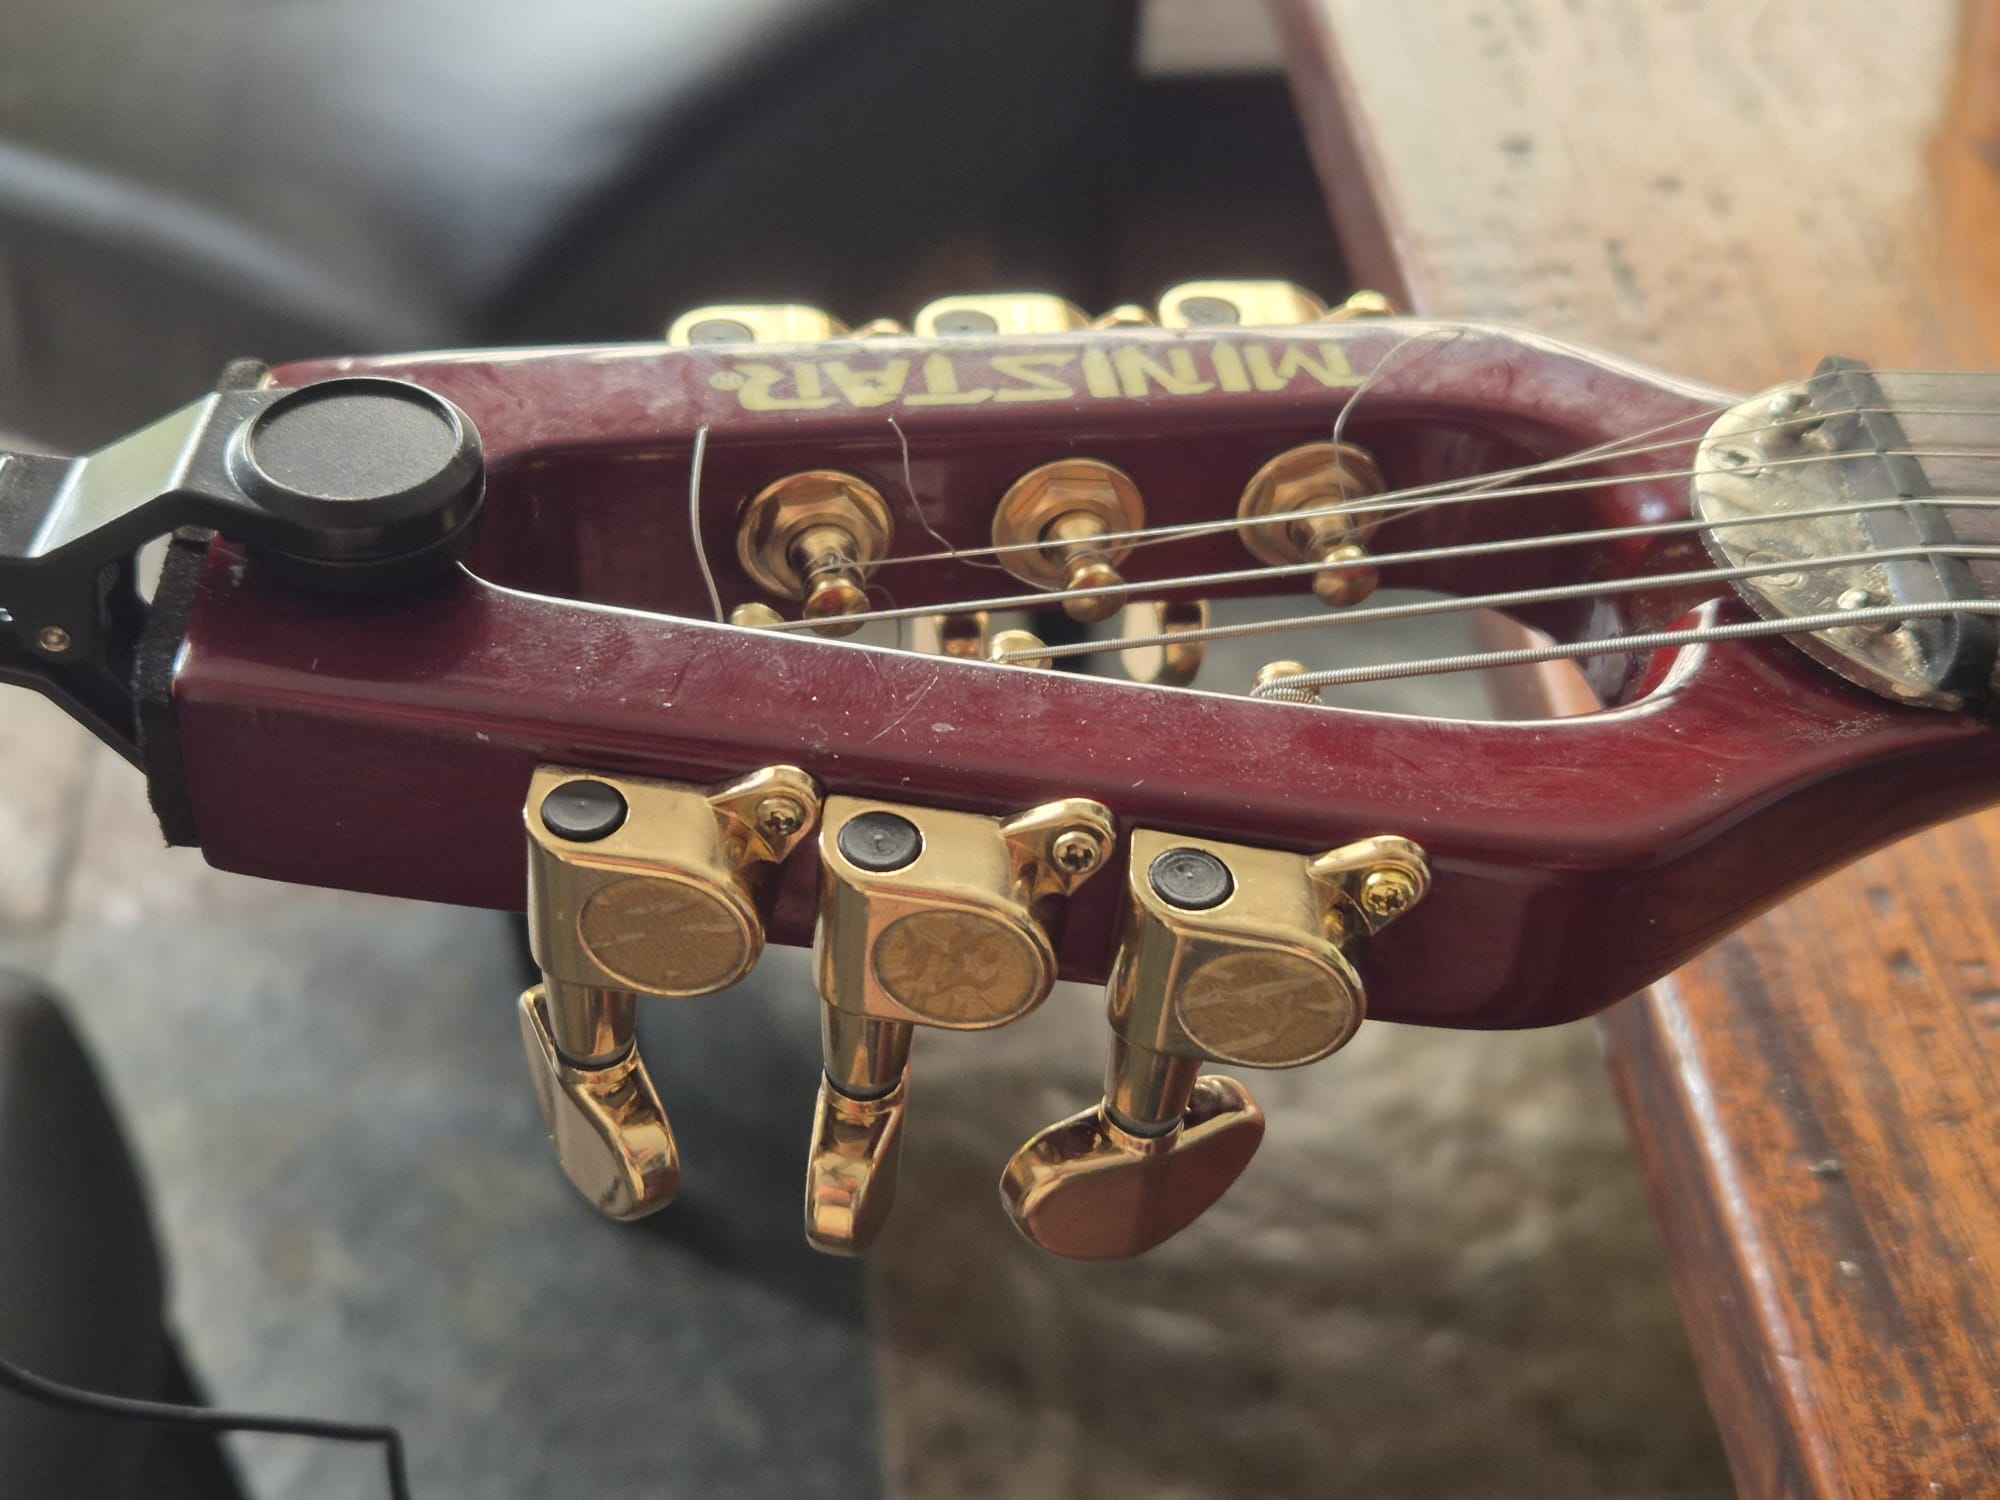
I had quite some issues finding the best fitting gold colored tuners for the ministrat. Finally, I fount and bought the ones that have metal knobs that are small enough not to hit the in-between knob when tuning.I designed and 3d-printed this rear tremelo cover for the ministrat, and spraypainted it to look old and imho really fits the ministrat.The M6 threadd inserts on the side have been gold colored to match the ministrat’s designalso, the signal output got cold colored
NECK’s ORIGIN
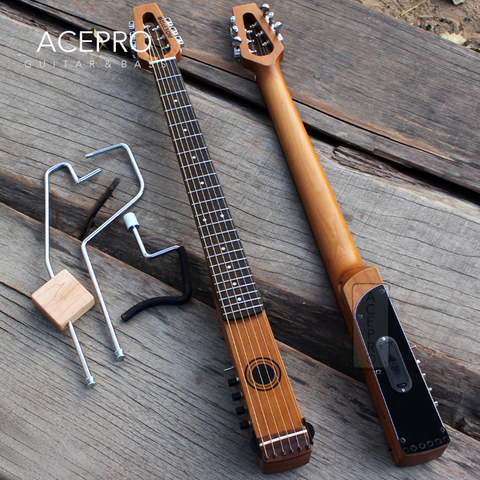
Ter informatie: de draagbare Ministar-gitaar die ik ooit had gekocht (in 2022?), had een piëzo-element onder de plastic brug en had een interne versterker nodig om een enigszins bruikbaar volume te krijgen.
En daarvoor was een batterij nodig in de holle voet aan de onderkant van de gitaar. Ik heb deze gitaar eigenlijk nooit gebruikt, omdat hij werd geleverd met stalen bevestigingsstangen die erg zwaar waren en me niet echt het gevoel gaven dat ik een gitaar bespeelde…
Bovendien was hij onderweg omvangrijk en zwaar.
Het Ministar-model waarvan ik de nek als donor heb gebruikt om mijn nieuwe Ministrat te maken, was van dit model: