
About 2,500 km ago, we had the brake pads and rotors replaced on our 2004 Mazda 3.
But lately, there’s been an occasional squeaking noise coming from the front end, especially when going through roundabouts.
In my experience, this is usually caused by a stuck brake caliper.
As a result, the brake pad cannot retract sufficiently after braking, causing that pad (or both) to rub against the brake rotor. This can cause the rotor to squeak. It’s also possible that everything eventually gets so hot that the whole system catches fire.
Usually, simply loosening the caliper isn’t the solution because such a caliper isn’t stuck for no reason.
A repair kit usually isn’t a solution either, because it’s often the steel cylinder itself that’s rusted to the rim.
This is due to age, the Dutch climate, and insufficient maintenance of the brakes. The protective cover on the outside of the piston can become loose and let moisture in, or even tear over time.
Identifying in a timely manner that a part is no longer moving properly where it needs to—so that you can restore it to working order—is not part of an APK inspection but rather part of regular maintenance.
Unfortunately, many older cars suffer precisely from a lack of regular maintenance because there’s only money or time to fix problems rather than prevent them.
That was certainly the case for us as well.
Before replacing the brakes, we decided to take a preventive approach and replace everything that was likely due for replacement anyway—at least as far as the front brakes are concerned.
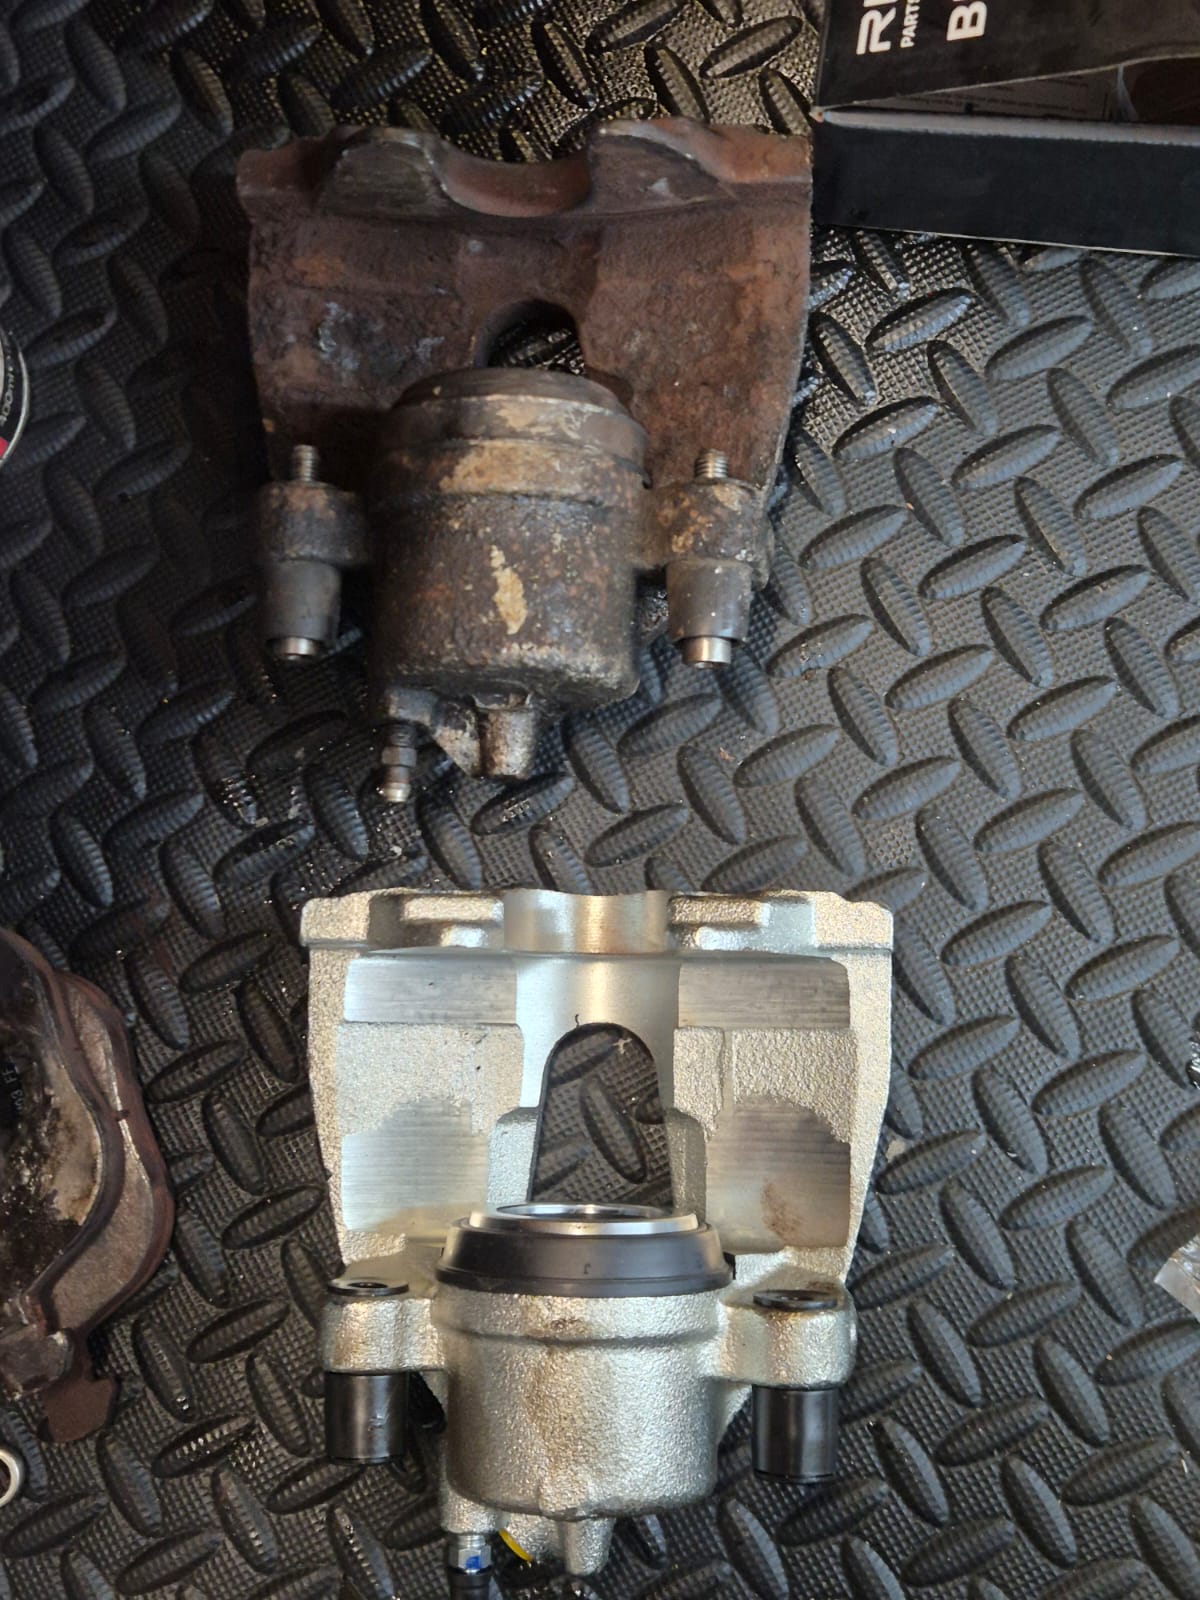
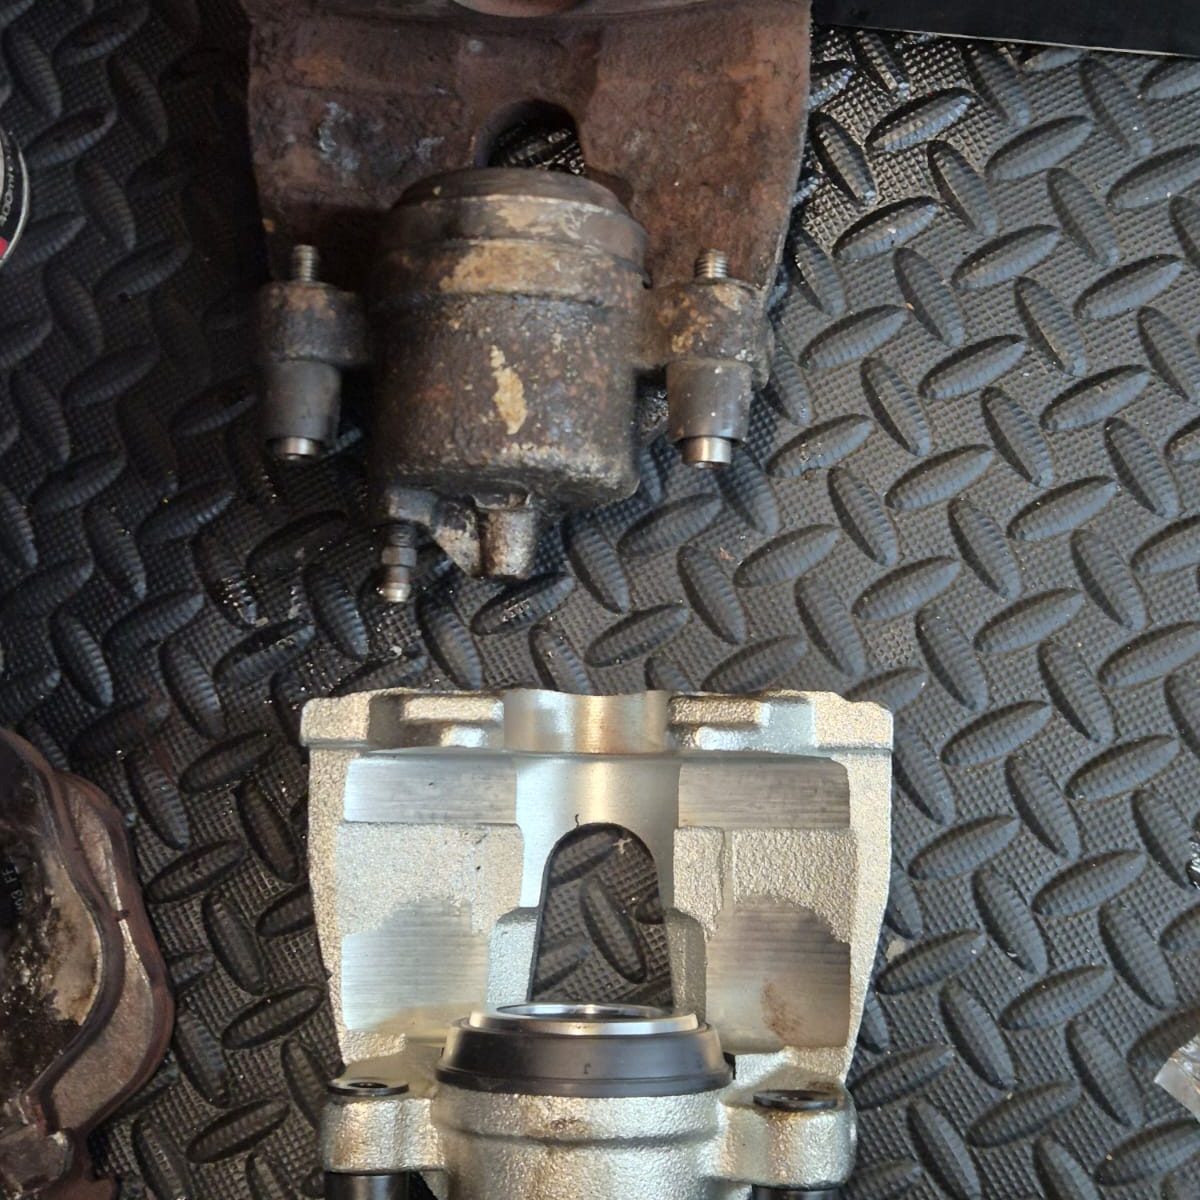
So: We replaced the brake calipers, brake lines, and brake pads. I had measured the brake rotors before ordering the new parts, and they’re still within factory specifications and appear to be completely flat.
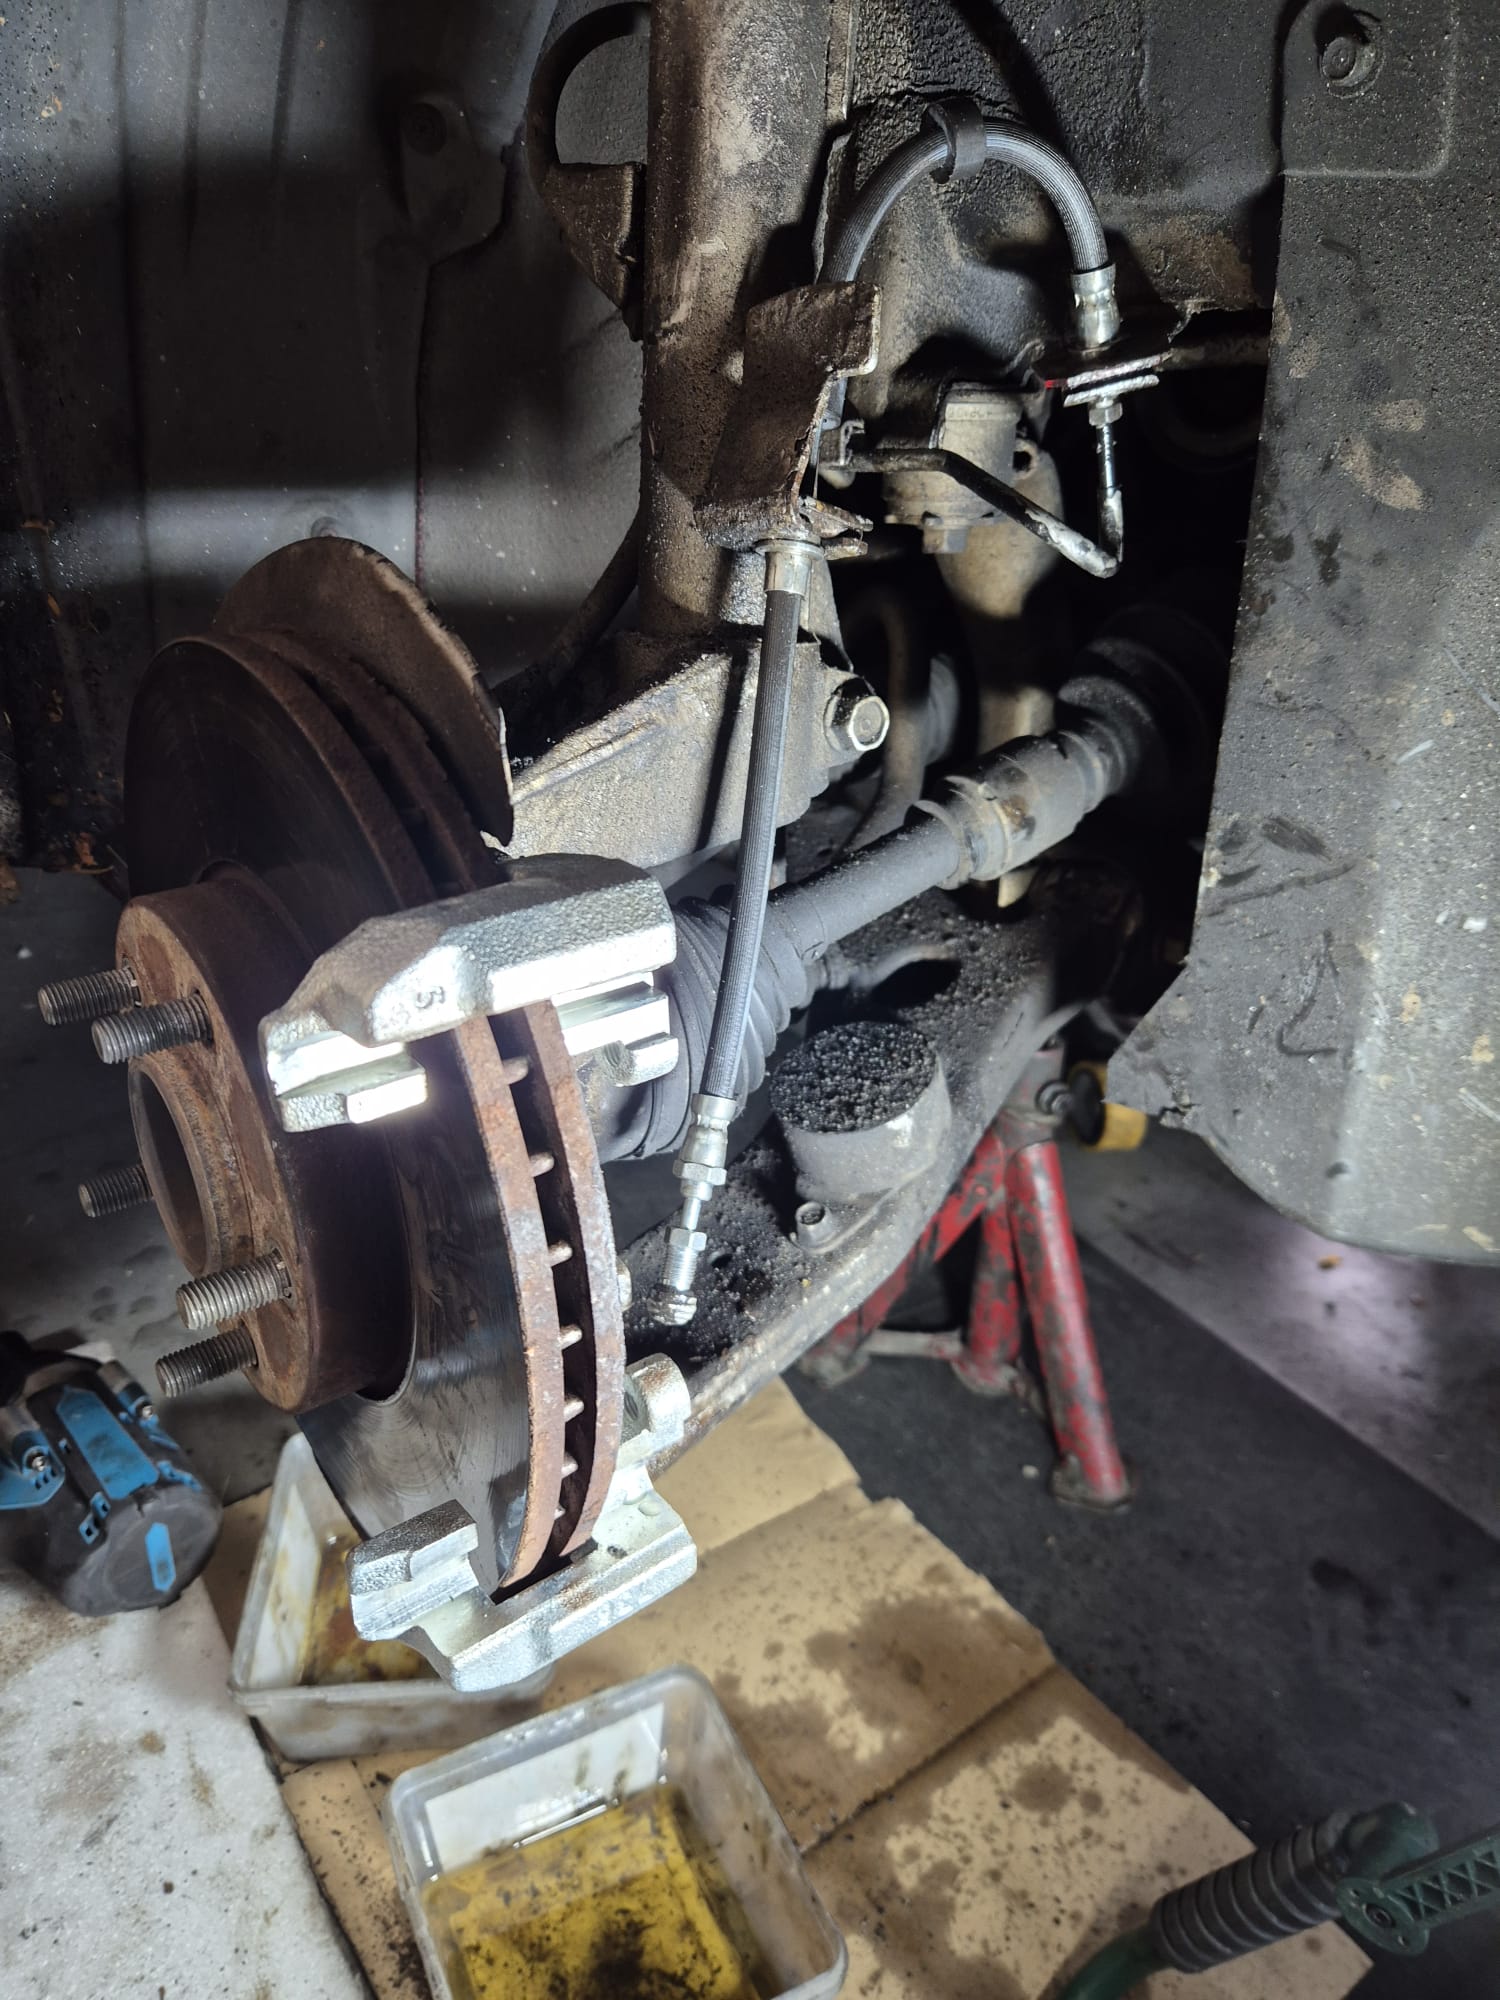
On the left is the new brake caliper; on the right, the shiny new flexible hose. Just barely visible at the bottom is the left jack stand under the subframe. You can also clearly see the nearly new brake rotor. Also note the cap at the very end of the flexible hose’s swivel joint, which is there to prevent leaks as much as possible.
This morning, I first parked the old car outside and backed the Mazda into the garage.
I jacked up the front of the car and placed two jack stands under the subframe, lowered the car, and—as a precaution—placed the jack under the subframe, just clear of it.
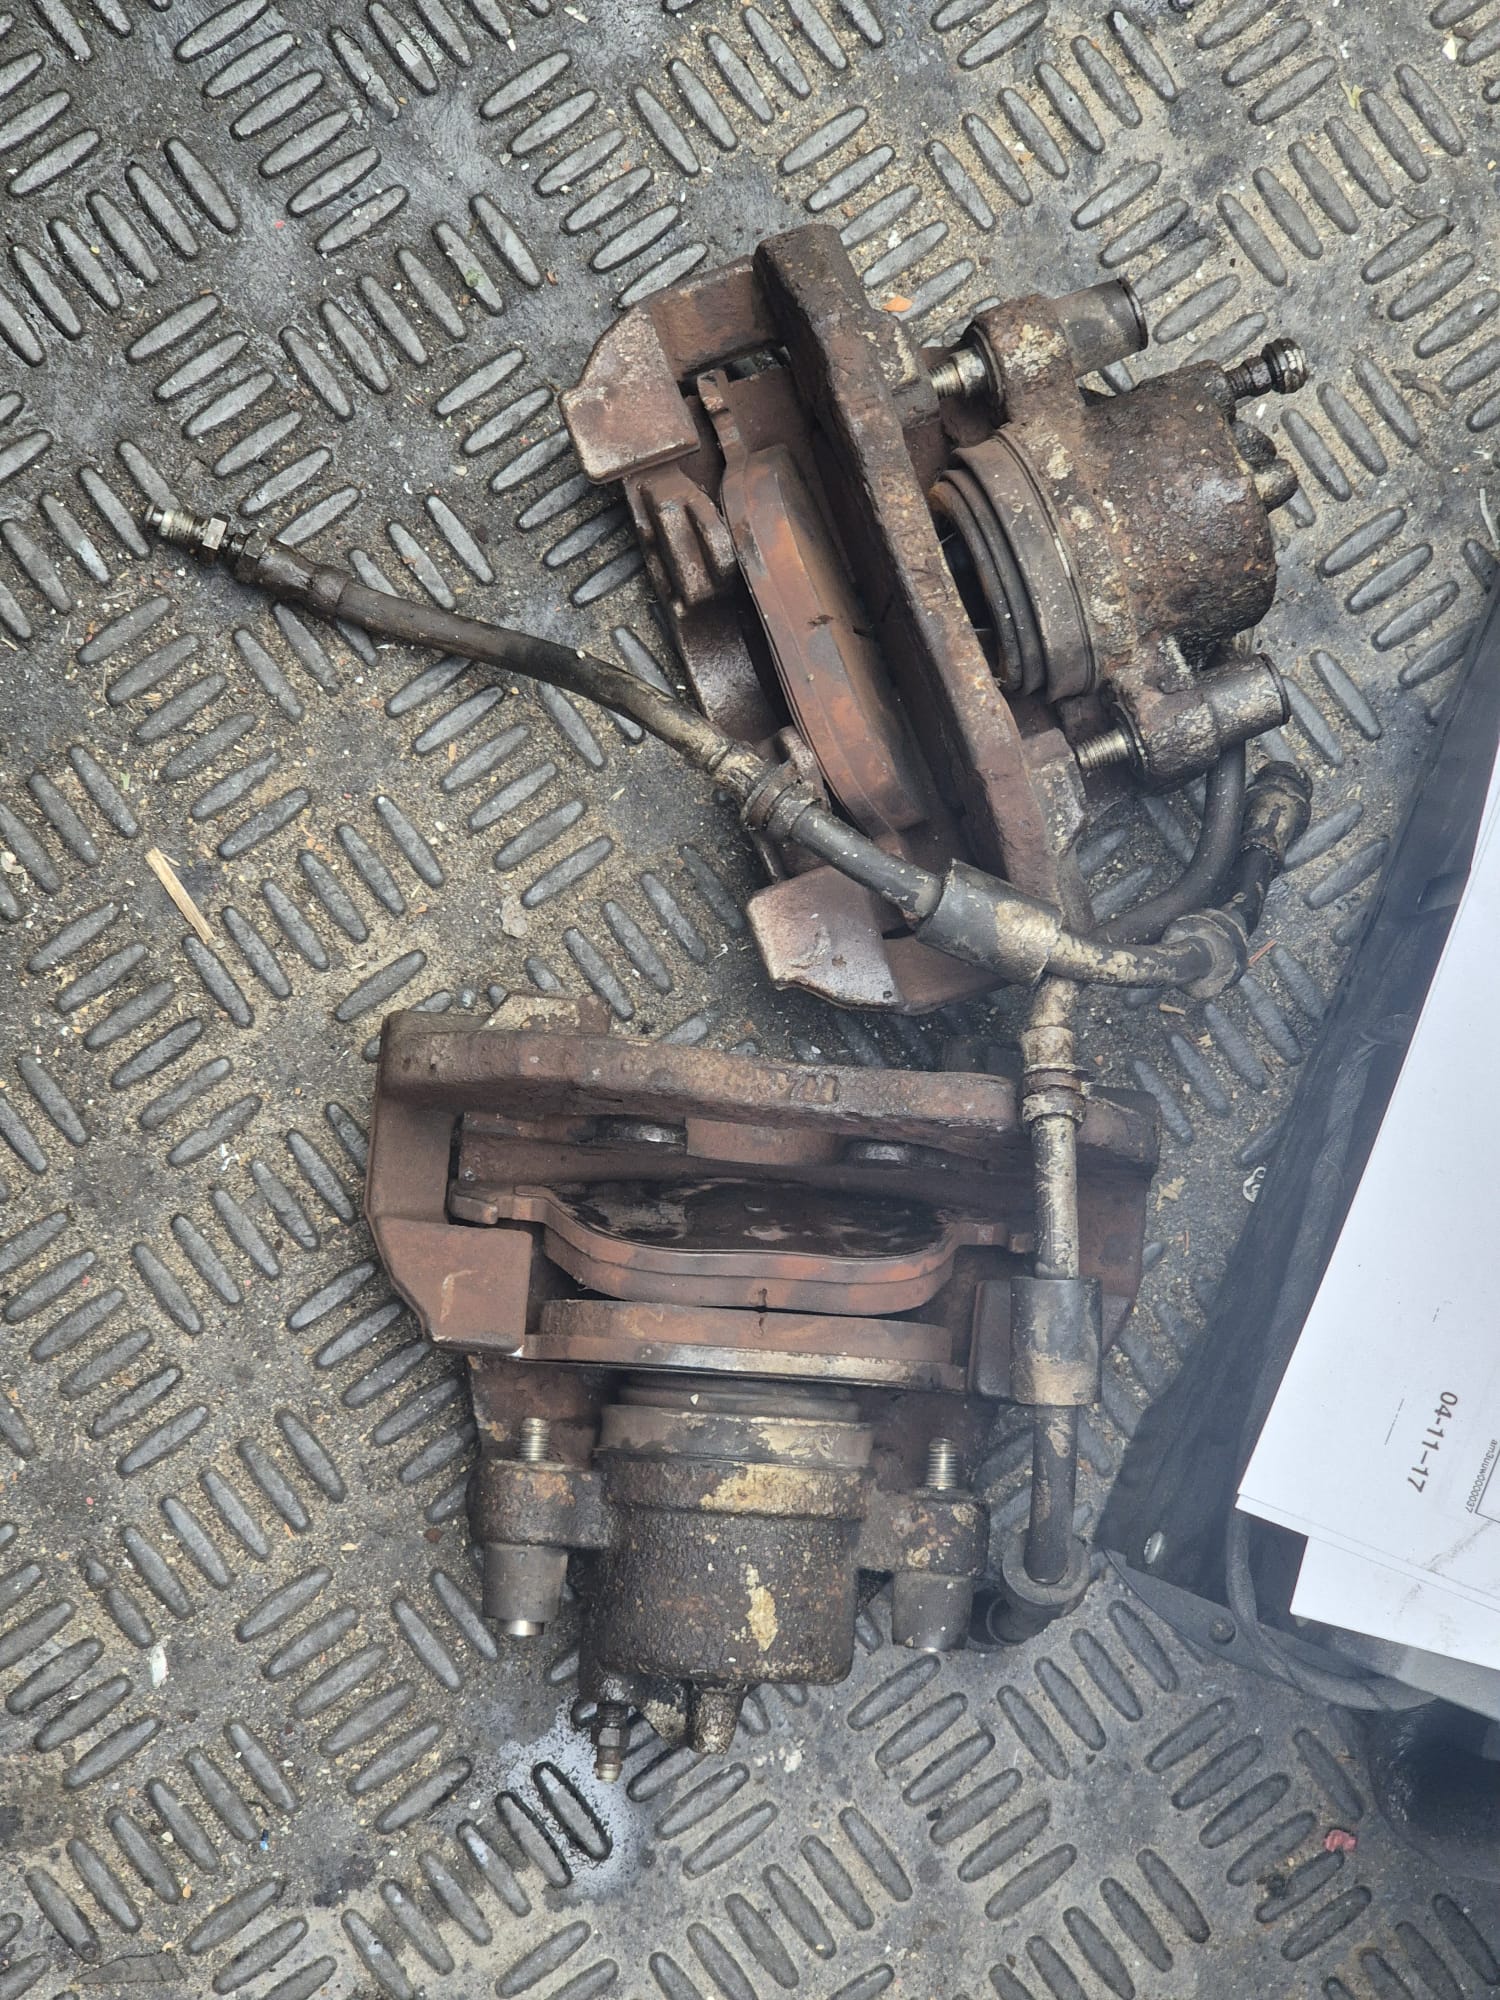
I removed the wheels and performed an inspection. What stands out is that the left wheel is stuck, while the right one is completely loose. Upon closer inspection, it turns out that the left brake caliper must have gotten very hot, as evidenced by the blisters on the paint I applied years ago after a thorough refurbishment of the brake calipers and pistons. Those blisters aren’t present on the right side of the brake caliper.
When pushing the brake piston back, it worked on the right side but not at all on the left. Removing the brake caliper from the brake arm went very smoothly on the right, but on the left I had to use a press to push the brake shoe and piston back so that the brake caliper could be removed from the disc and the brake pads.
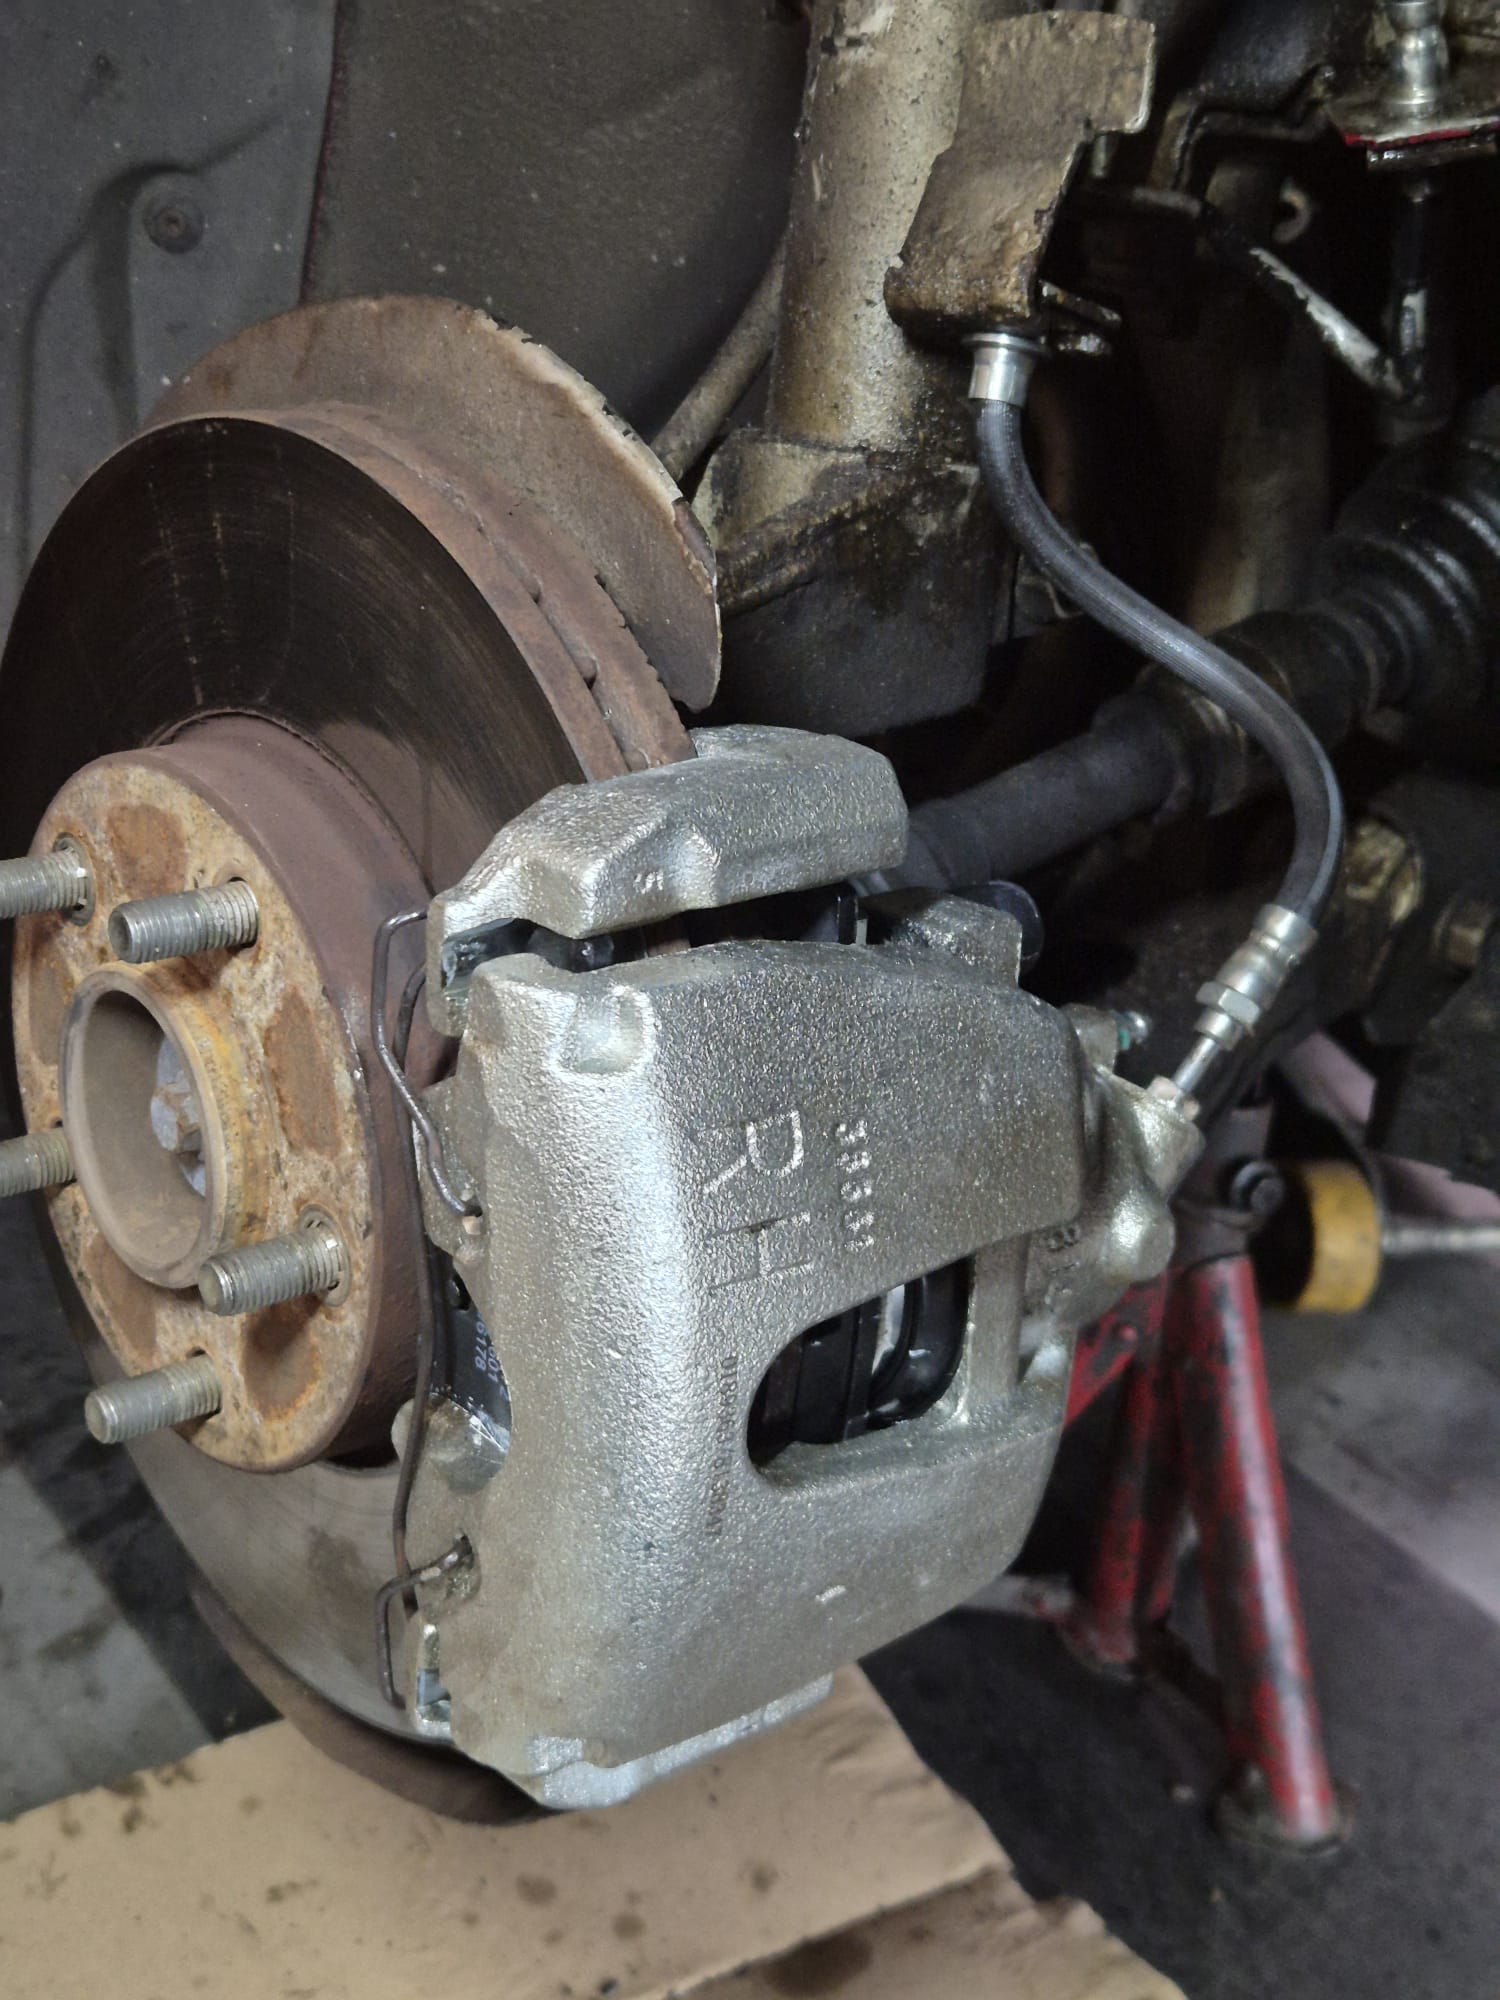
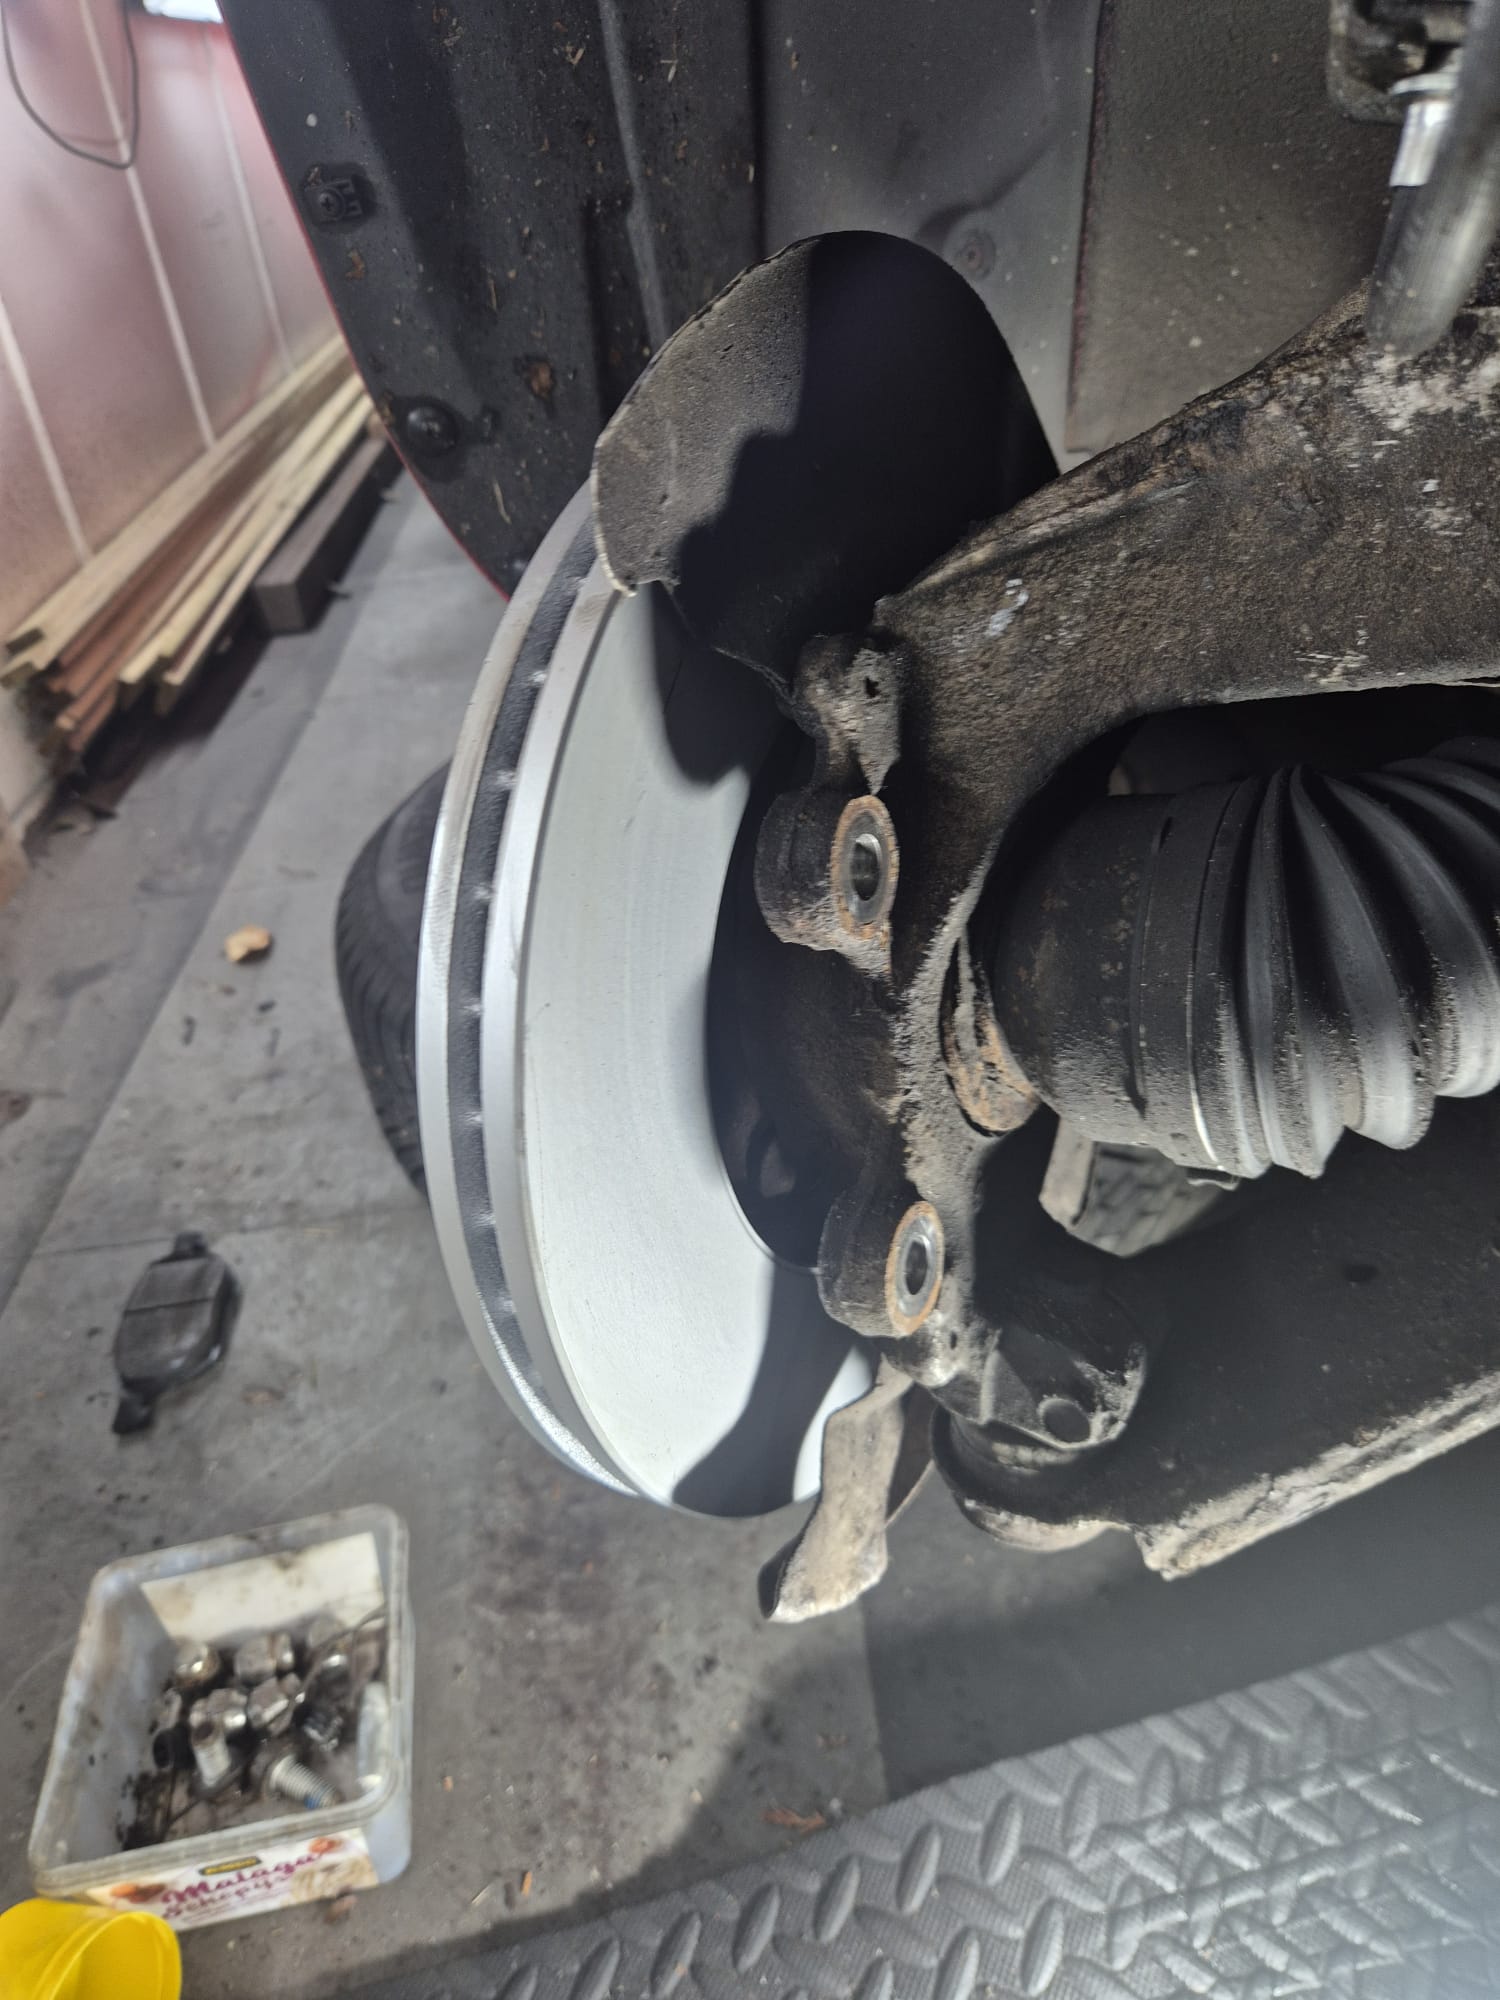
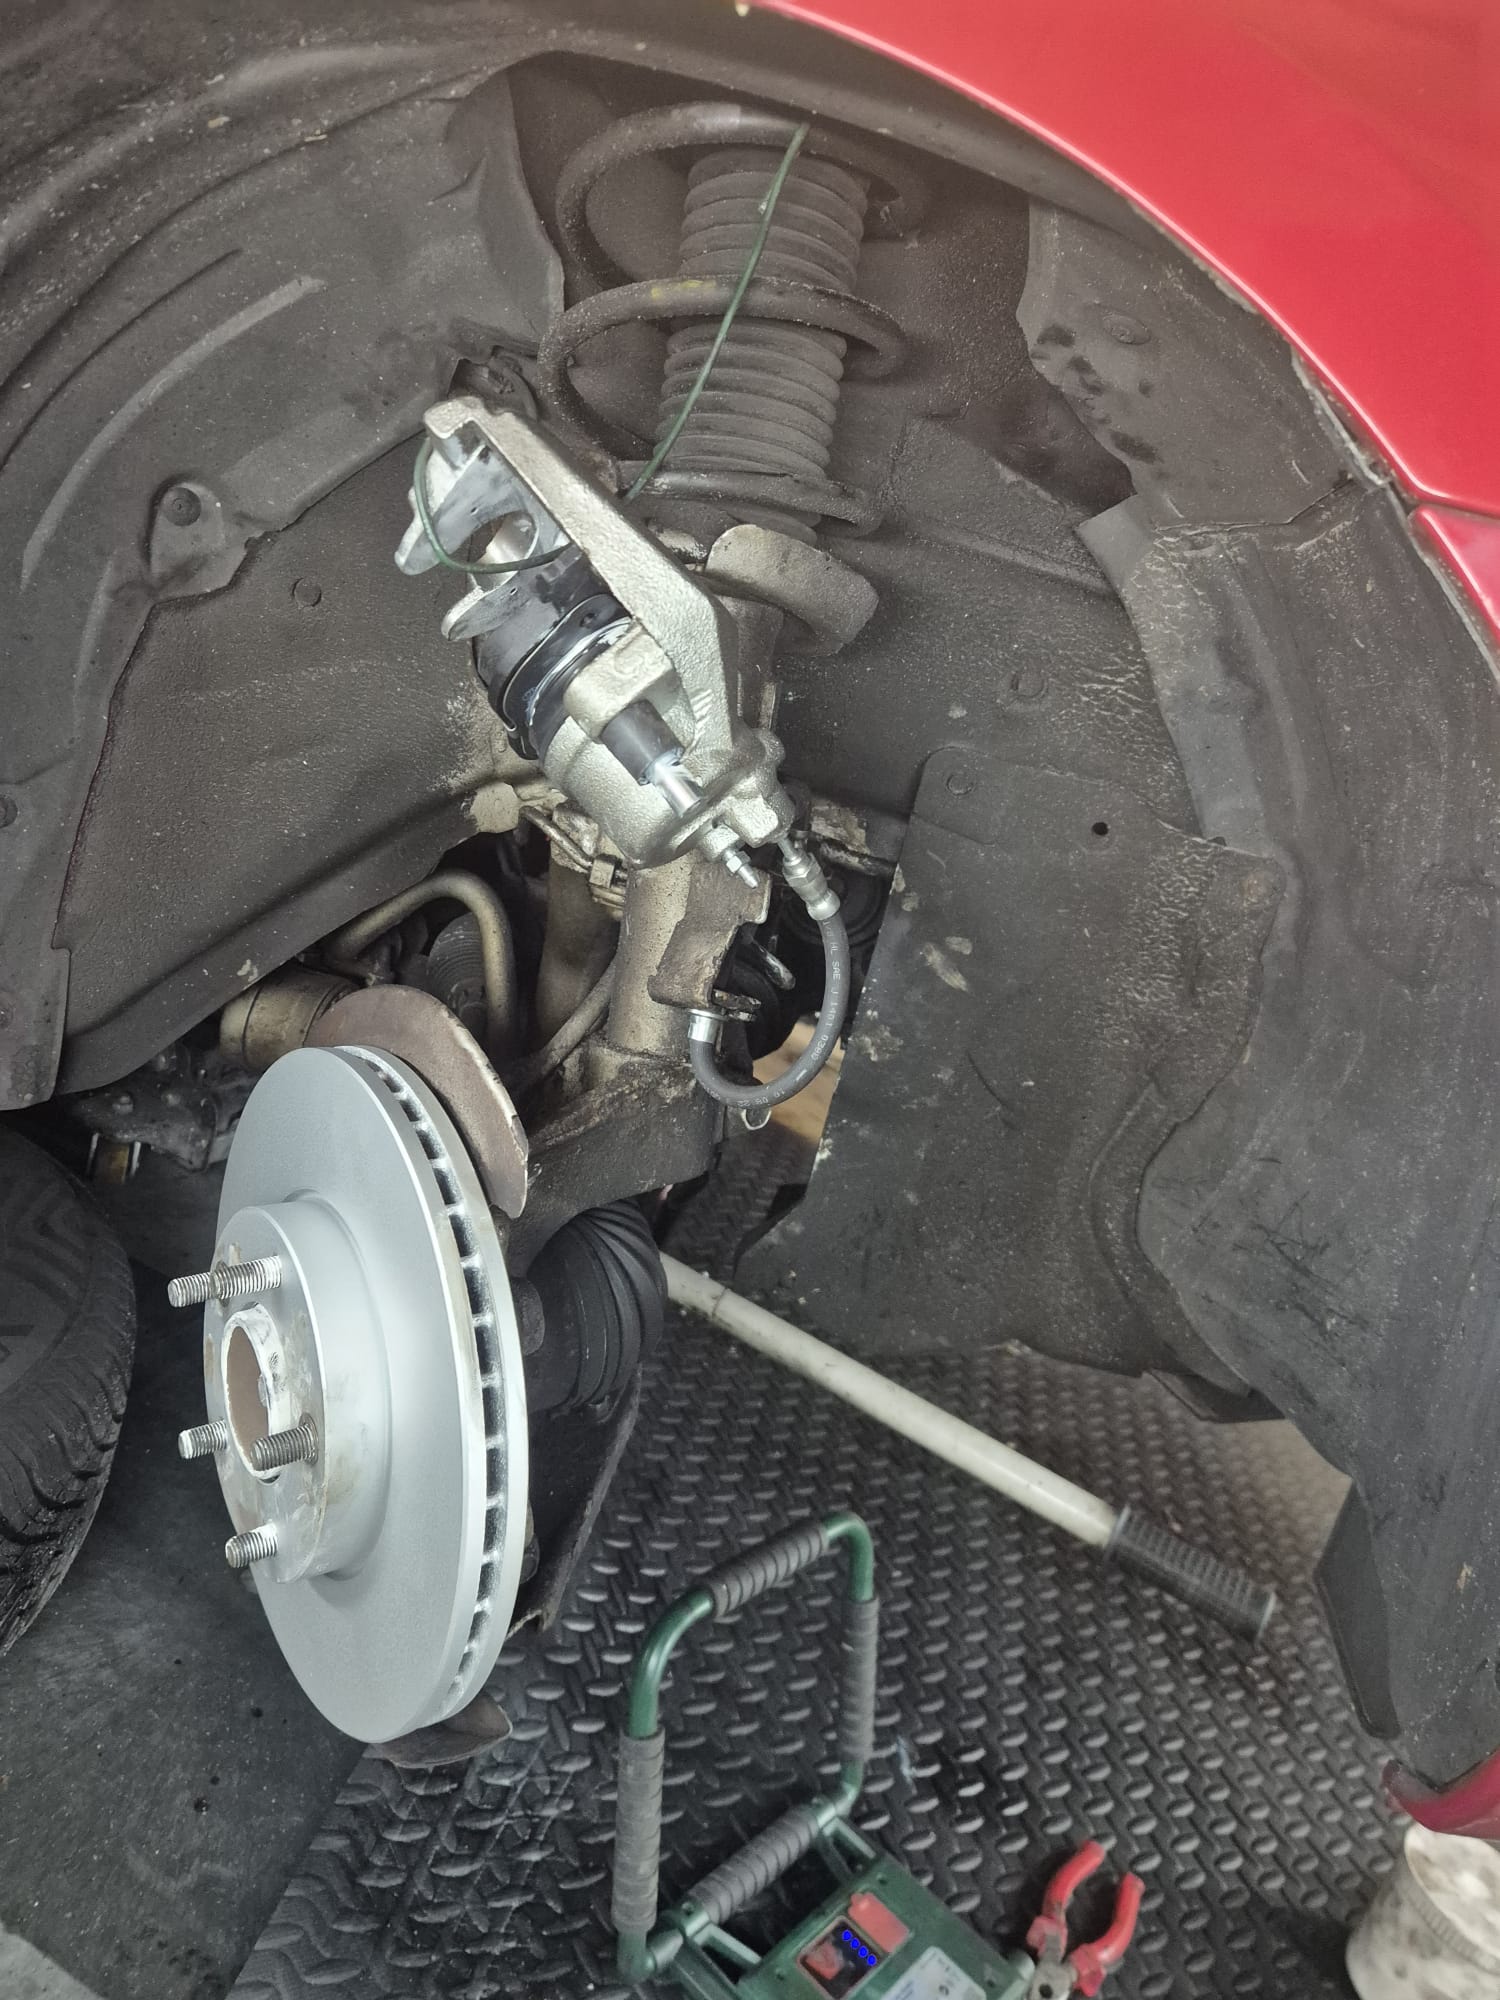
A quick note on the removal sequence:
- Jack up the vehicle under the subframe
- Remove the wheels
- Disconnect the flexible brake line from the caliper using a special 10 mm brake wrench and a 14 mm open-end wrench; then temporarily place the caliper bleed cap on the end of the brake hose swivel to prevent leaks.
- Remove the caps from the rubber centering bushings on the back of the brake caliper.
- Loosen and remove the hex socket bolts securing the brake caliper to the brake strut.
- Remove the brake caliper spring from the front of the brake caliper. This spring holds the front of the brake caliper tightly against the brake strut after reassembly and ensures proper alignment for correct operation.
Remove the brake caliper along with the brake pads. - Remove the brake master cylinder from the rear. It is secured with bolts and Loctite. I always use my jackhammer to avoid damaging the bolts. You can also do this with a wrench. These are bolts with a standard 17mm head.
- Disconnect the other end of the flexible brake line. Only remove the retaining sliders AFTER disconnecting the line, because otherwise everything will rotate along with the brake line and swivel at the bottom of the connection point when you disconnect it. Use the 10mm brake wrench for this as well. It almost never works with a standard 10mm open-end wrench, and if you use locking pliers, you’ll also damage the swivel on the inside, preventing it from moving smoothly along the brake line. Unfortunately, I had to learn this the hard way a long time ago… -)
- Remove the retaining plates in the middle of the flexible line and at the connection to the rigid steel brake line. If the original ones are still in place, you’re in luck: If the penetrating oil has had enough time to work, you can slide them off fairly easily. There’s a small hole in the center on the pull side that a thin screwdriver fits into. Using a self-gripping plier perpendicular to the screwdriver, just above the plate, you can pull it right out. Otherwise, move it back and forth slightly to the left and right while pulling on the plate, and it should come out that way too.
- Thoroughly clean the areas where the flexible line passes through and spray some engine oil or preservative oil on them. Do the same with the mounting sliding plates.
- Reassemble in reverse order. Note the following: The mounting points for the flexible hose are fixed so they cannot rotate. The top one has a small recess in the hole, and the middle one has a flat side on the back, where the fork leg is located. You can rotate the middle one around the hose to ensure everything fits.
Extra tip: Do not secure the top locking plate until AFTER you have screwed the swivel from the rigid line into the flexible line by hand. Then press it into the hole, insert the locking plate, and then you can tighten the swivel with the 10mm brake wrench! Otherwise, it’s nearly impossible to find the exact position for the thread to engage.
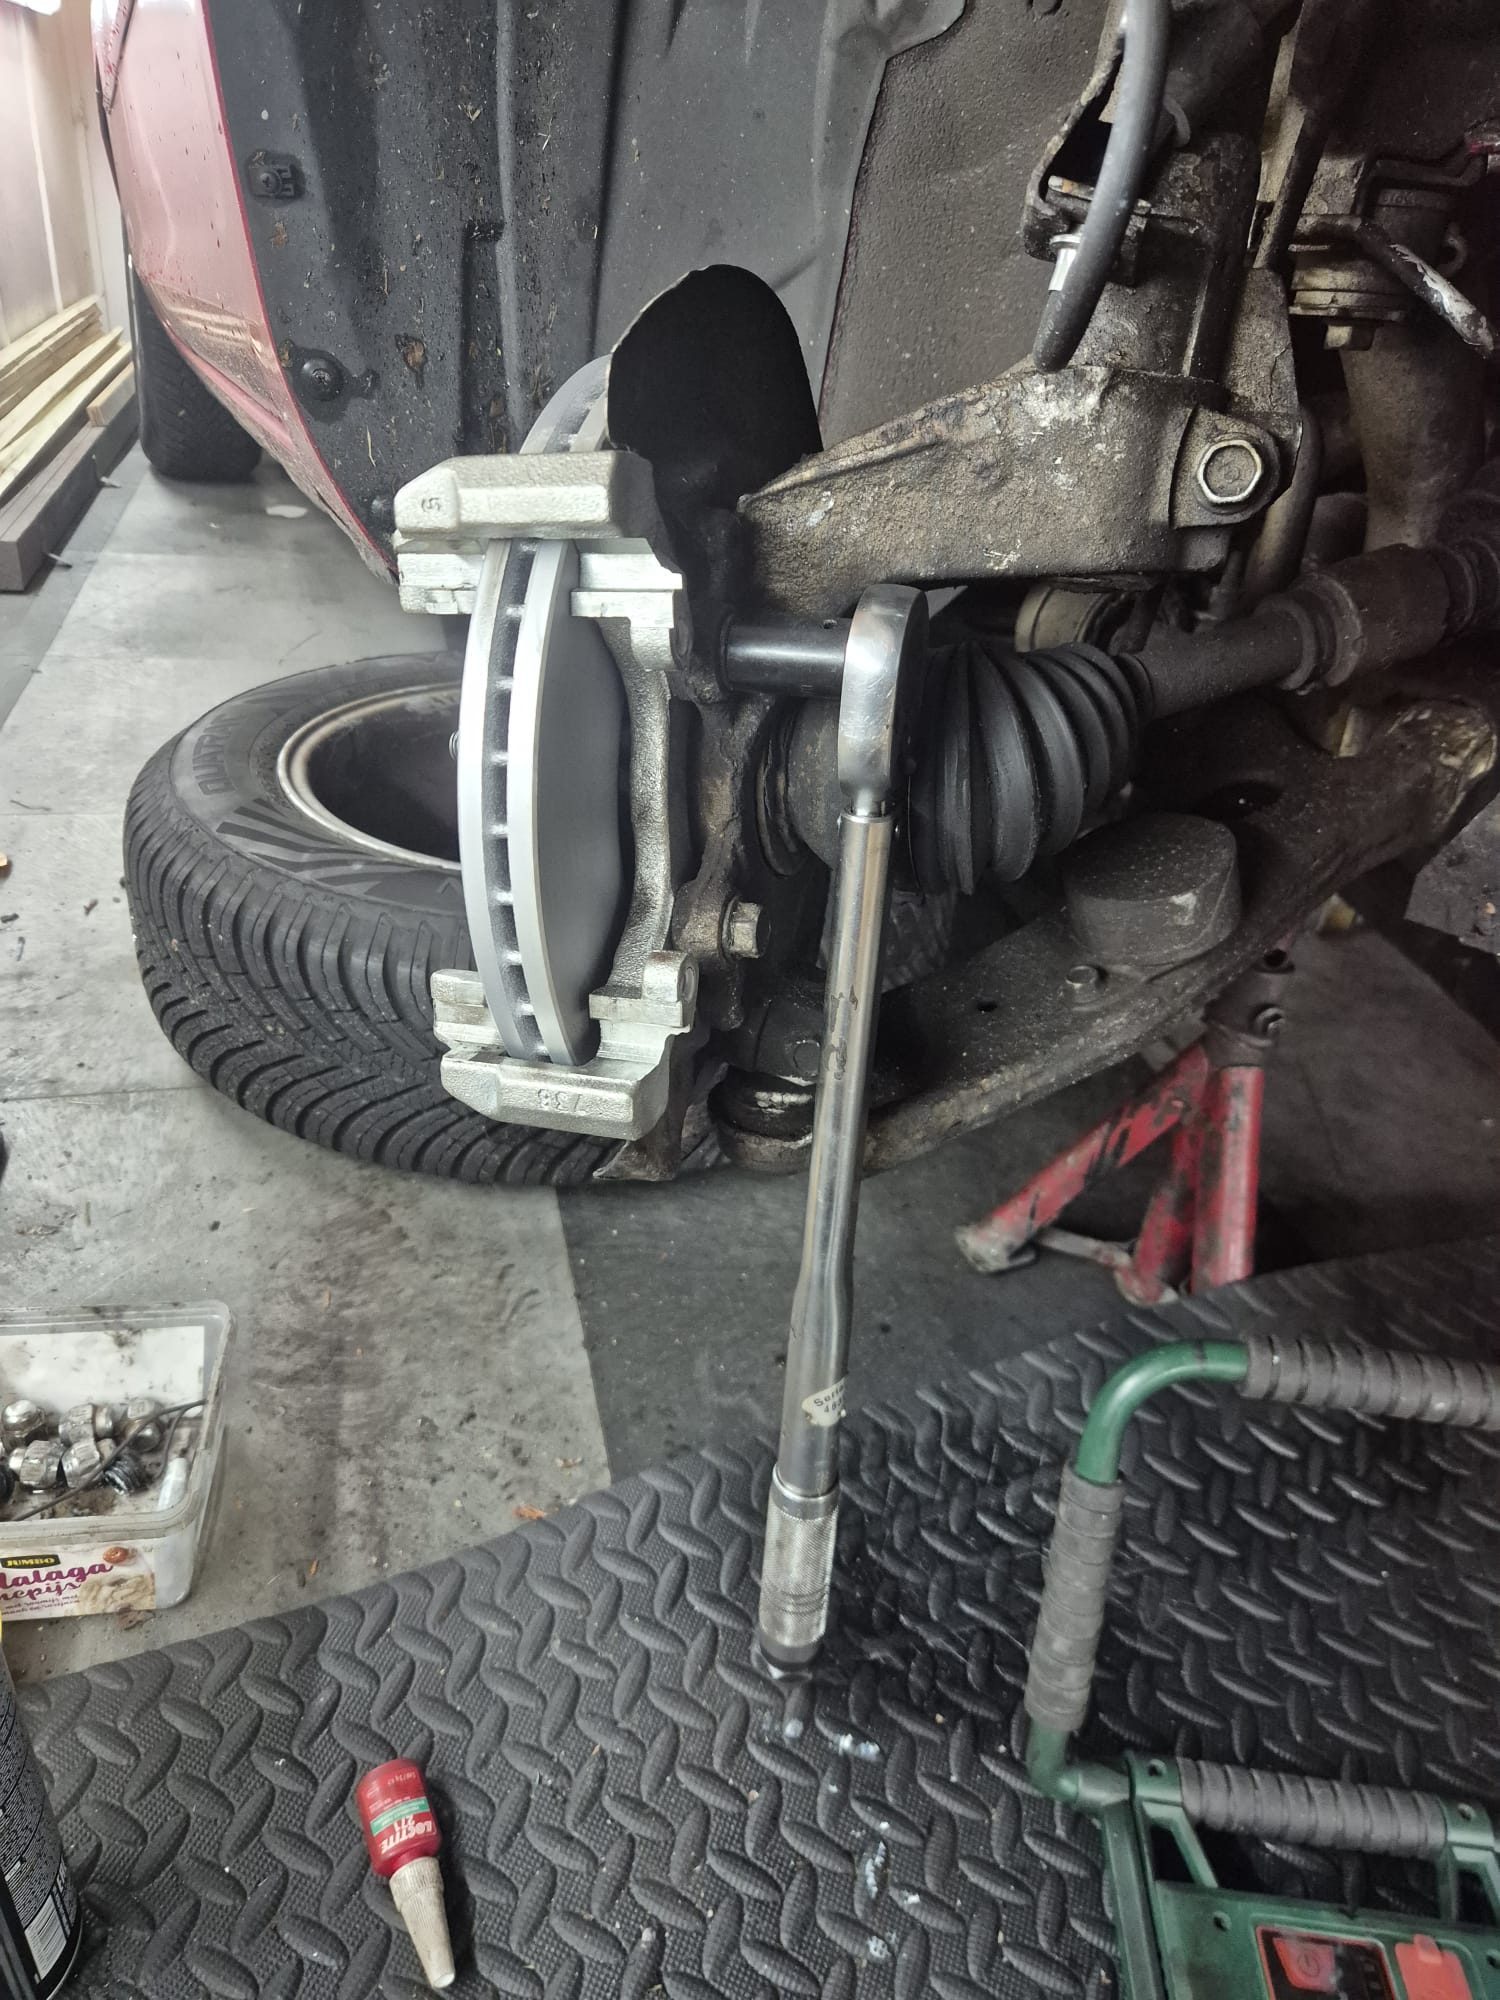
When it comes to brakes in general—and this applies here as well—prevent unnecessary future maintenance or repairs by applying a sufficient amount of silicone grease to all moving parts, specifically: on the brake calipers where the brake pads come into contact with the steel components, on the brake caliper piston, and in the rubber bushings that house the bolts securing the brake caliper to the caliper body.
And very important: Be sure to apply LOCTITE to the first few turns of the brake caliper bolts and then tighten them to the correct torque. For rough work on the car, I almost always use one torque setting: that for the wheel bolts. So that includes the brake caliper bolts as well. My large torque wrench is permanently set to that value. I use my smaller torque wrench for adjustable torque.
BLEEDING
There are several ways to bleed the system, and for a replacement like this, bleeding is absolutely necessary.
I always bleed the system using my vacuum pump.
It’s connected to a collection reservoir; one hose goes to the vacuum pump, and the other hose goes to the component being bled. Brake fluid sucked out of the system remains in the reservoir.
Using the bleed nipple on the brake calipers, you control how much fluid is bled, while you need to keep topping off the car’s reservoir slightly so the brake fluid can flush through properly.
First, I bled the brake caliper that’s mounted closest to the car’s brake fluid reservoir—that’s on the left. Then the right one, and back to the left. Done.
Right after that, I mounted the wheels, moved everything out of the way, raised the car with the jack, removed the jack stands, lowered the jack, and took it for a quick test drive.
I could tell that the pads still need to bed in a bit on the rotors, but the car brakes just fine.
The pedal feels firm right away, and pressing it a second time feels exactly the same. Still, I’m going to bleed the brakes again next week, and I’ll take care of the rear brakes at the same time to flush them out—that was already on the schedule anyway. Good luck!
A WARPED BRAKE DISC AFTER ALL
BUT—during the test drive, I immediately noticed that the brakes were vibrating a bit. Apparently, the front-left brake disc has shifted out of its radial center (or is simply a bit warped), likely due to the stuck old brake caliper.
So I ordered new discs from Hella right away; they’re usually better than those from an unknown brand, but we’ll see what we get.
Luckily, I still had a round of bleeding scheduled, so I went ahead and replaced the front brake discs at the same time.
EXTRA FOTO’S