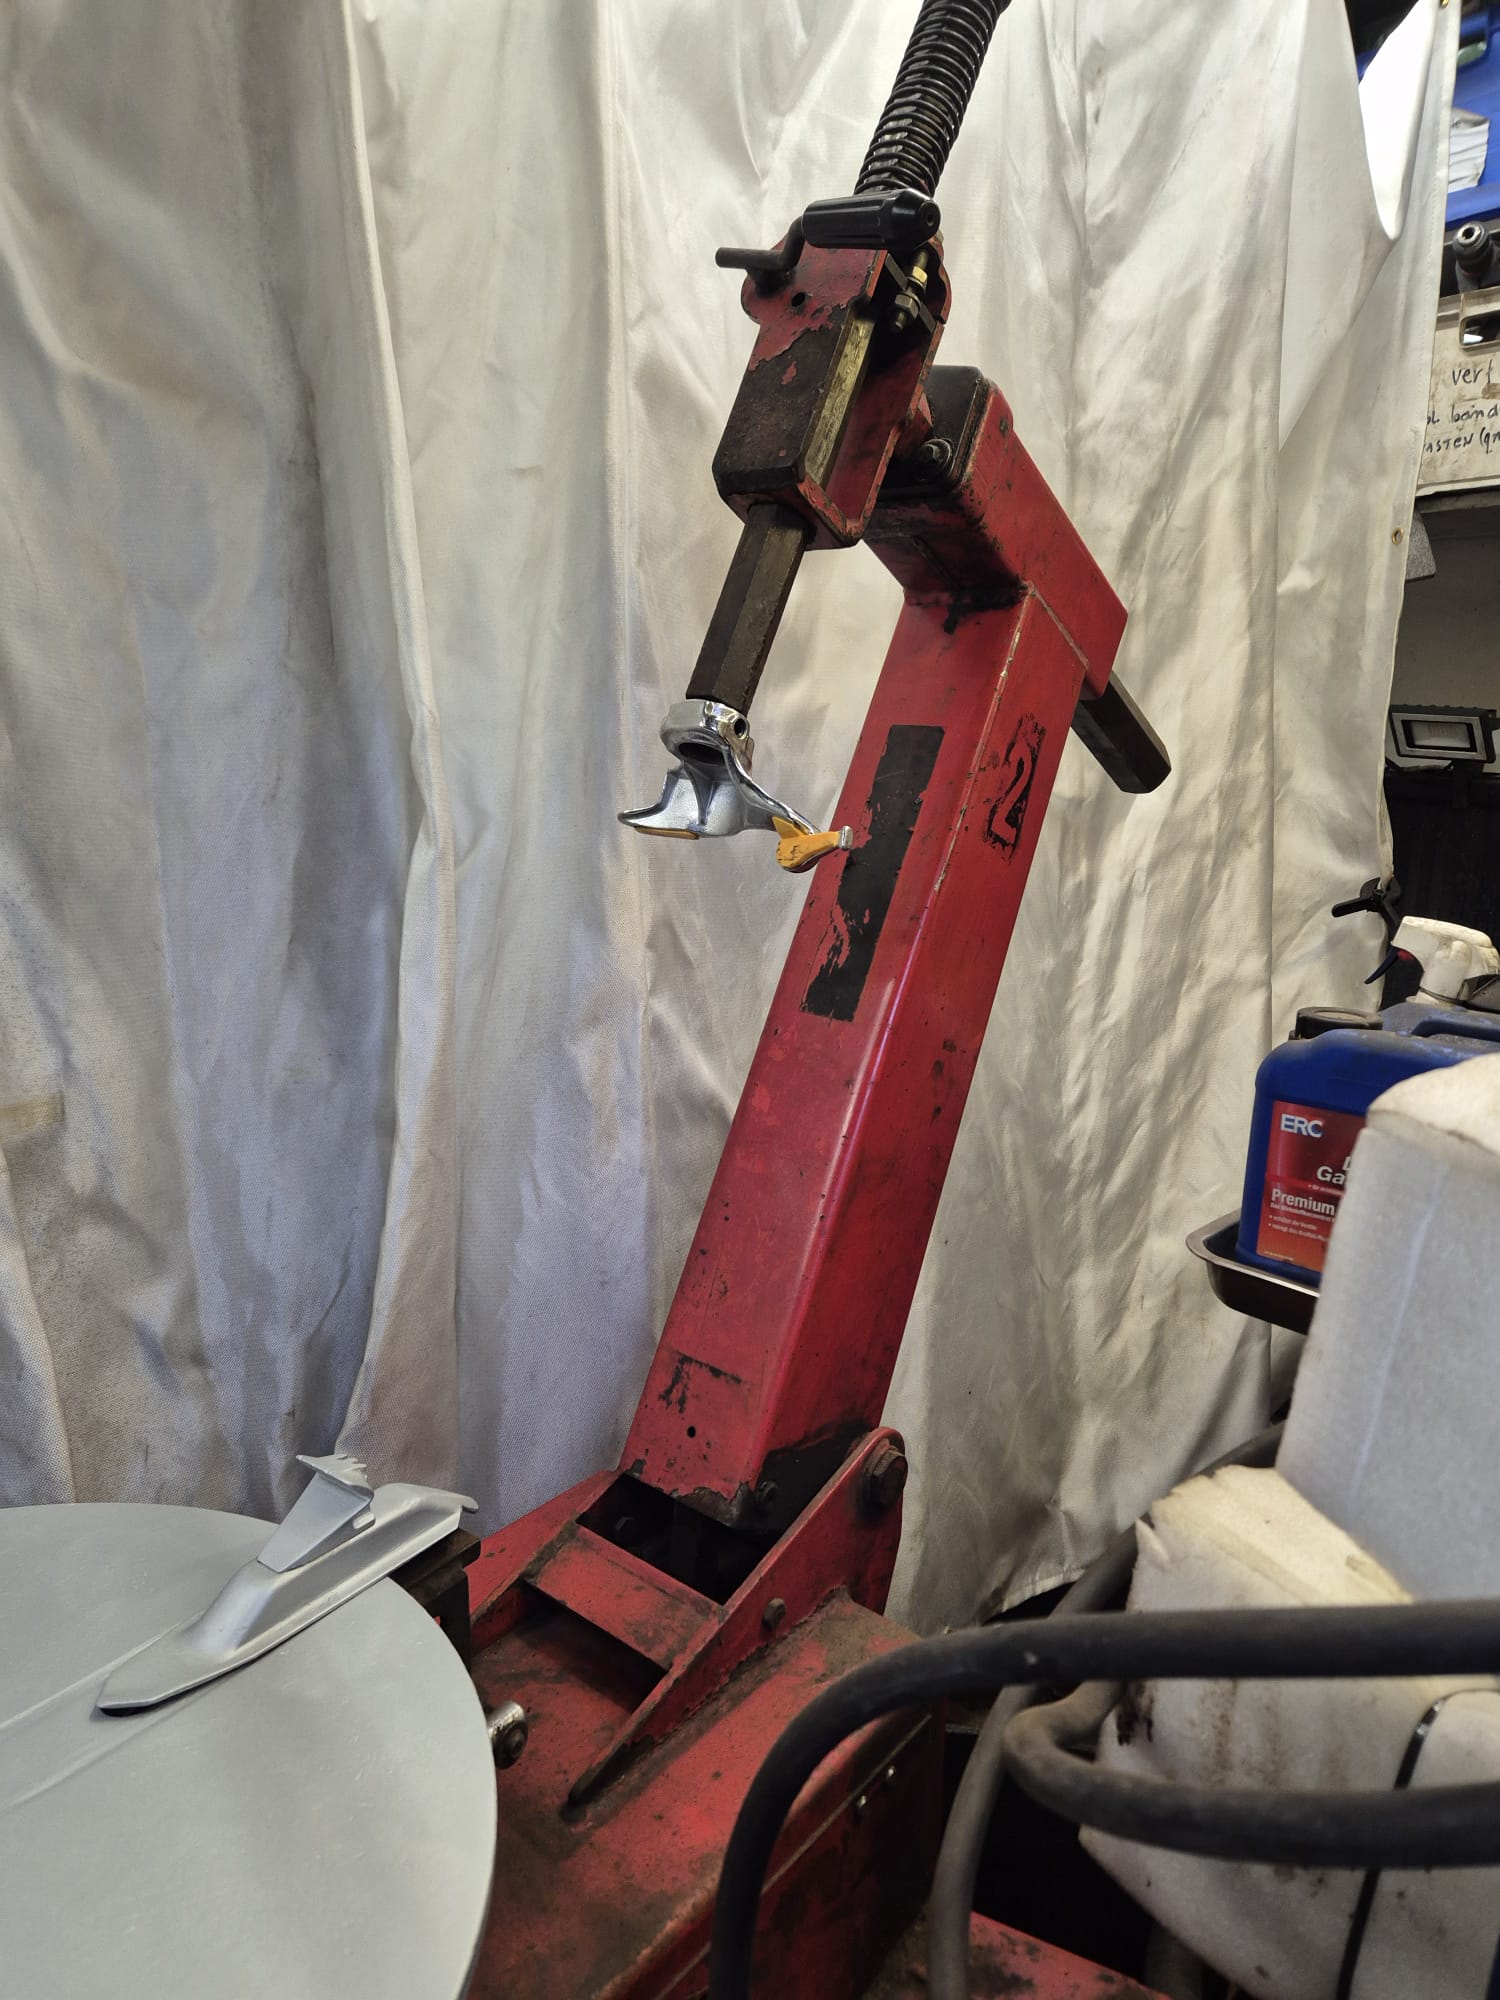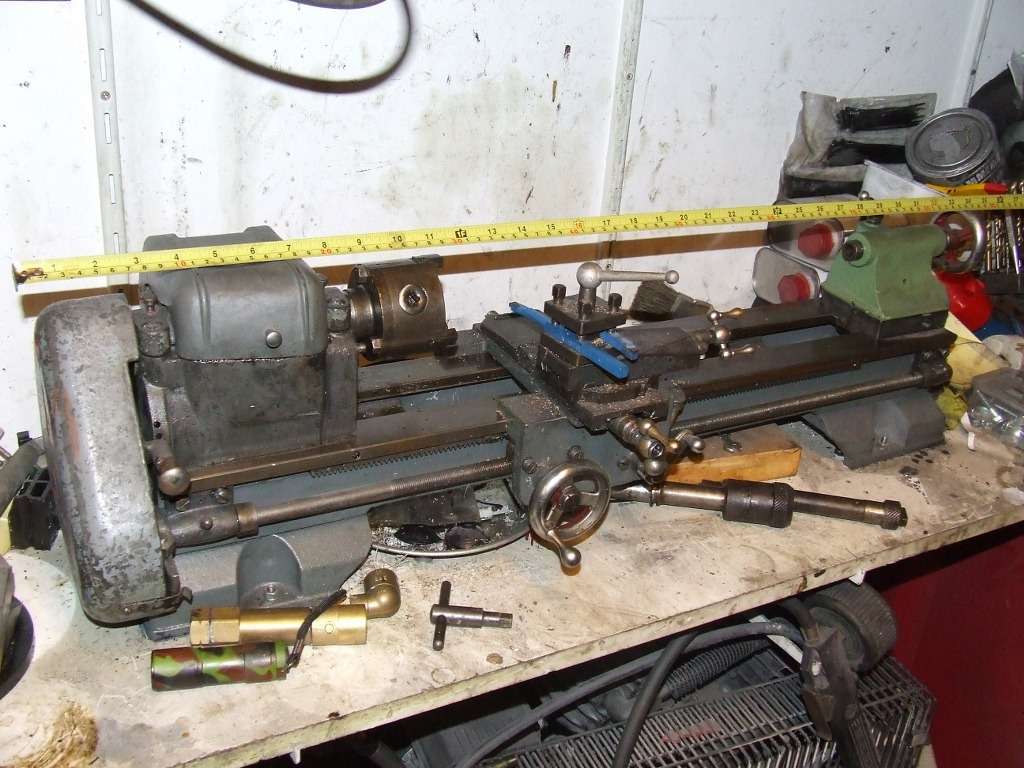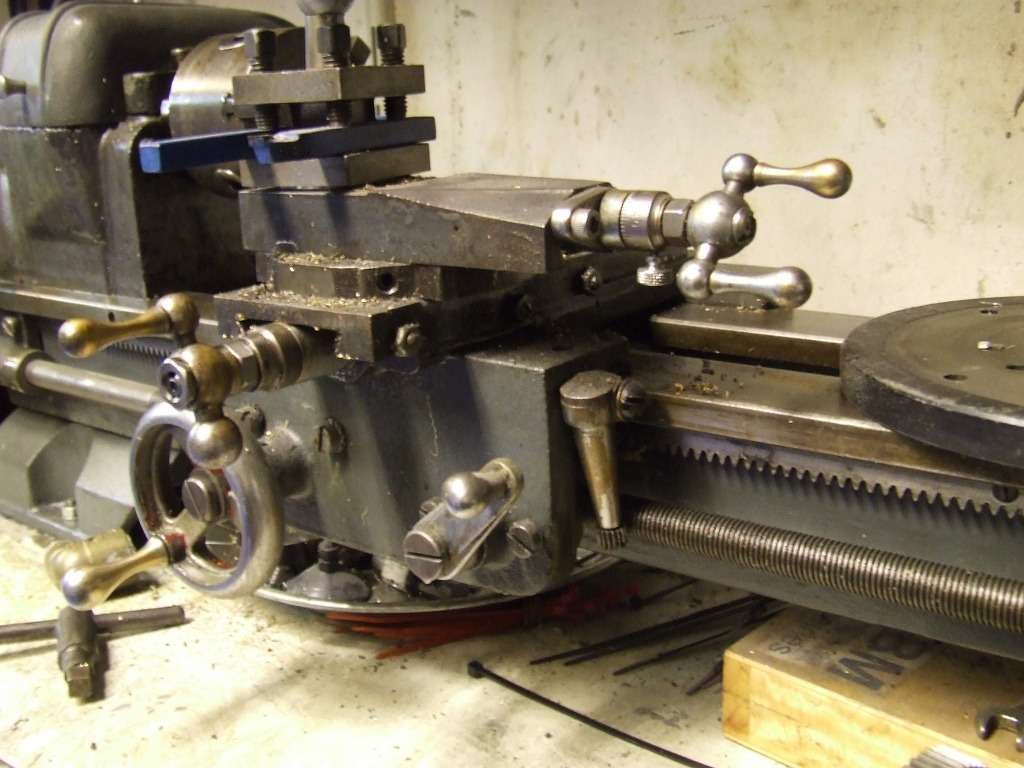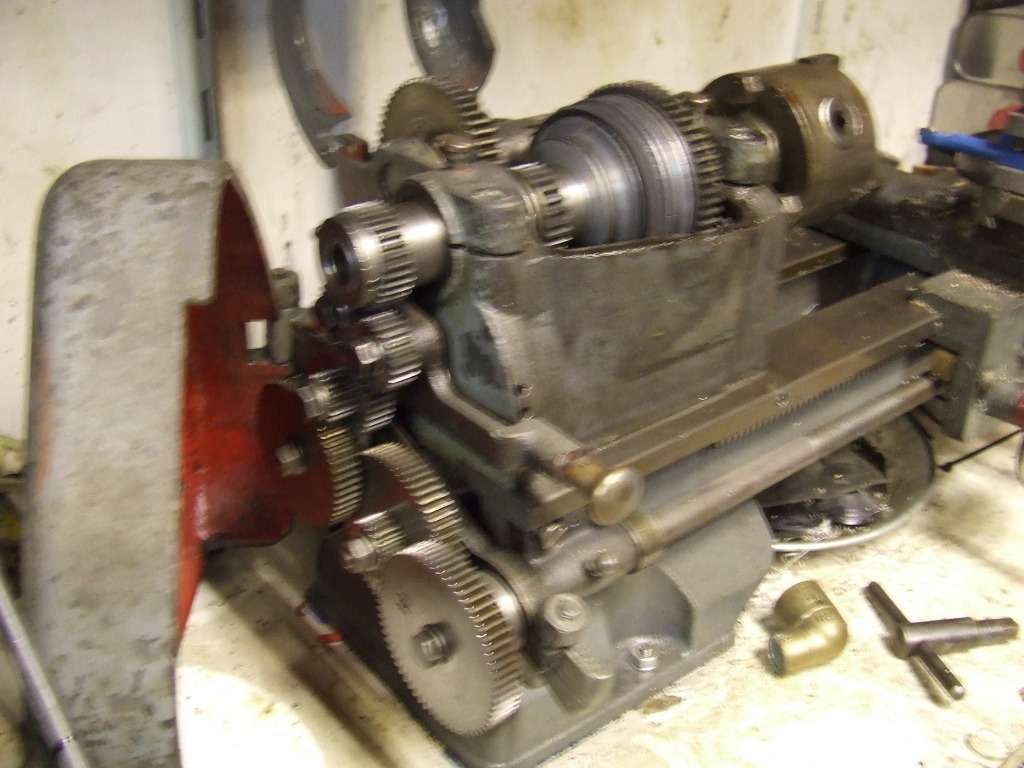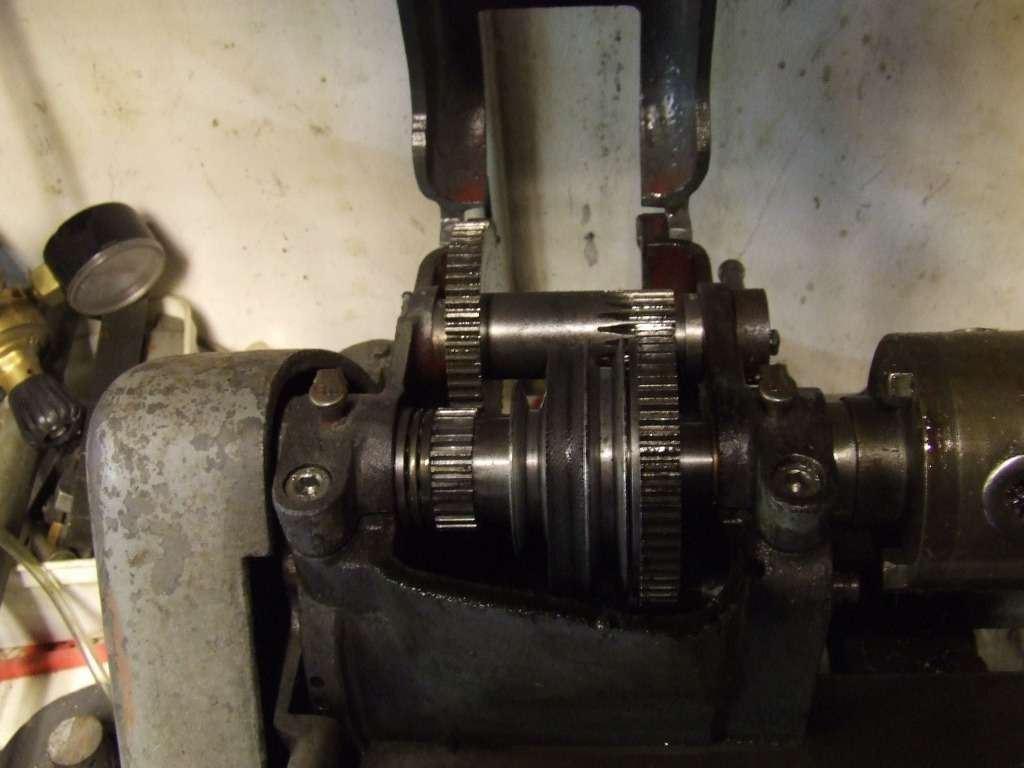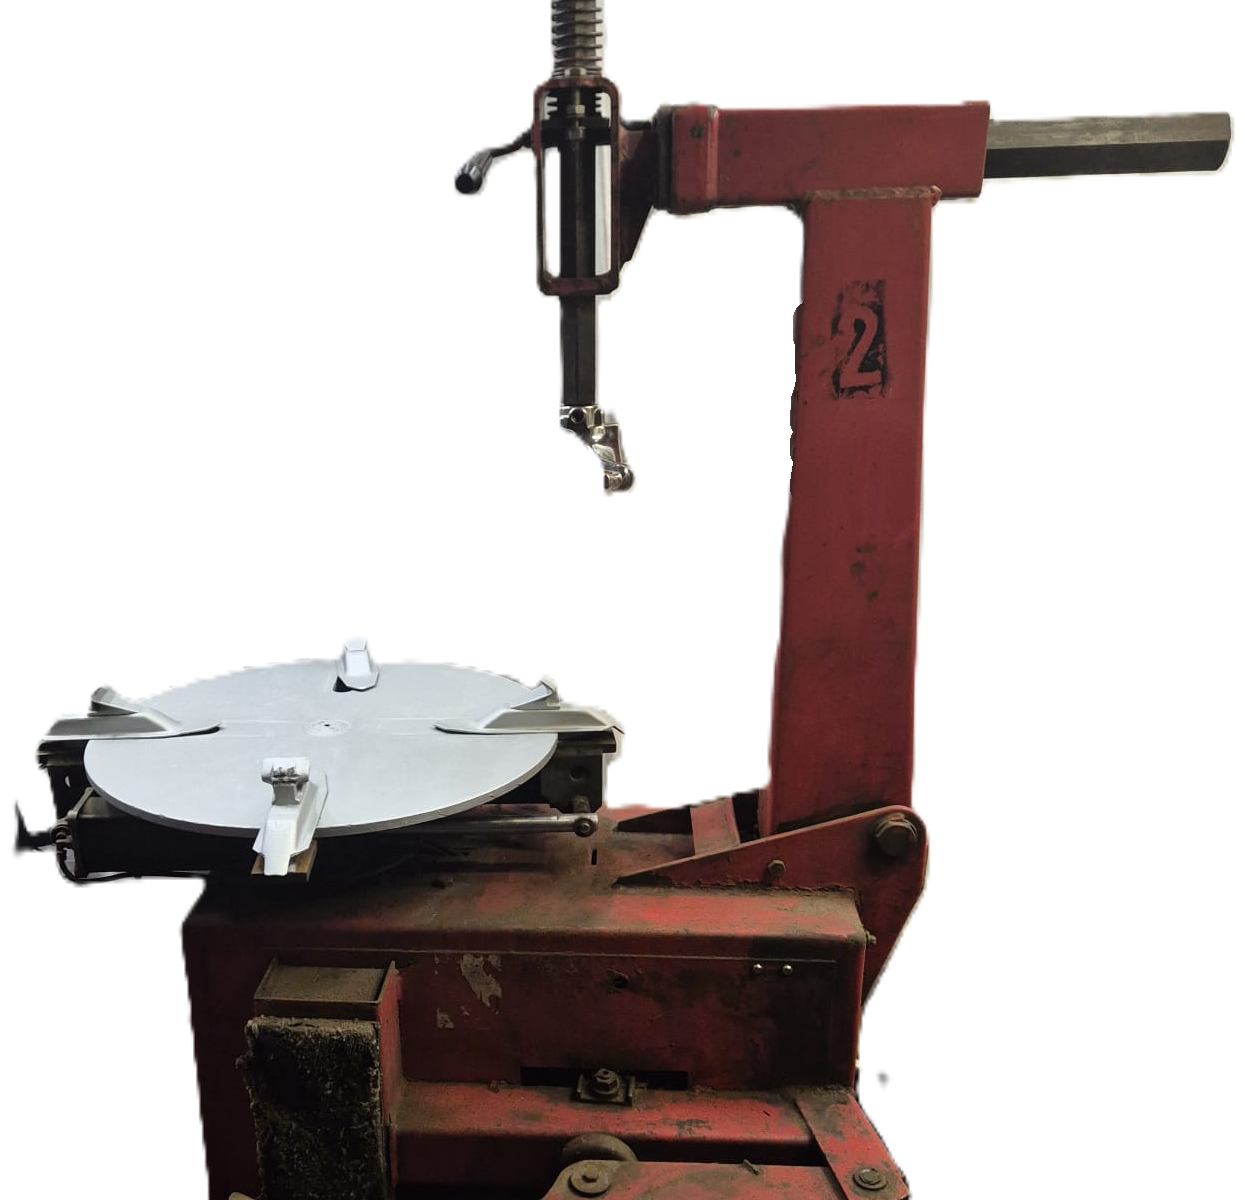
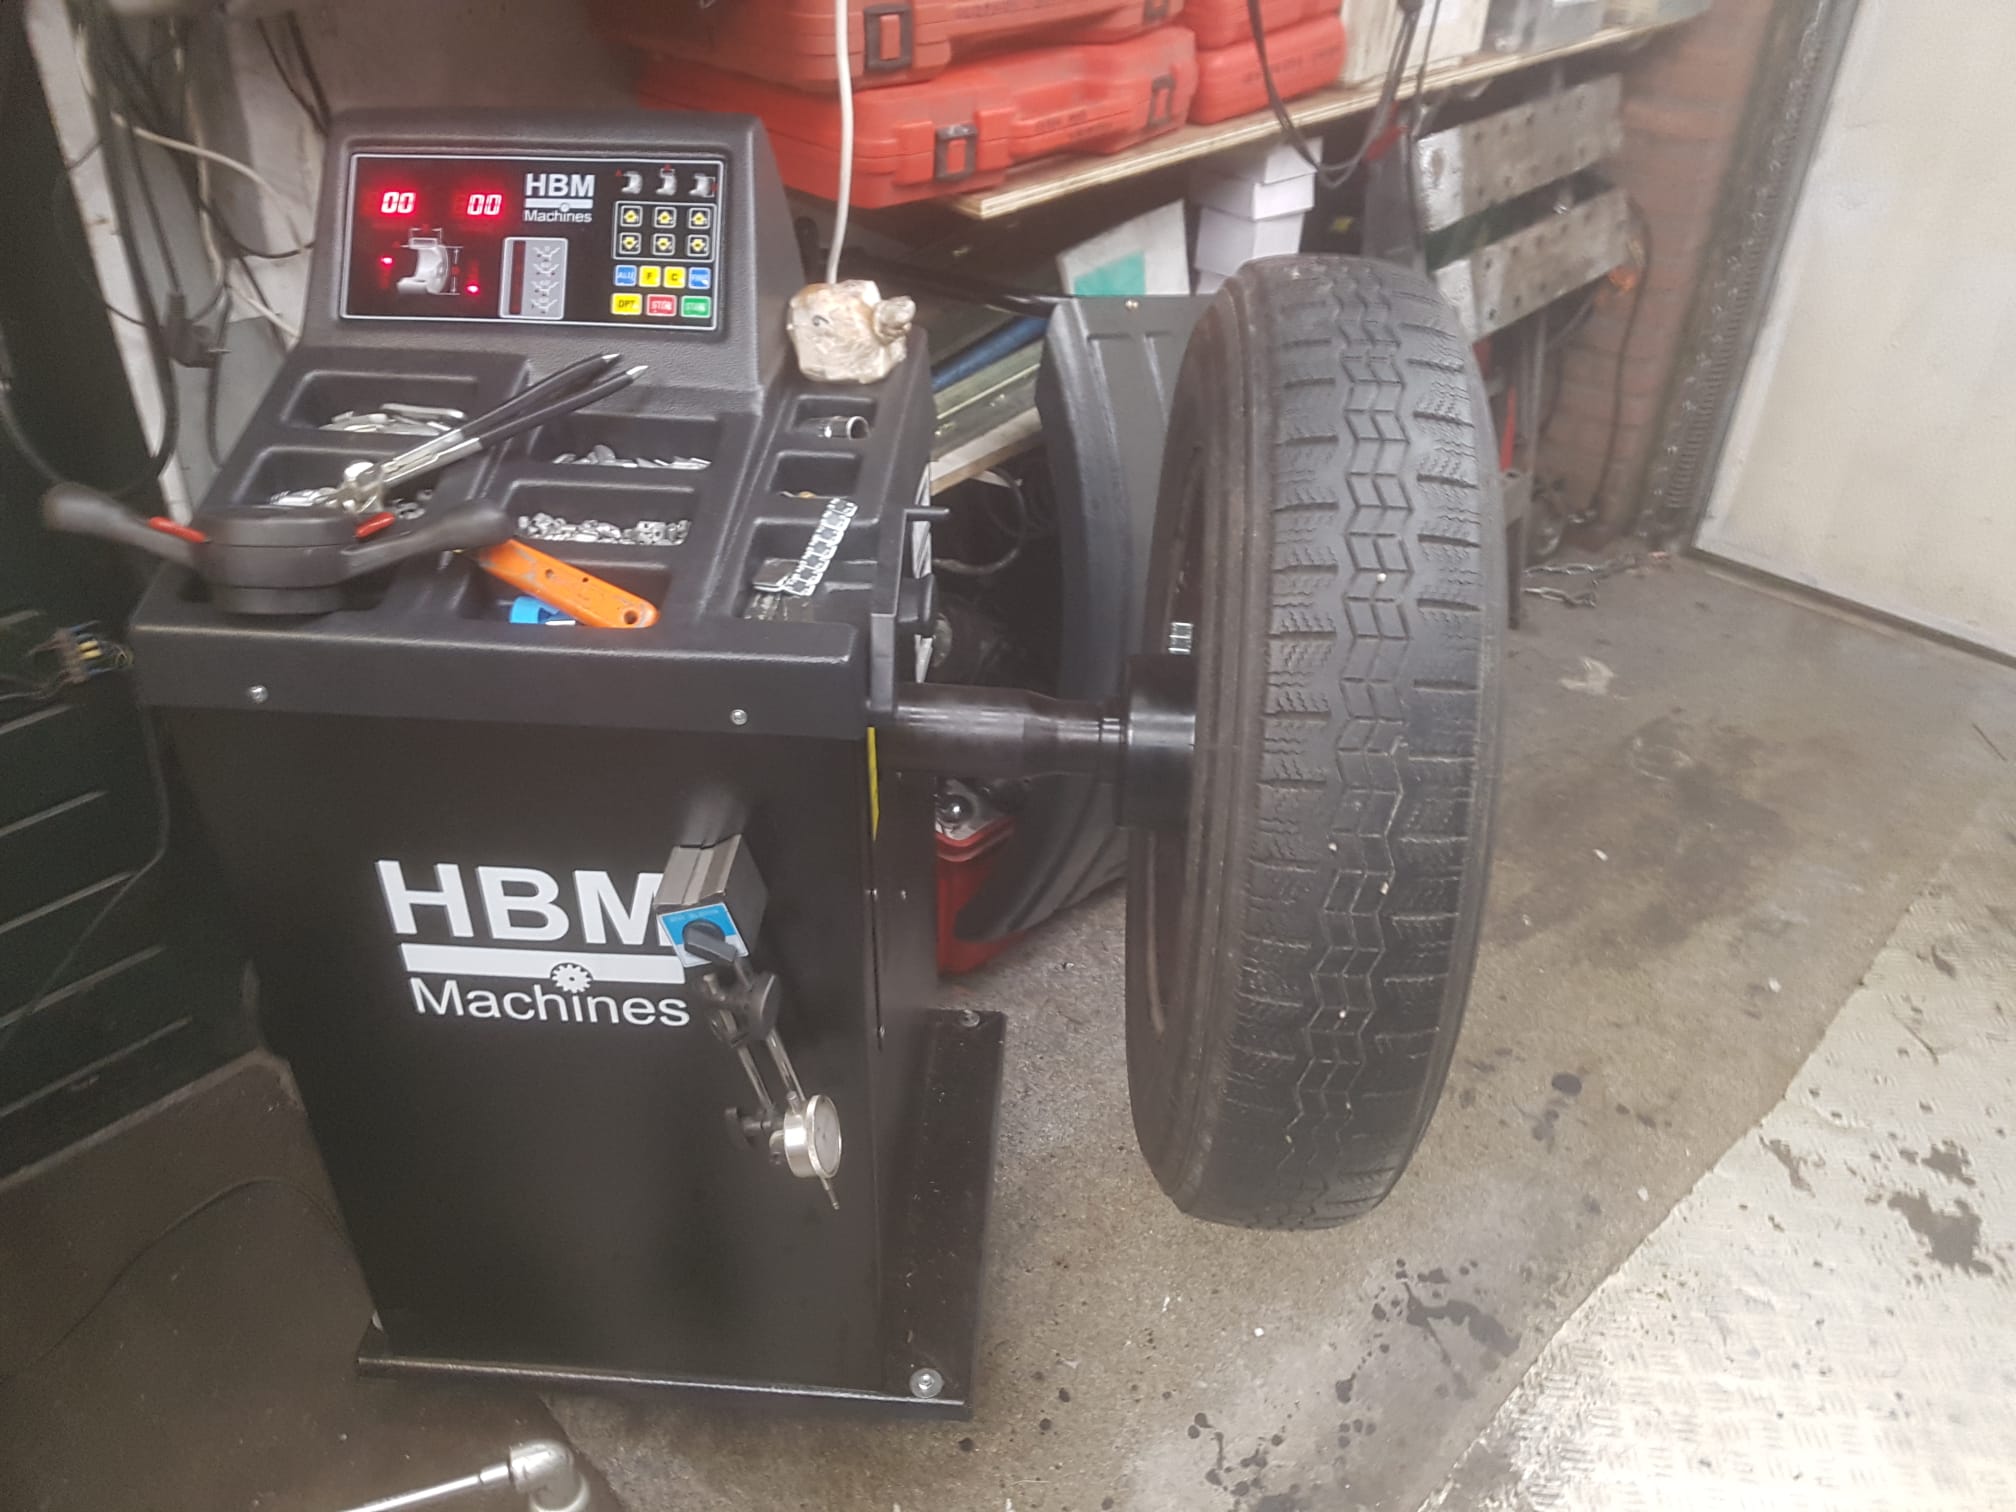
Picked up yesterday (Monday, January 13, 2026) in Barneveld (The Netherlands, Europe): A well-used Corghi tire changer for the wheels and tires of classic cars.
This machine can handle rims up to 18 inches in diameter, and with the extension pieces, up to 22 inches—more than enough for my needs.
In addition, the vertical column can be tilted backward, which is very convenient once you’ve set everything up and are moving on to the next wheel of the same size.
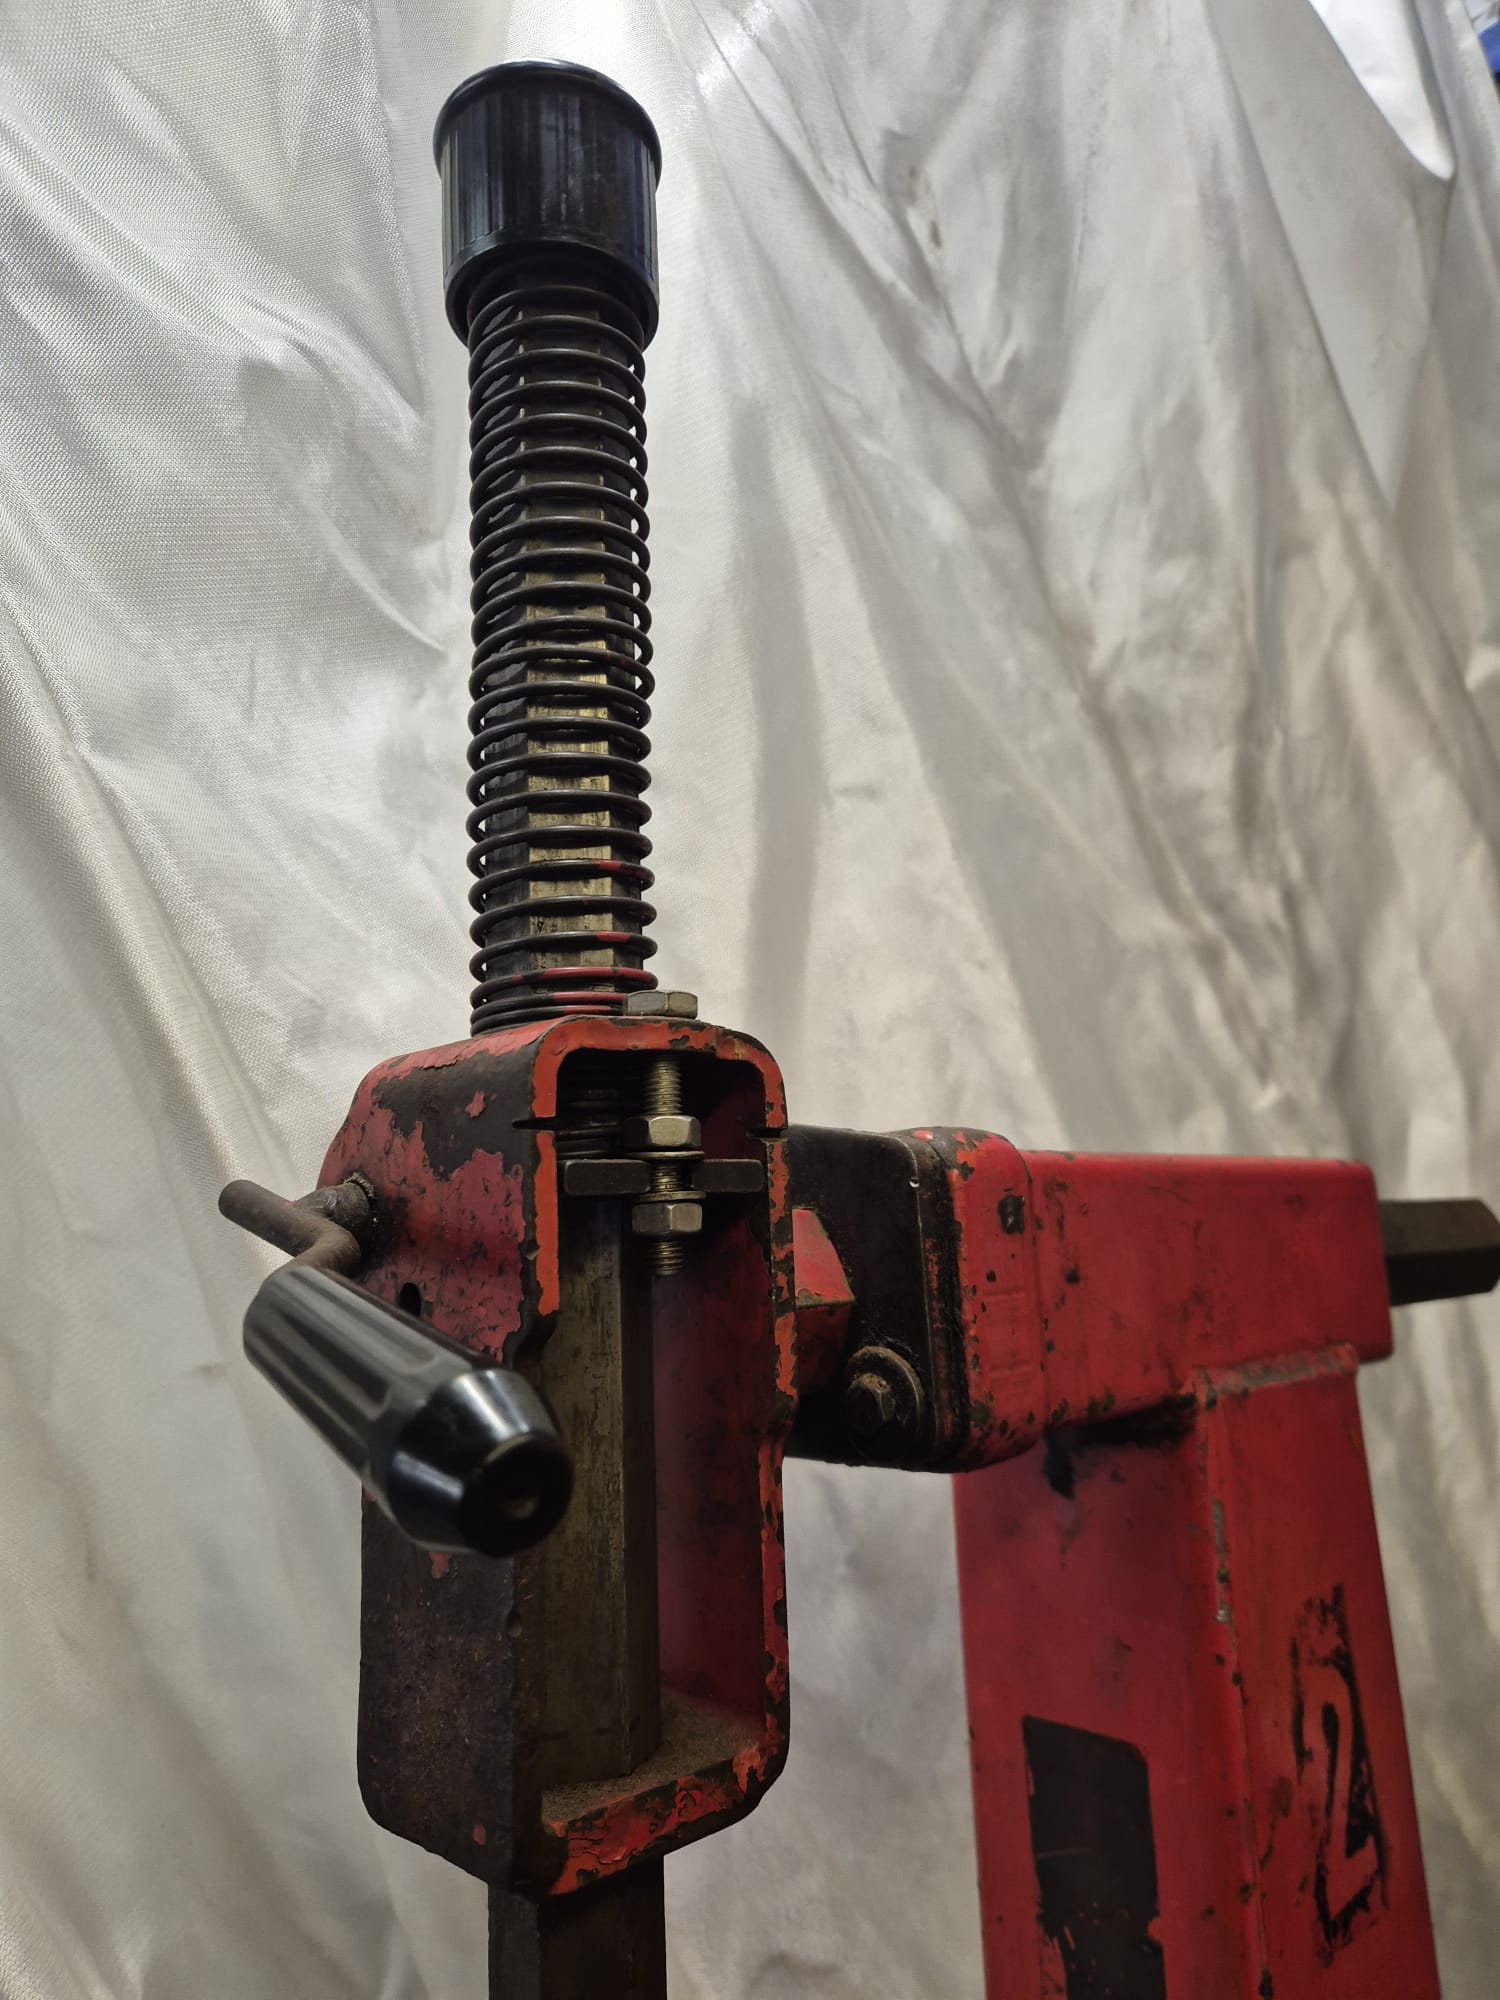
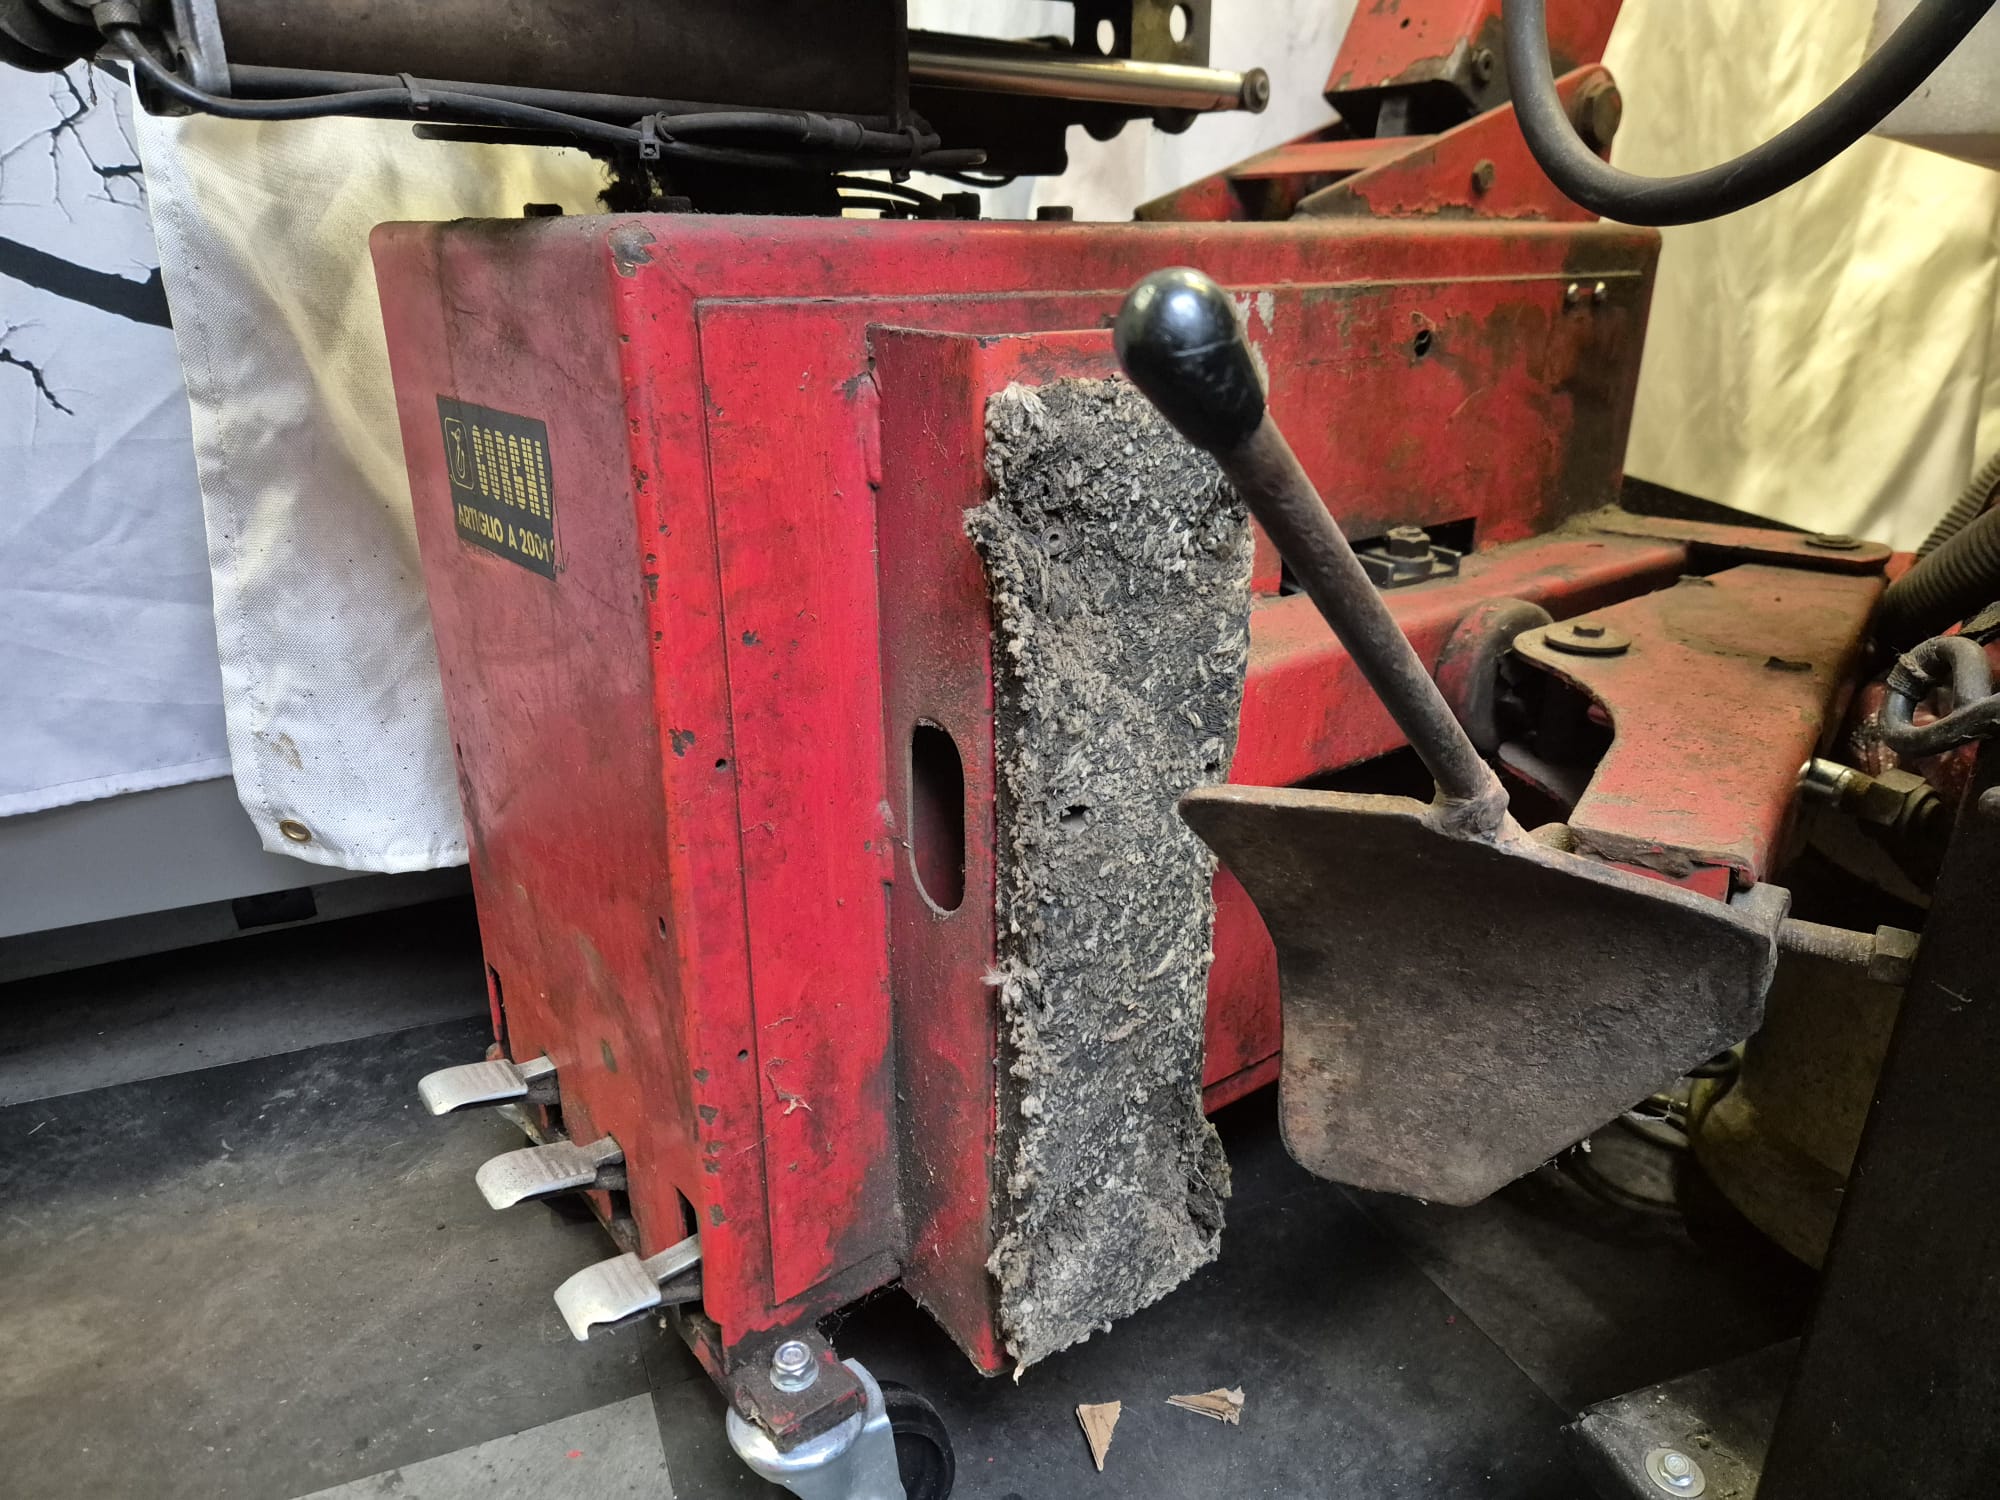
Of course, there are a few flaws, as you’d expect from a machine that’s been in use for quite a few years.
The machine is now mounted on sturdy wheels so I can move it and put it out of the way when I’m not using it.
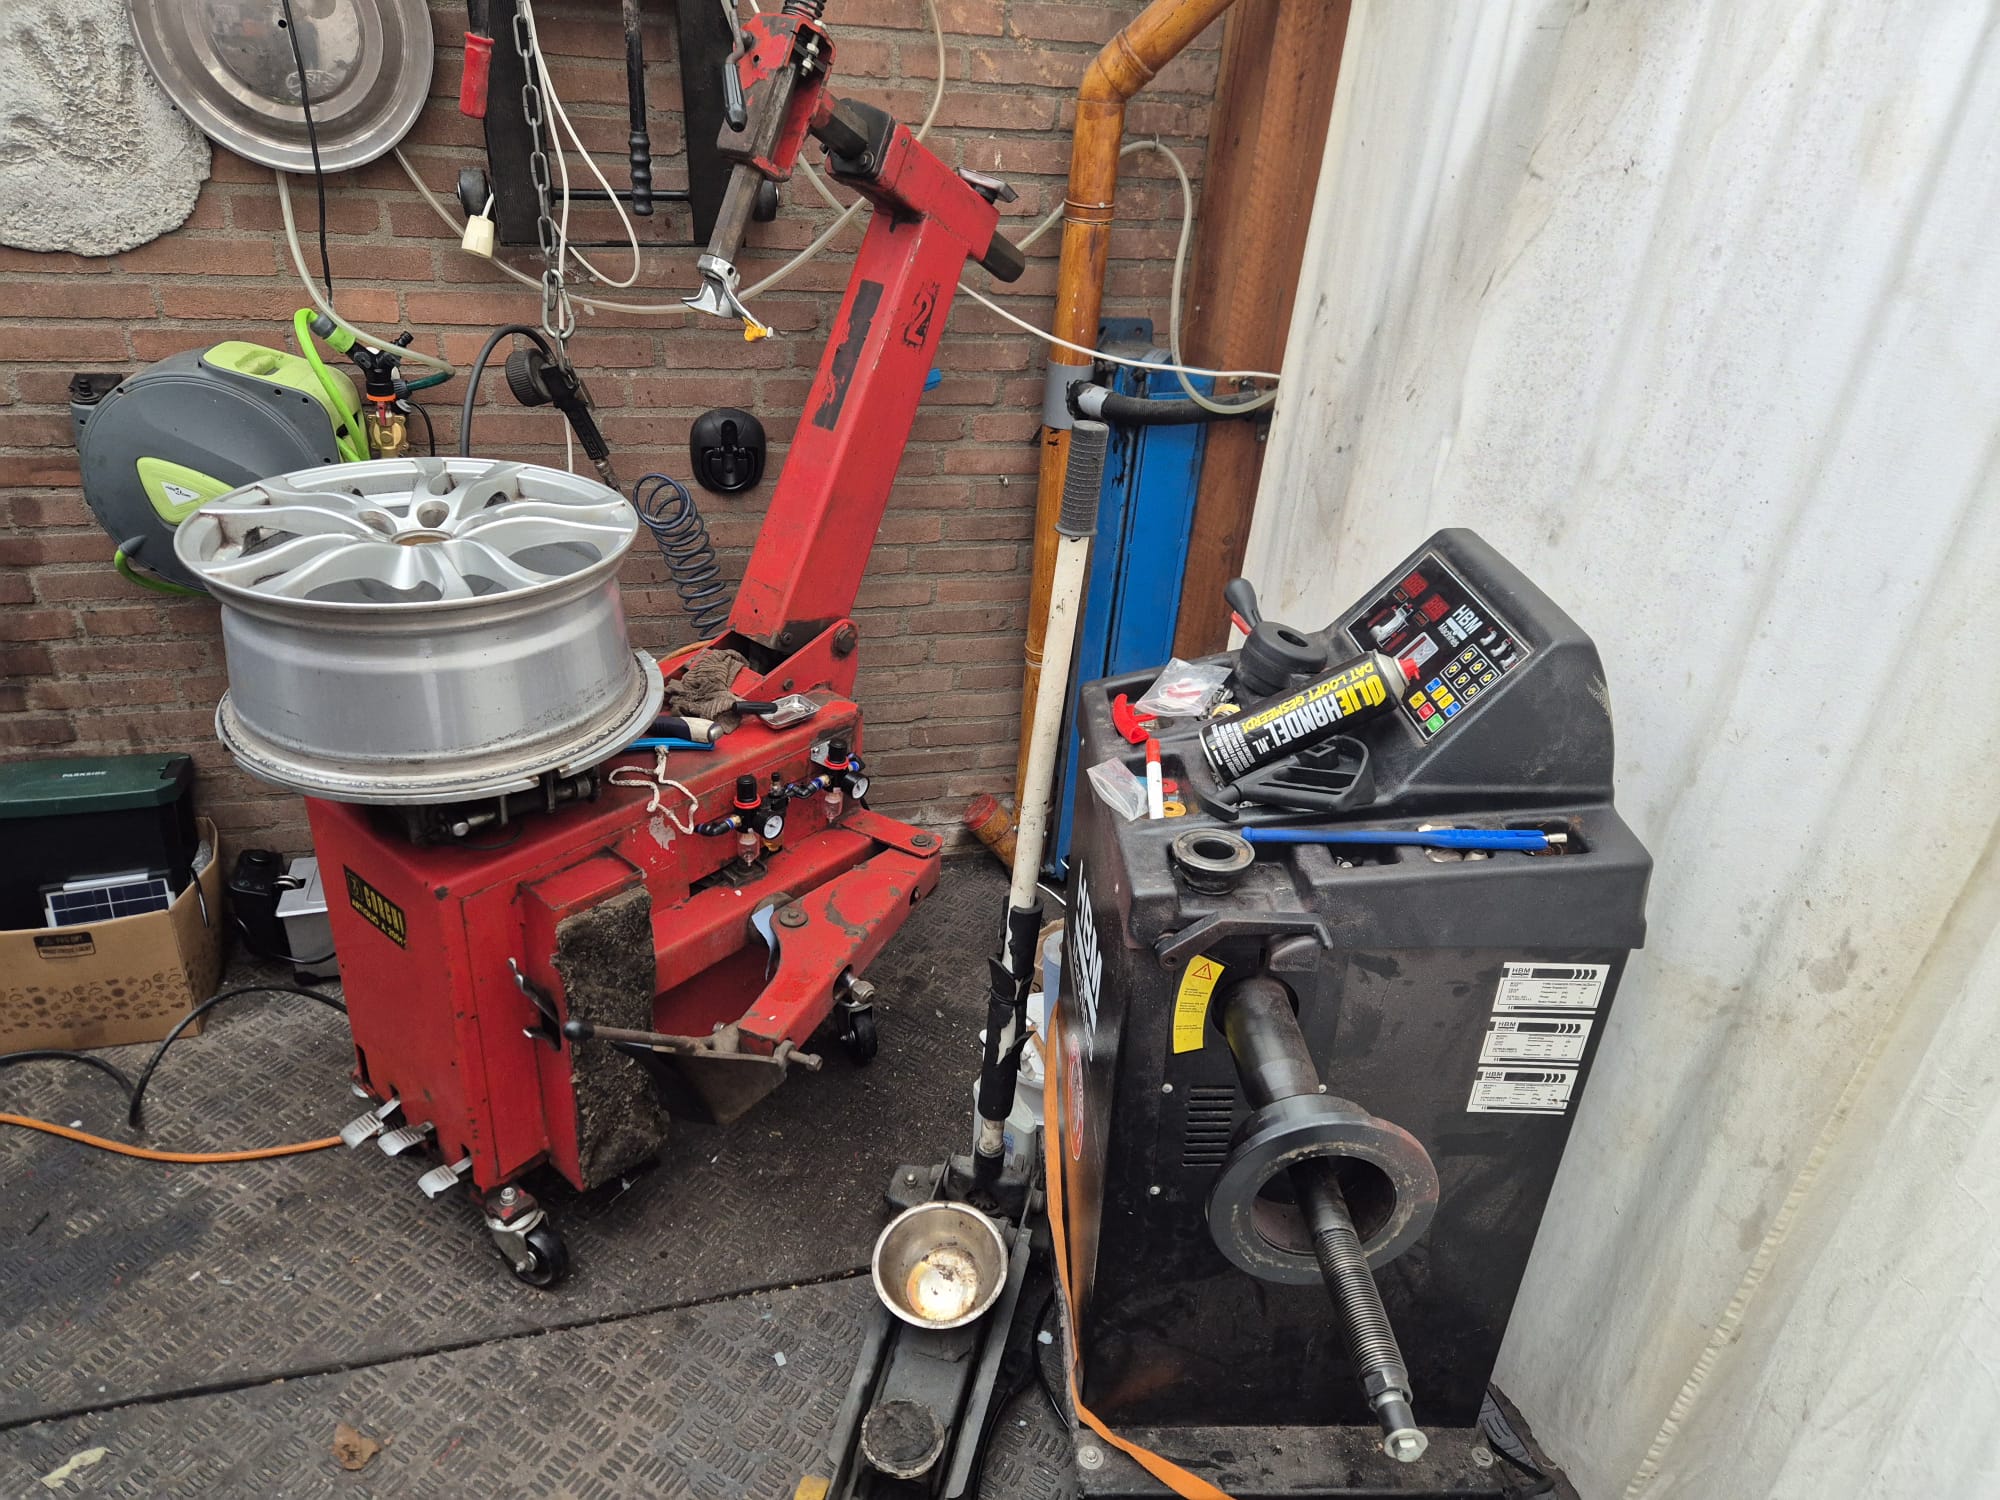
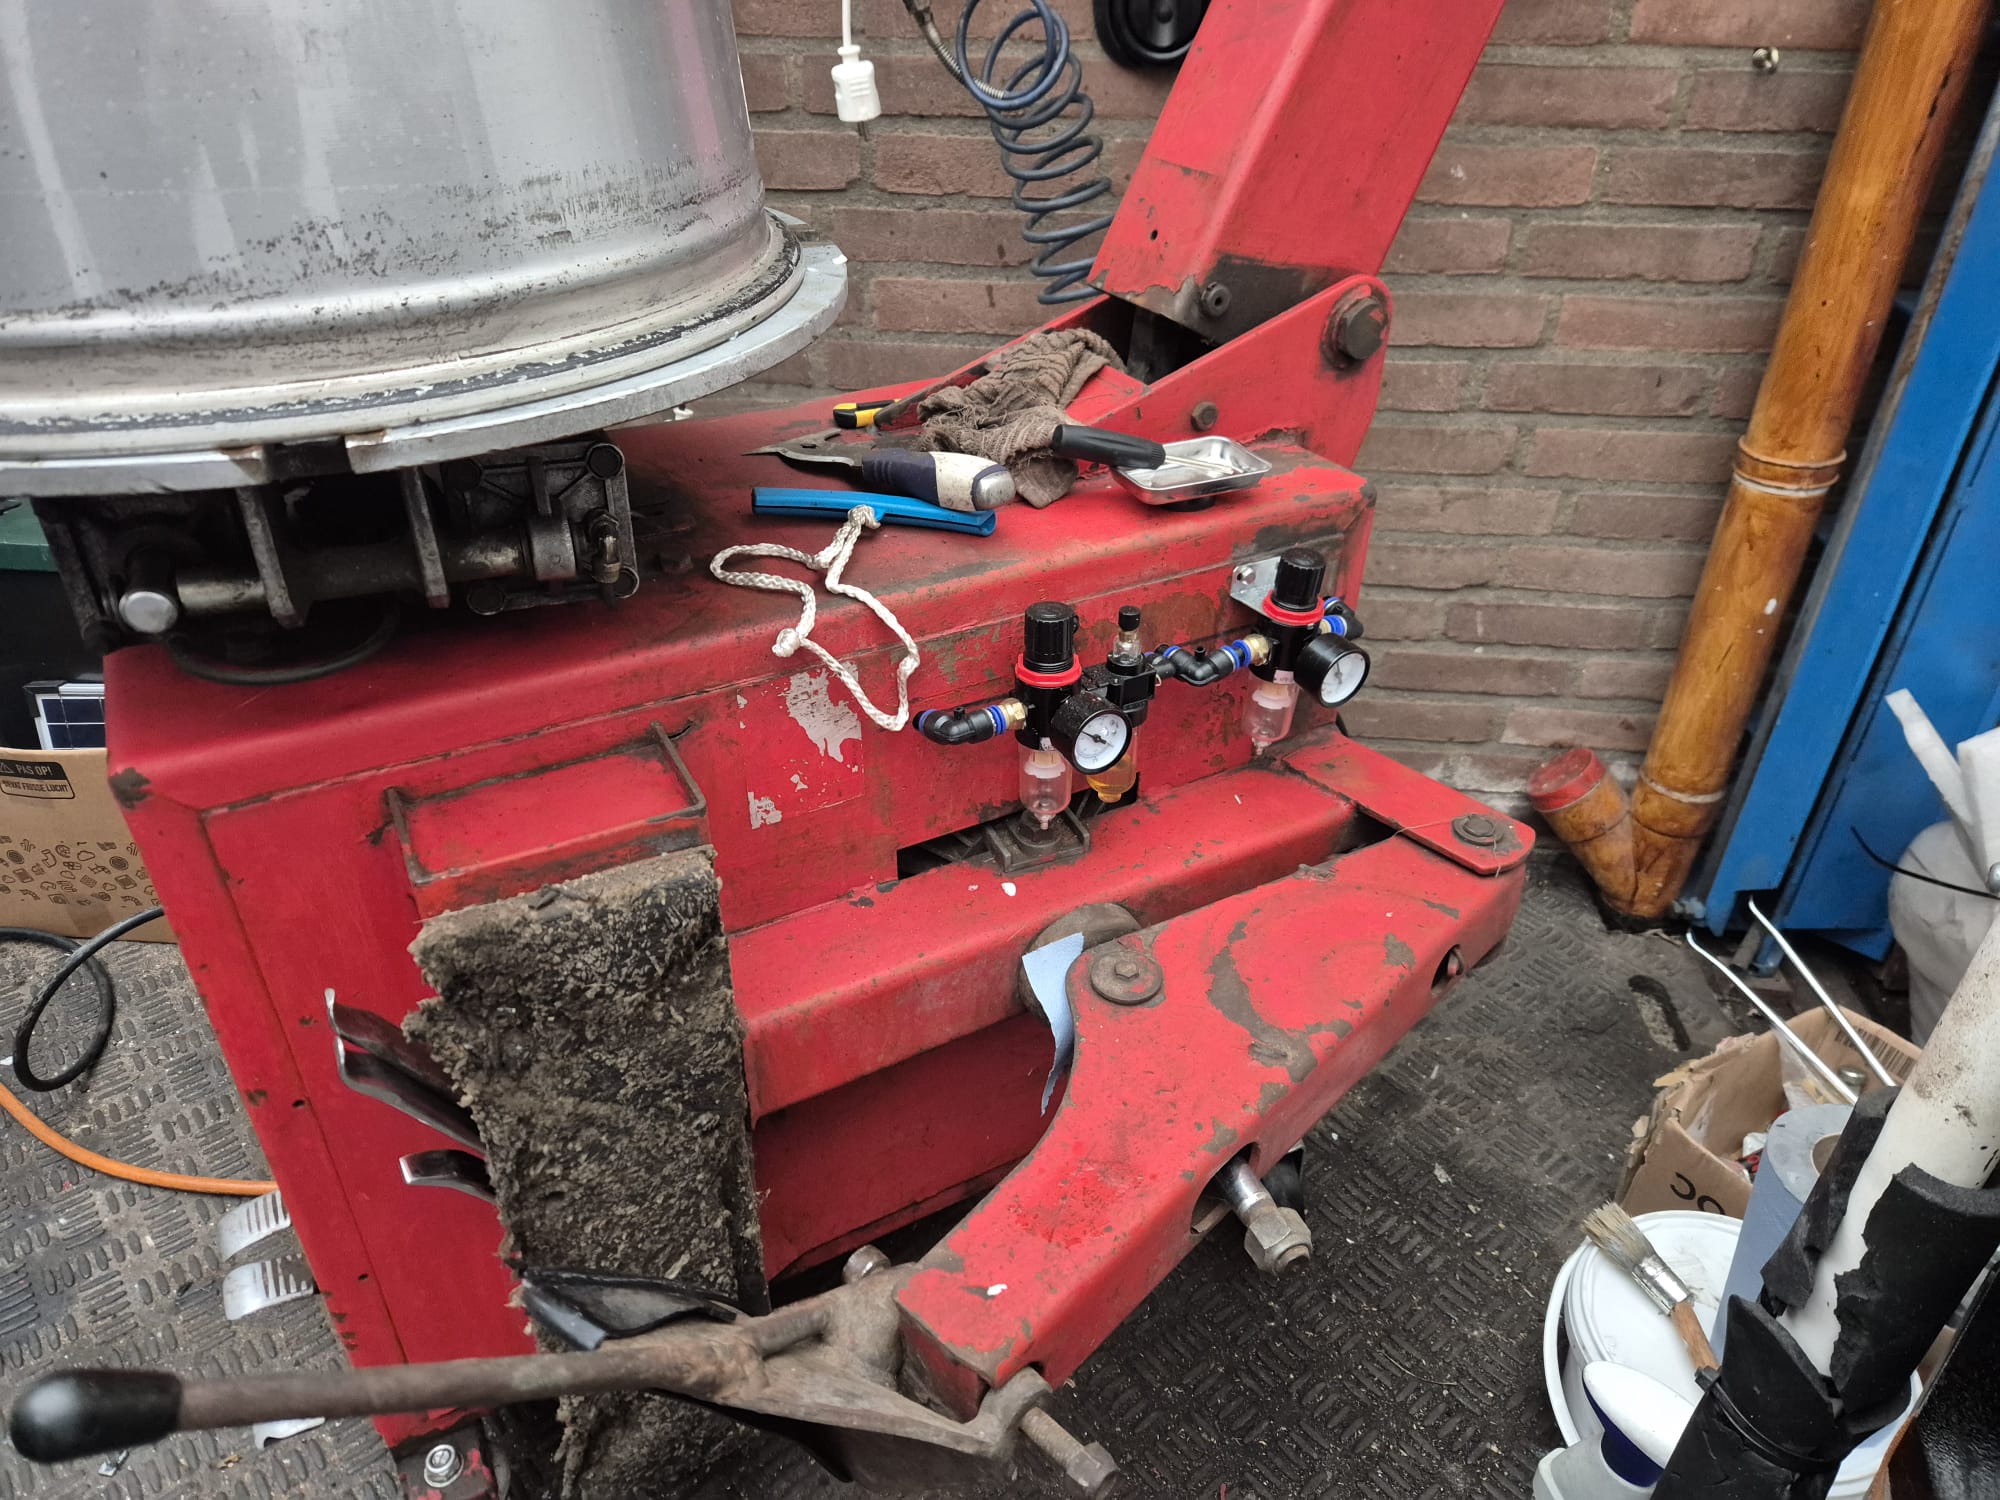
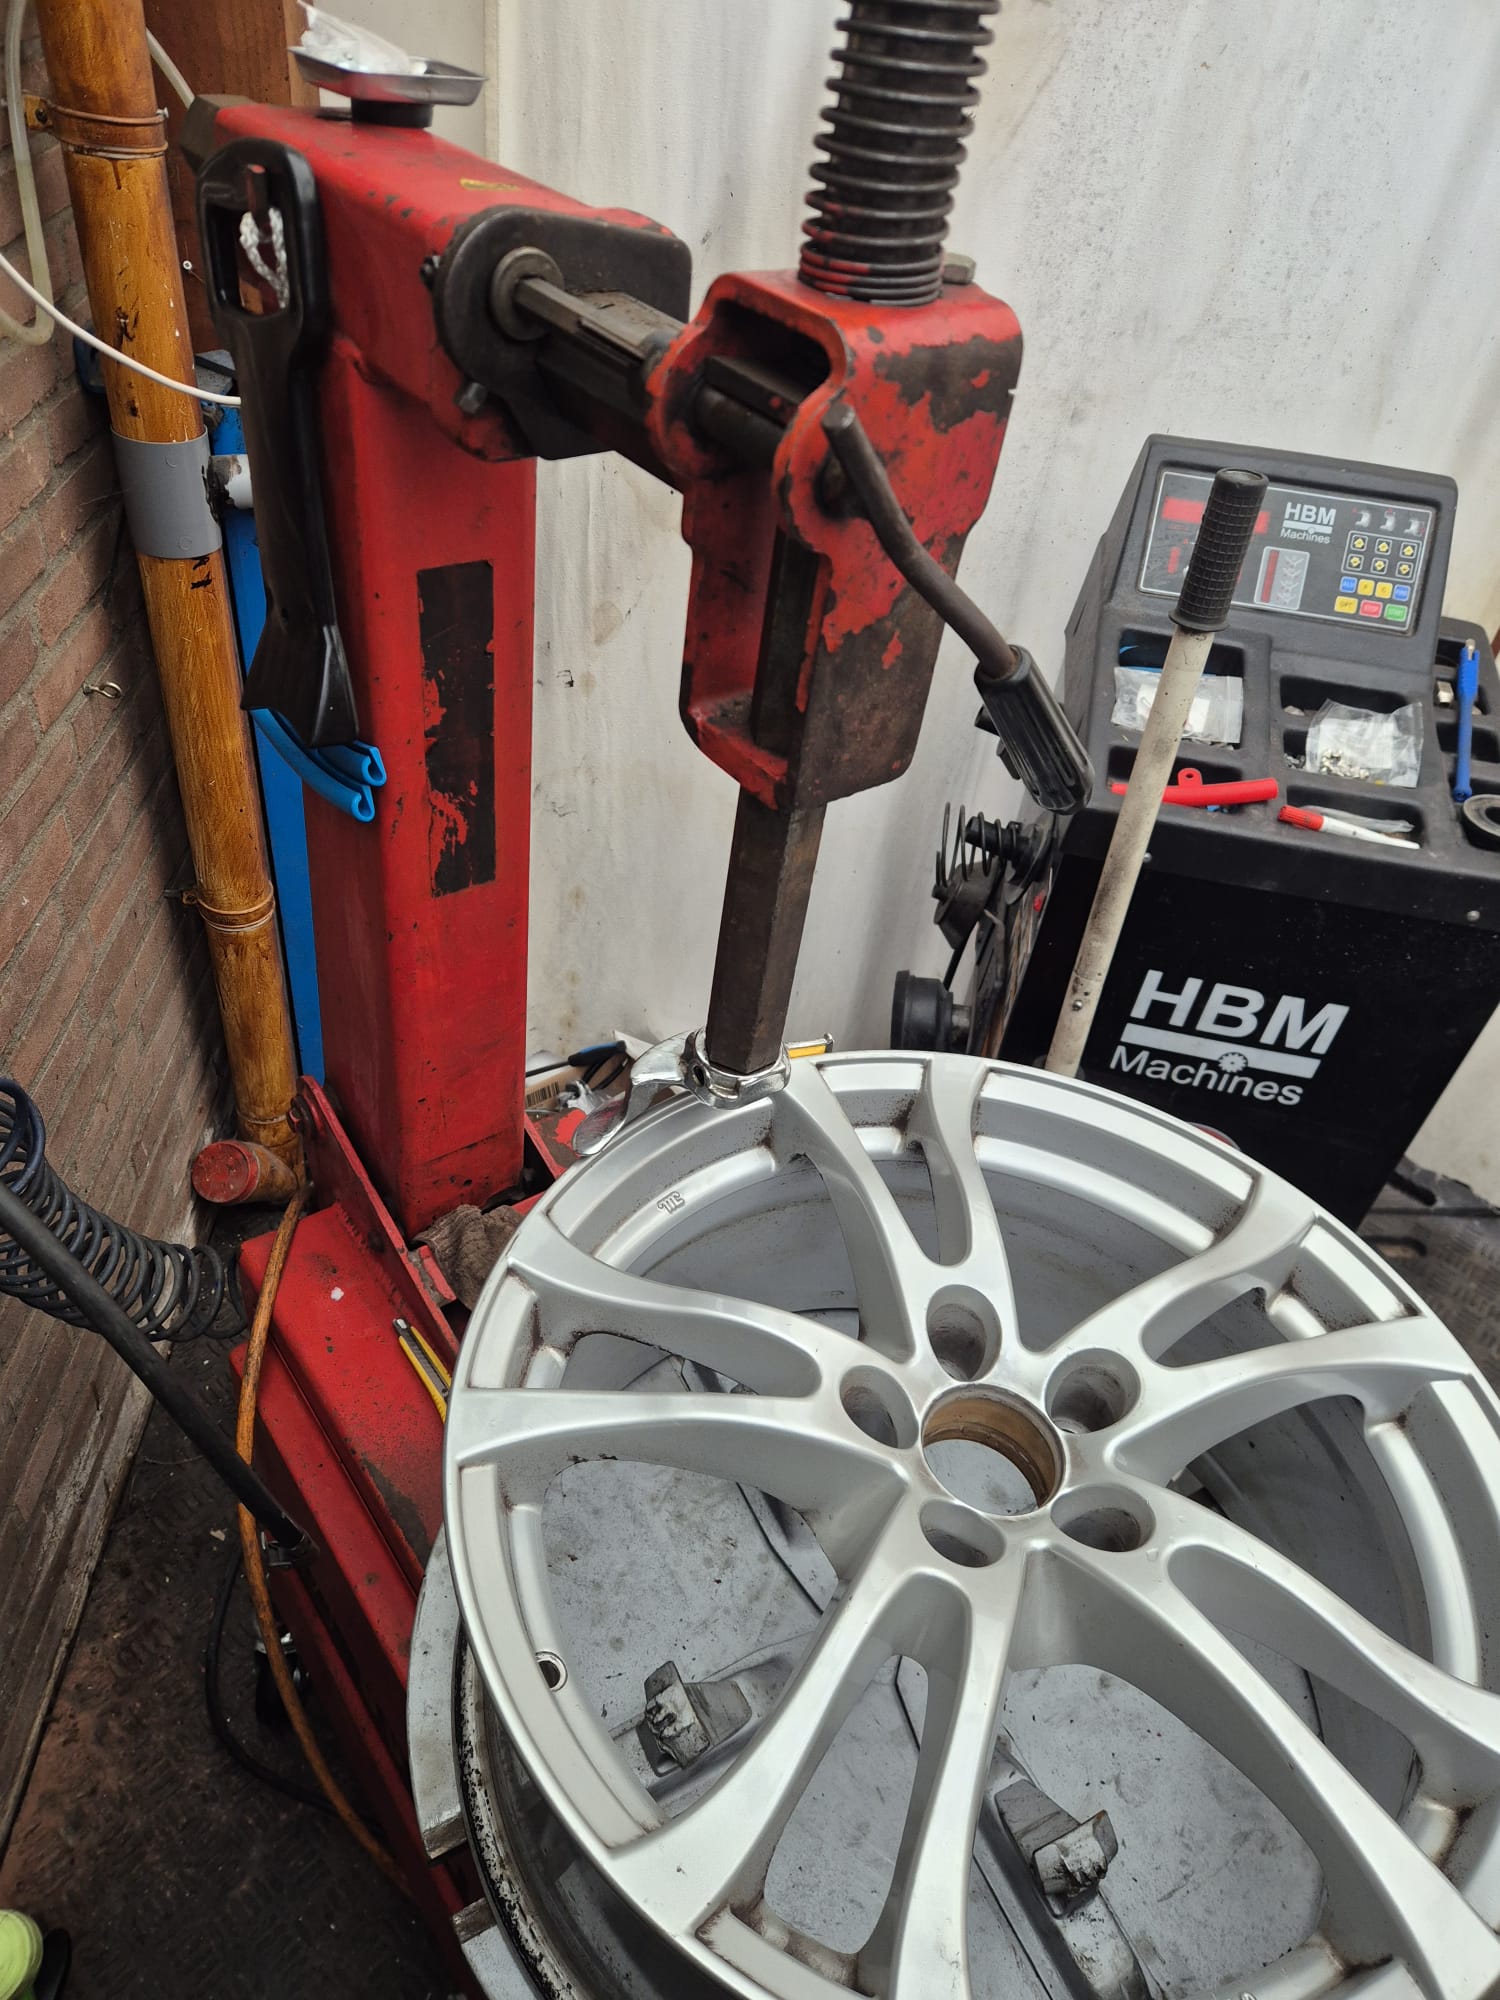
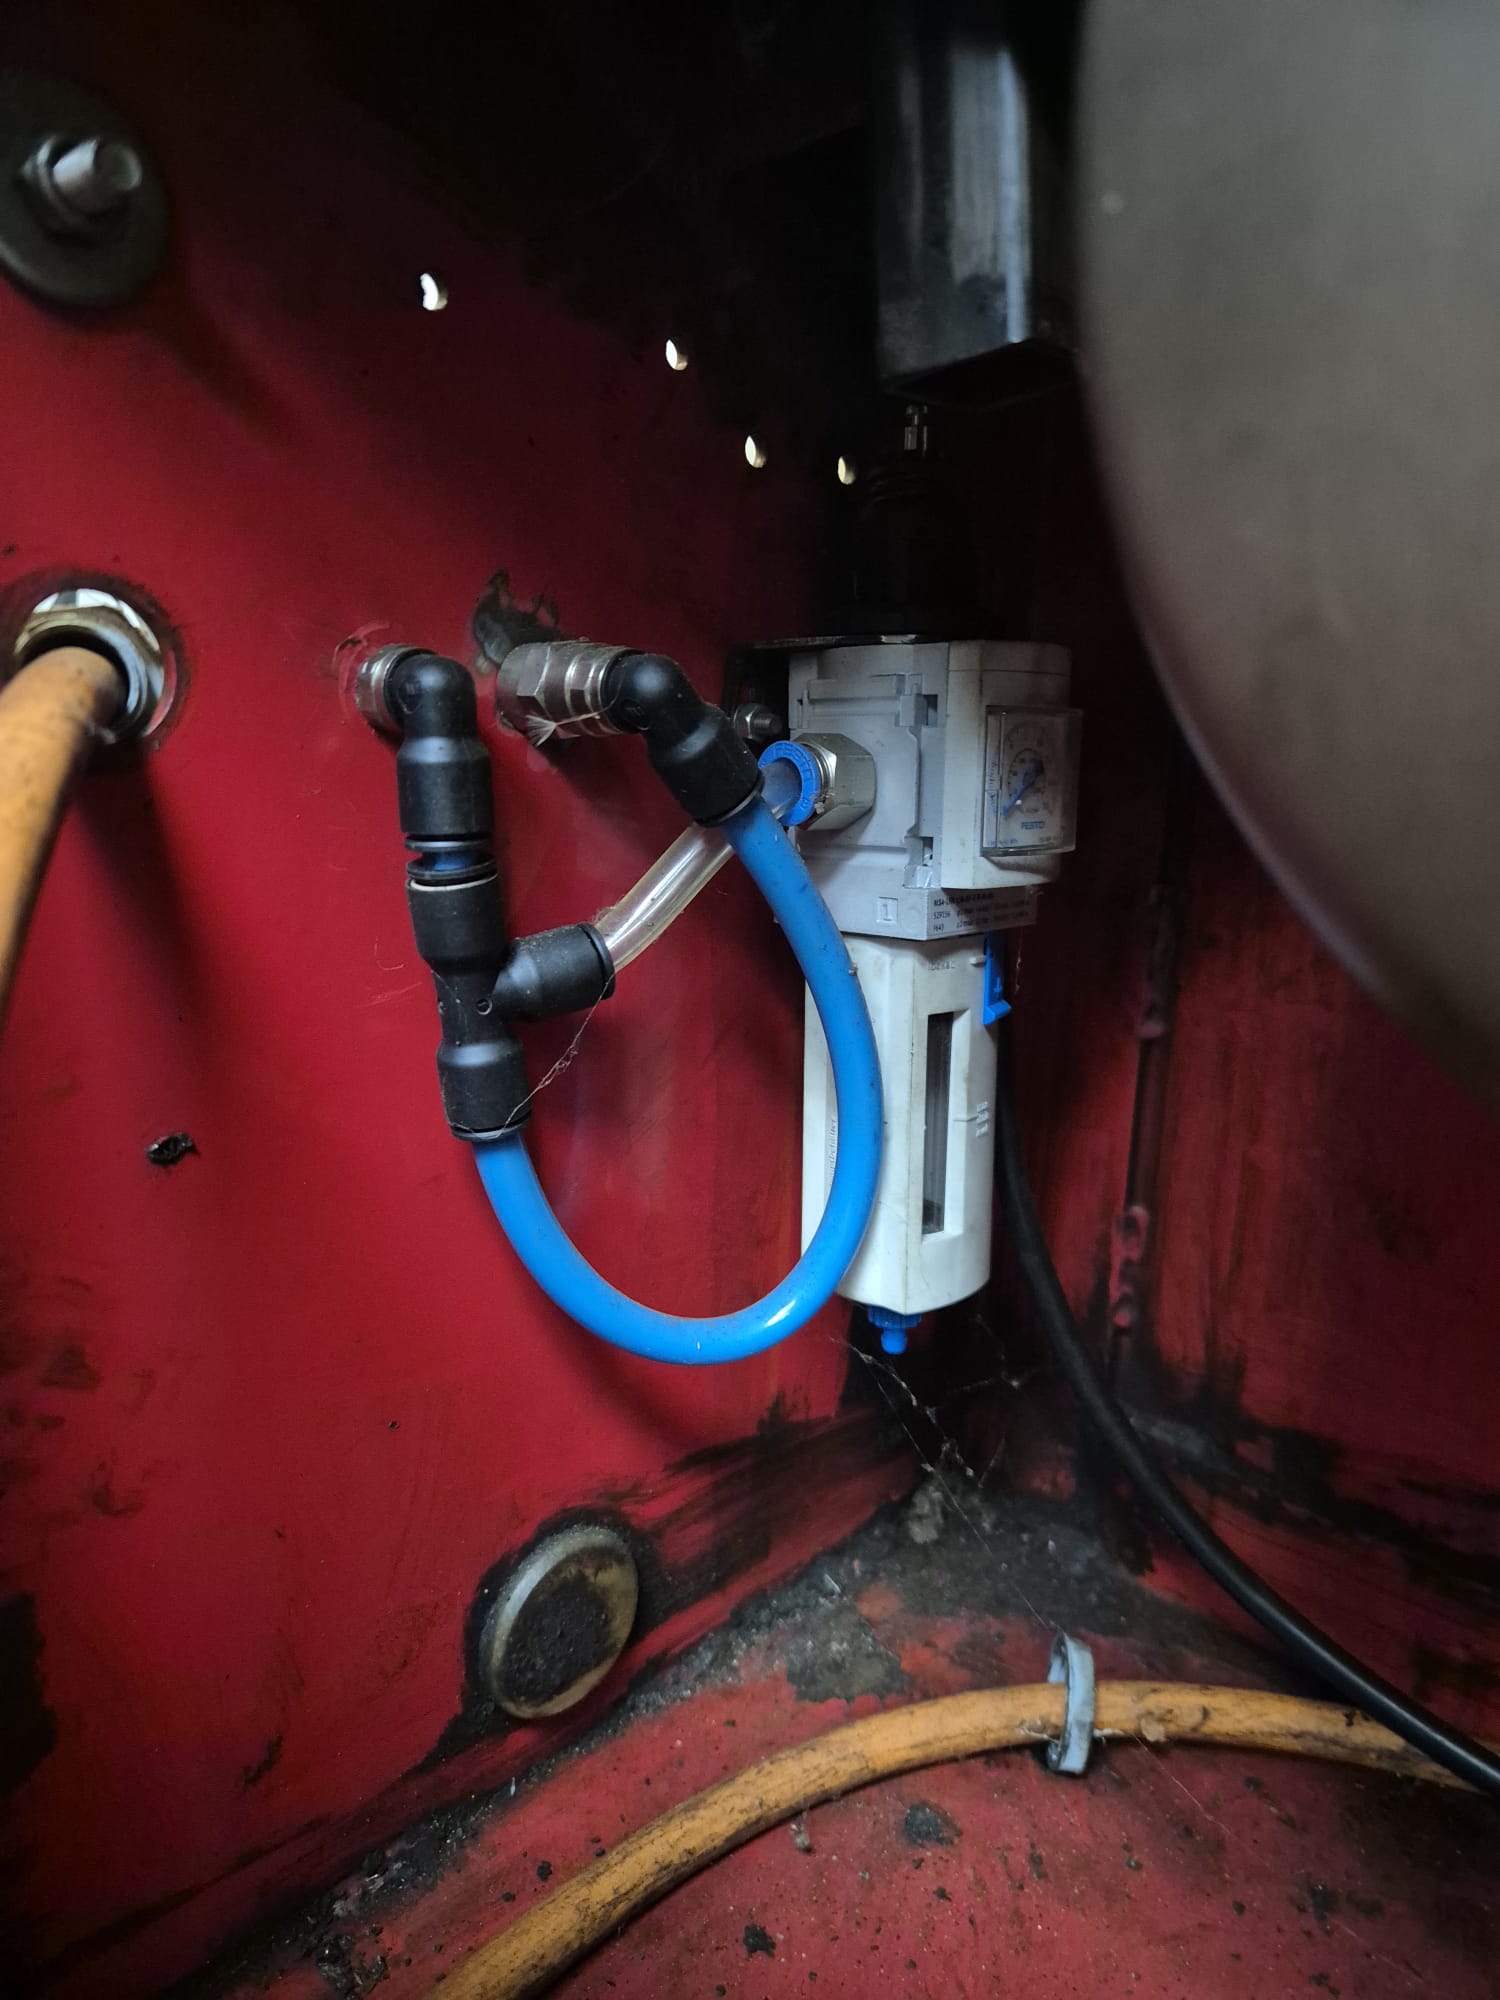
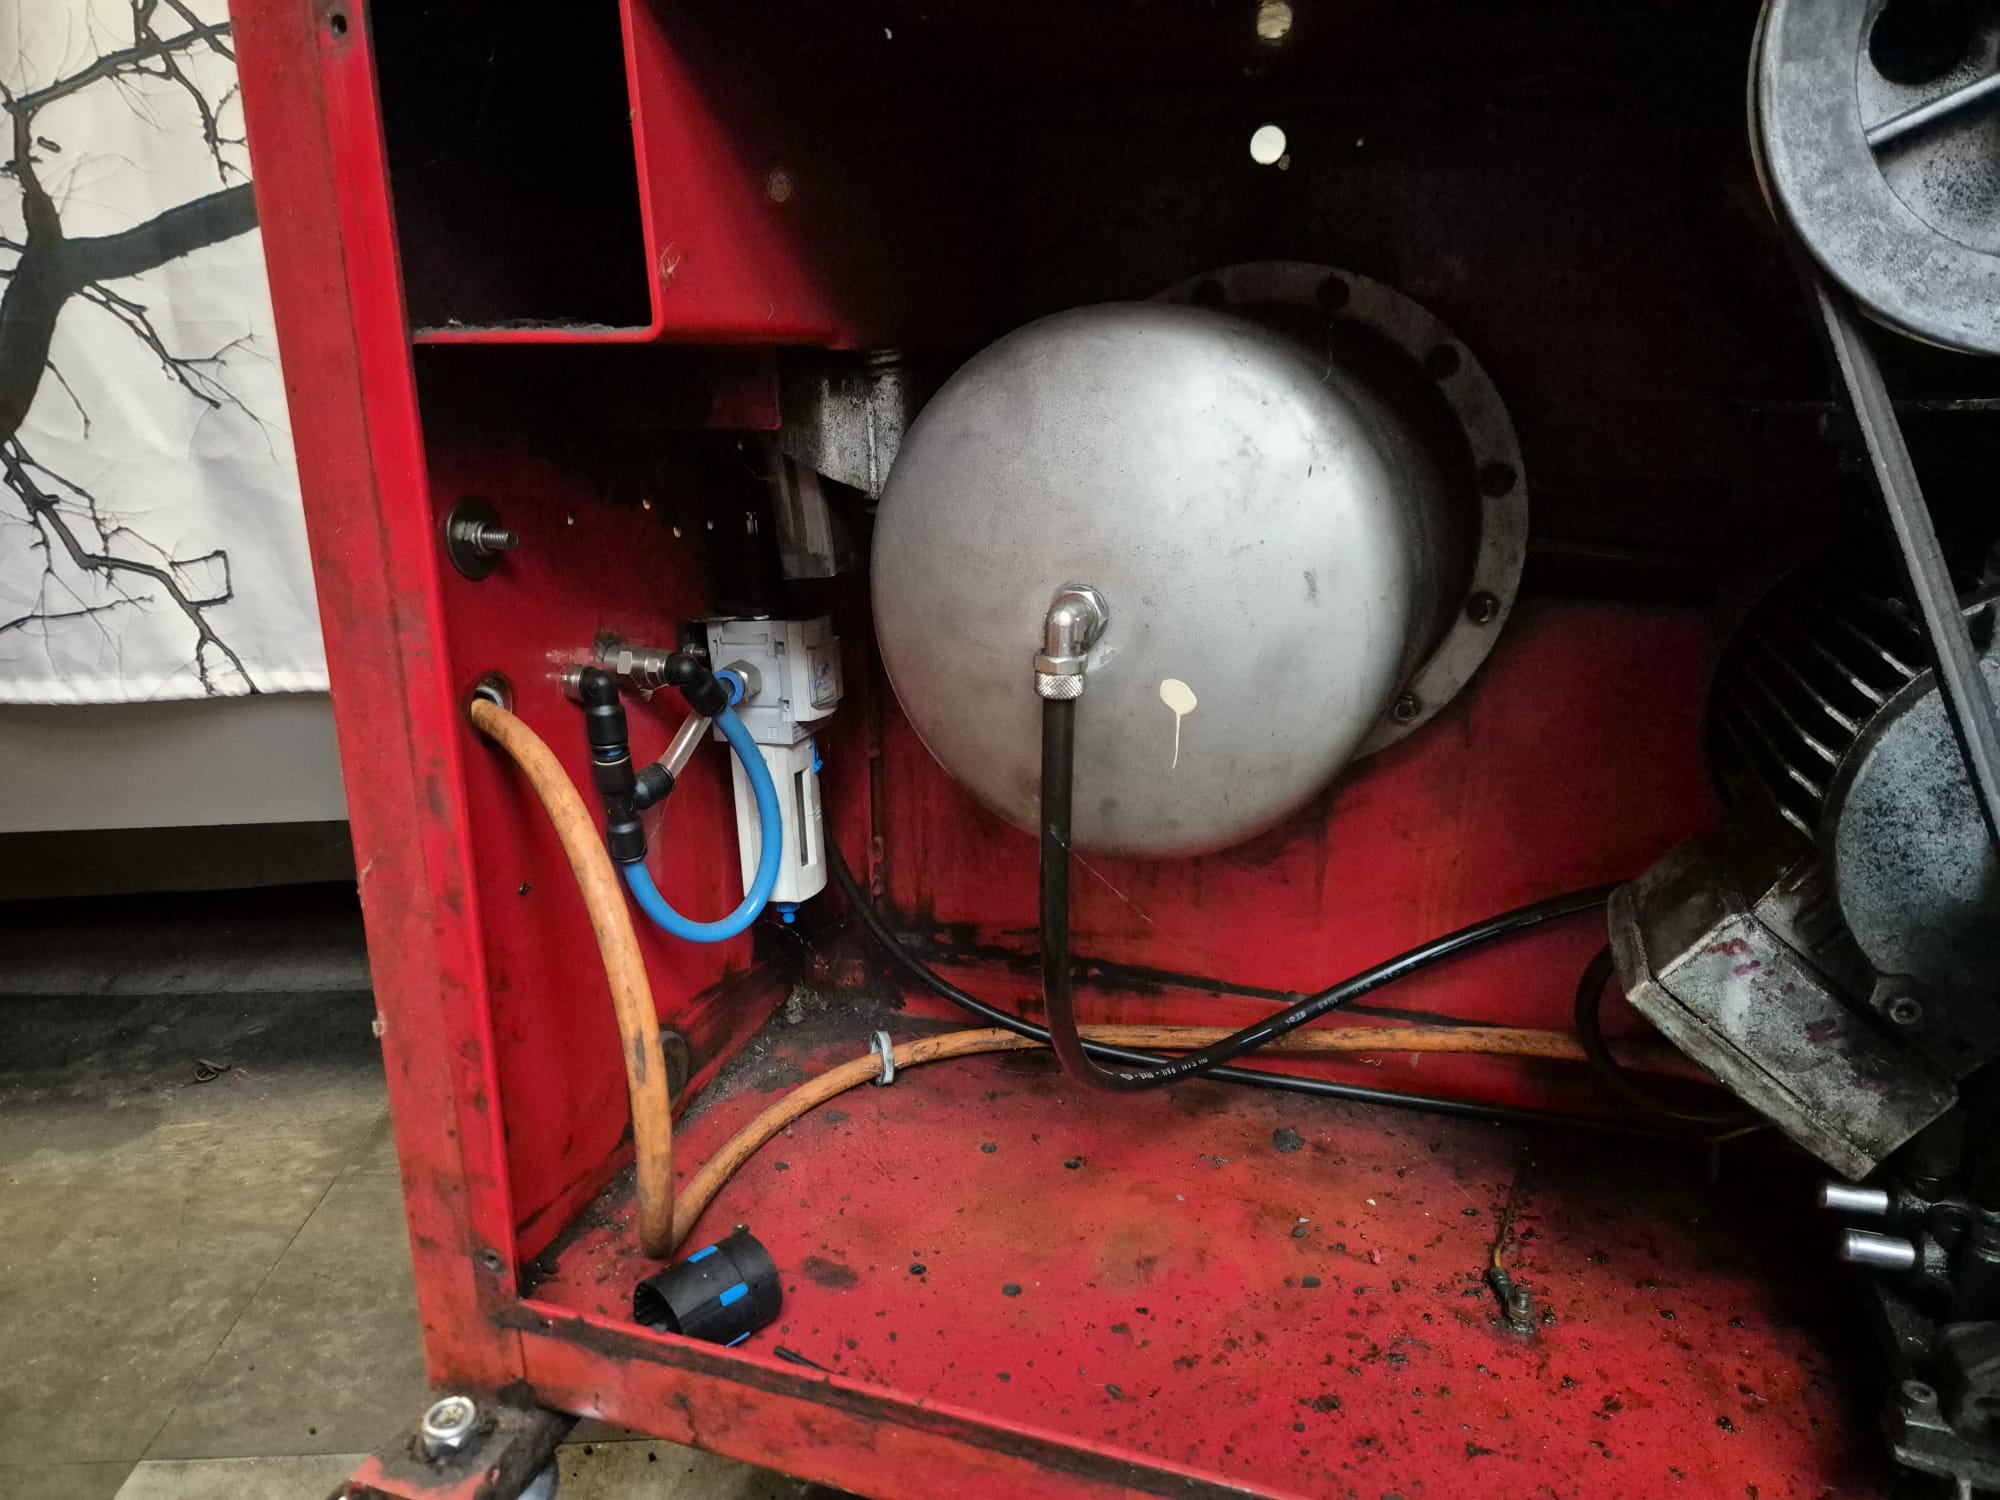
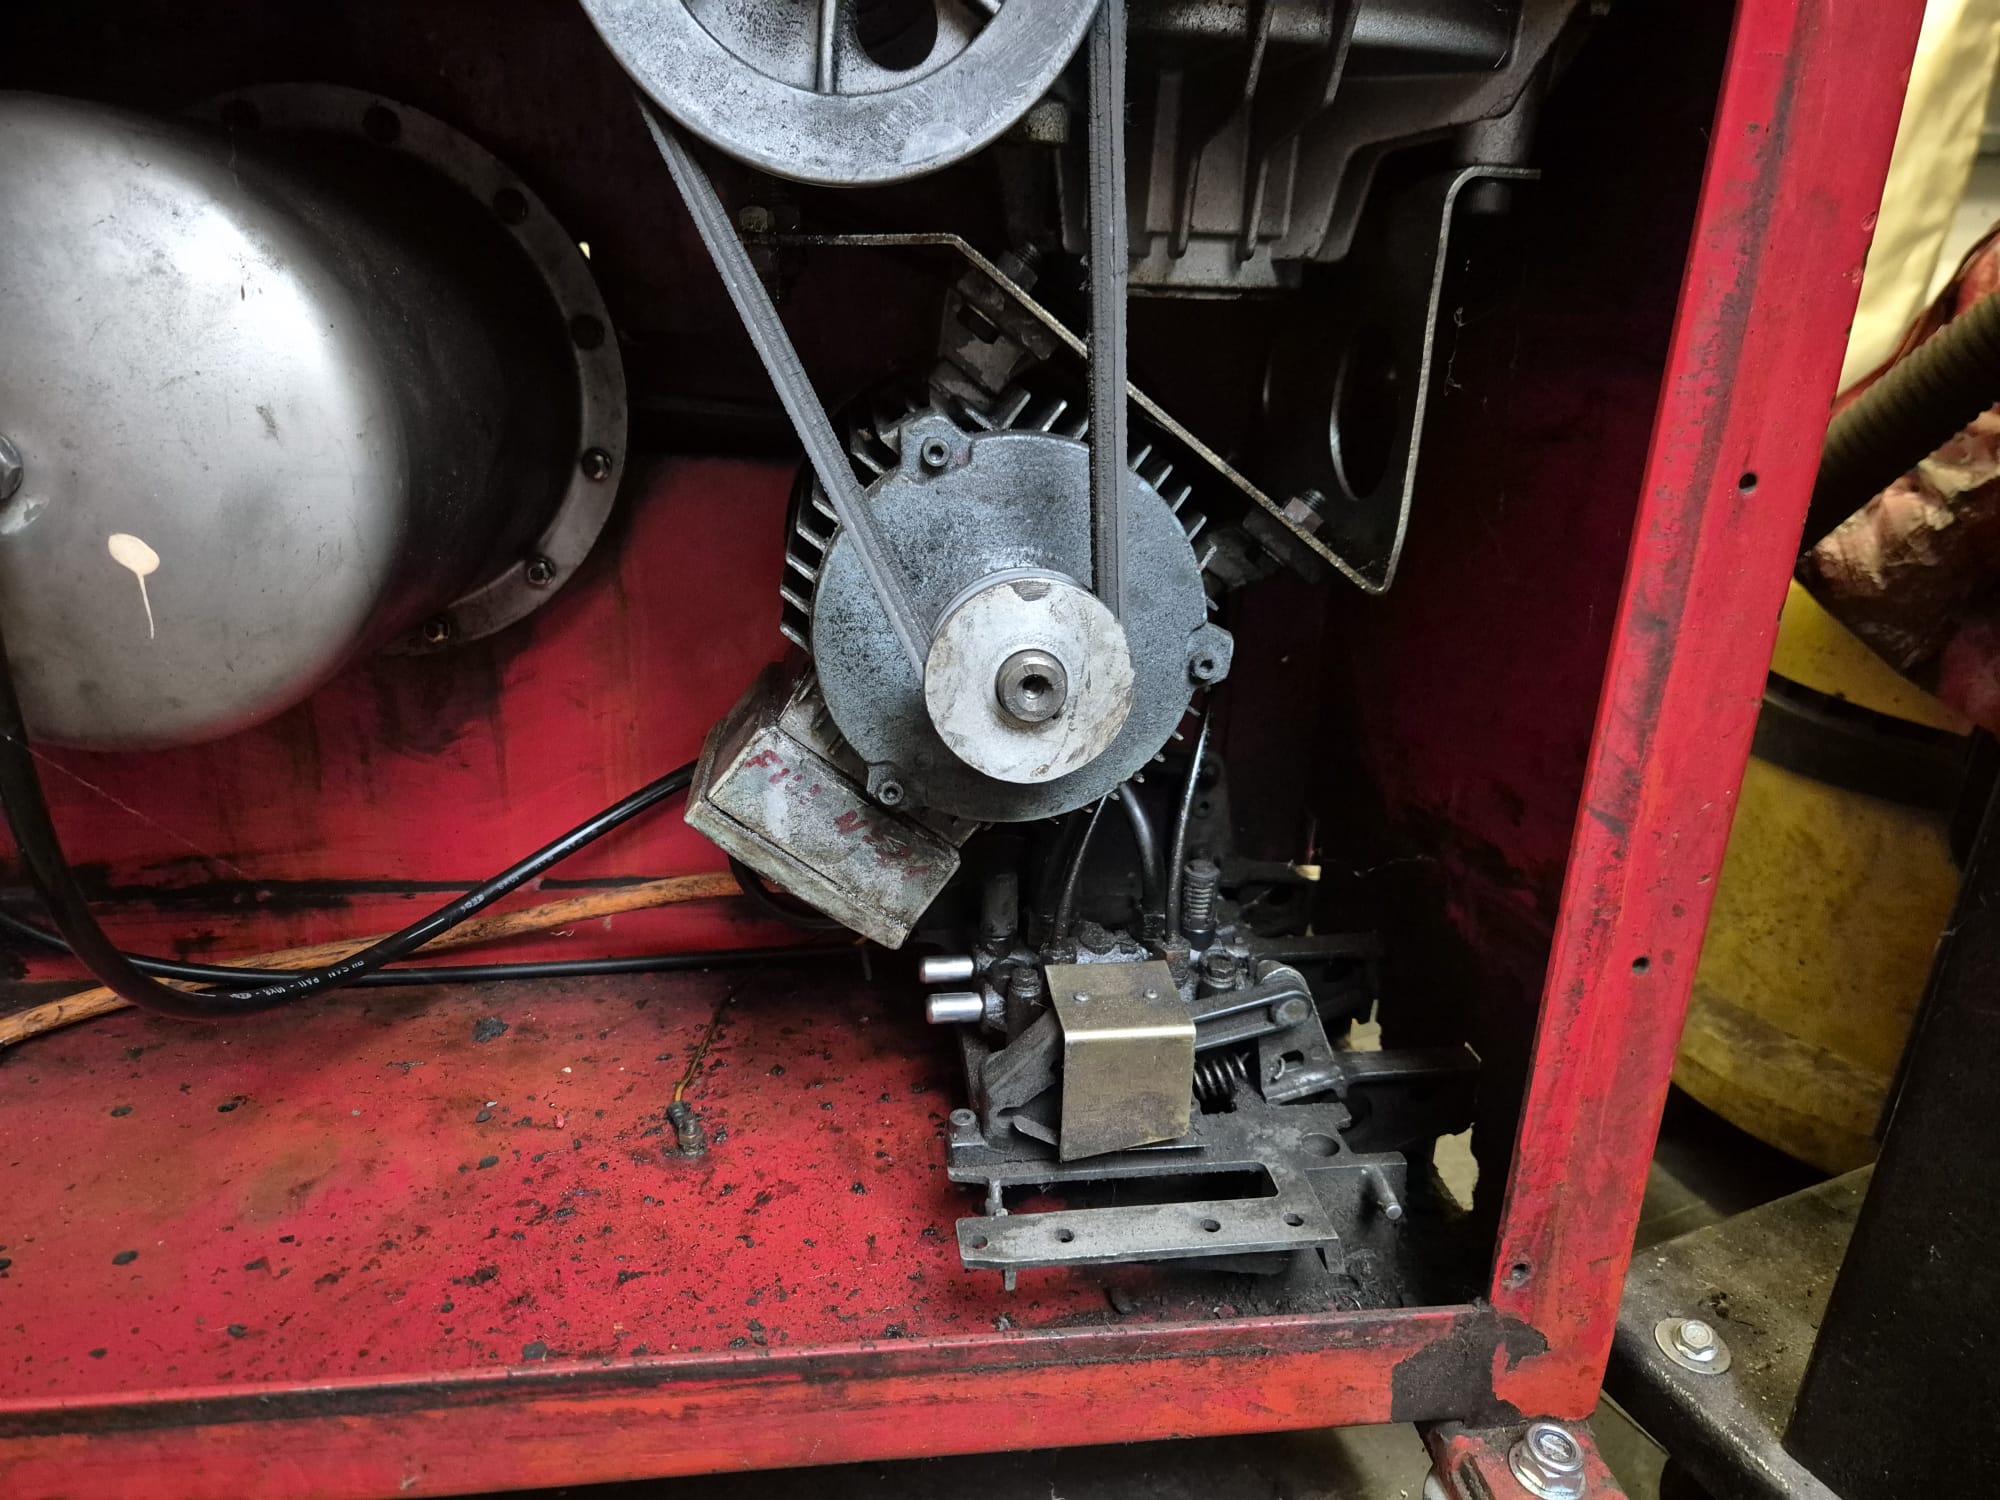
Yesterday I went ahead and hooked up the power and air lines right away and tested everything out: It all works! This version has 3 foot pedals, and you can manually move the column back and forth, which works pretty smoothly.
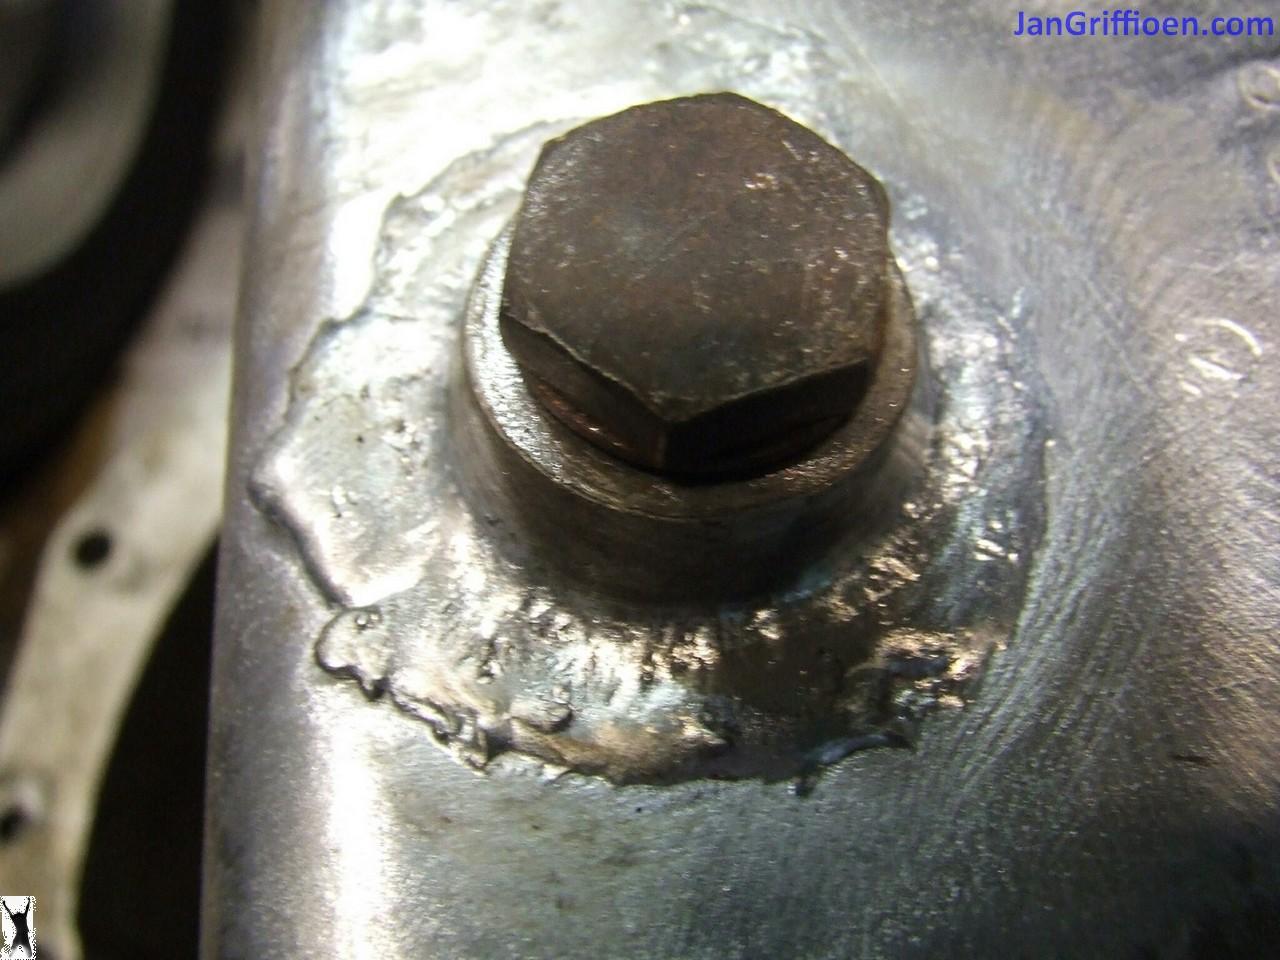
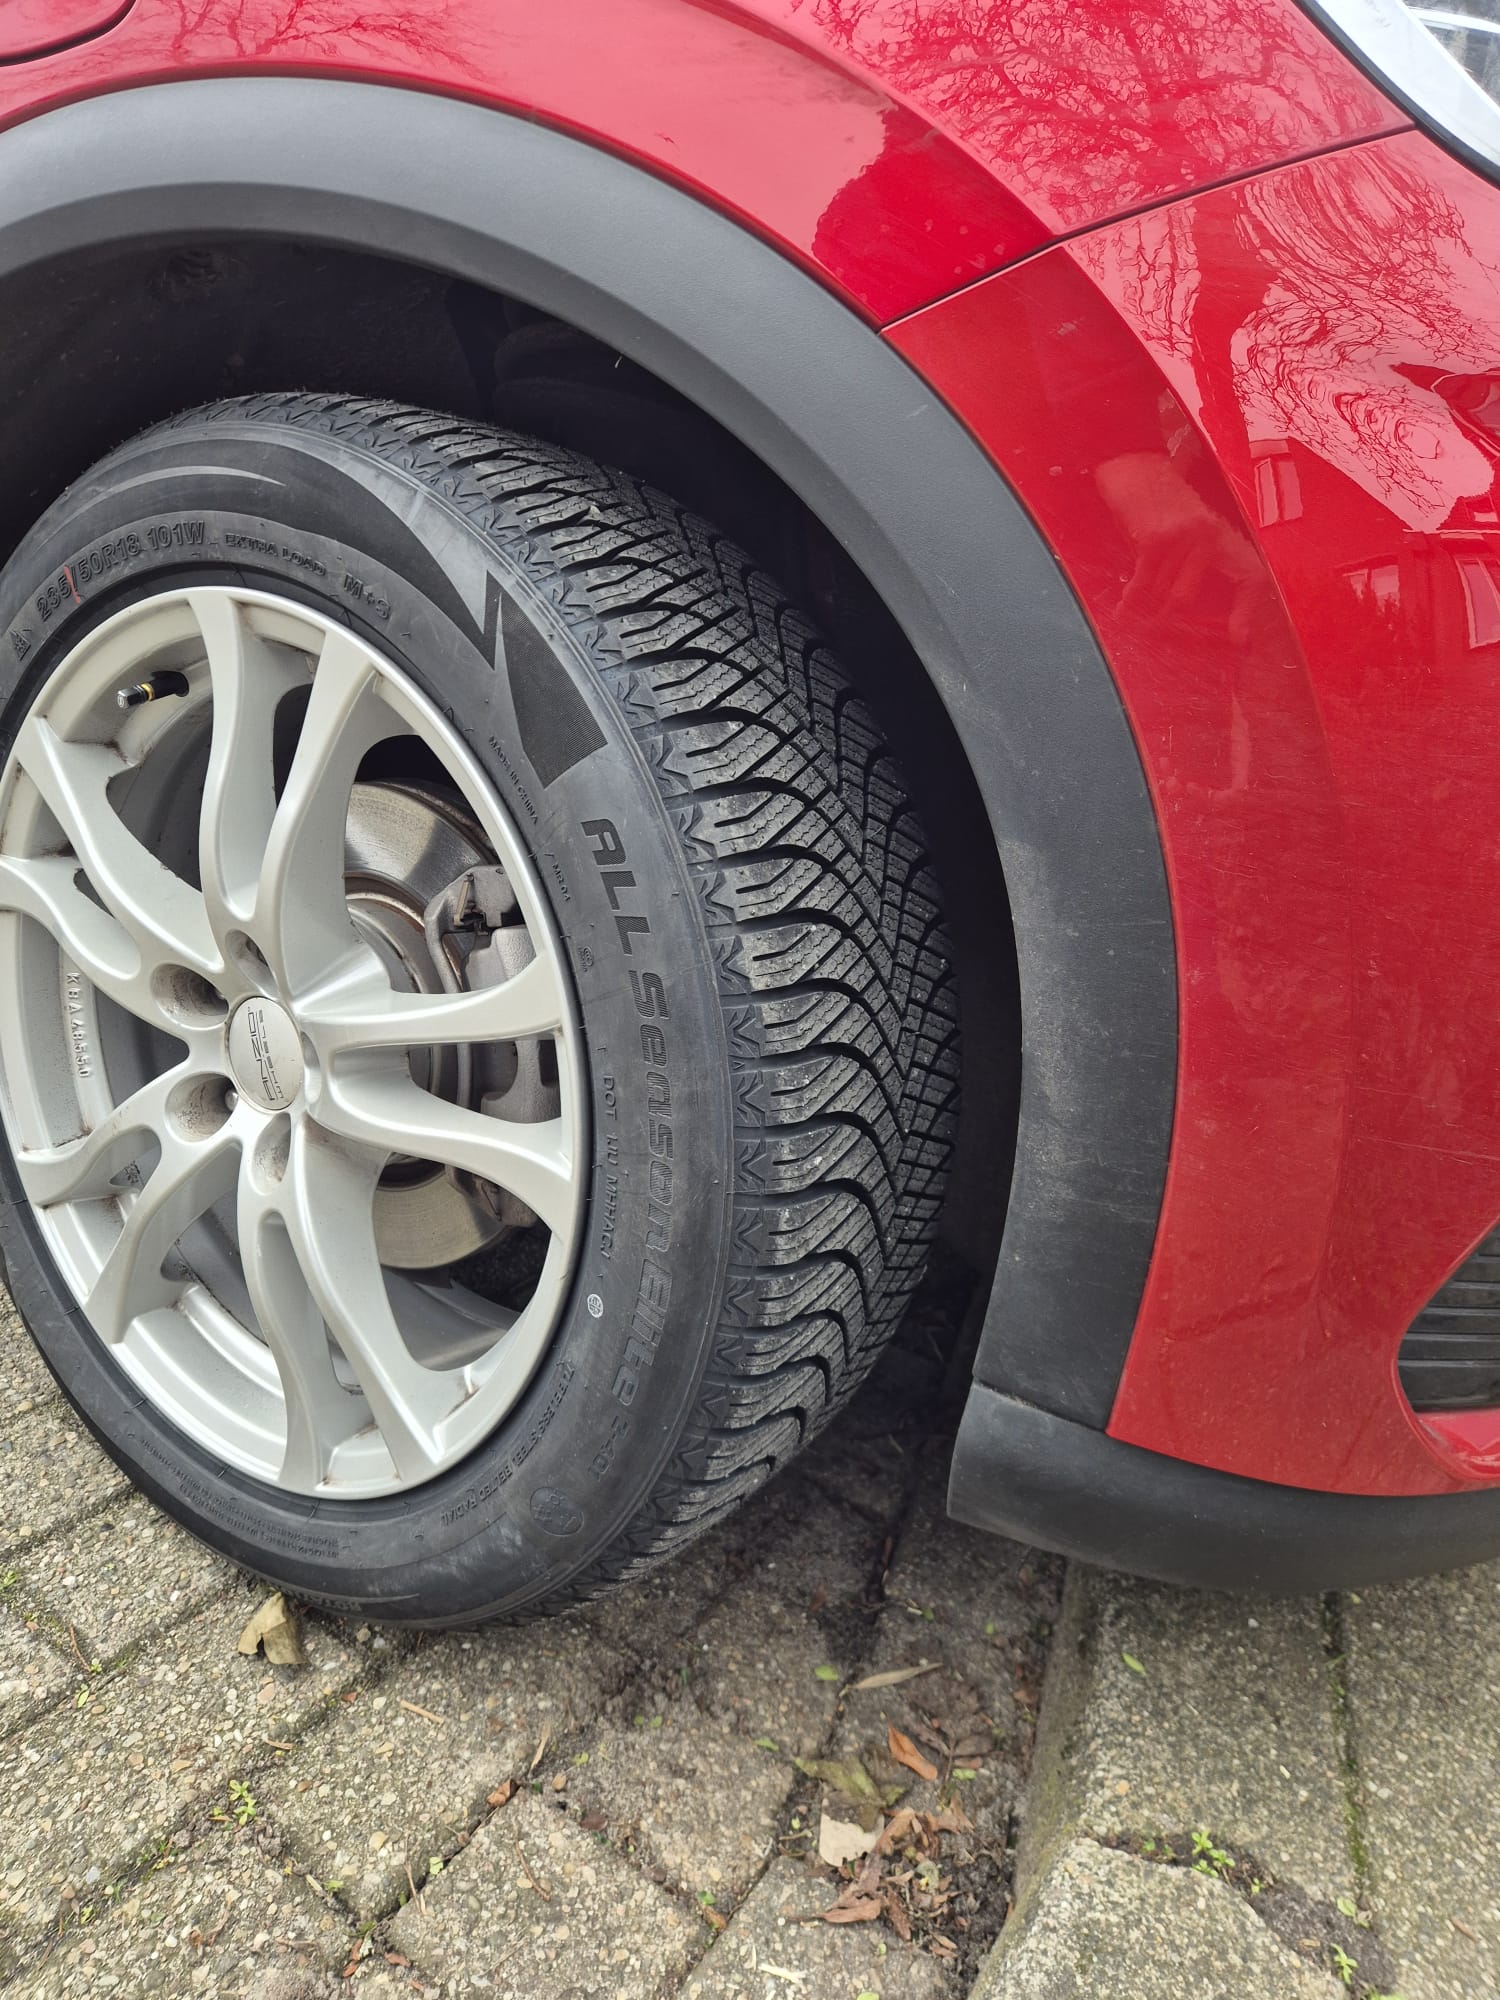
After installing the air regulators and the air compressor for the air system, I mounted my winter/all-weather tires for the Atto3 onto the LM rims I scored on Marktplaats, which still had tires that were way too big (for a Mazda CX-9) still on them. First, I had to remove those big tires that were on the rims (see photo above), install the TPMS sensors, and put the new tires on! After balancing them, I managed to hit the road this winter with M&S tires just in the nick of time!

Next, I’m going to use the machine to change the tires on my 1970 Citroën DS convertible. It currently has 15-inch Kenda winter tires on it, but I’d actually prefer to have the original Michelin X-as tires on it—they just drive better. And since I’m no longer taking the DS on winter sports trips like I used to, it’s better to take those winter tires off anyway.
Now—the reason I bought the tire changer: I’ve had a lot of trouble getting local tire shops to change and balance the tires on my Citroën Traction Avant and DS. It’s been a real hassle. With the DS, for example, there was a lot of balancing weight in the rim flange after the Kenda all-weather tires were installed, which meant the wheel covers could no longer be centered. It looked really ugly.
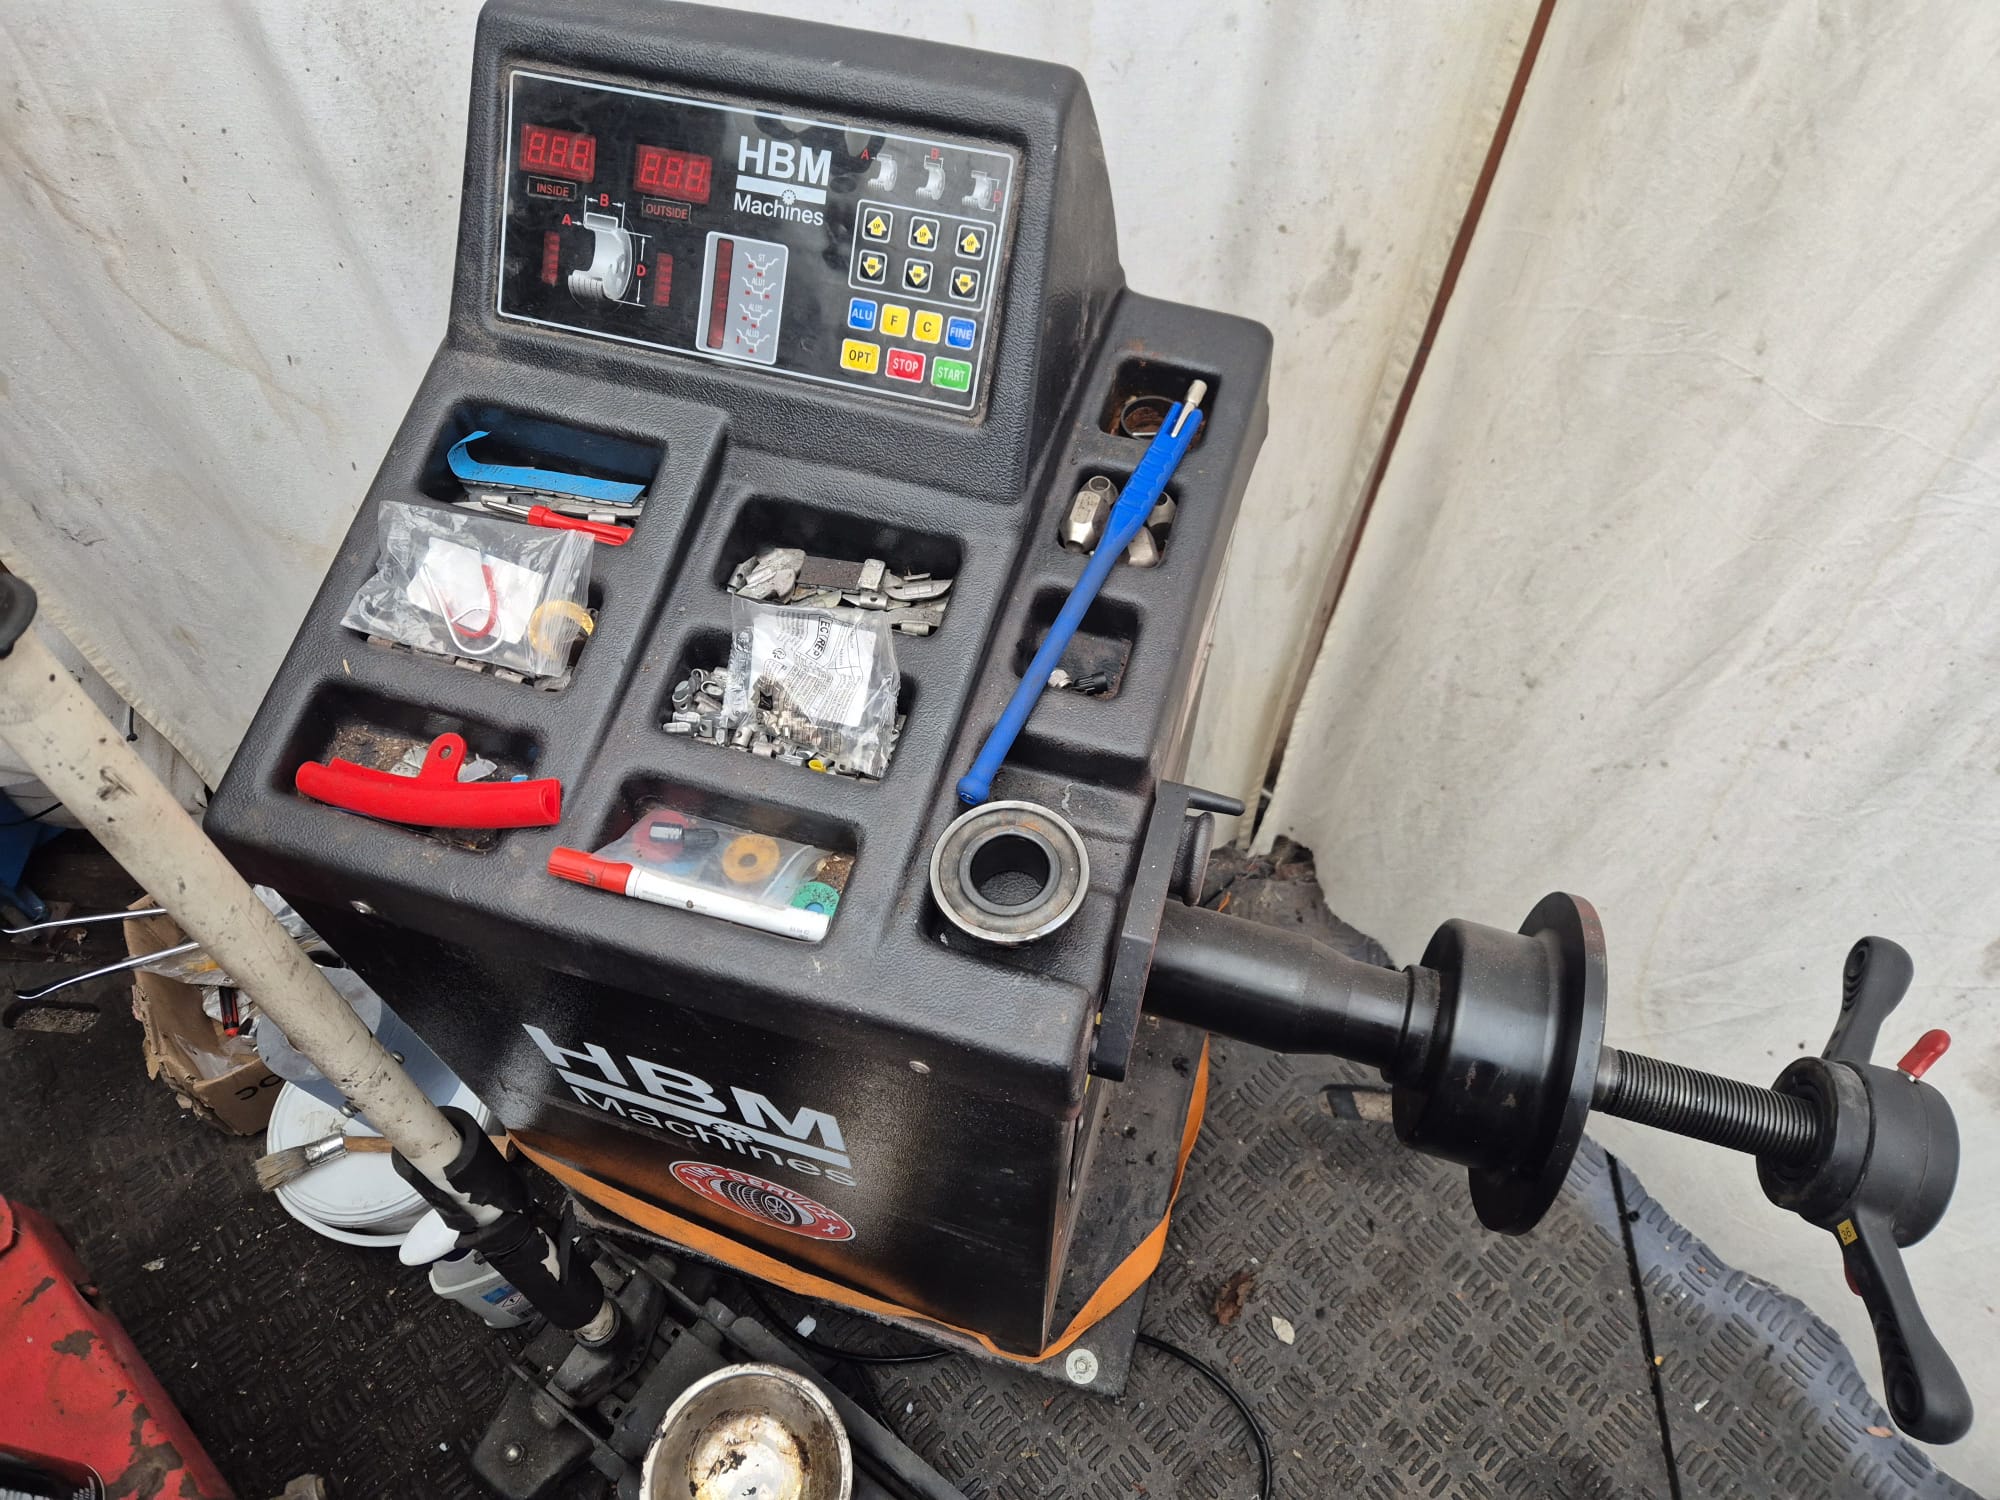
So a few years ago, I bought a wheel balancer with an adapter for old rims (which don’t have a center hole). I’ve gained a lot of experience using it on both my classic cars and my other vehicles.
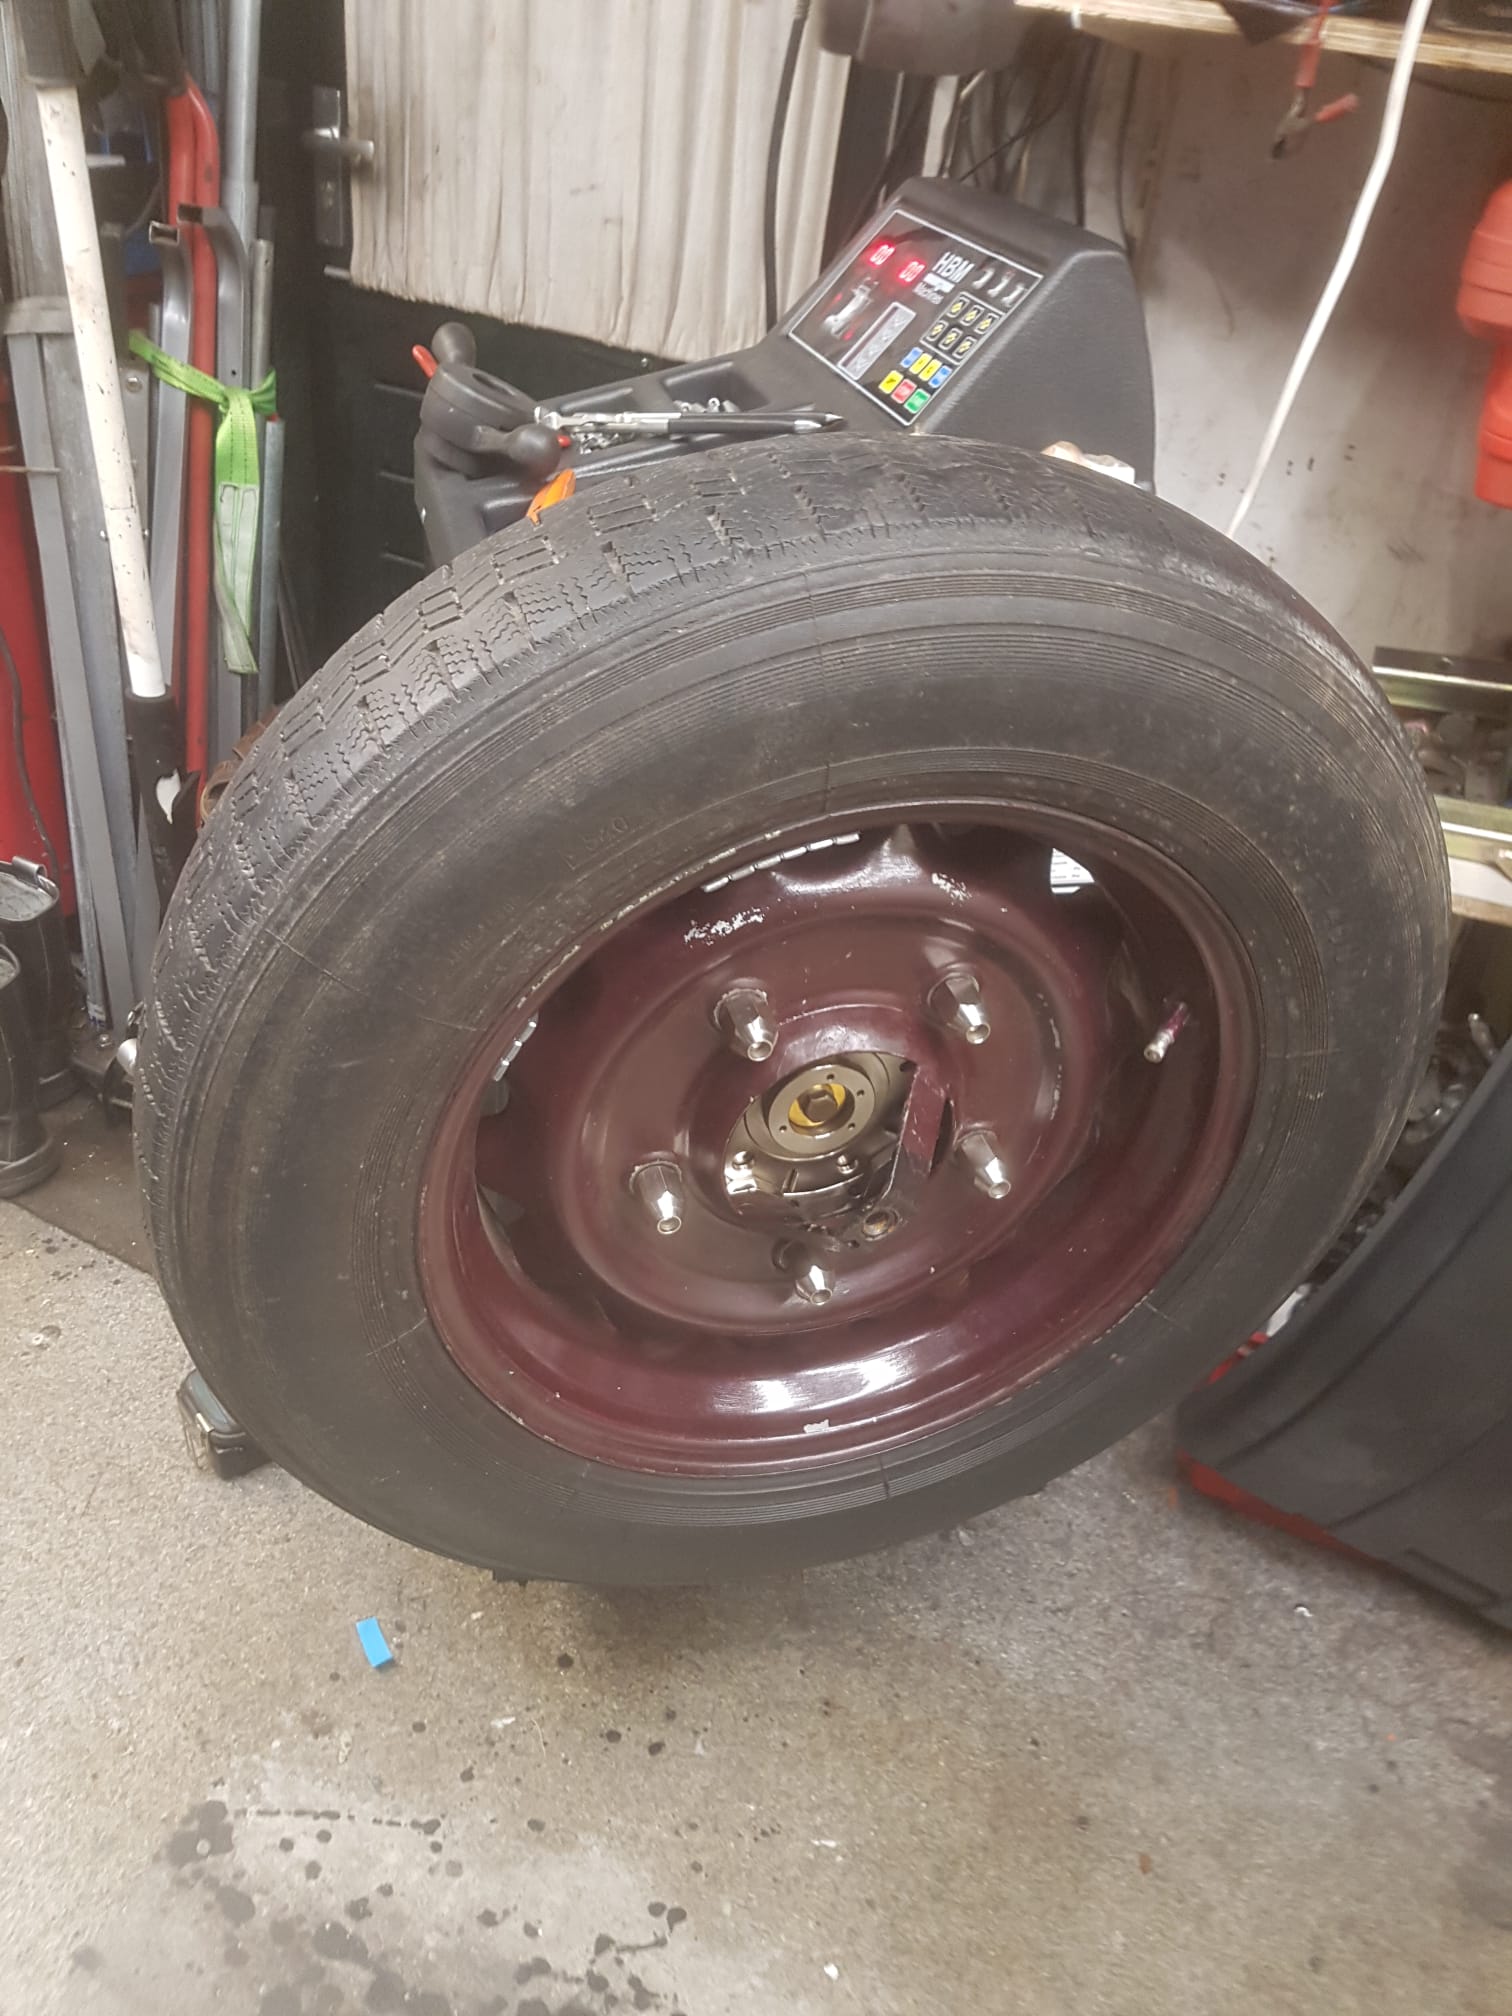
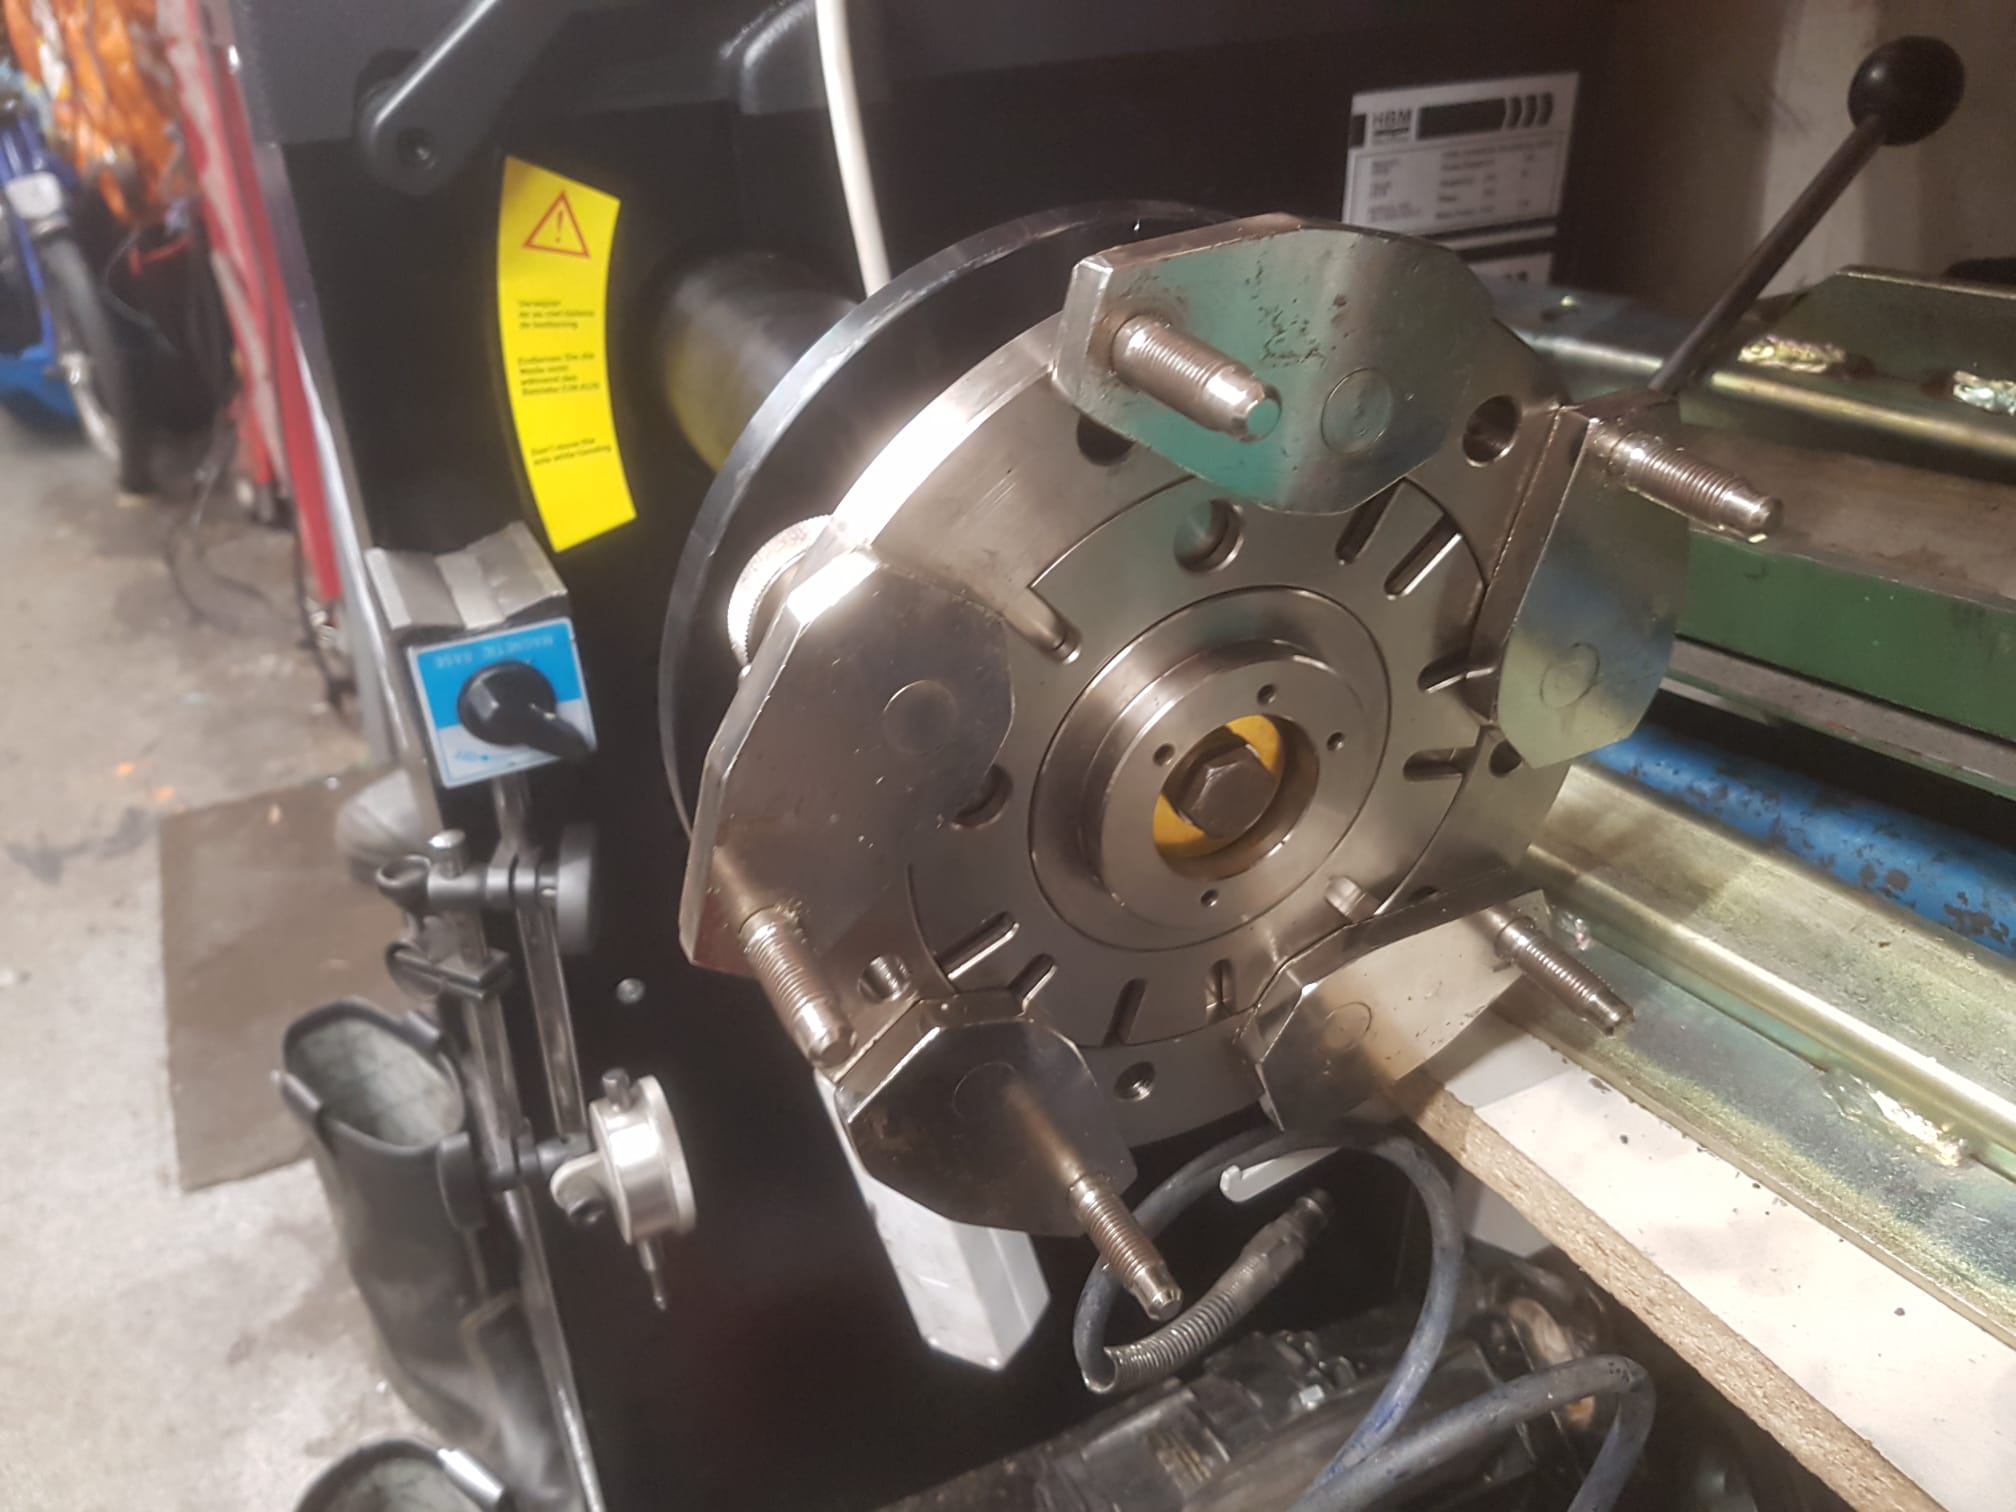
This allows me to balance all rims perfectly (almost invisibly) using adhesive weights. In addition, those old rims often suffer from axial imbalance, which can’t be fixed by balancing alone. To fix that, you have to true the rim. I’ve learned how to do that as well, but I couldn’t get local tire shops to do it for me because they no longer have any experience with such old steel rims. Mounting these 5-hole rims with adapters is also quite a precise job and takes much more time than simply sliding the rims over a central axle.
Working with older rims and tubed tires doesn’t make things any easier, and it also takes time to find the correct rotation position of the outer tire on the rim/tube combination so that you have to use as little balancing weight as possible. And that’s exactly why I’ve decided to go ahead and buy a tire changer myself. That way, I can take care of all those things—like breaking the tire bead, rotating the tire, re-inflating it, and so on—all by myself.
Yeah, I know I’m a bit of a stickler. That’s why I’d rather do it myself.
DOWNLOADS:
Corghi A2010_A2019_A2001S_Spanish_MANUAL
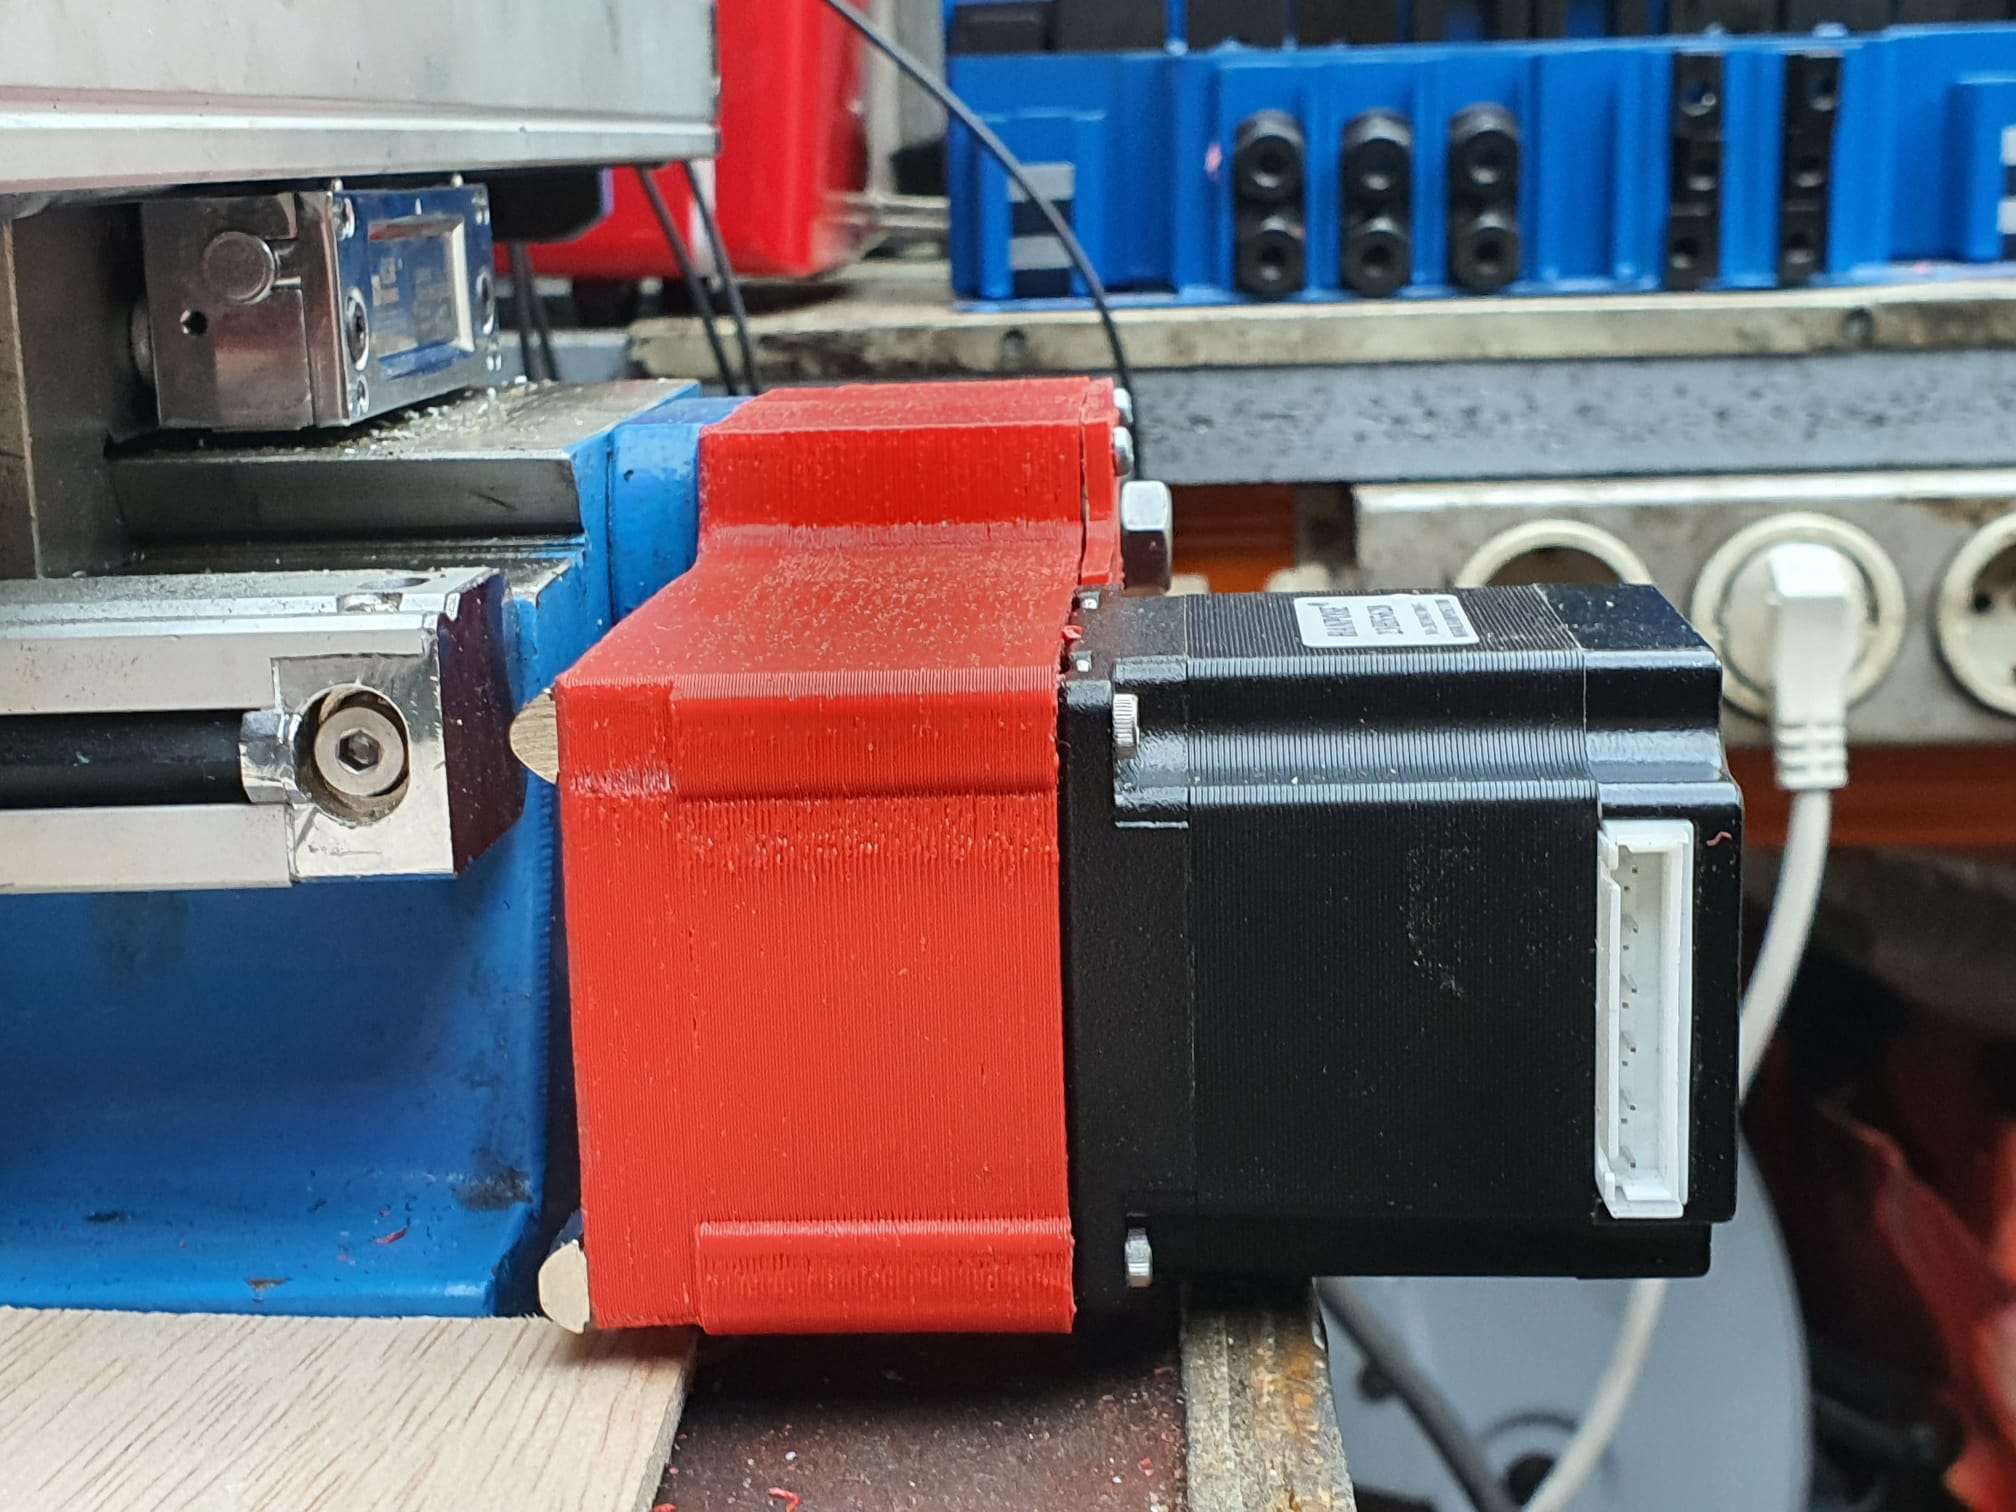
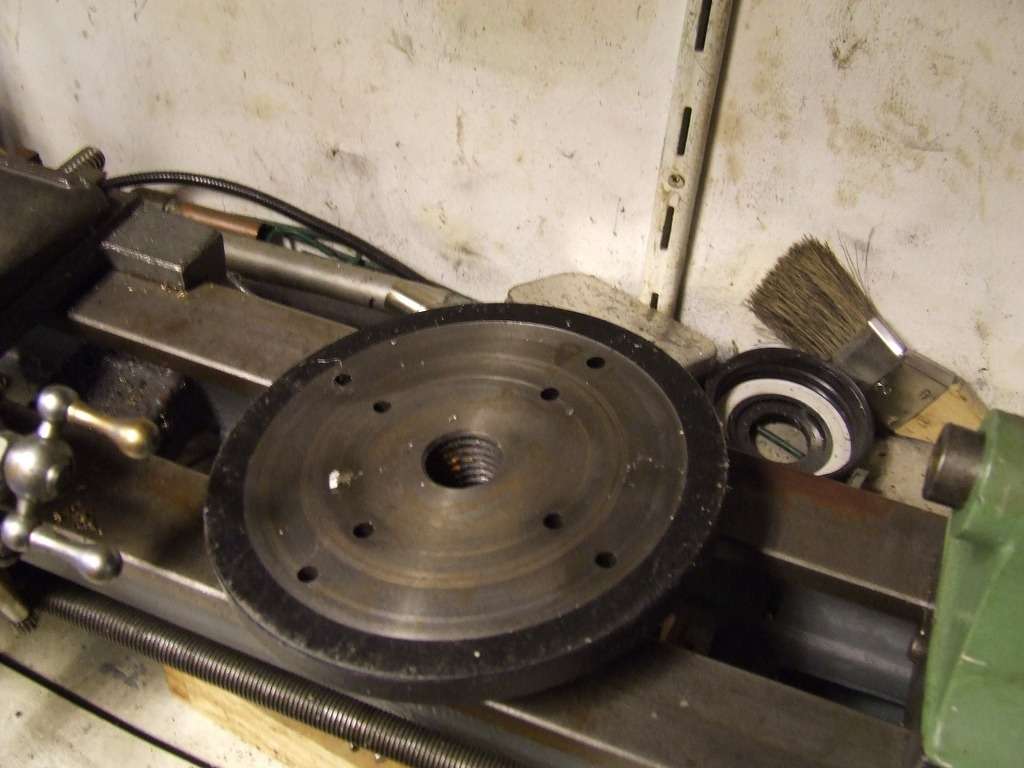
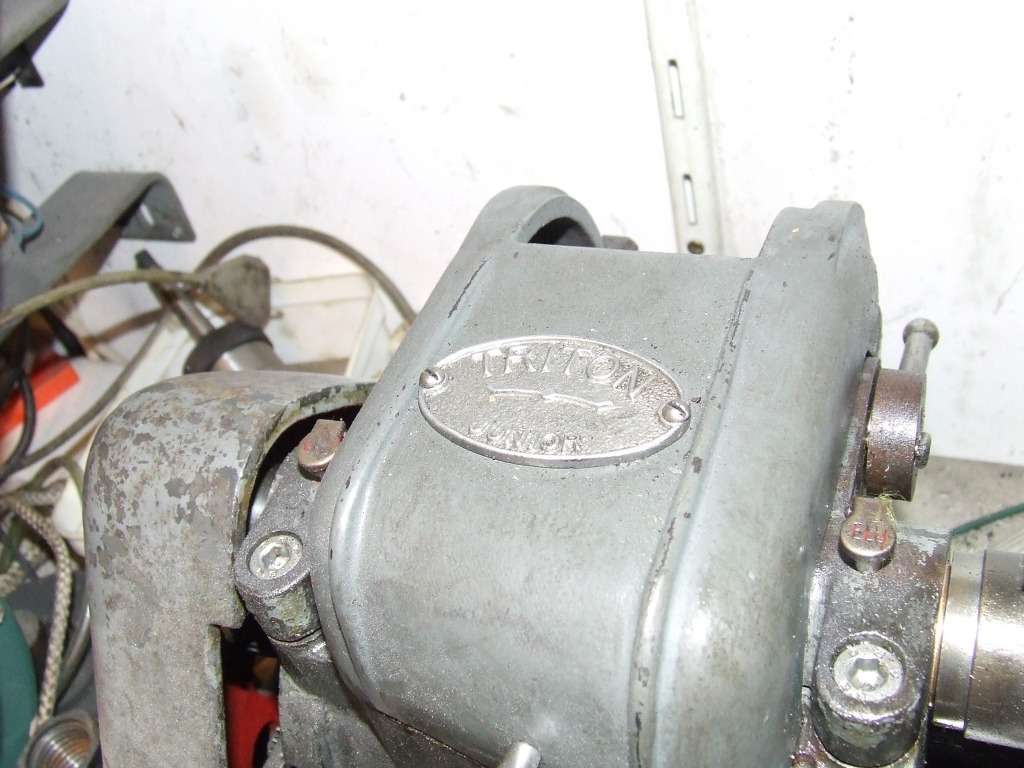
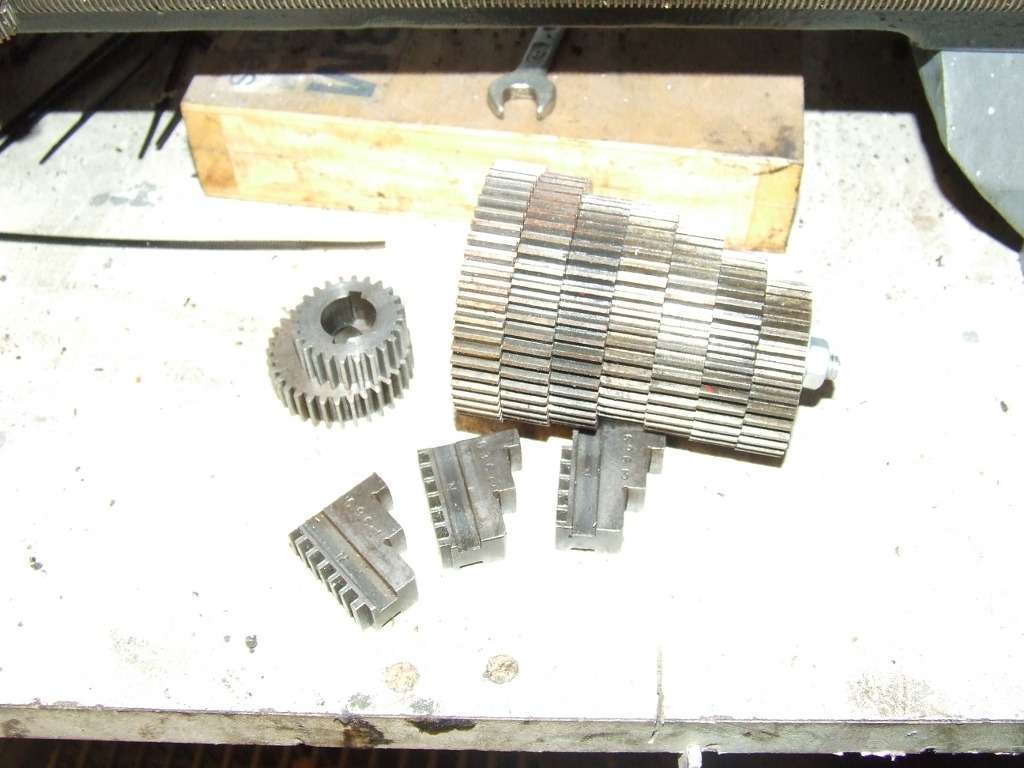
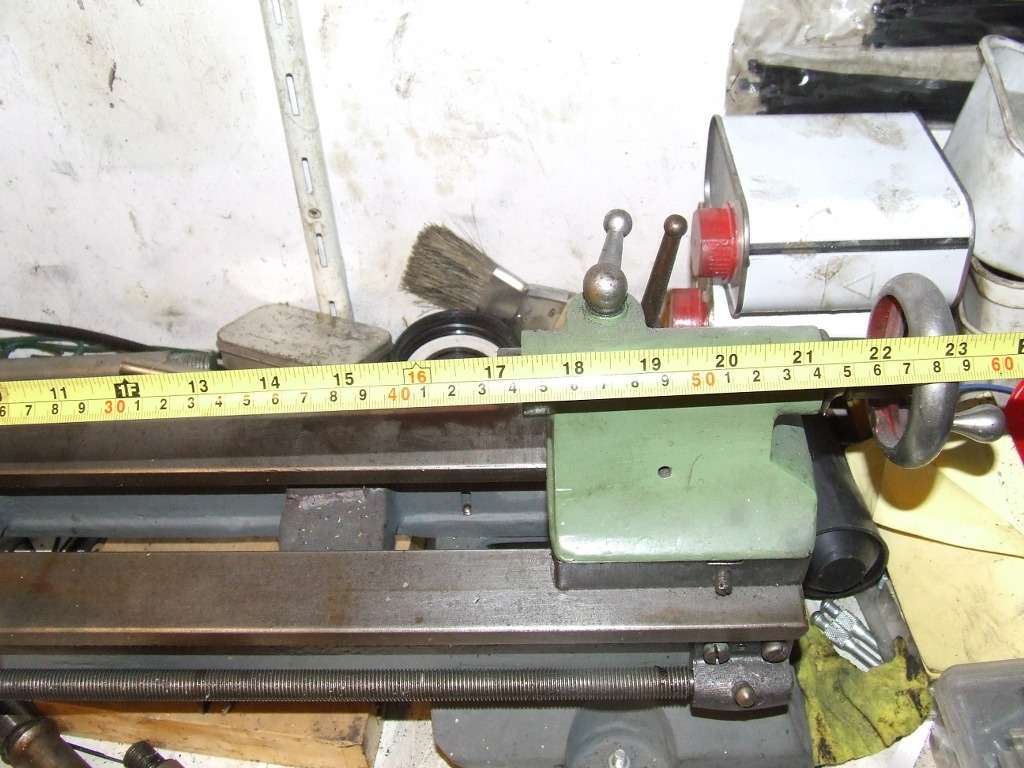
PICTURES taken directly after the purchase: