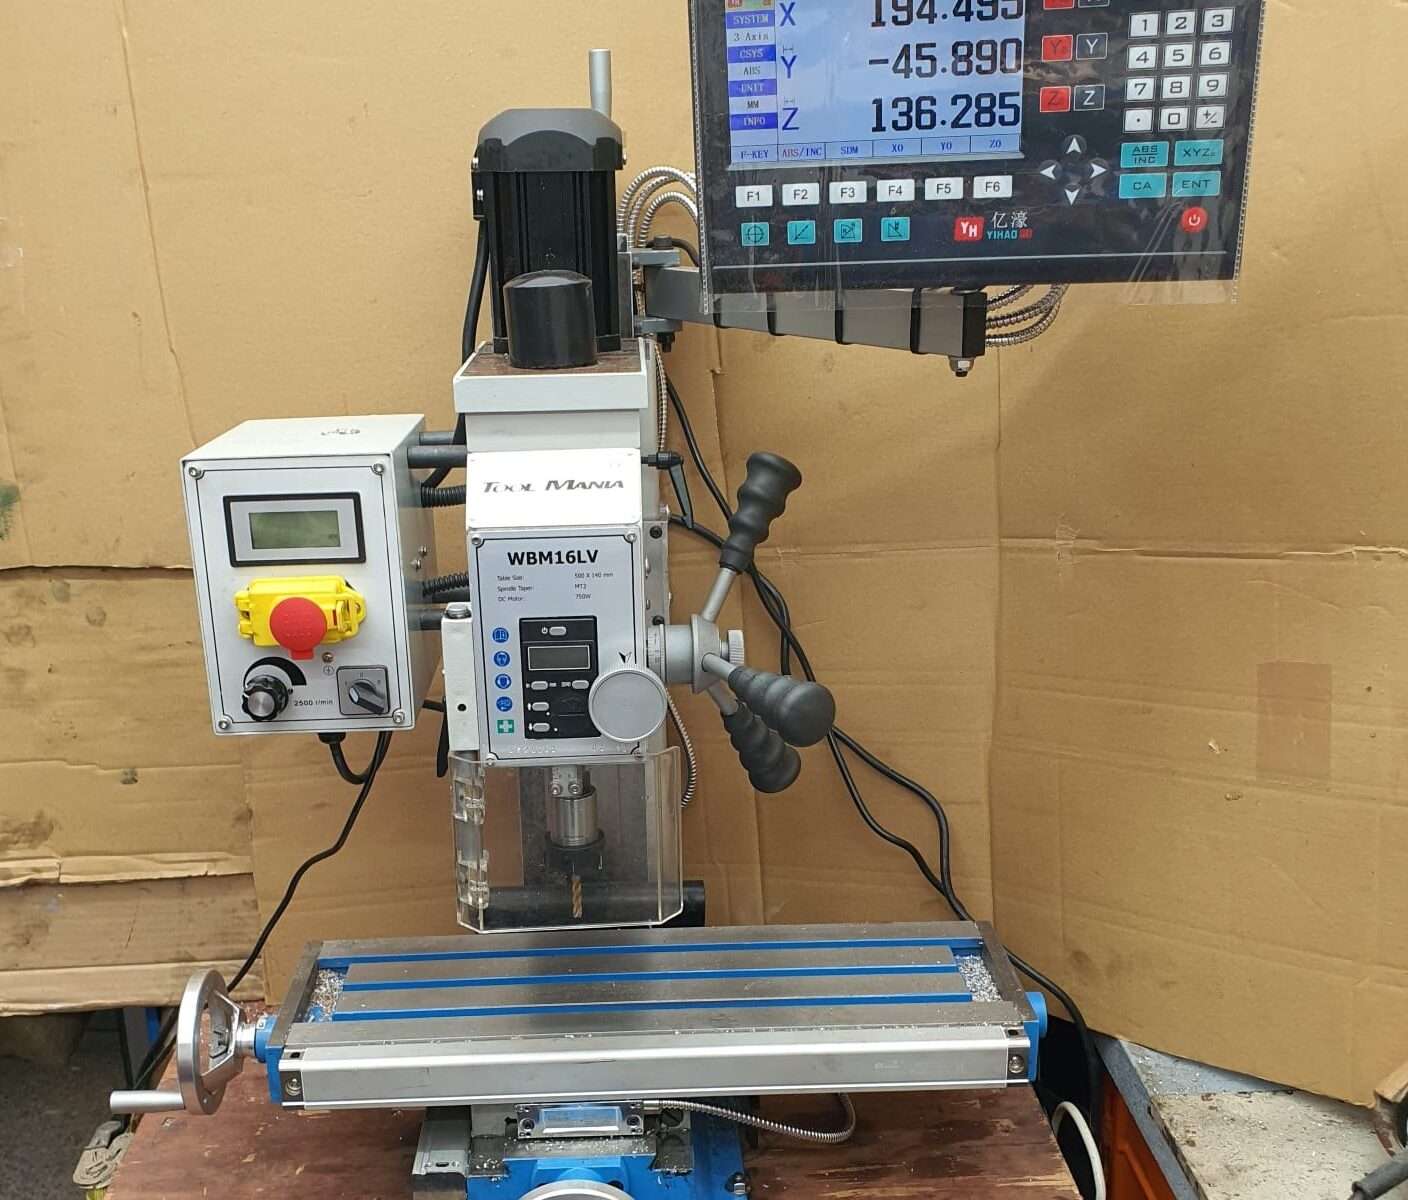
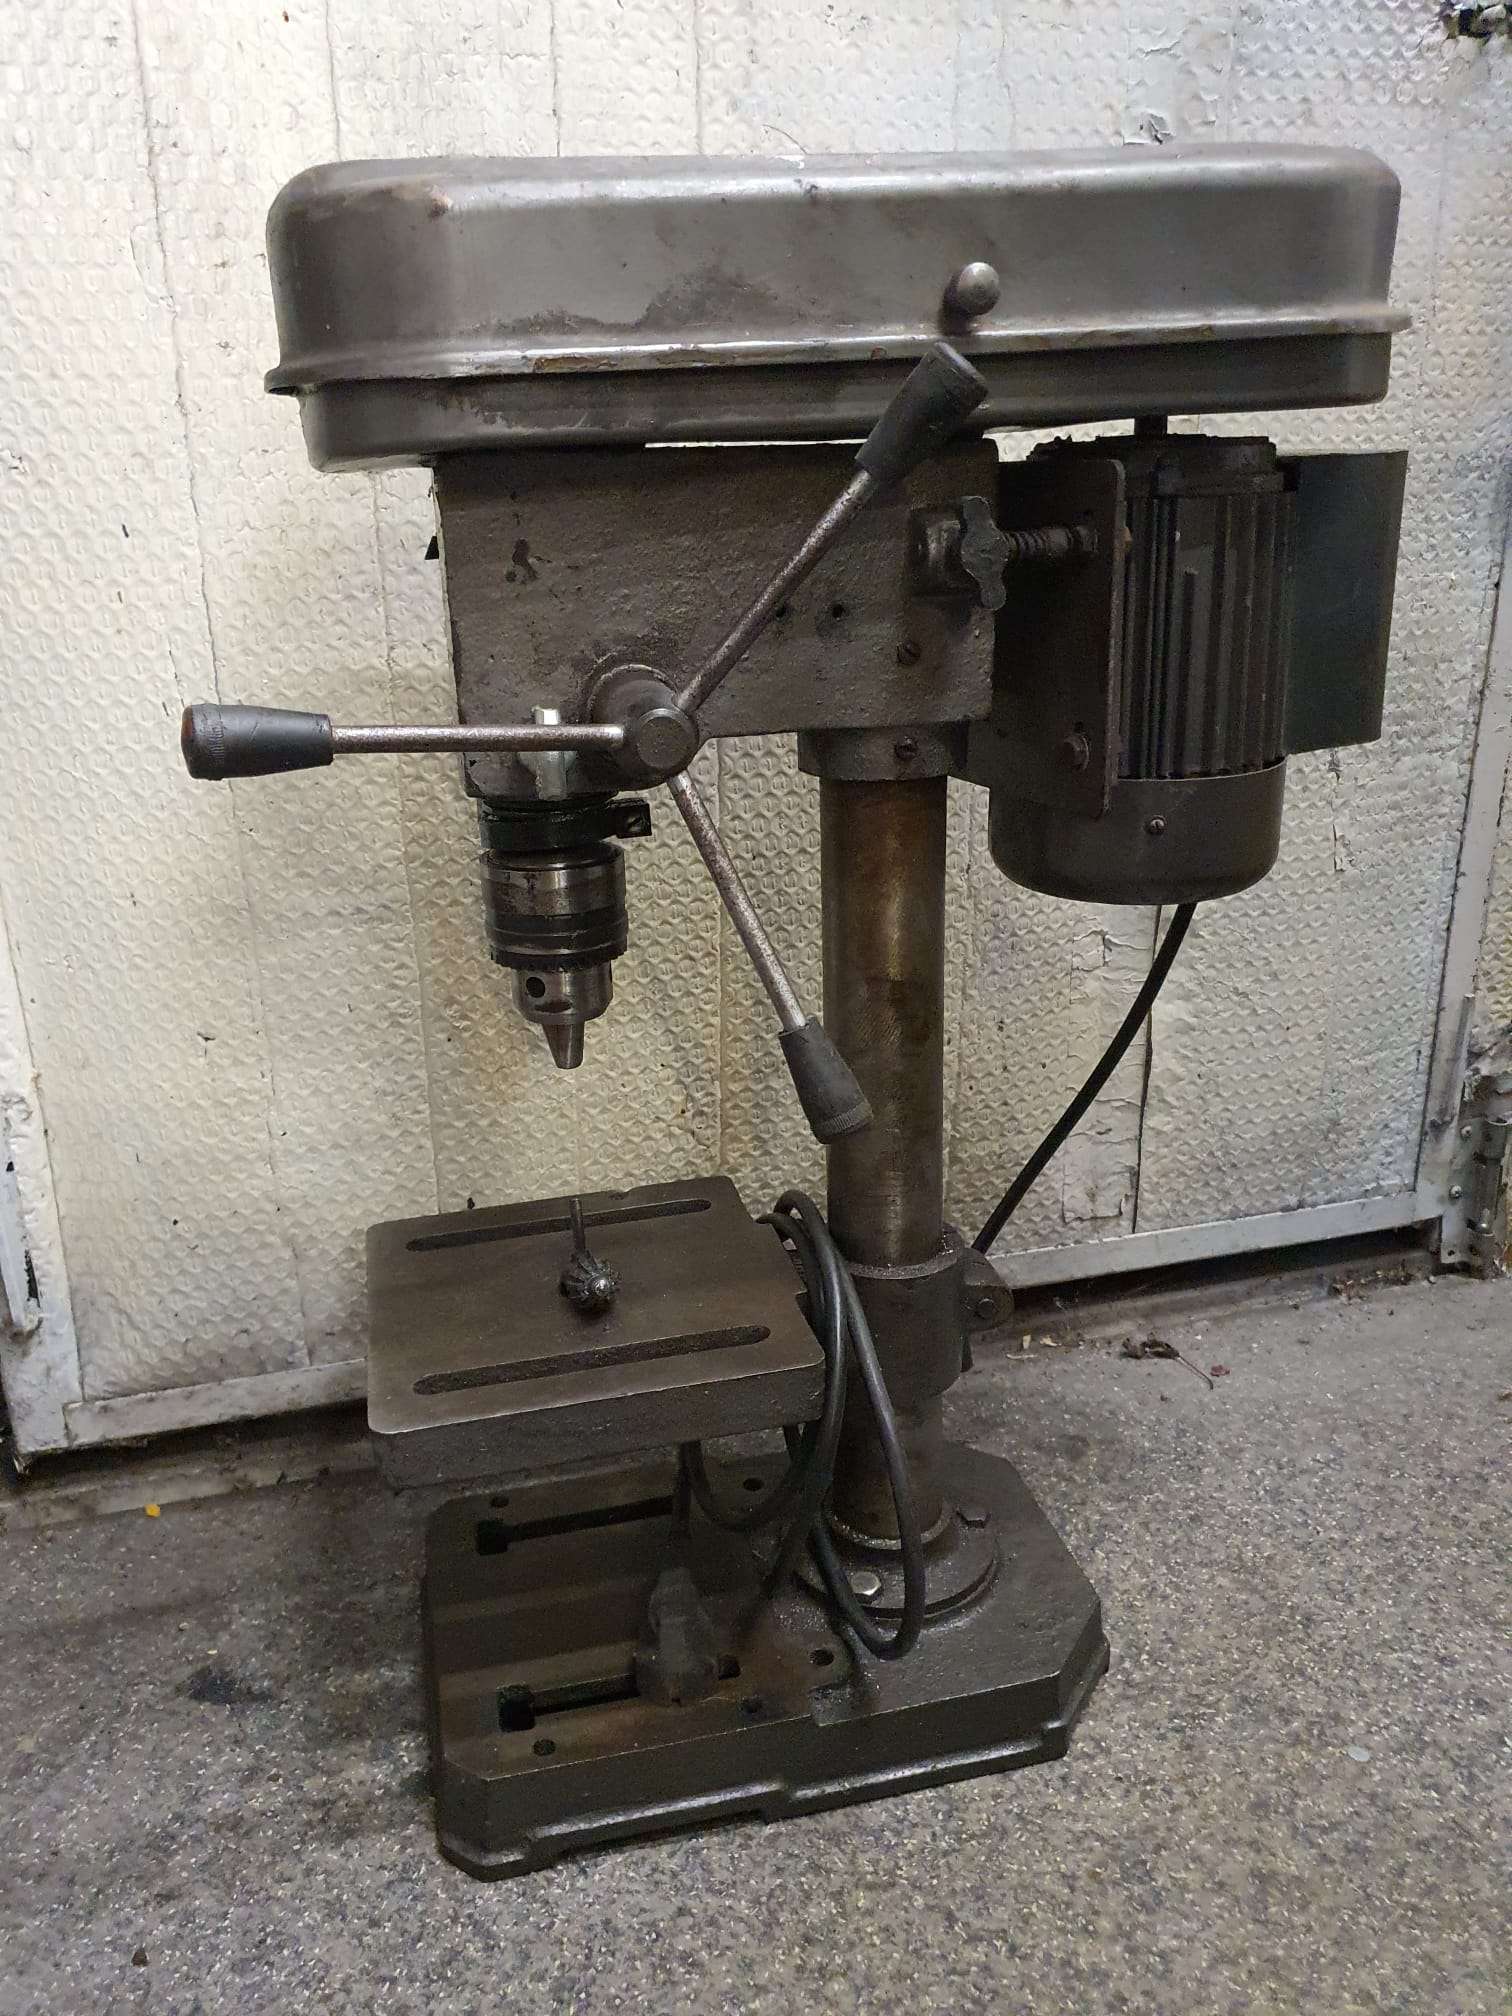
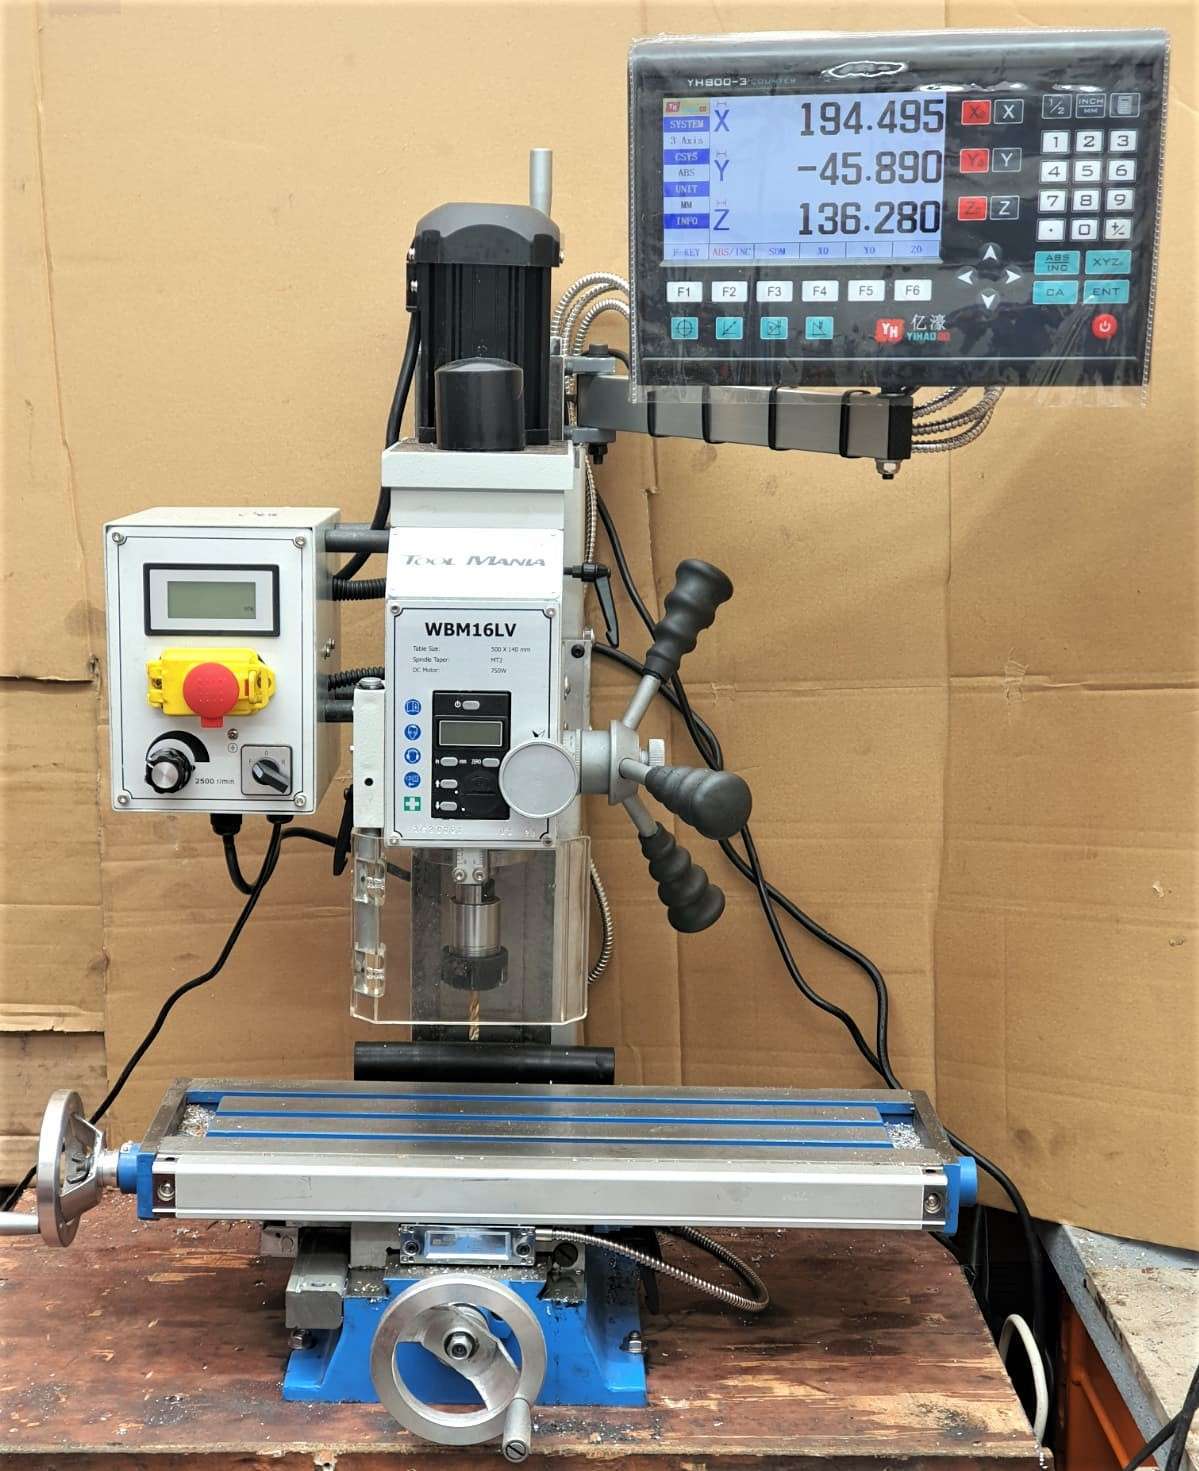
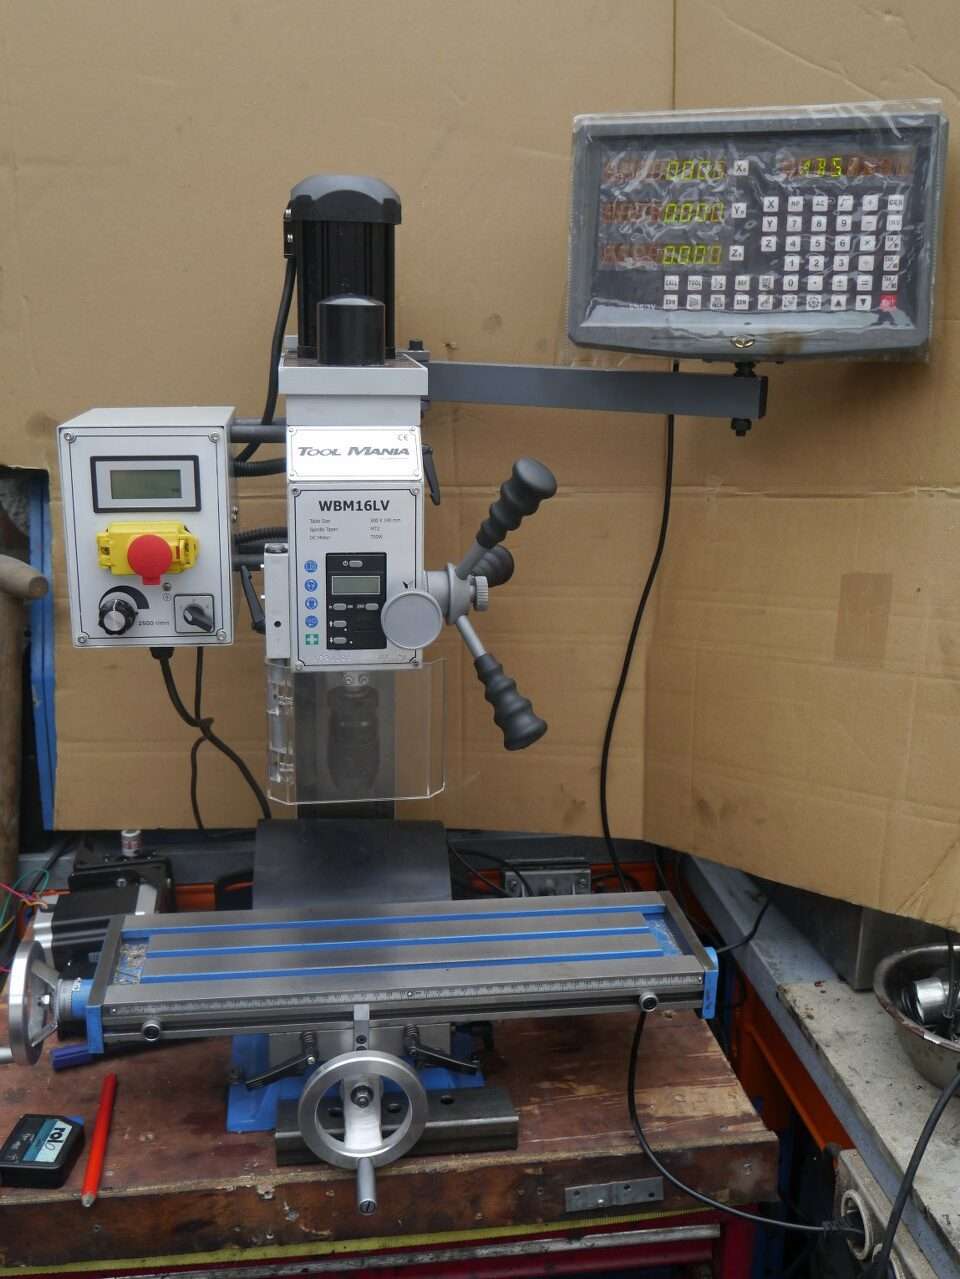
So, after a long search I finally replaced my very old column drill for a small model column mill from Toolmania. I had the last one still available from this series.
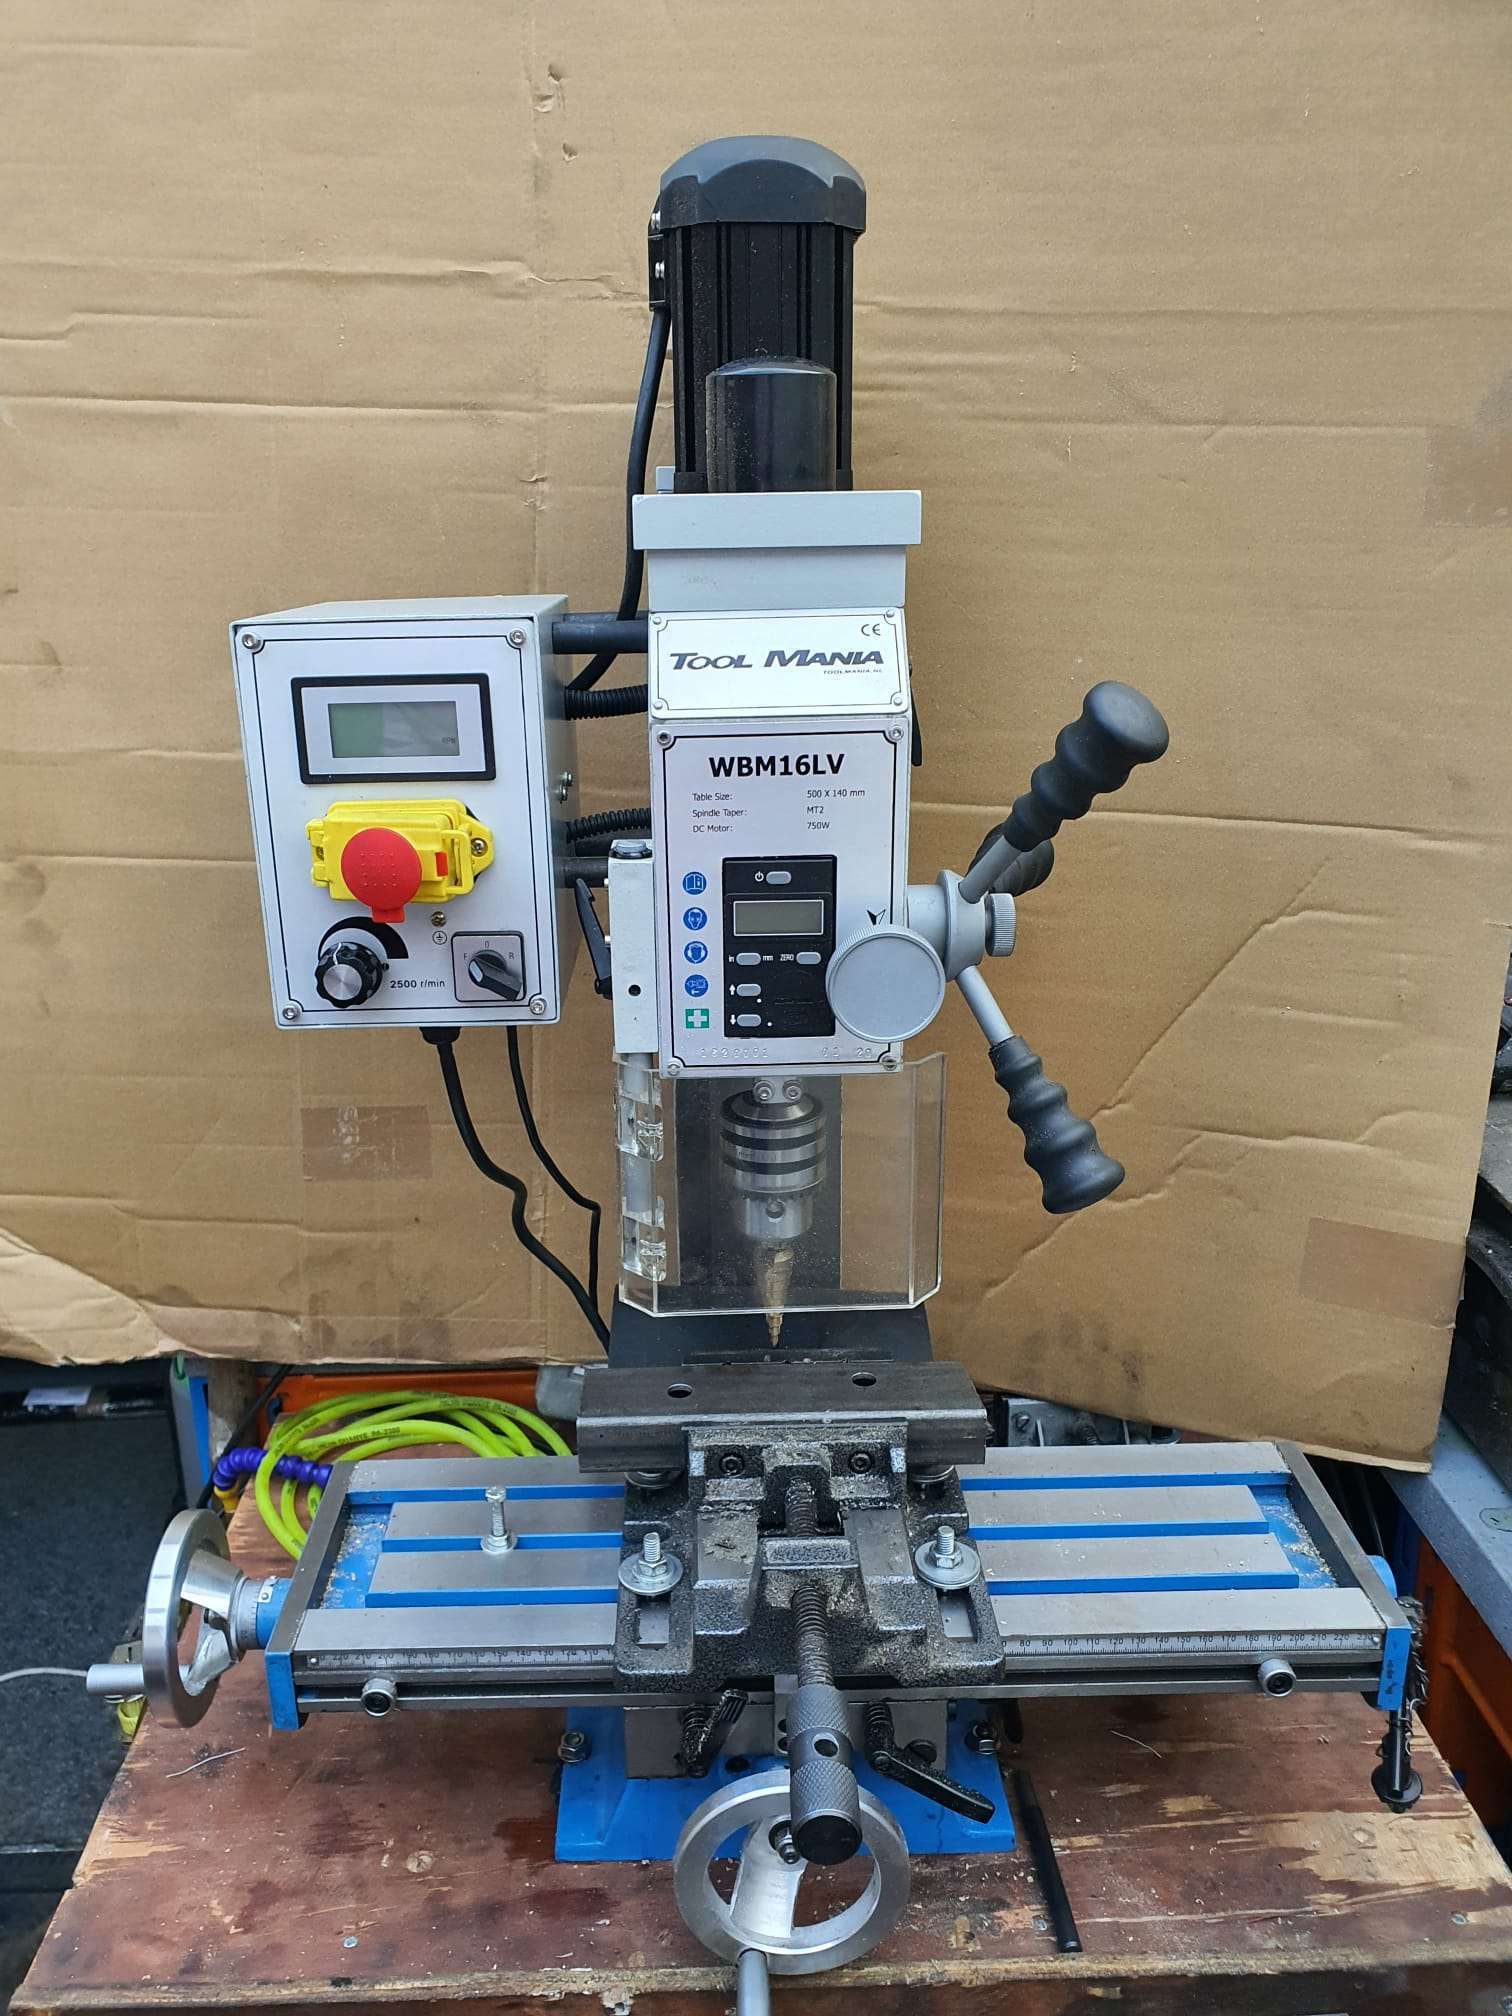
It is a model WBM-16LV with an indirect belt-driven spindle with a 750 watt vario motor. Even at low rpm there is still quite a bit of power on the motor.
This model is actually largely a standard model but with a more powerful motor, with a small LCD for the Z-movement of the 50mm Z-handle and with a wider bed.
The working space with this column router is: X:330mm , Y:140mm and Z:180mm
The spindle has MC2 inclusion with a pull/screw of 10mm. With this, at least a cutter, drill or head will never fall out.

In addition to buying tools, I always notice that you need at least the purchase value of your tools in consumables and additional tools. No different for the mini mill. The glass scales, collets, milling cutters, CNC conversion, gas spring, holders for the table, indexer and so on together cost much more than the cost of purchasing the column cutter.
I immediately replaced the standard 1-16mm rack and pinion drill chuck that came with it with a standard 1-13mm manual-open chuck. But really, I only work with the fixed spindle heads, collets, and the fixed sockets for both milling and drilling.
The associated stuff like an ER-25 collet holder with 15 collets, boring cutter MC2 and so on are from HBM.
The table has been adjusted for play on the X and Y axes.
The vertical column has also been adjusted for play, and screwed very tightly again.
Besides the conversion to CNC I have mounted 3 glass scales of respectively 170 (1x) and 370 (2x). Because my old display module didn’t work with the ordered glass channels I ordered and mounted a matching new module, this one works with an LCD.
For converting the column router to CNC, I have already prepared everything and ordered all the stuff I don’t have in stock.
The column router will be used mainly for milling keyways and occasionally some milling work on ball bearing housings and the like.
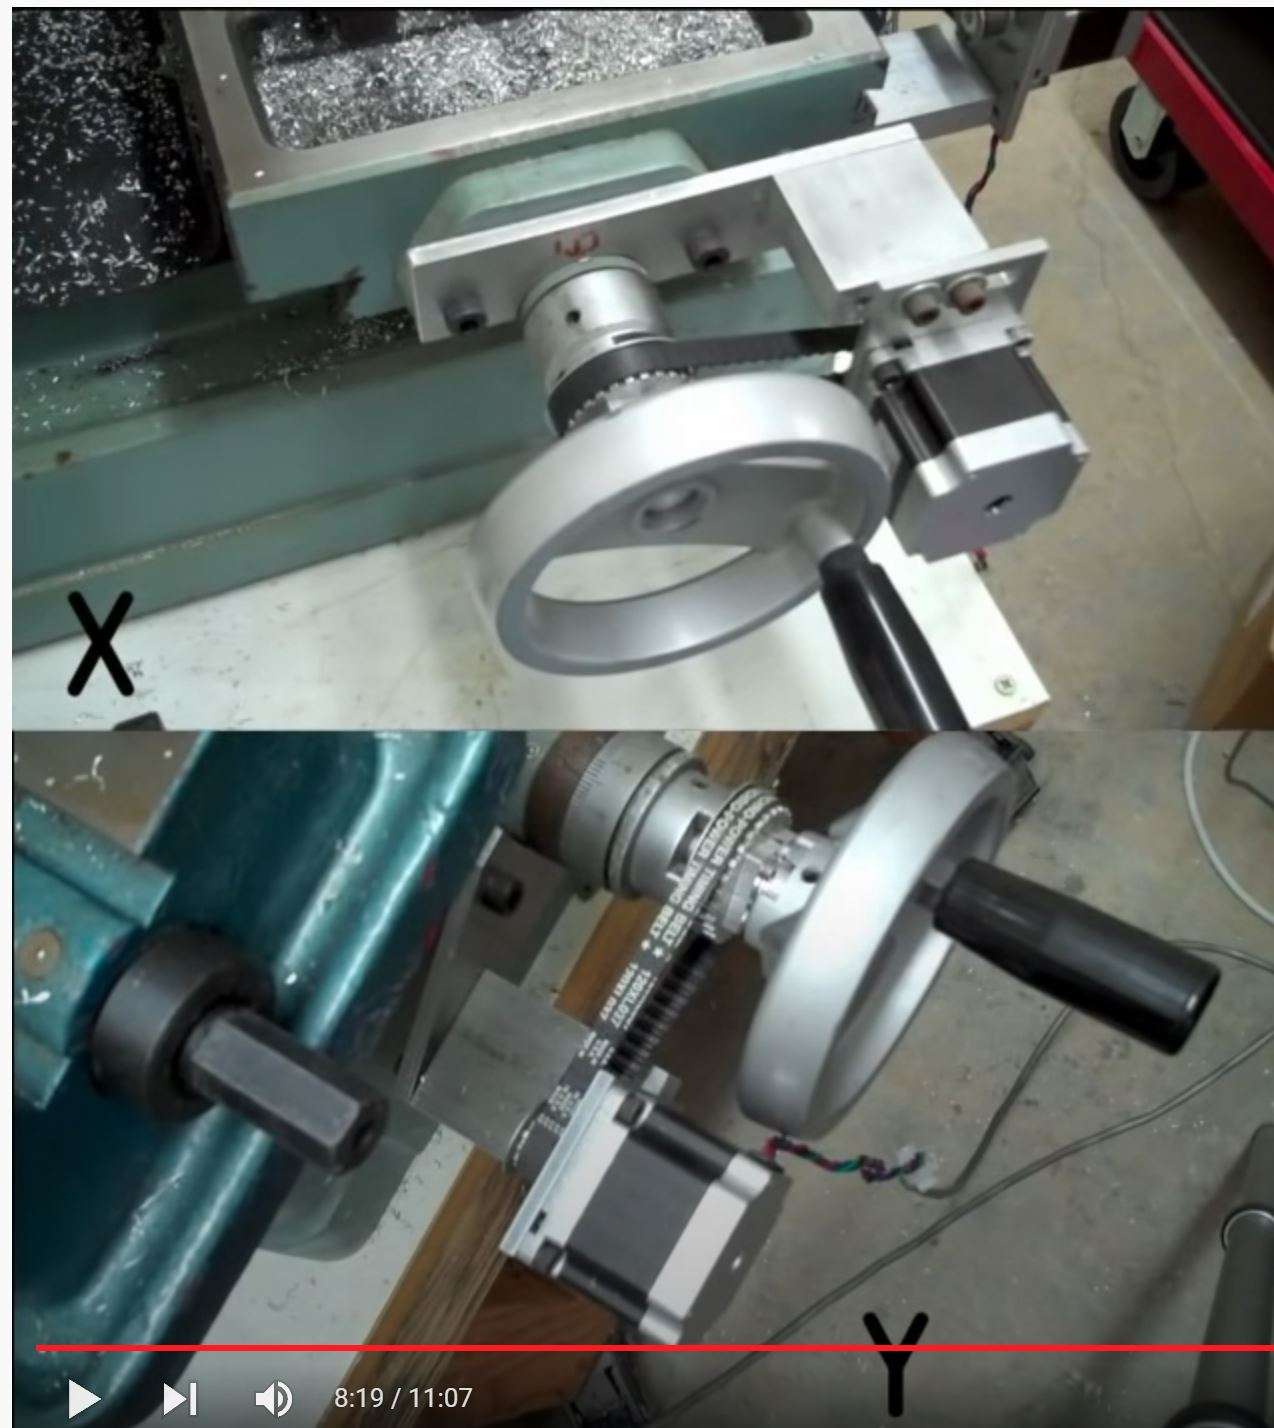
The column cutter will also be used for drilling and occasionally for aluminum milling, and then a CNC setup is useful. The CNC setup will be identical to my Indymill. It will have Nema23 stepper motors with 1:2 belt drive for X and Y and 1:3 drive for the Z axis. I am going to try to merge the handwheels with the gears and then reuse them so that it remains possible to operate manually. The electronics will again be wifi-based with Duet web-based controller and a cloned motherboard from Mellow (FLY) with 2209 stepper drivers.
The limit switches will be inductive: 2 pieces for X, 2 pieces for Y and 1 for Z-top.
The Z-min (or Zero) will be a probe module for the toolbit, which can be put in a fixed place on the table. It would be nice if the column could be electrically isolated from the spindle so you could really do the zero setting on your workpiece. I’m still going to figure that out.
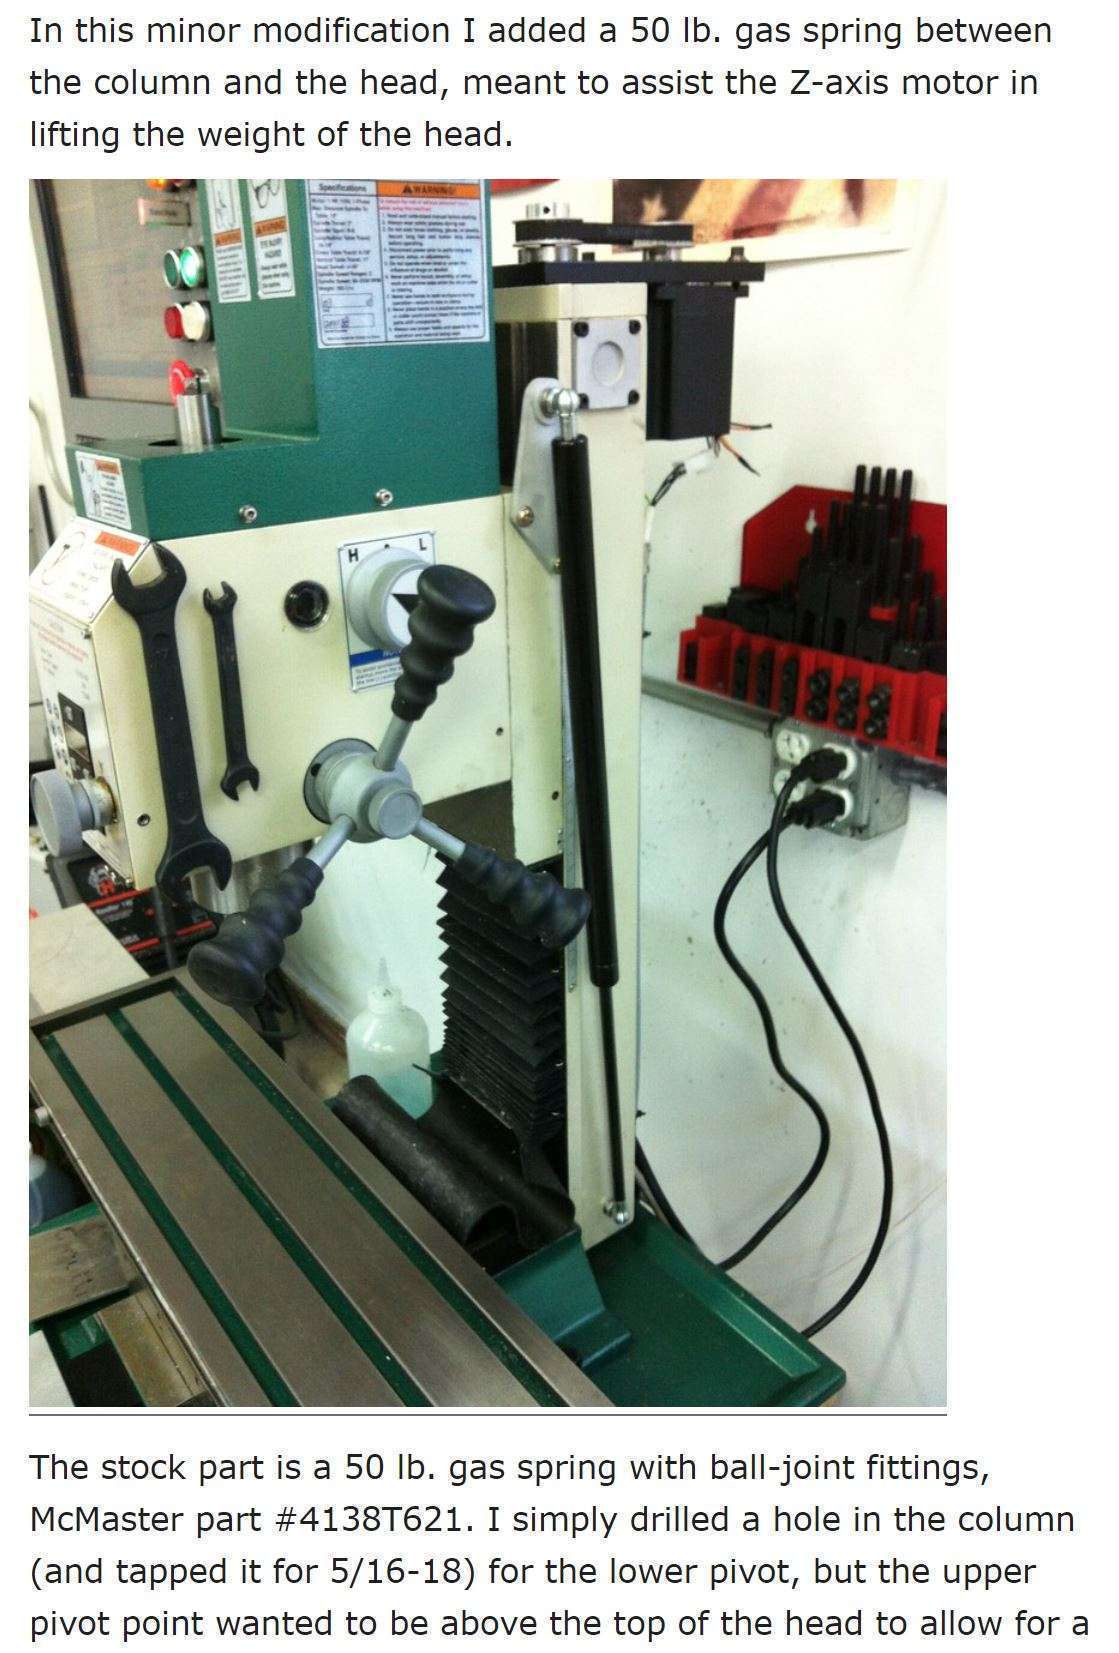
For the Z axis, I ordered a 600mm long gas spring, with an operating stroke of 250 millimeters so the column can move more easily.
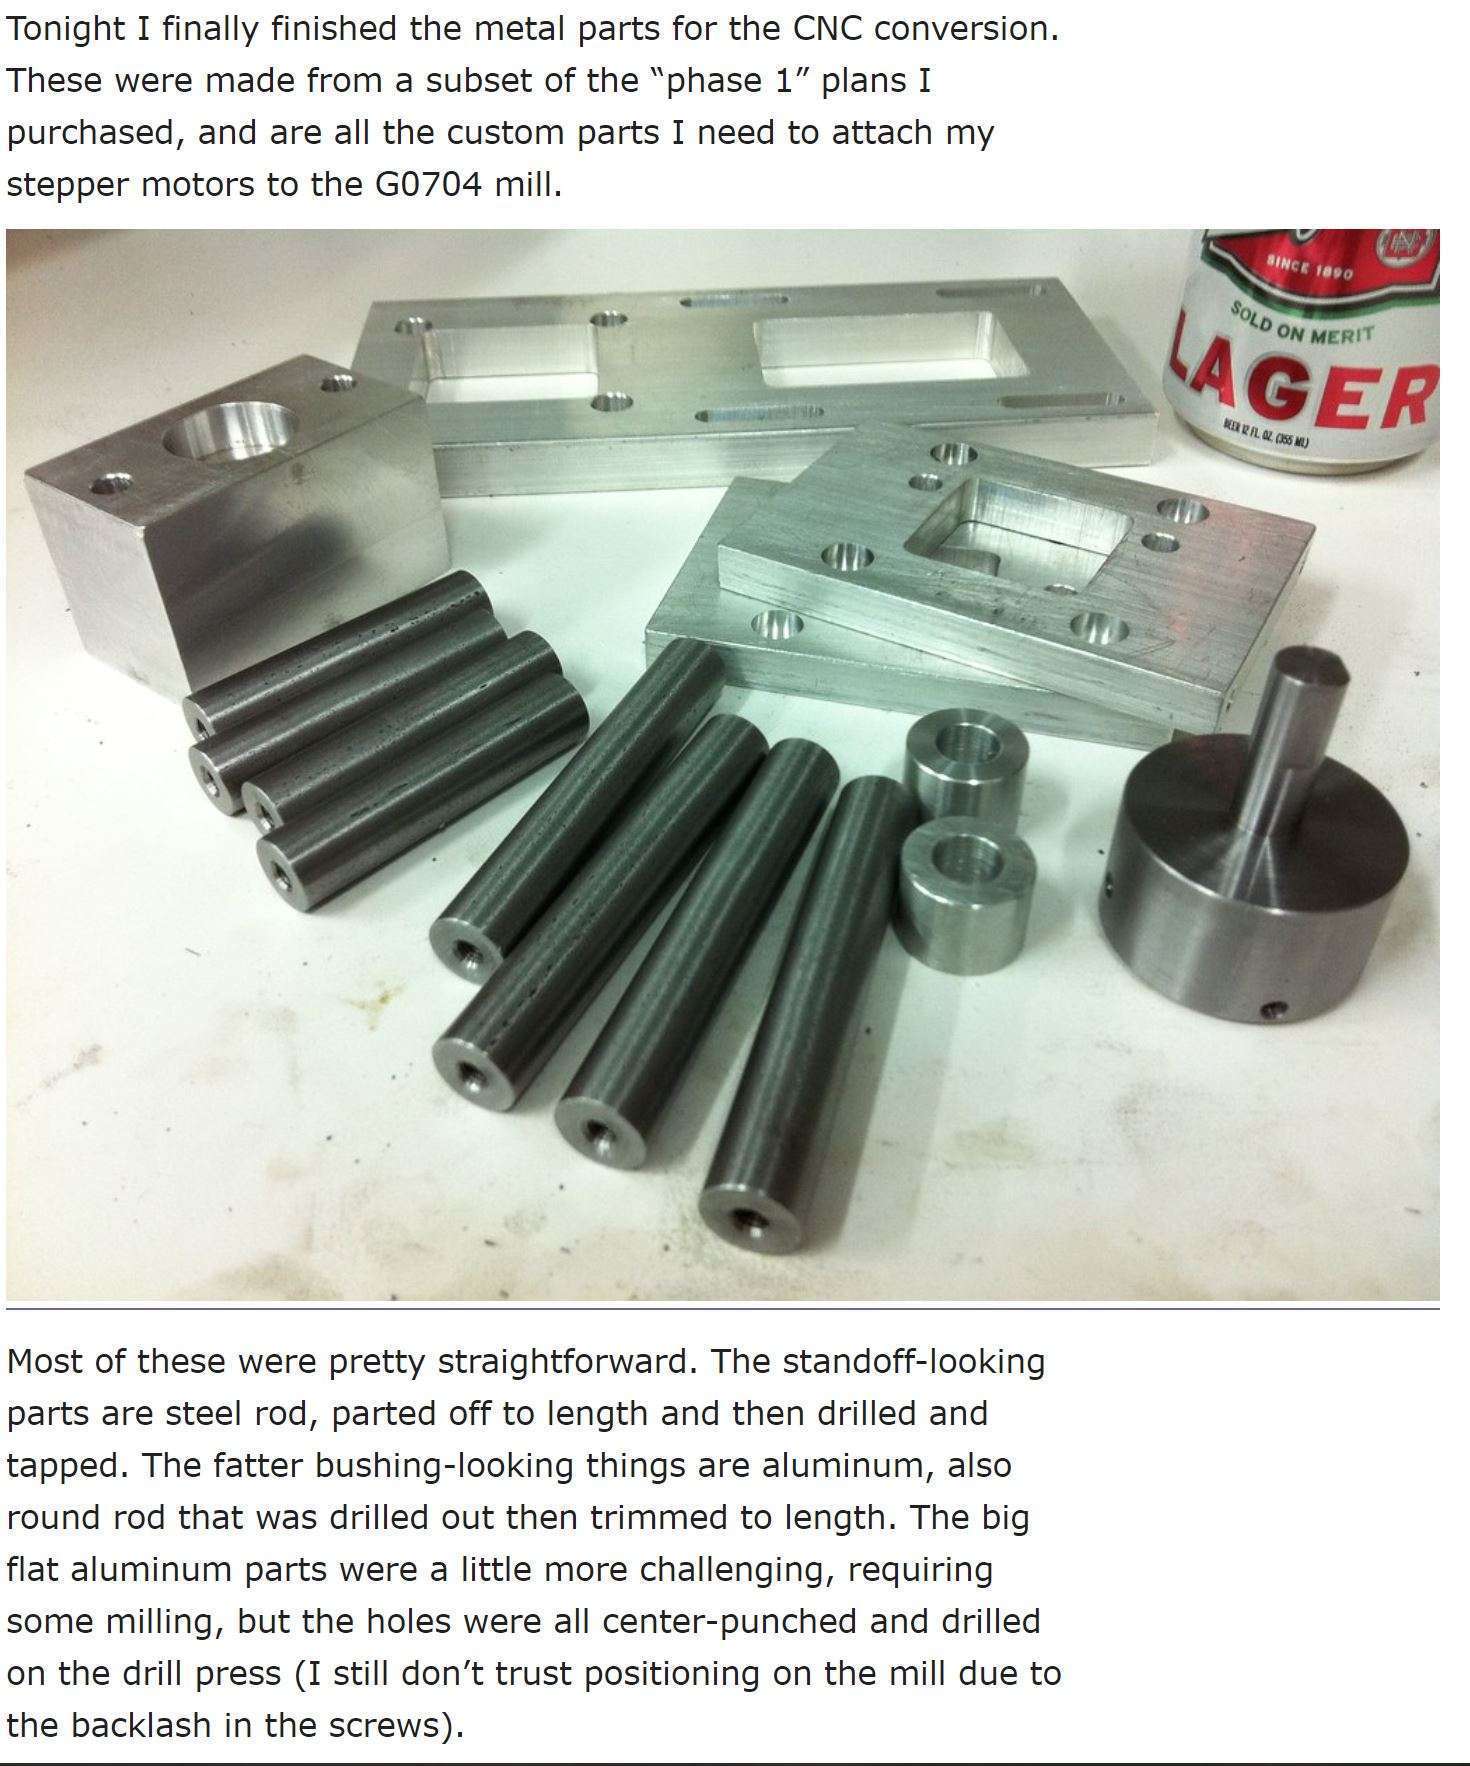
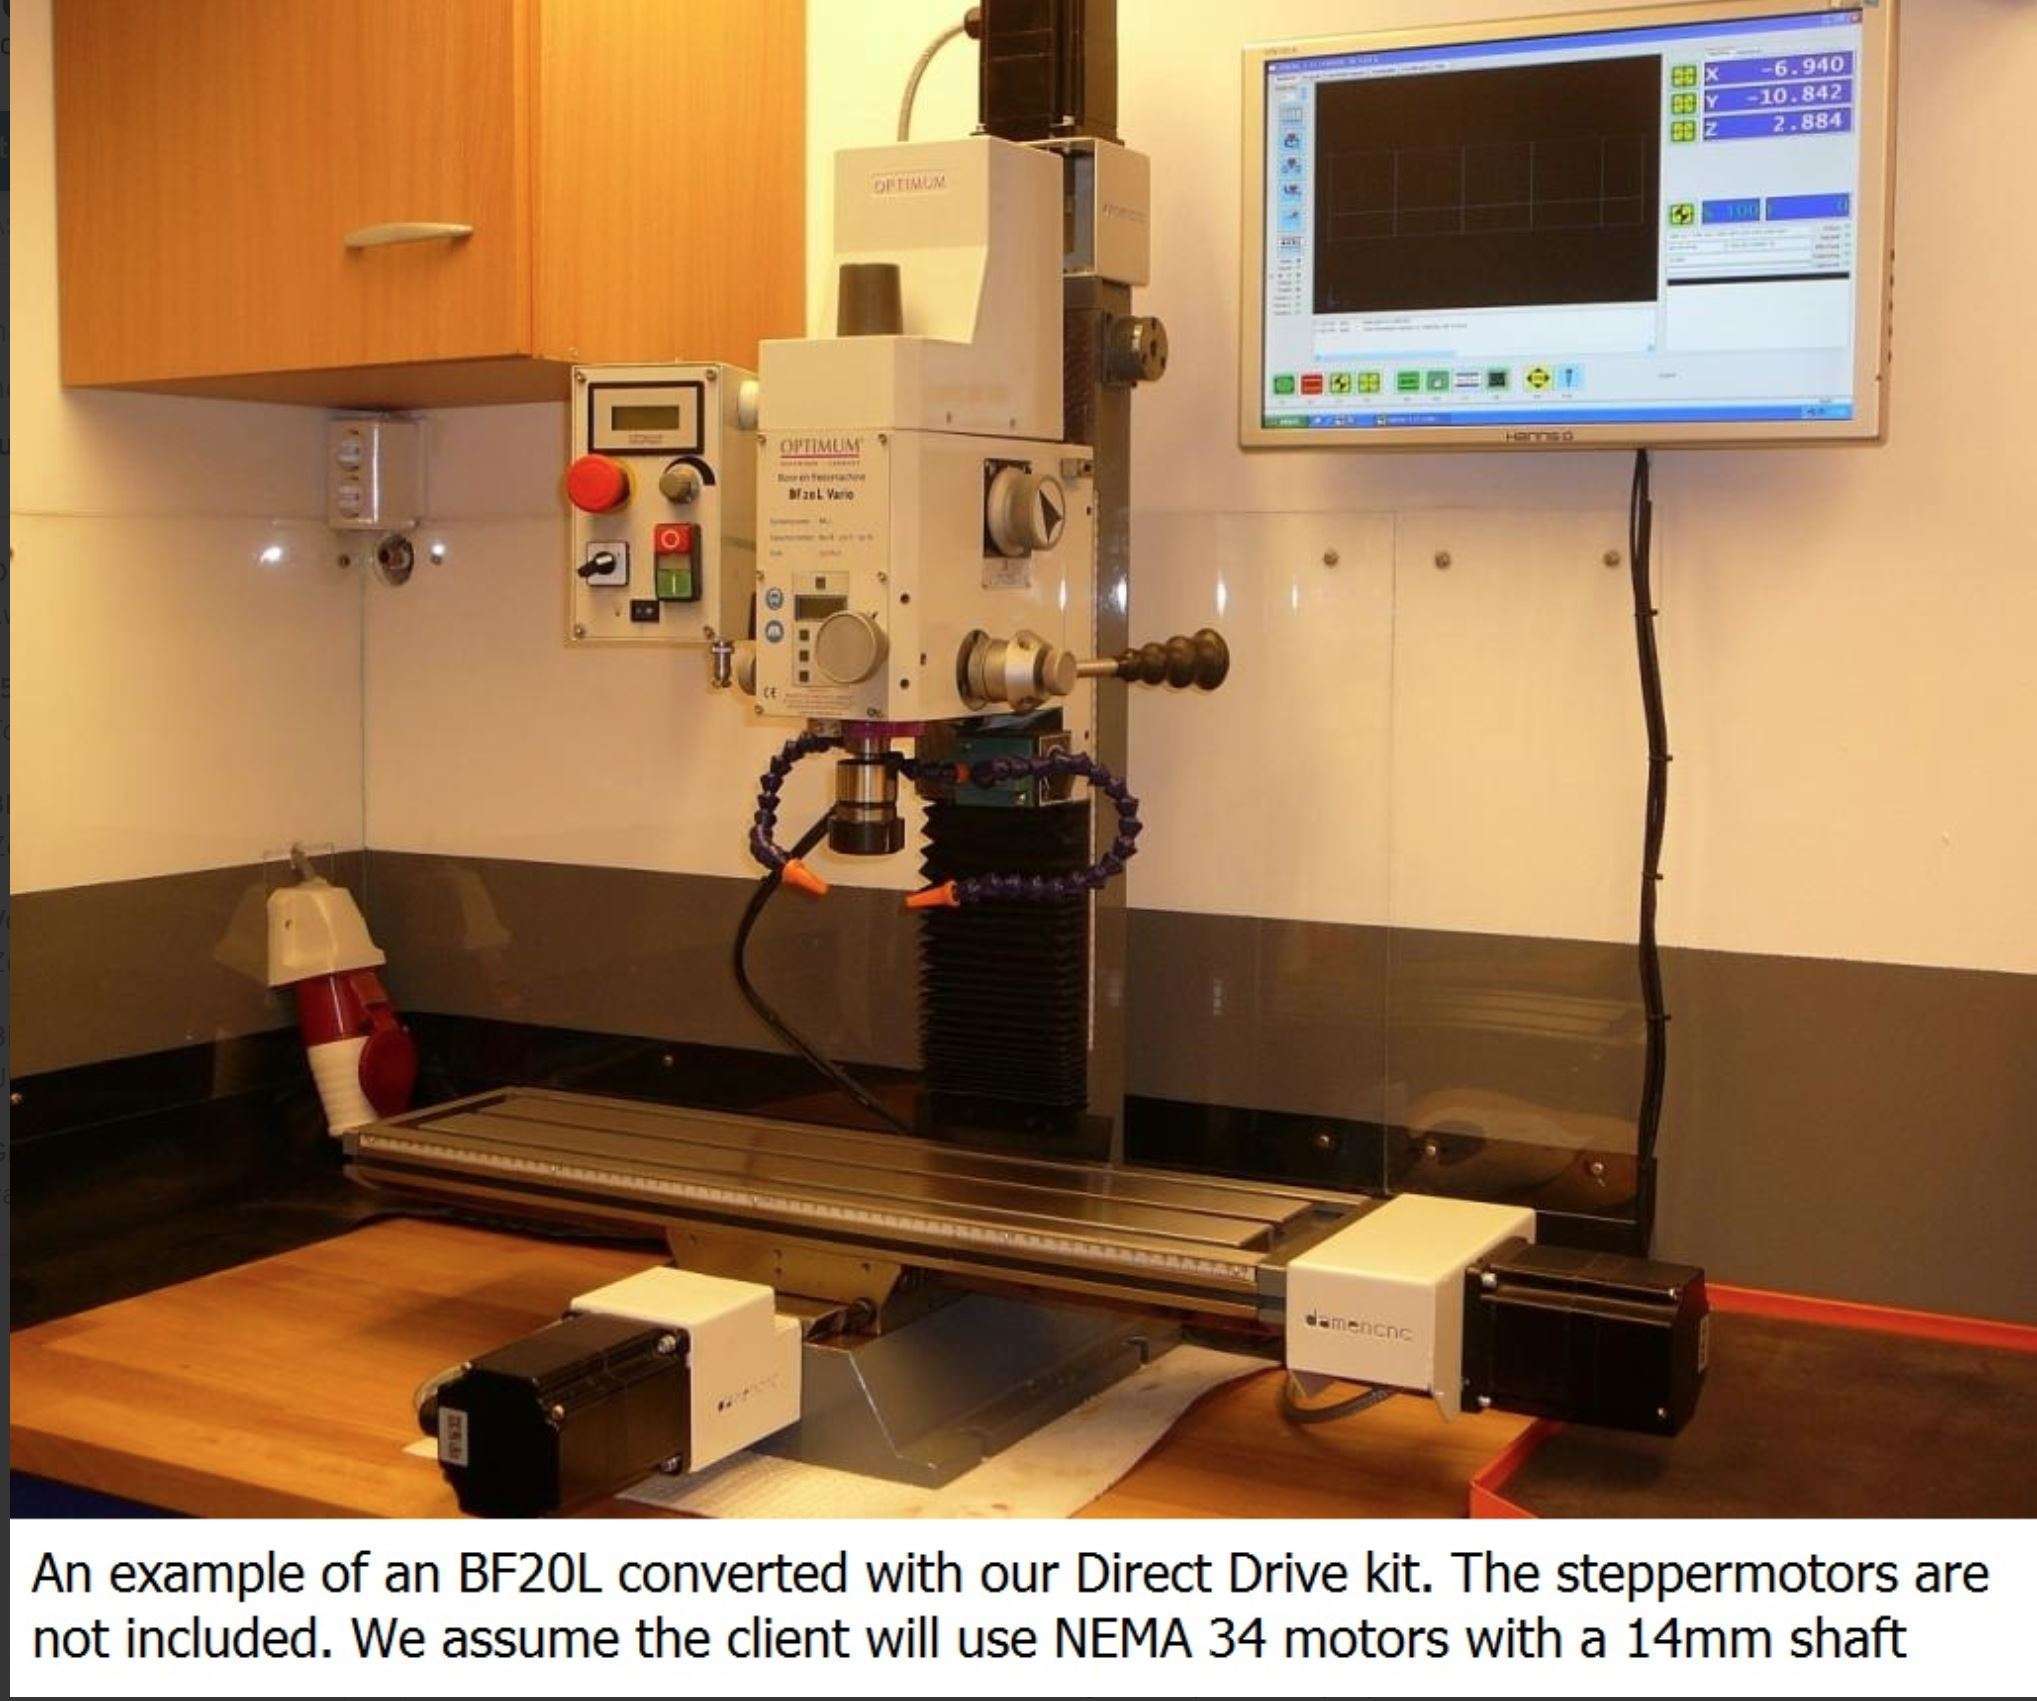
Examples from others for my CNC conversion: