


The latest arduino code WITH LDR is HERE:
The LDR is to be soldered between A0 and GND.
The data output is D5 and this must be connected to Data-in of the WS2812 (B) string. 5V and GND goes to the power source, which is also connected to the Arduino Nano.
The STL file for the star parts is HERE. Print this x5 in semi-transparant white.
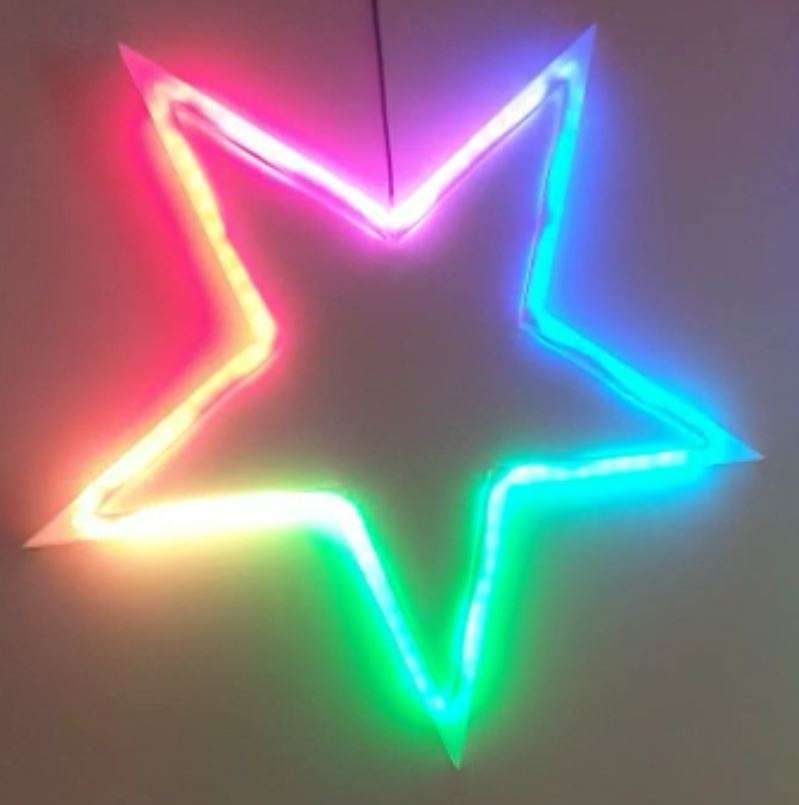
The small Xmas- star measures 50cm in diameter from left- tip to right-tip. I printed it with glow in the dark ABS, white. It glows in very faint green, it is just enough to glow a little and keeps your eyes focused on the star when it is not lit.
If you make the star legs watertight with silicon sealant, the star can easily be attached to an outside wall, door or fence.
ou can use a long 3-wire cable between the Nano and the Xmas star to keep the electronics mounted inside the house and the star outside, or as I did: hang the star inside, in front of any window. I have the star hanging in my front door window, which gives amazing effect due to the non-transparant glass.
The programming can be altered to make the light effects behaviour any way you like. I usually have a non-stroboscopic fluent scene running.
You need to print 5 star points, feed the LEDs through them and then have the wires come out somewhere. You can glue the points together with hotglue or transparent silicone sealant after assembly and testing.
If you don’t have the Arduino IDE yet, download the app from the Microsoft website (Arduino IDE) nor from the Arduino cummunity forum.
Make sure you download my Arduino code and open it with the Arduino IDE APP. Probably the APP will have to move the arduino INO file to a new directory but that should do the trick. If not, start the Arduino app, open my code in notepad and copy/paste it as fully new code into Arduino: Replace the example code that automatically opens when you open the Arduino program/app with my code. Save it and rum it to see wether you need to add any library. For adding libraries, find general help in the Arduino forum. In my code, you can find the names of the required libraries.

In the Arduino IDE select the right microprocessor (Arduino Nano). Then select the correct processor version (large or small memory) and the old or new bootloader. These choices depend on the type of Nano you bought or still had lying around. Then you choose the right port (USB) for your Nano.
To test if you have connection between IDE and Nano , you can ask if the Arduino IDE can read your Nano. Only then you can start loading the Nano with the complicated program.
The Arduino programming file is HERE.
The latest arduino code WITH LDR is HERE:
The STL file for the big star is HERE.
Afterthougts: I also made circular designs, dual oval crossing designs and a lot of designs that I tied to existing shapes like a steel star, some Xmas animals and so on. The light design I made varies per application, A star typically requires a specific design due to its shape. A cicular design needs more of a scattered design and a straight string or a balcony-wrapped design all require specific patterns of LED programs.
I will also try to implement an auto-scanner in the setup part of the code to identify the number of LEDS that is used, since this is required to get good petterns to the string used. (set NUMPIXELS automatically)