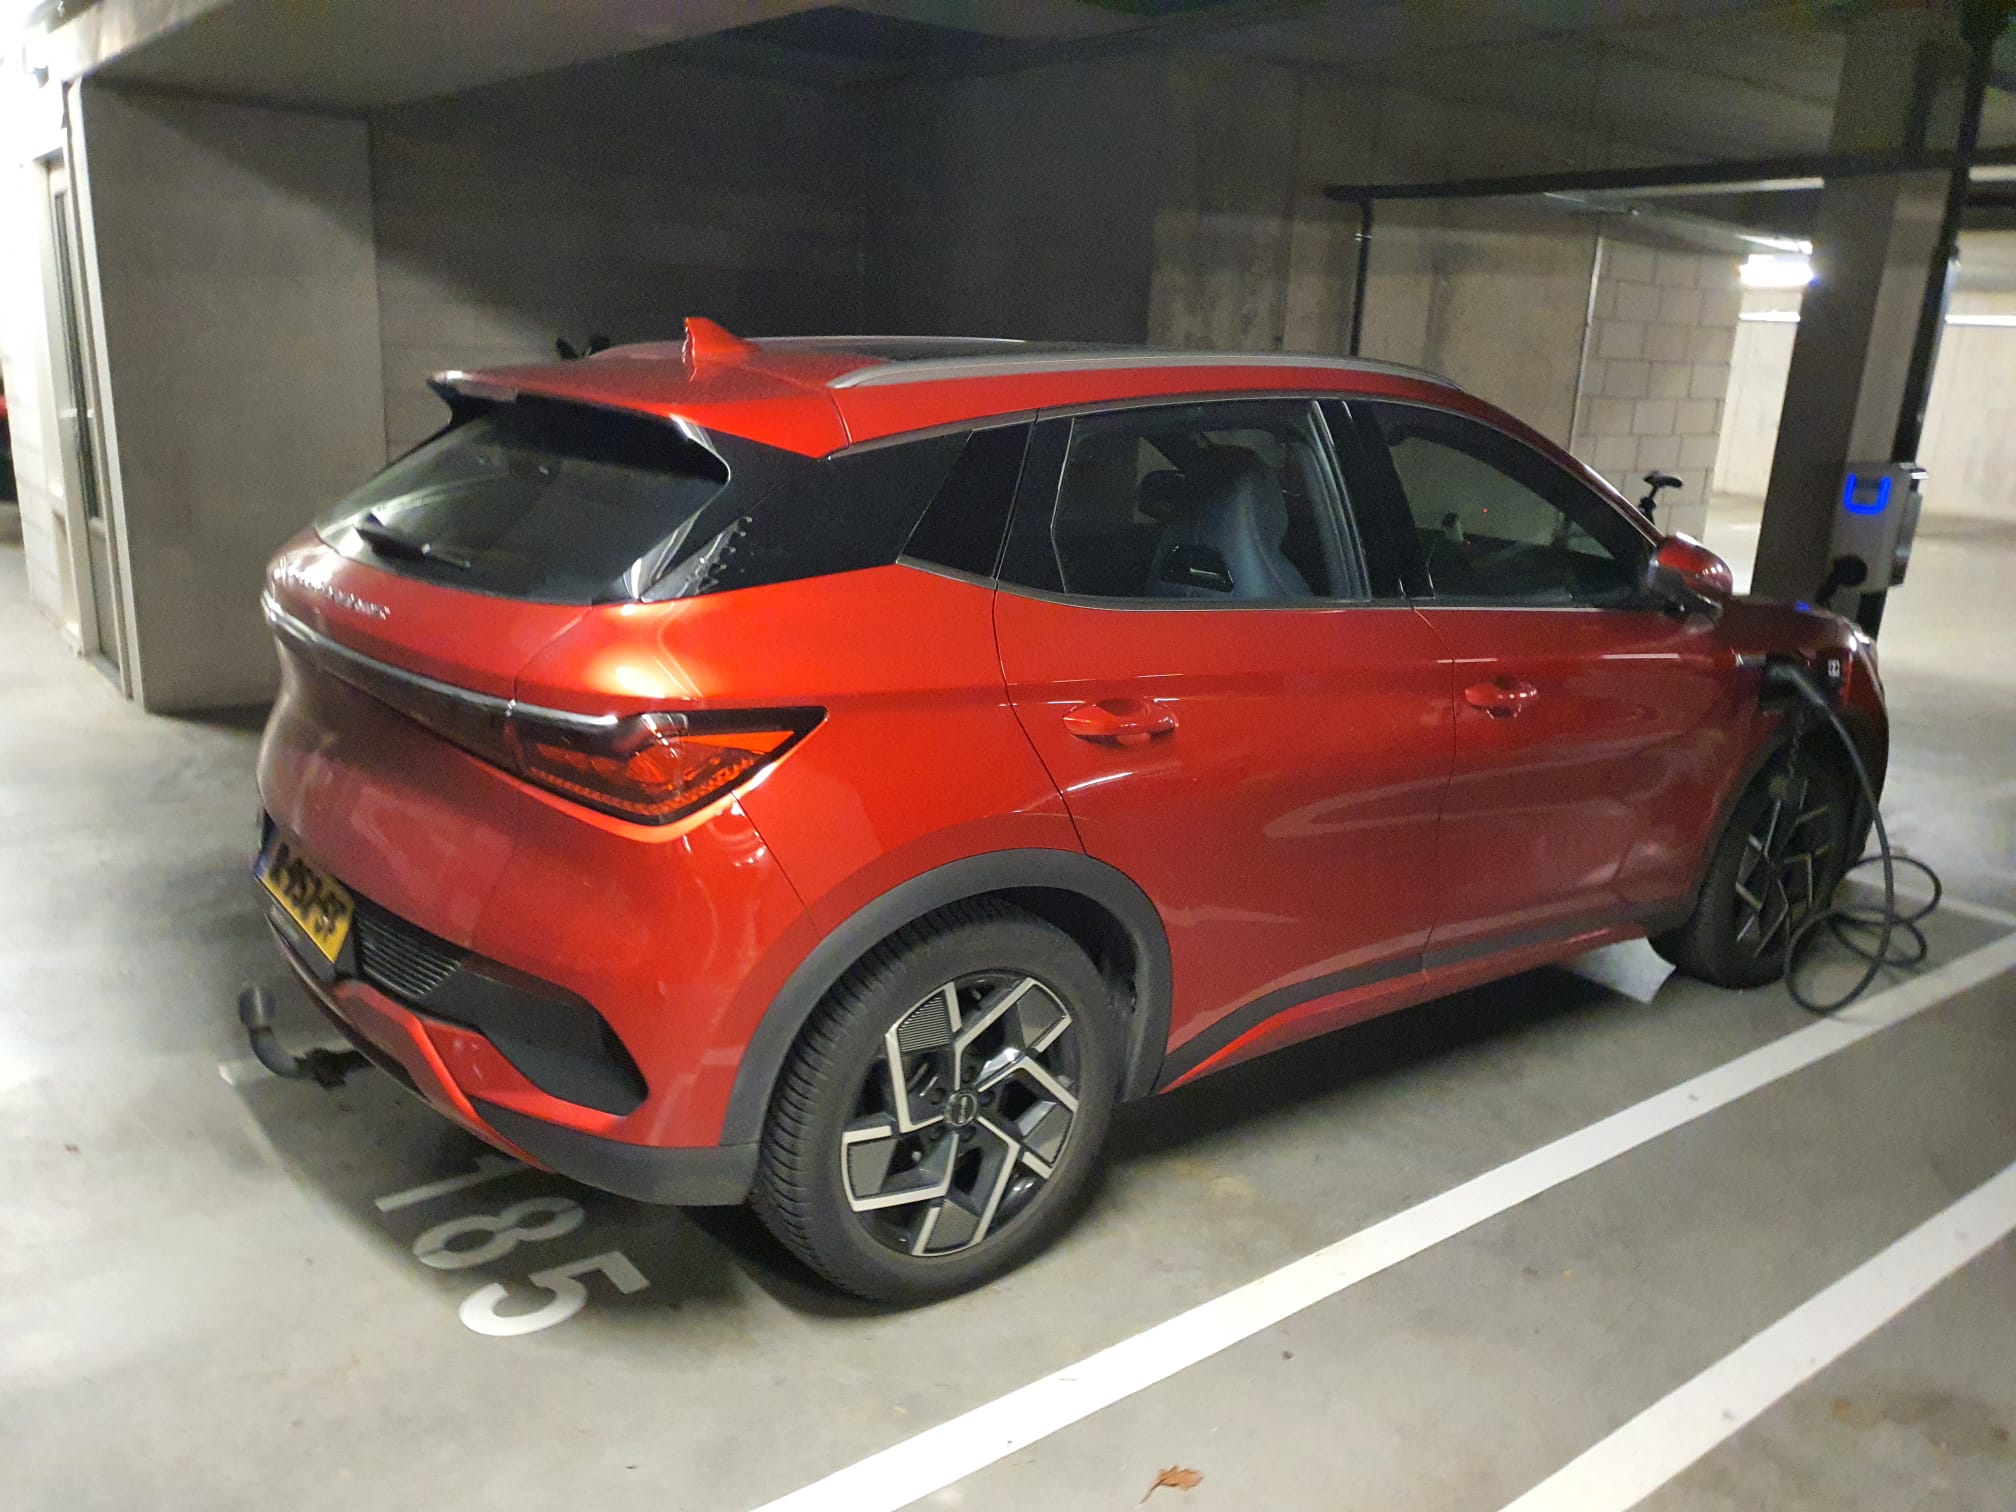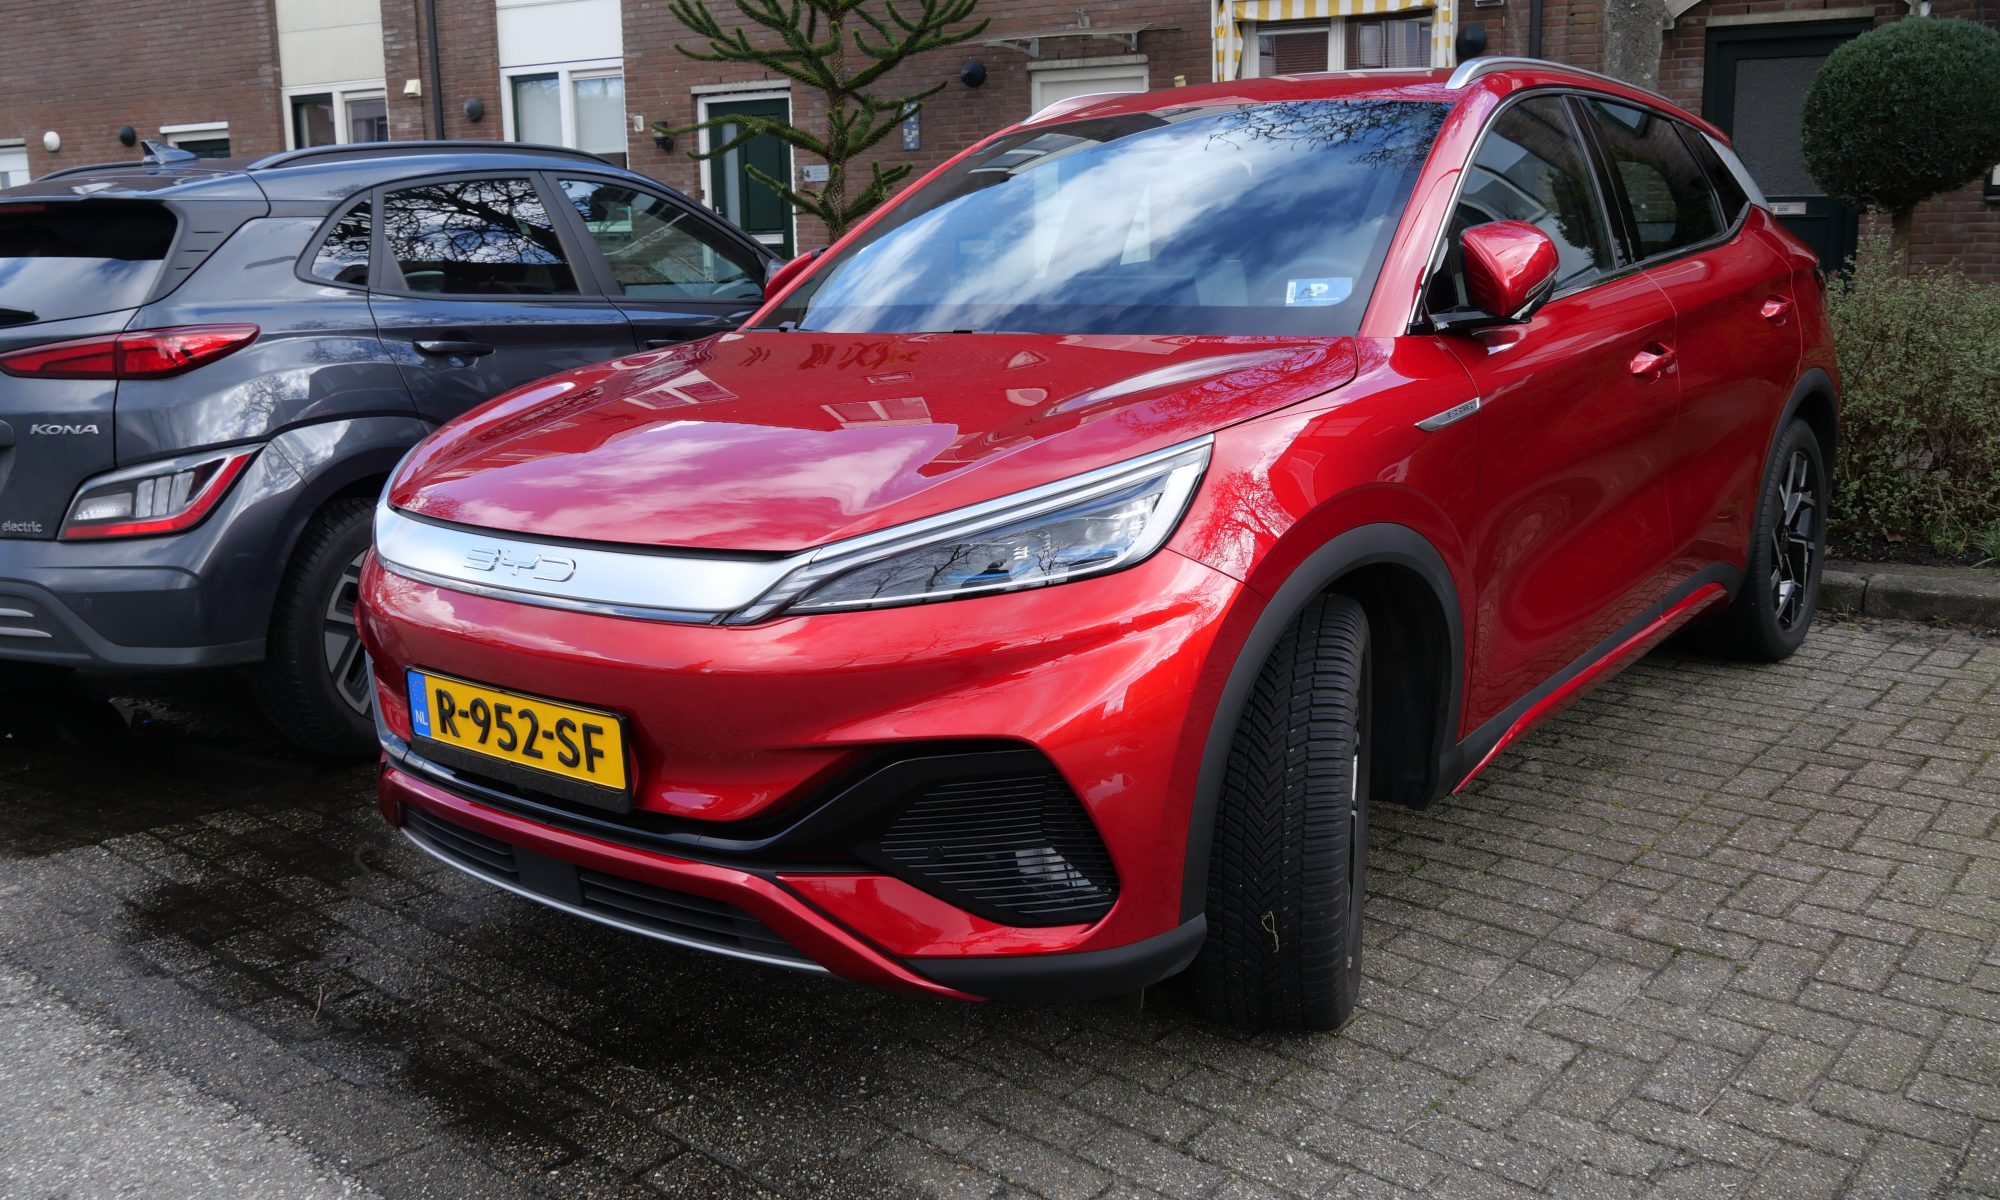
Writing this on May 9th 2025 after almost 50.00 kilometers, I trust that this user review of my Atto3 may be useful to others.
The car is now well over 2 1/2 years ‘old’ and has never had any defect, never got me stranded nor did I ever need any assistance to drive it.
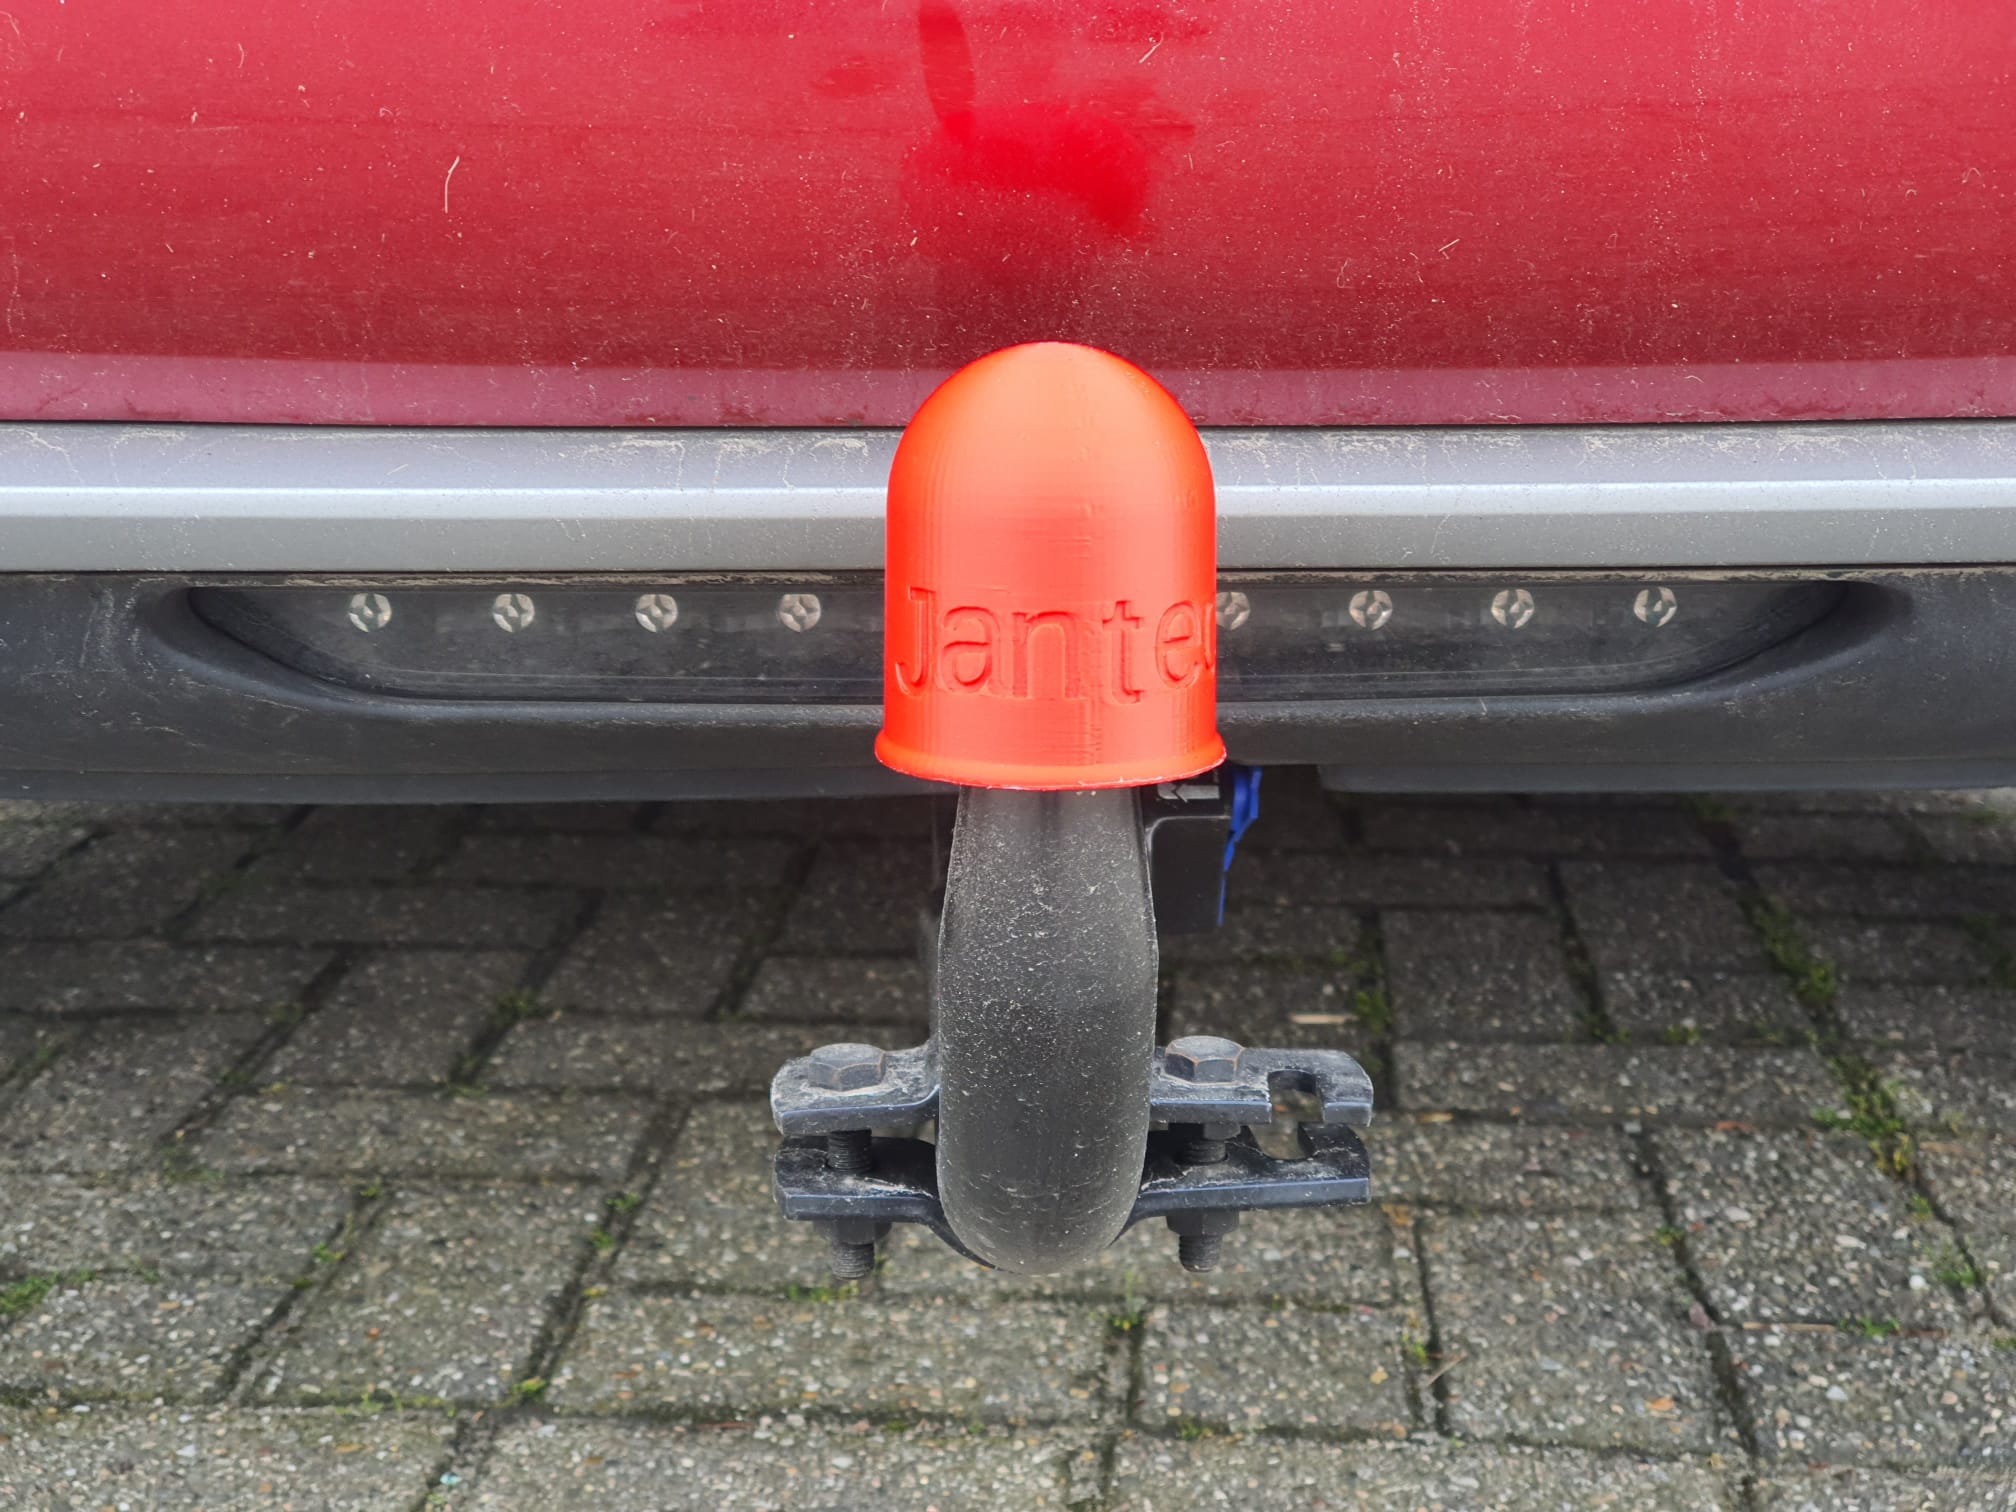
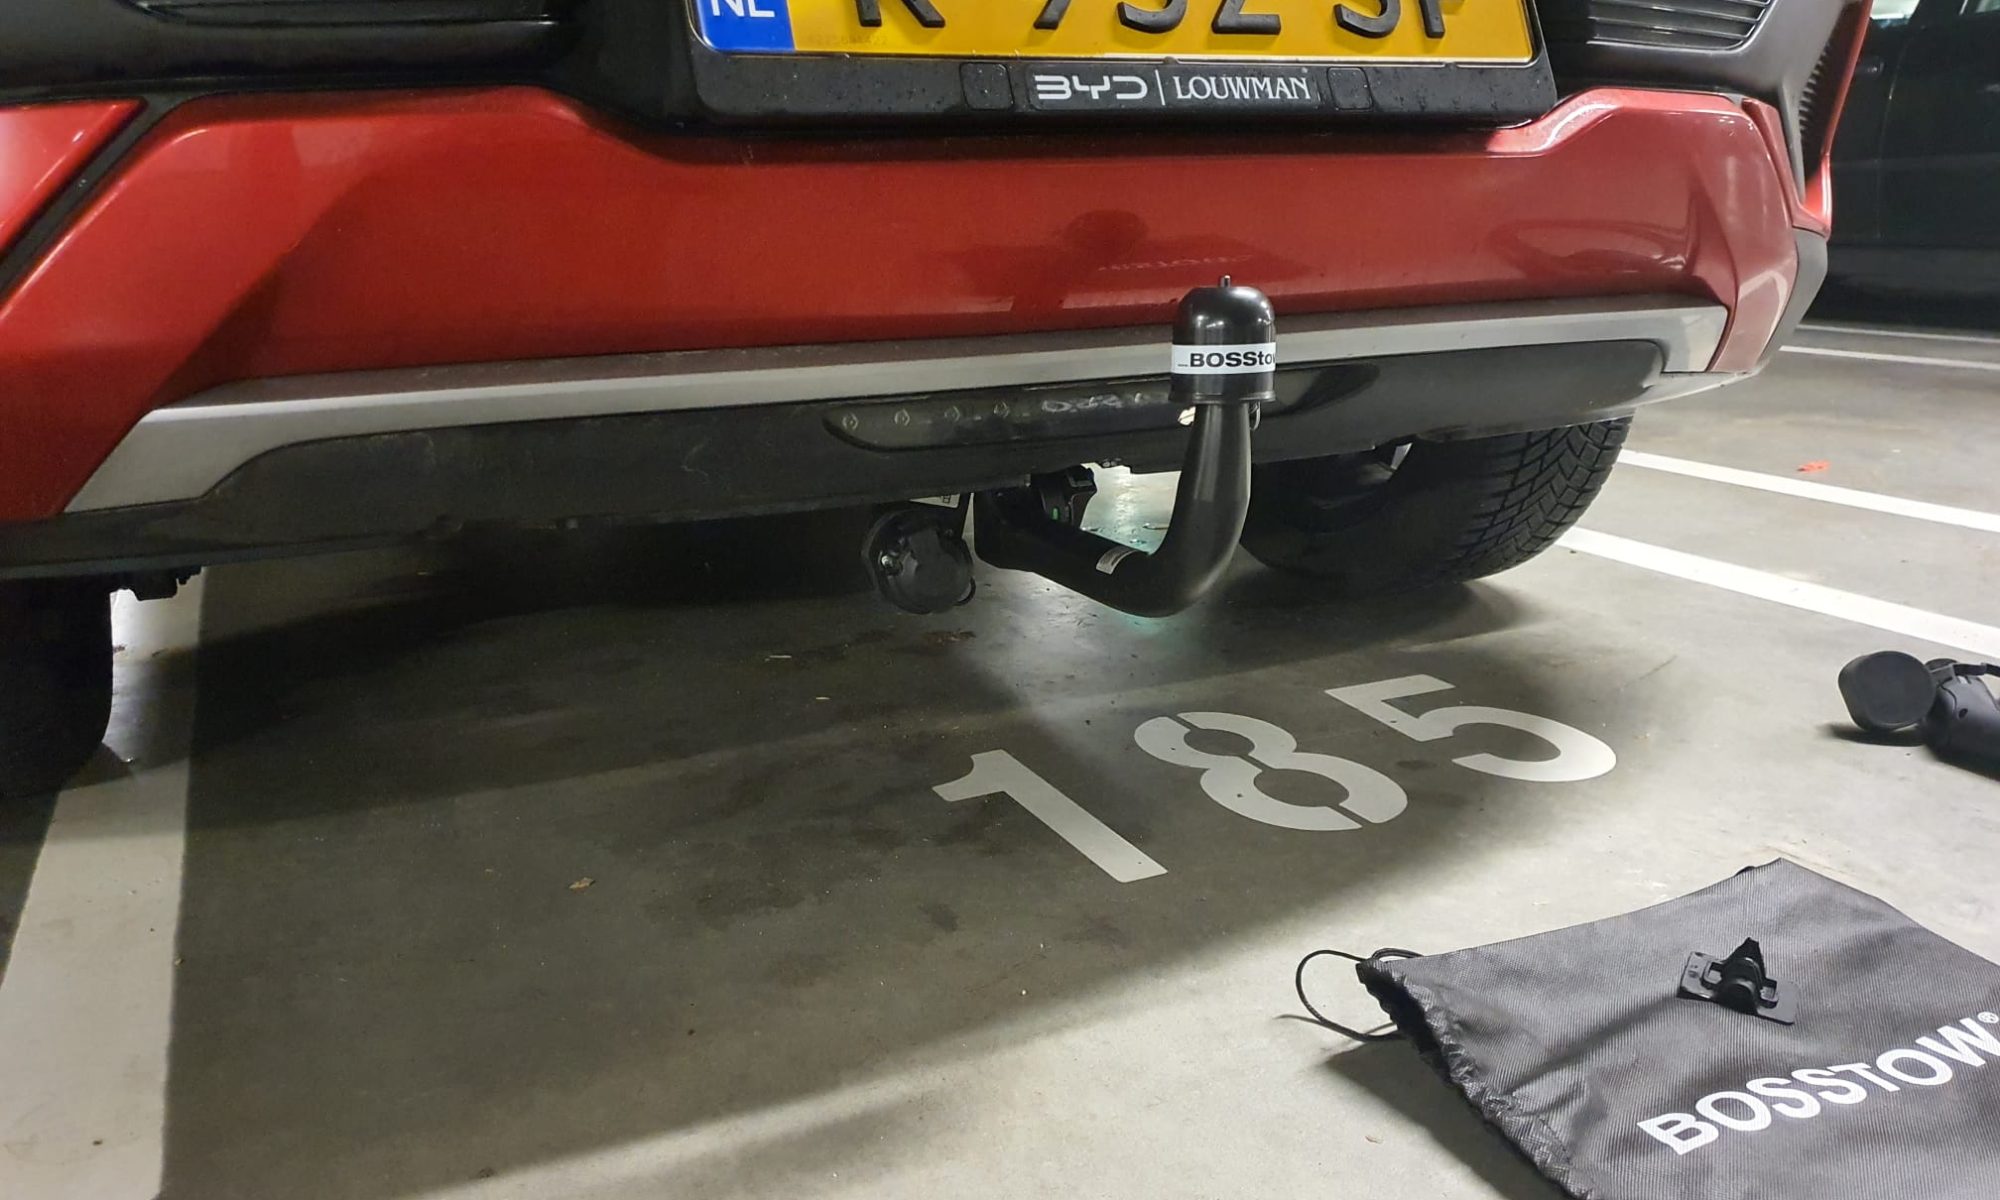
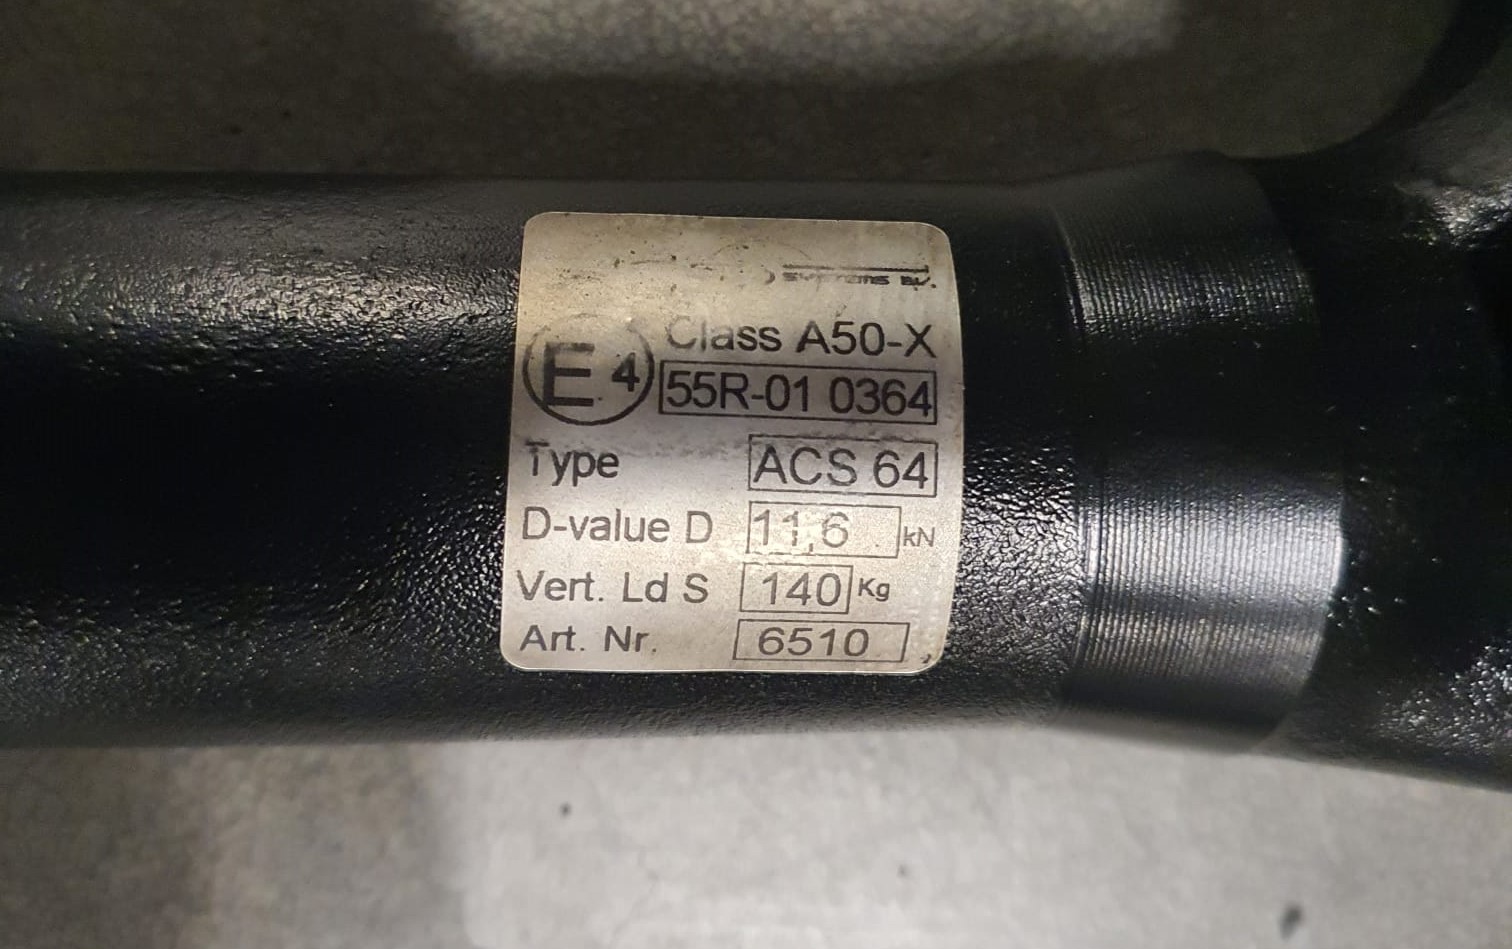
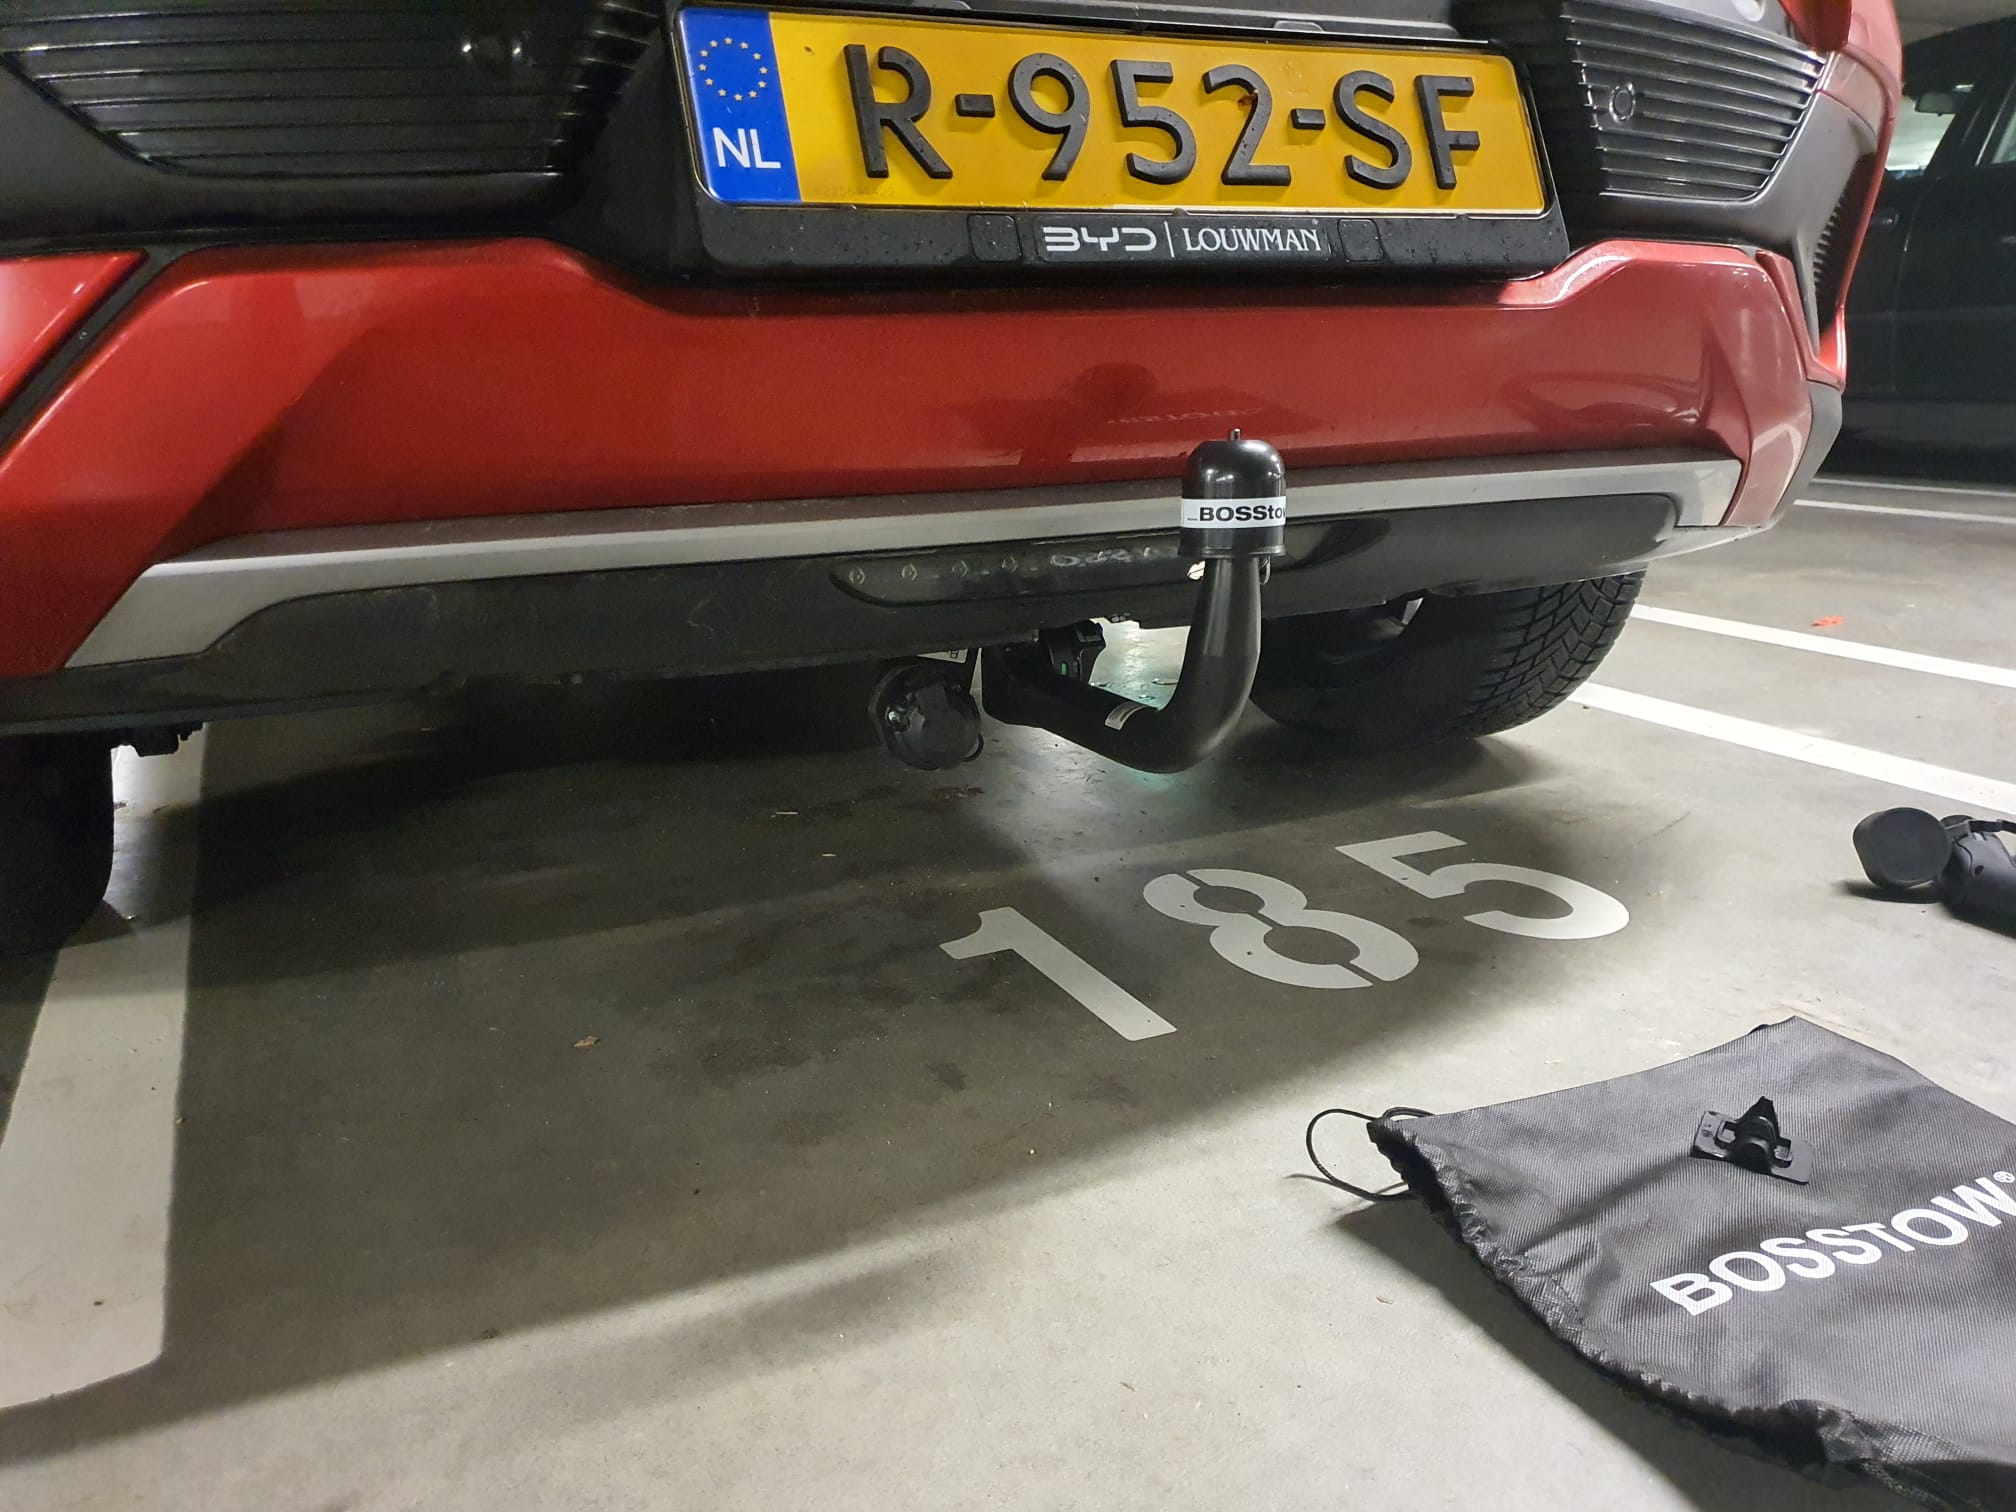
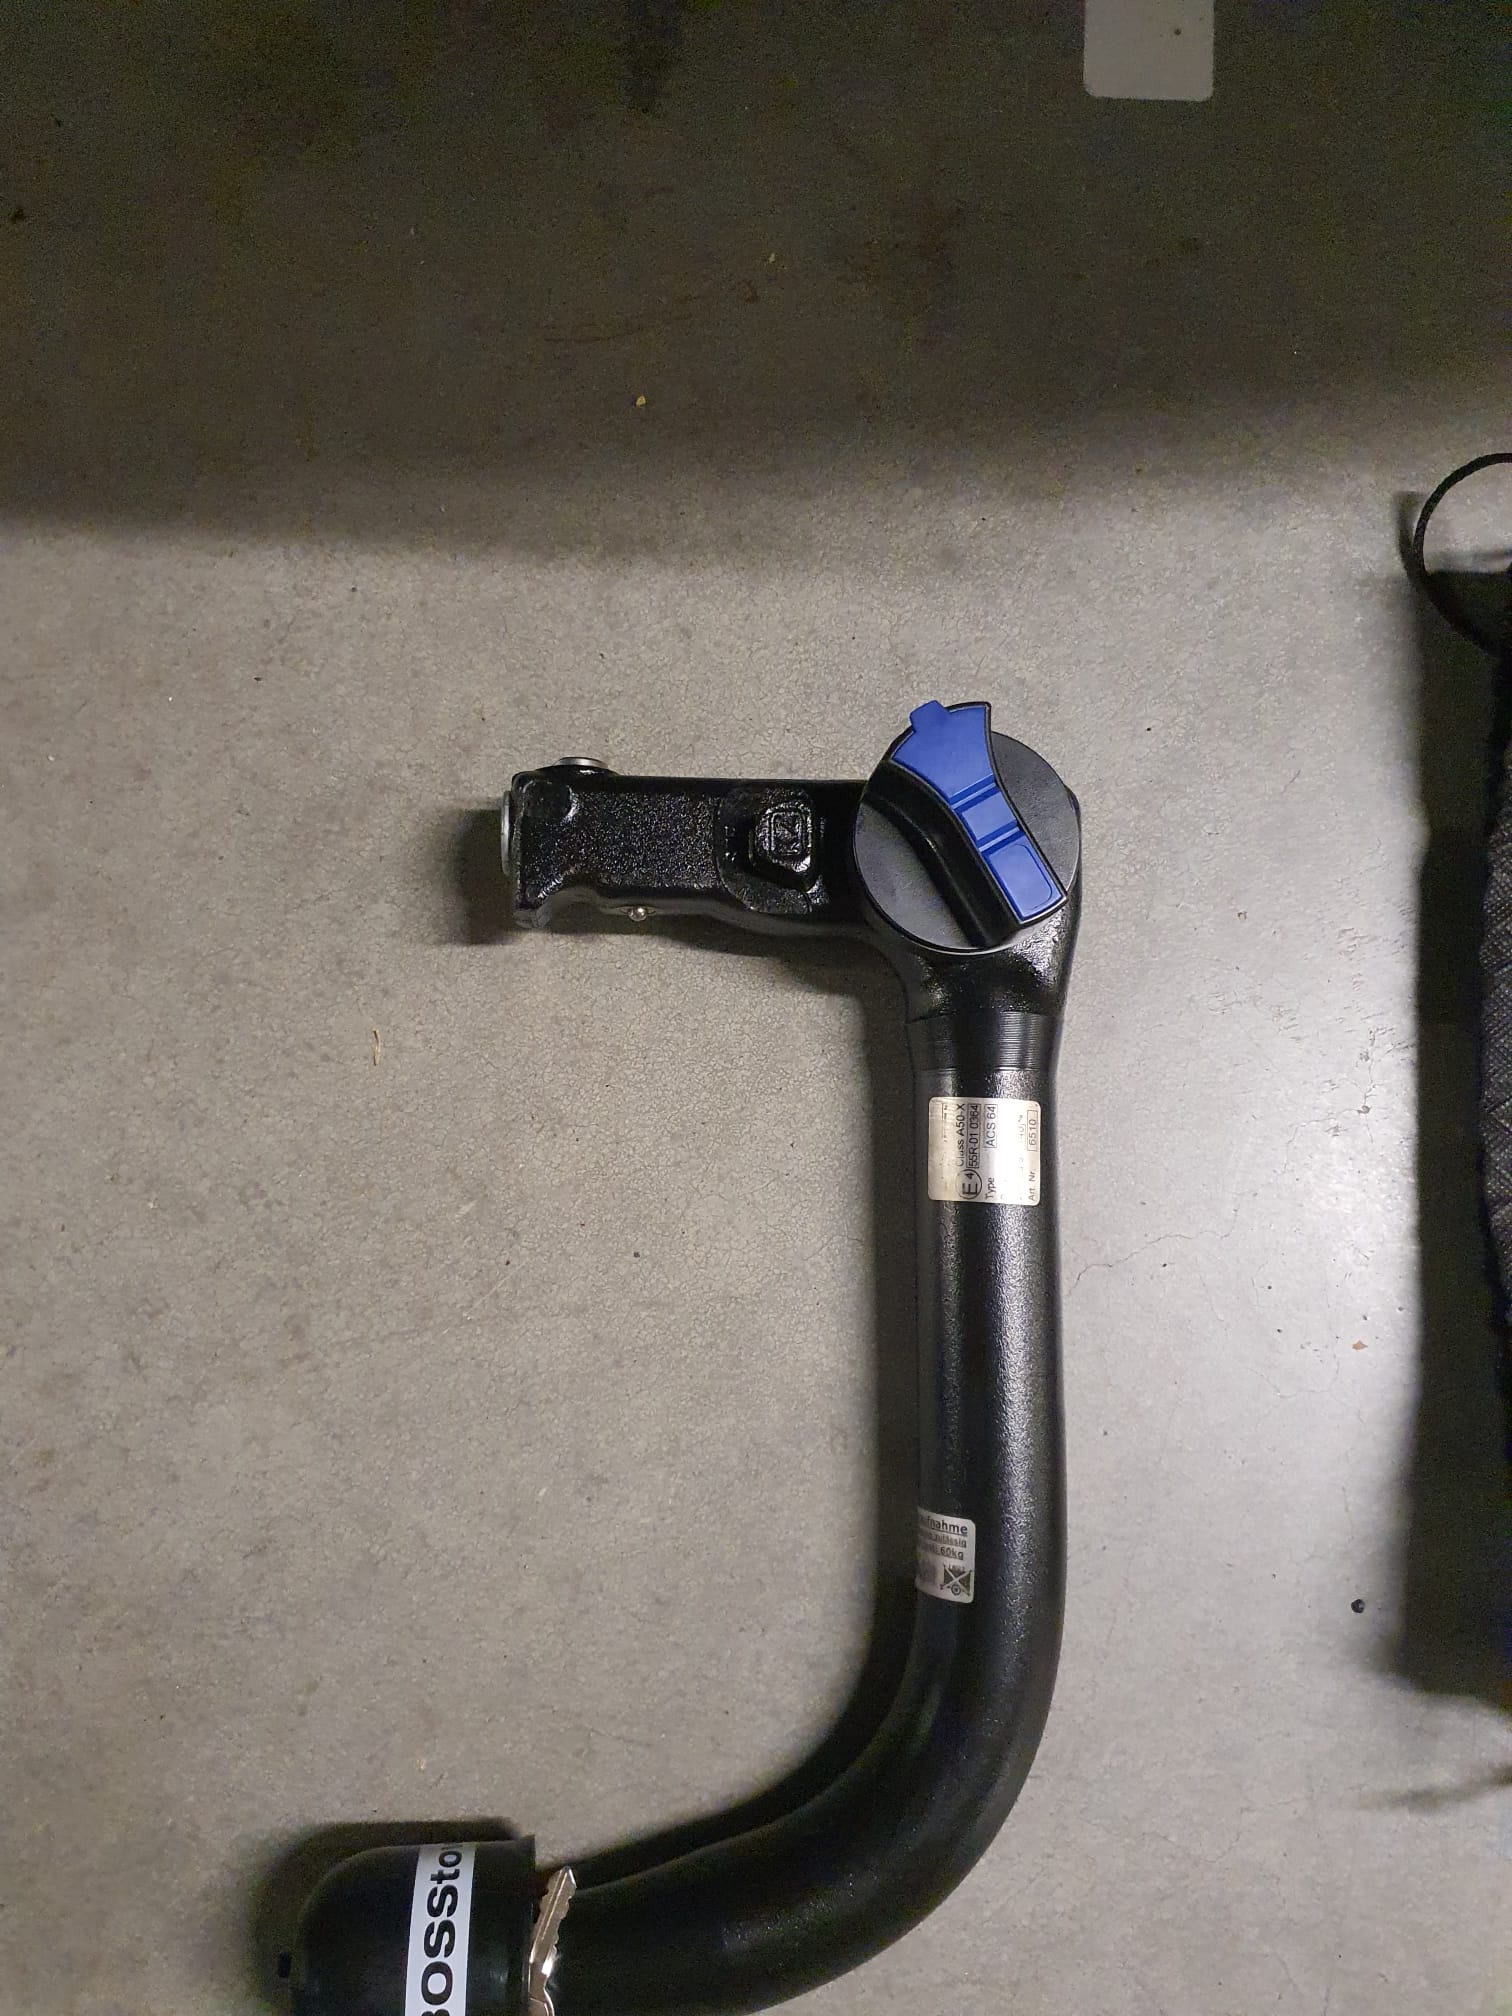
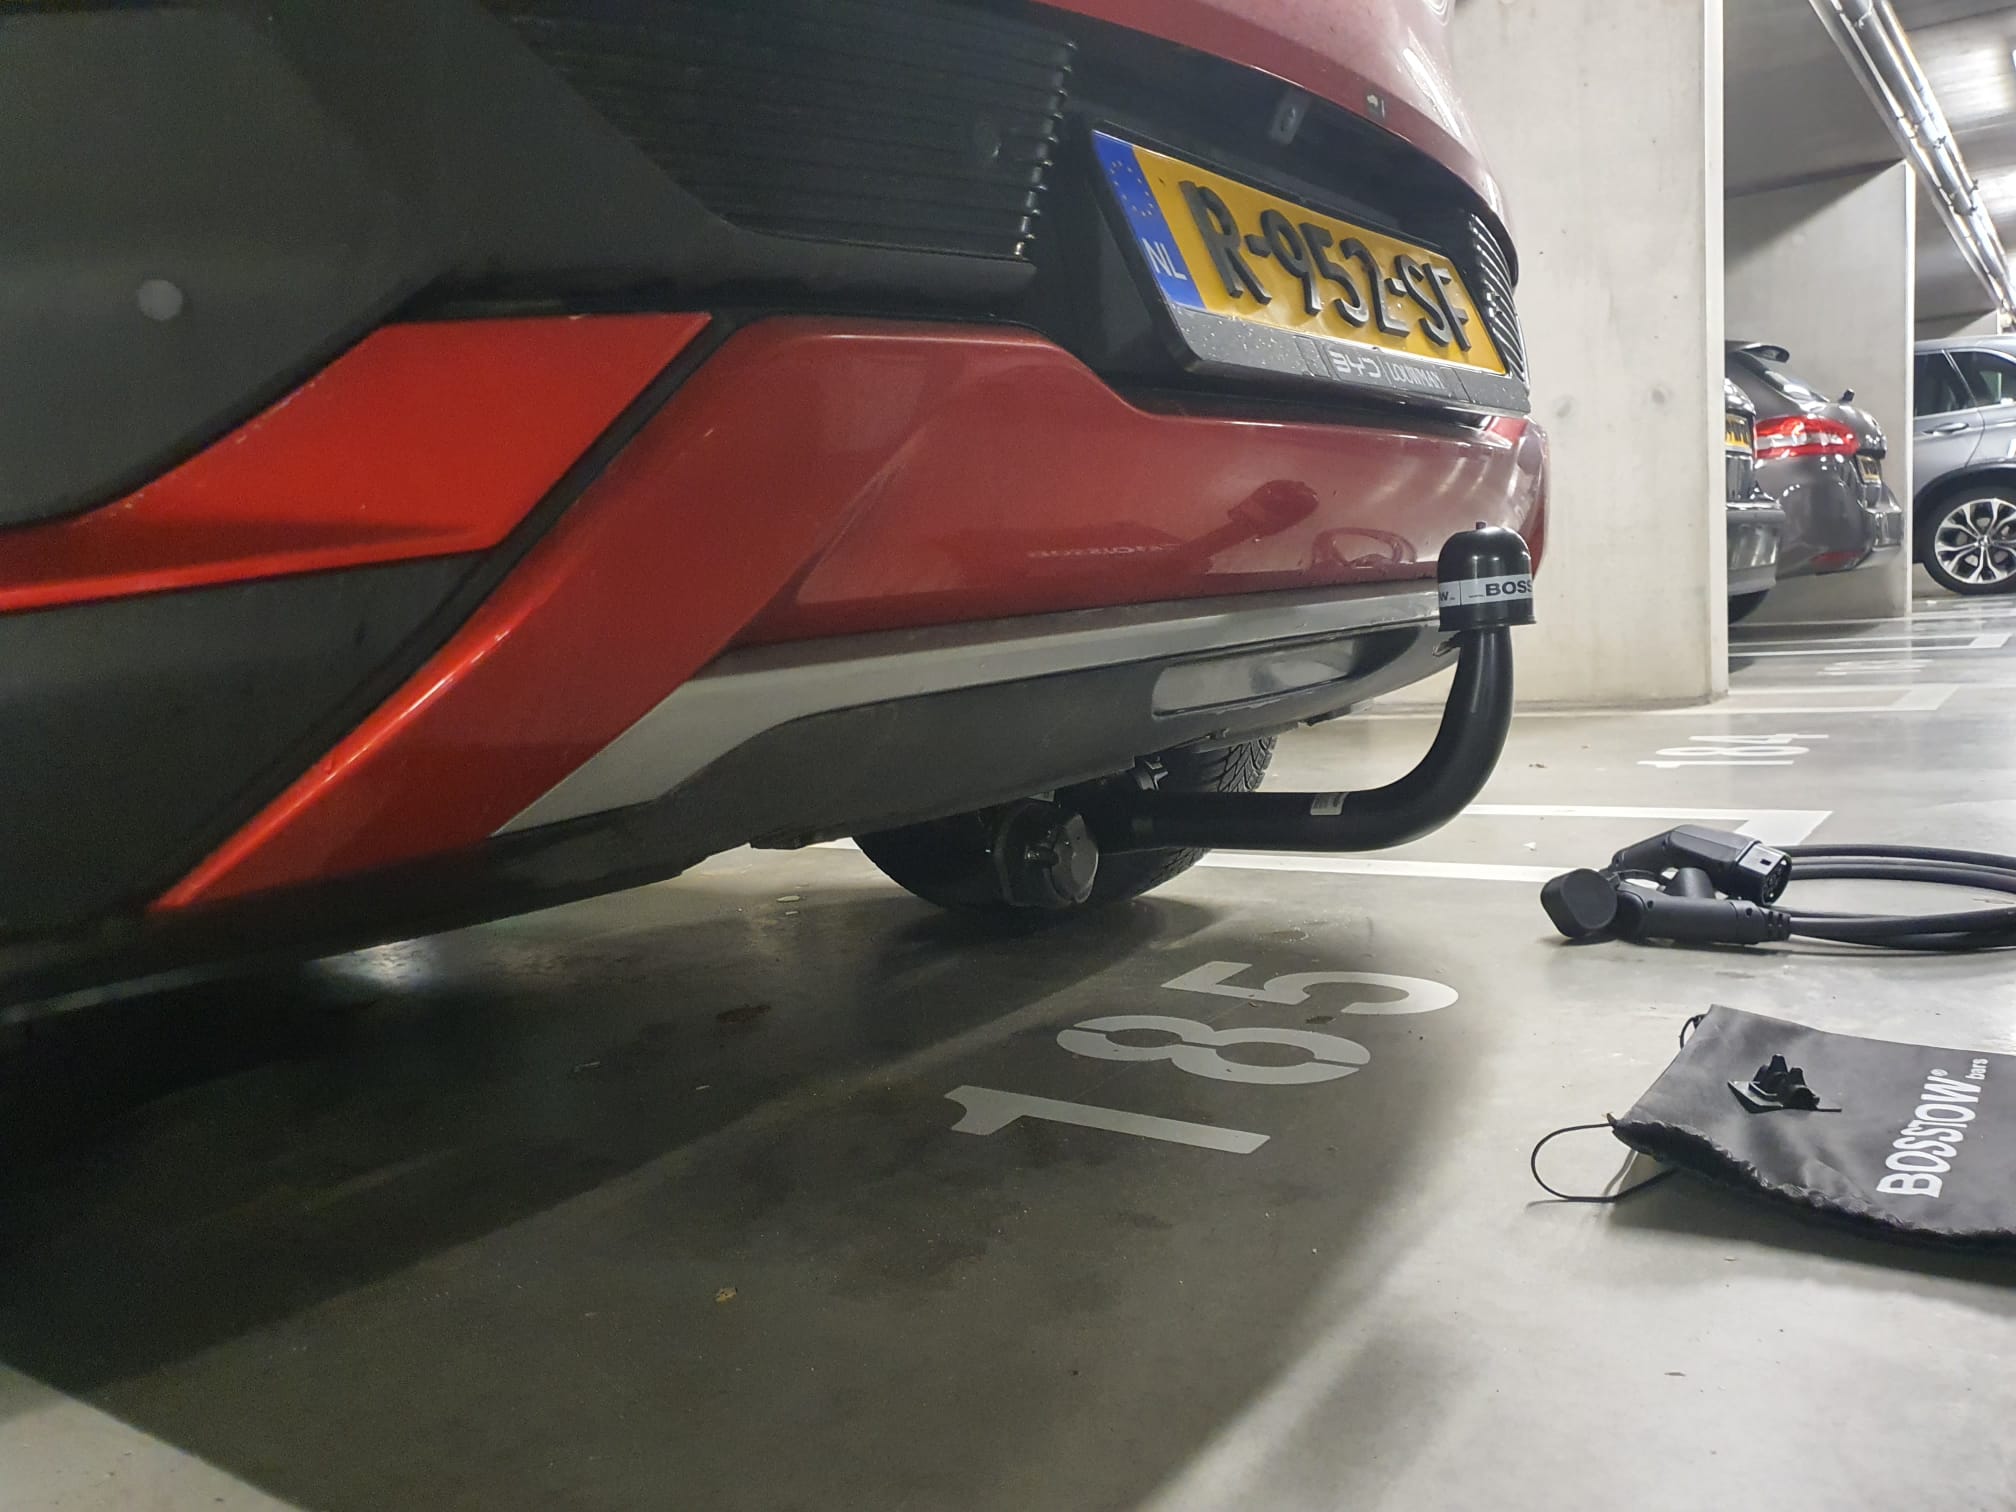
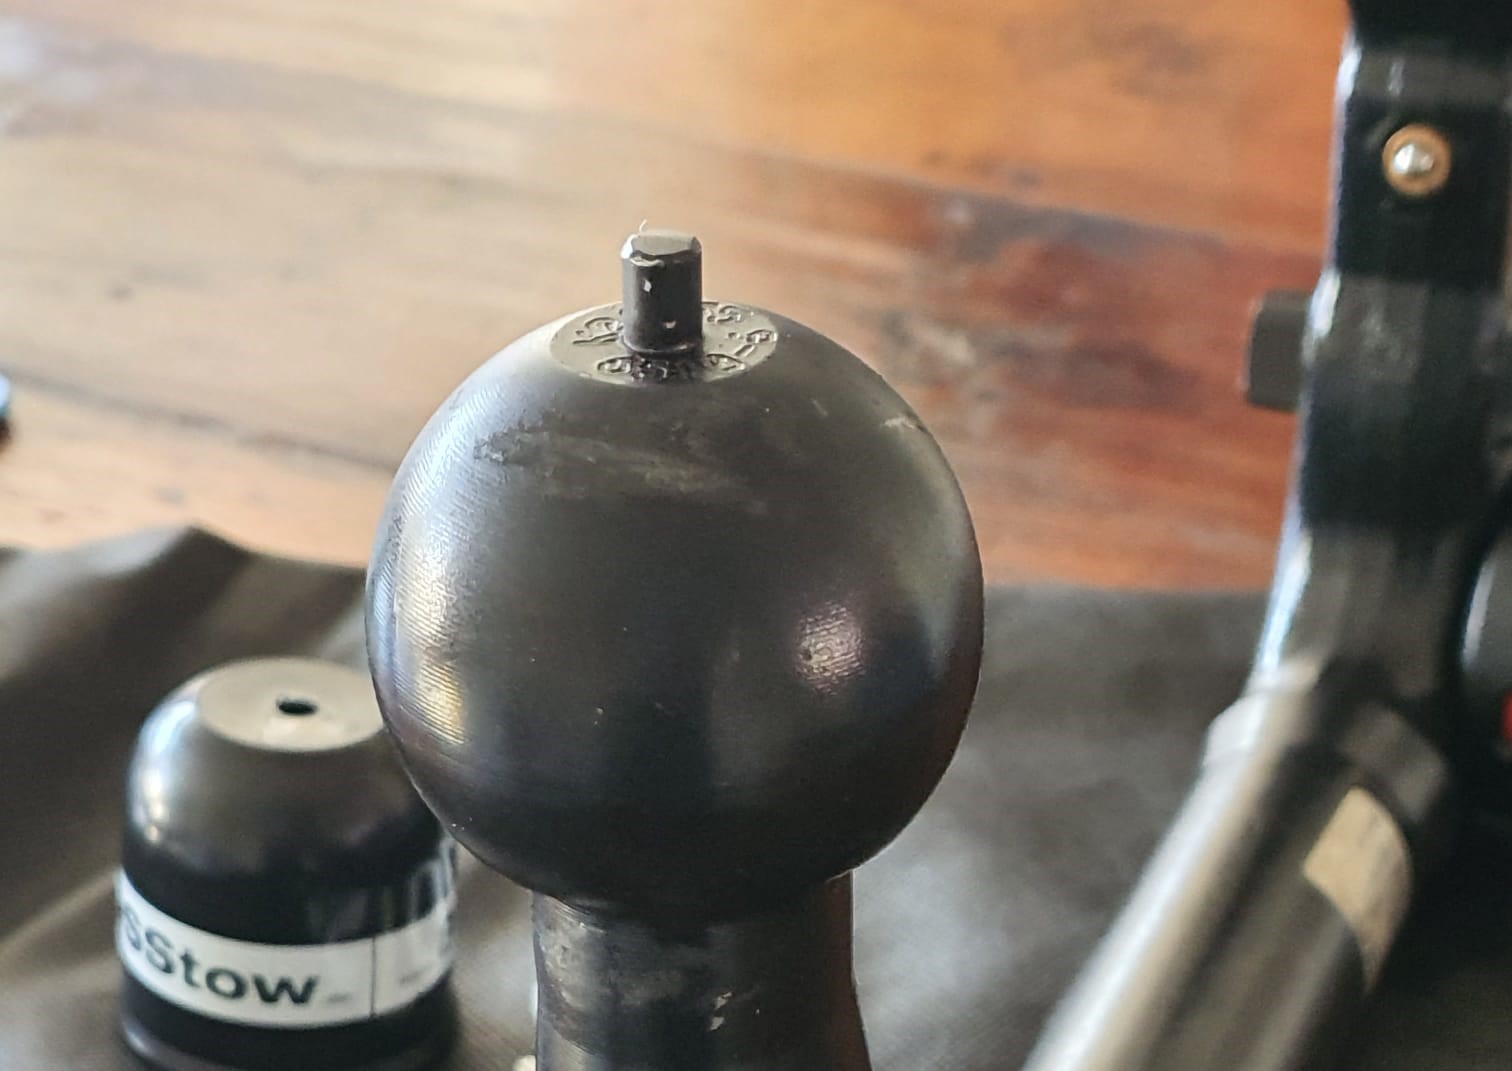
In my earlier review I made some comments about the poorly functioning airco, no homologation for a pulling rod and so on. You can read those comments here:
Climate control system fails in BYD ATTO-3, still getting fogged windows
BYD Atto 3: User experiences after 9 months and 10,000 miles
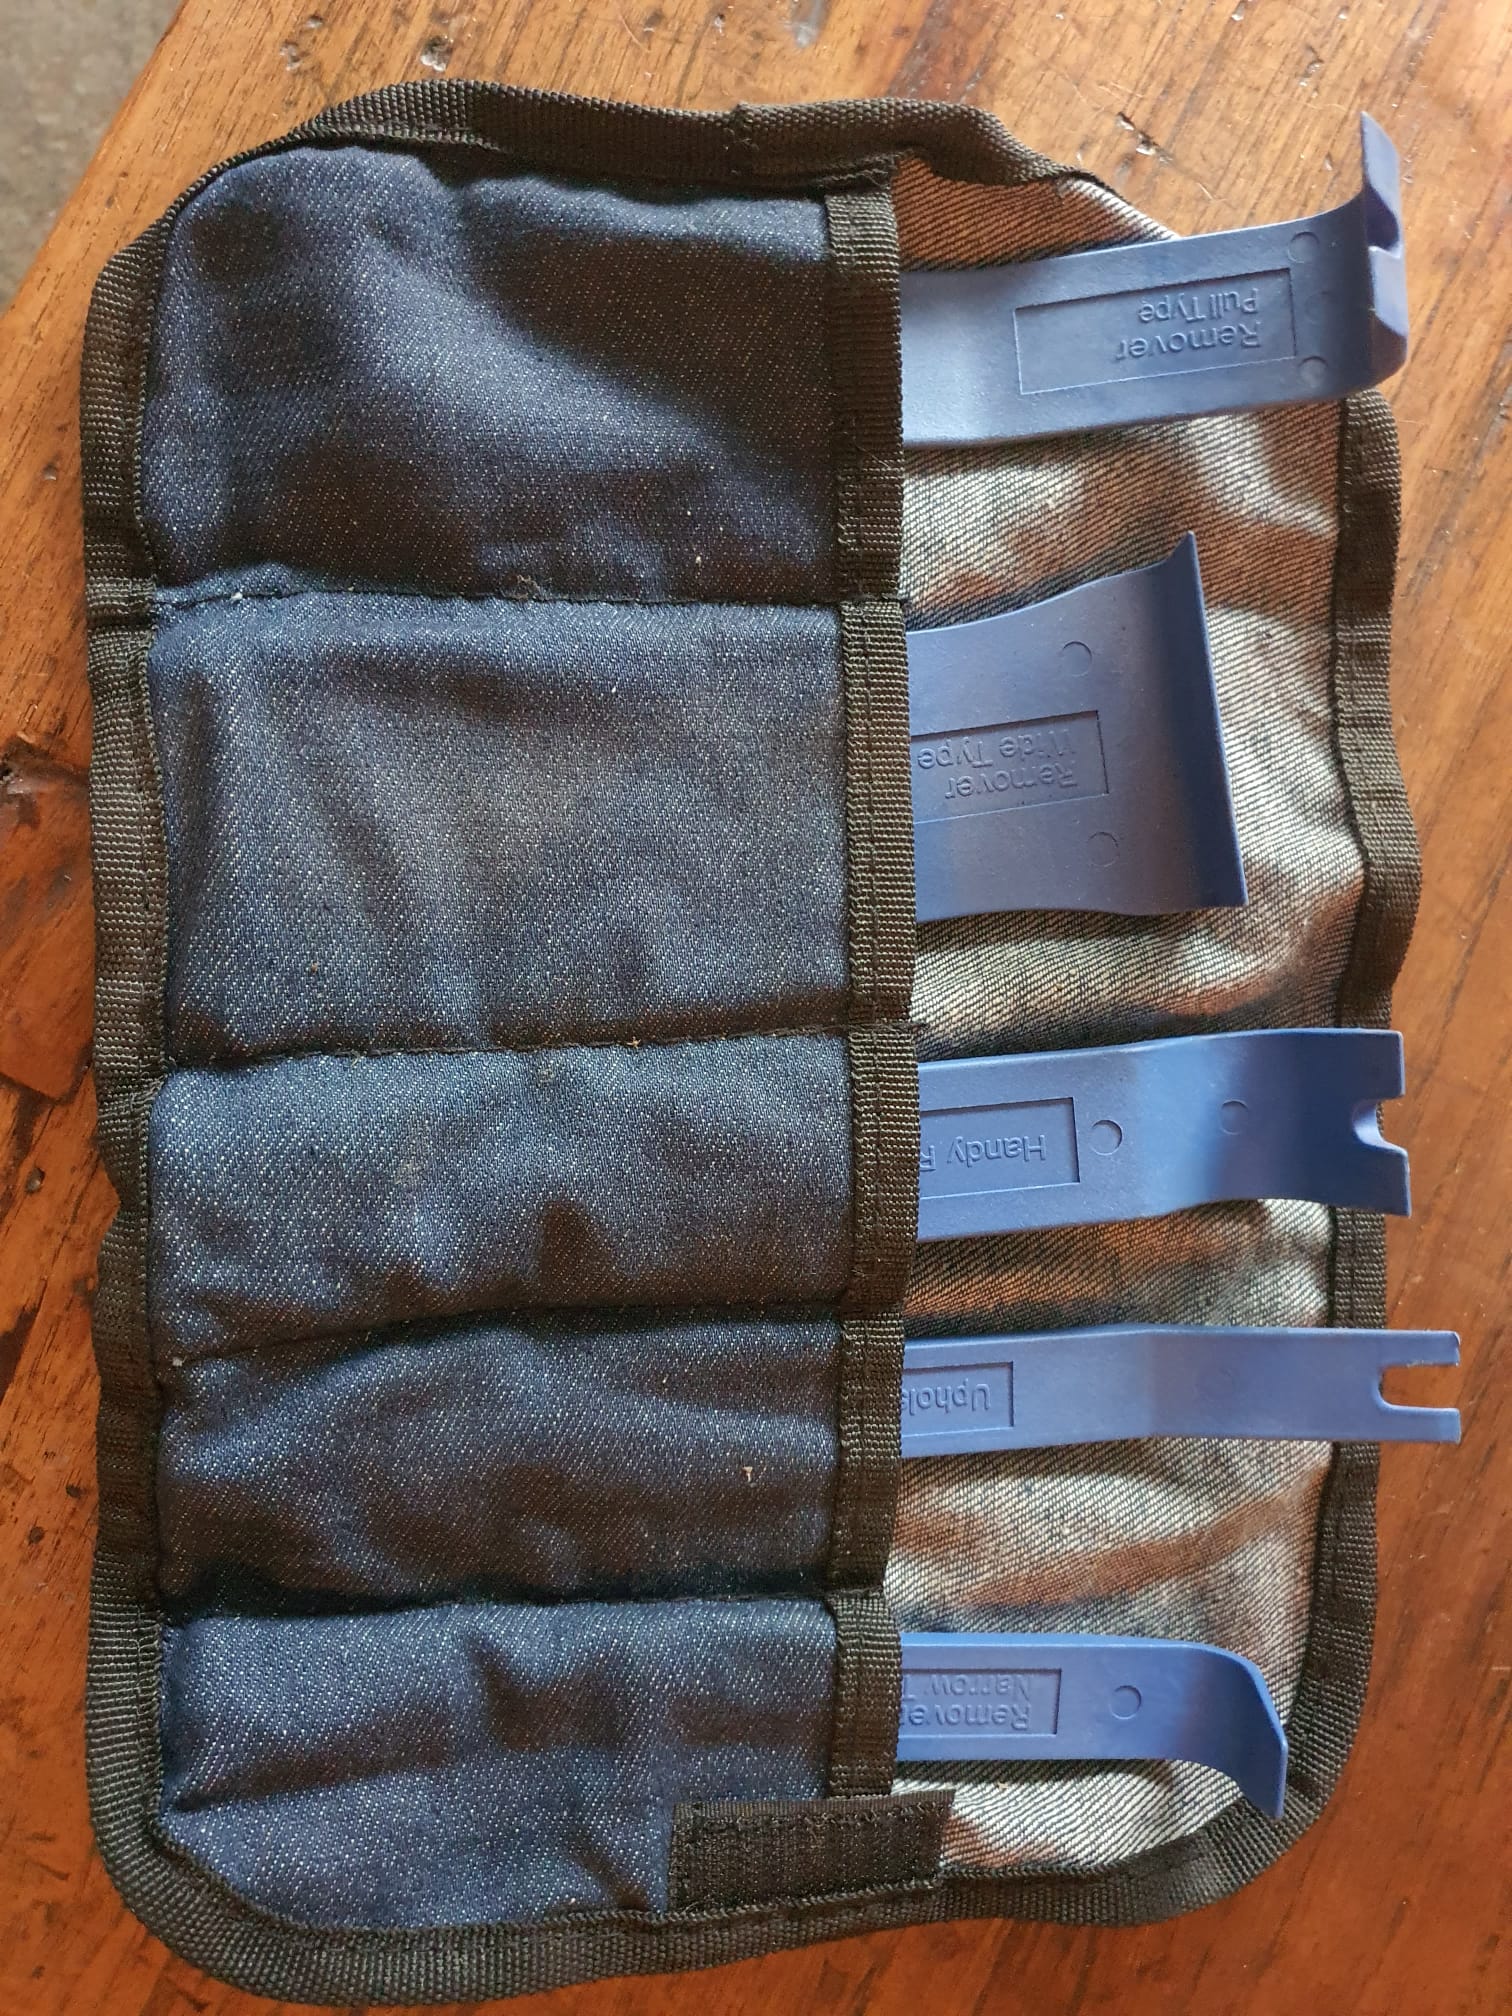
I did a couple of upgrades to the car, these can be found here:
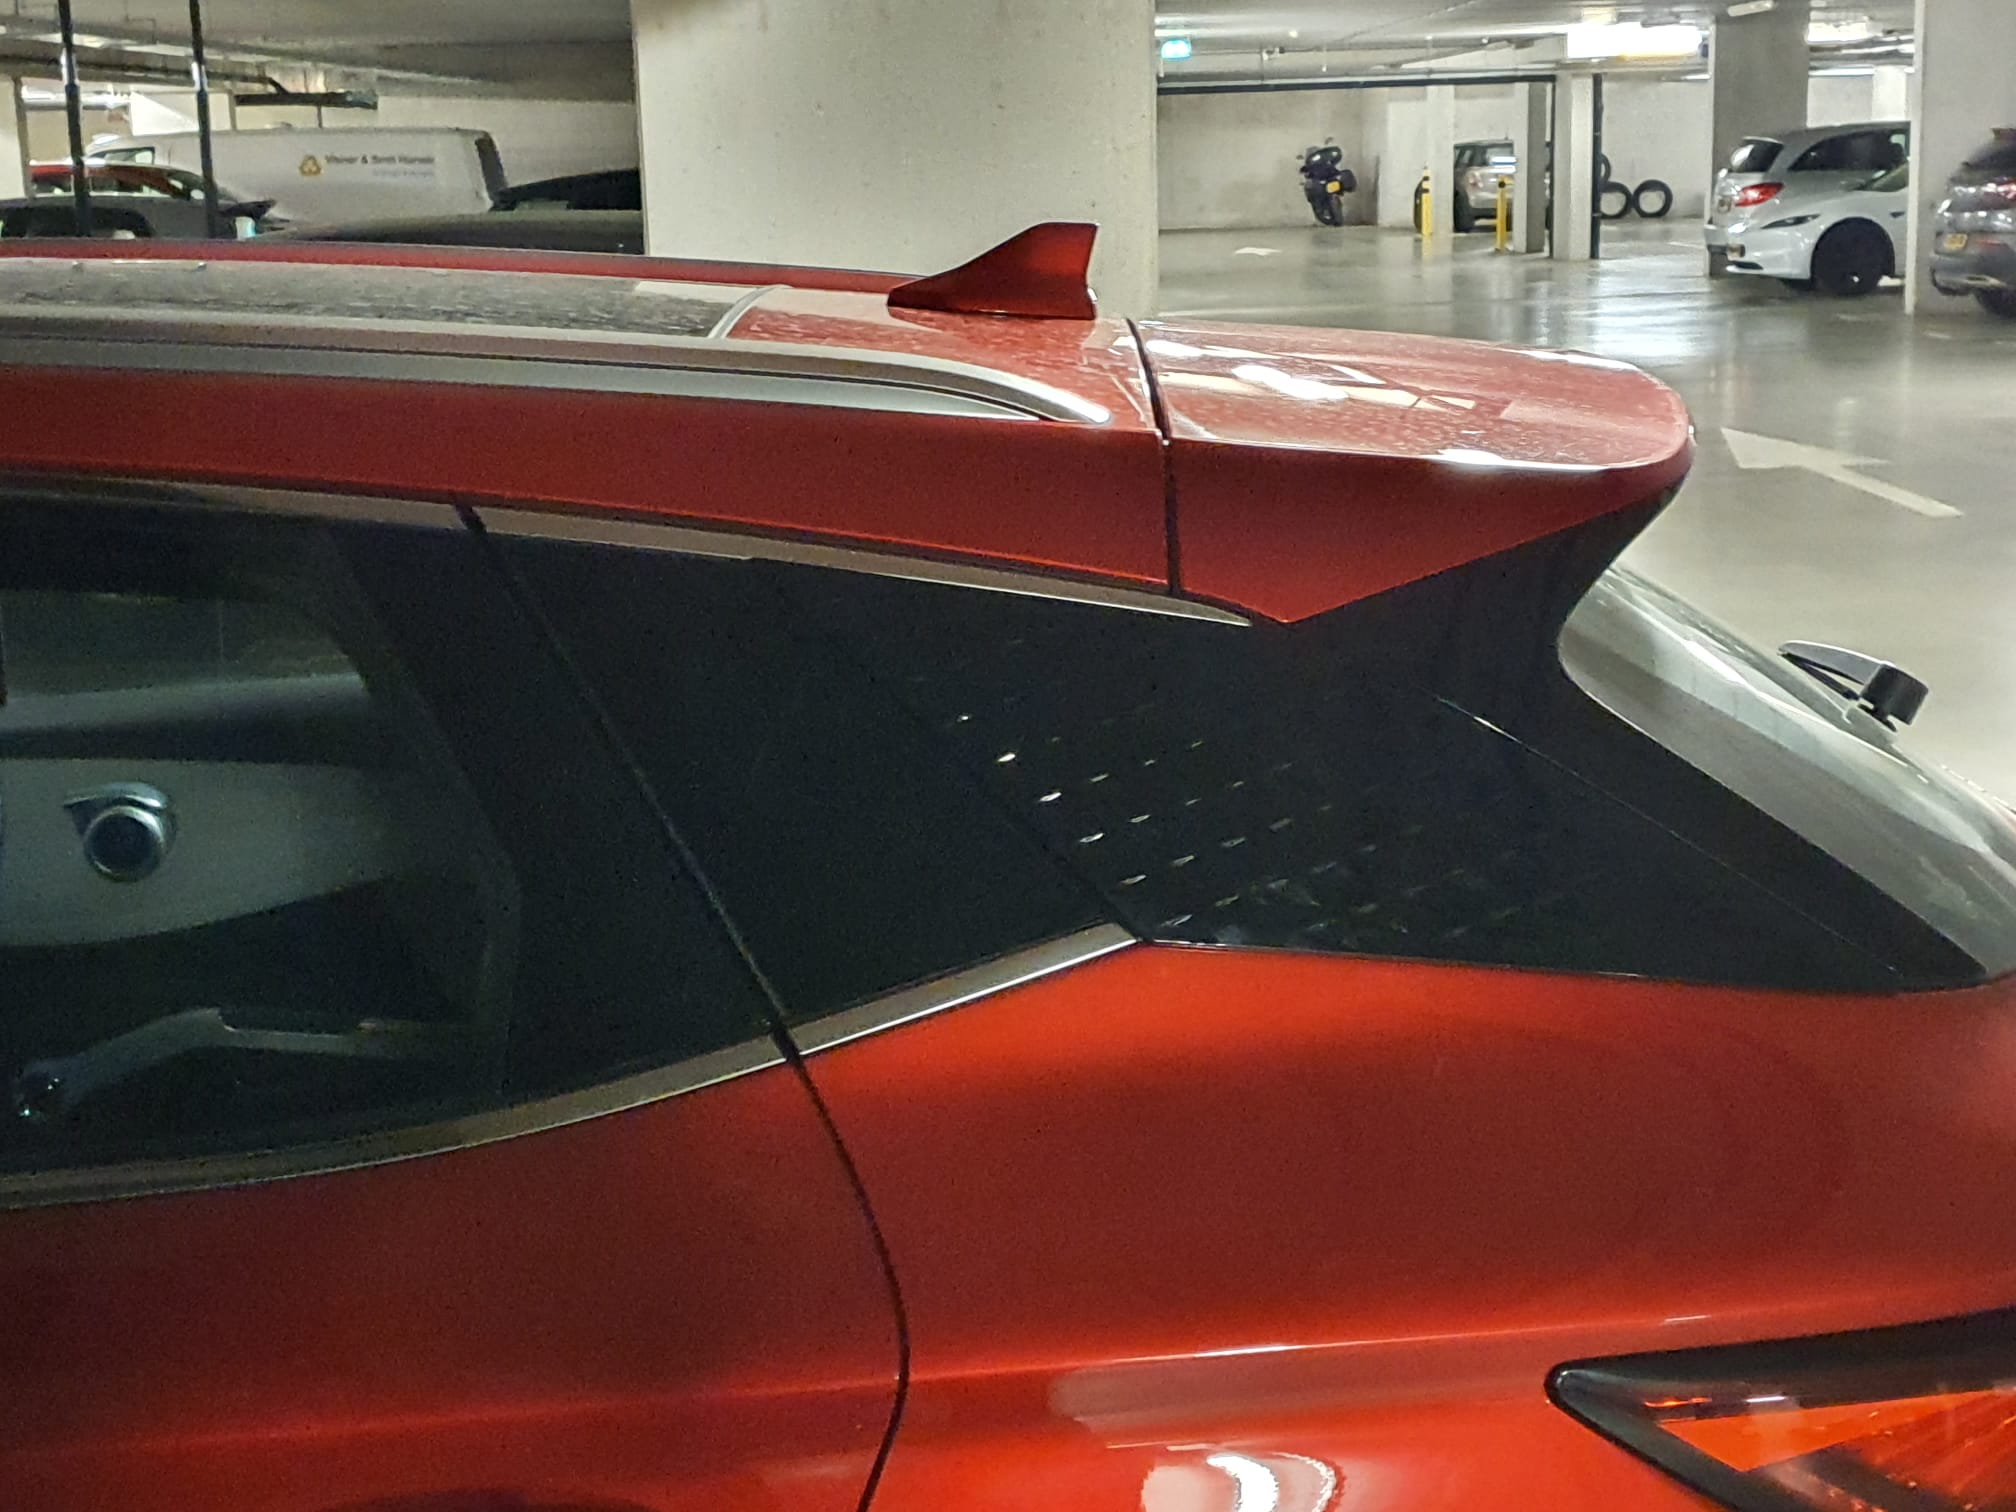
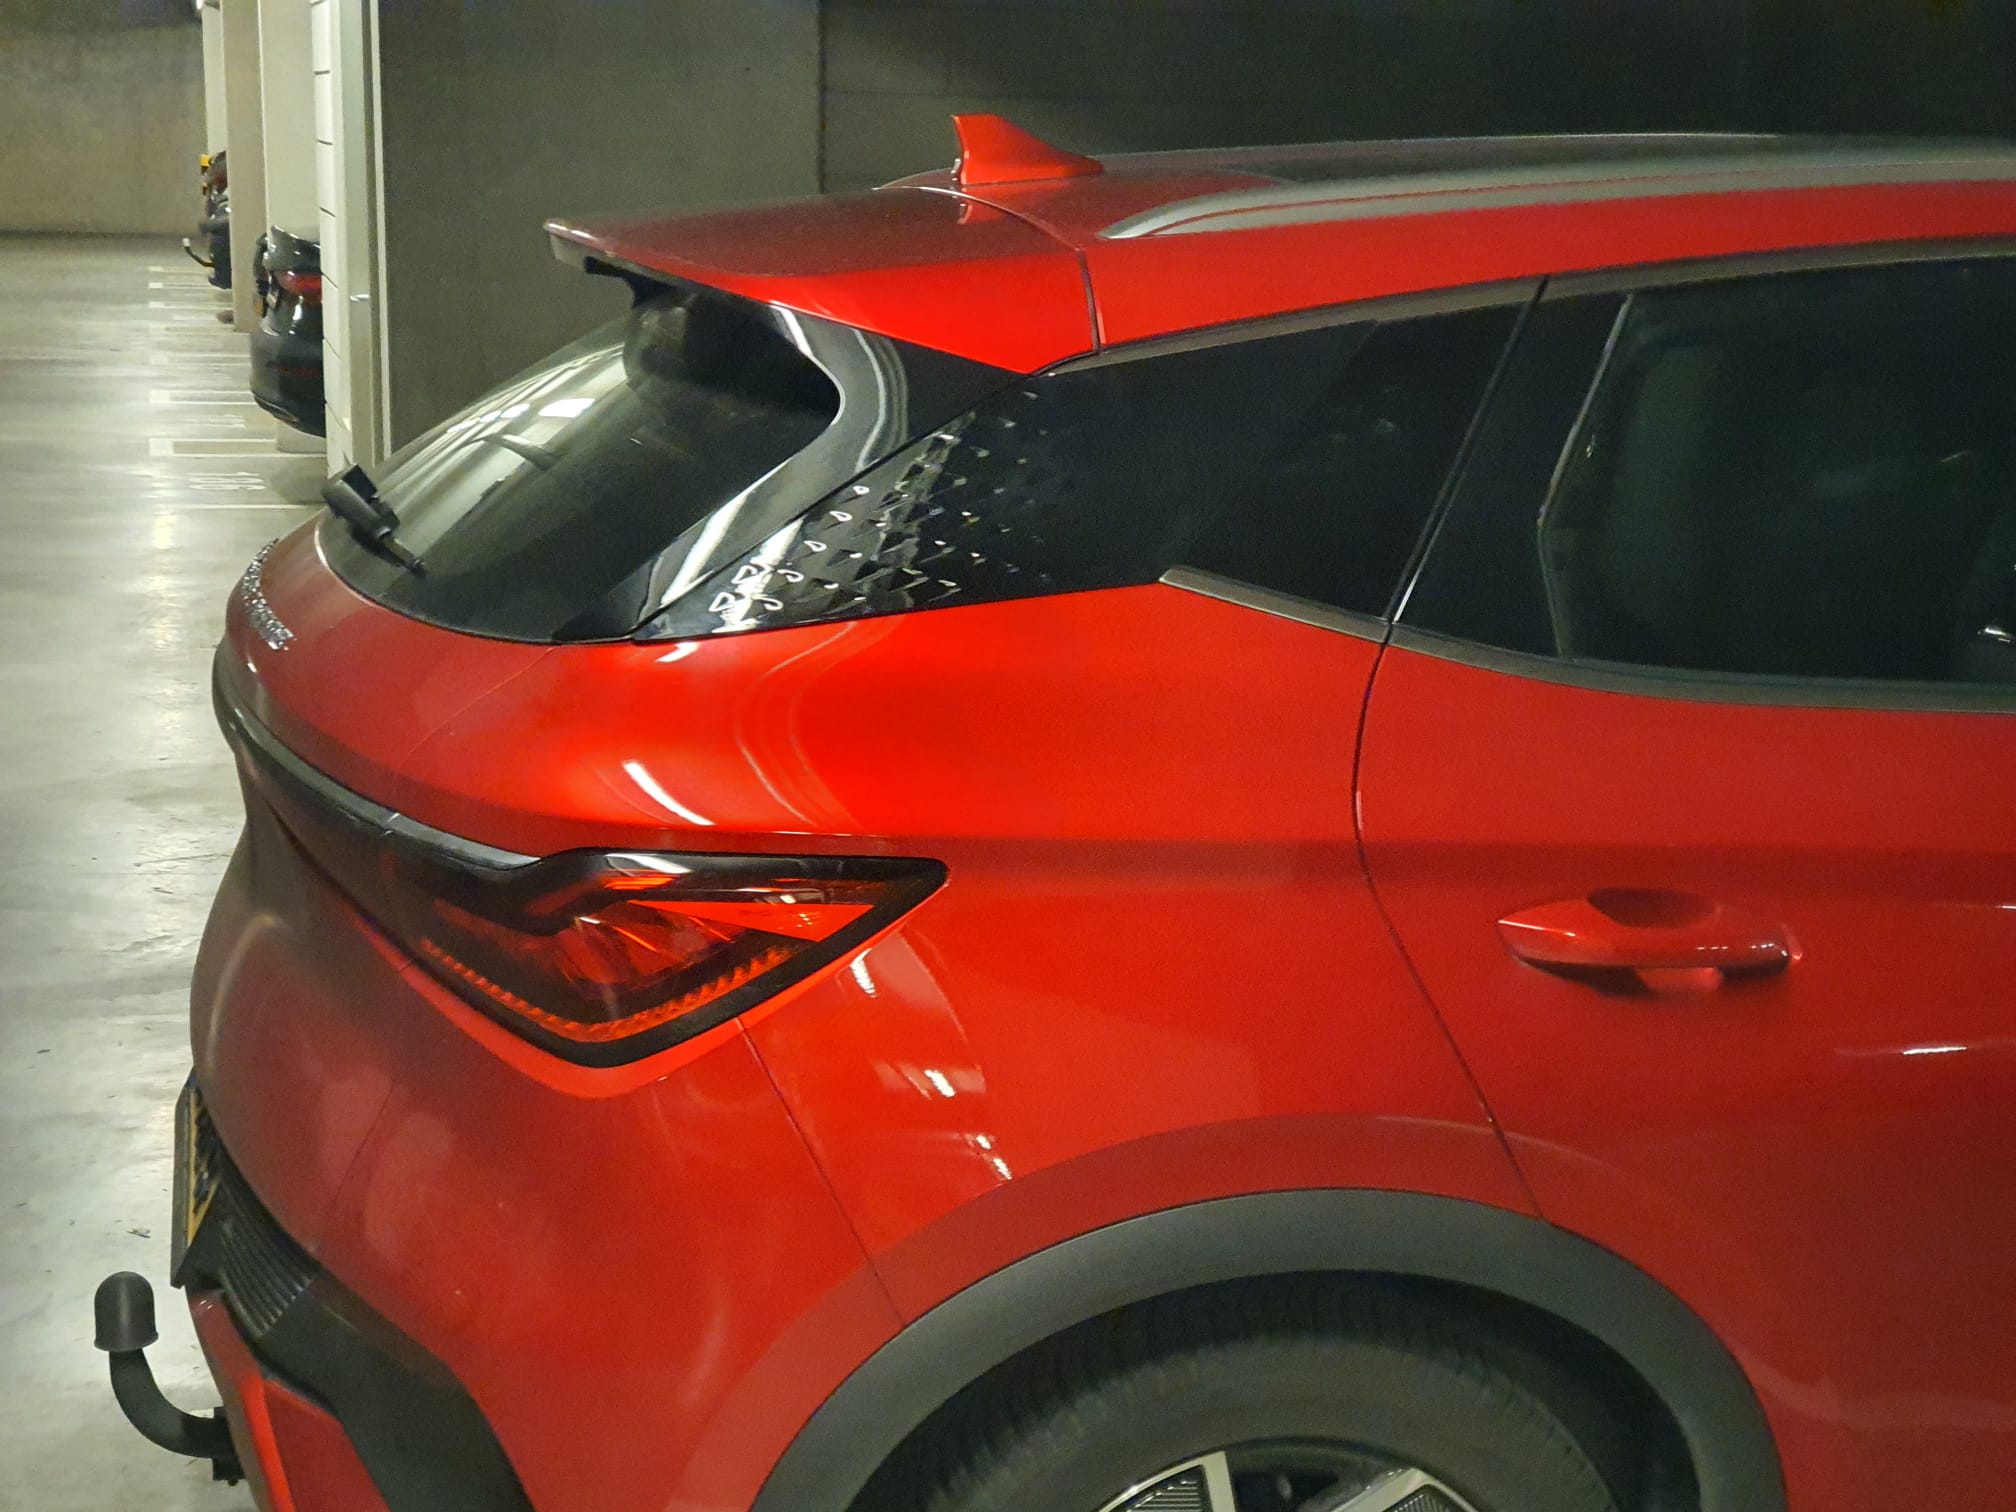
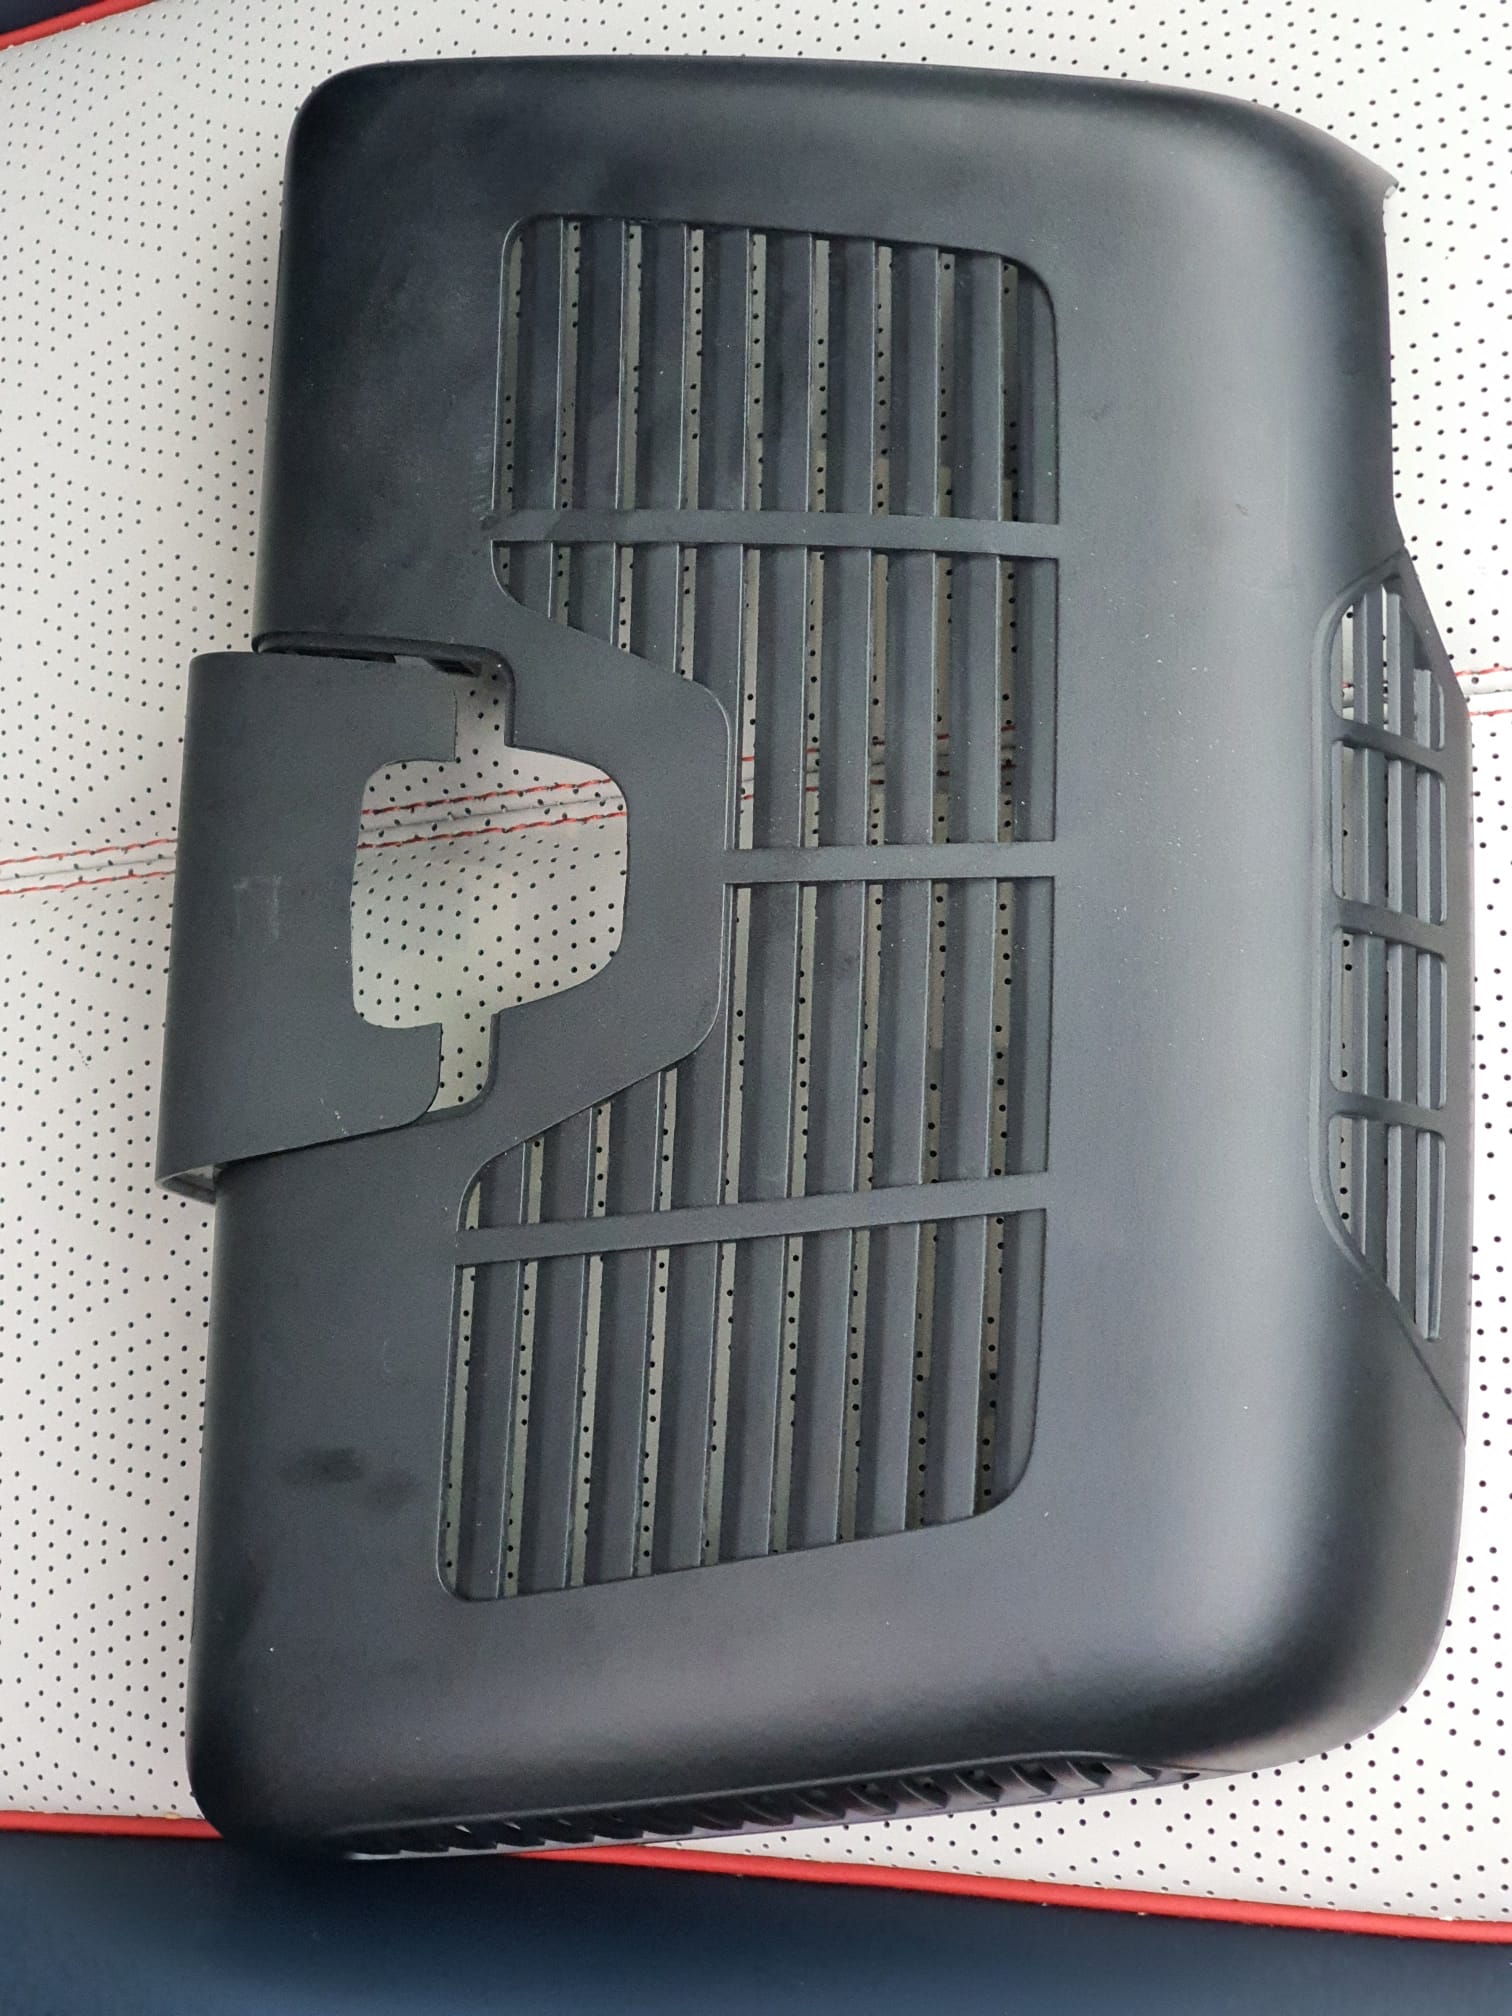
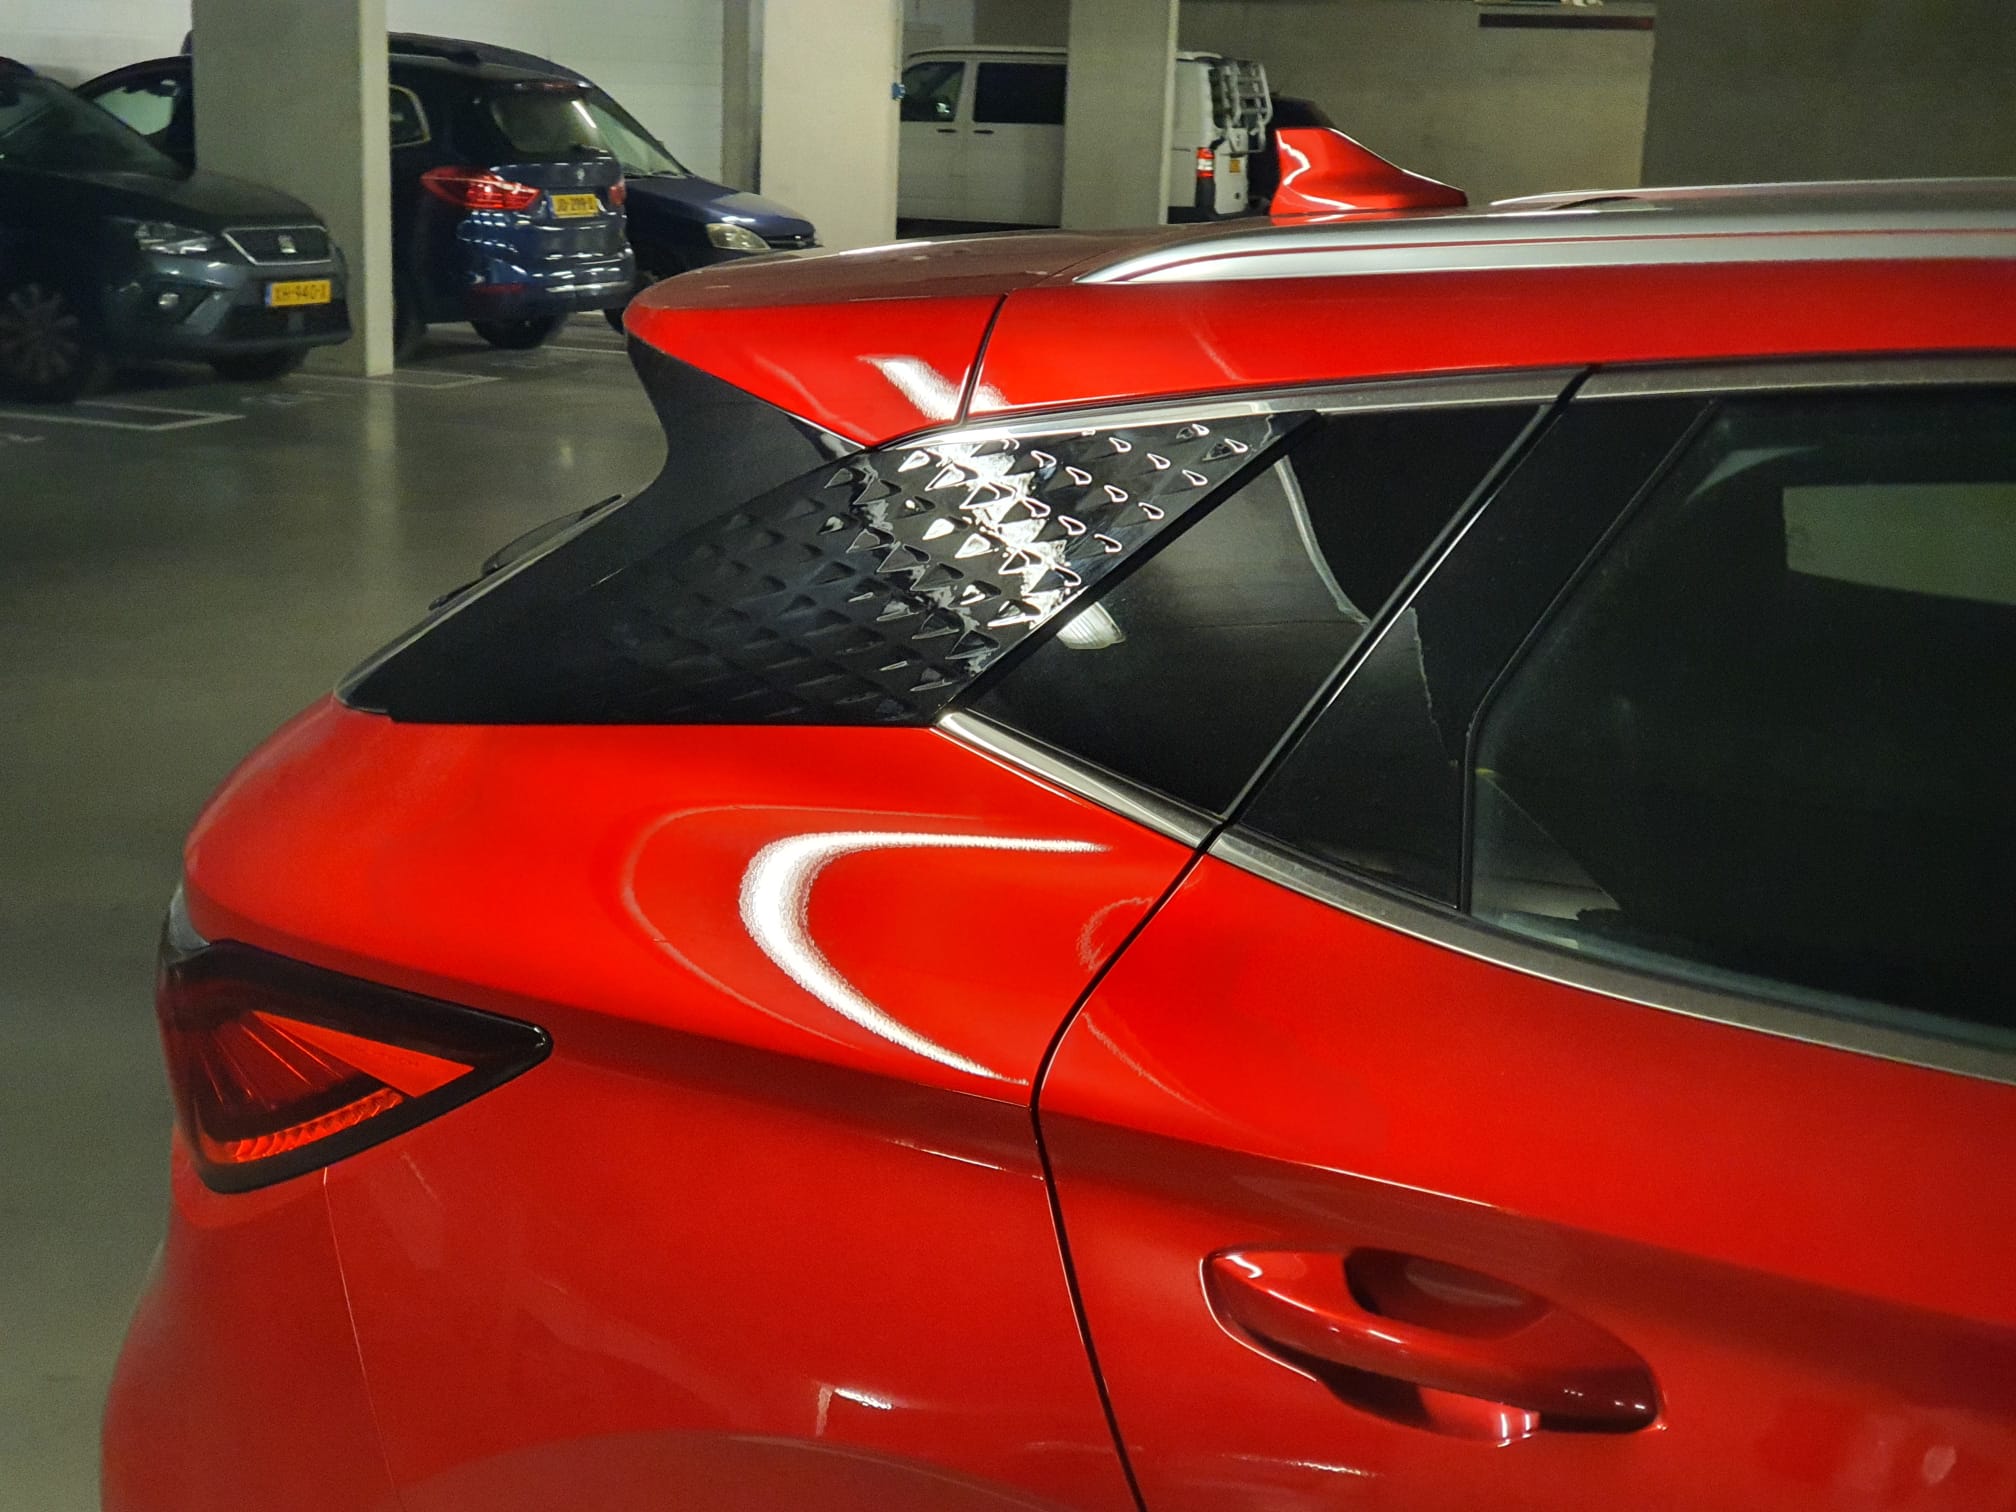
BYD Atto3 upgraded black C-pillar covers
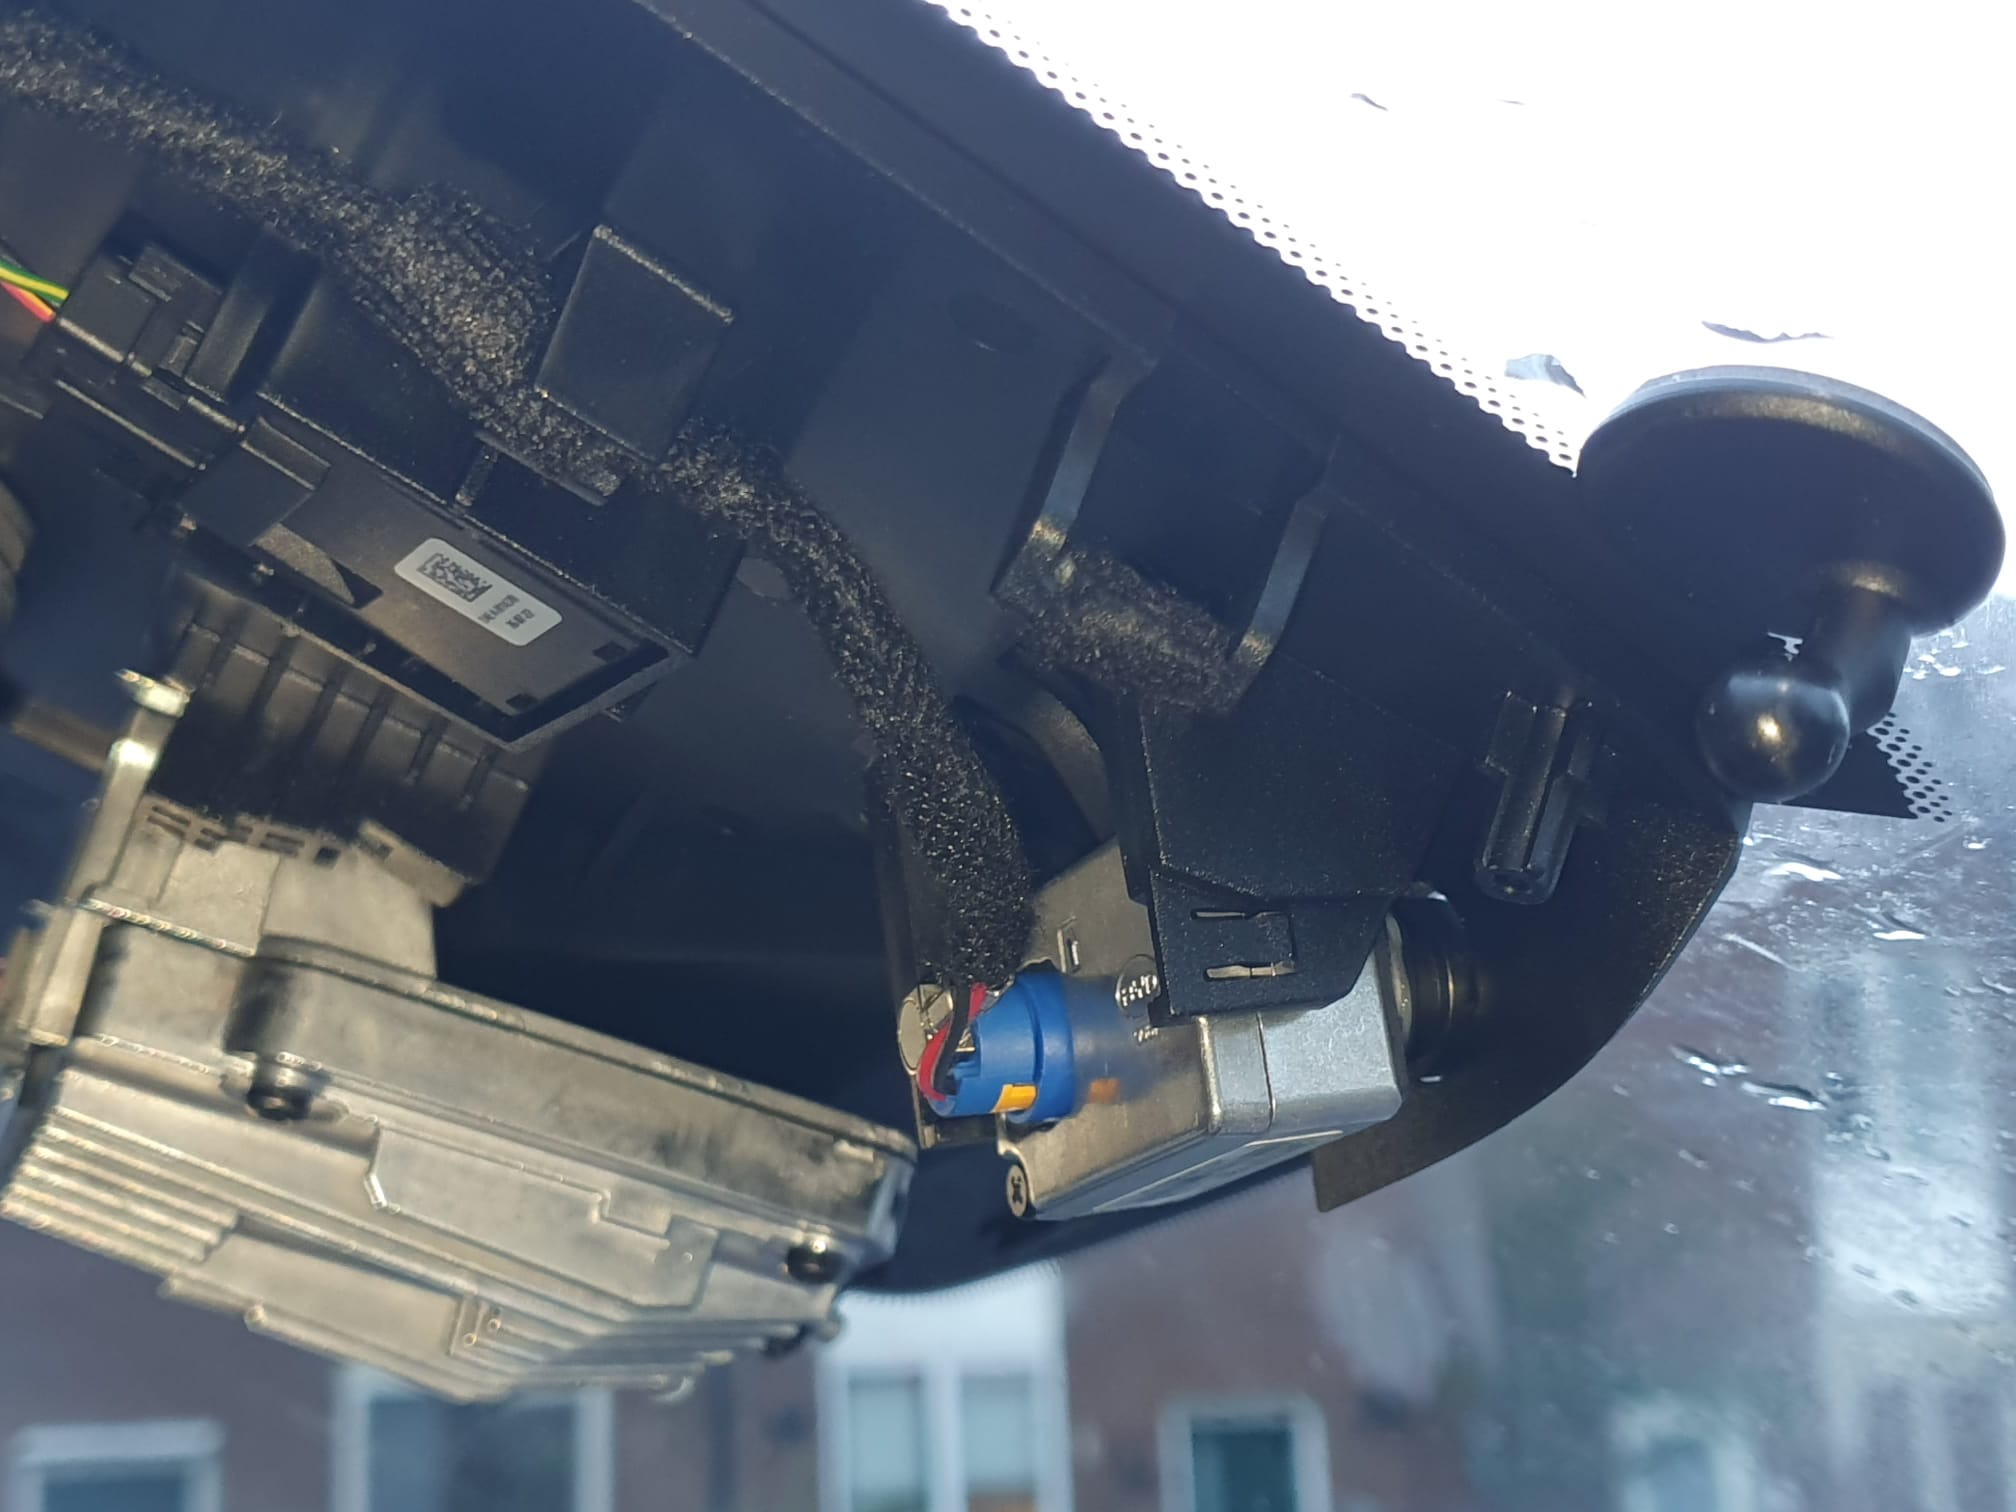
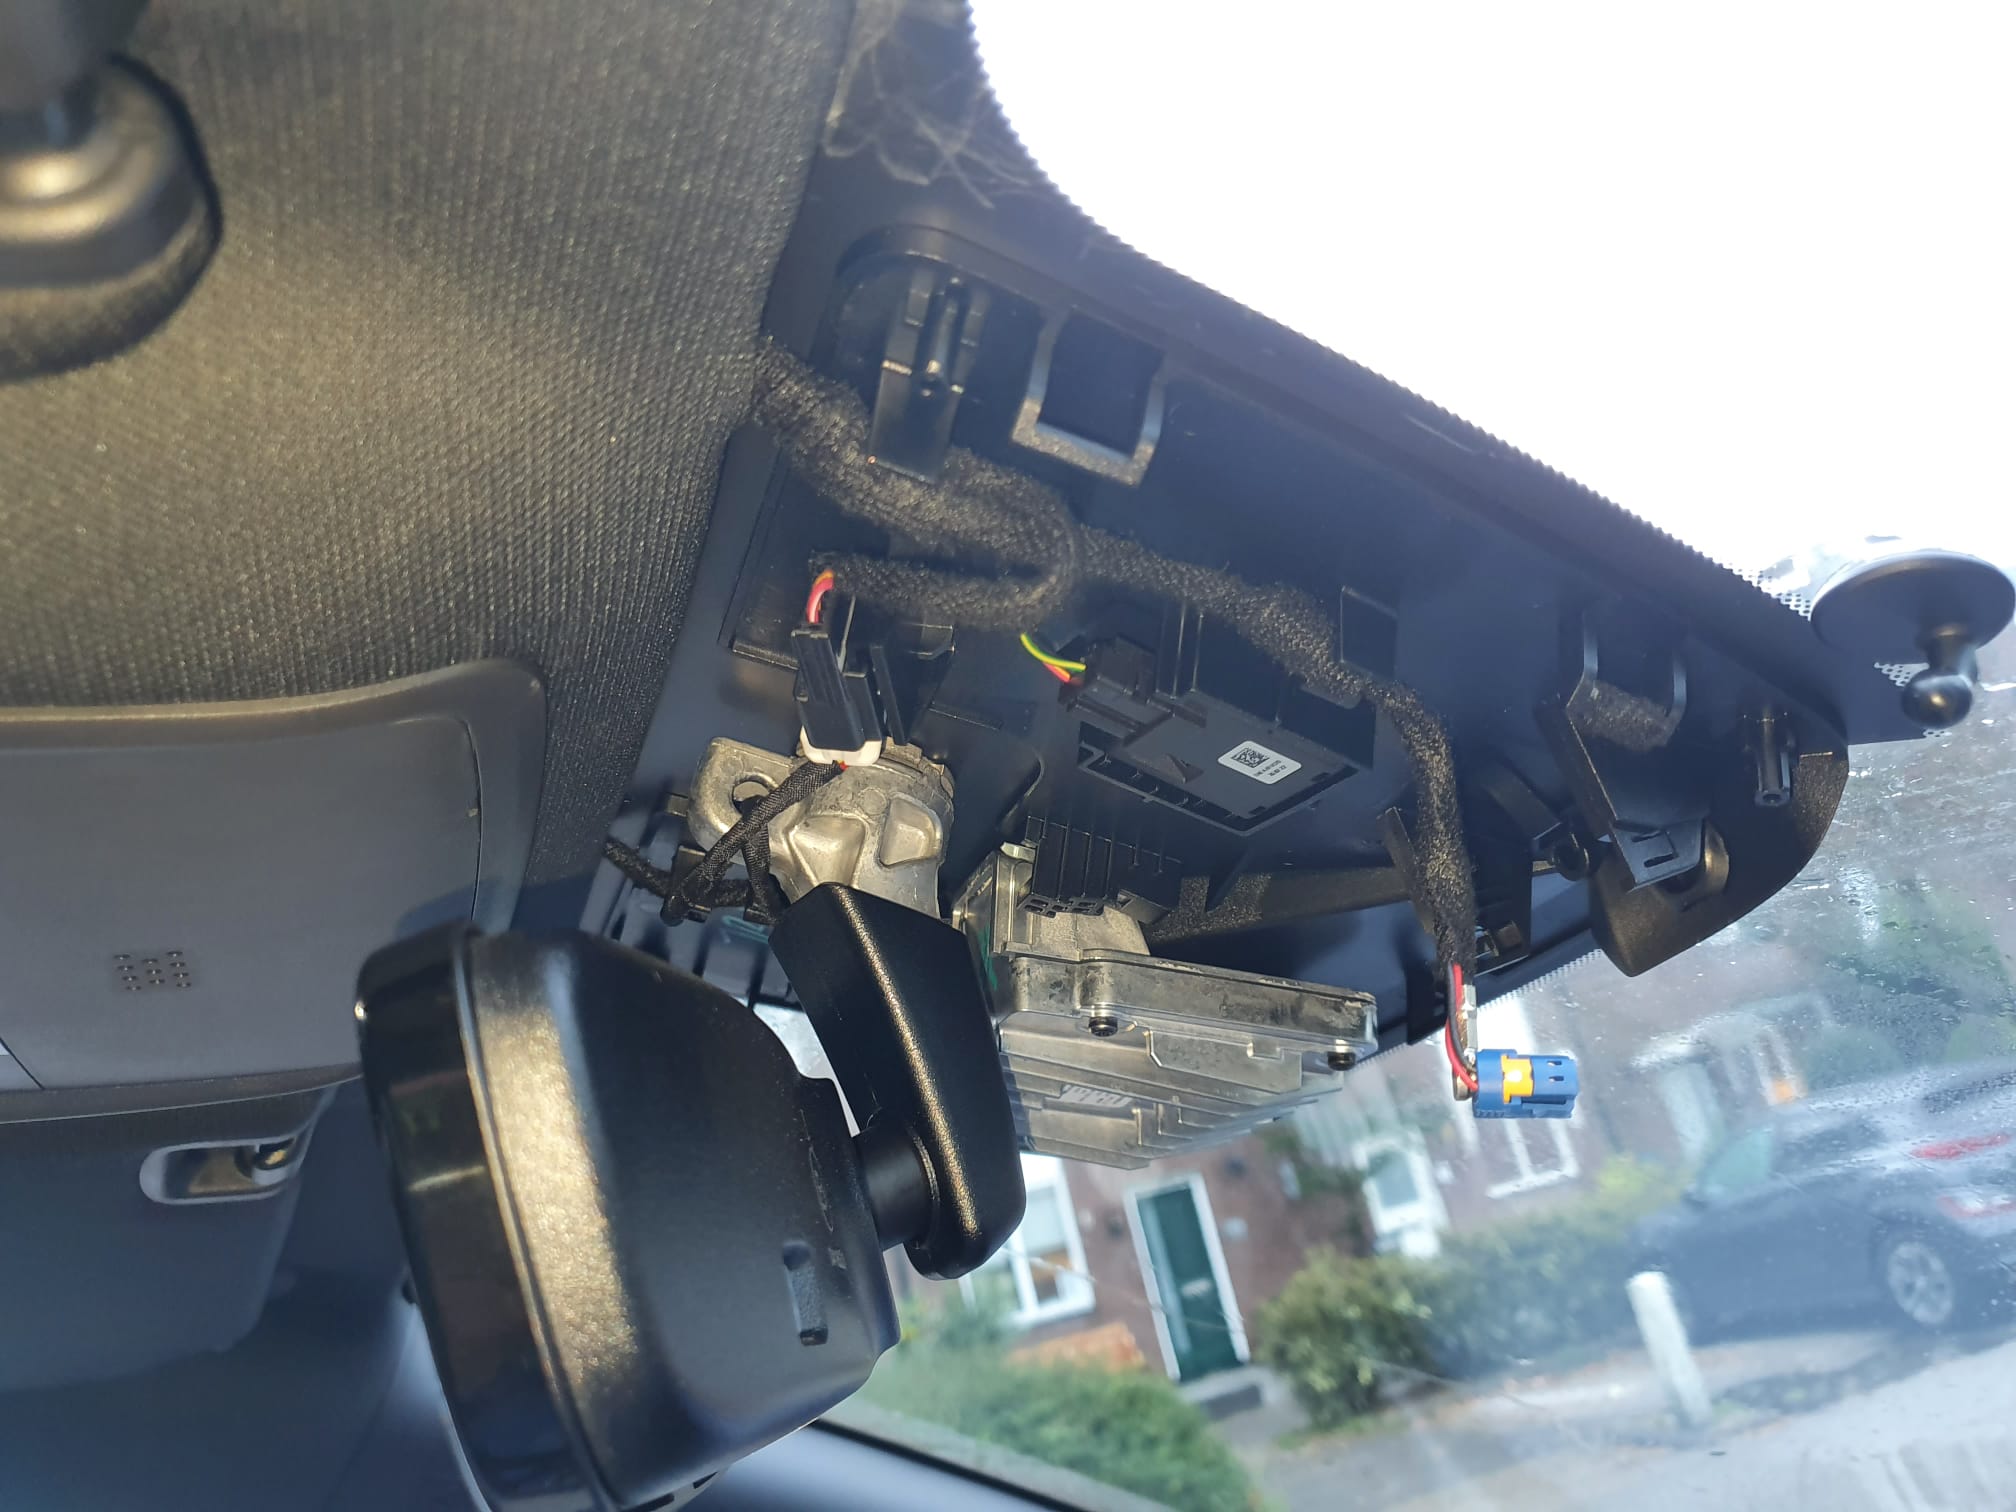
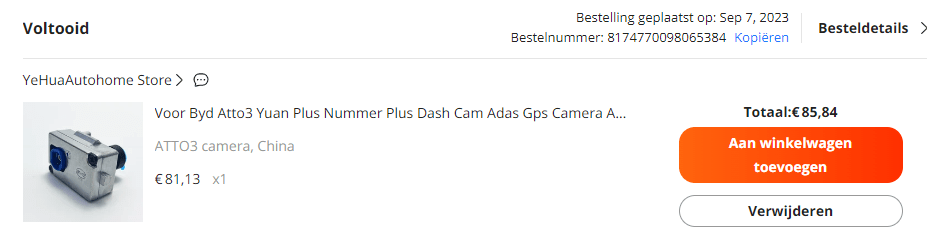
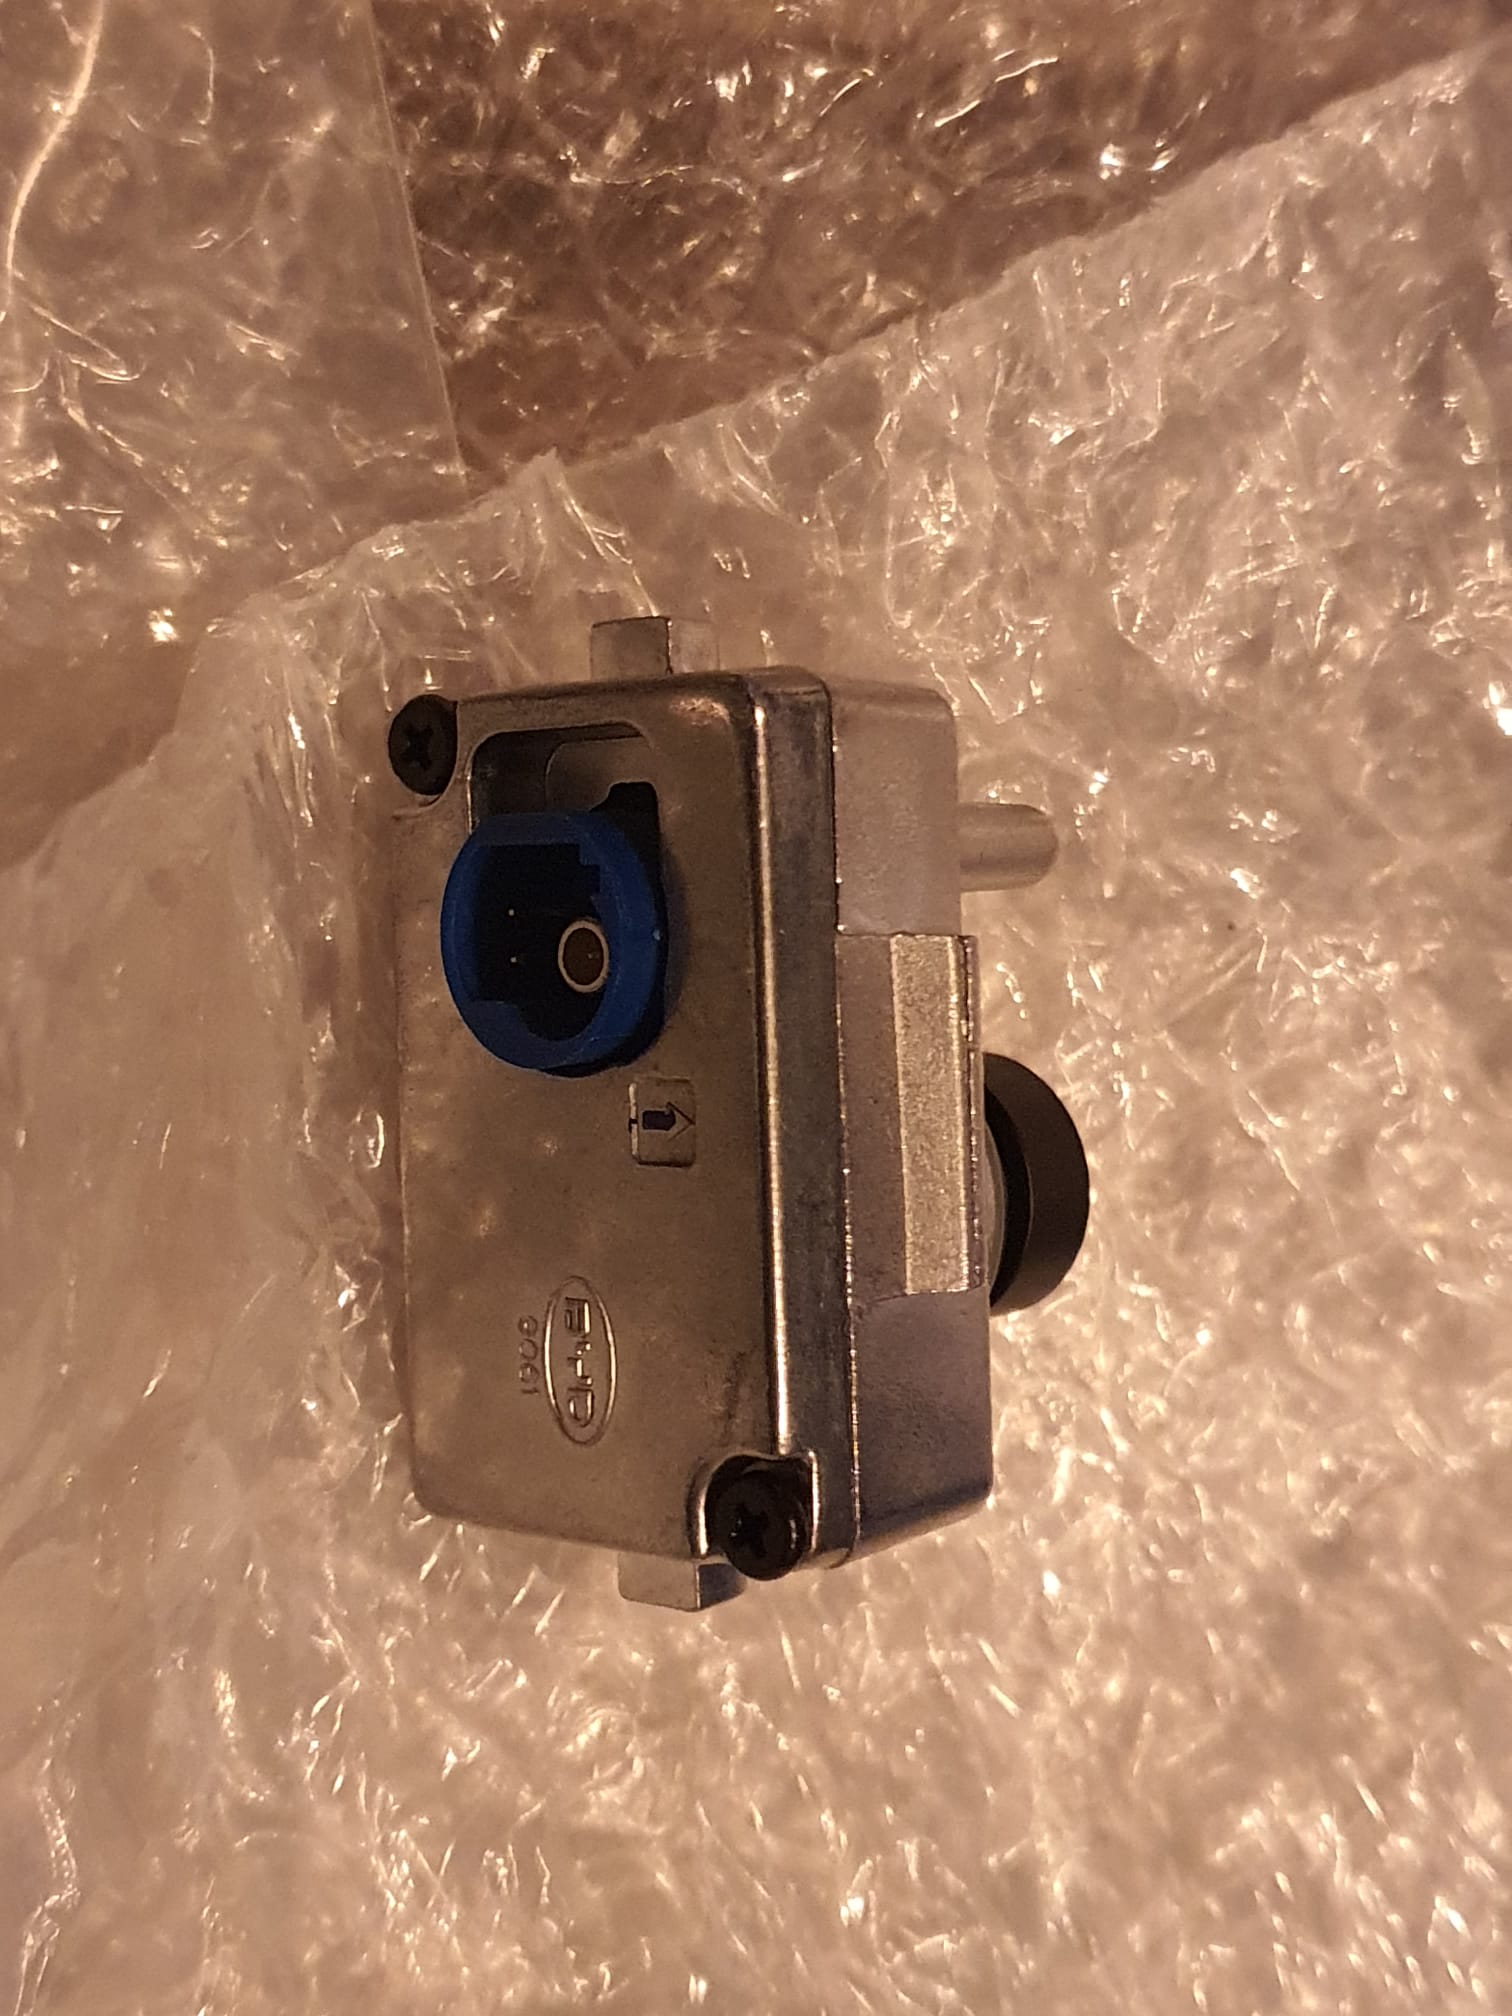
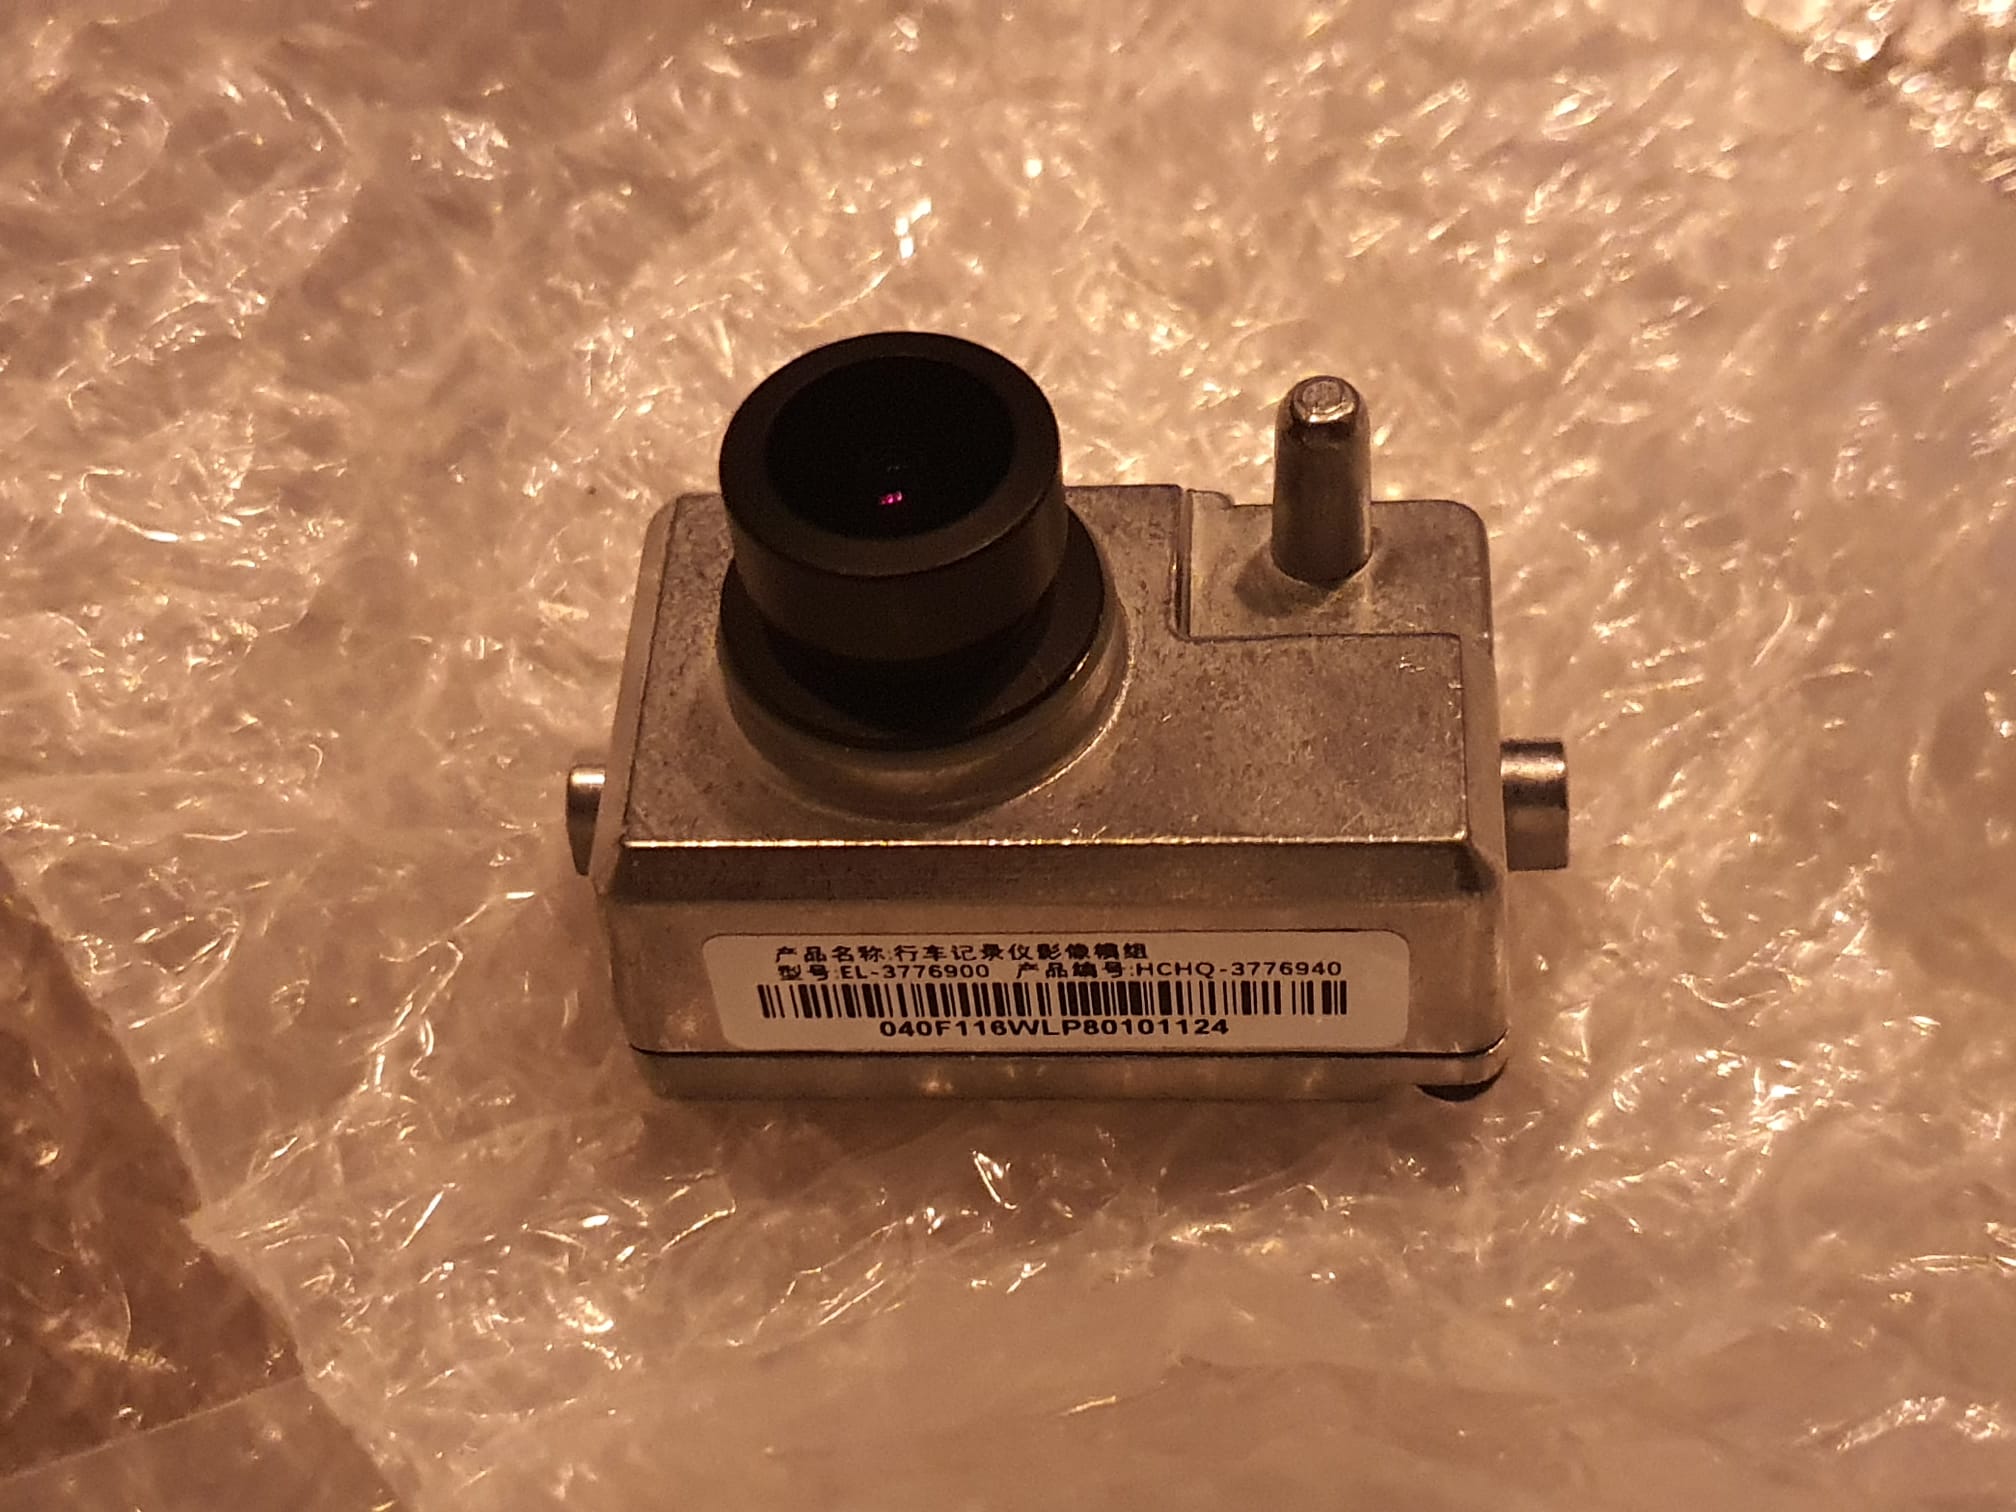
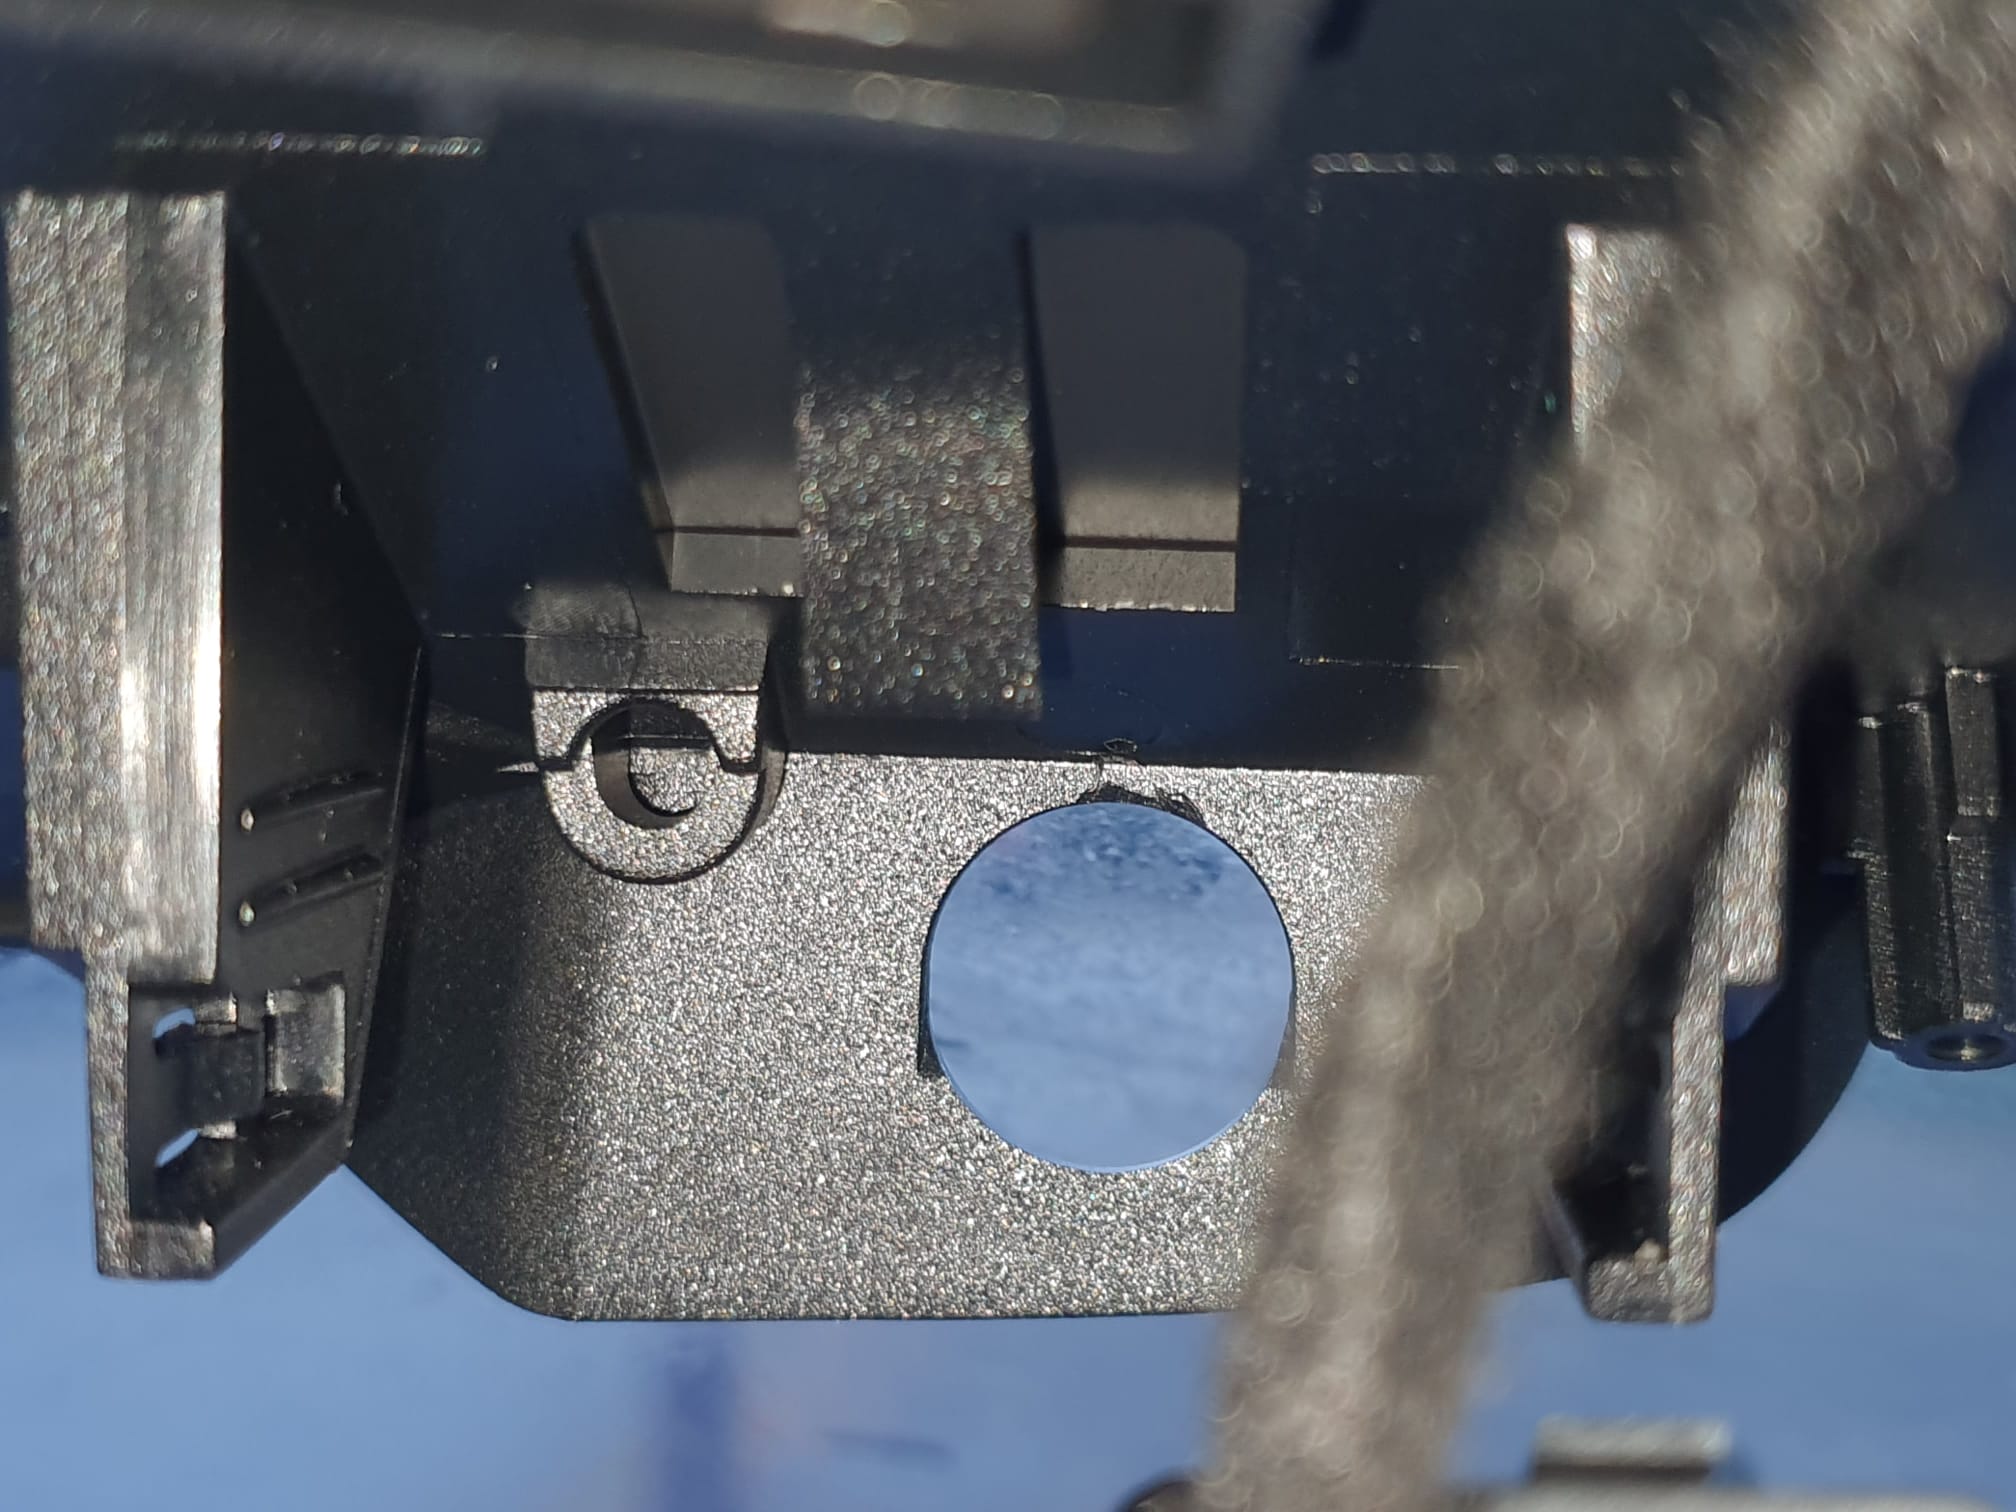
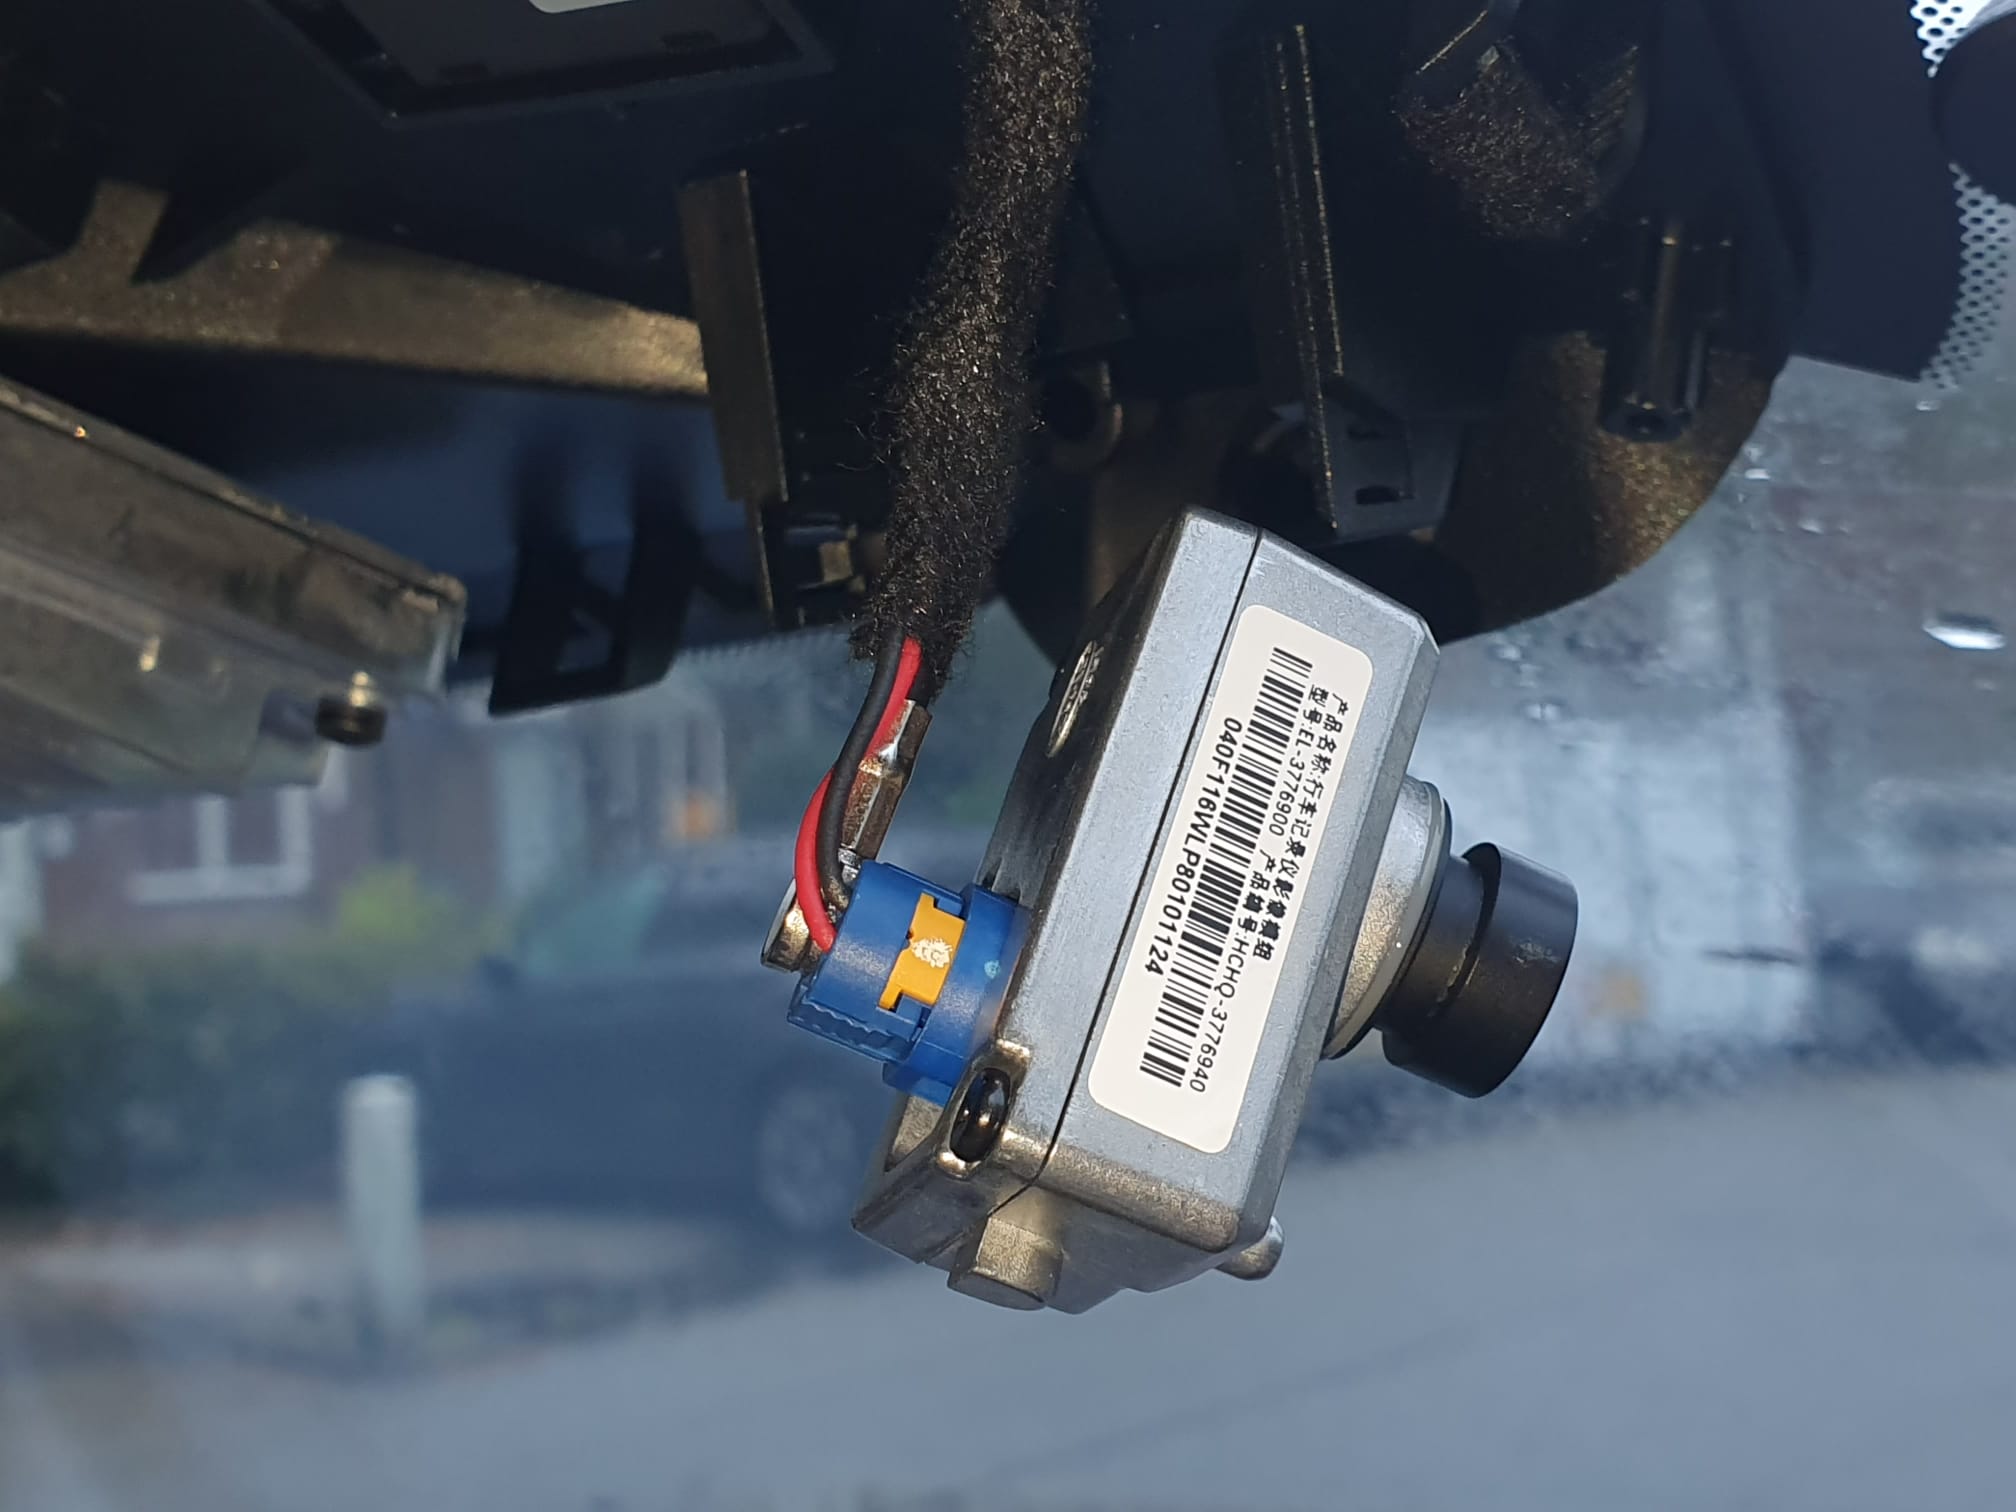
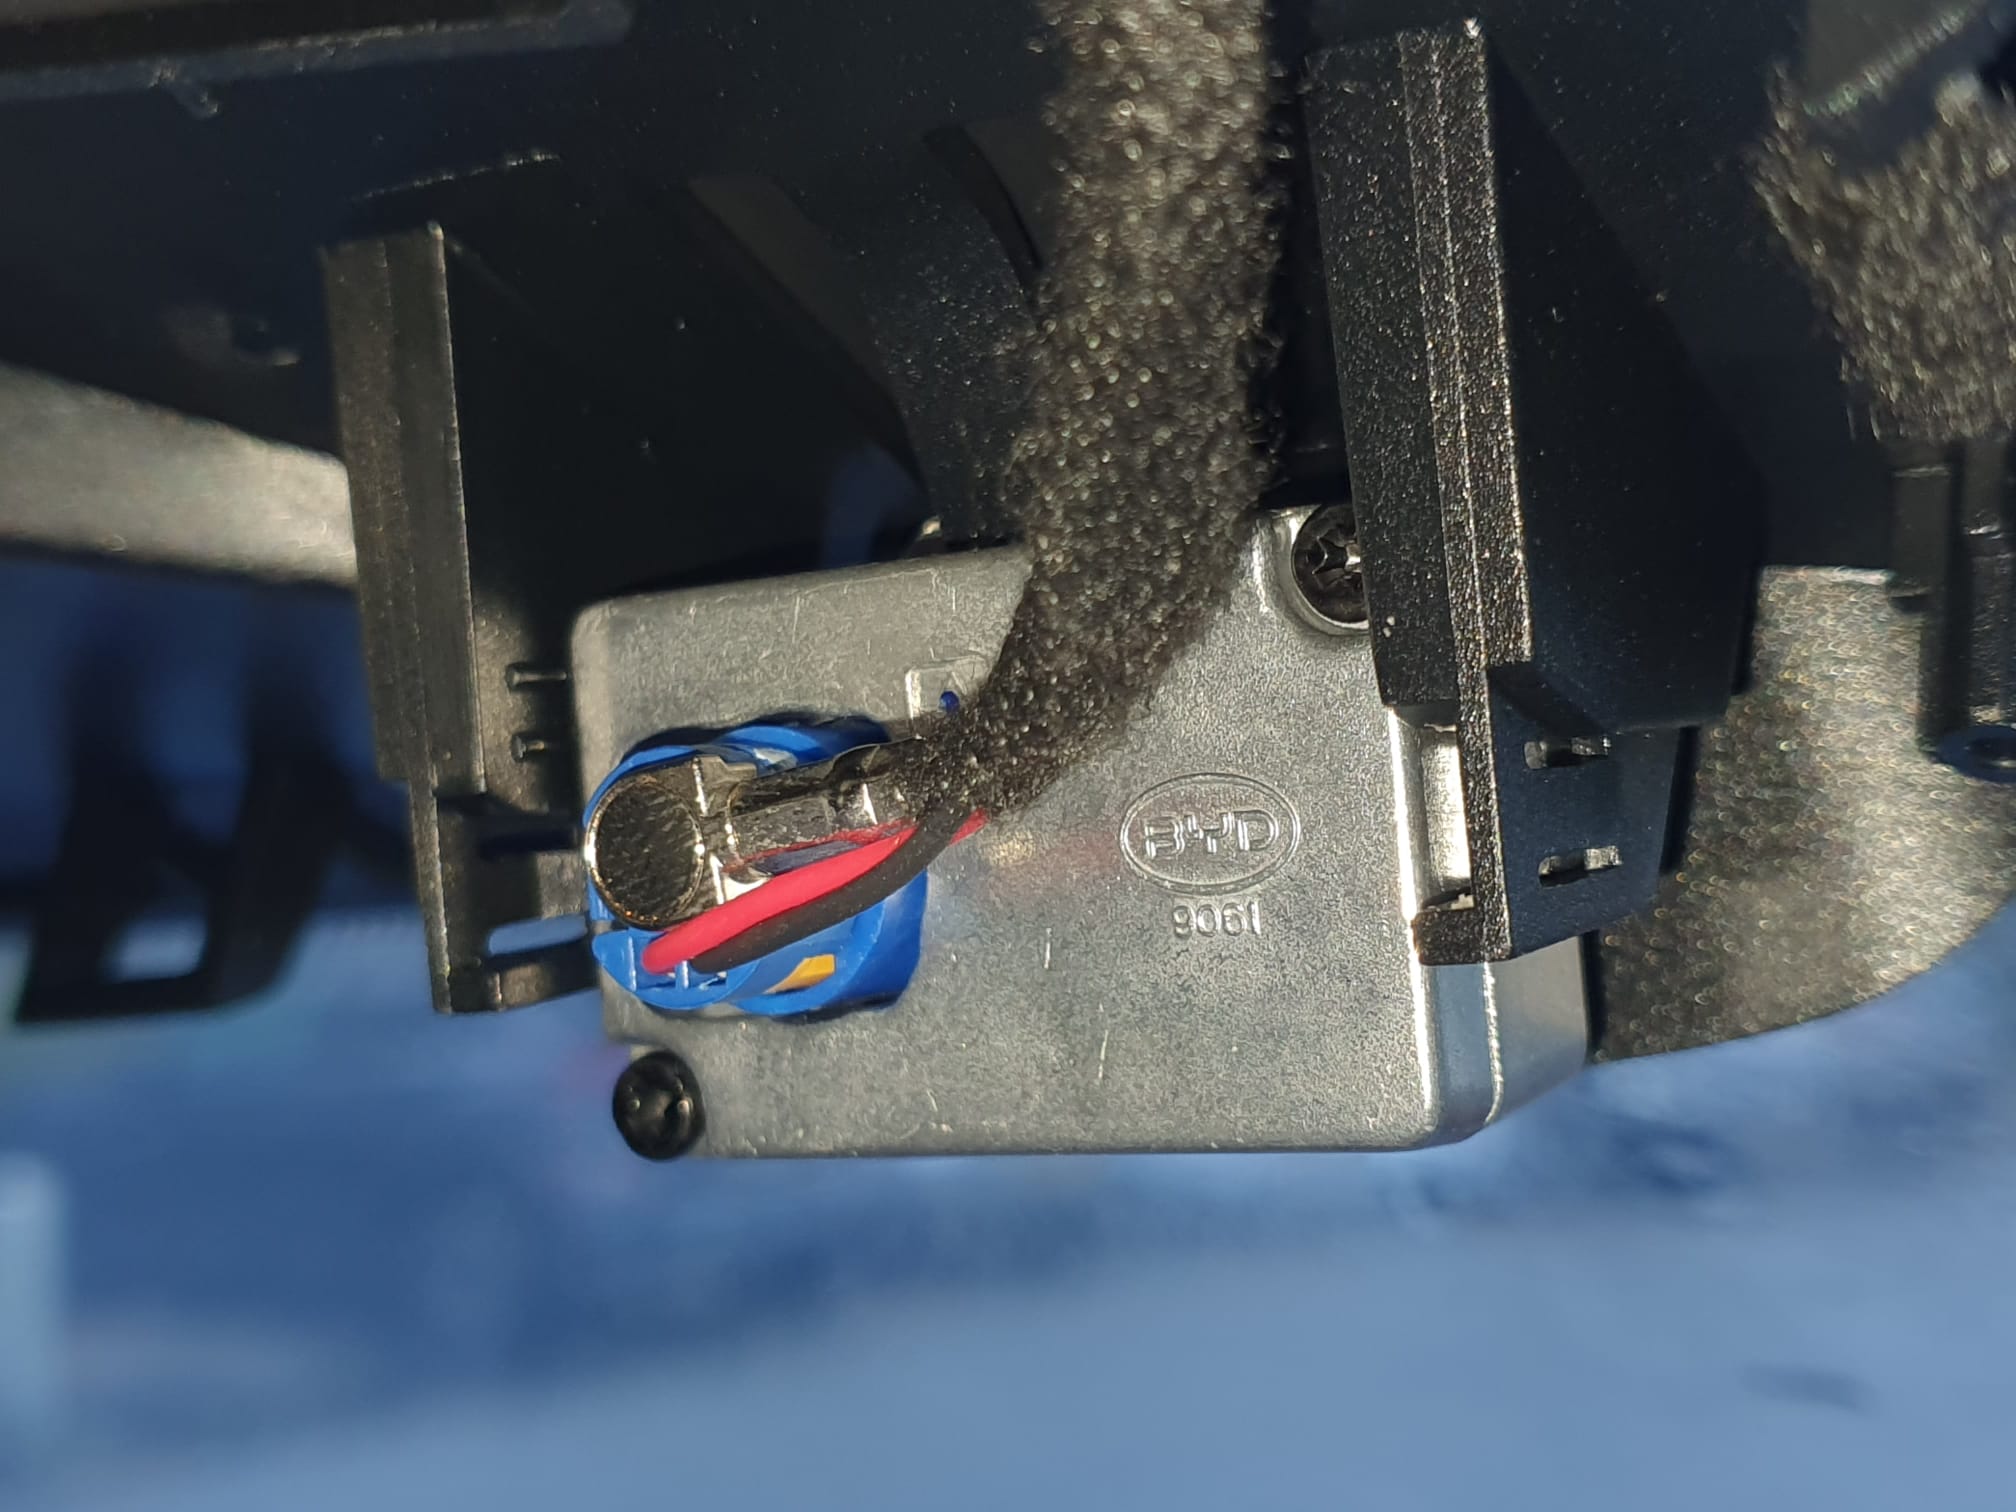
BYD Atto 3: Mounting an original BYD dashcam DIY
BYD Atto3 -Spare tire in the trunk
BYD Atto3 on all-weather tires Bridgestone 235/50 R18 101H XL (GAN) Weather Control A005
I have 1 pending upgrade, which is the automatic wiper control unit that I have laying around. I am still a bit hesitated to install this, due to possible warrant voiding by BYD when I cut holes in the car under the steering wheel pillar’s plastic cover to mount an on/off switch for the to be installed wiper module.
The assessment about the car at May 2025:
The car drives perfect, BUT I needed a lot of getting used to the functioning of the airco/heater system, though. The Atto3 works completely different than any airco/heating system I ever encountered in a car. After 2 1/2 years I am finally getting the hang of using this system. I have tried all options and found out that the ATTO3’s heating/airco when used in AUTO mode is dangerous to use in our Dutch weather conditions. I get foggy windows, both in- and outside now and then, depending on weather conditions. Like sudden snow, hail, or warm rain. Fog is also a difficult situation to deal with when on AUTO setting.
Since I overcame that (-to me, at least-) disappointing fact, I fell back to manually controlling the airco/heater every time I start my ride and during driving.
So- when foggy and cold outside, I need both airco and set the temp to HI. But this is not possible in this car. I can either set the temp to LO which is airco cold air only OR set any other temp which is heat only.
When foggy and warm outside, I only use the airco and thus set the temp at LO.
When cold and NOT foggy, I set the temp at 24 degrees, turn temp back to 20 when heated up. Keep changing temp between 19 and 24 to keep a sort of stable temp in the car.
When warm and not foggy, I set the temp to LO to put the airco (which is cold air only) ON. When the temp reaches a convenient point, I set the airco OFF from LO and put the temp to 20 but I cannot keep the airco ON, because setting any temp other than LO ends the functioning of the cold humidifier air. If the foggy window gets back due to not retracting moisture from the car, because the airco is off, I switch back to LO again and so on.
All in all, this is drivable but not very pleasant, running a manual switchboard on the climate control that should be better programmed. I don’t know if there are any other people that may make better use with the airco/heater of the Atto3. If so, please contact me at info@jantec.nl.
BTW: Due to the above, I can’t really make use of the android-auto software, since I can only control the airco and so on when trhe car is NOT in android-auto mode….THIS IS SOLVED june 20th, 2025: The new software update solved the airco control problem when using android auto! Now, a lower part of the big control screen is customizable for a.o. controlling the airco and system.settings while android auto is in use. This is a perfect setup now, although I still need to manually switch a lot to keep the fog off the front window under specific wet conditions.