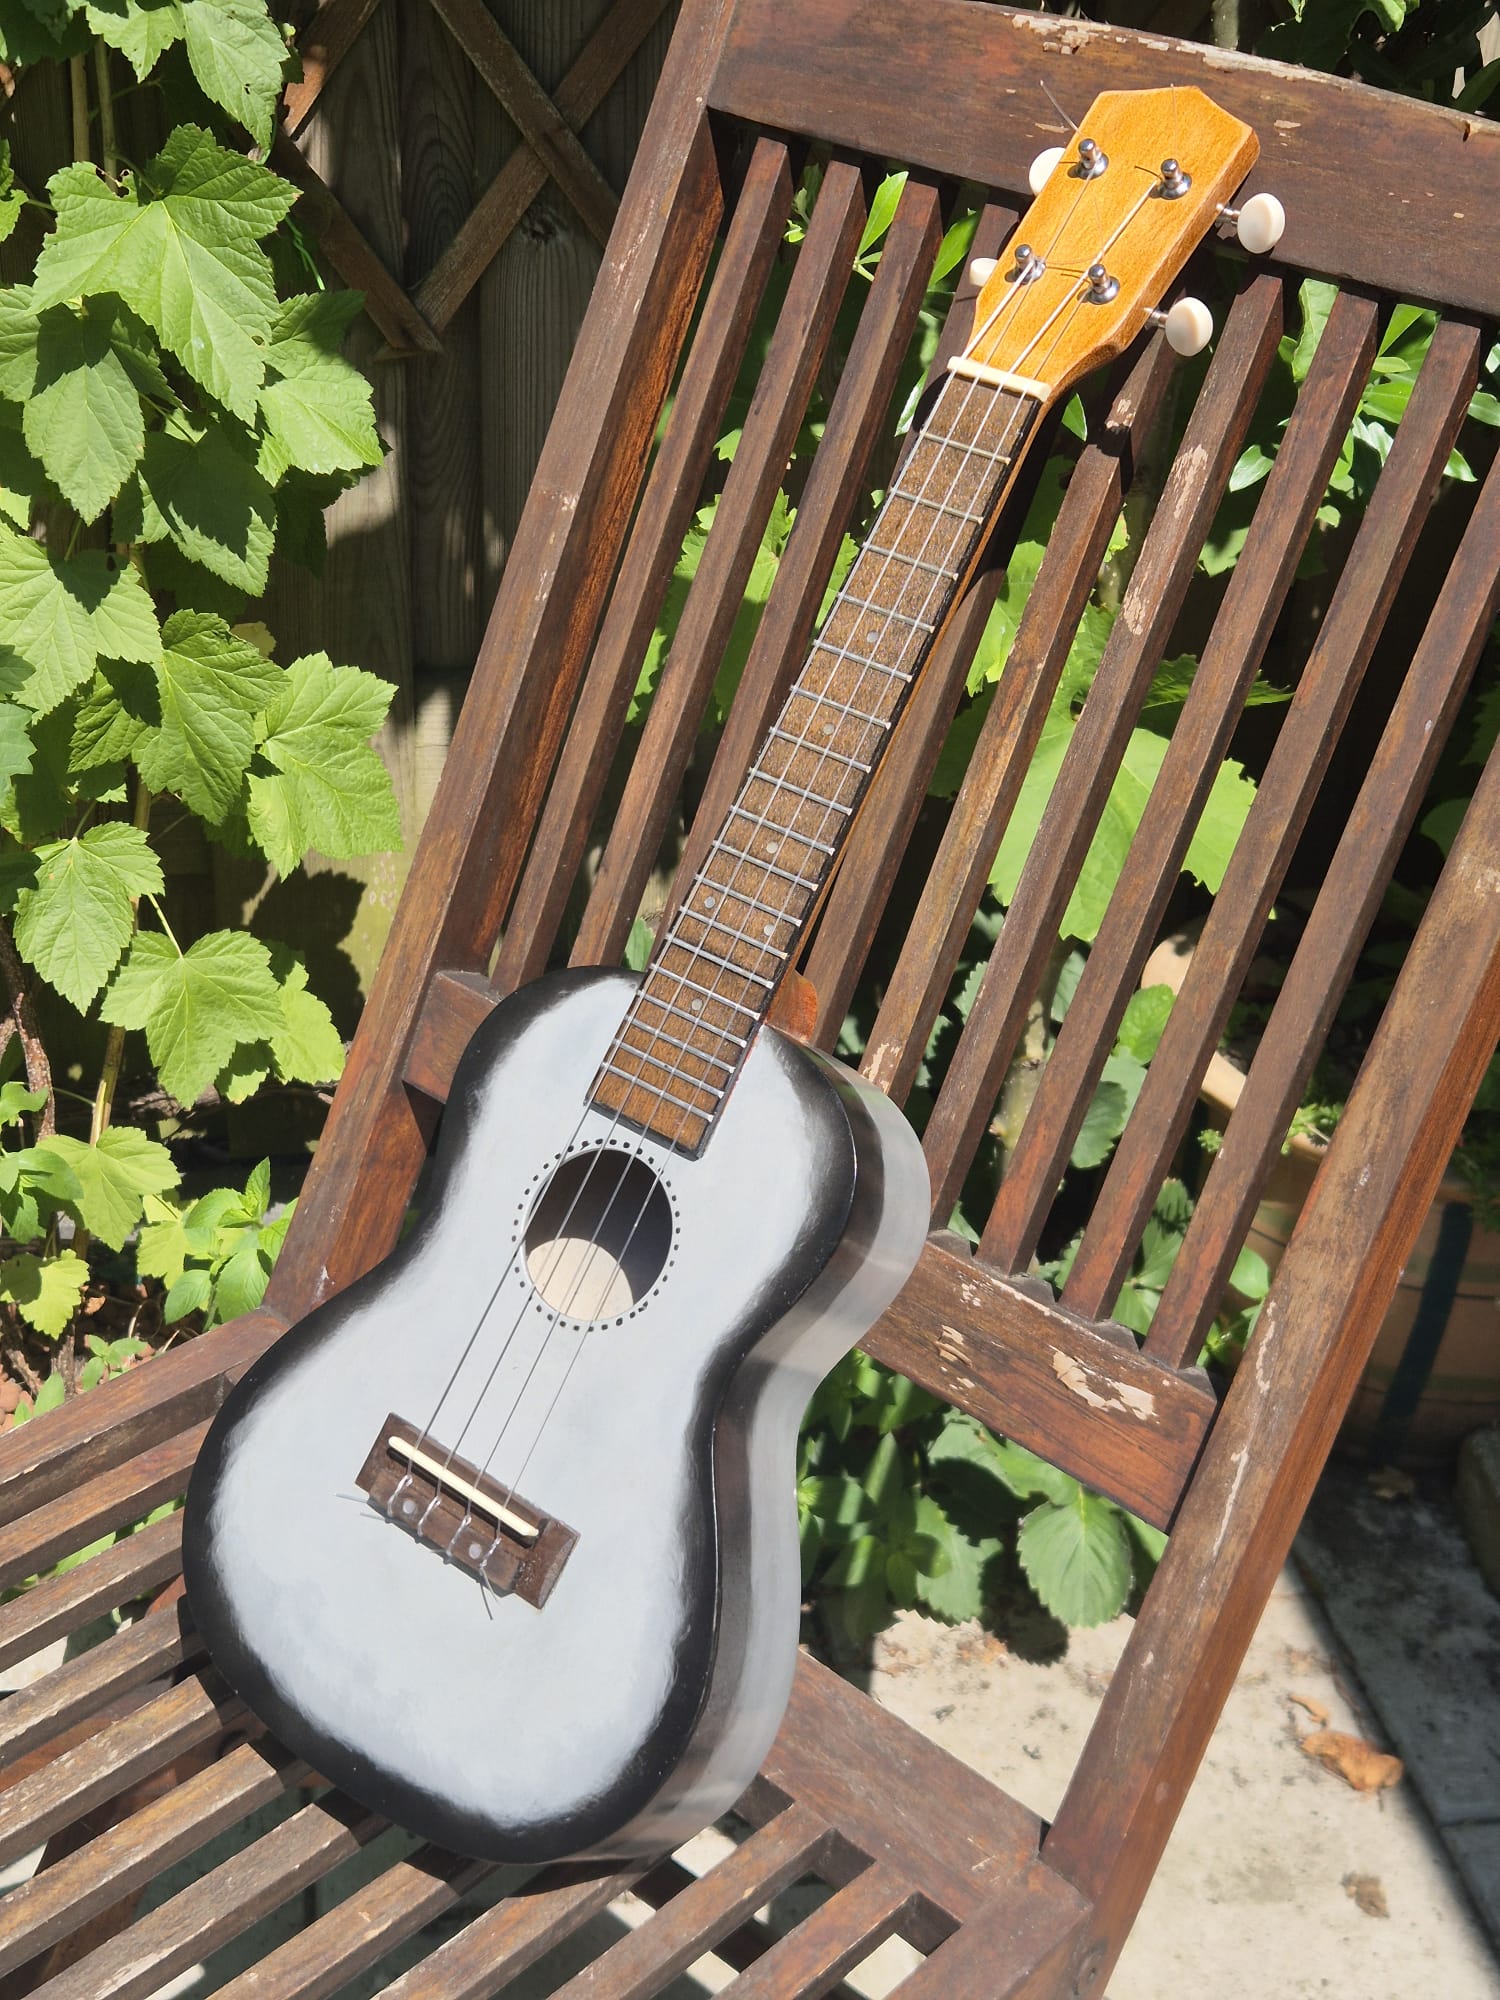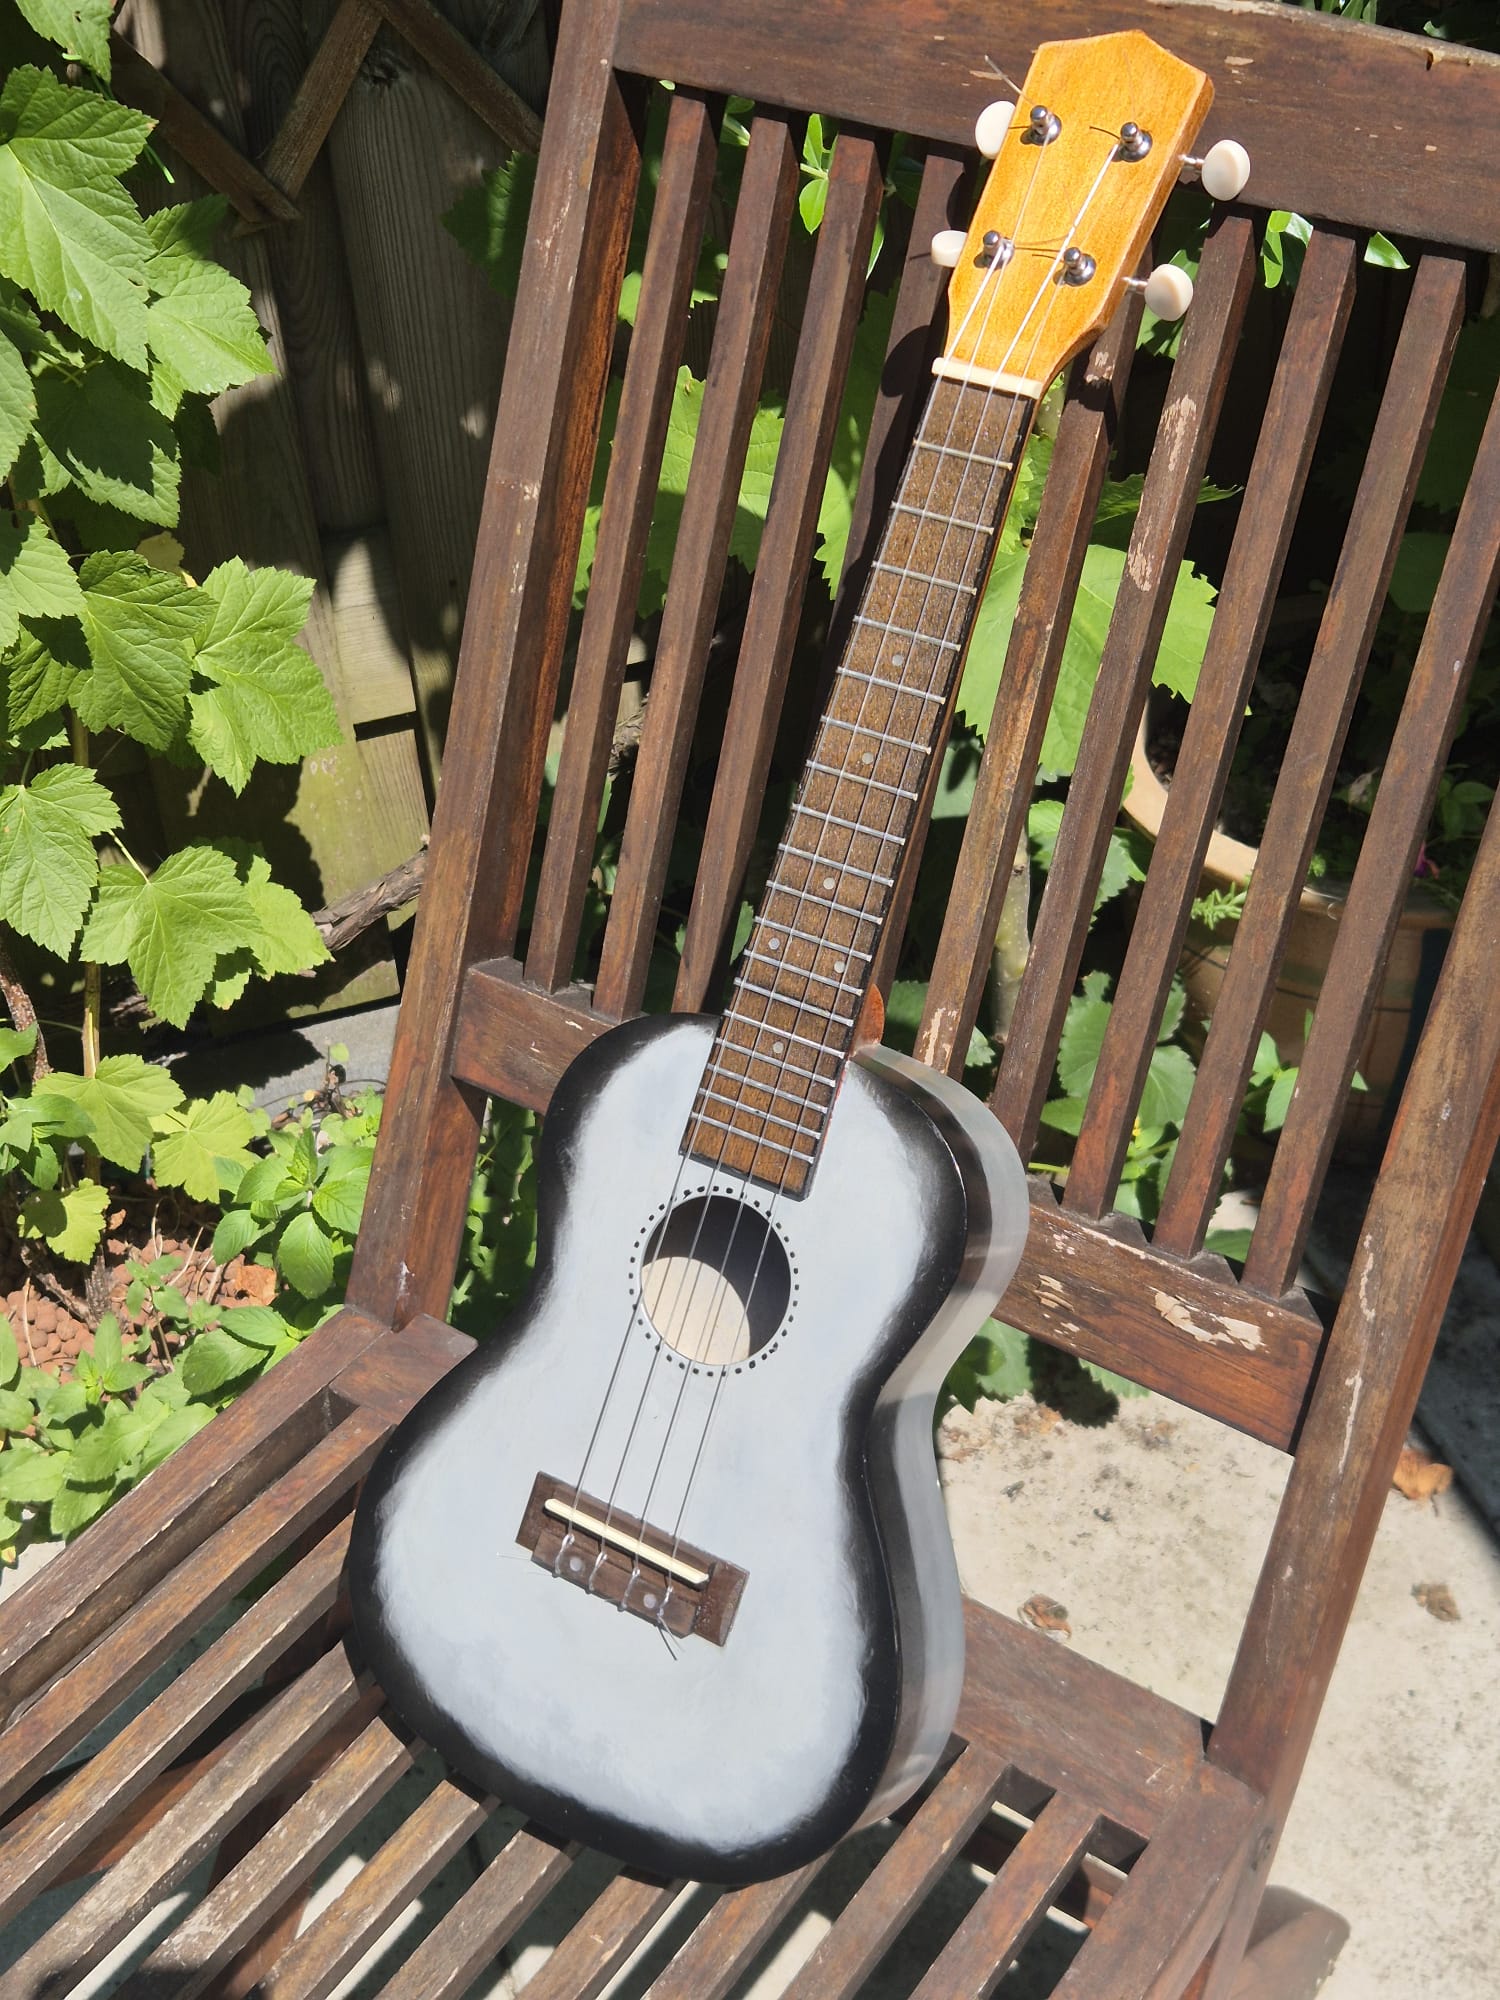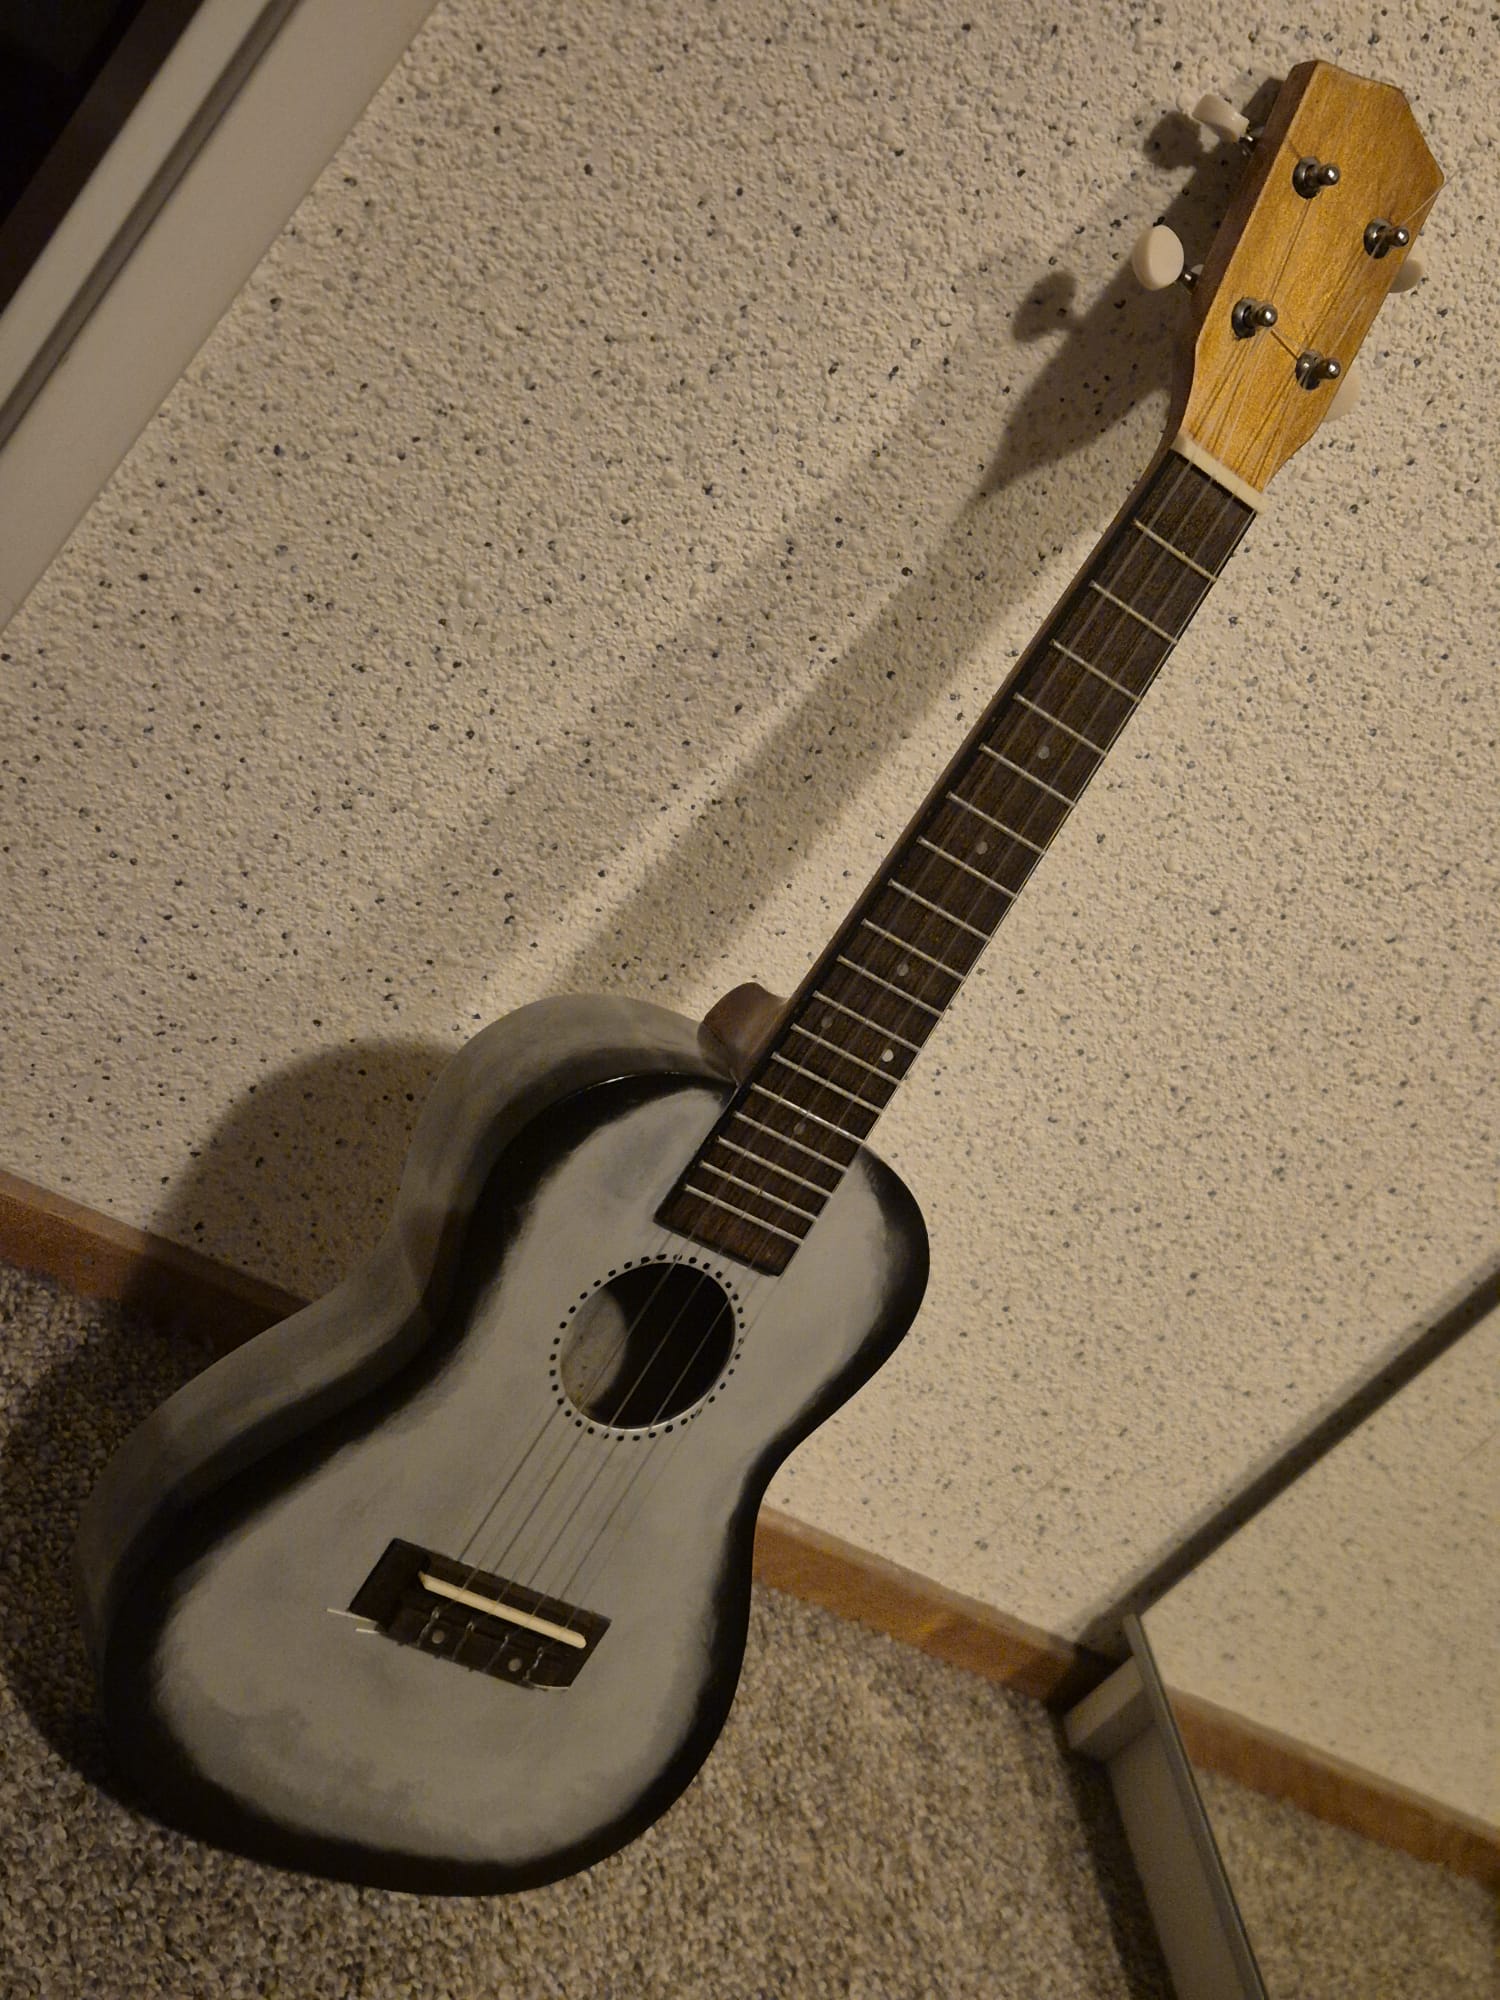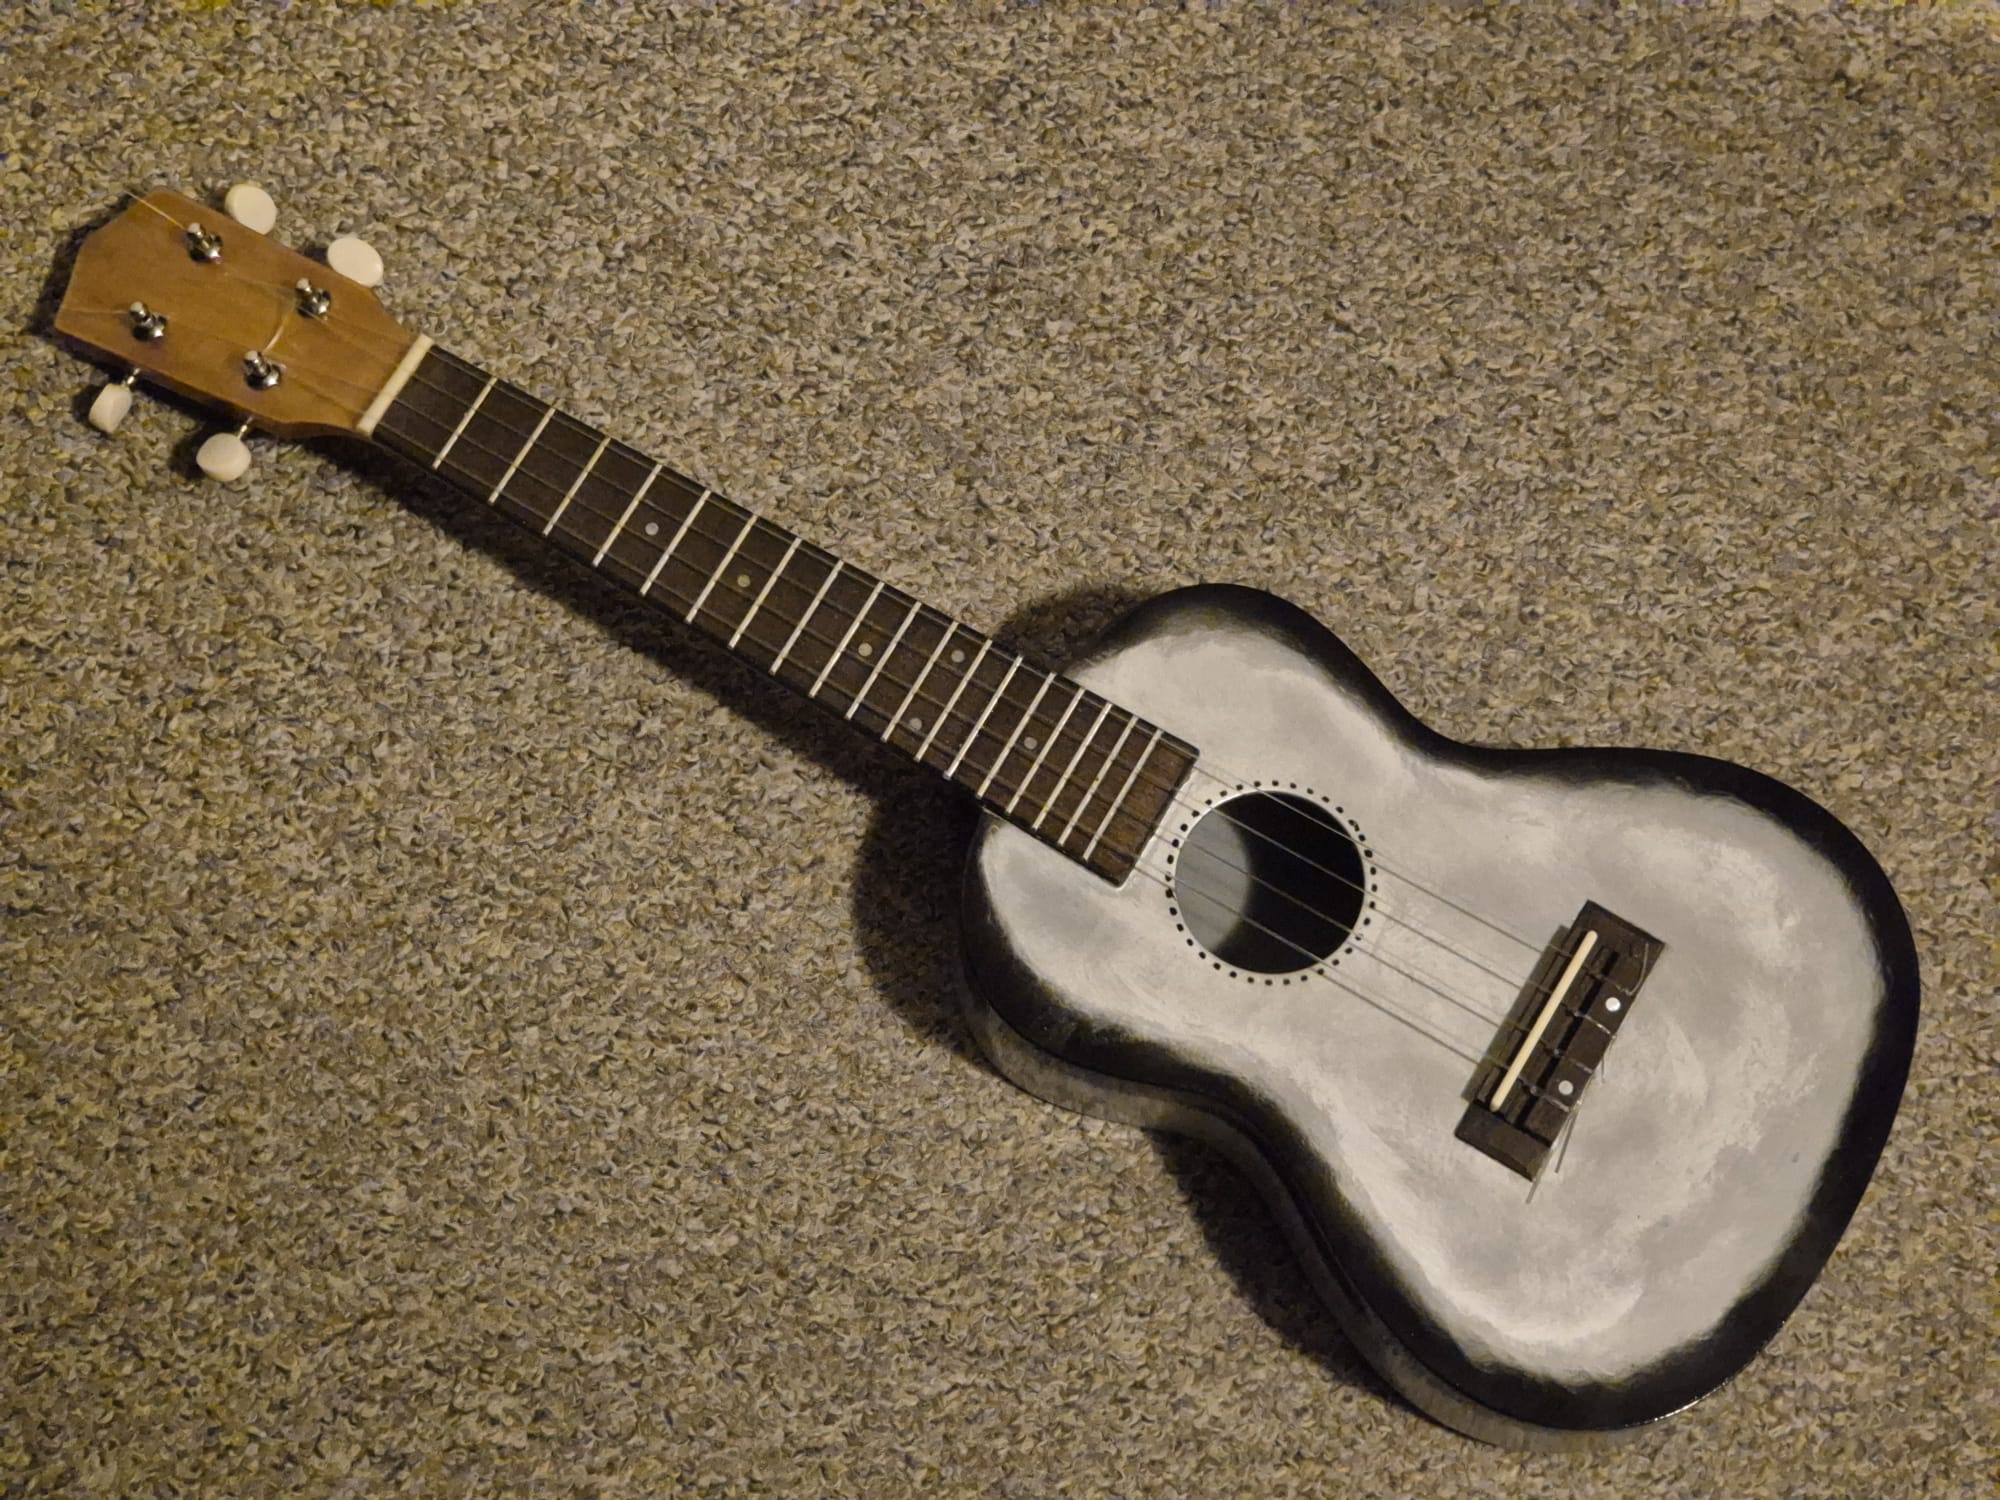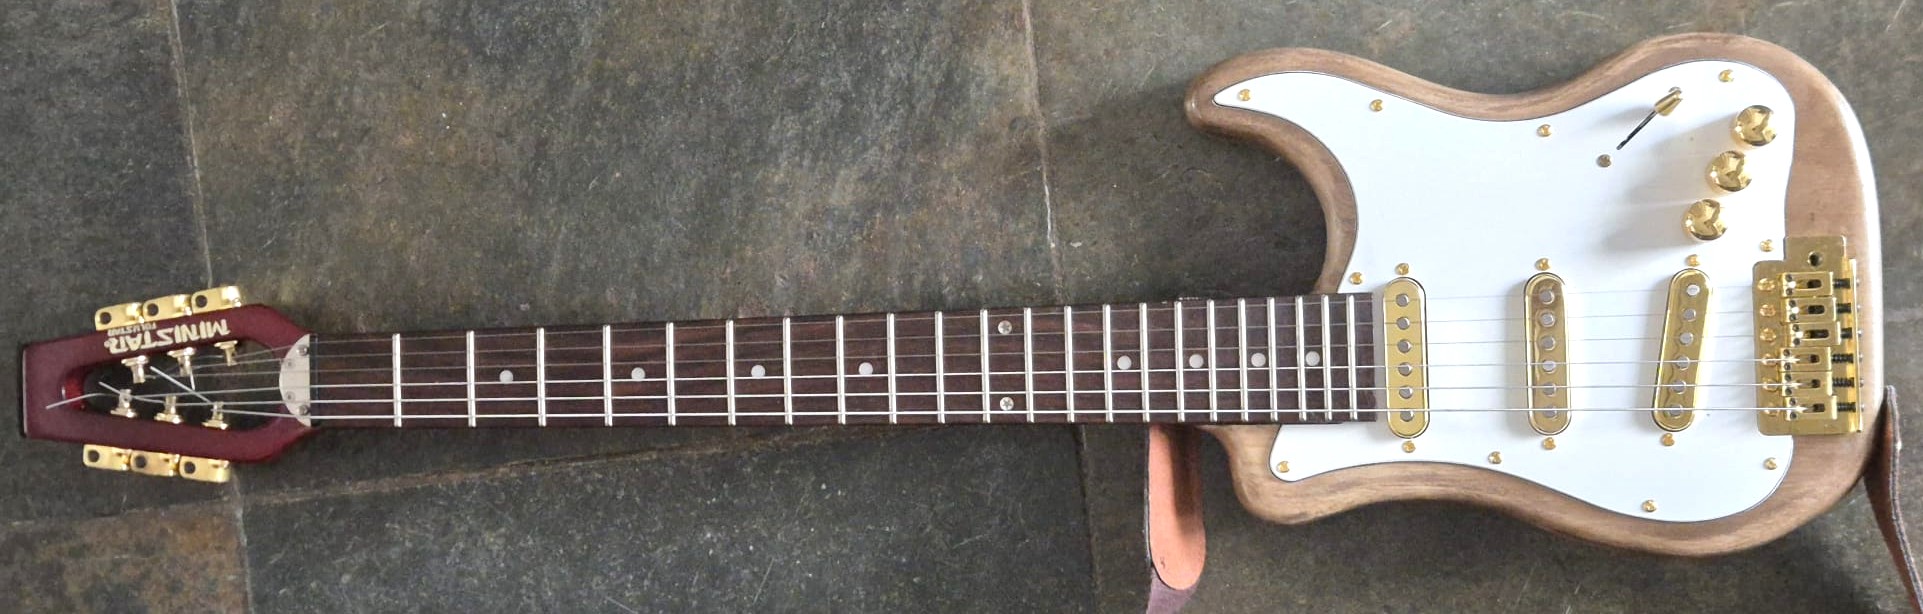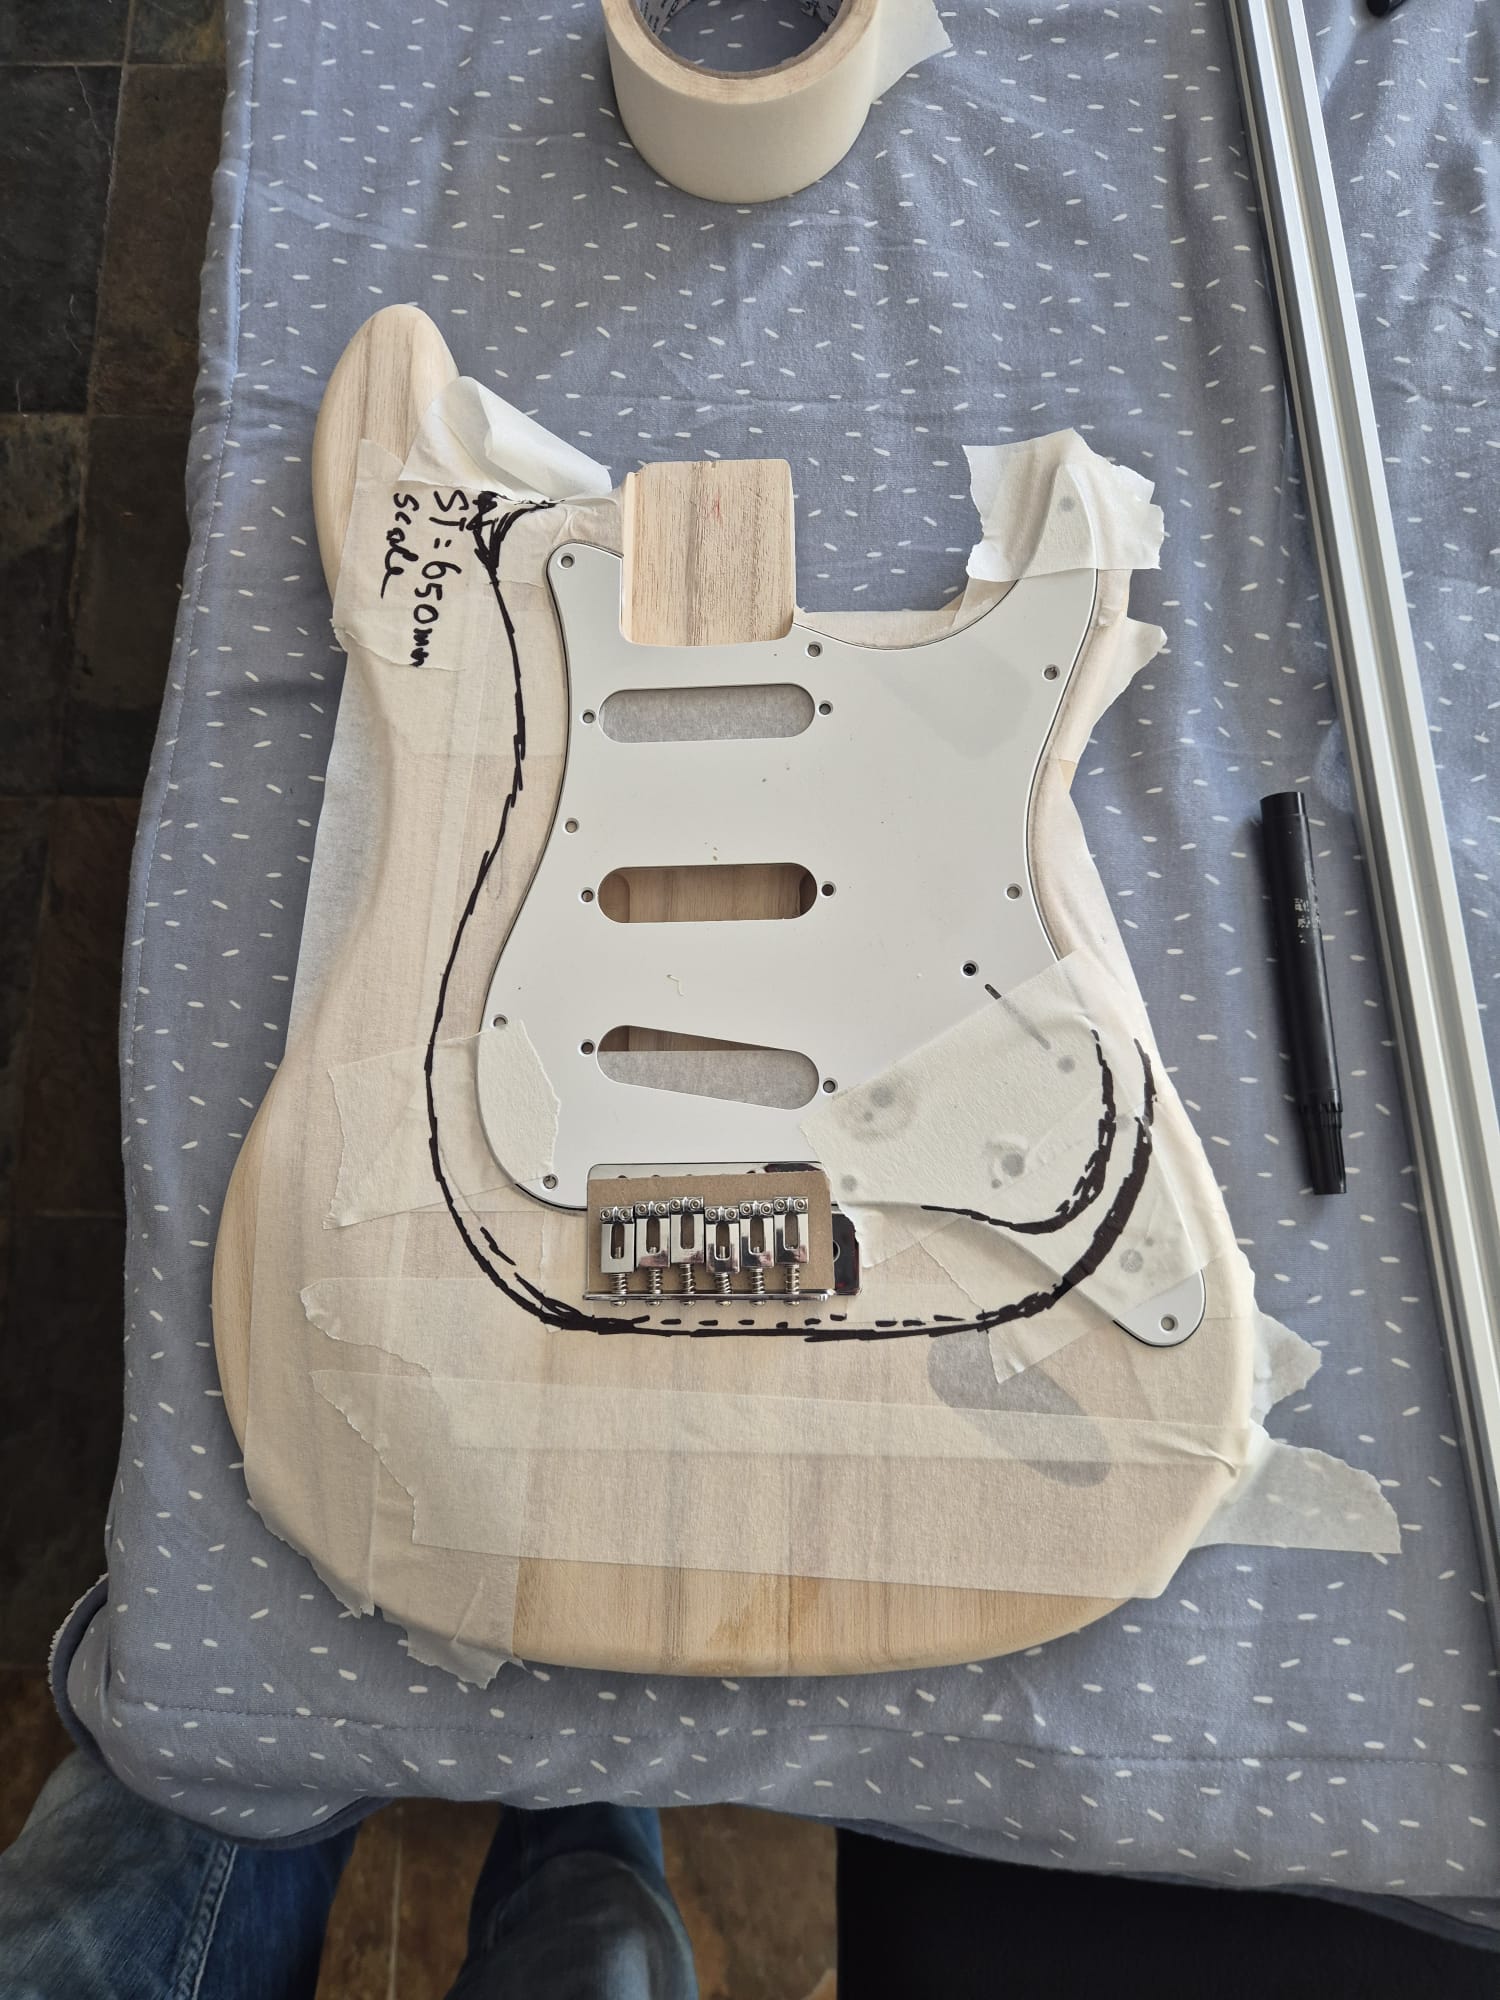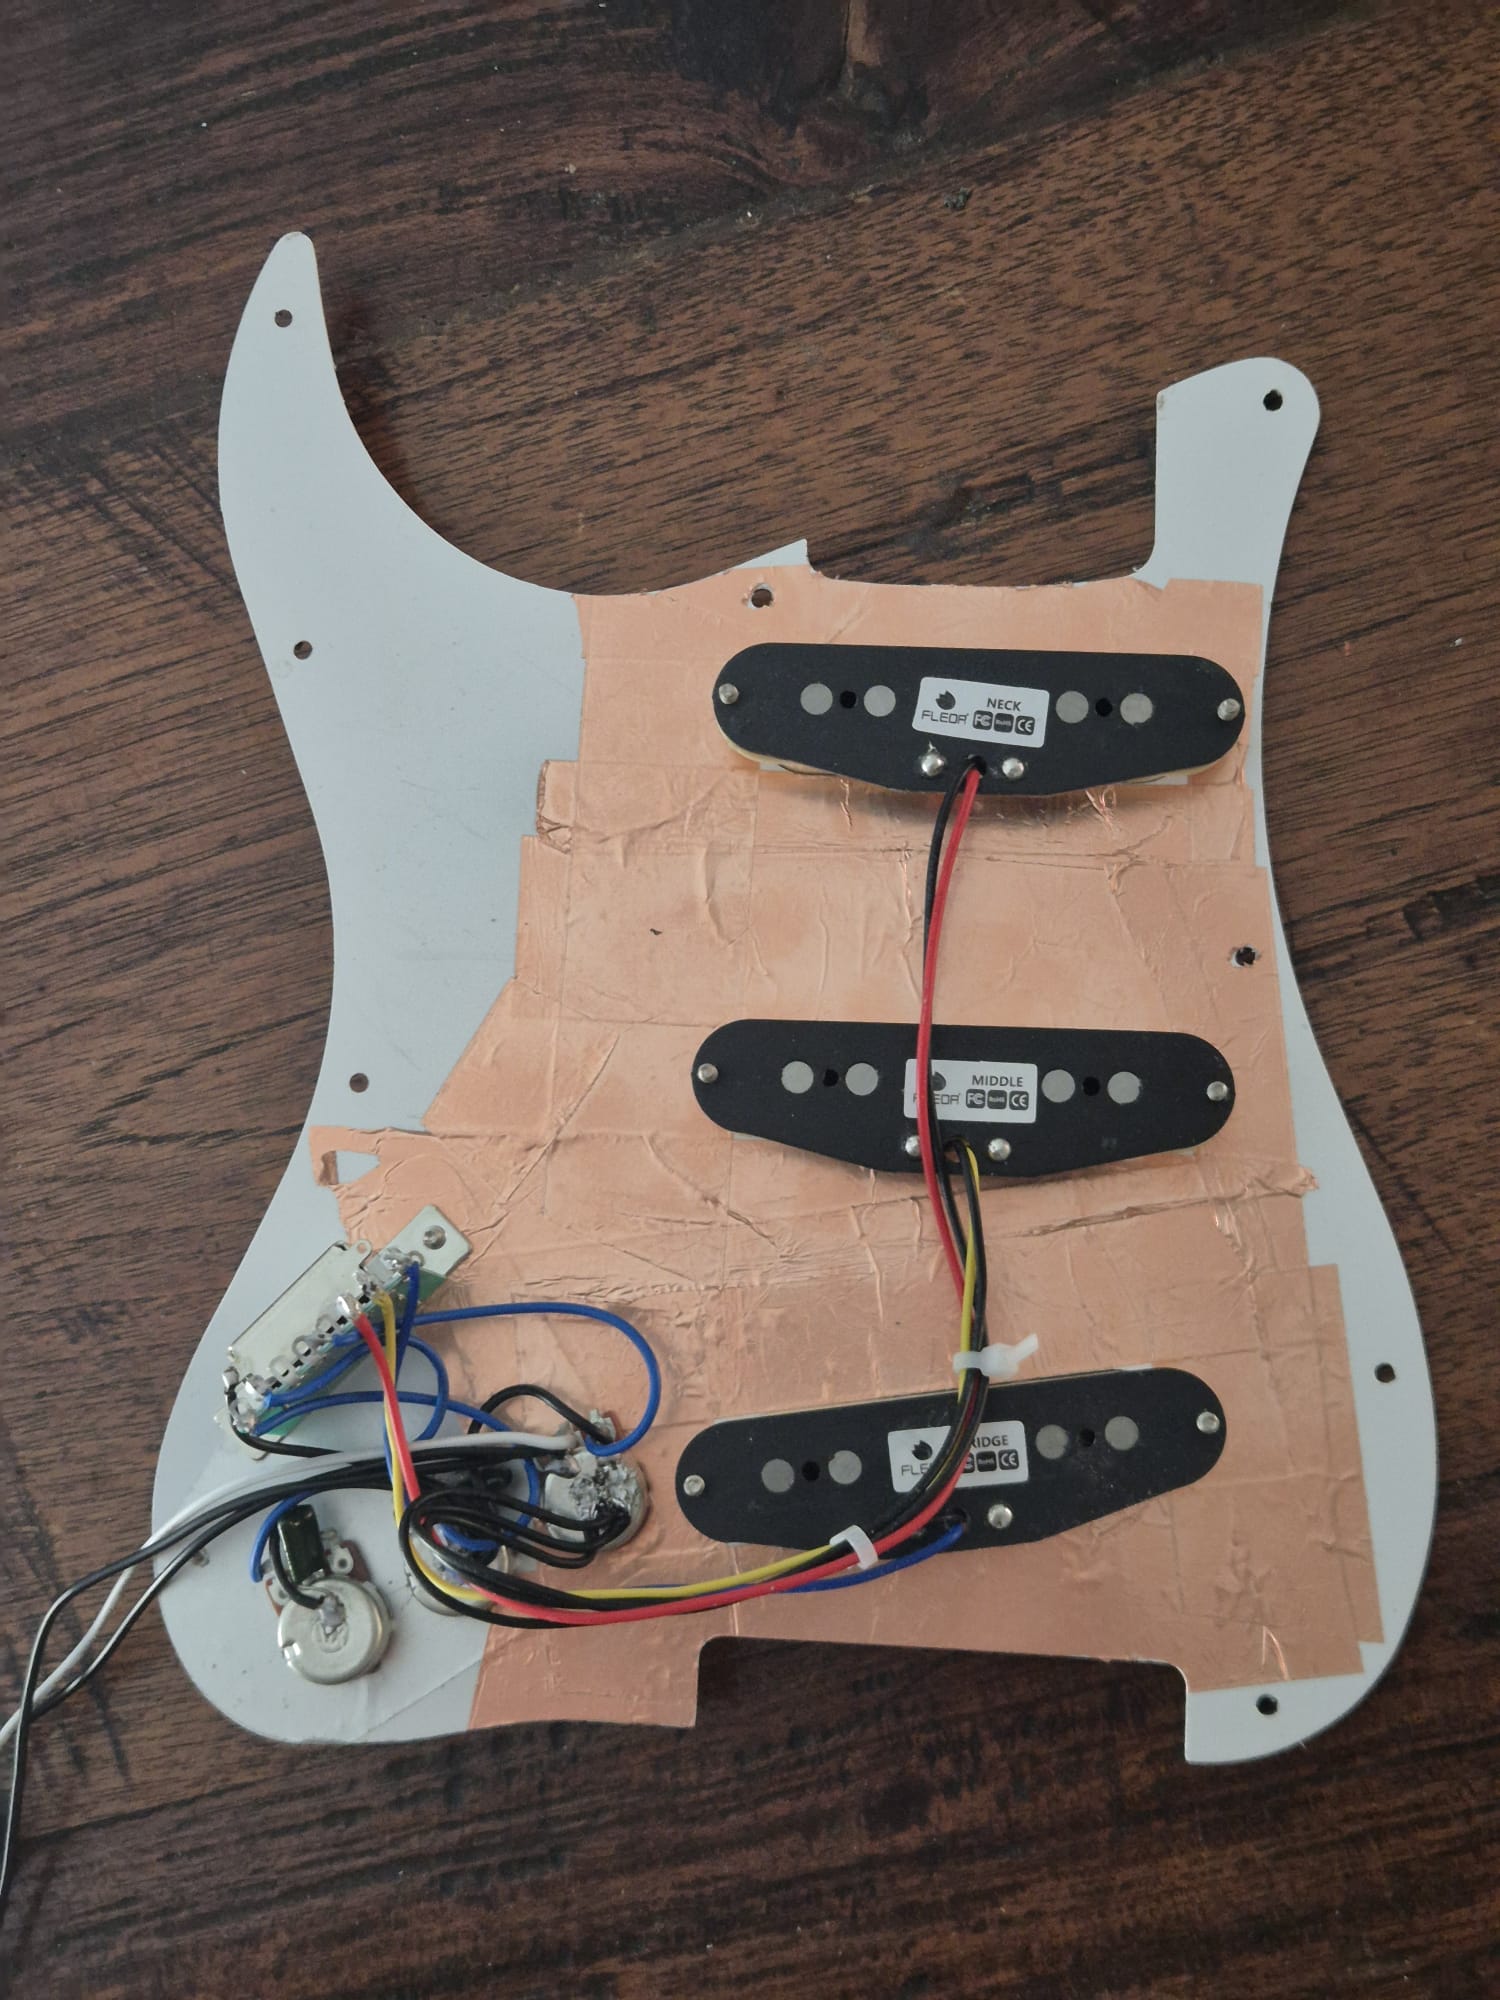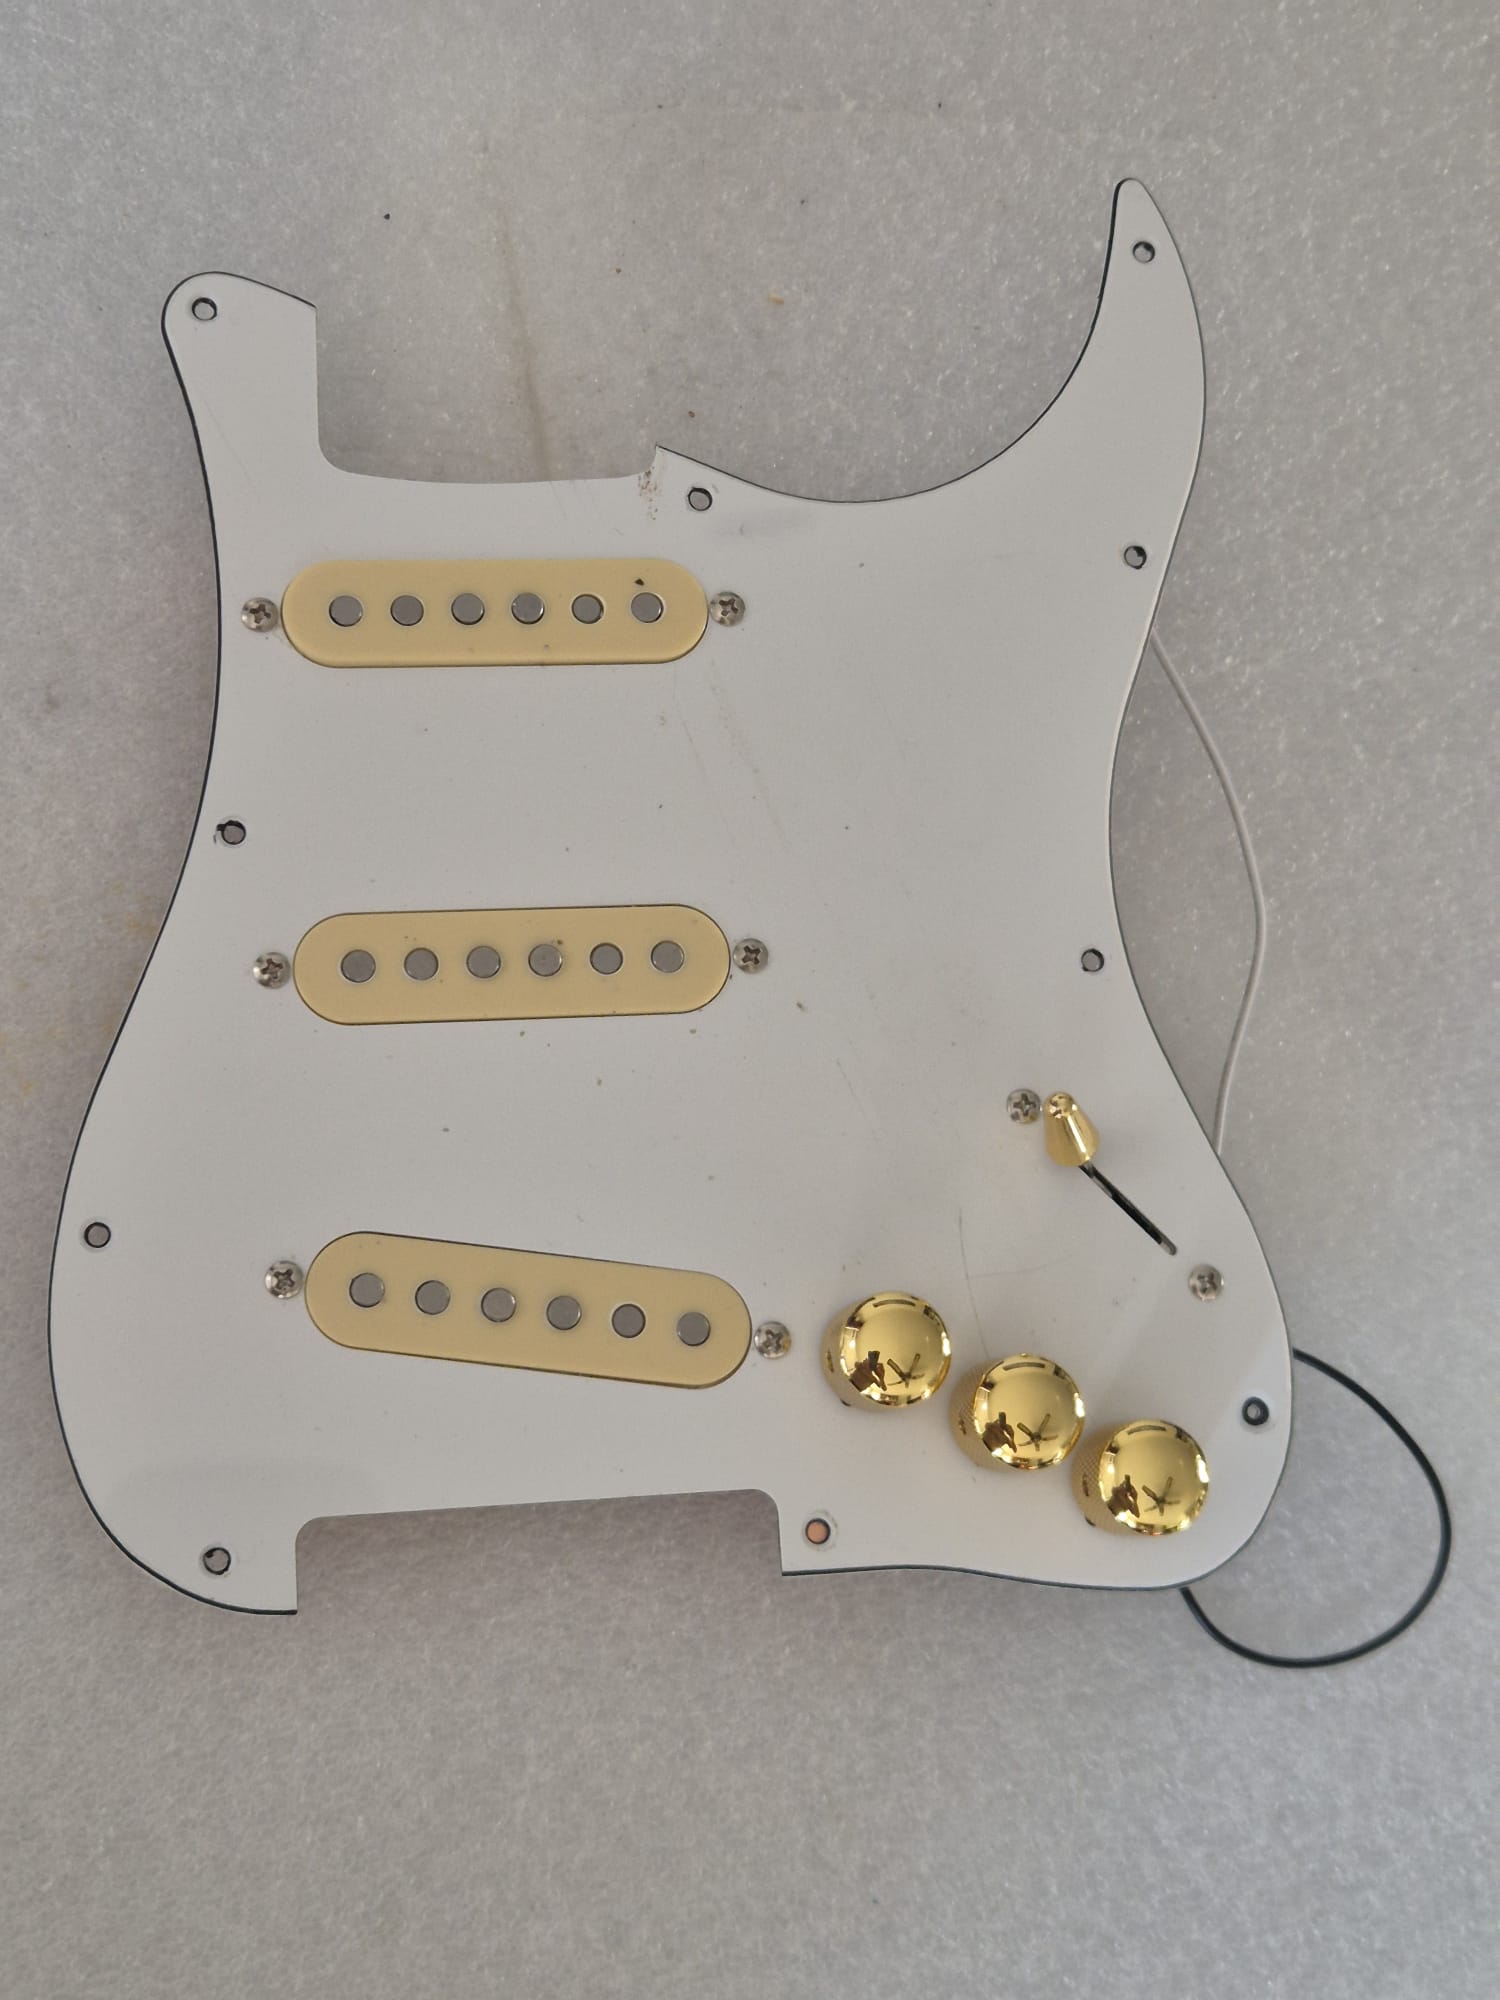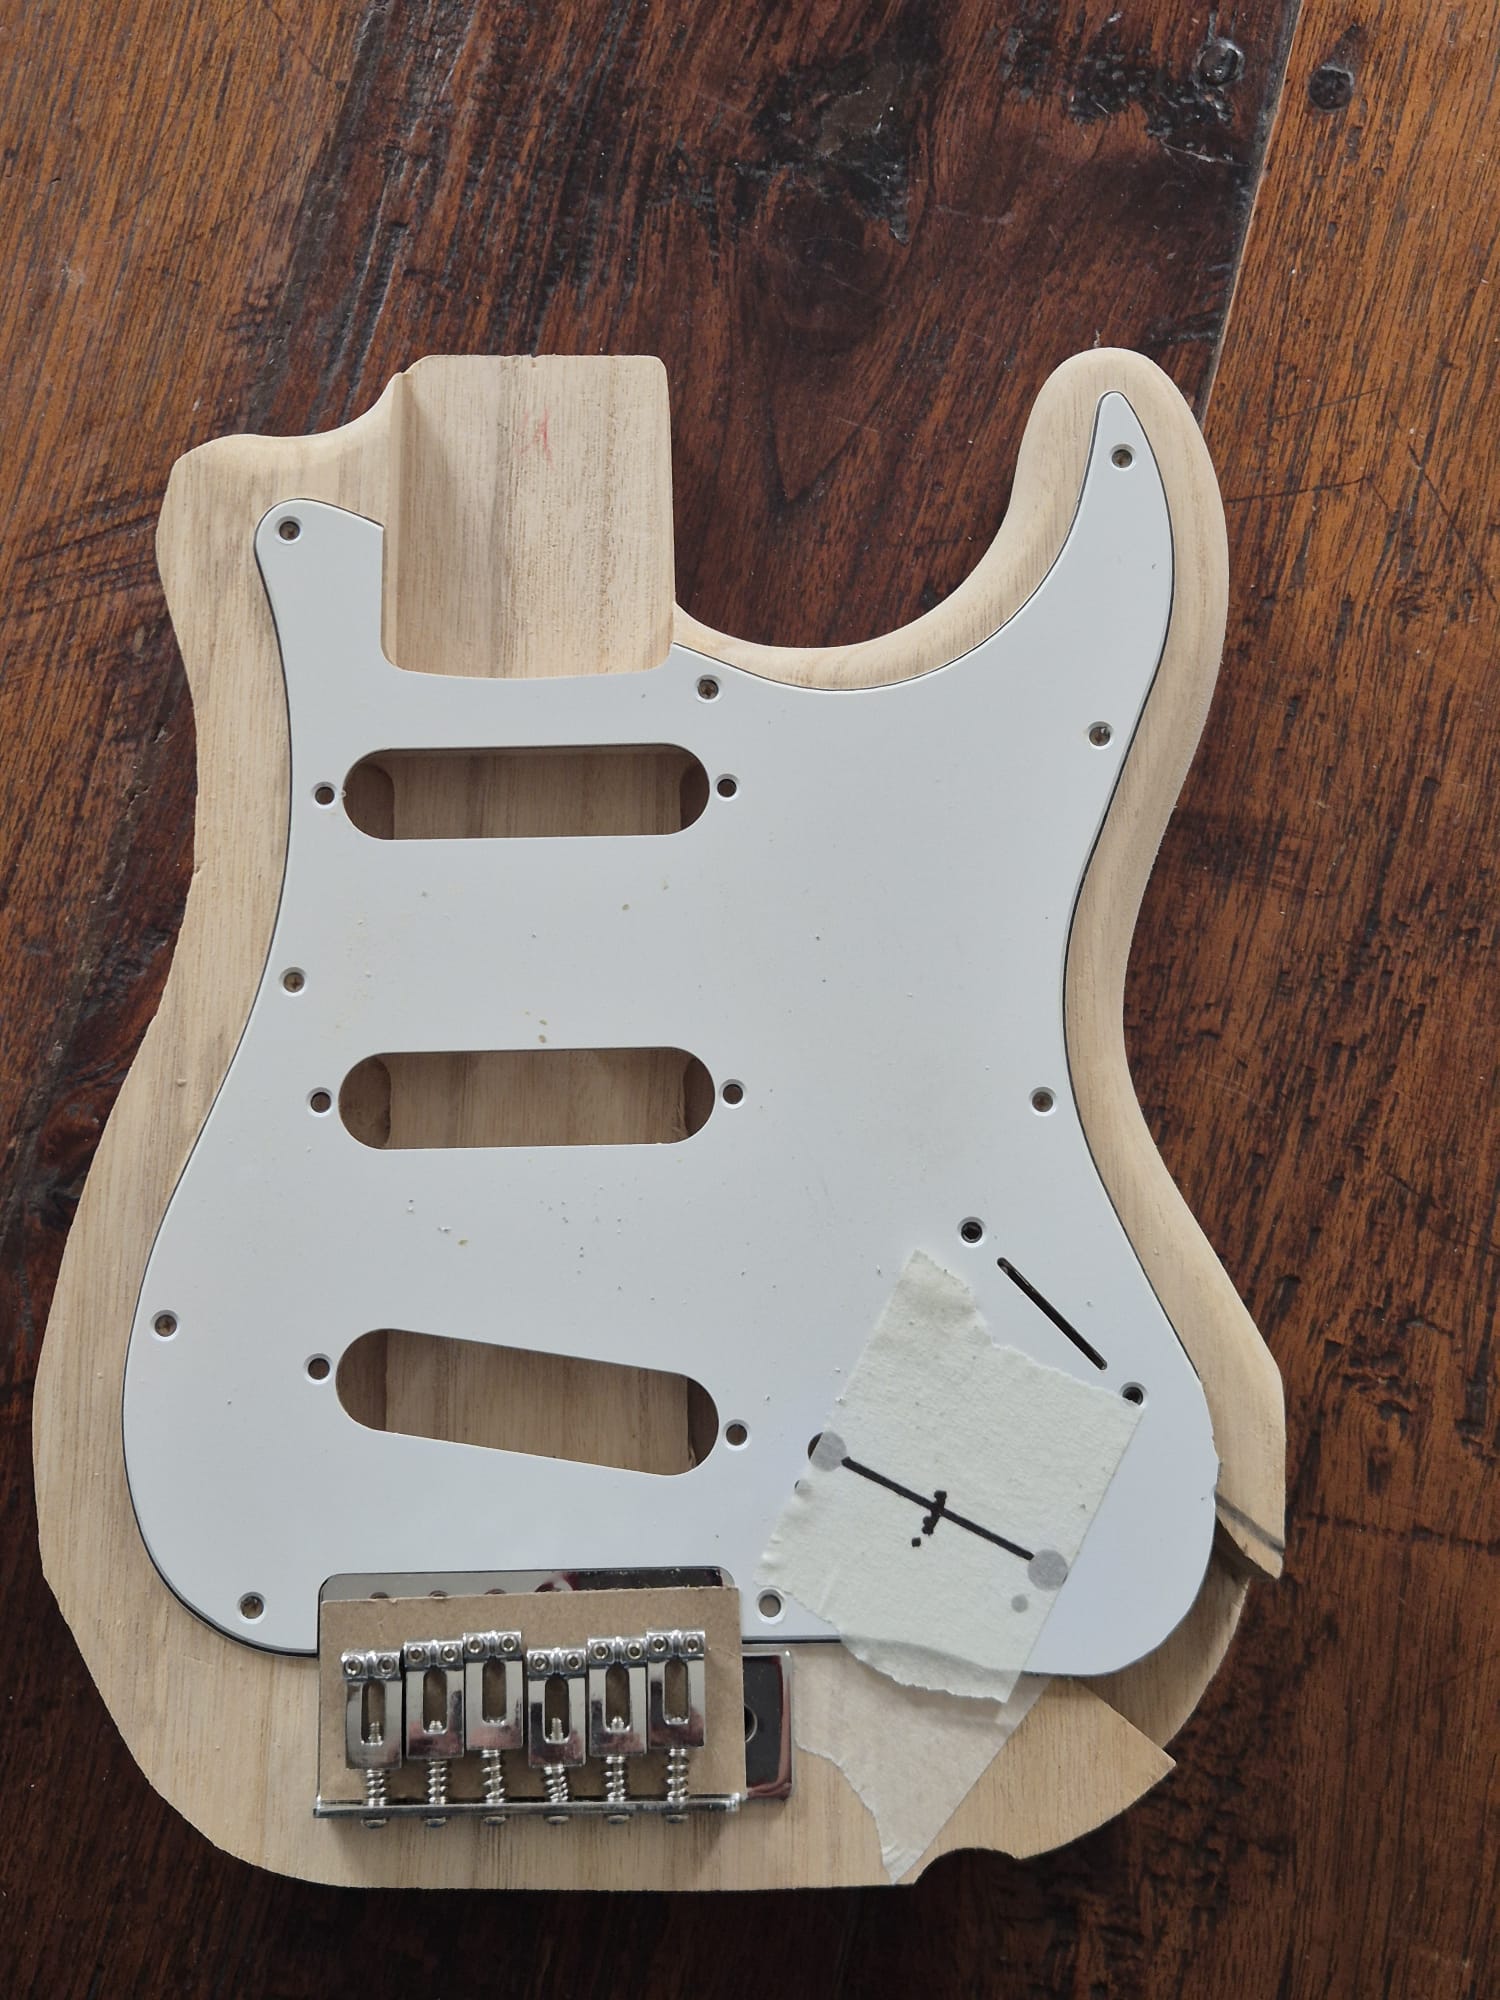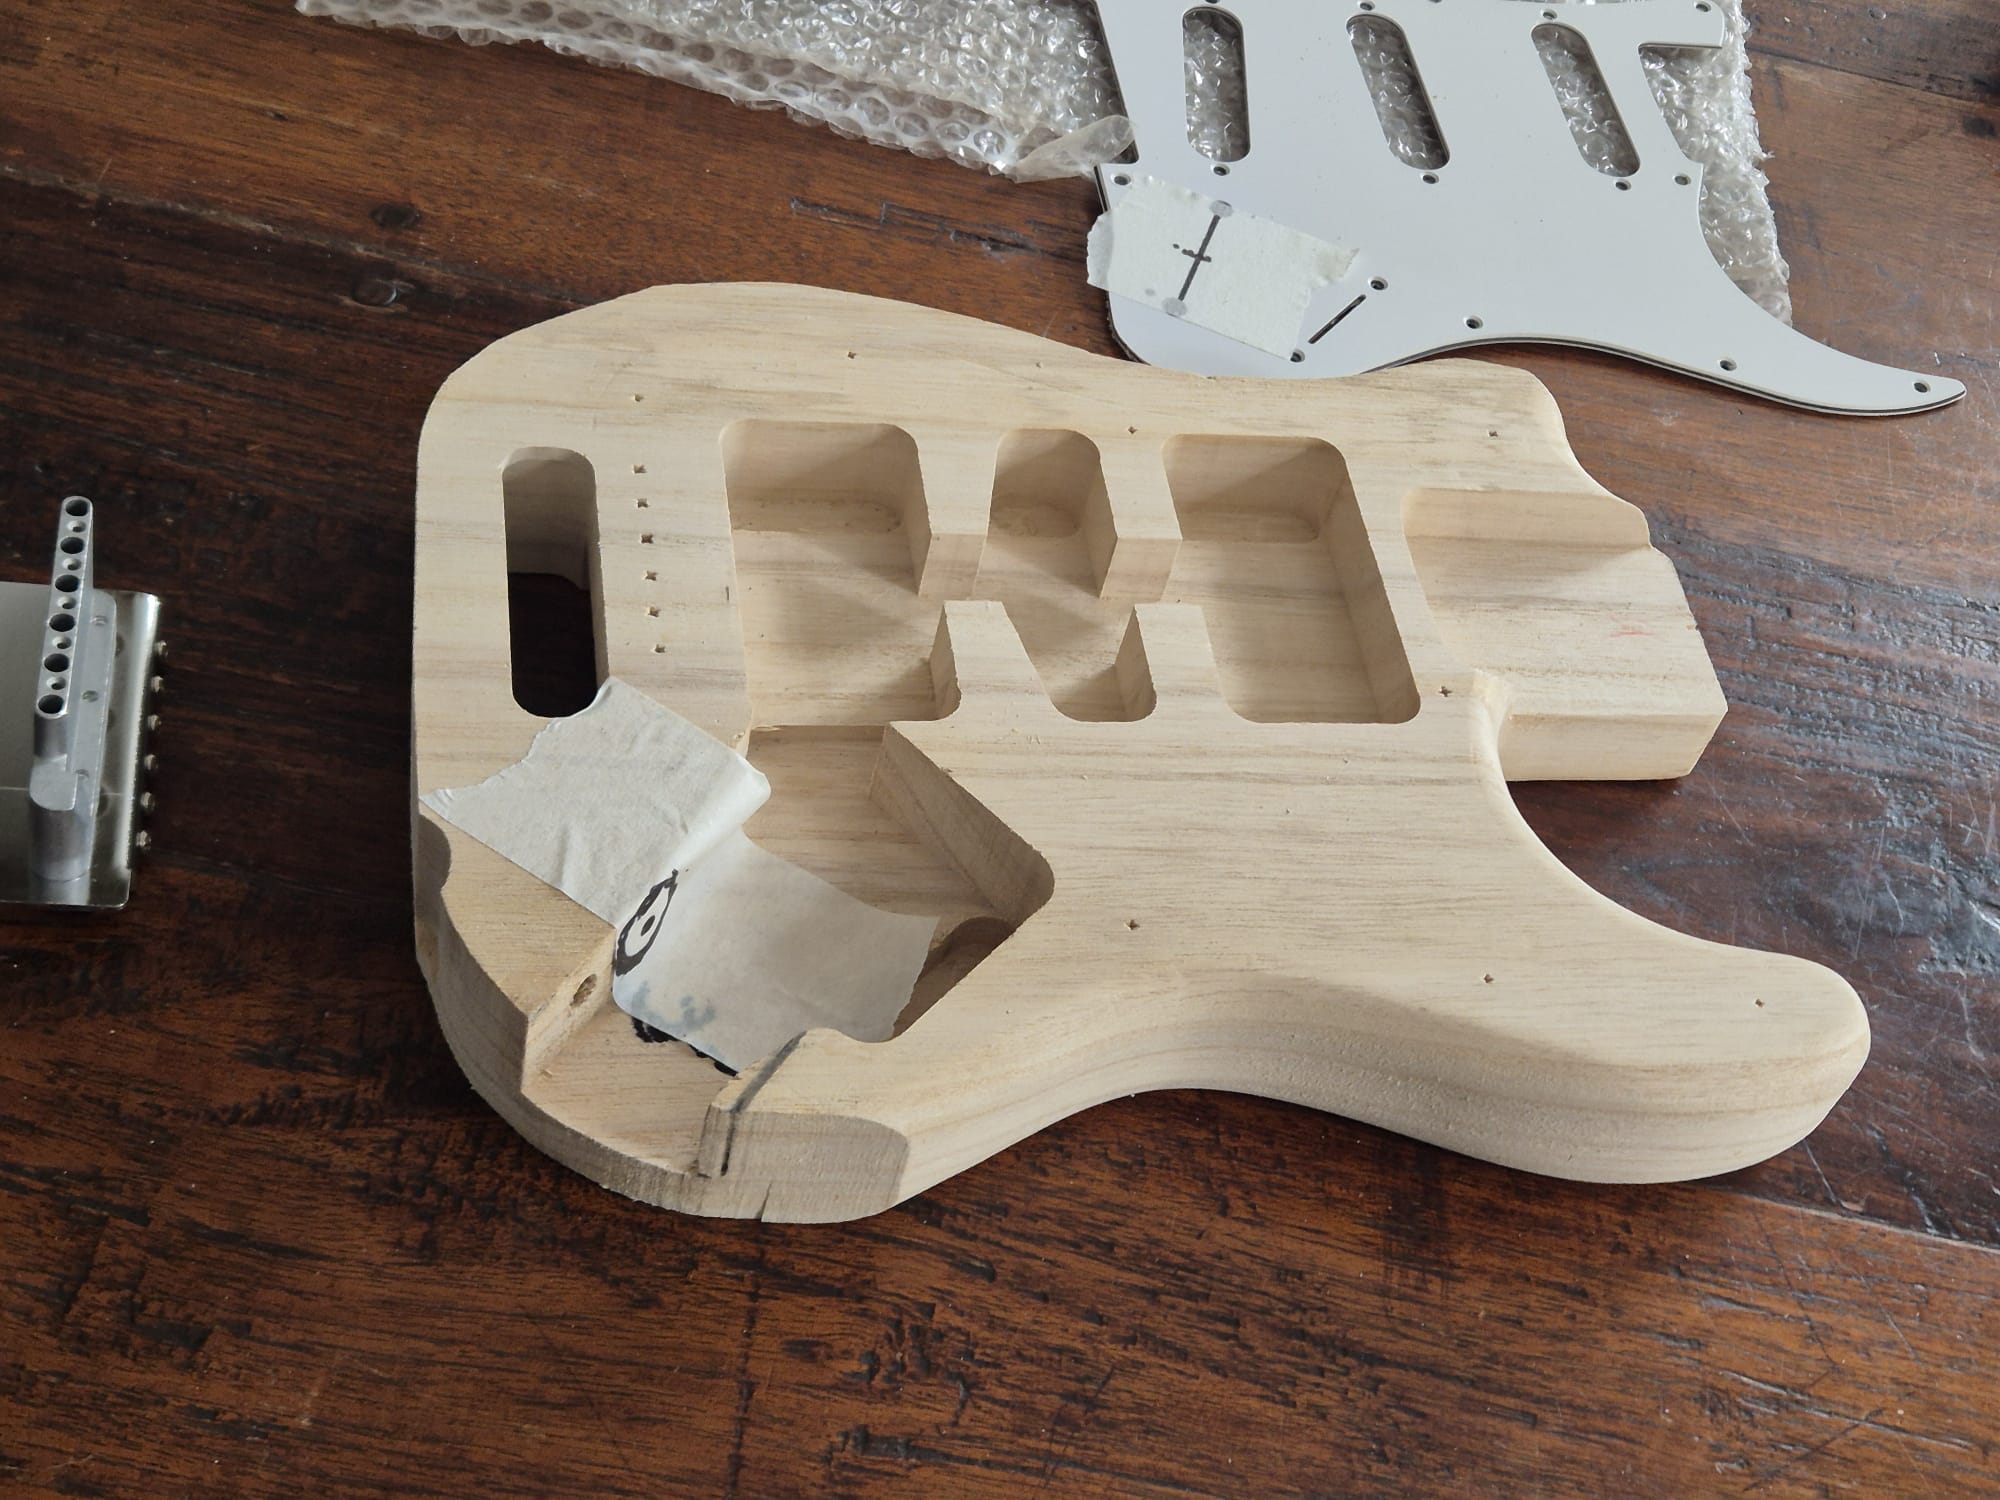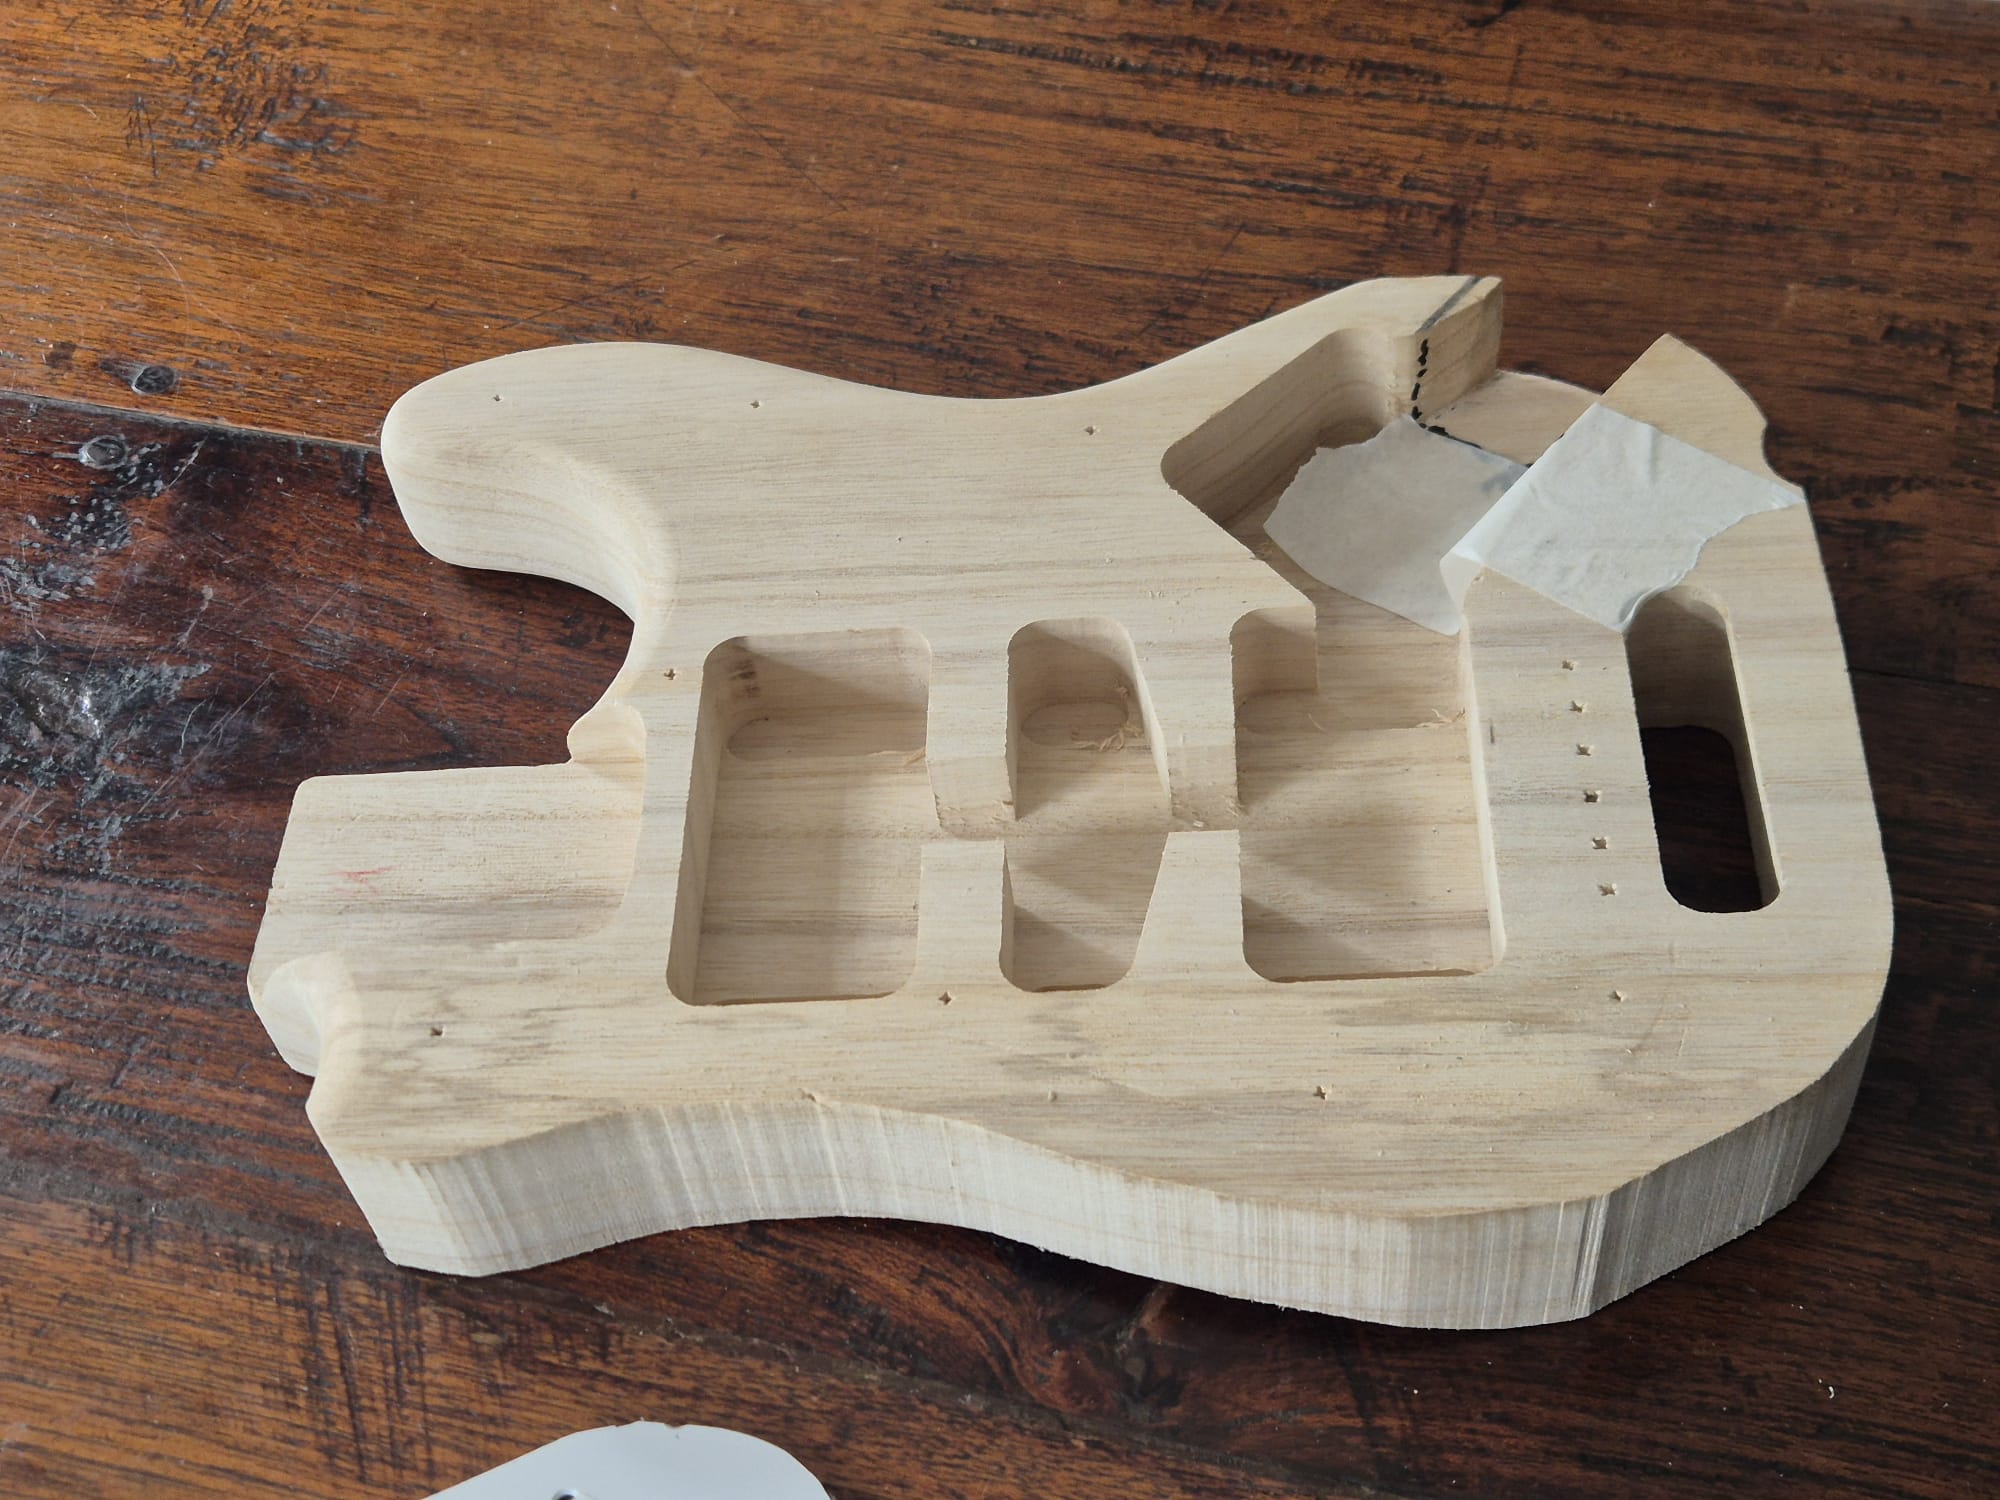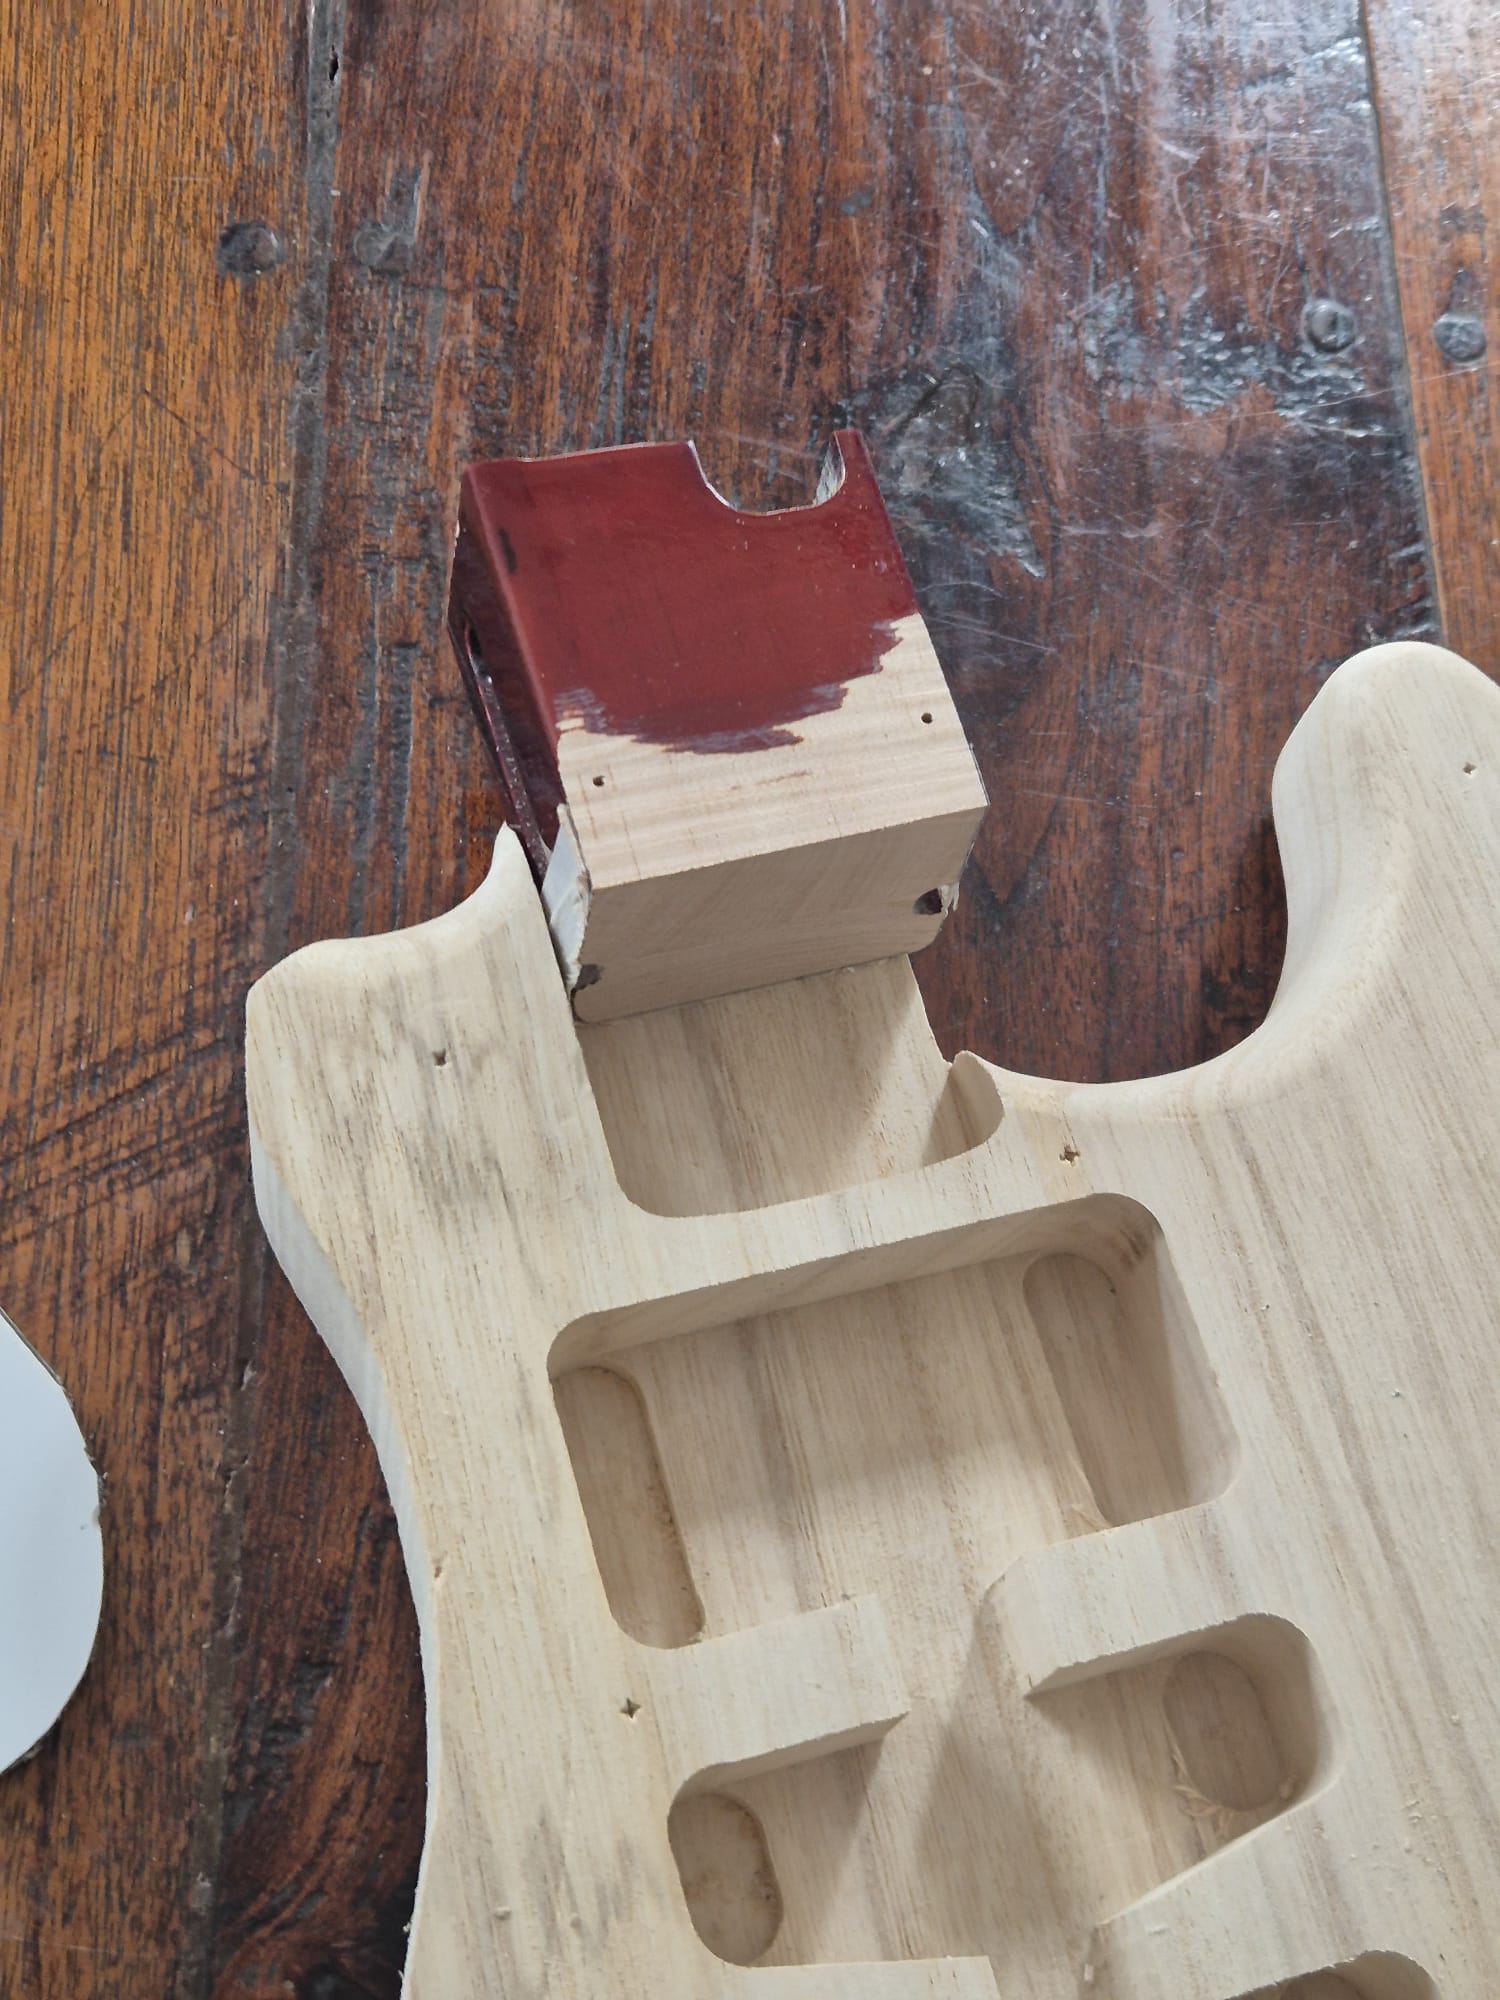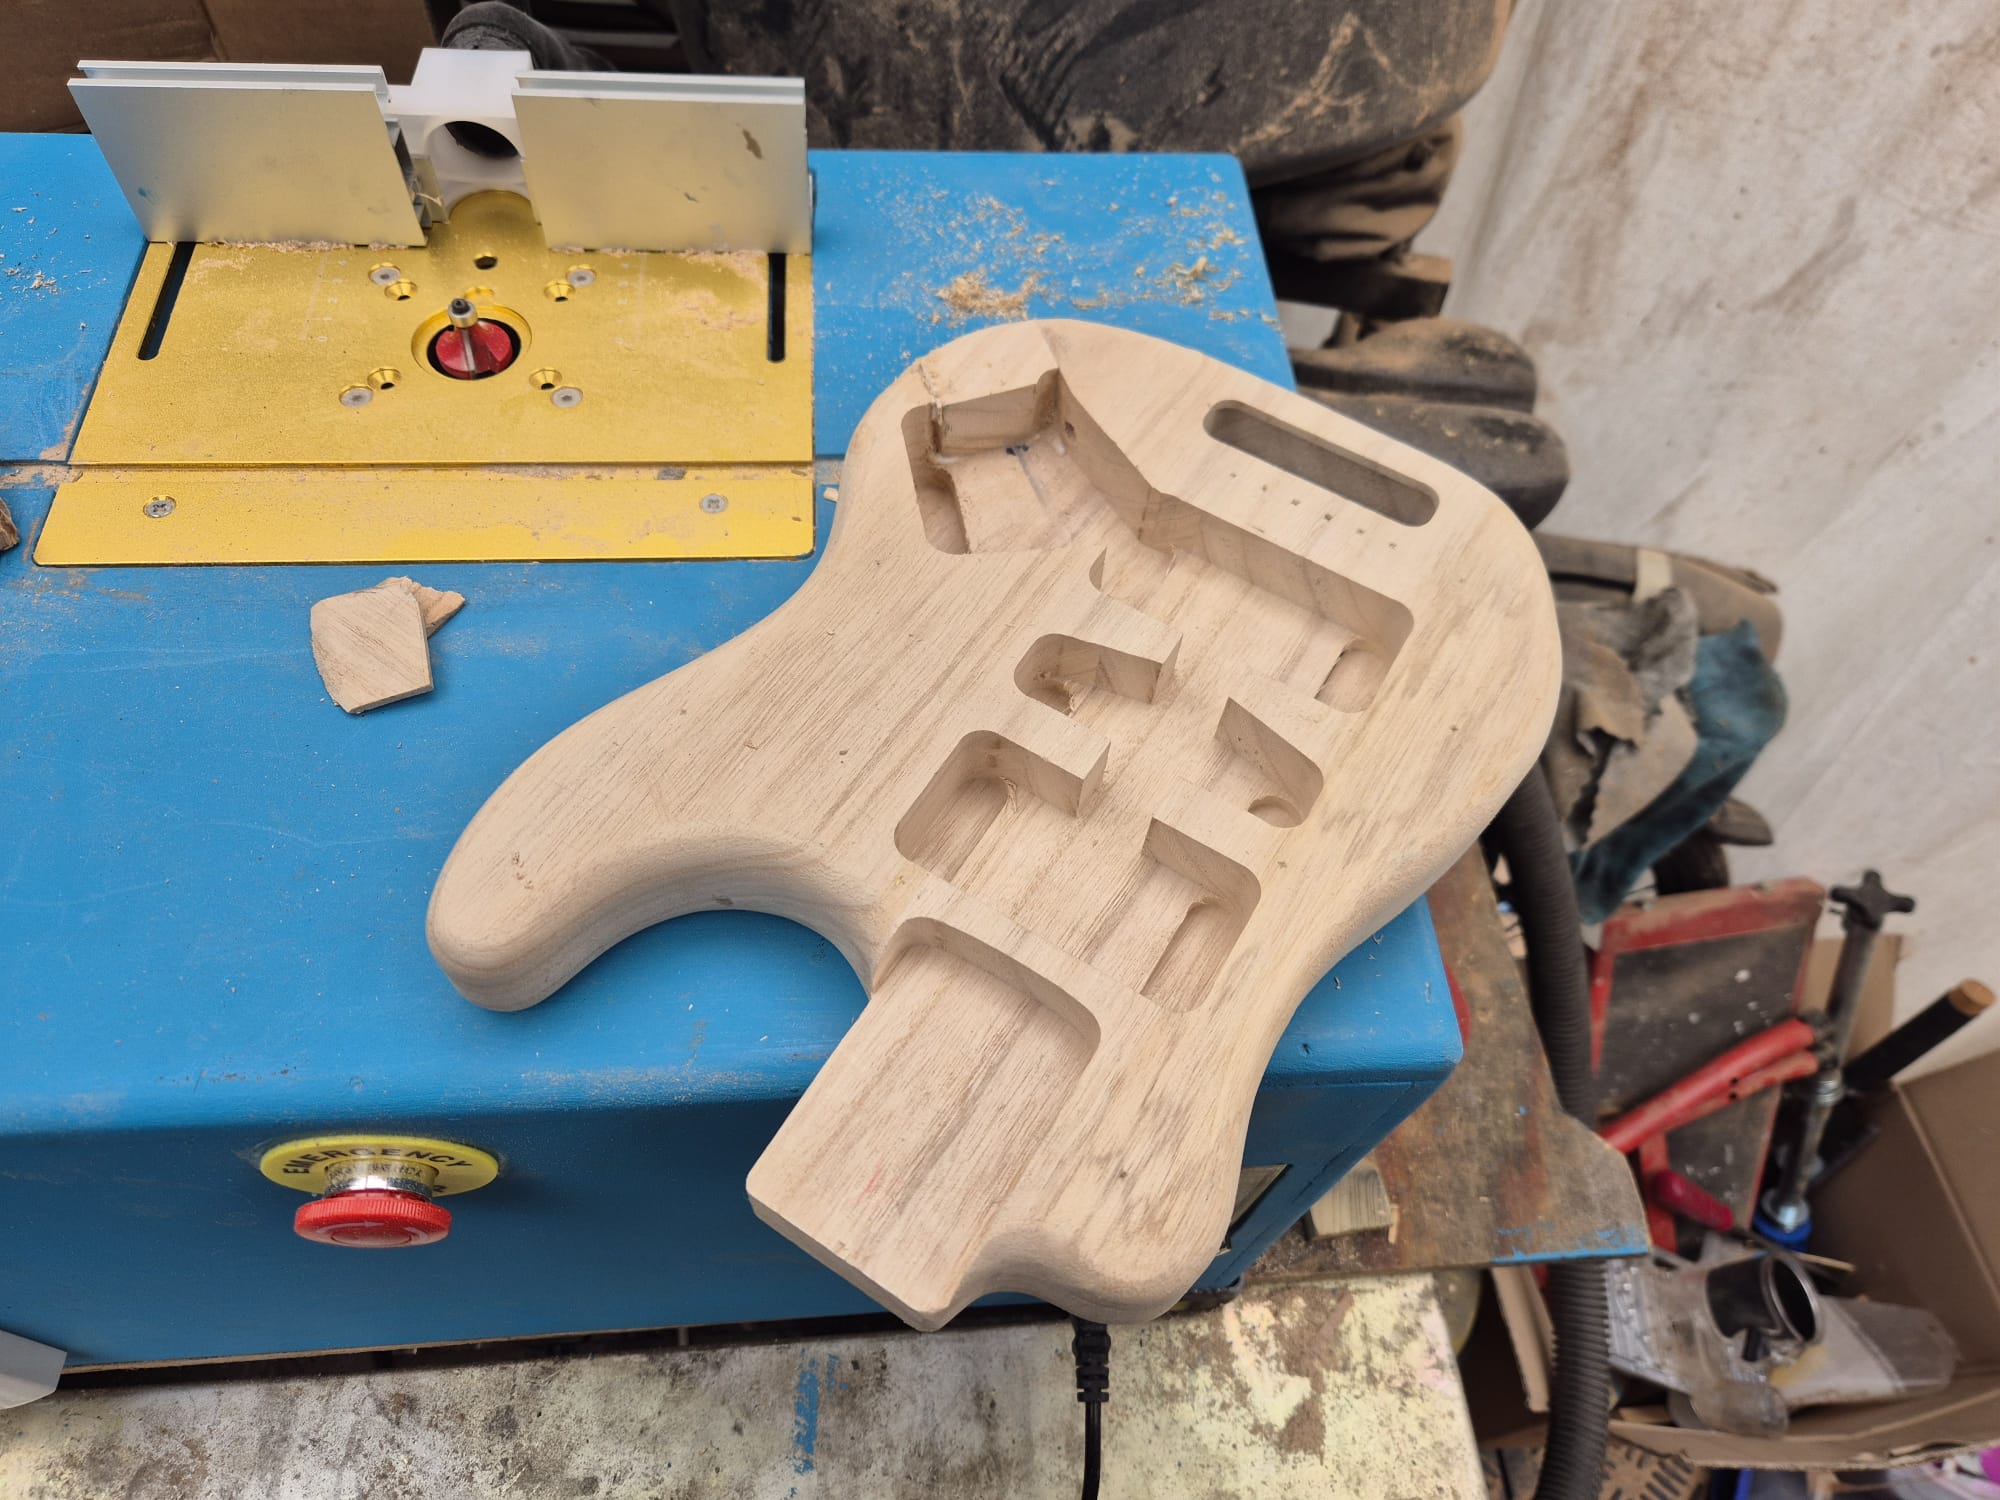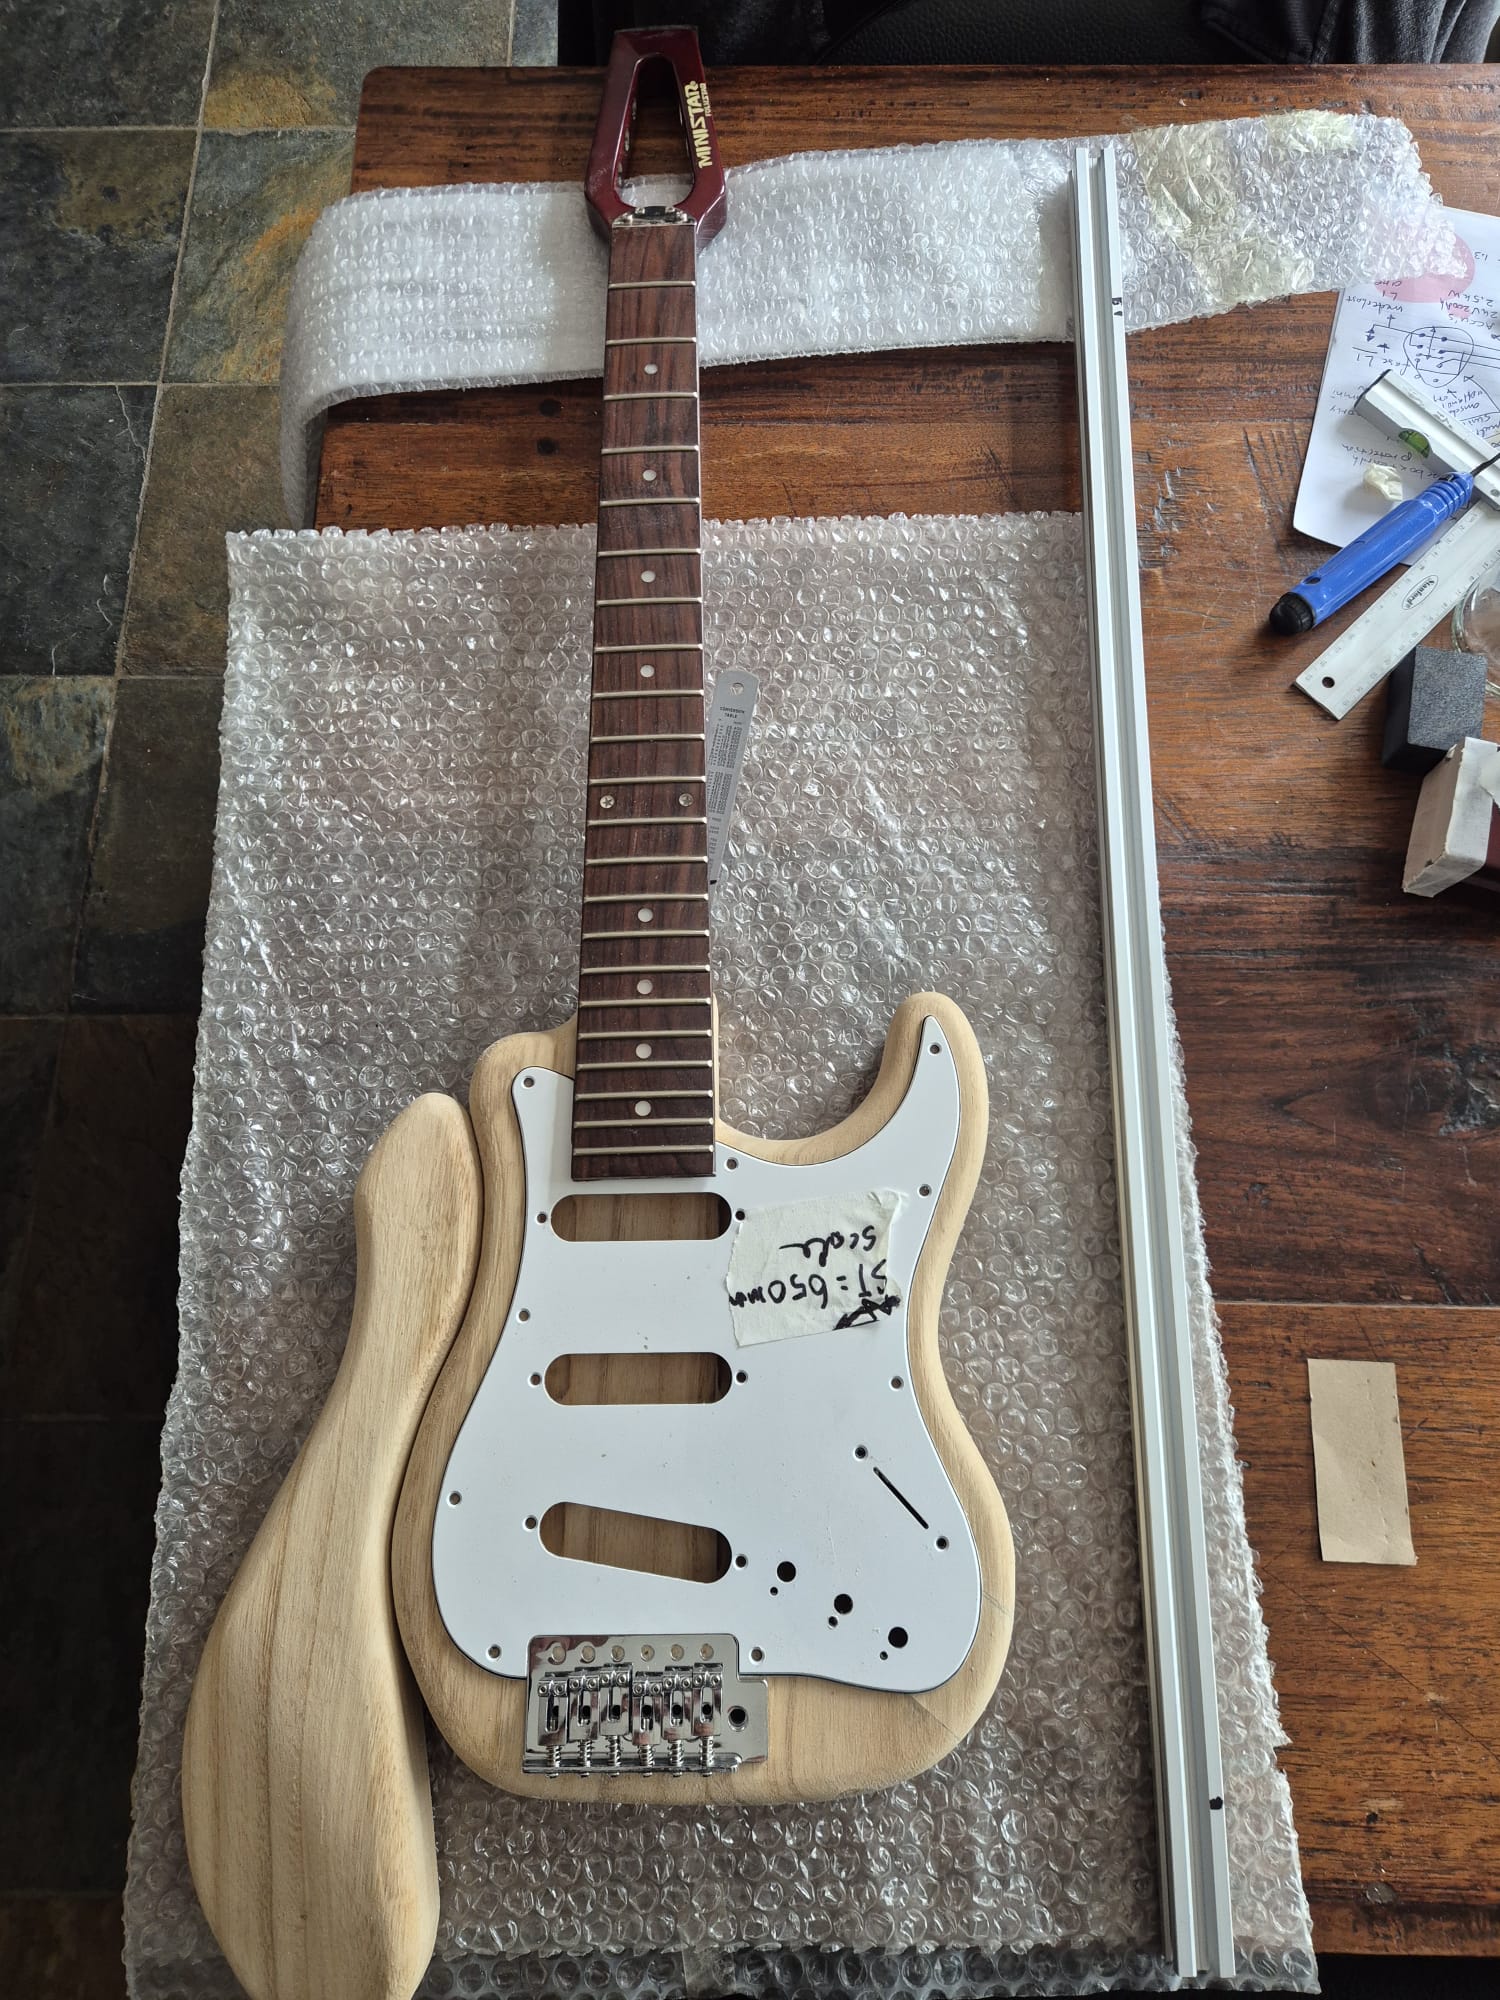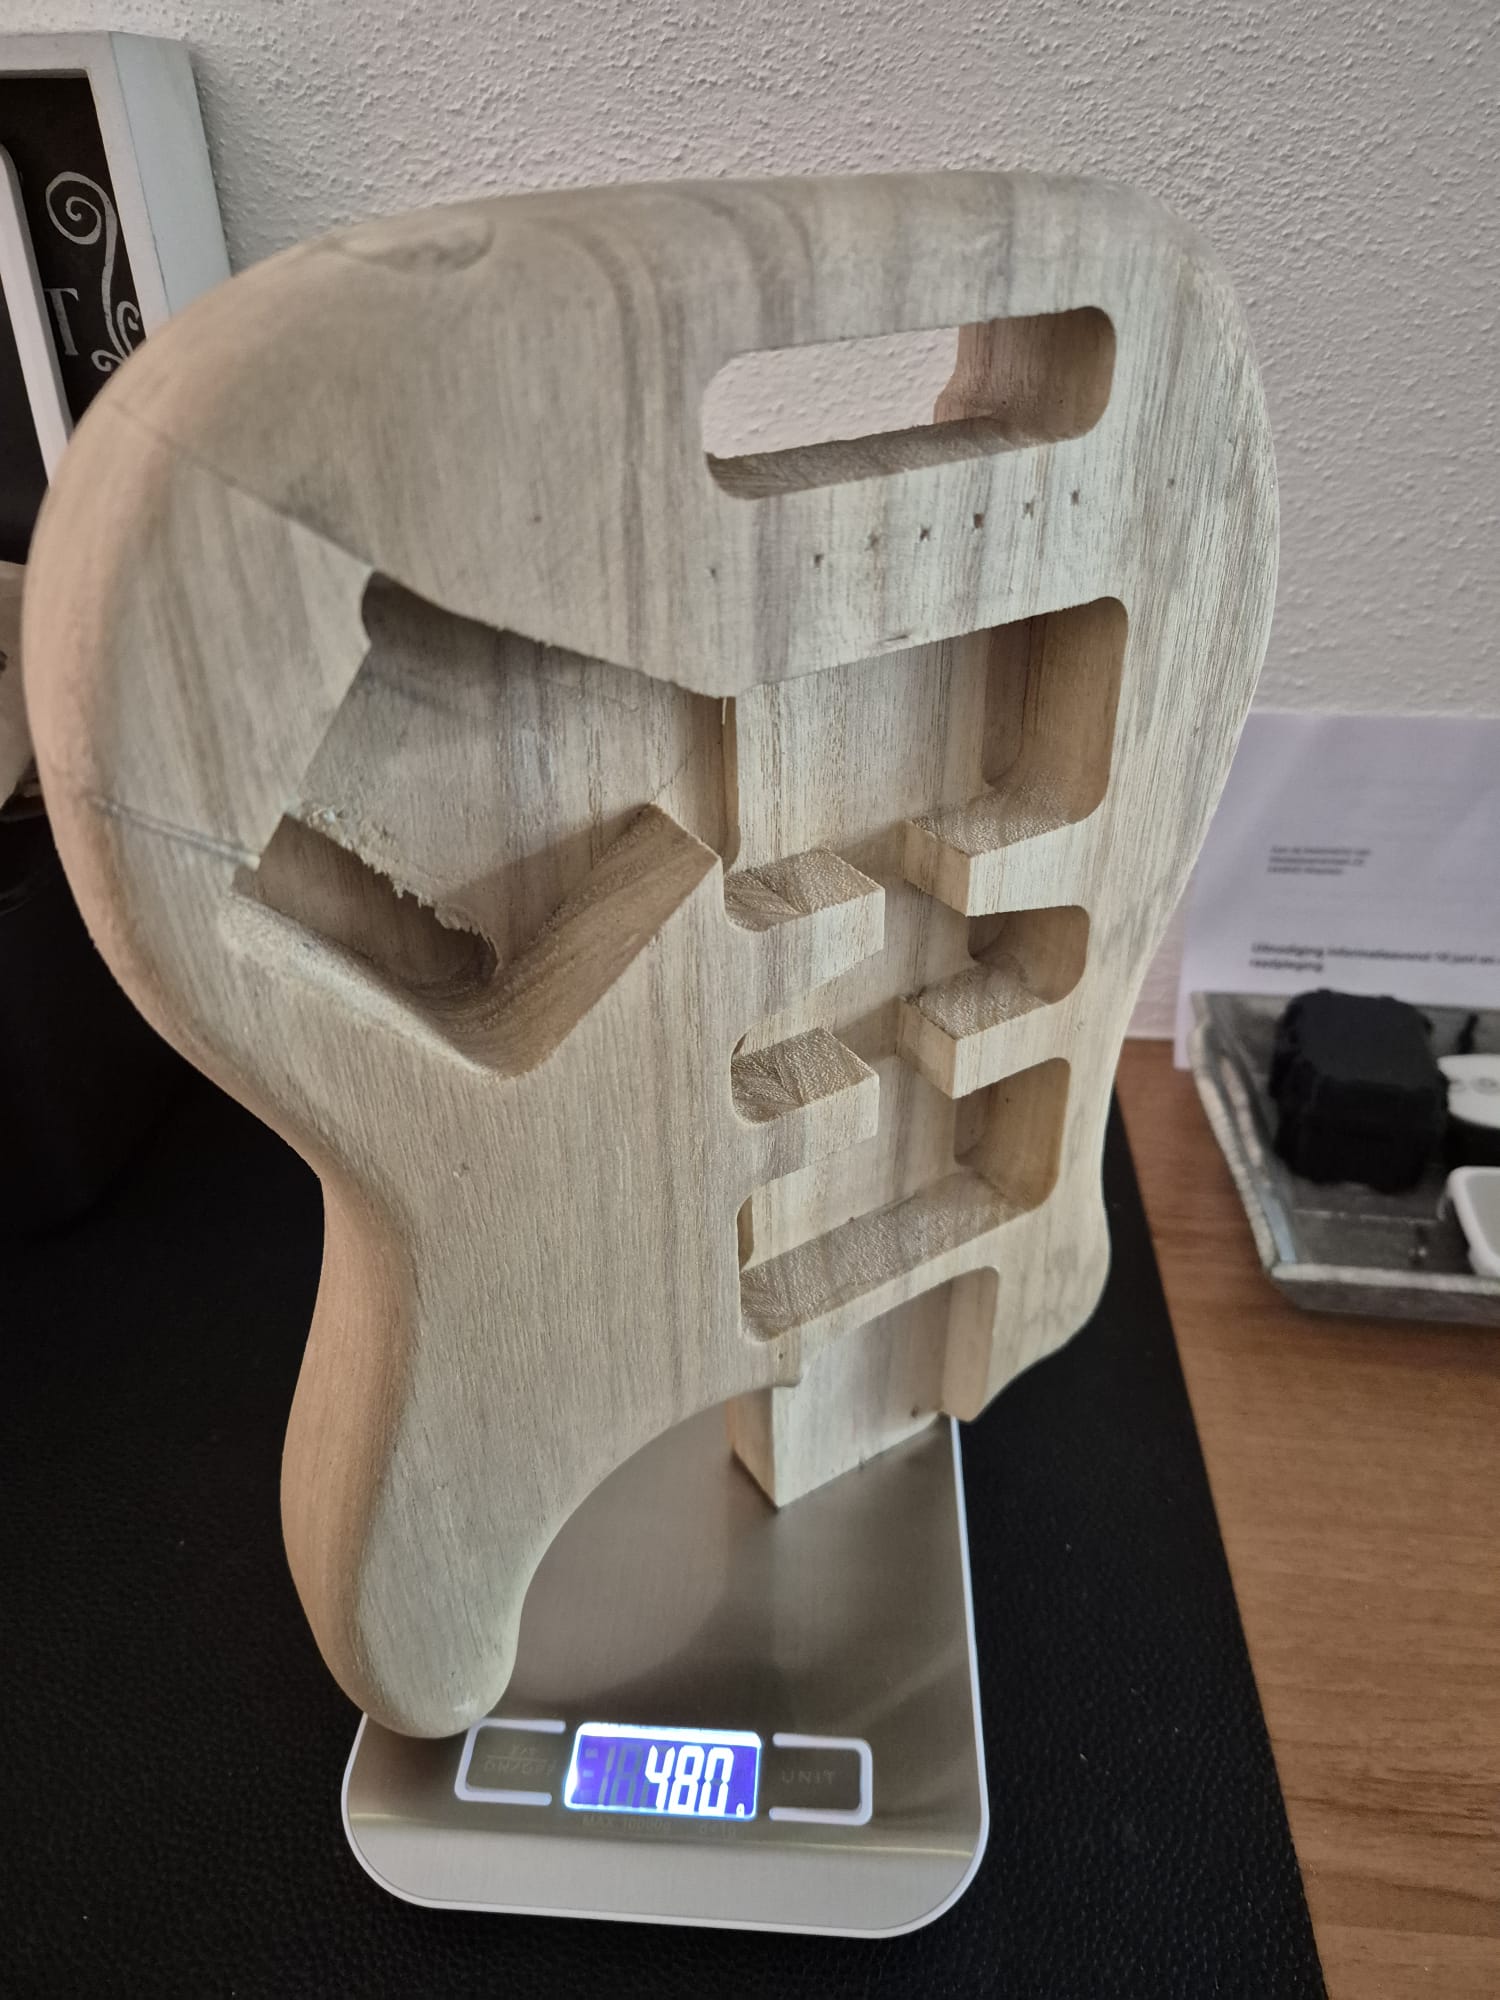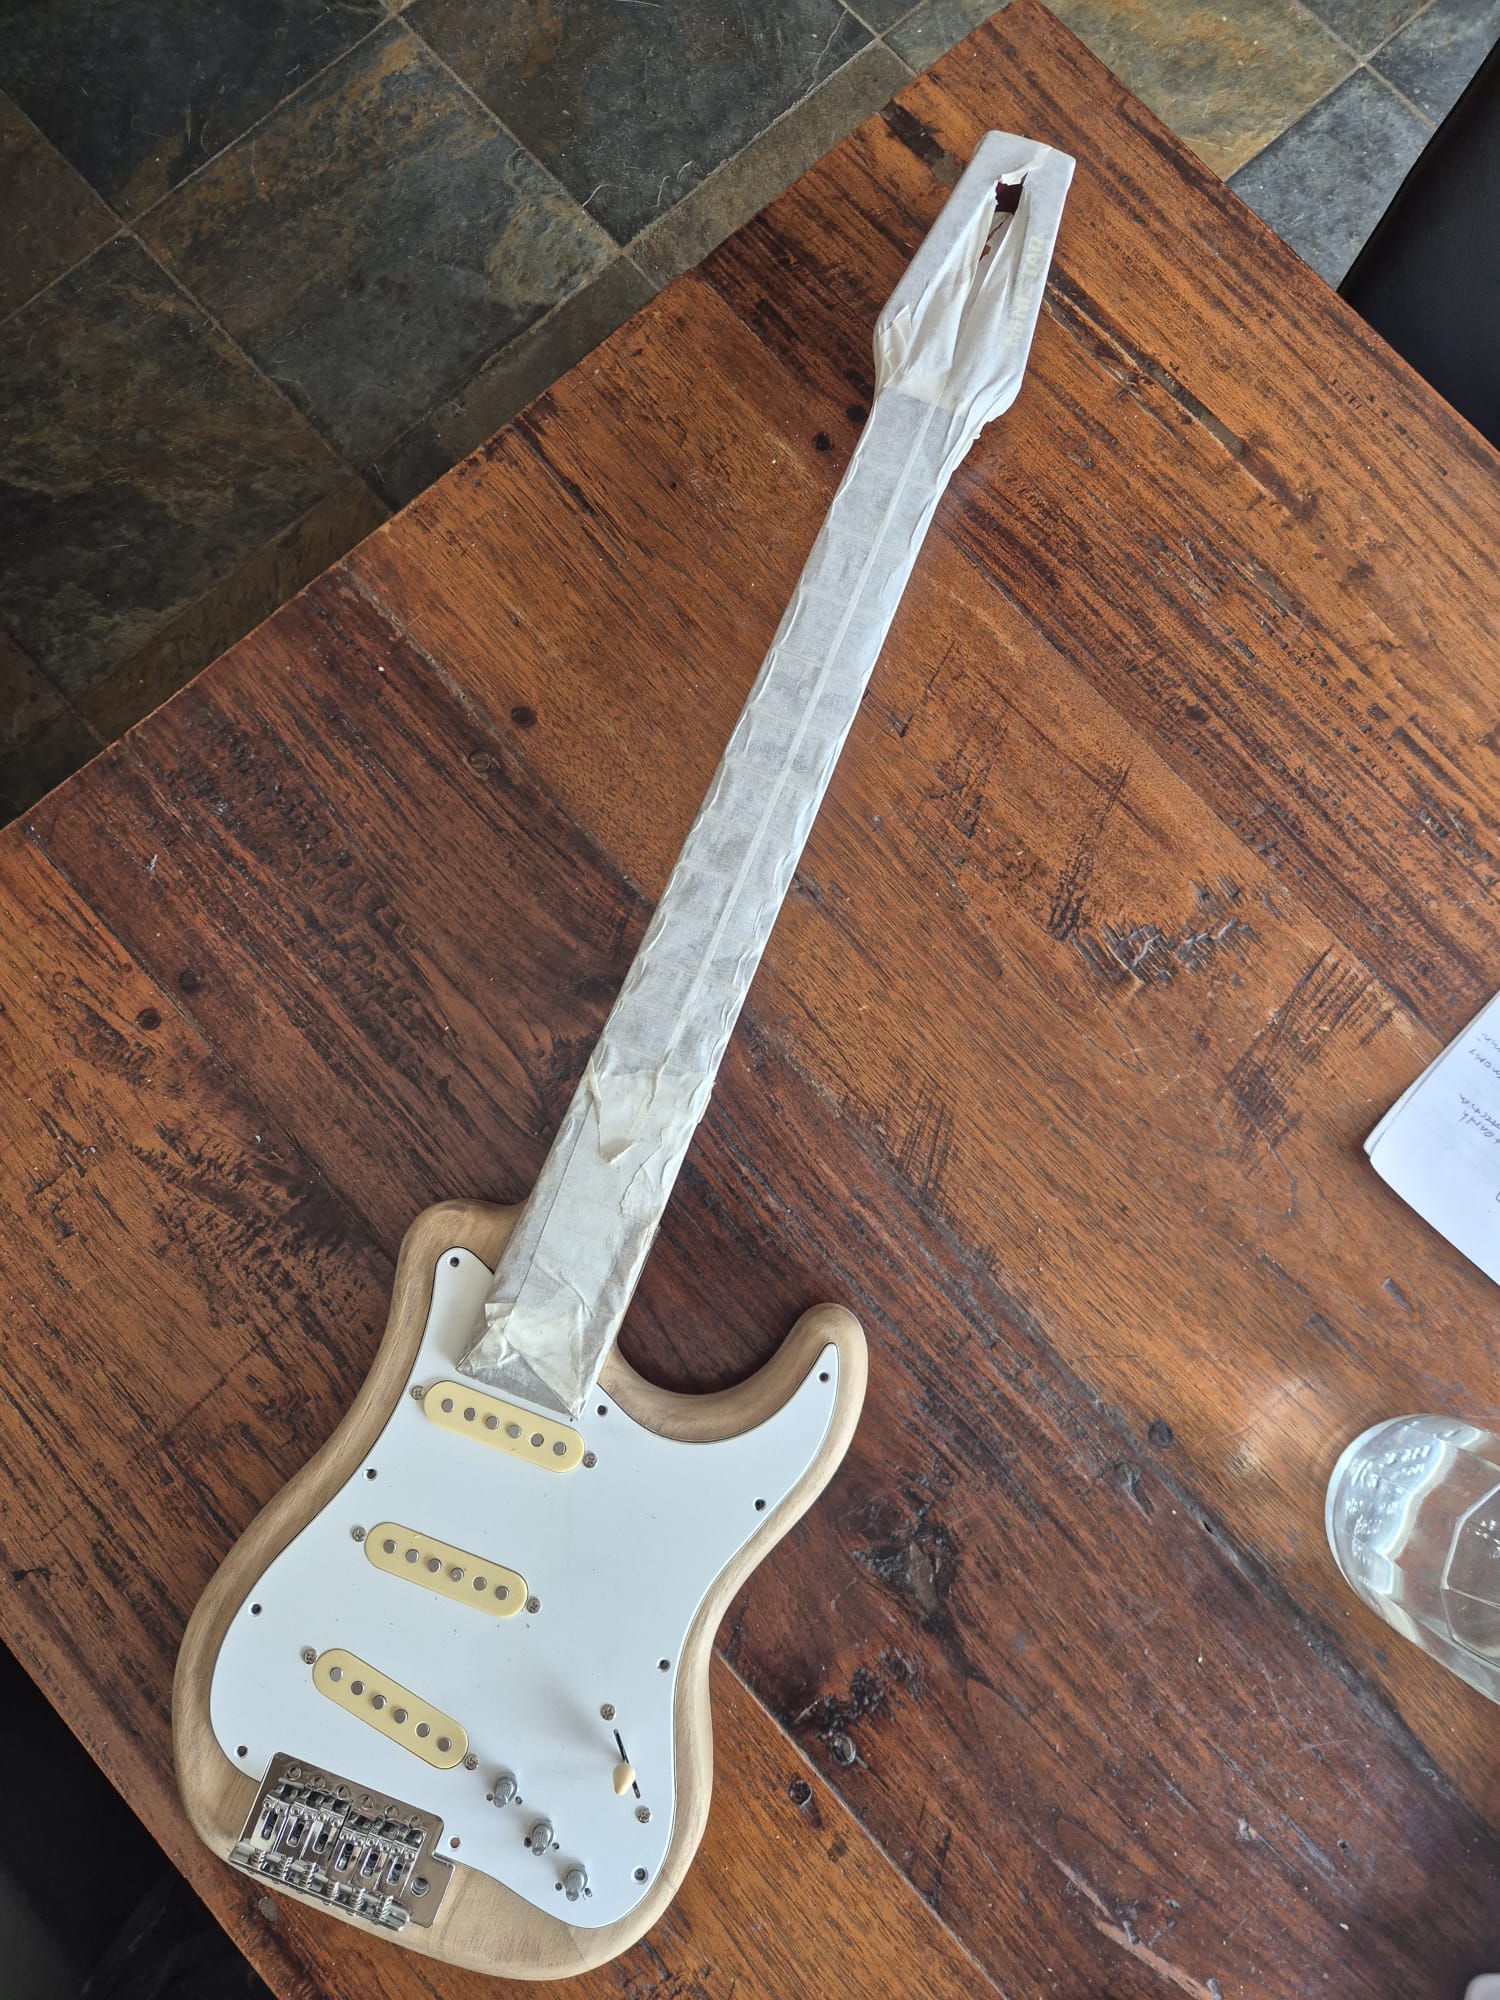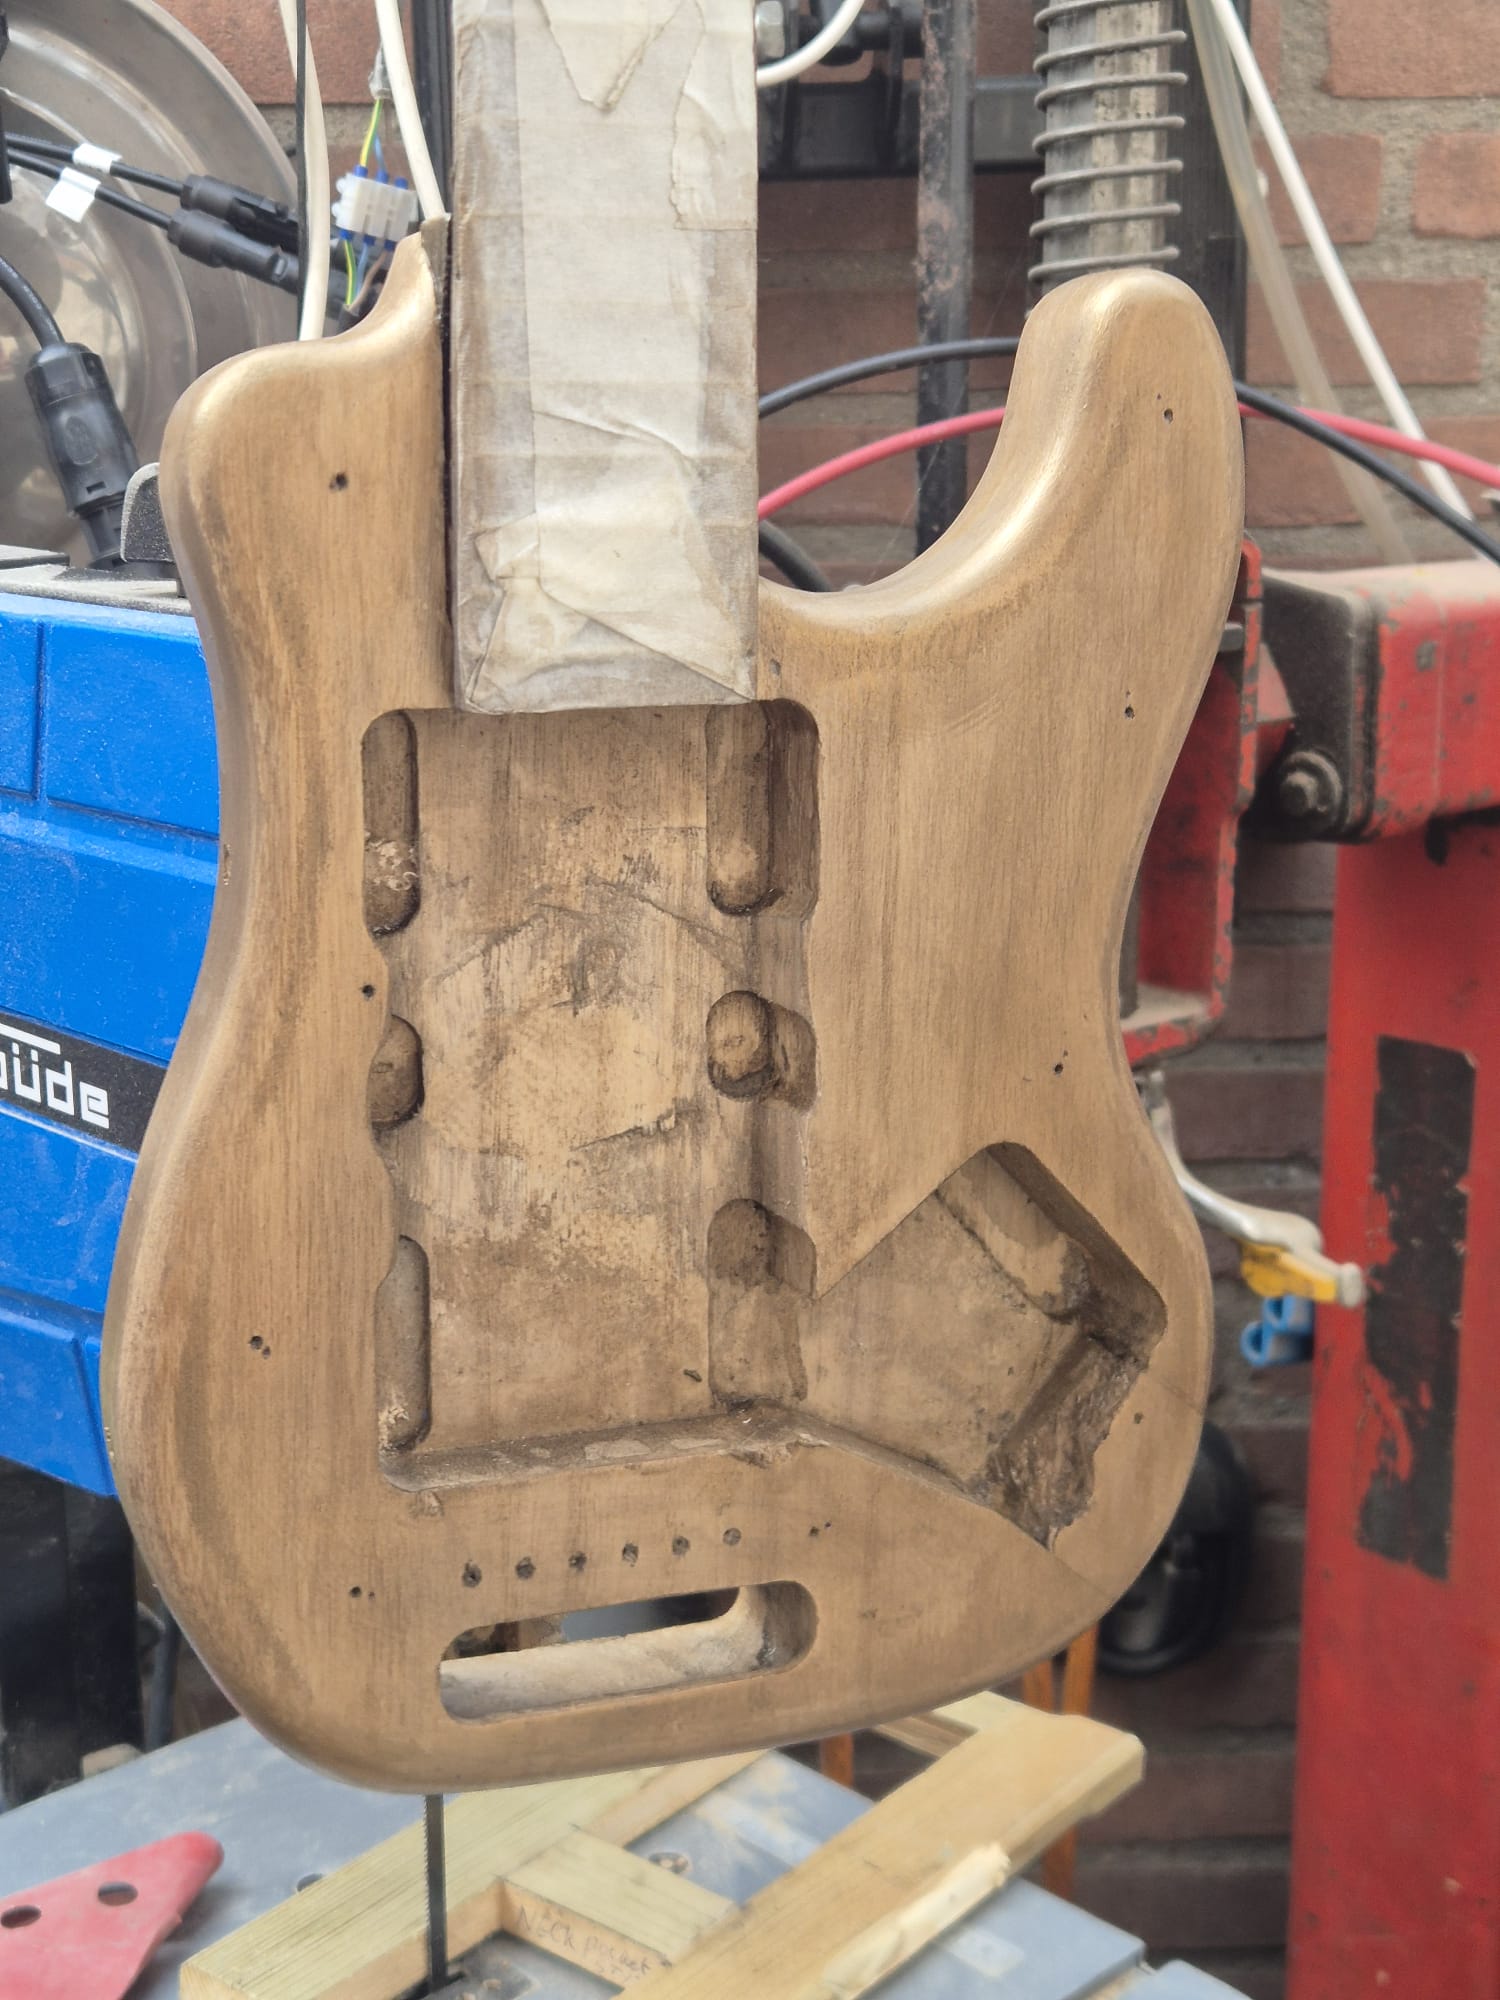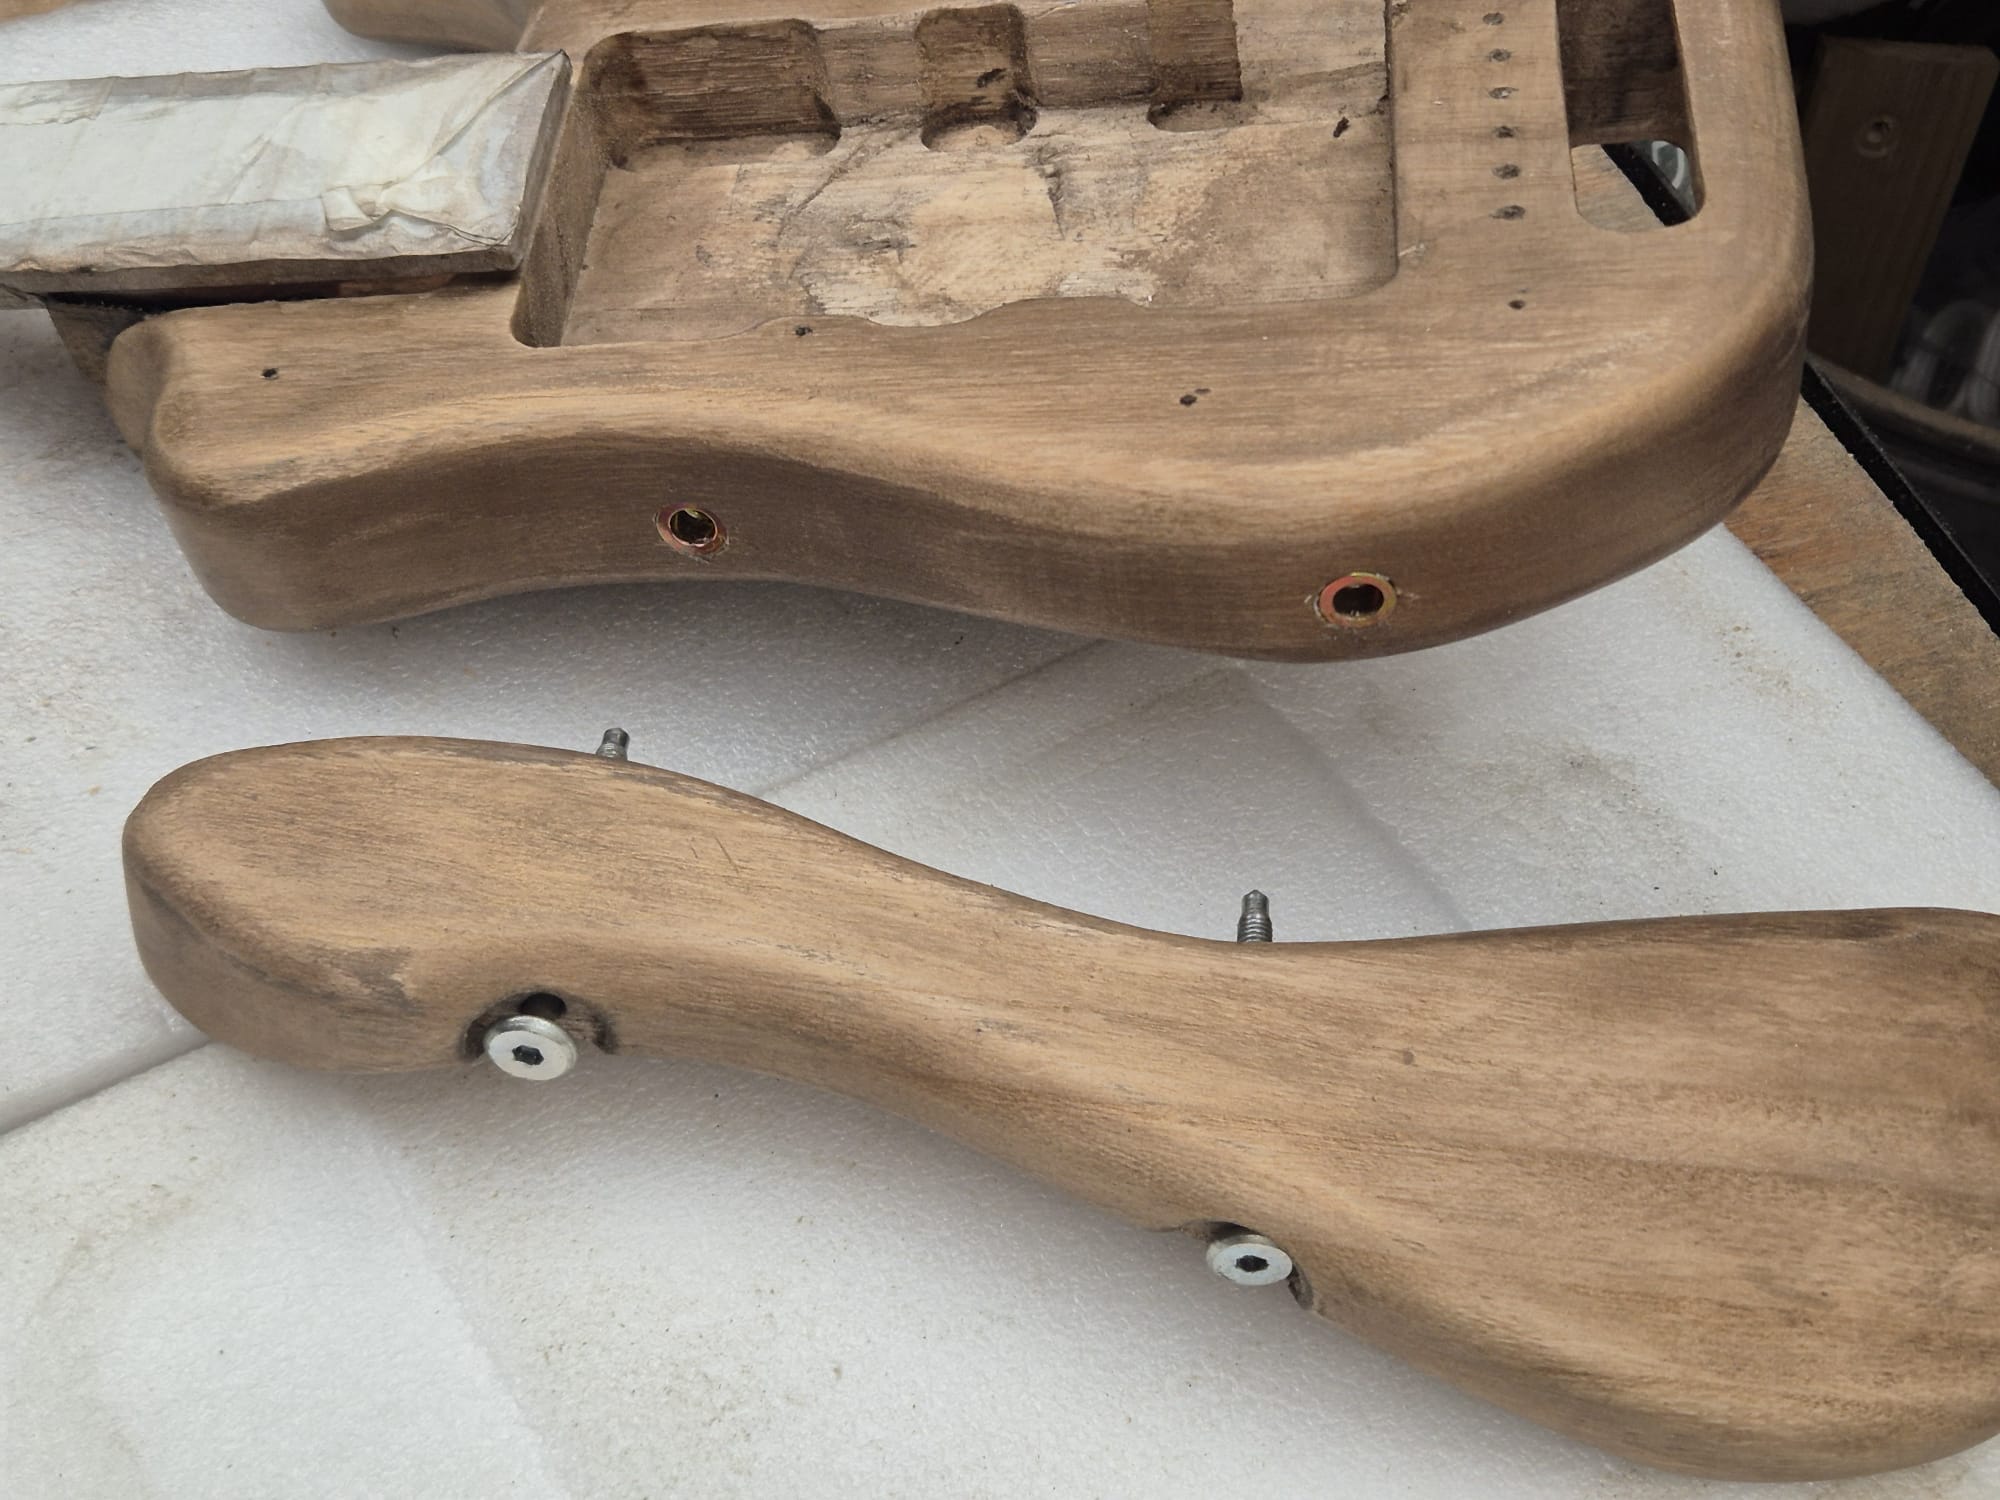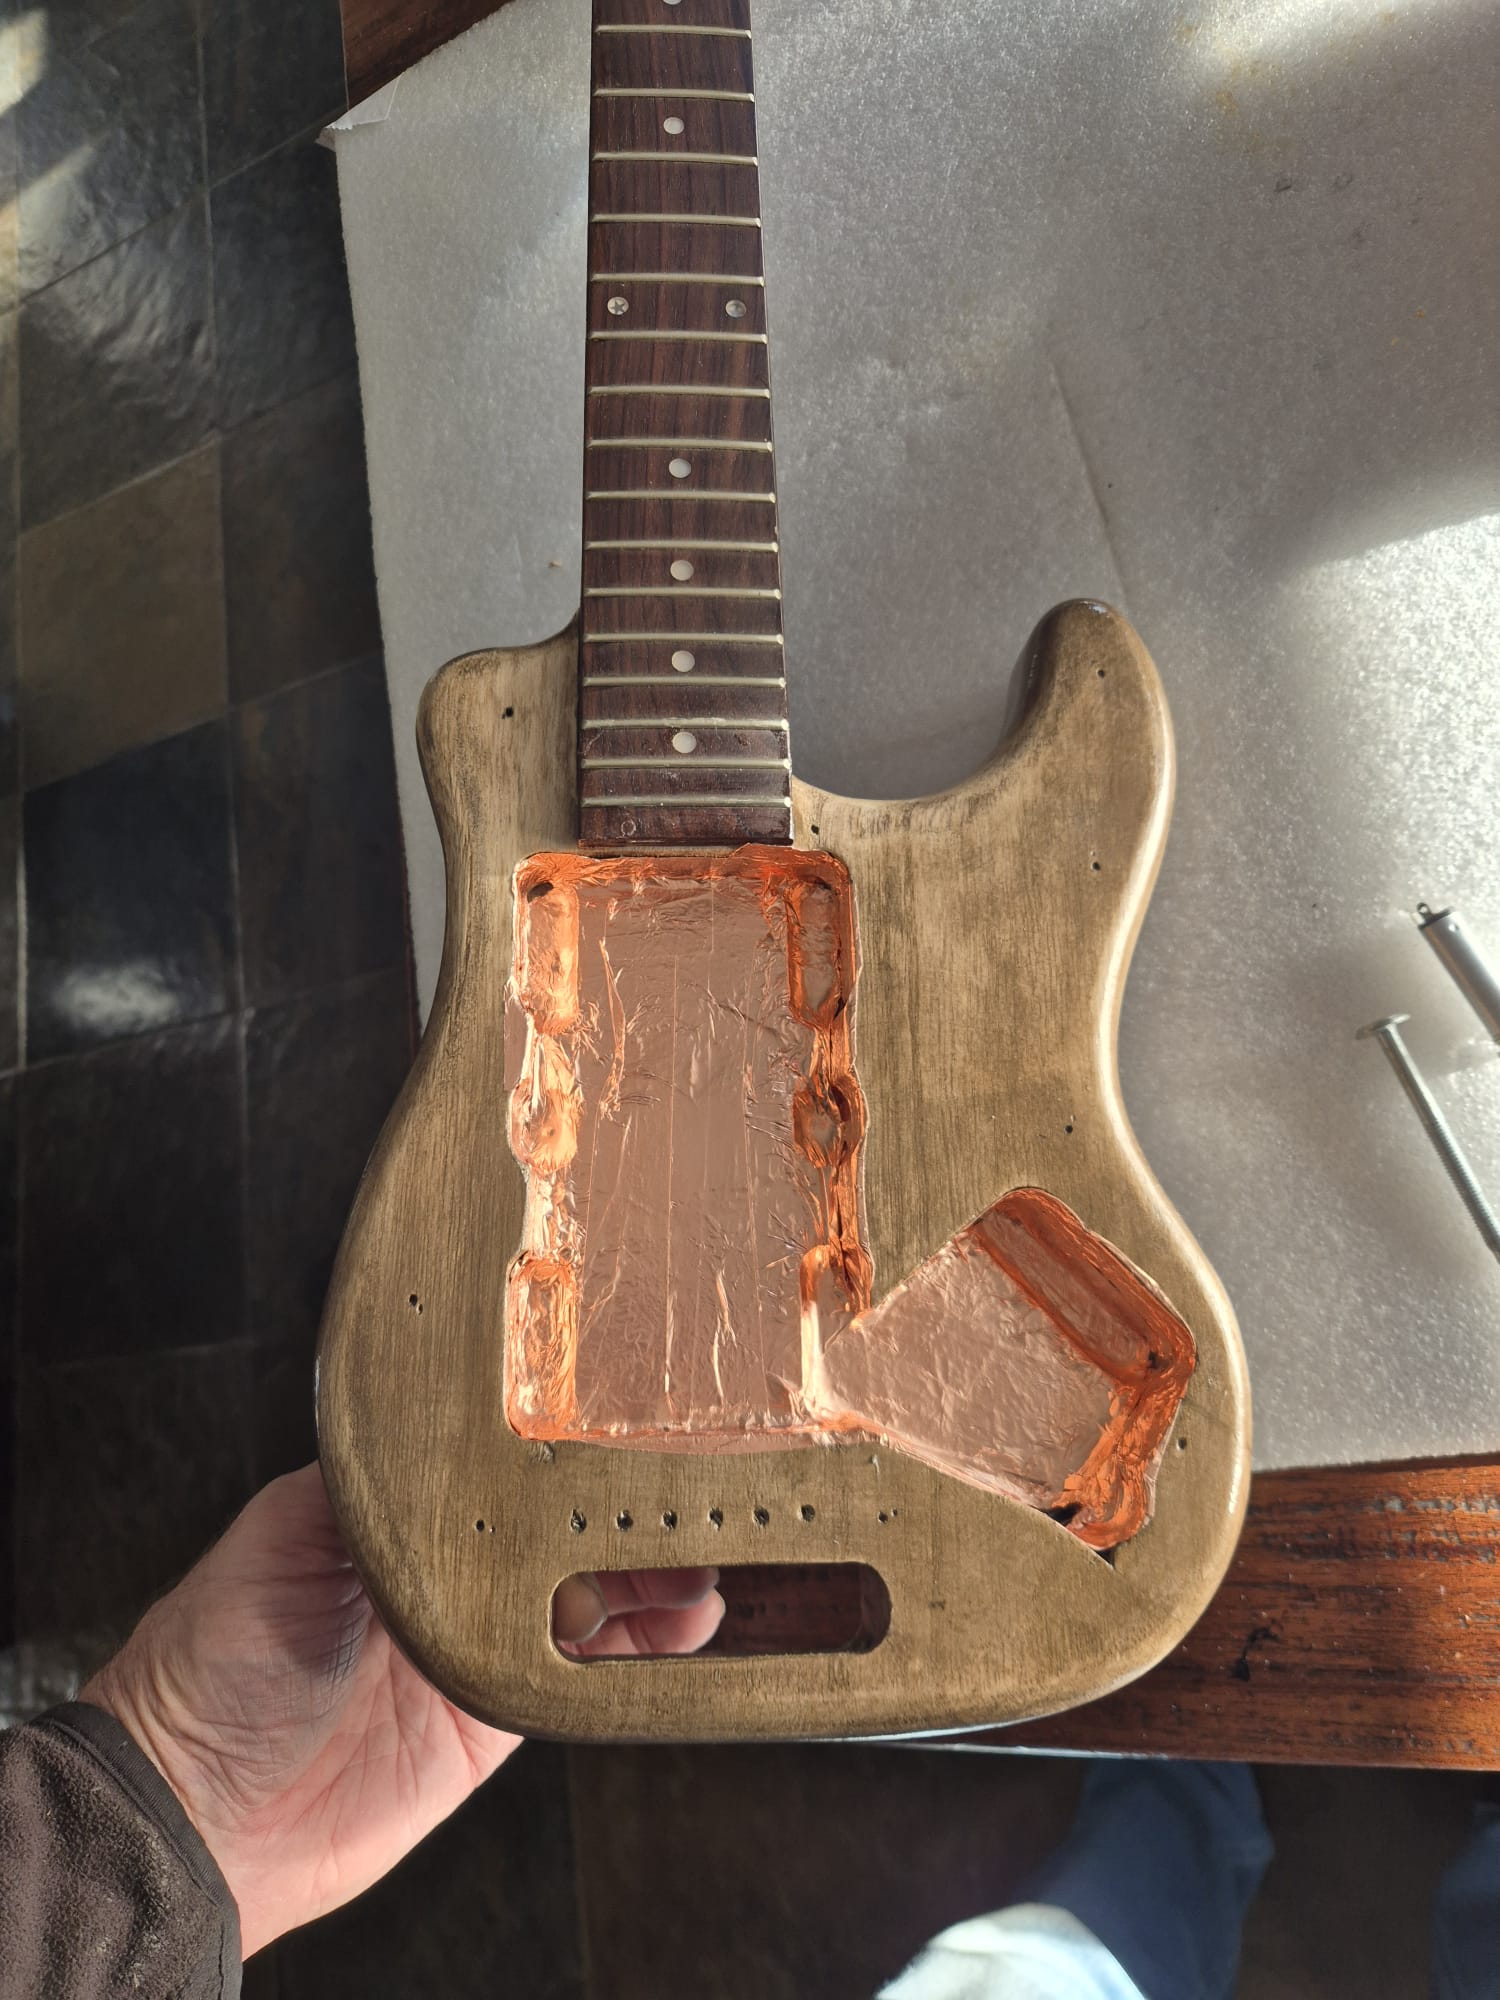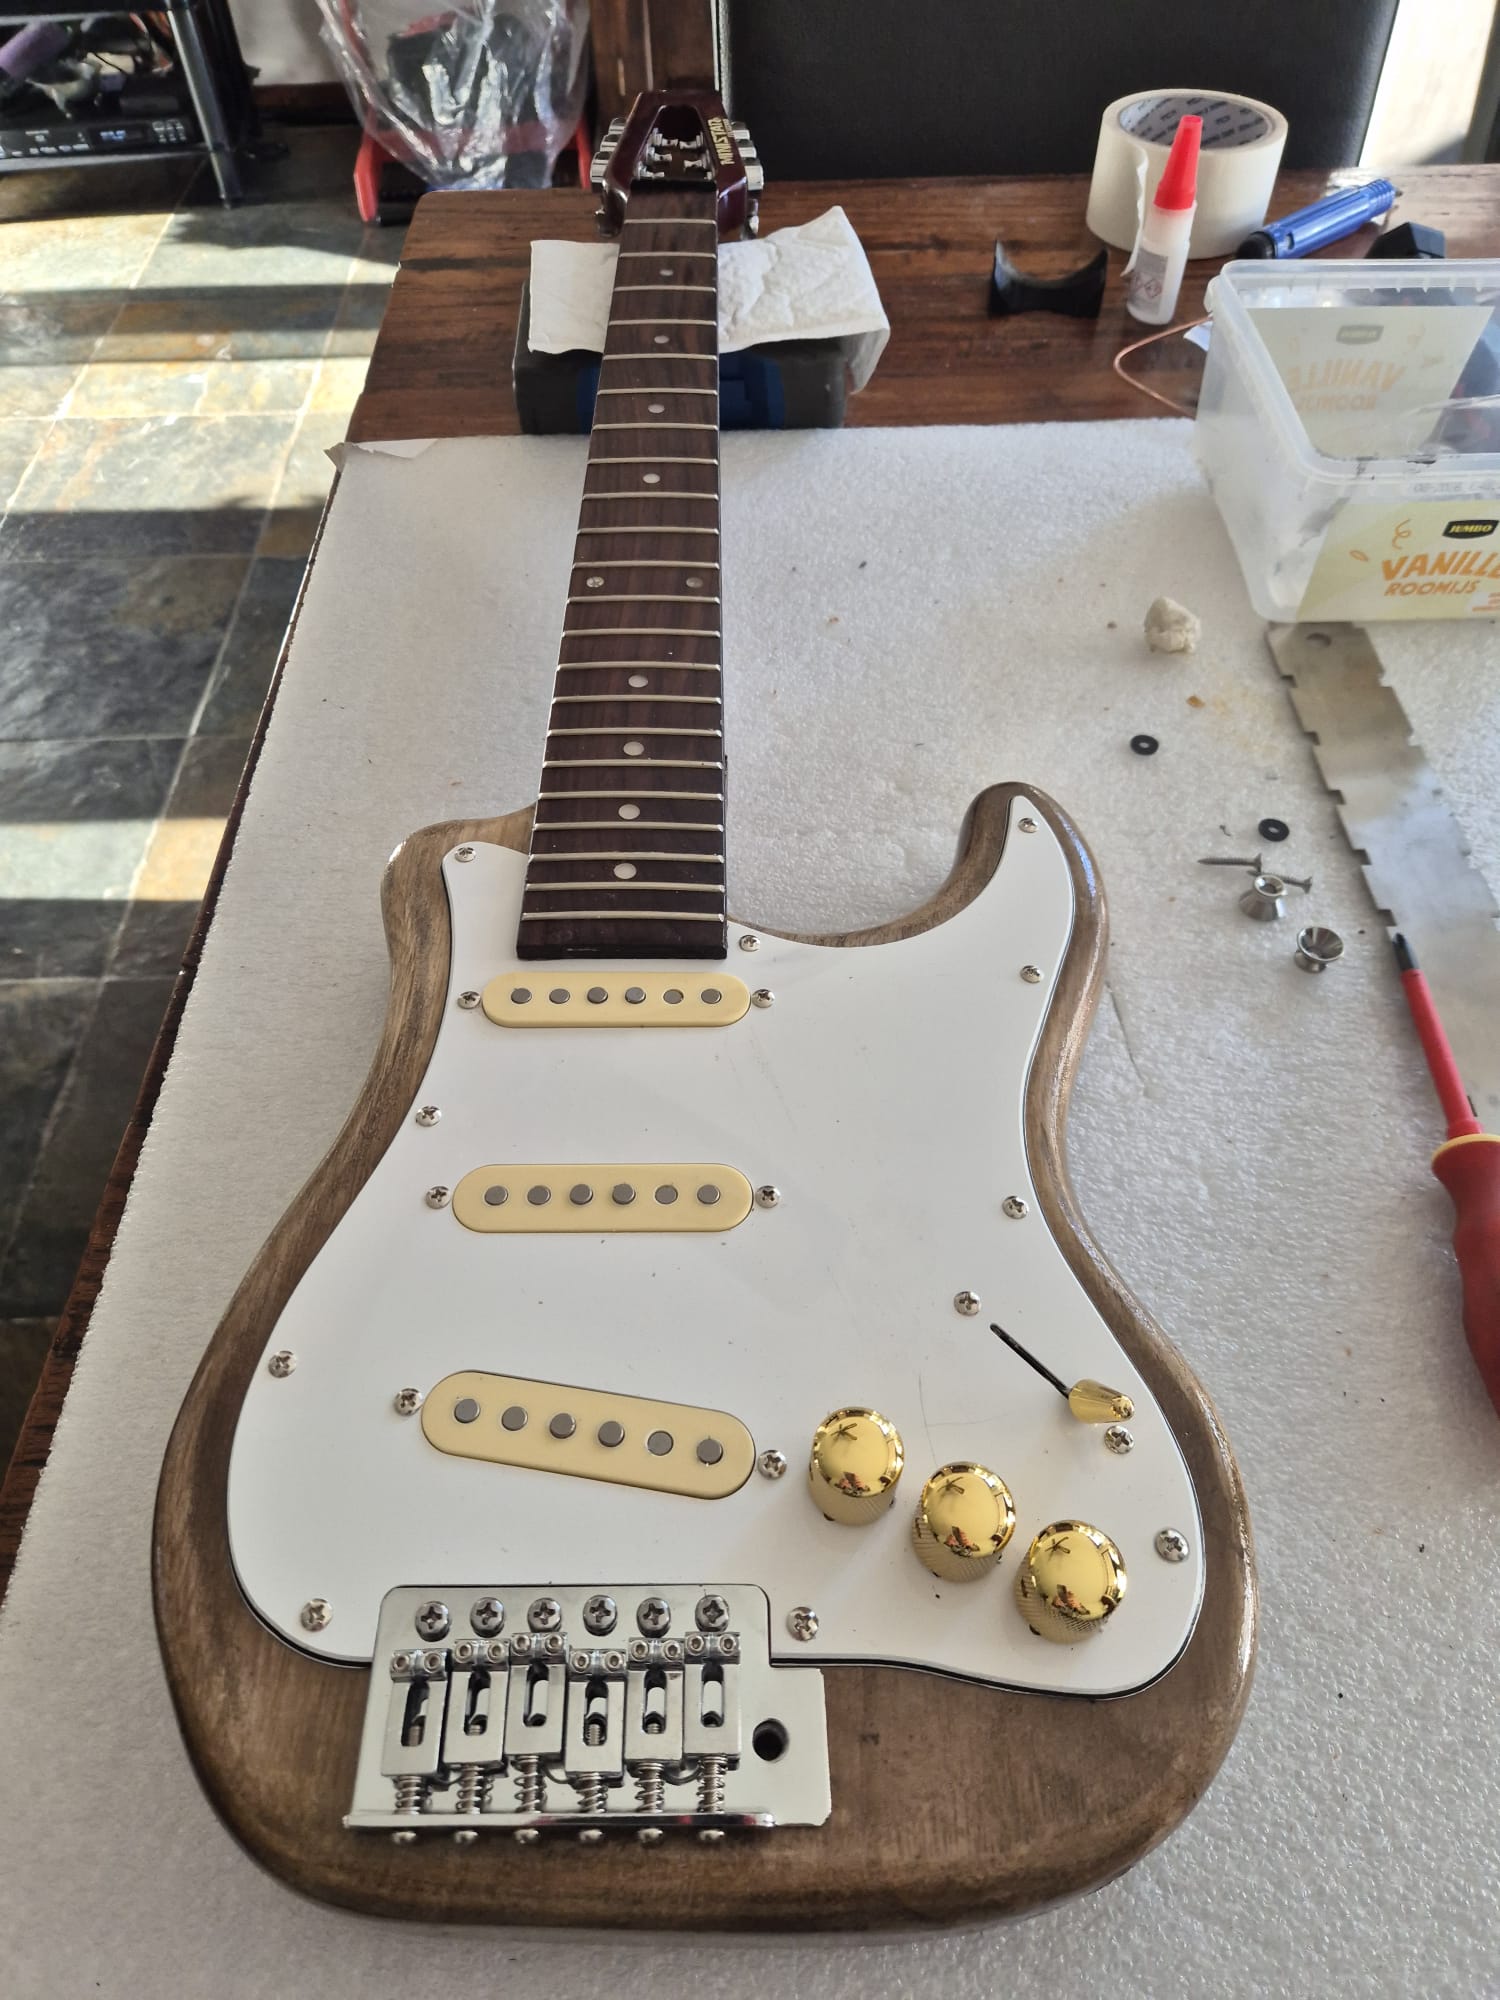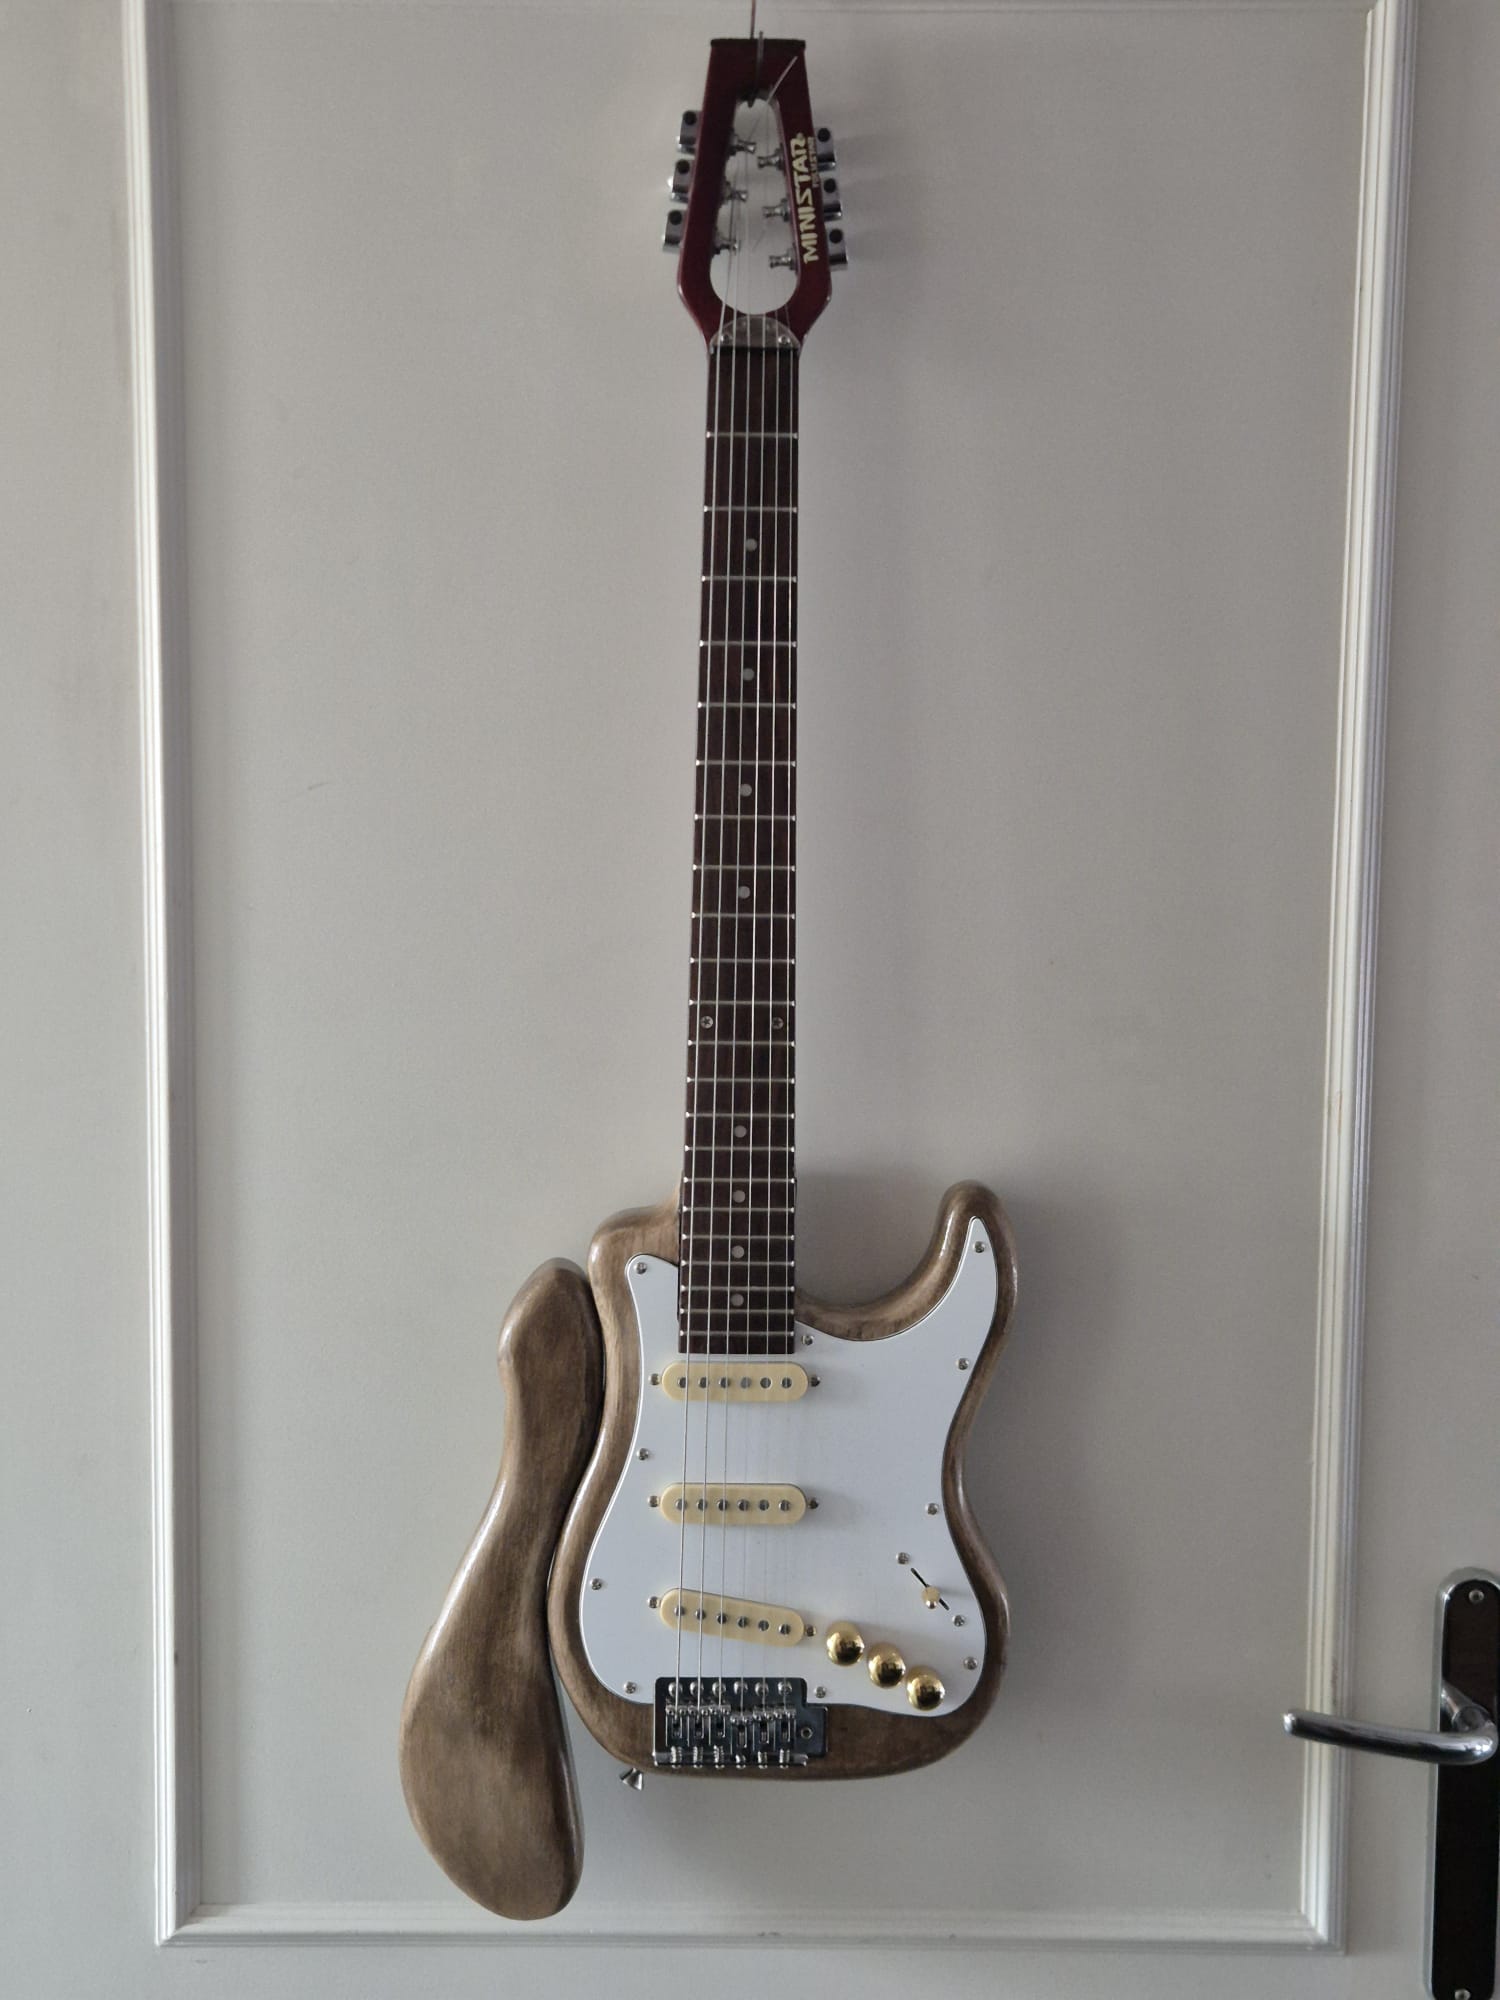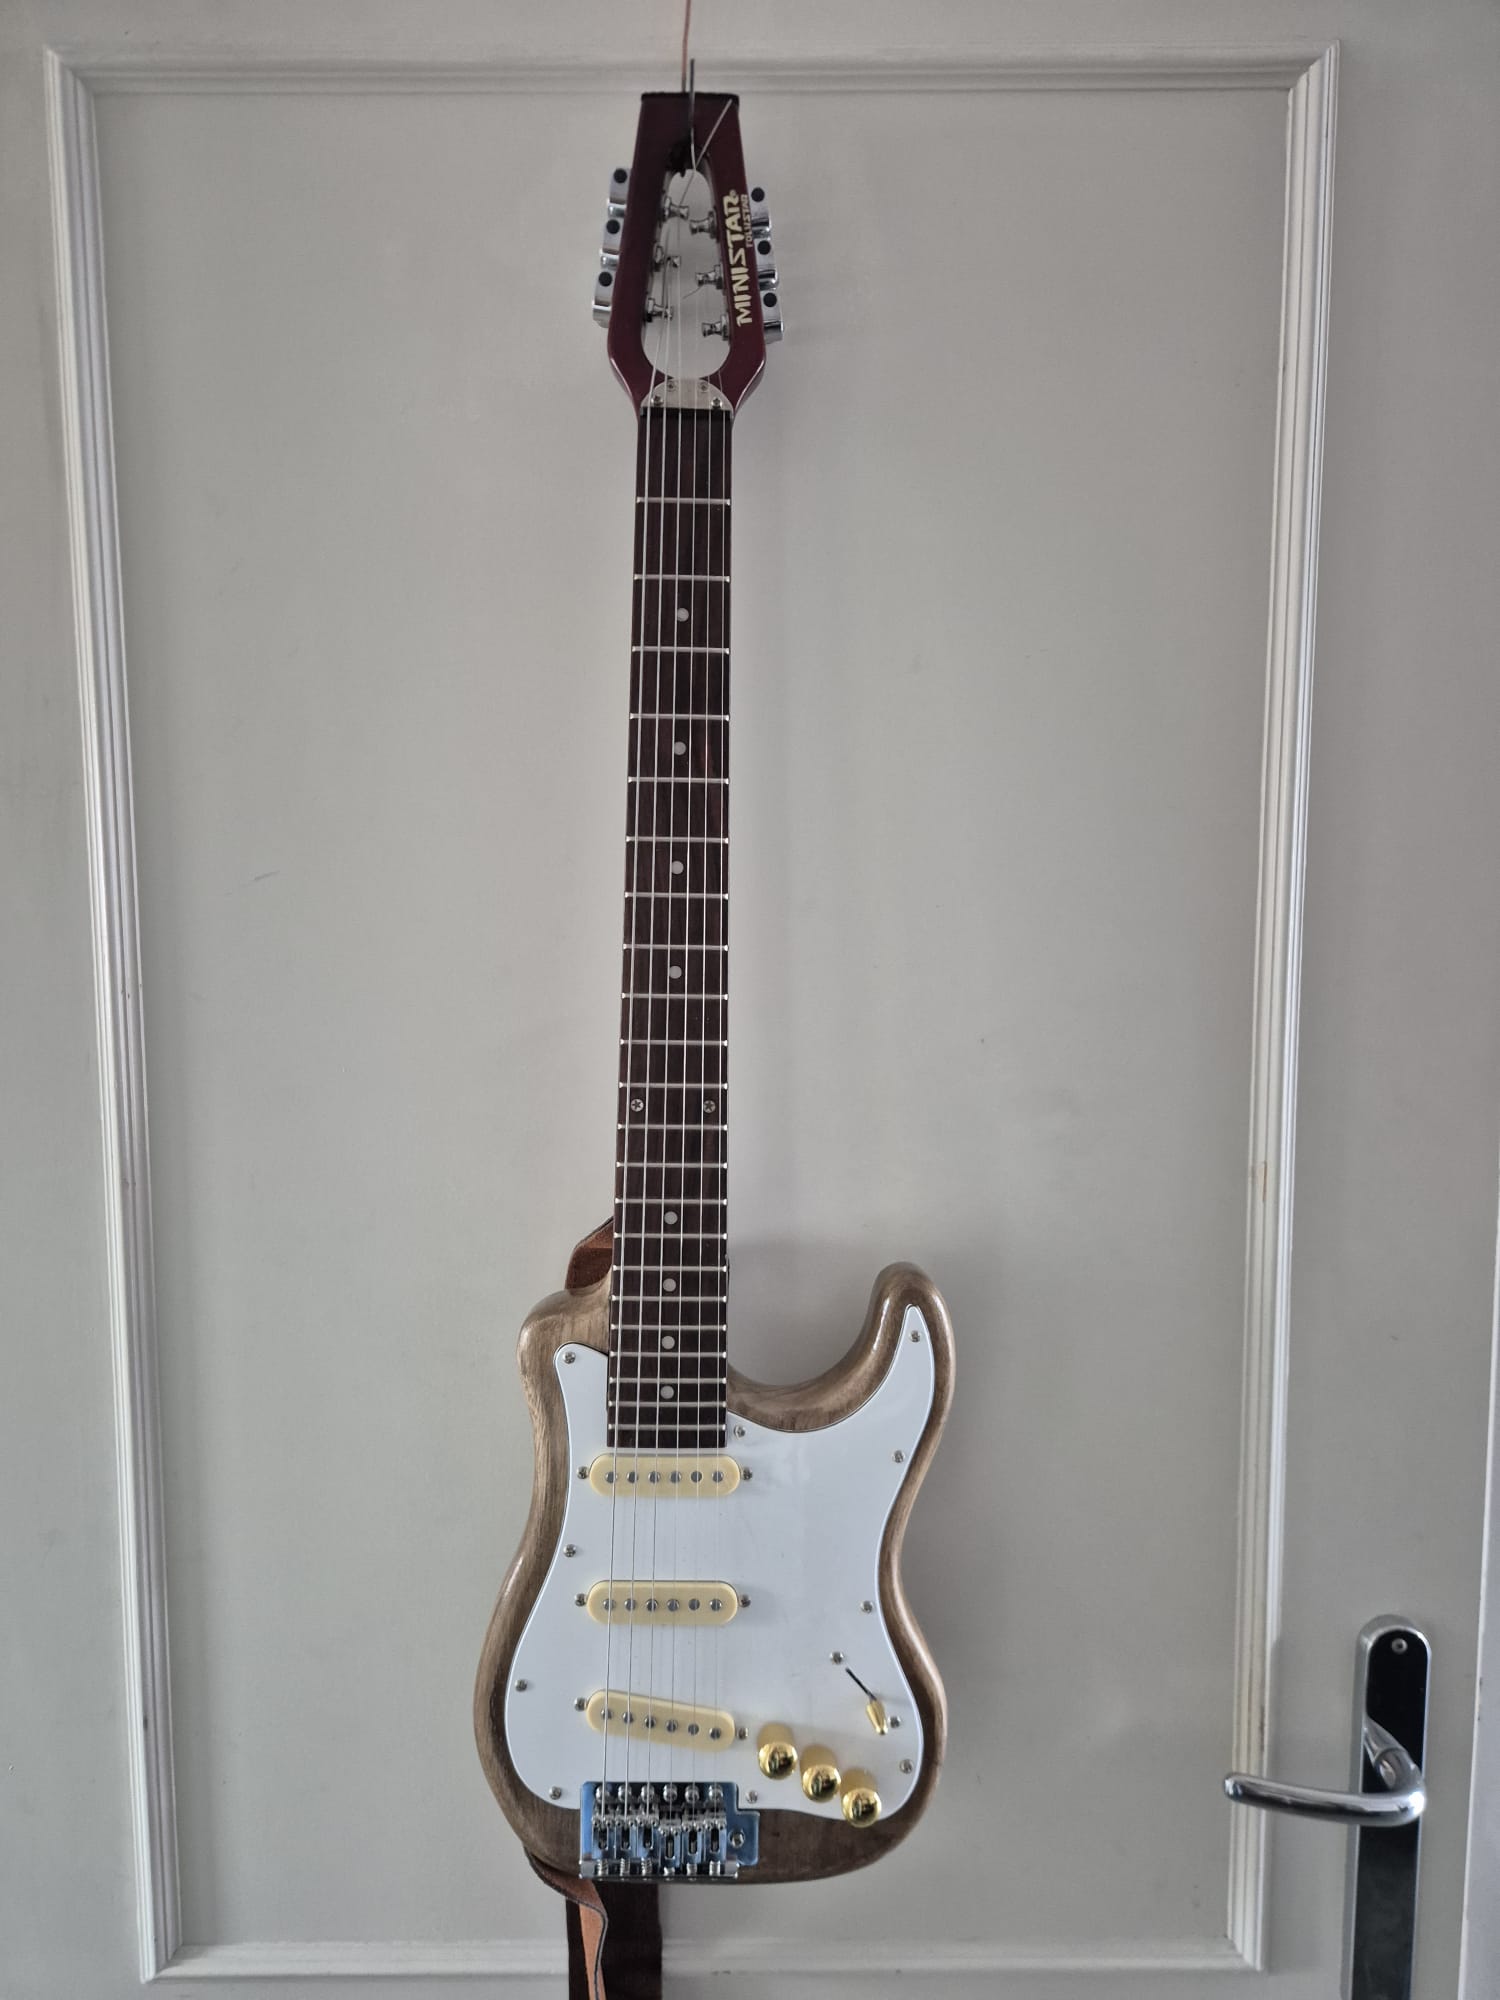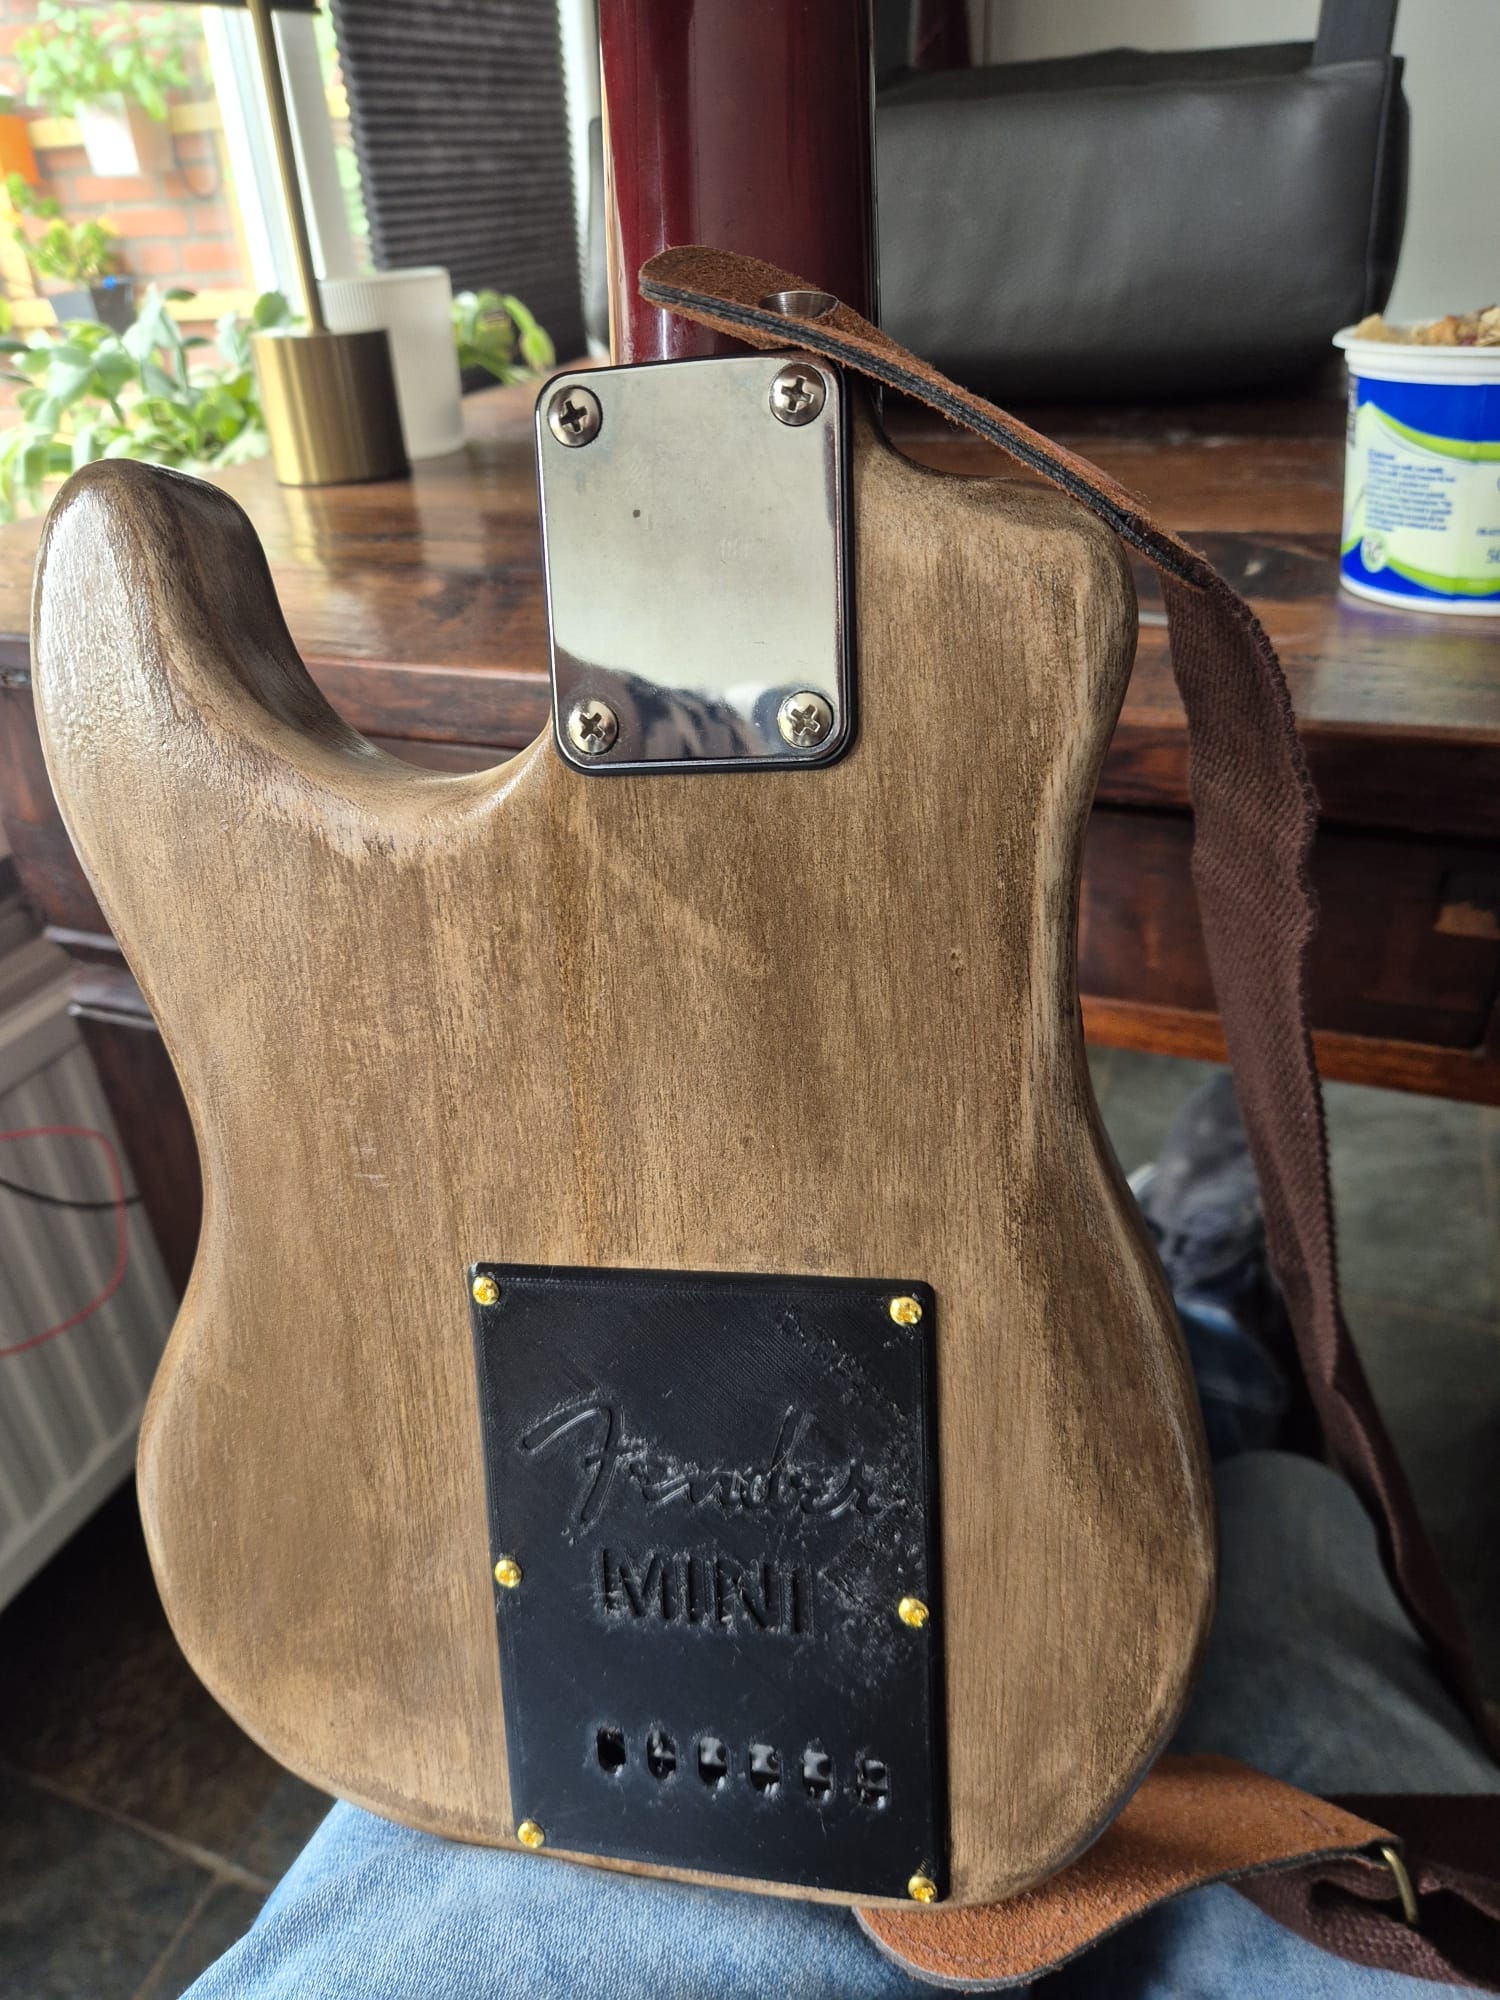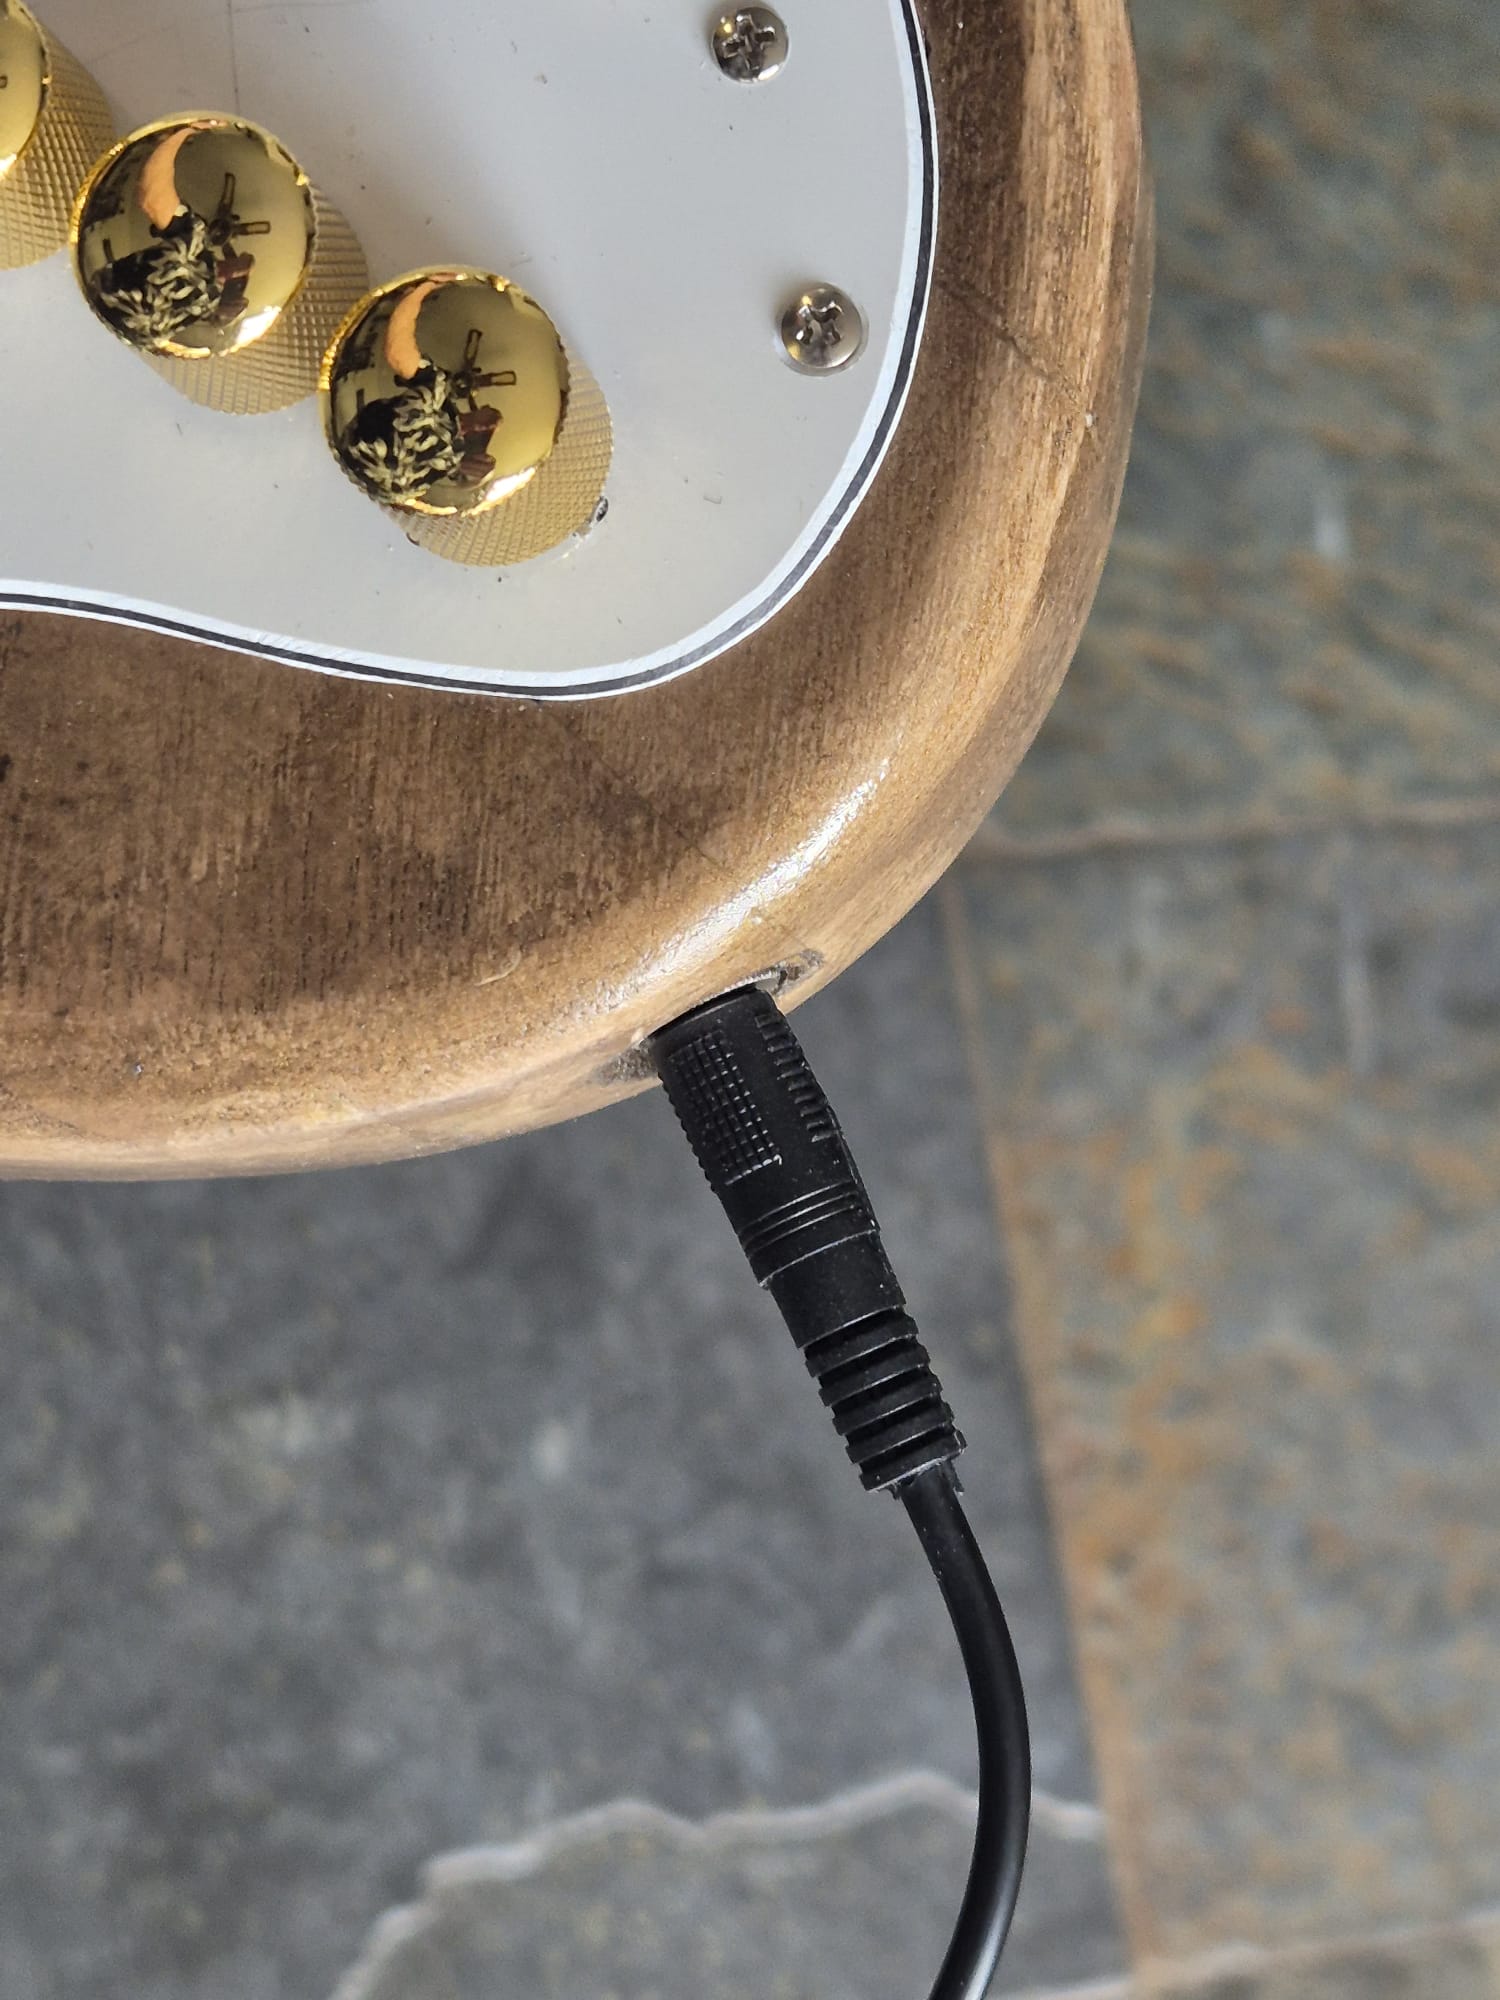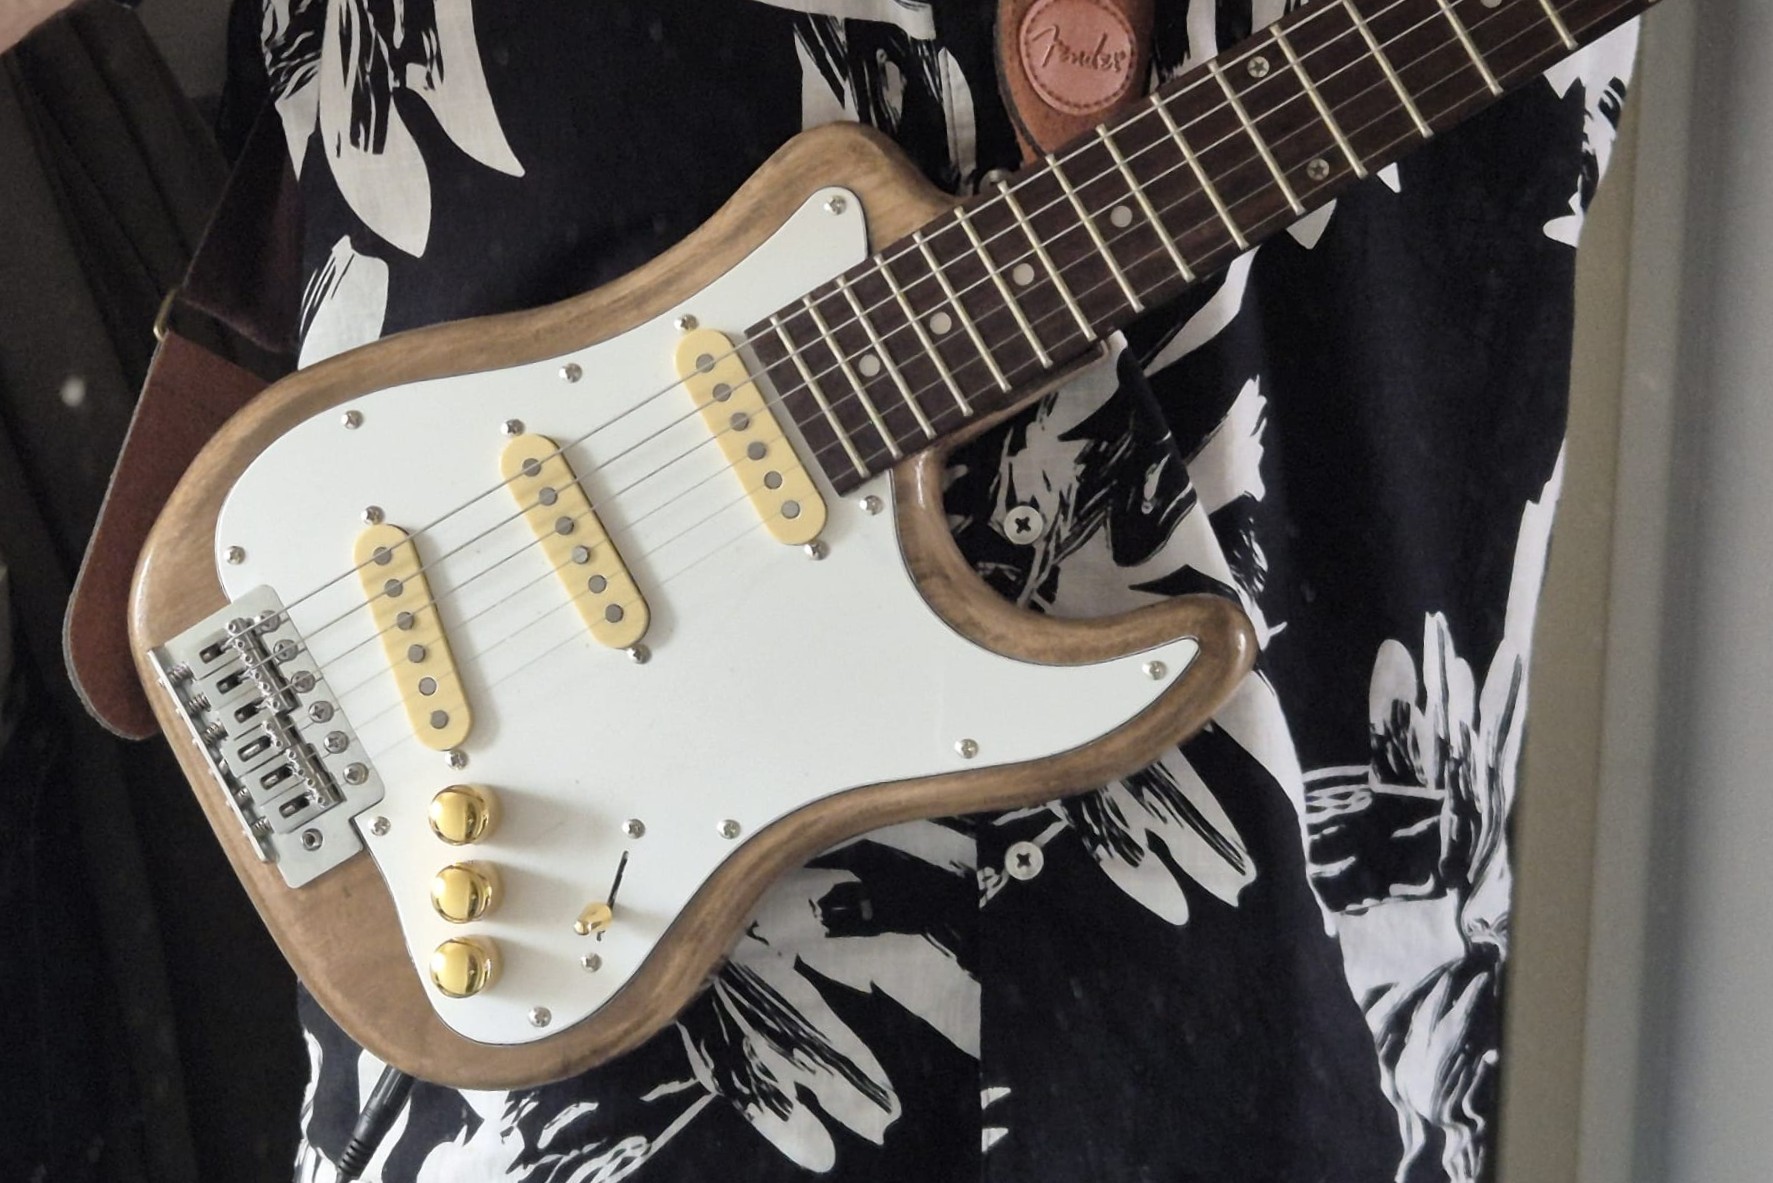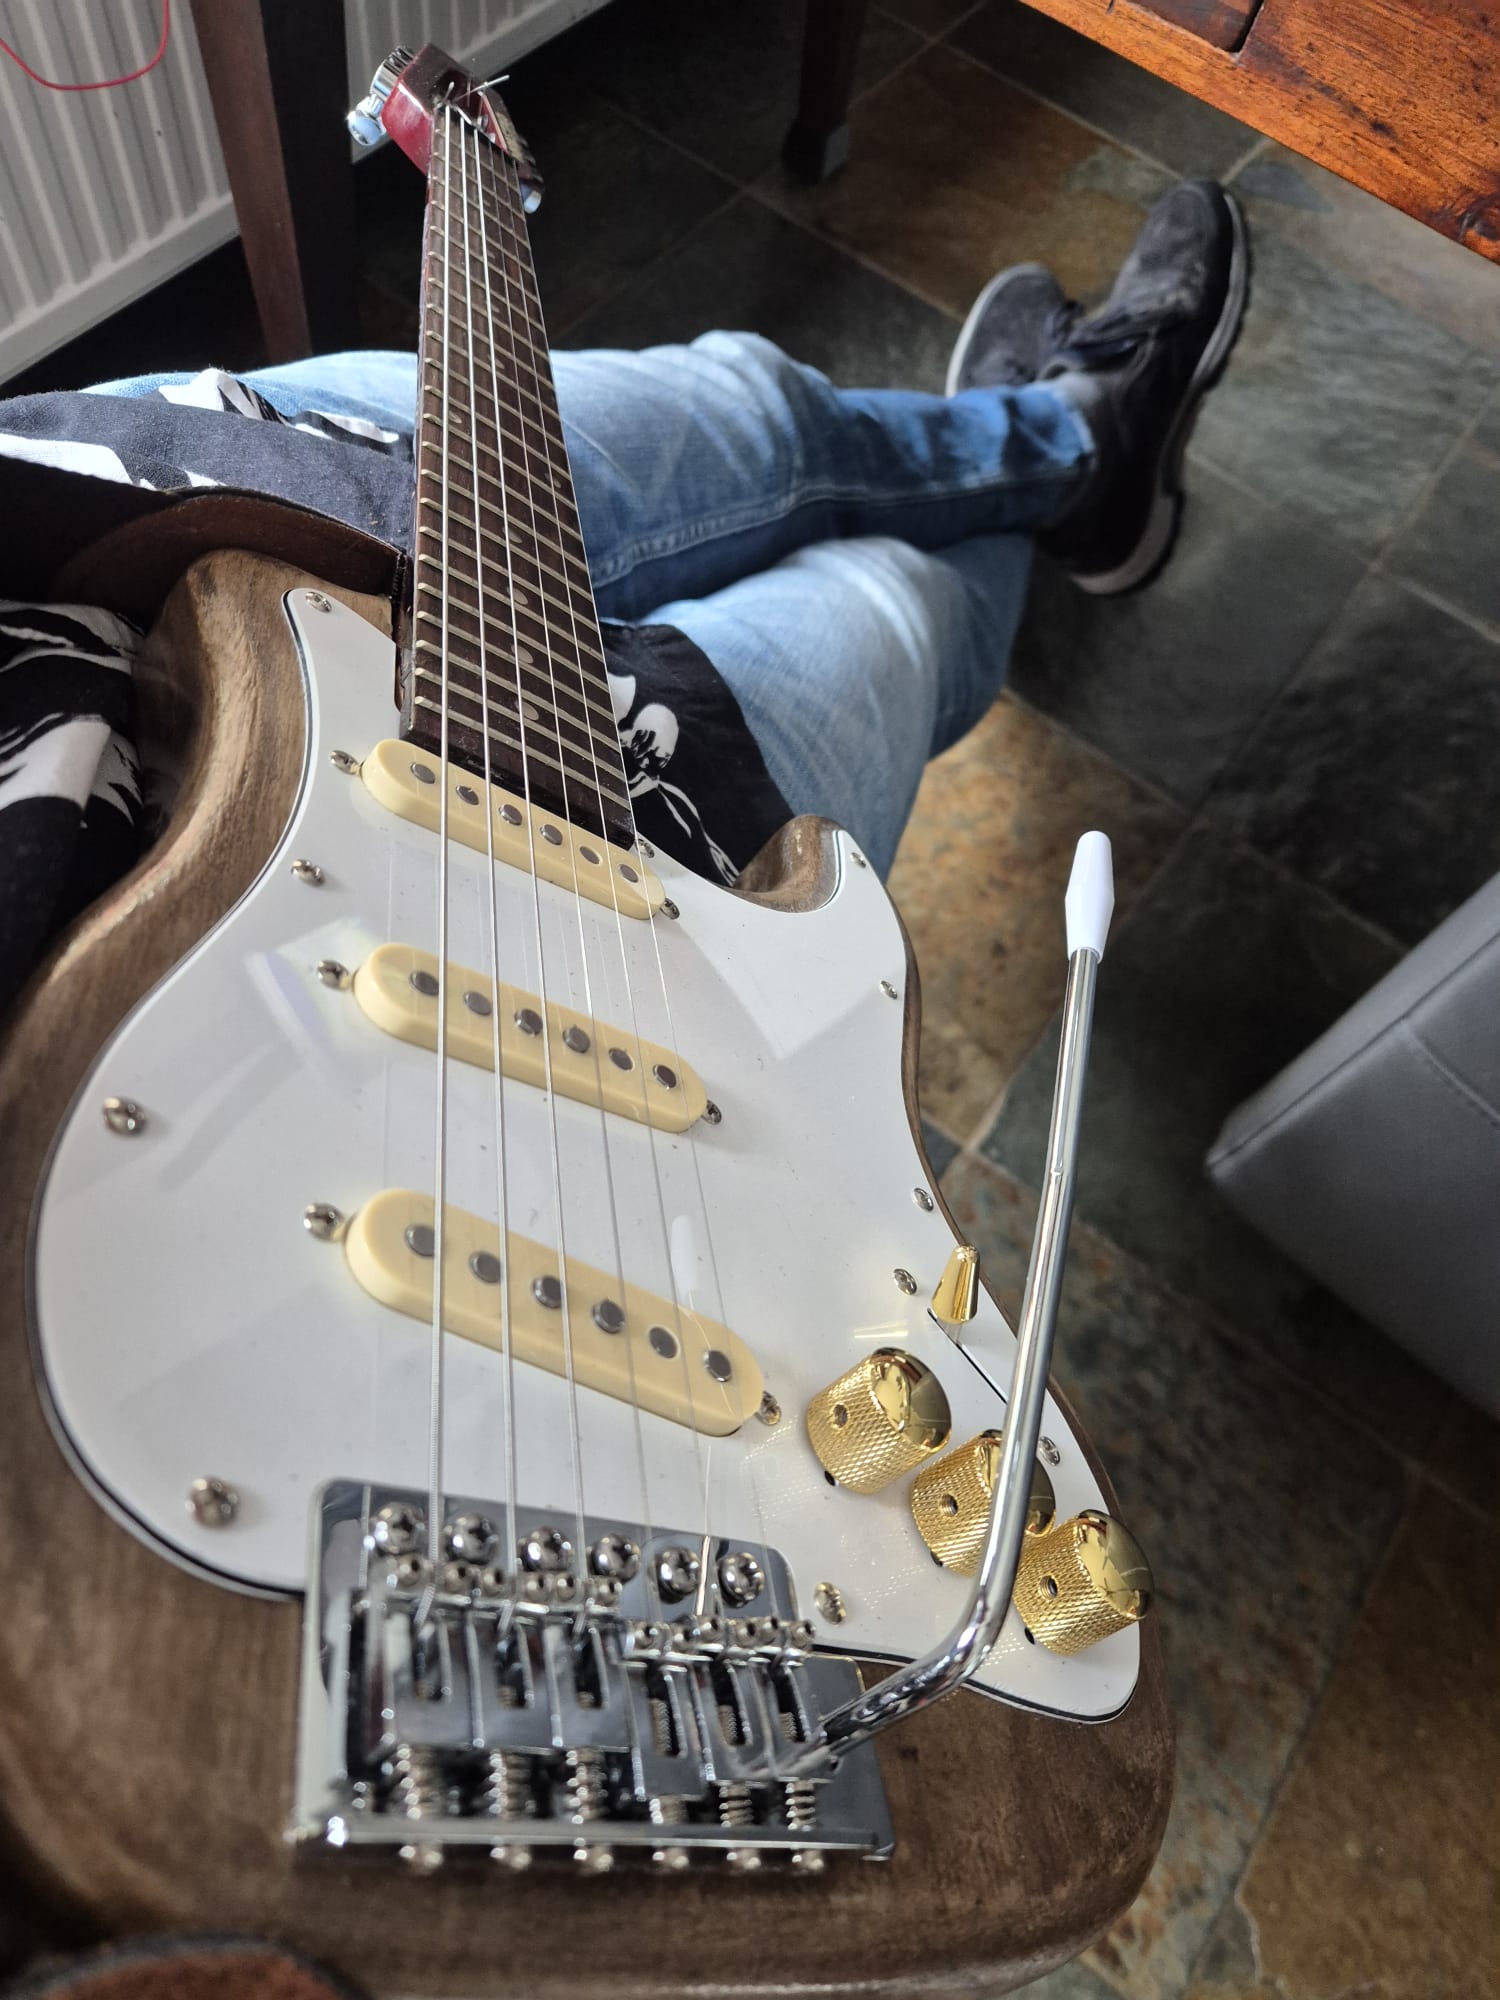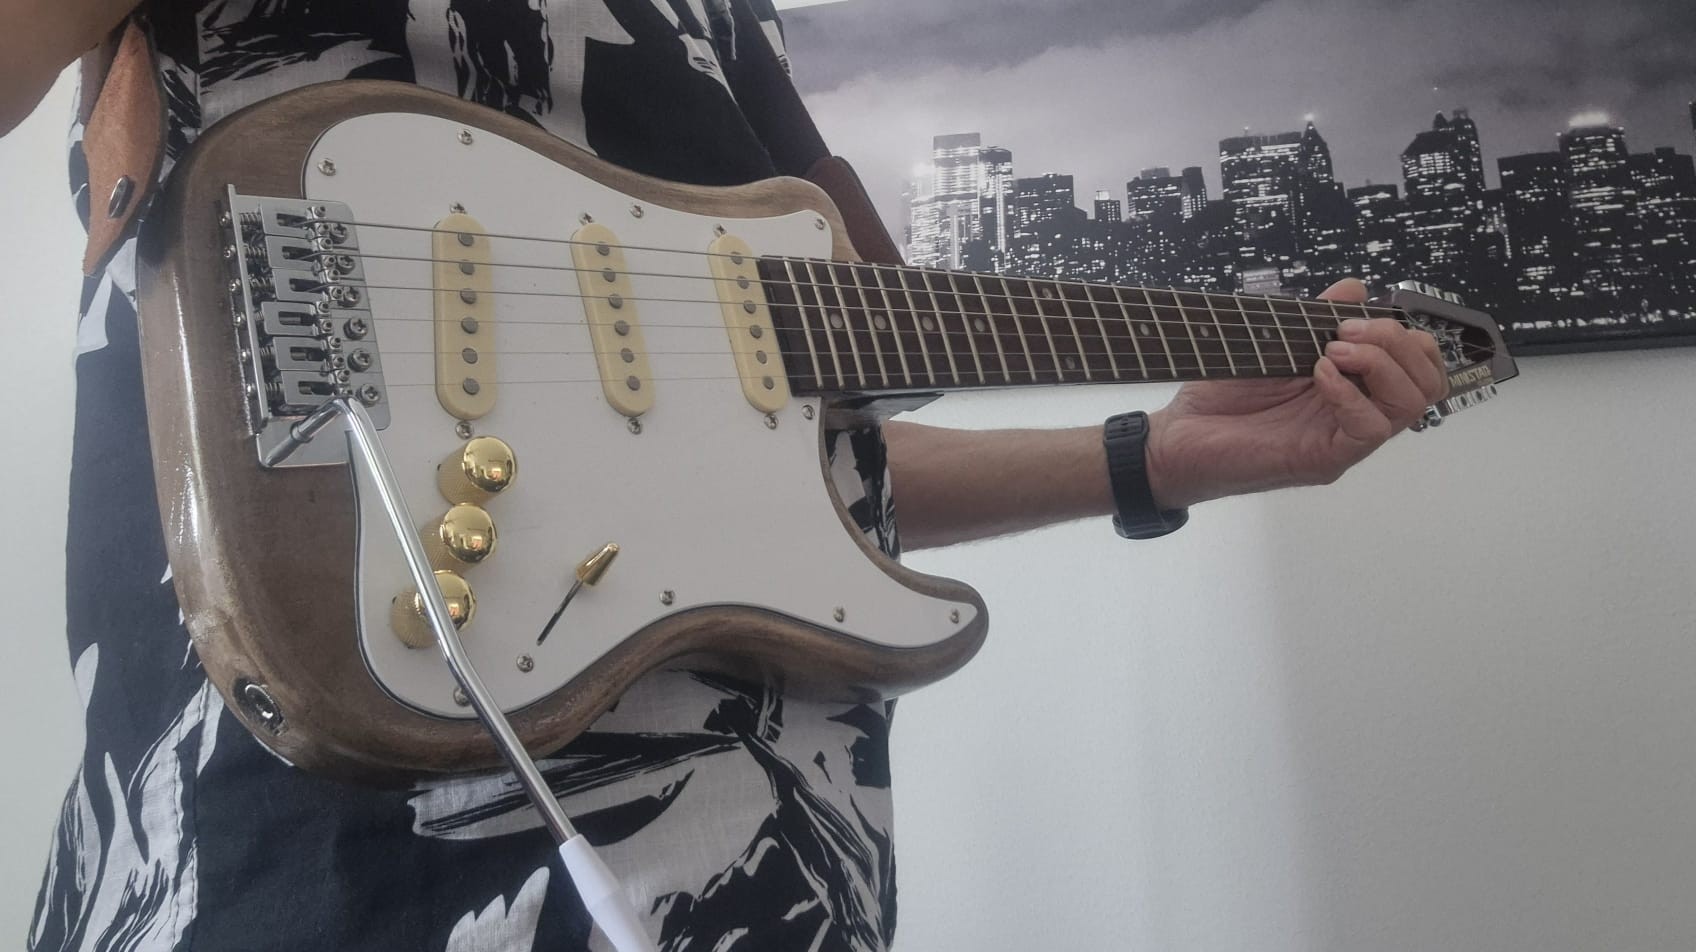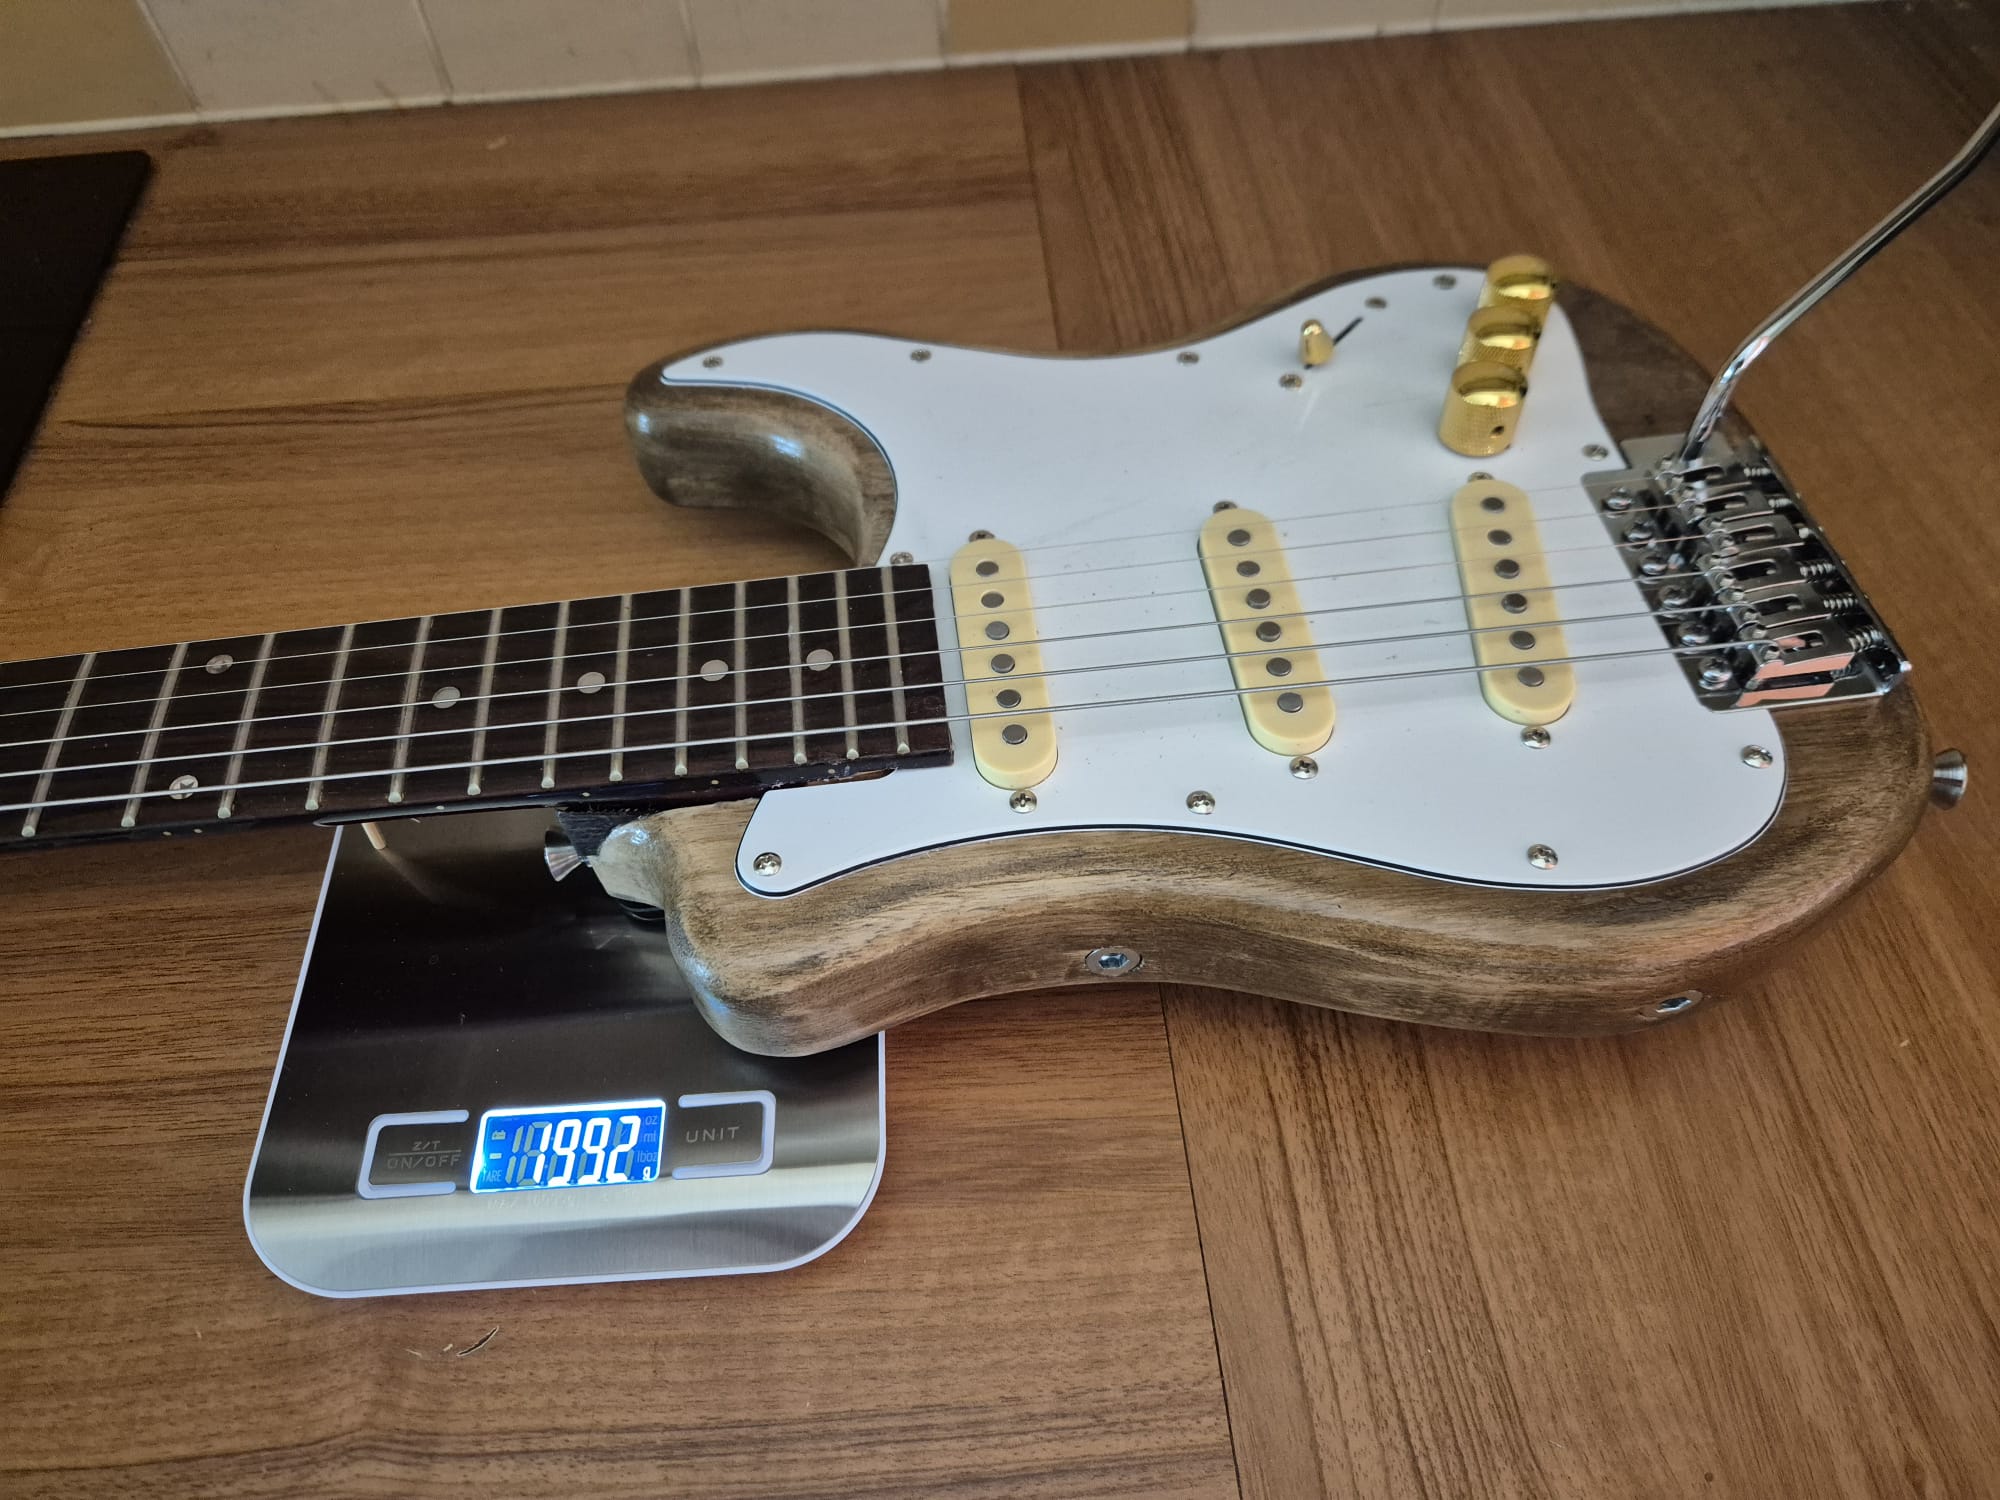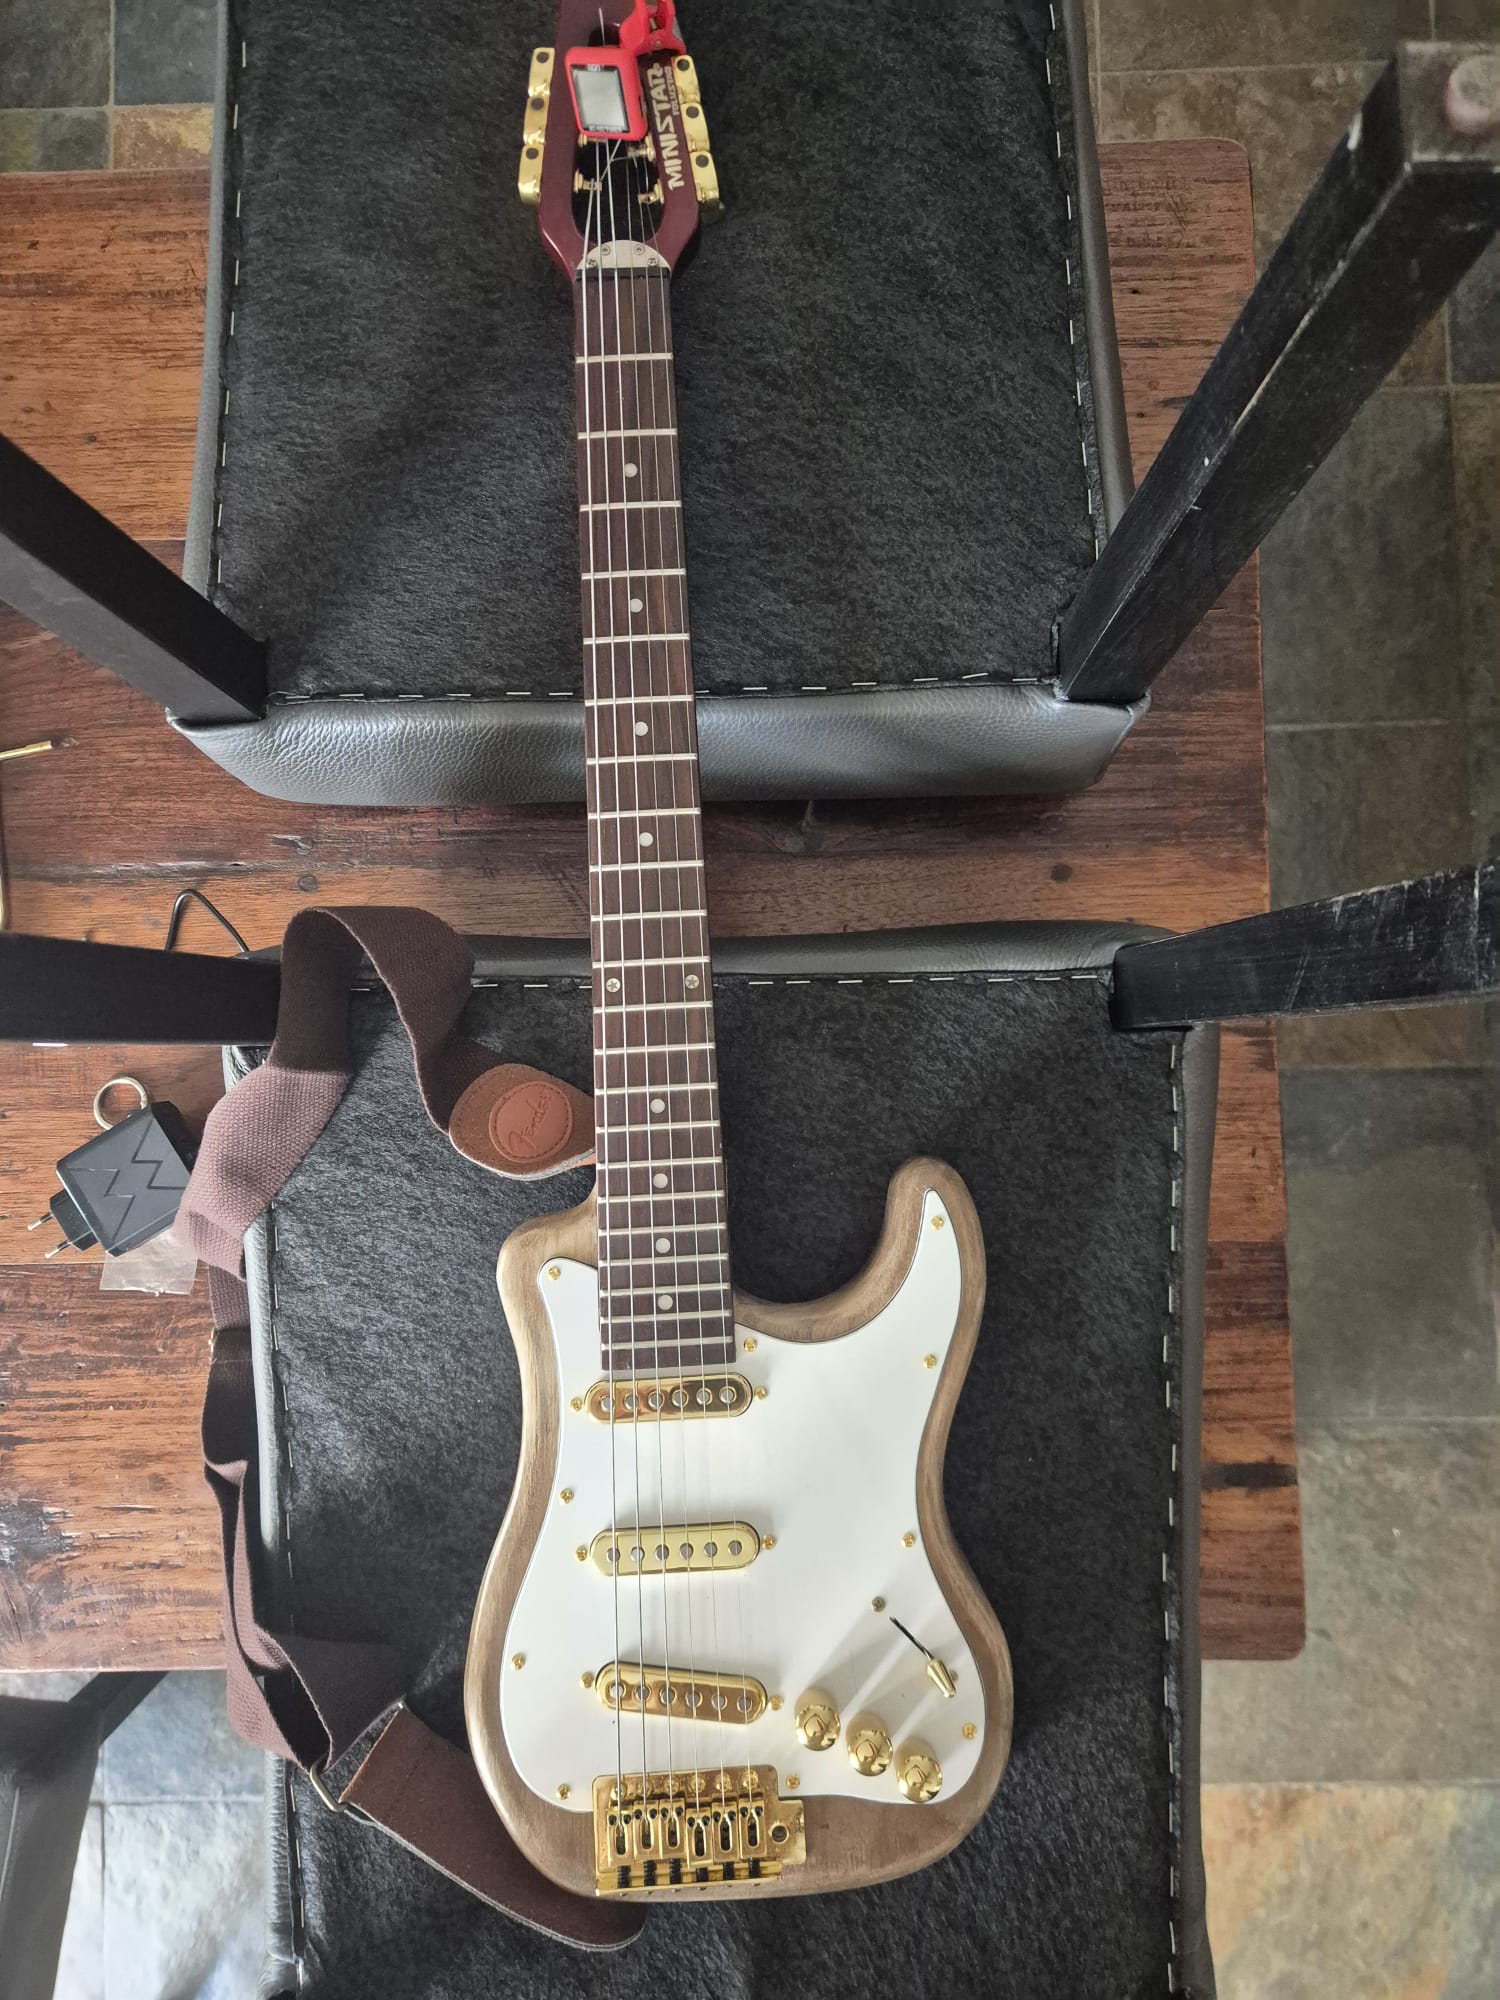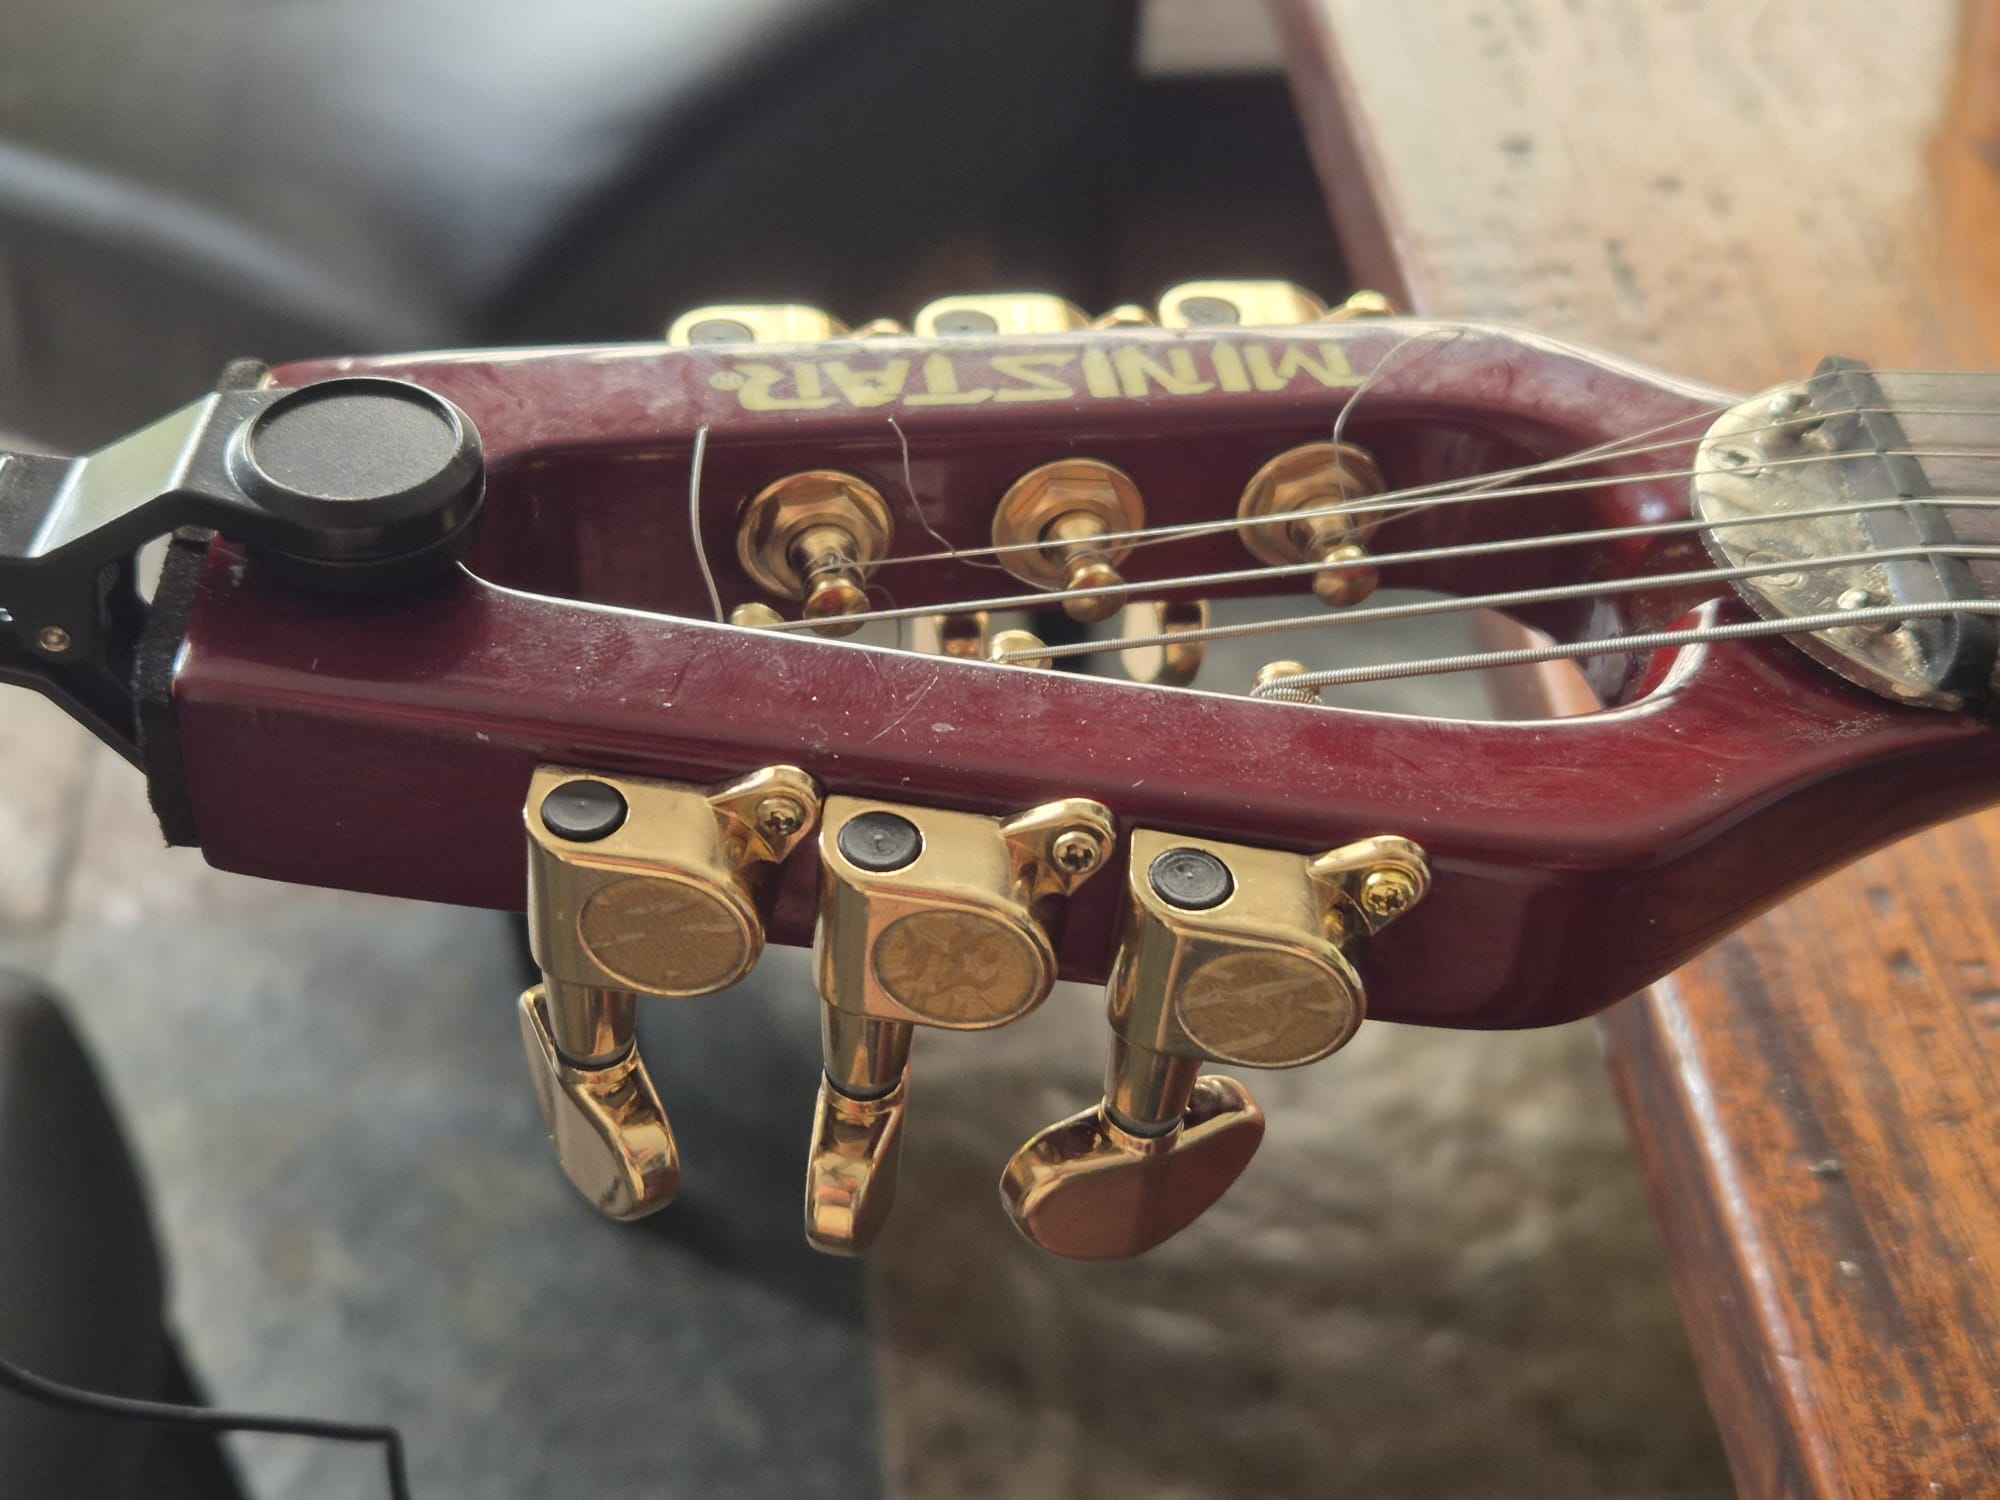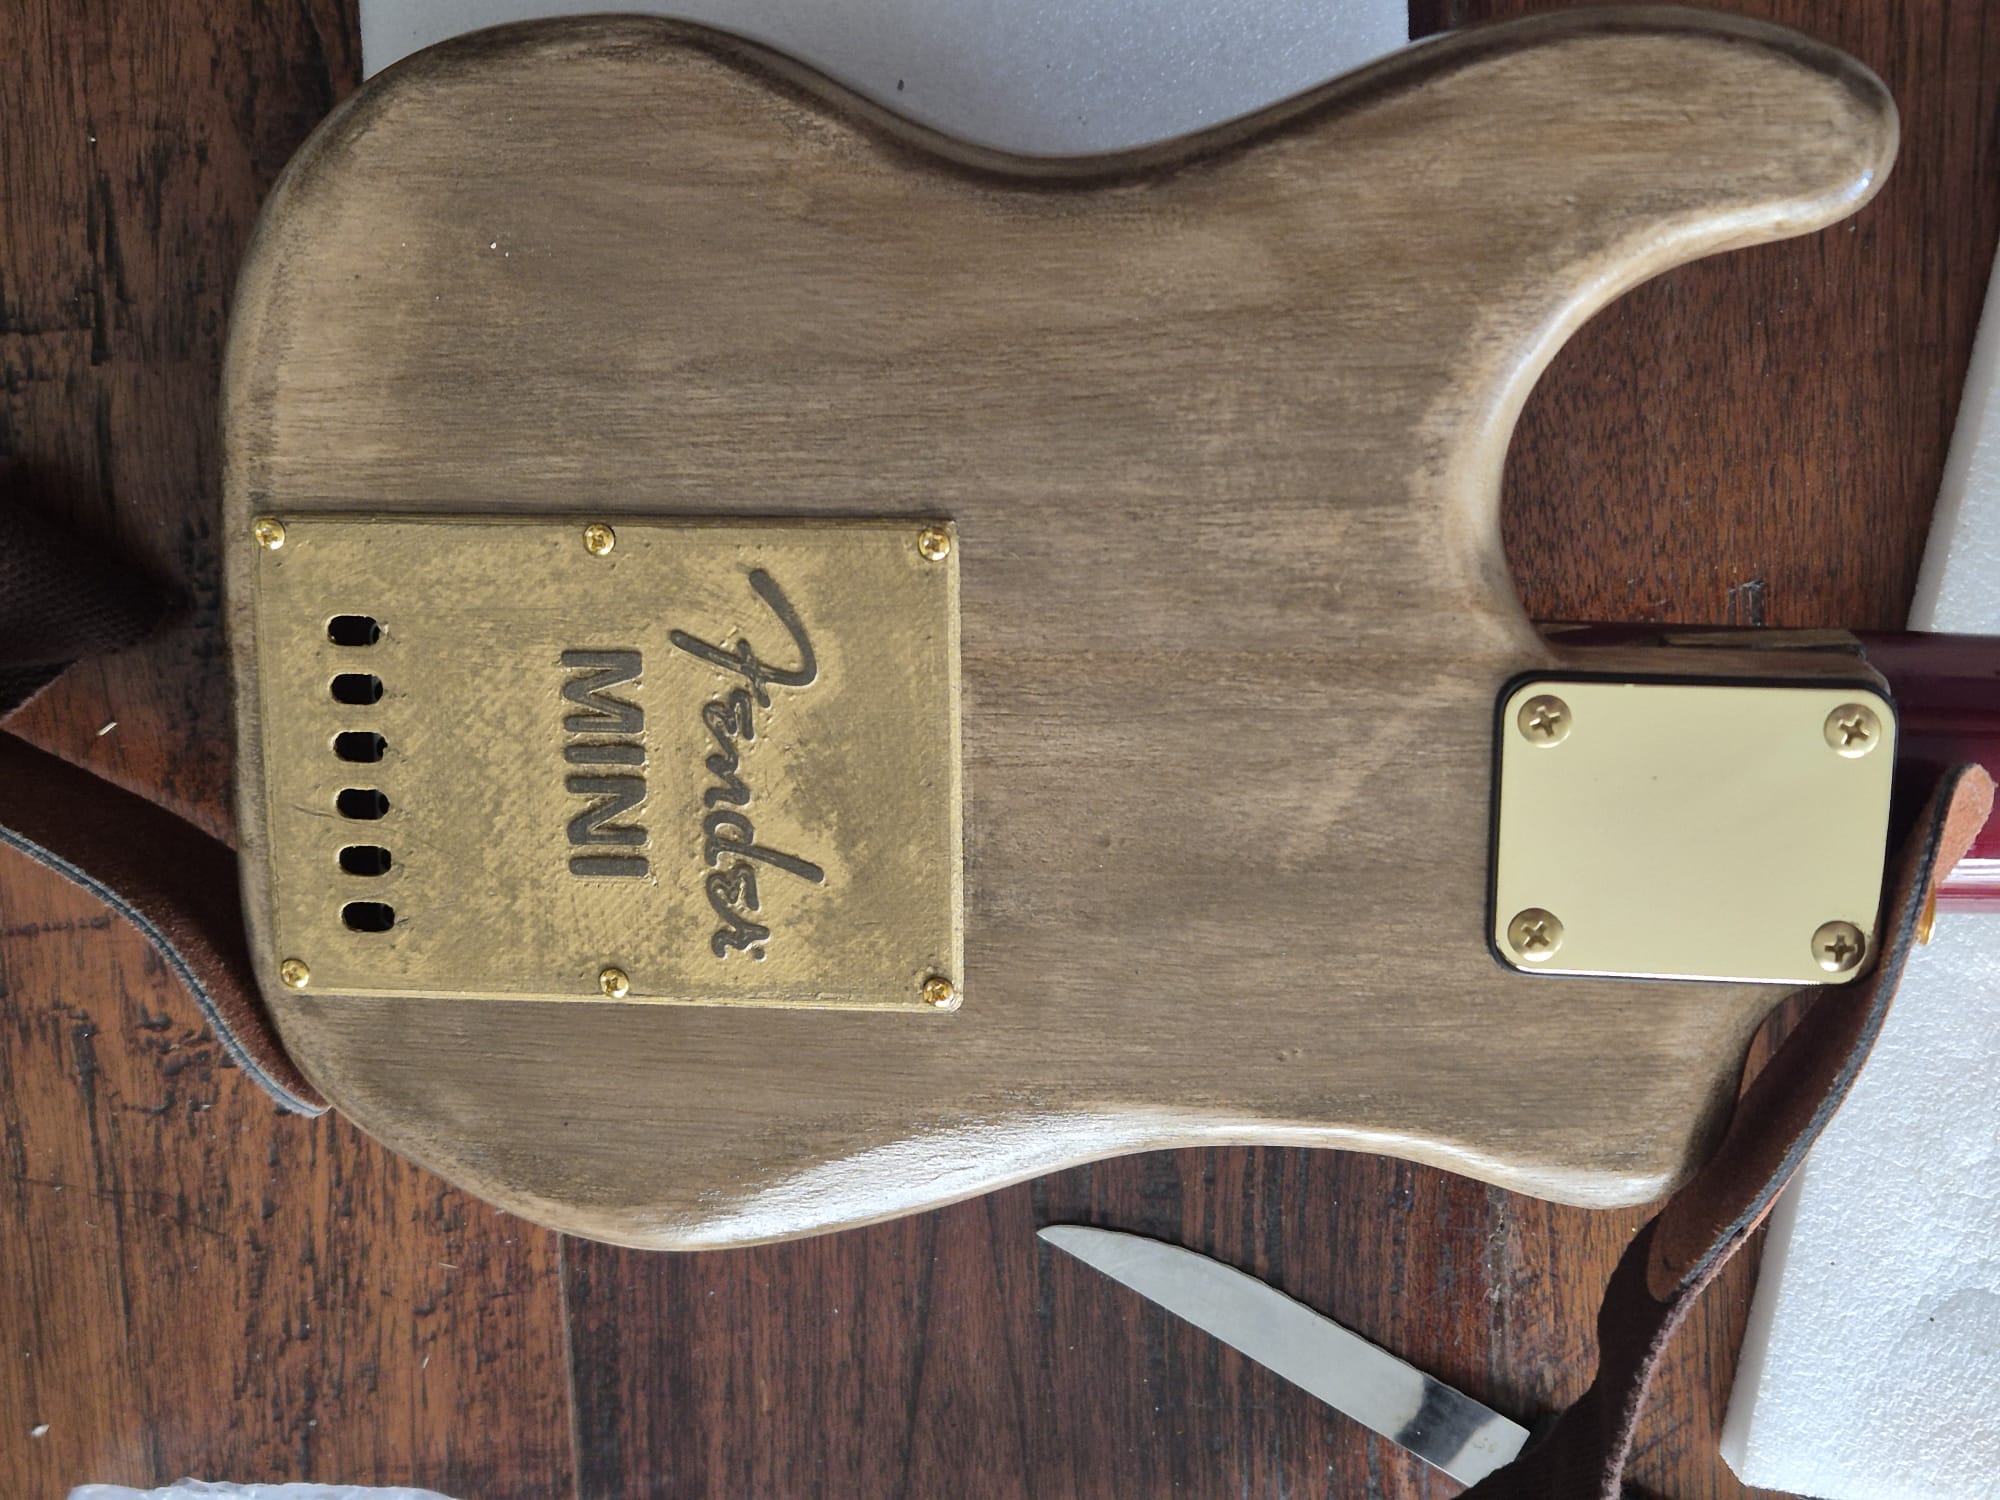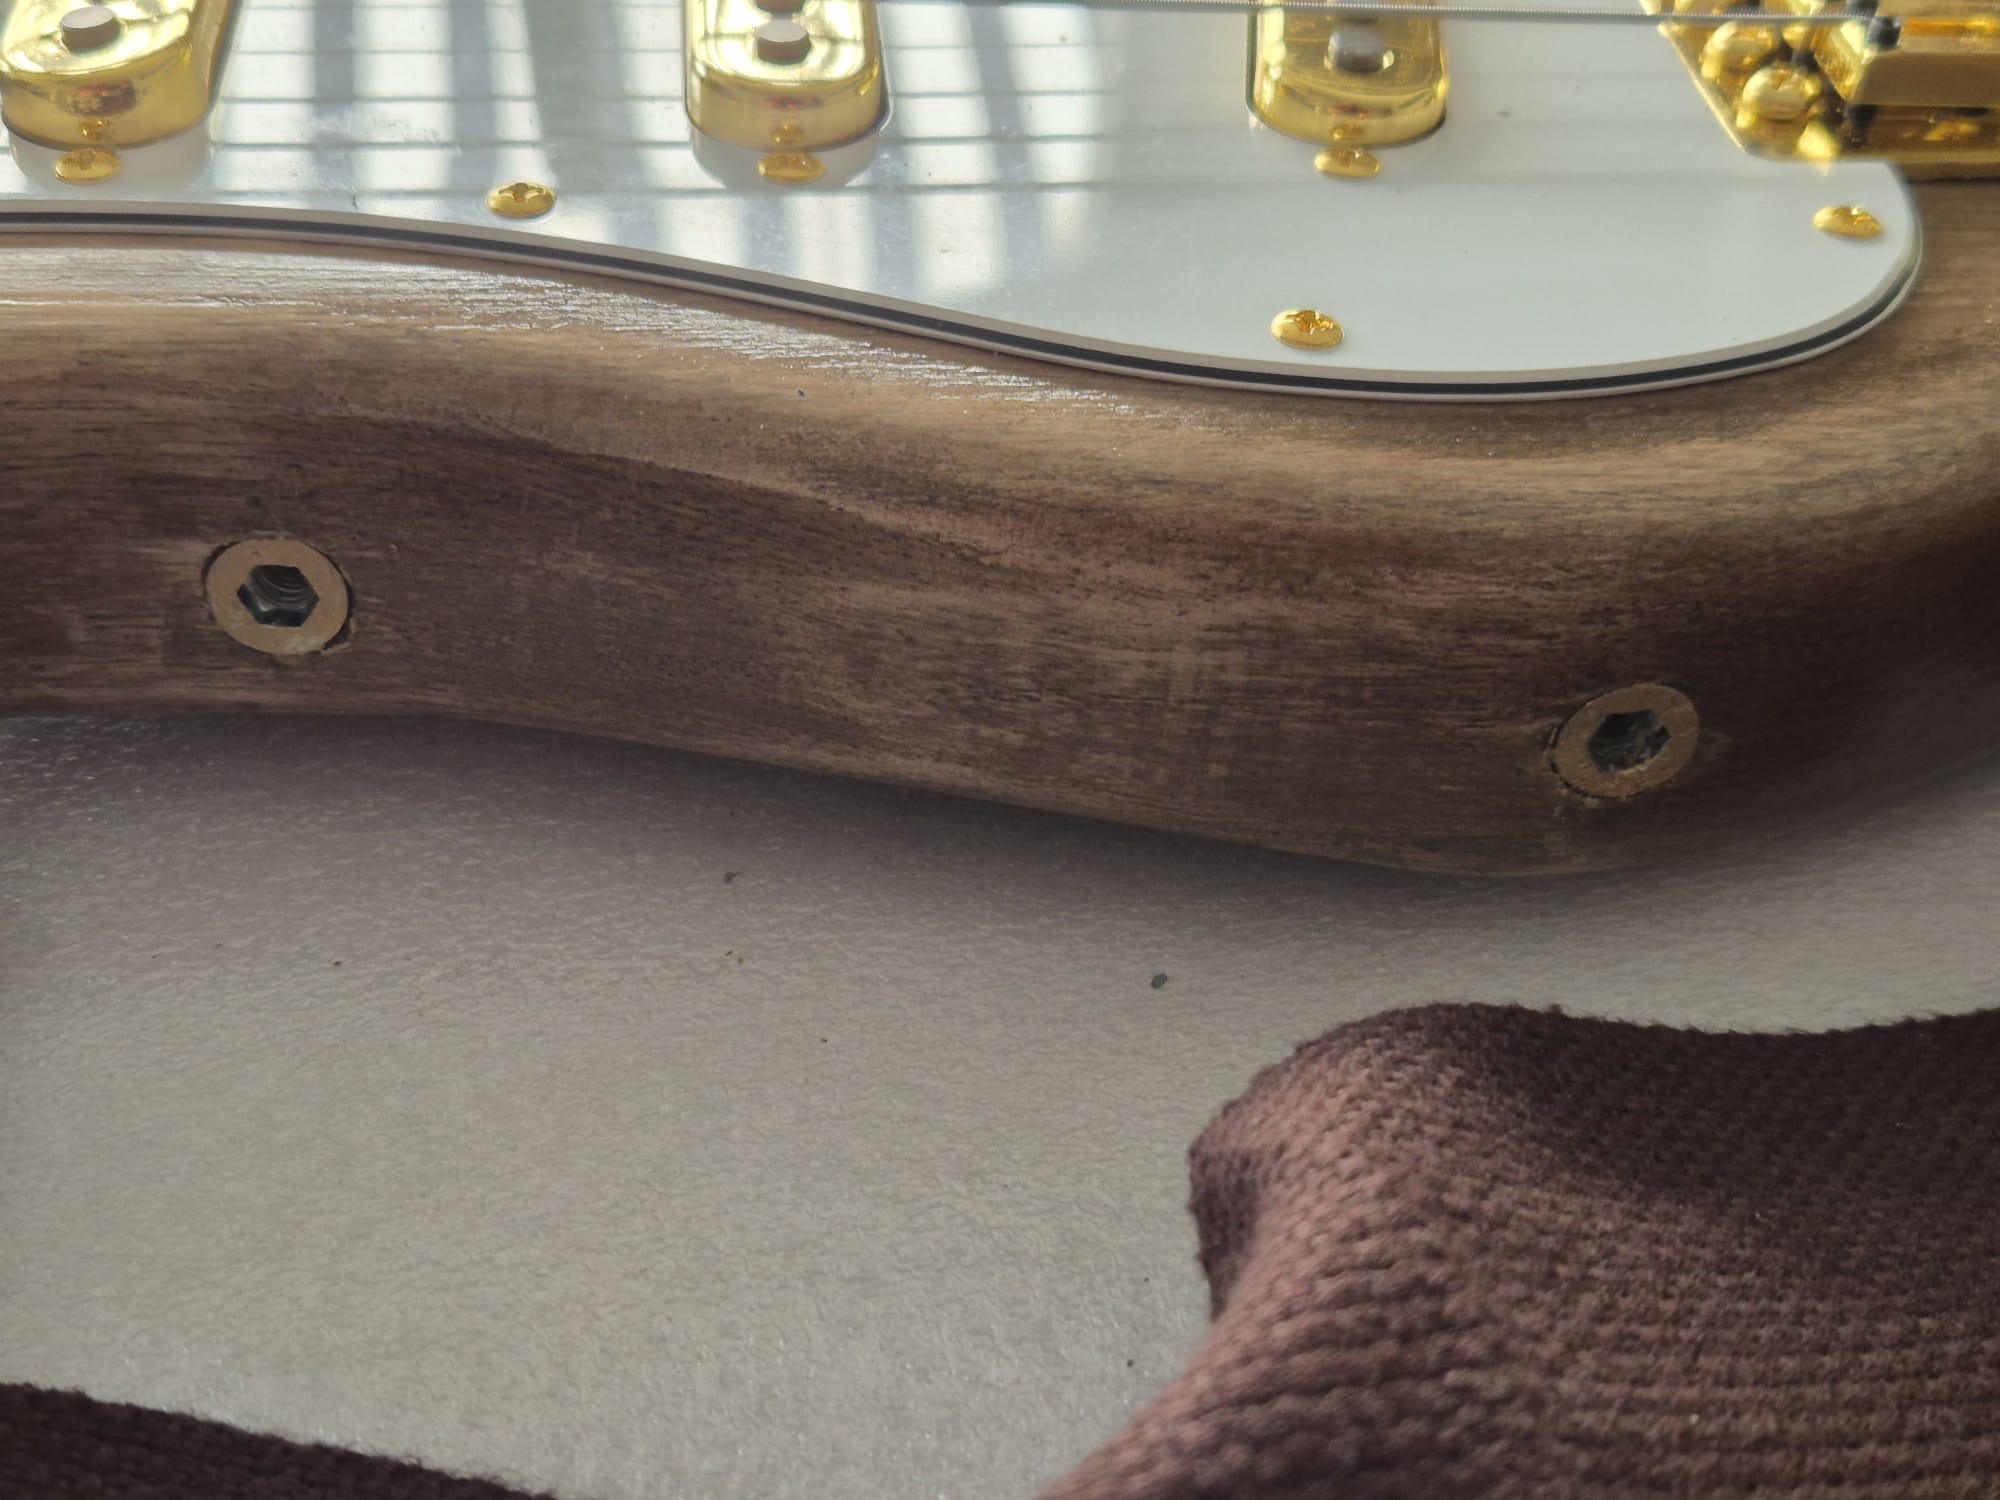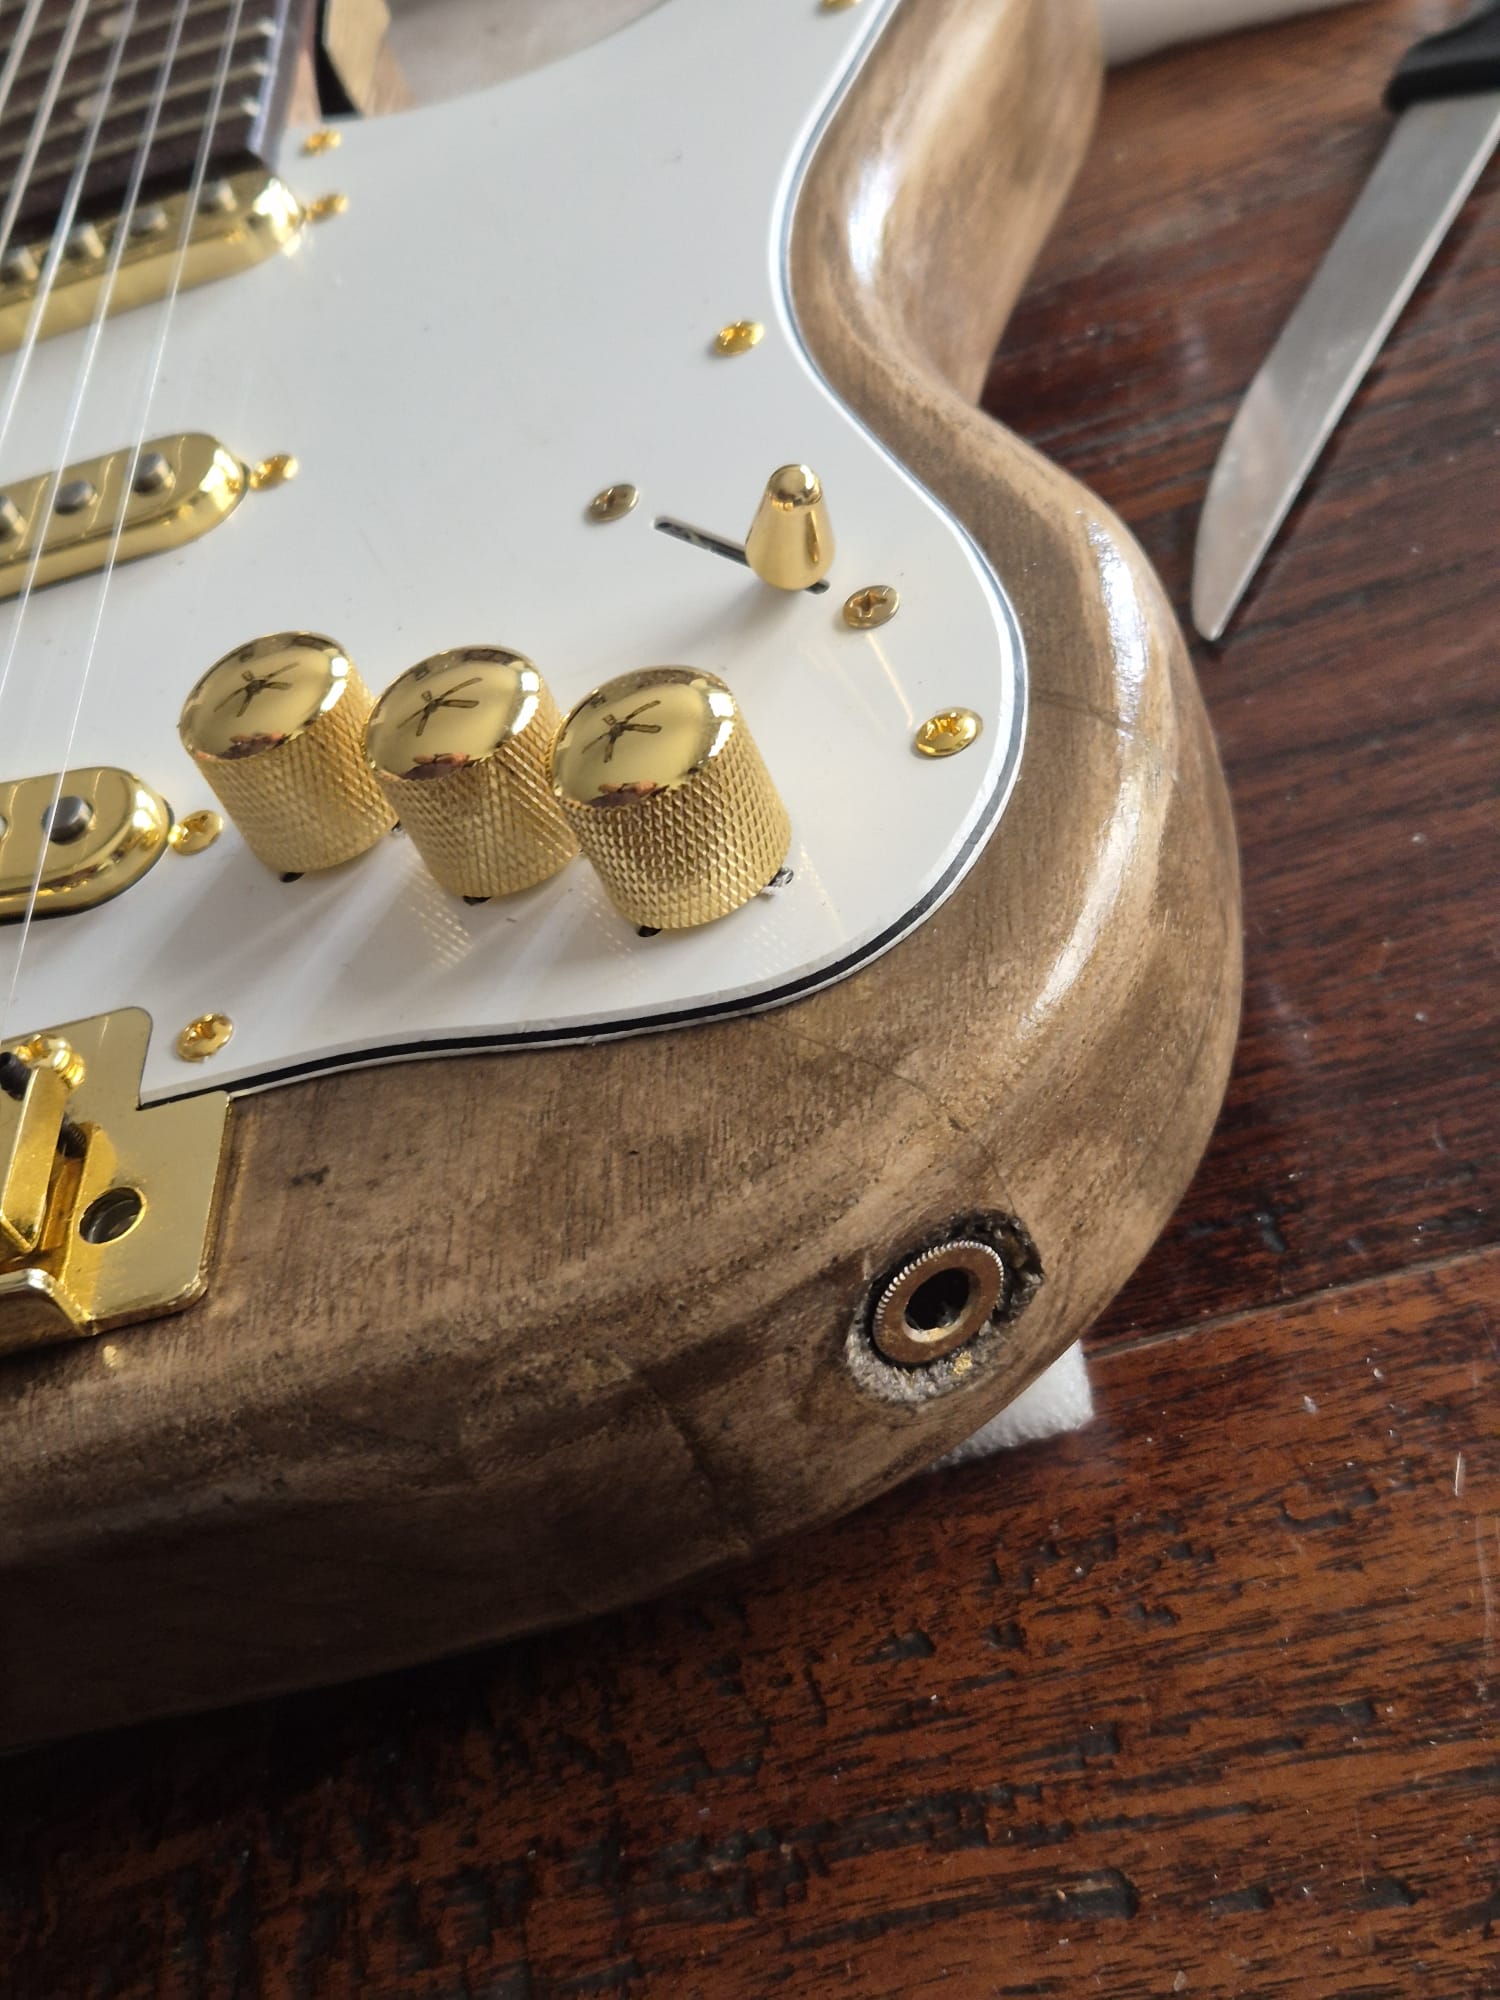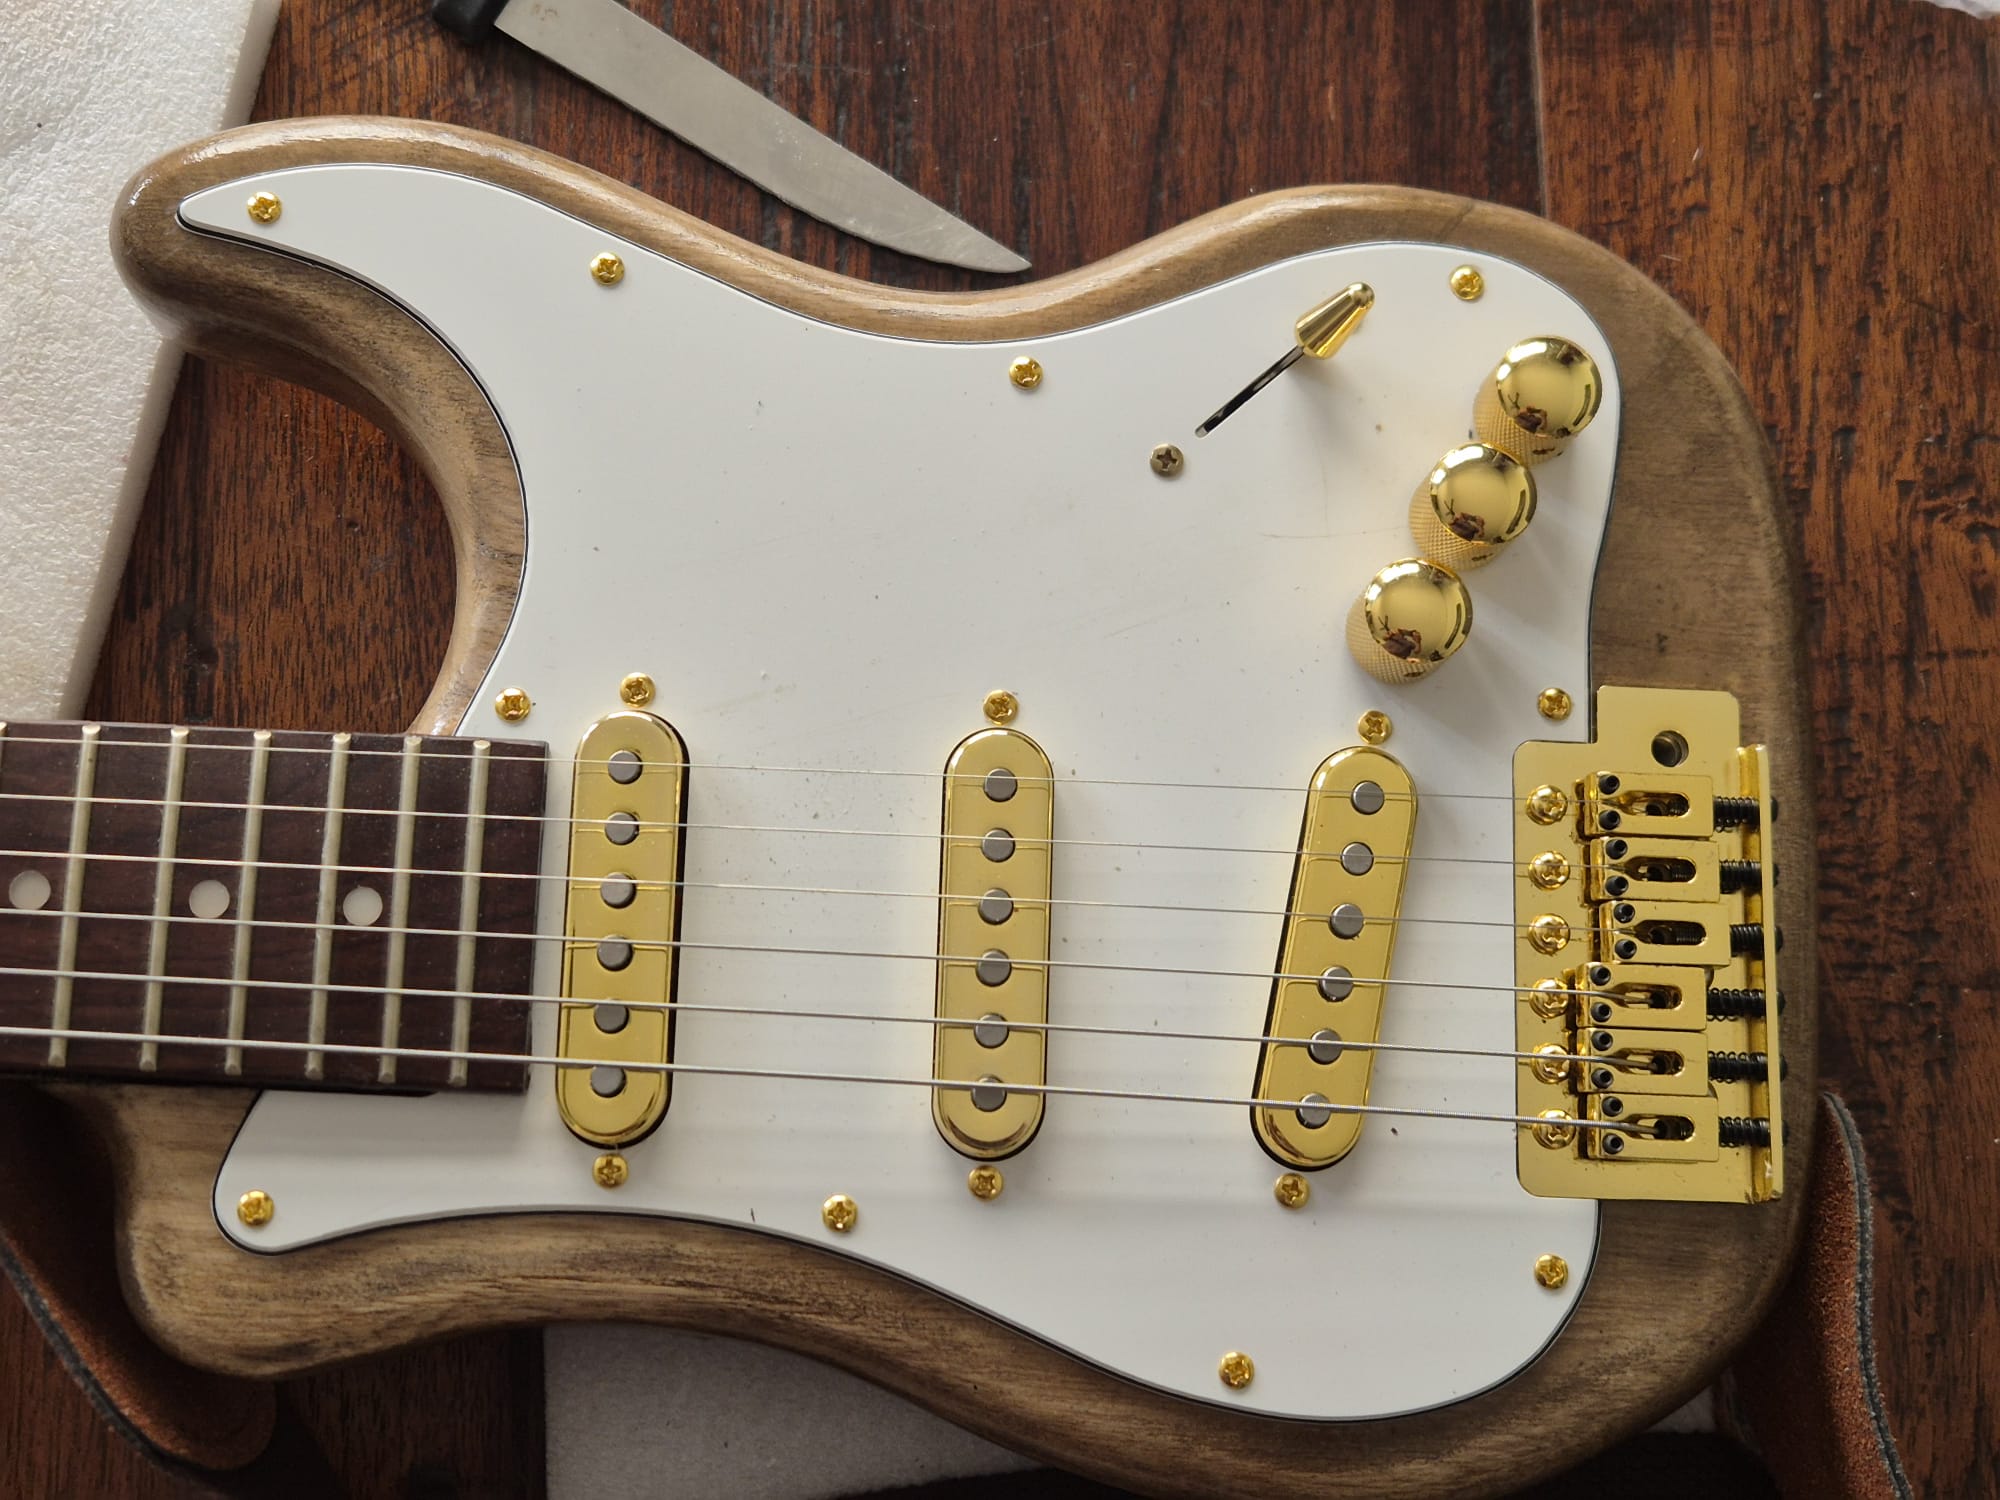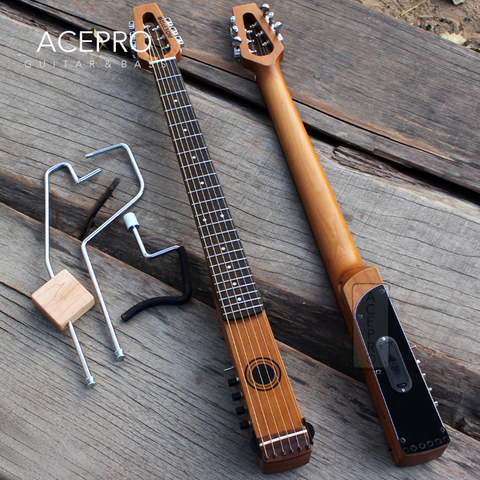

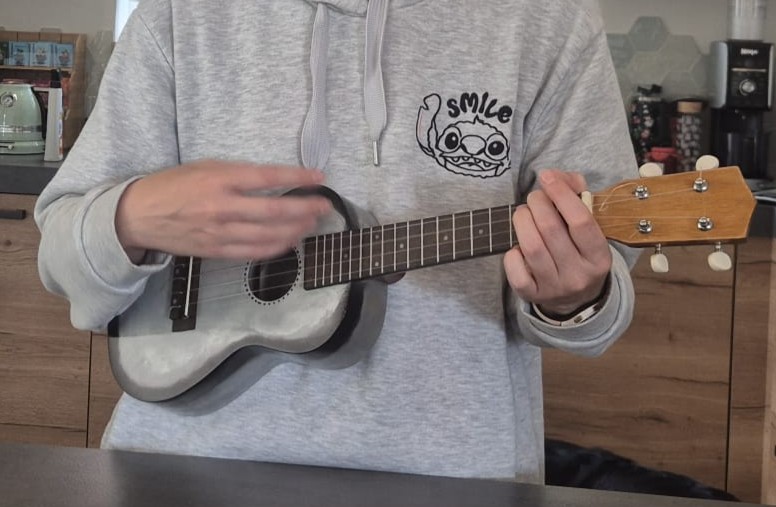
This is a storyboard of me building a concert ukelele based on a complete building kit of parts, and how I did this.
It may help you when you intend to go the same path.
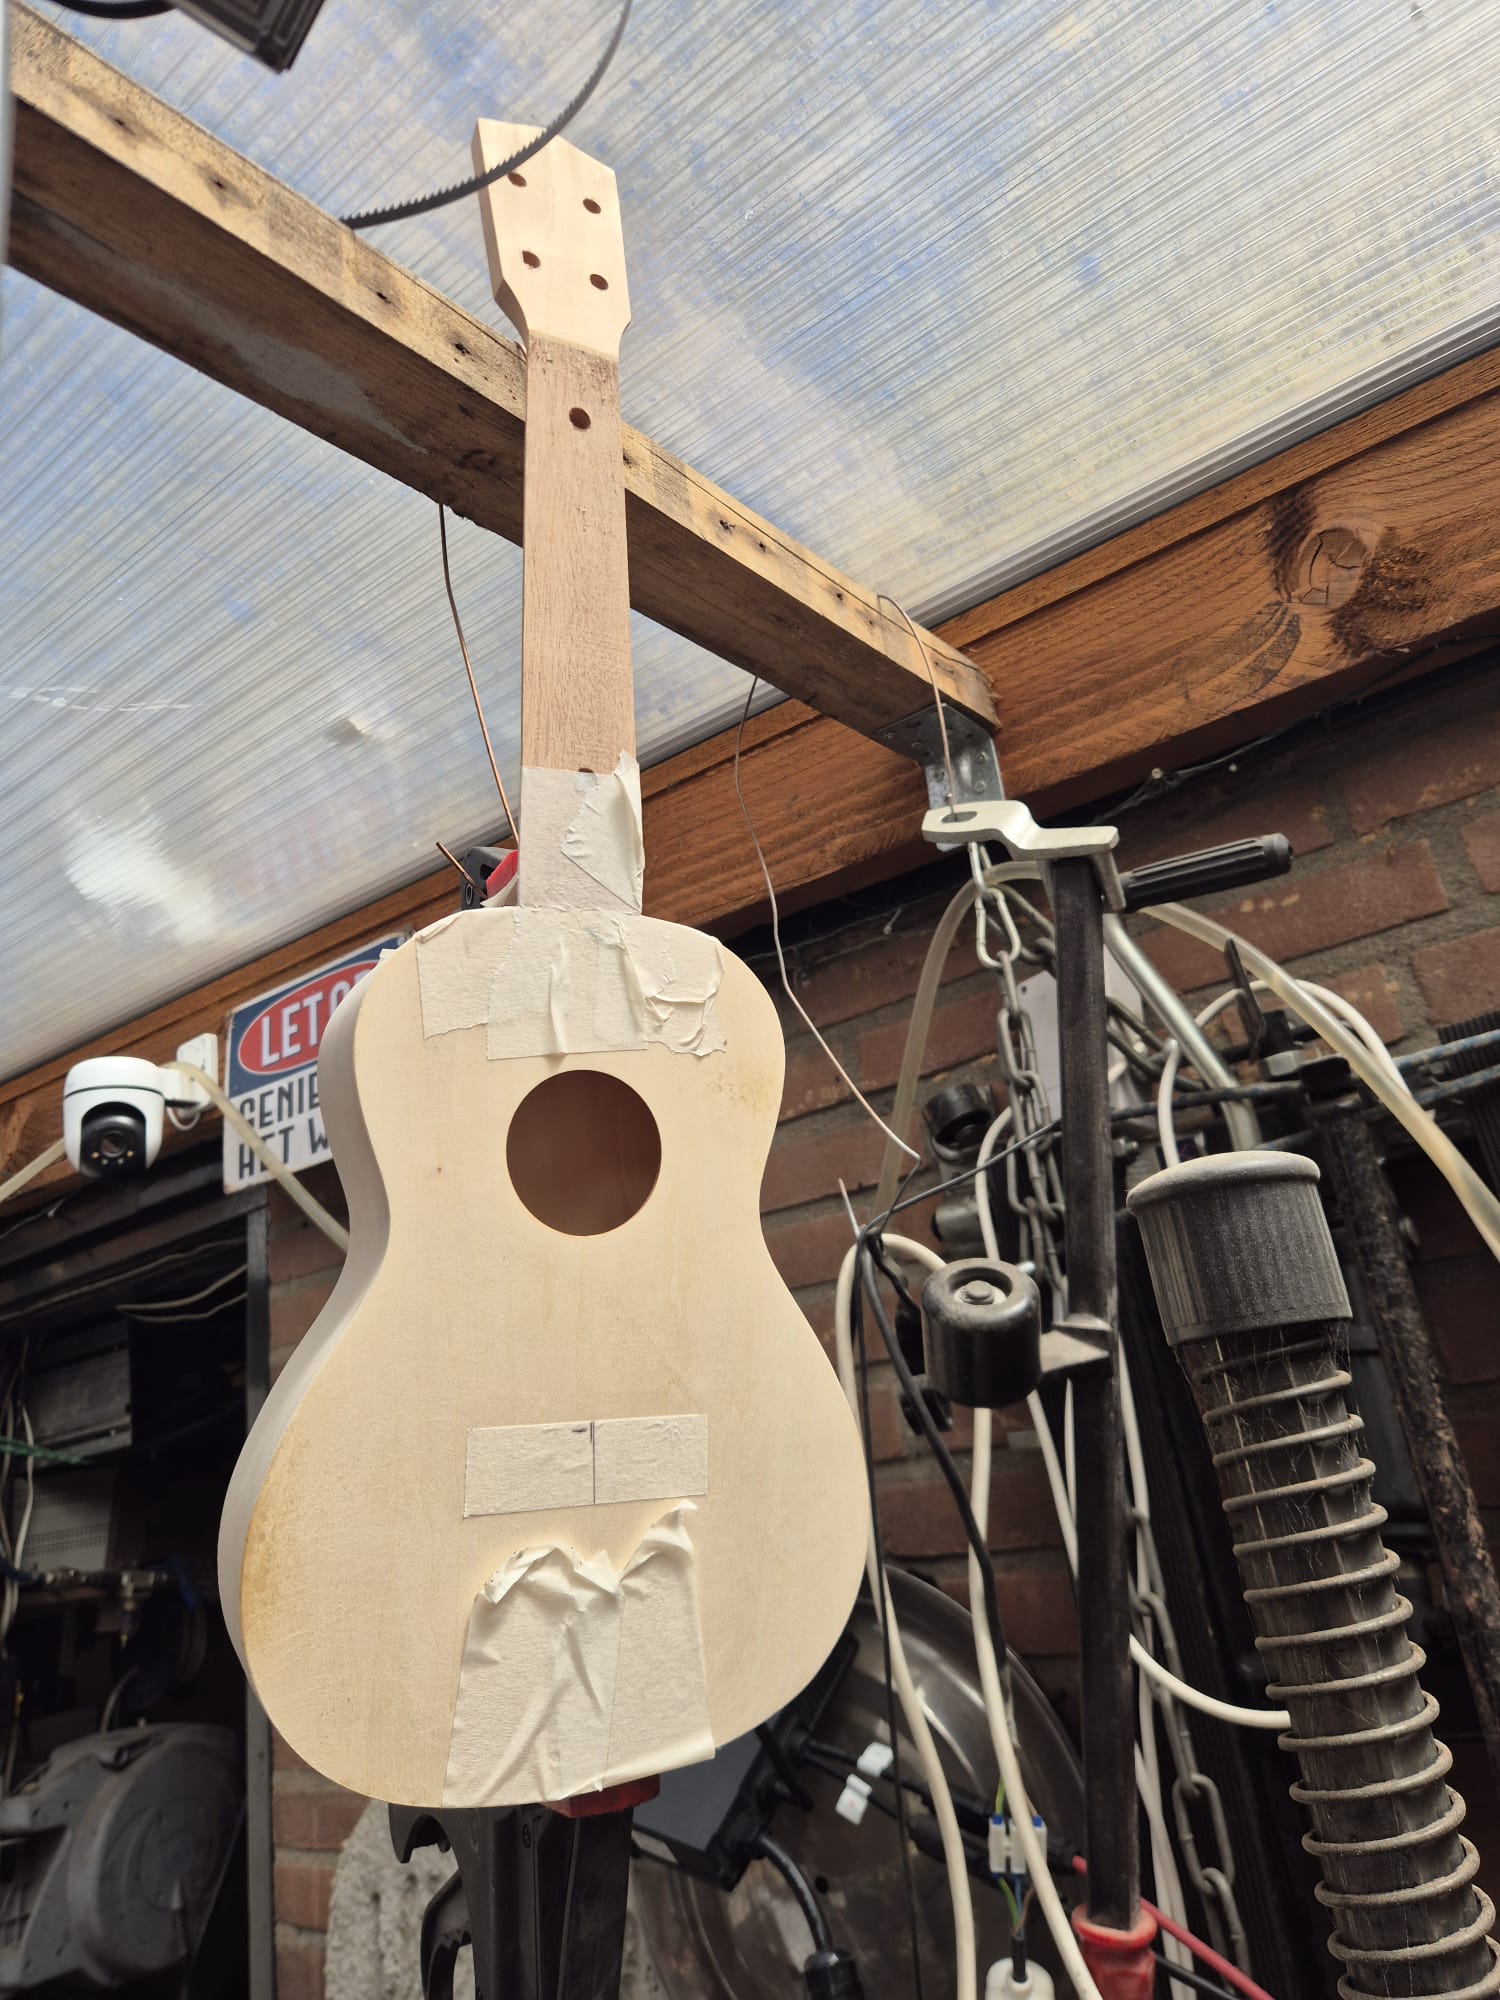
Got me a decent local concert-sized ukelele build kit and started with putting the neck on. I first lined up the bridge, put it on the front of the ukelele’s body with tape, temporarily put the nut, centered on top of the neck and did a testfit along the neck with a straight edge. The neck needed a bit of tweaking so that the top of the frets were parallel to the top of the bridge (without the topcam). To achieve this, I used a bit of 80 grit sandpaper on a rounded piece of wood to get some material off the neck’s fitting to the body (sand top or bottom, depending on wether you need to get it UP or DOWN) .
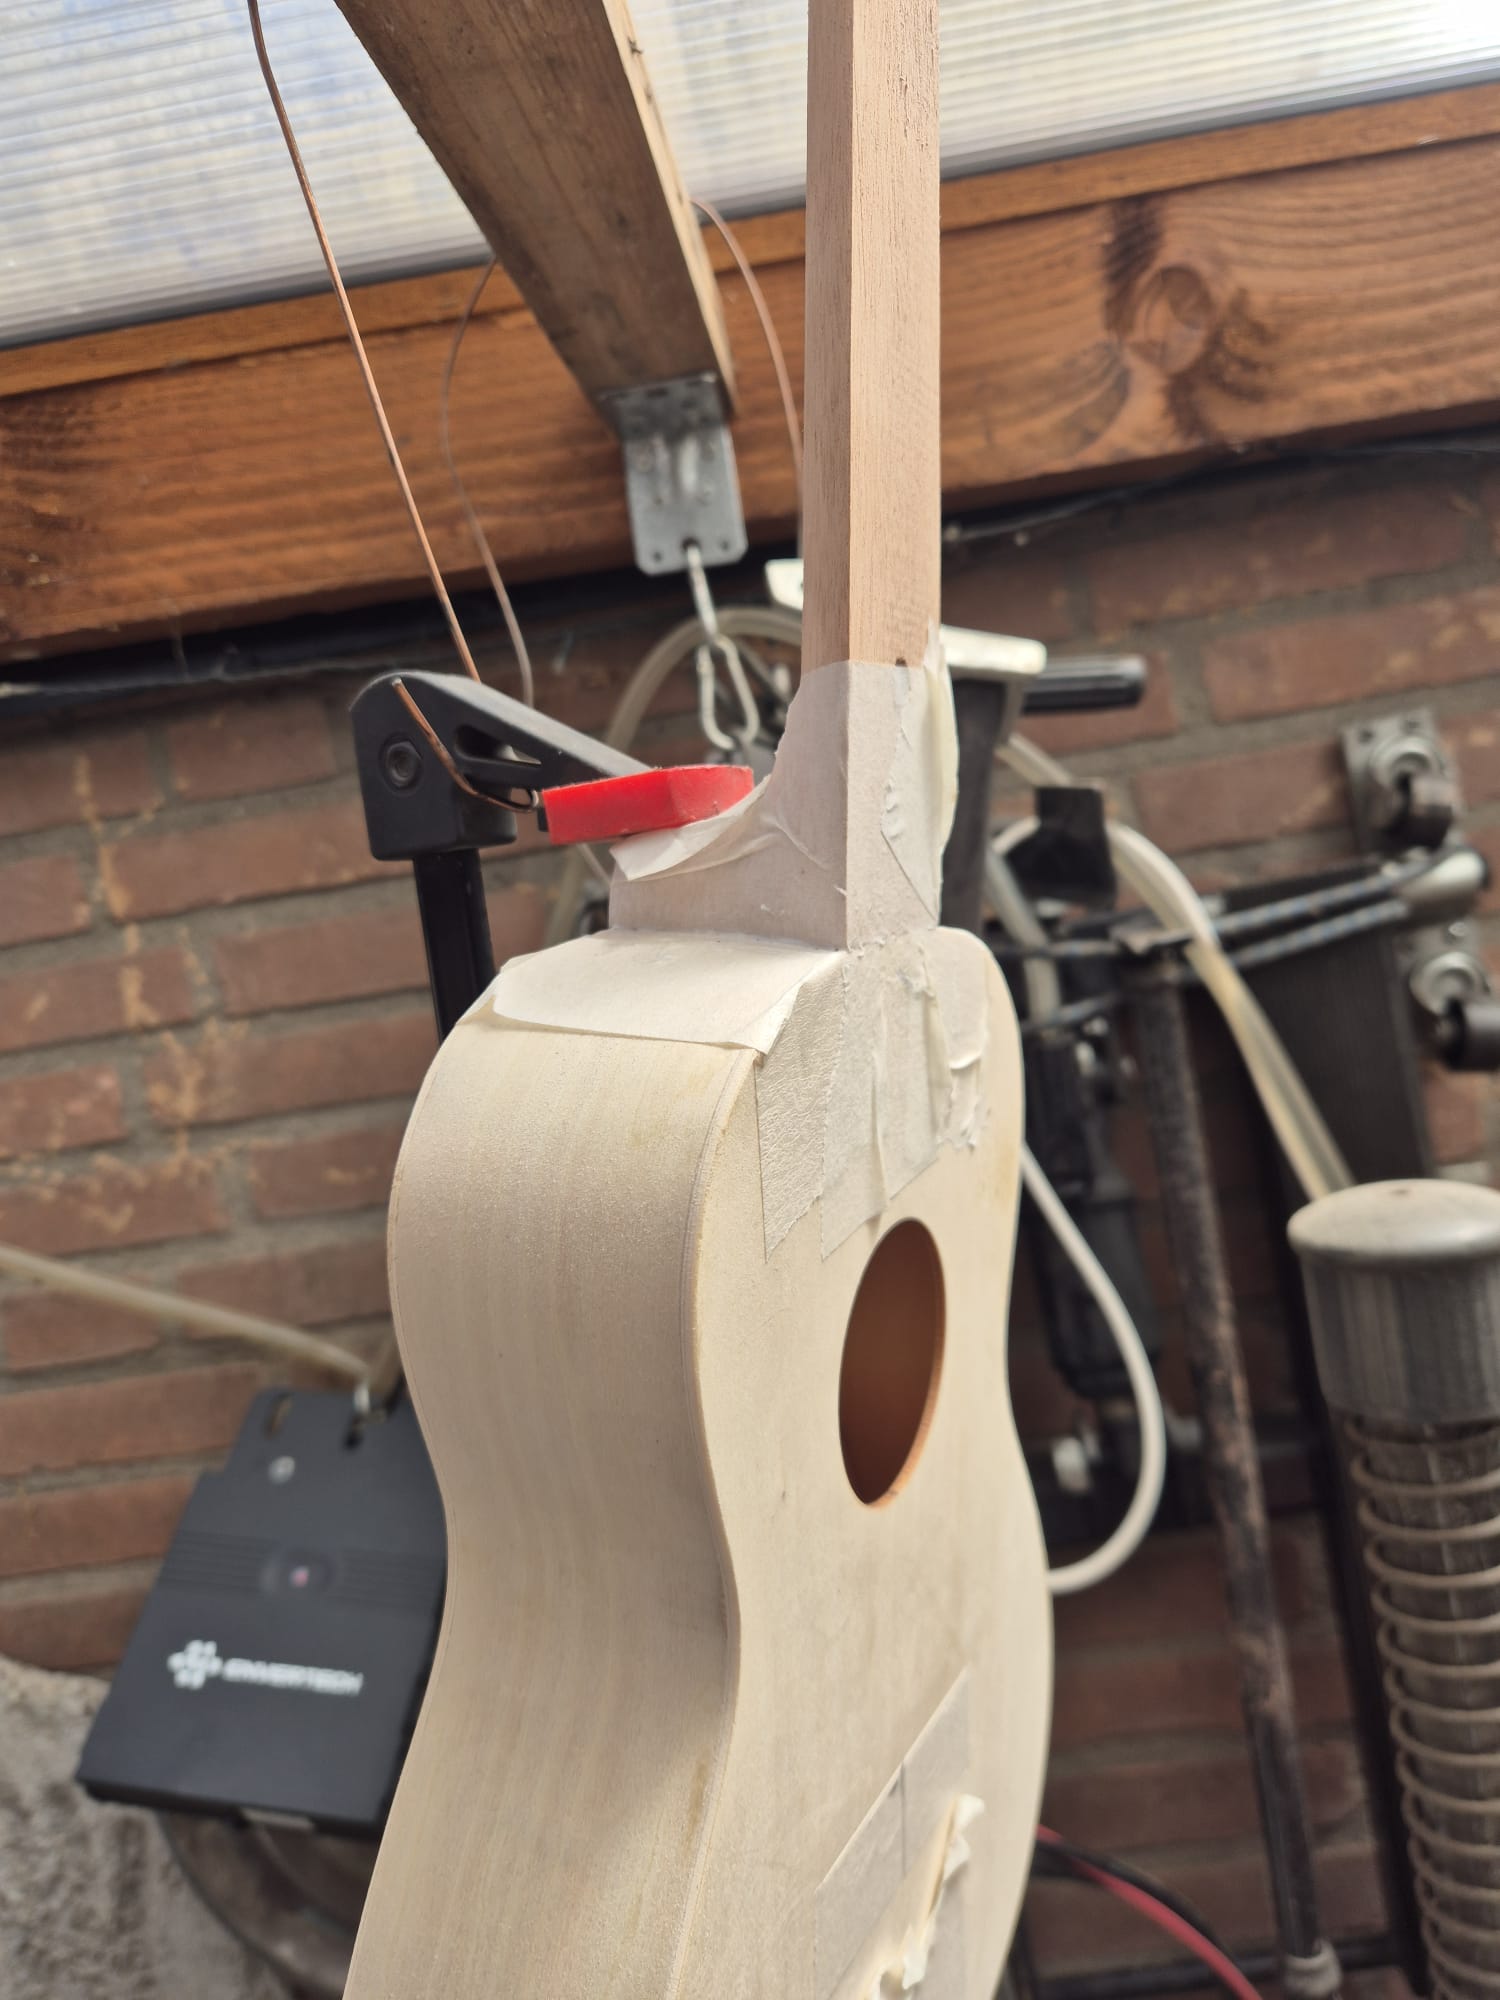
Then, I glued the 2 included wooden pegs in the neck and glued the neck on the body. I used painter’s tape to prevent any damaging on the neck and body and used a big clamp to press the neck on the body. When clamped on, I rechecked for straight mounting and adjustedb this again.
The trick to get this correct is: Use painter’s tape on the front of the ukelele’s body and make a line in the center with a pencil. This line must be in line with the center of the neck. On the neck, you will also need a piece of painter’s tape with a center line to work well.
After proper drying, I positioned the fretboard on to the neck and glued this on. I used a block of wood as press spreader on top of the fretboard an clamped it on the neck with 4 clamps.
Then, after proper drying, I made the shape of the neck fit the fretboard by shaving the neck off. After this, the neck was sanded down by hand from 40-80-160 and 400 grit. Finally, i taped everything except the neck’s rear and except the head’s front and rear. I sprayed 5 coats of synthetic 1-stage acrylic clearcoat.
Next was spraypainting the body.
I sanded all of the body with 180 grit to get the factory-primer off. Then I taped all of the neck off, as well as the rear of the body AND I also taped off the exact space that will be occupied by the bridge, so later on I can glue the bridge on the front wood by removing this piece of painter’s tape.
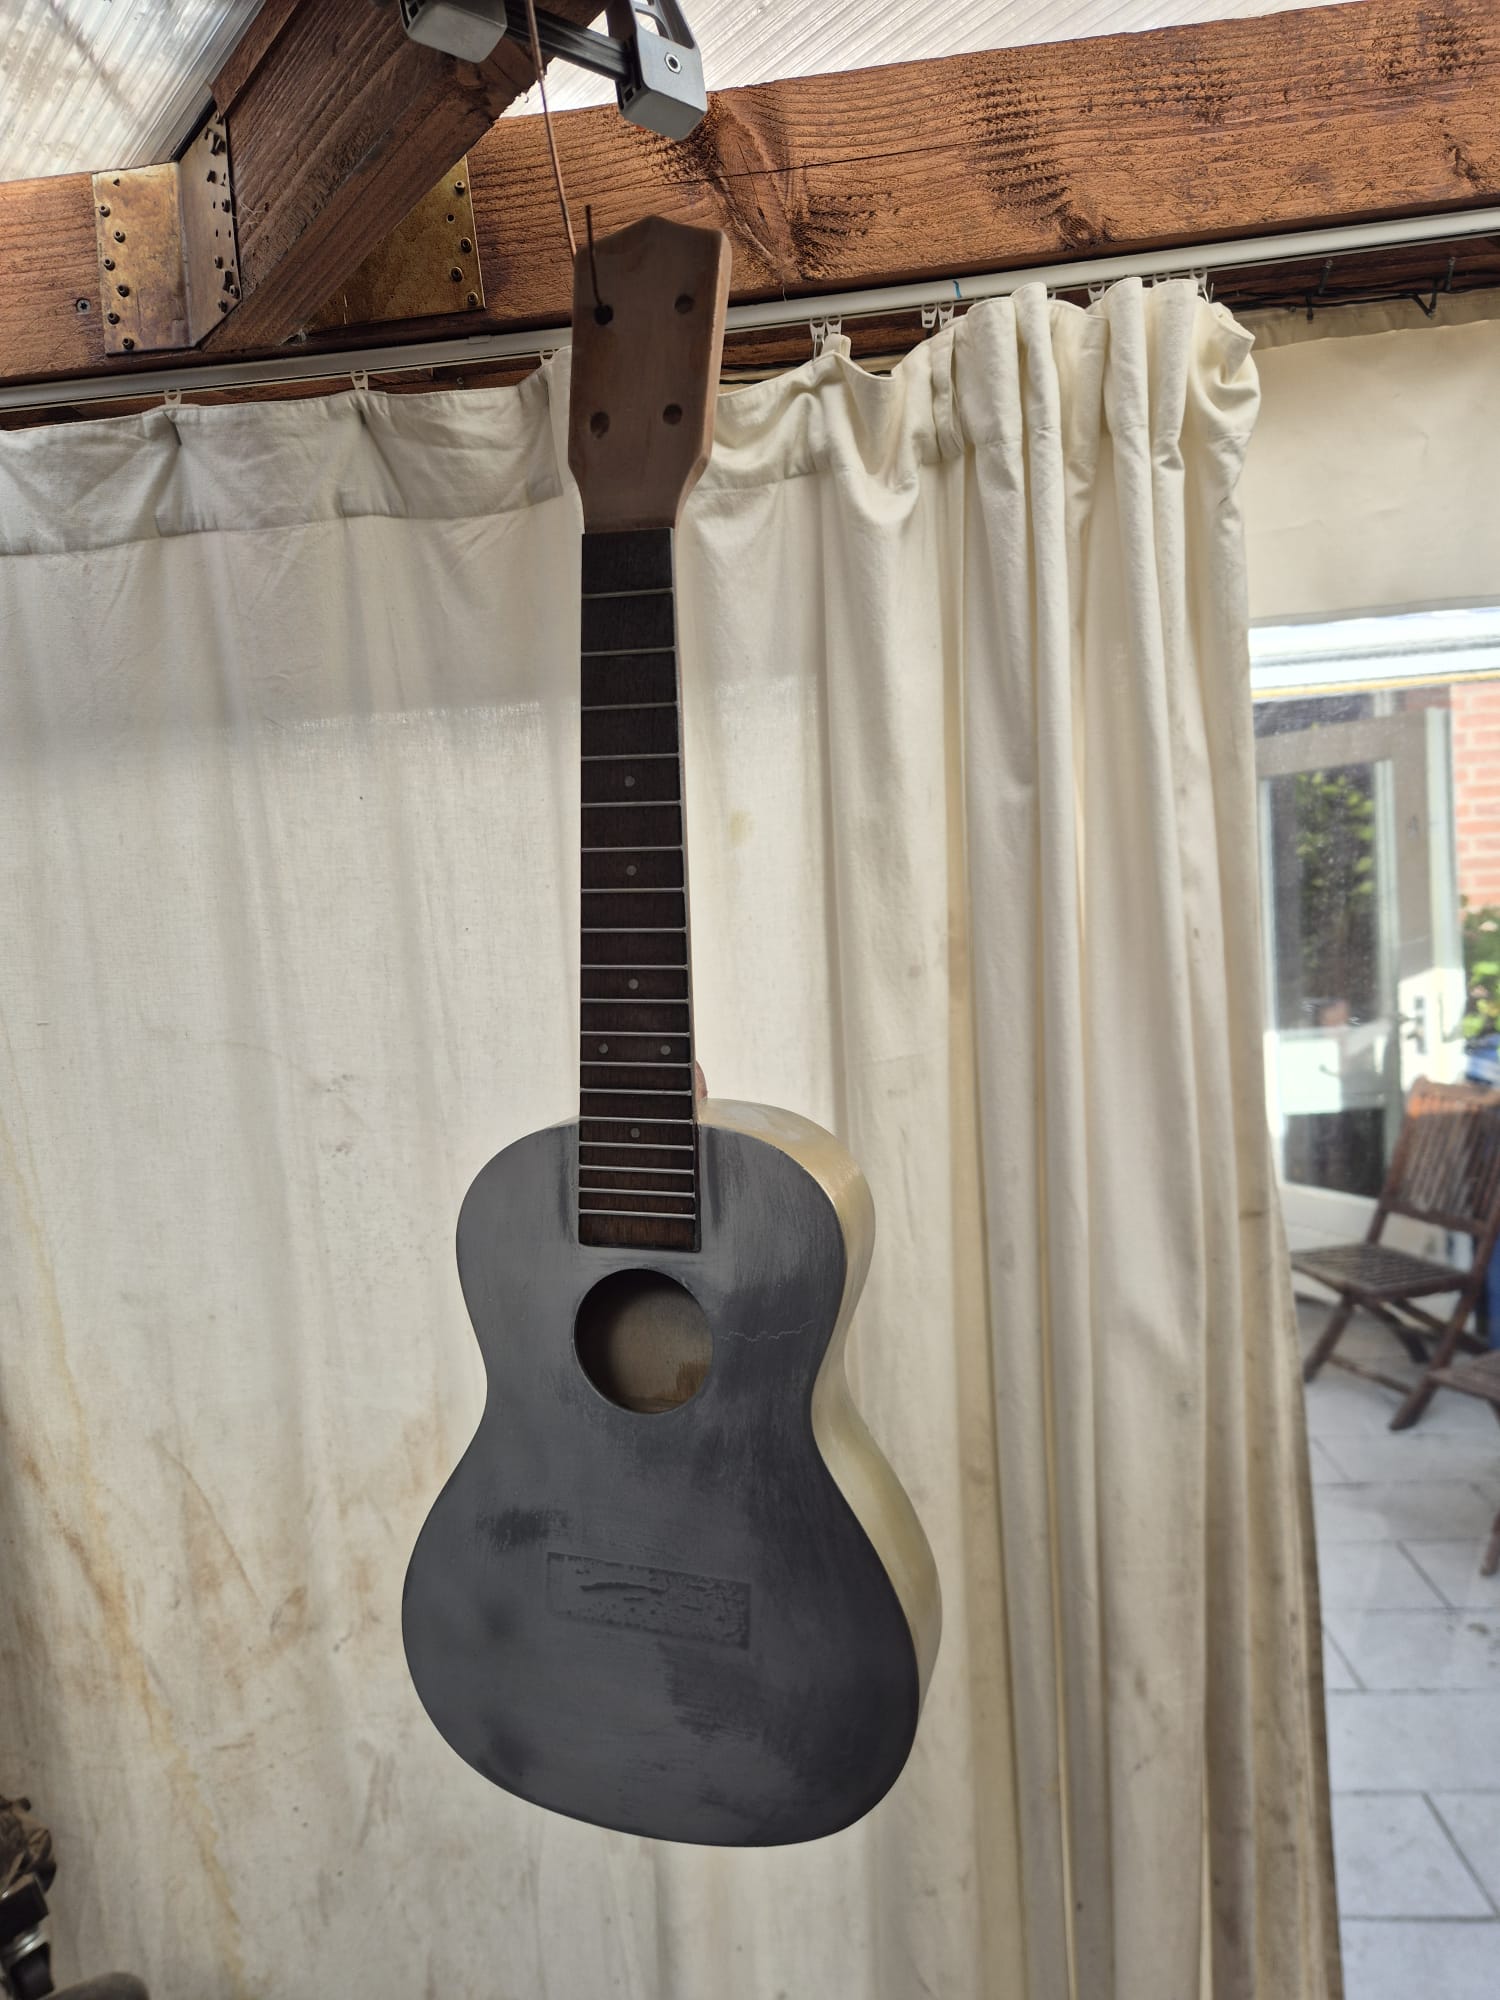
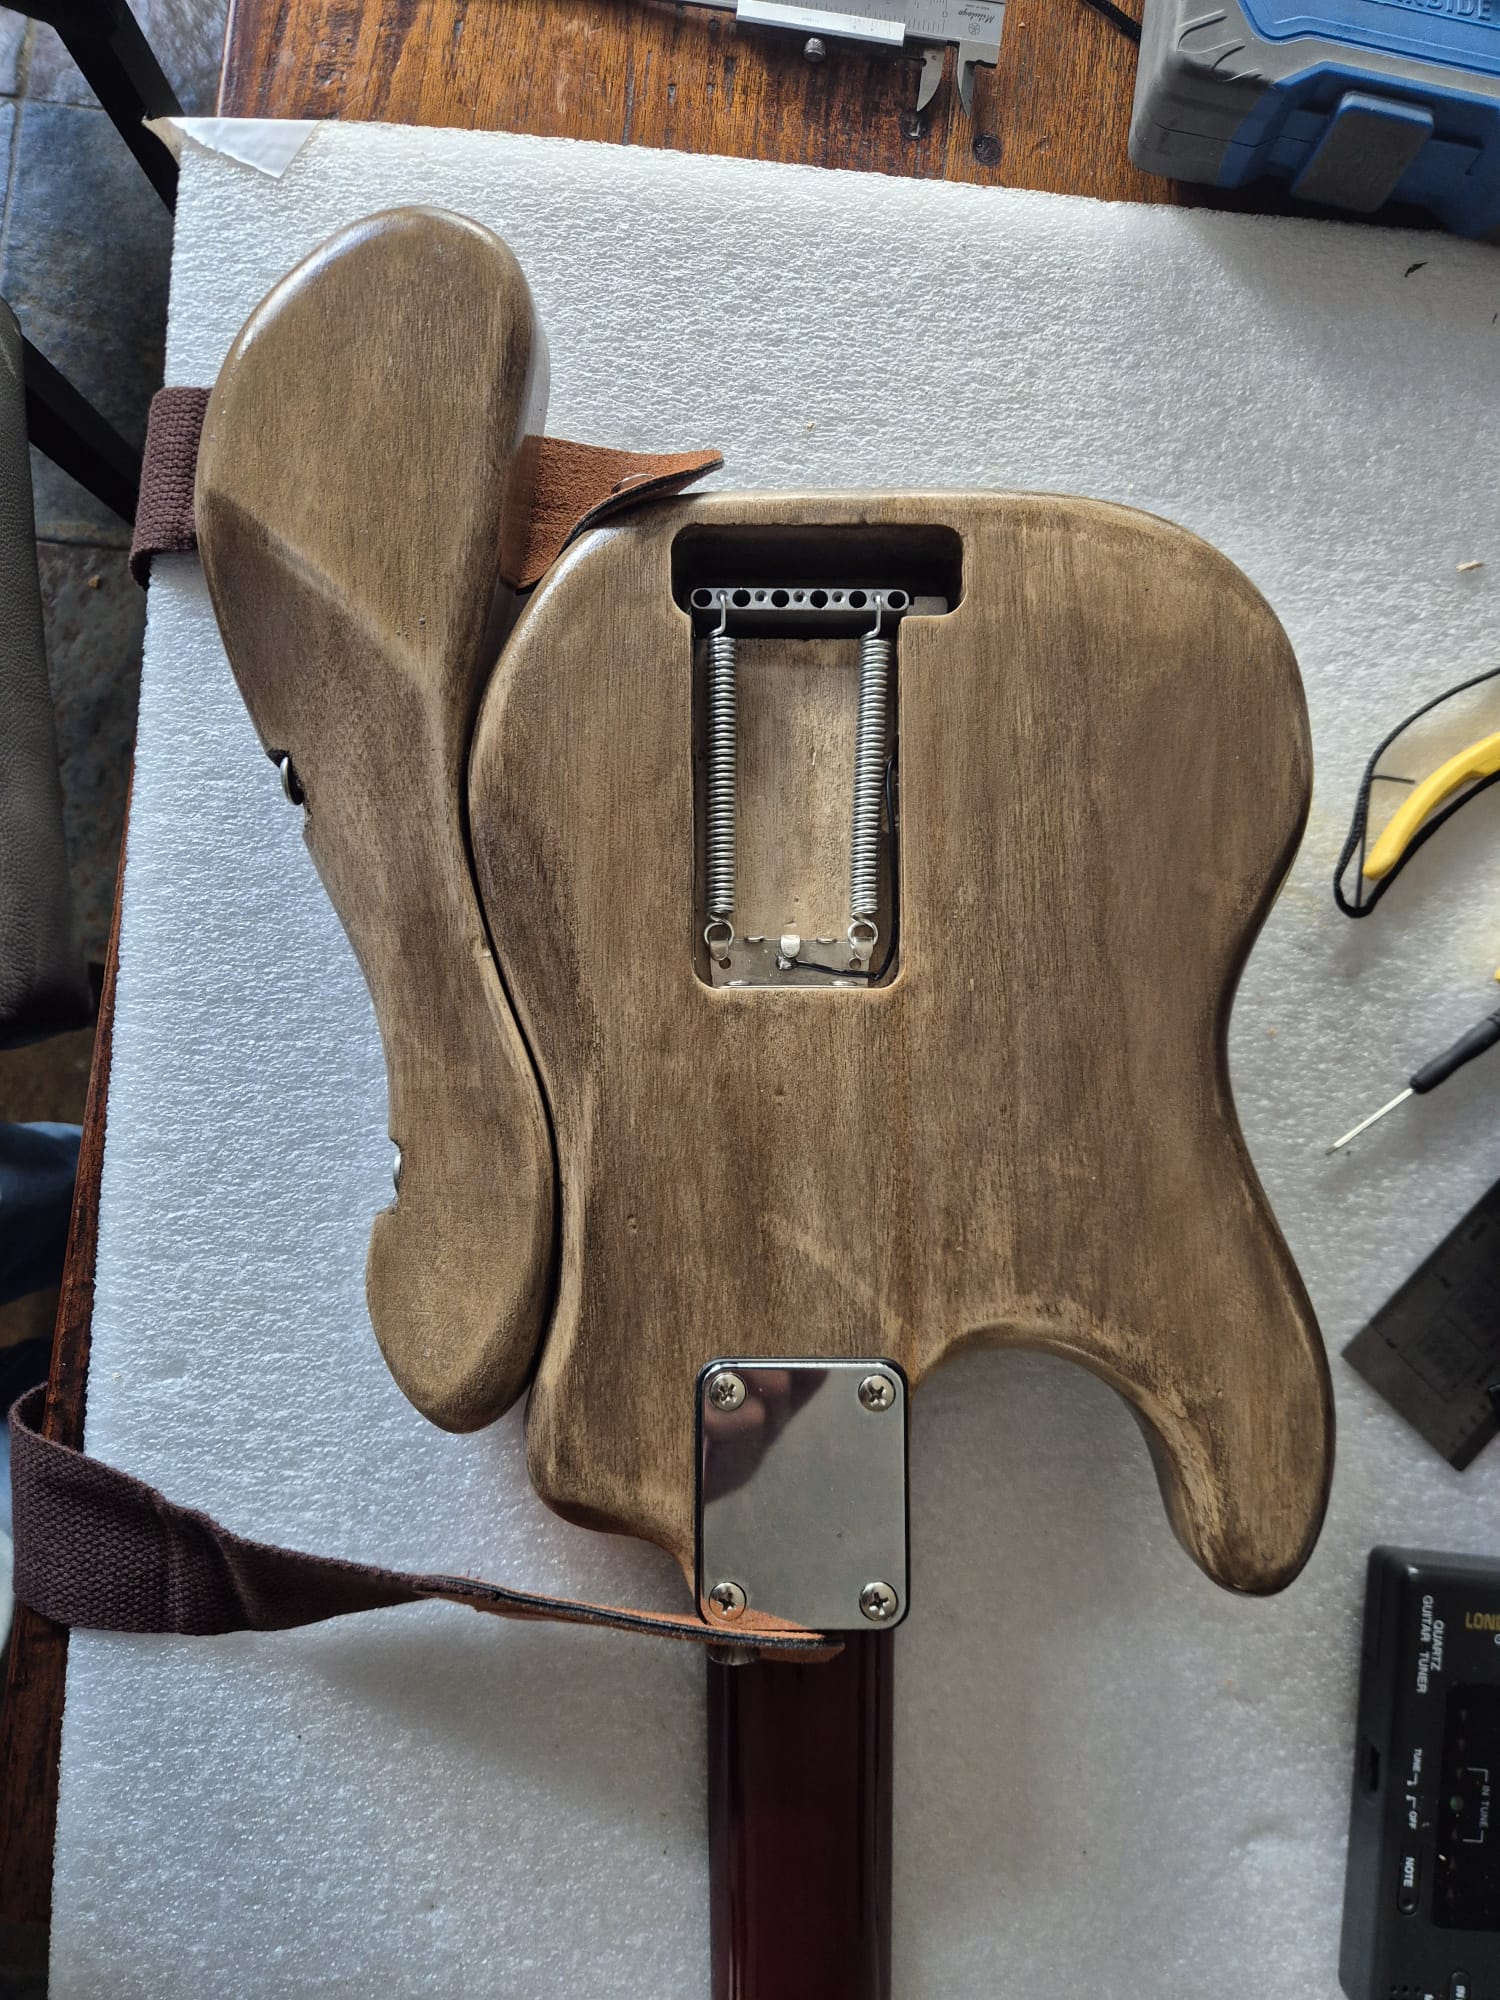
Then, I put a double coat of medium grey acrylic paint on the front and sides of the body since this will be sprayed later with color and needs to be smooth for my special paint effects. I first sprayed the back with 2 layers of gold/bronze paint. Then, I taped the rear body part off.
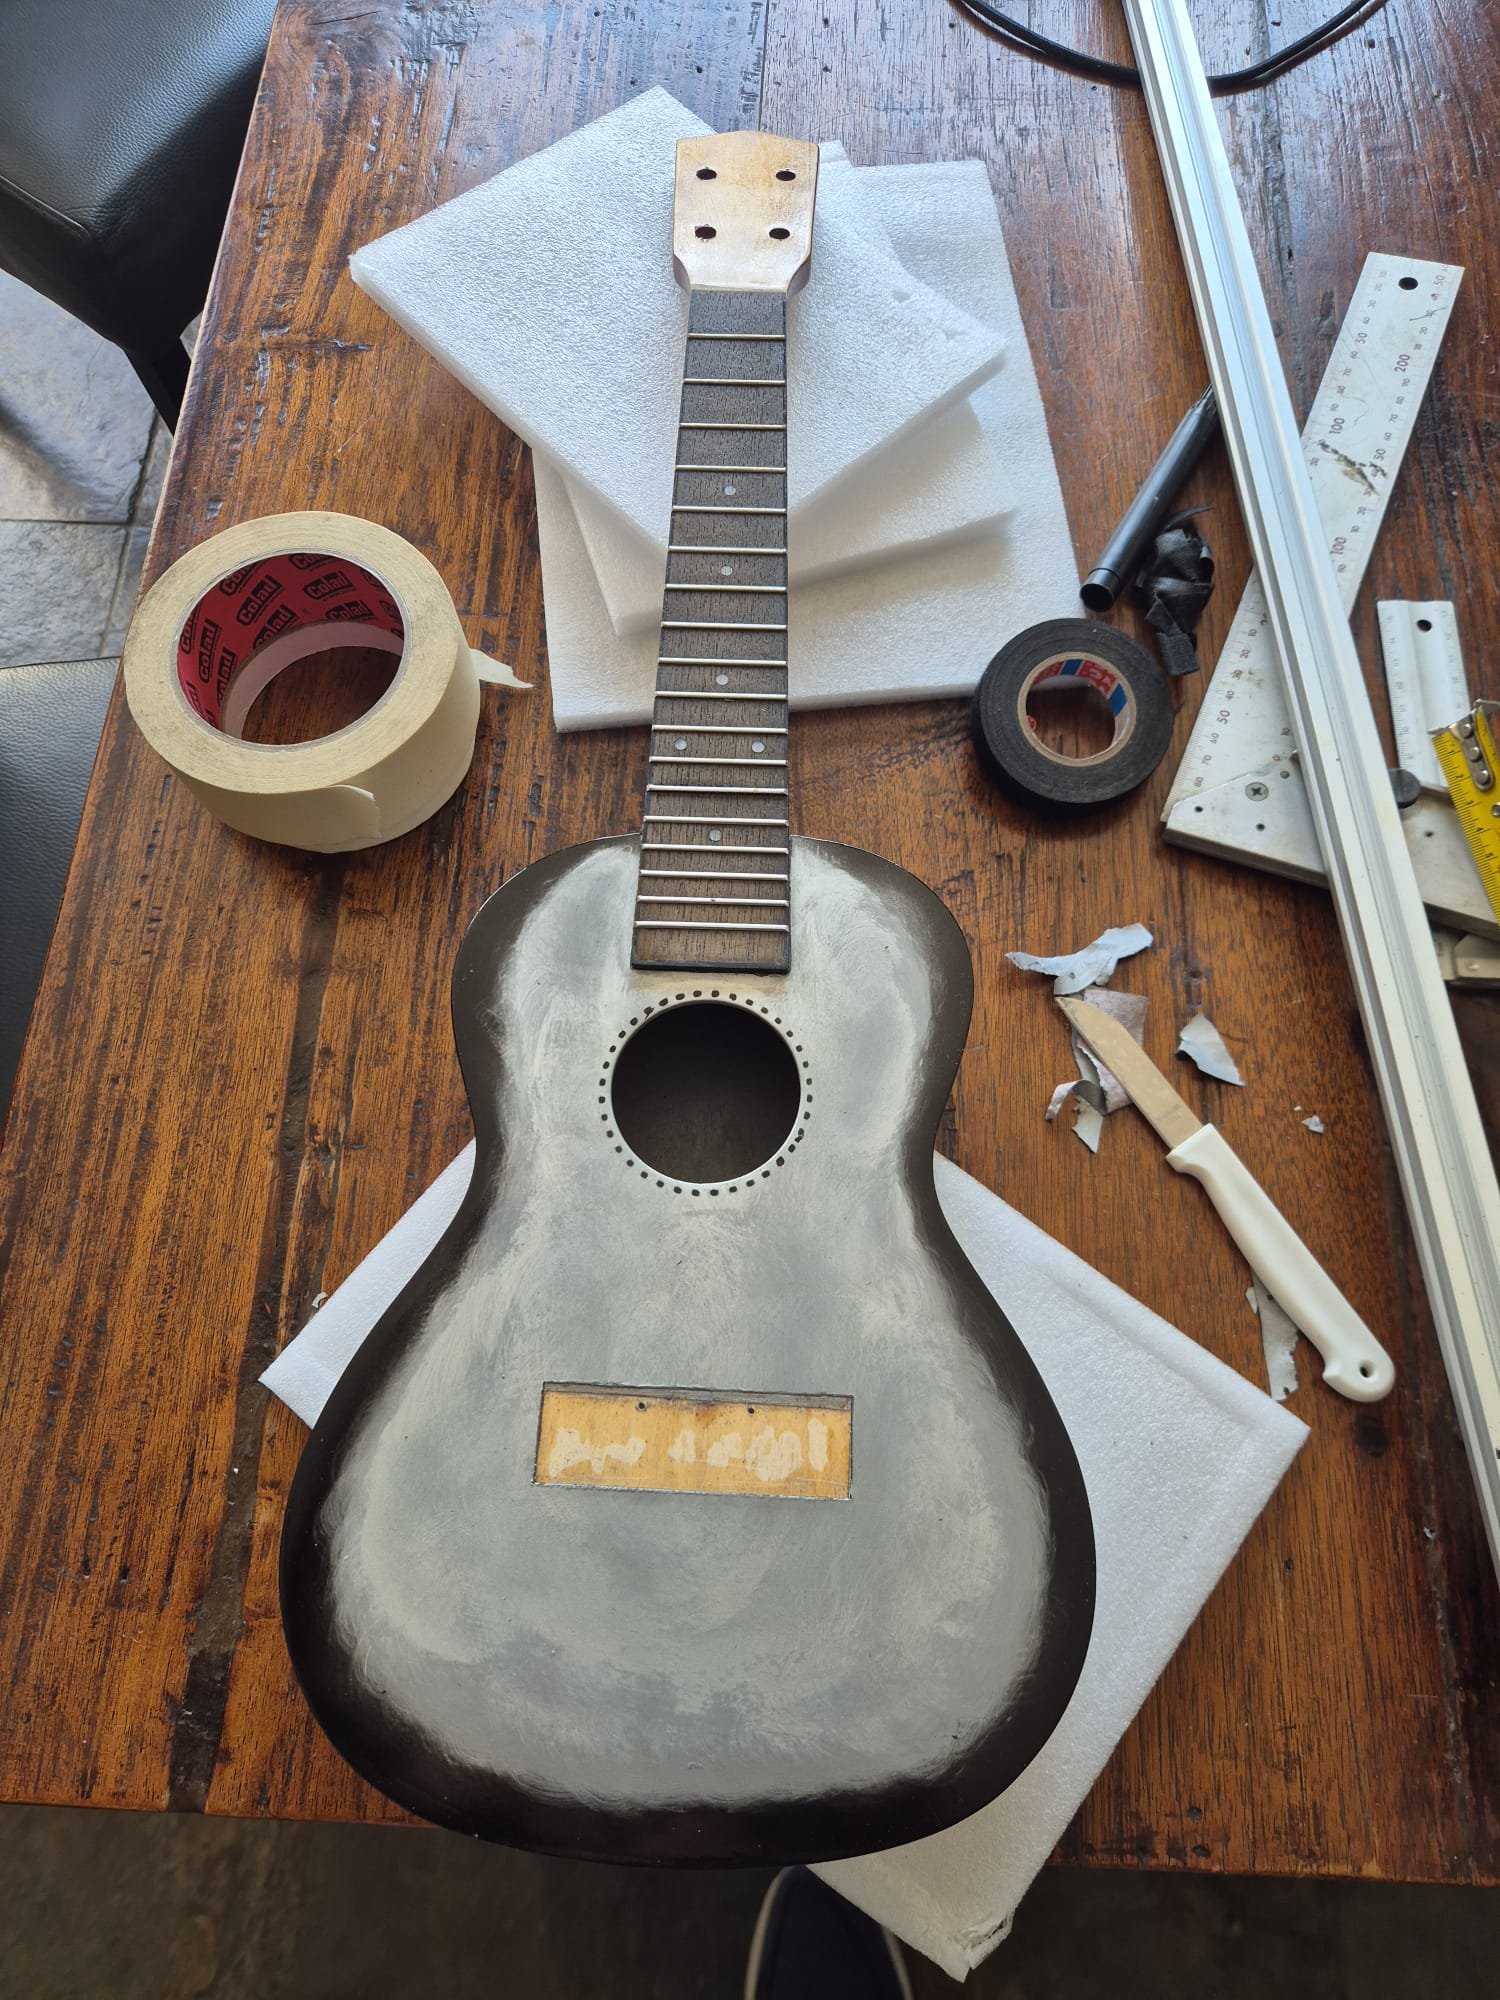
Now, after sanding the primer with grit 600, the special paint front and rear of the body will go on. First, I sprayed 2 layers of chrome color on the body’s front and sides. After 2 minutes, I sprayed black on the corner face between the front and sides. Directly after this, I used a clean felt cloth dipped in thinner and smoothed out the black edges all over the chrome surfaces. This caused a kind of special effect that resembles marble, only the color is silver/aluminium-like.
After a couple of minutes I took off all of the painter’s tape from the taped-off parts EXCEPT the bridge tape-off AND except the fretboard tape-off.
After this, I had the ukelele drying/hardening for 3 days in the sun-heated garden shed.
Finally, I put 3 coats of acrylic clearcoat on neck and body.
After 5 minutes I removed the fretboard tape-off.
After 2 hours of drying I repositioned the bridge on the front of the body, glued it on at the right position with a drop of superglue and then, I carefully cut around the bridge to remove the painter’s tape and all lacquer that sits on top of the tape.
After this, I put the bridge on its place and drilled the 2 holes to screw in the bridge, put woodglue on both surfaces, and fastened the bridge with the 2 screws into the front of the body. I immediately cleaned off all woodglue that squeezed out with a damp soft cloth, since the paint is still quite soft at this point in time. Then, I put in the 2 little round pieces that fit in the screwholes. I used woodglue to retain it properly.
I let it all dry for 2 days.
Now, it is time to put in the tuners, the nut and the bridge’s top cam.
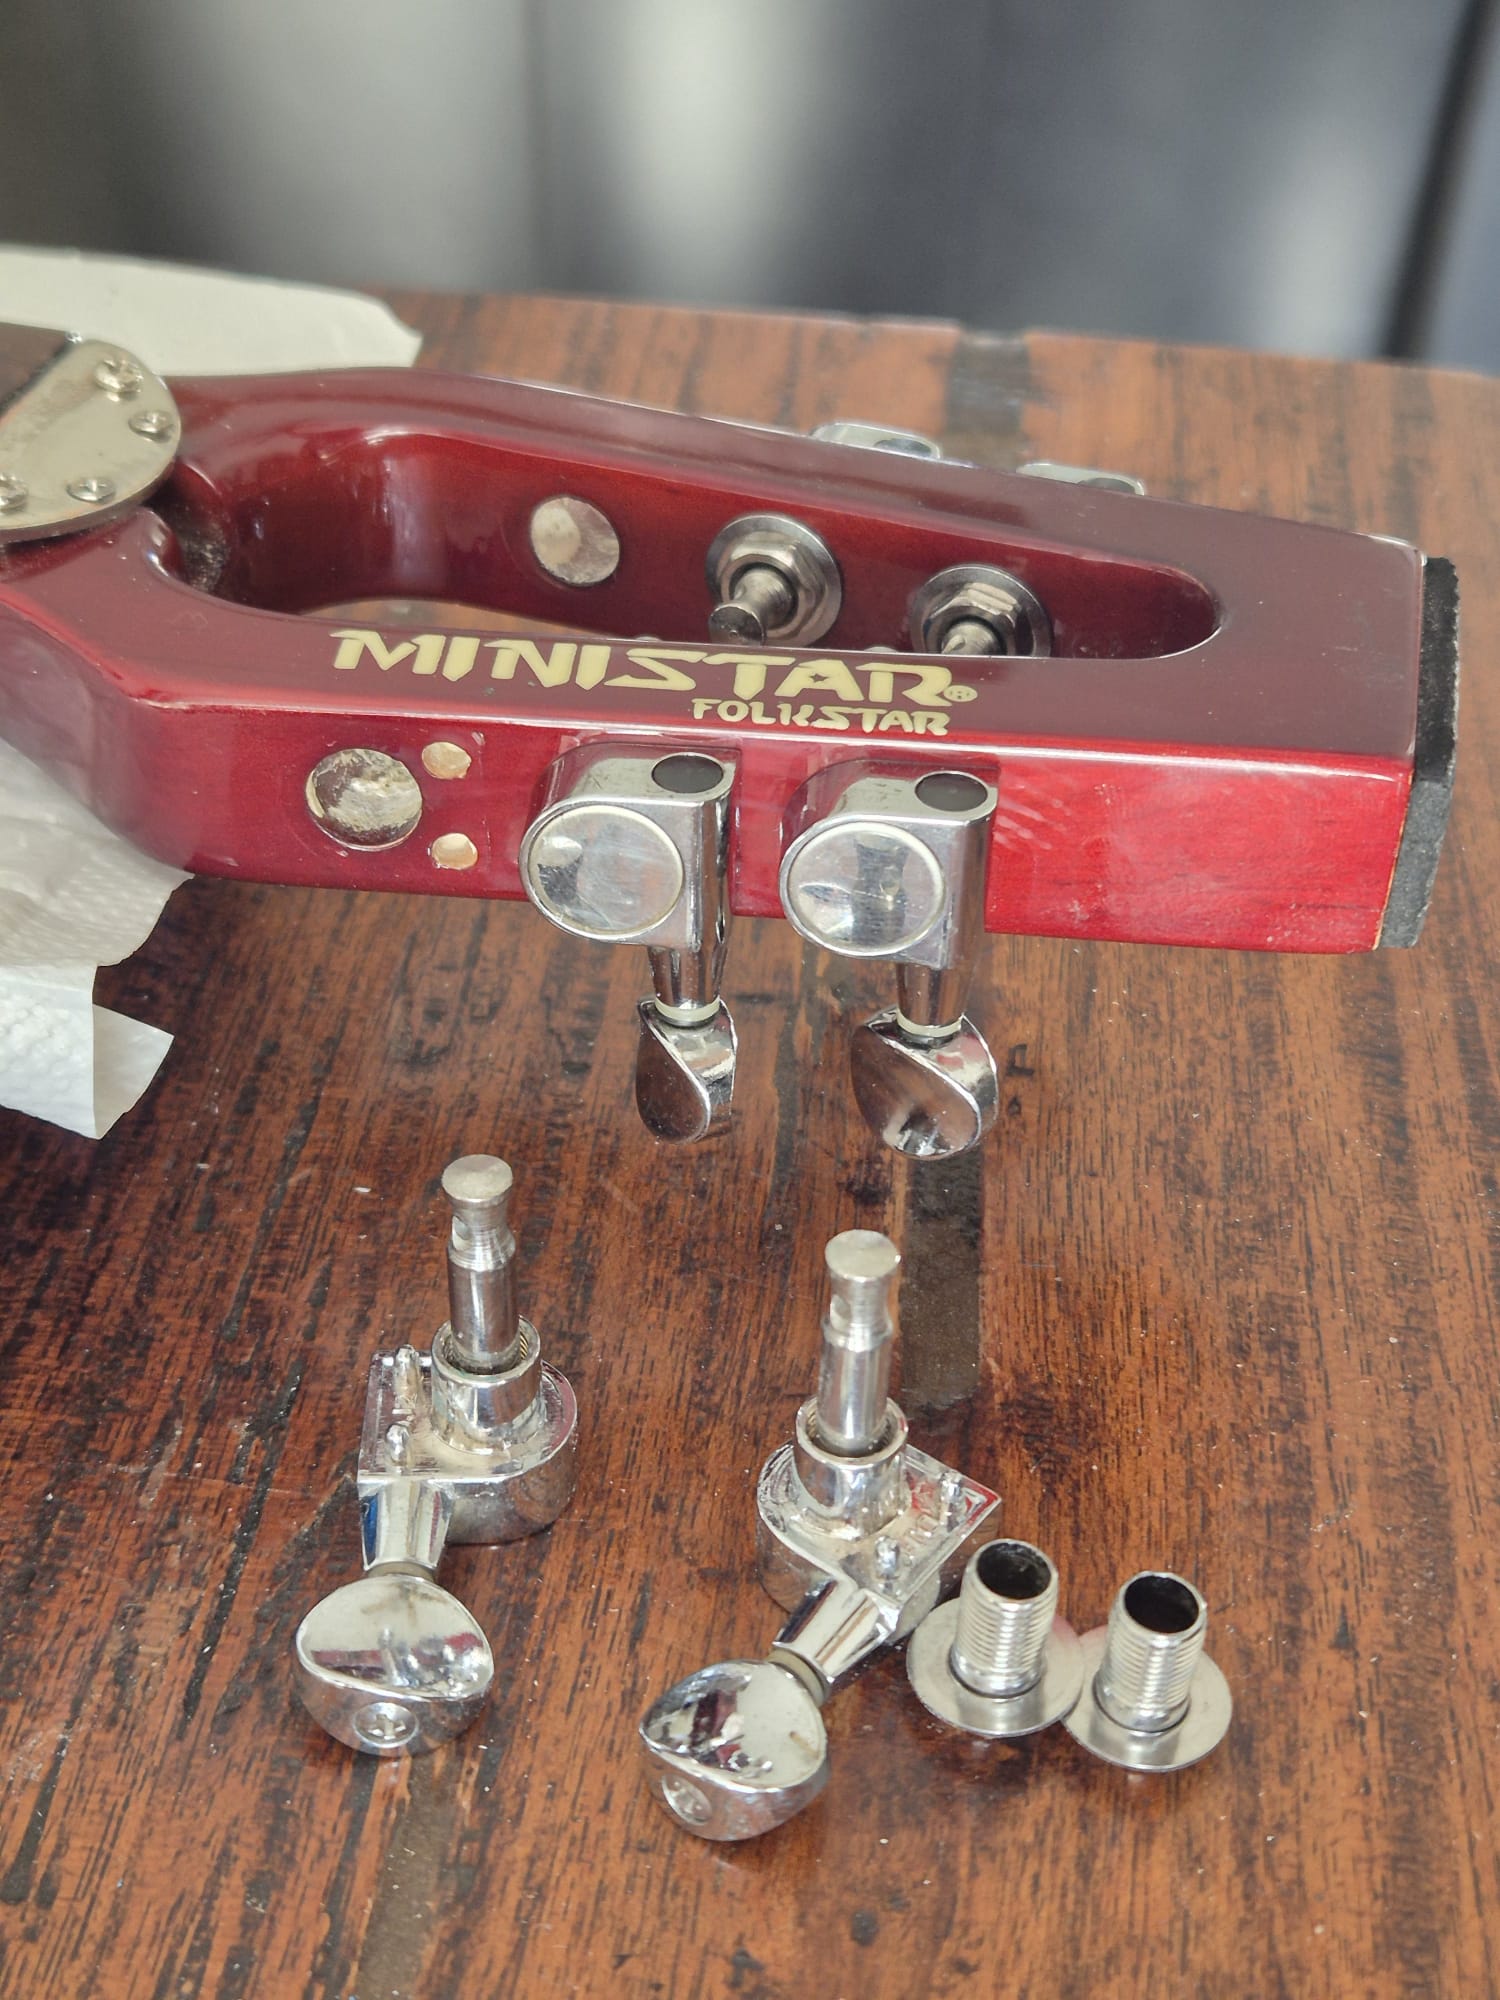
I had to drill the 4 tuner holes a bit better at the top side of the neck, because the little push-in reainers did not go in. After this, I pressed the 4 push-in retainers in and drilled the holes for the tuners at the rear of the neck’s top.
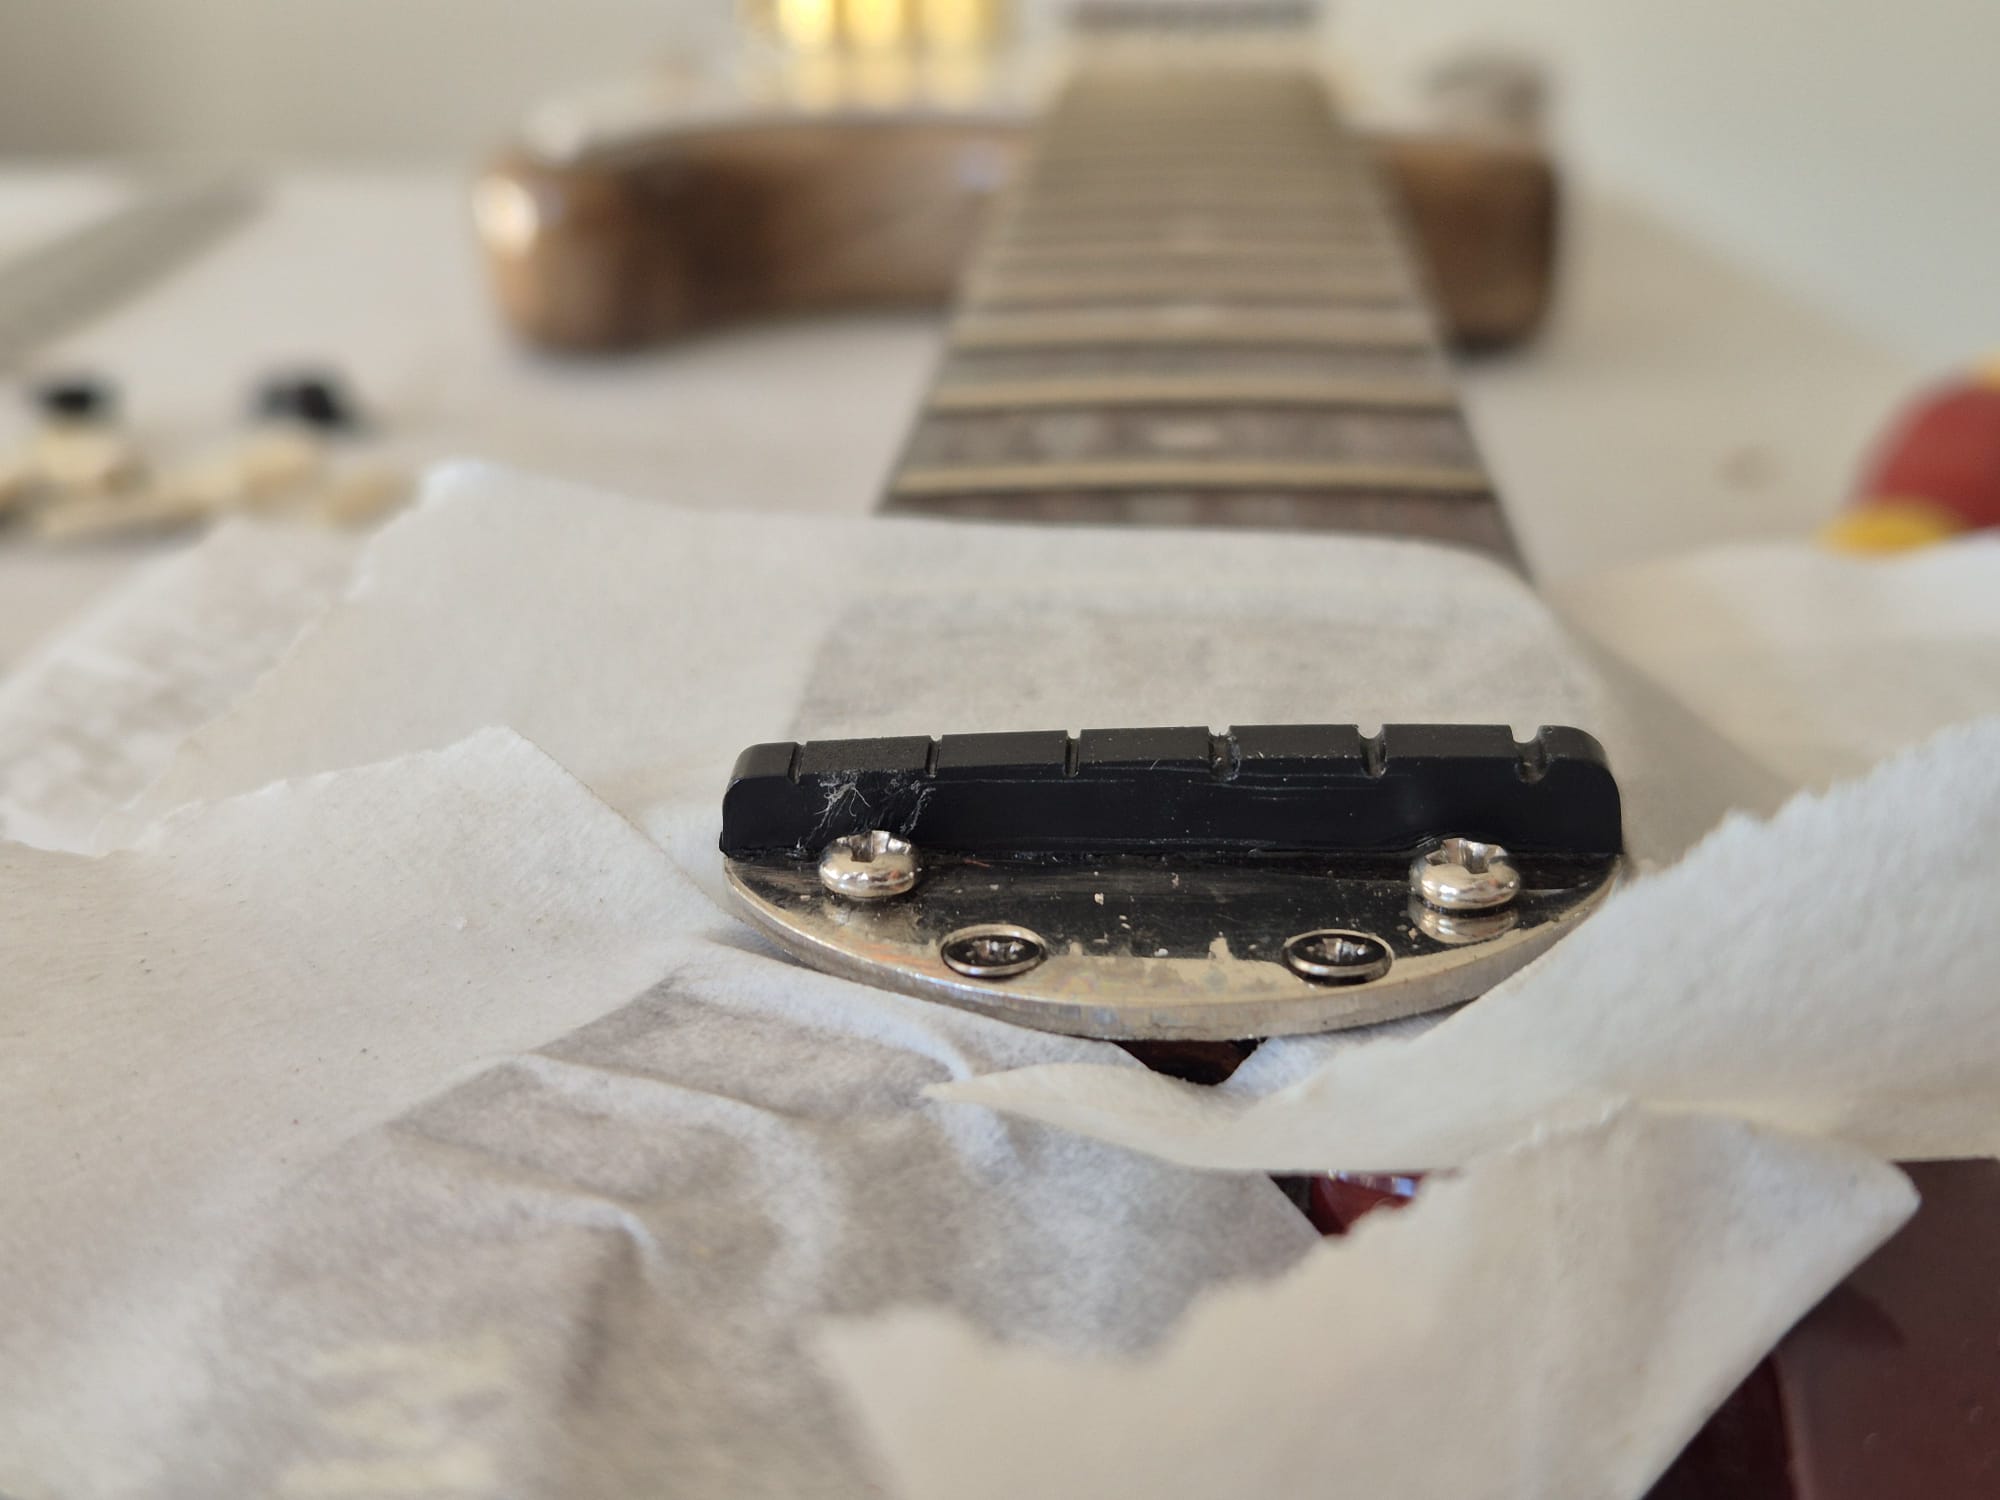
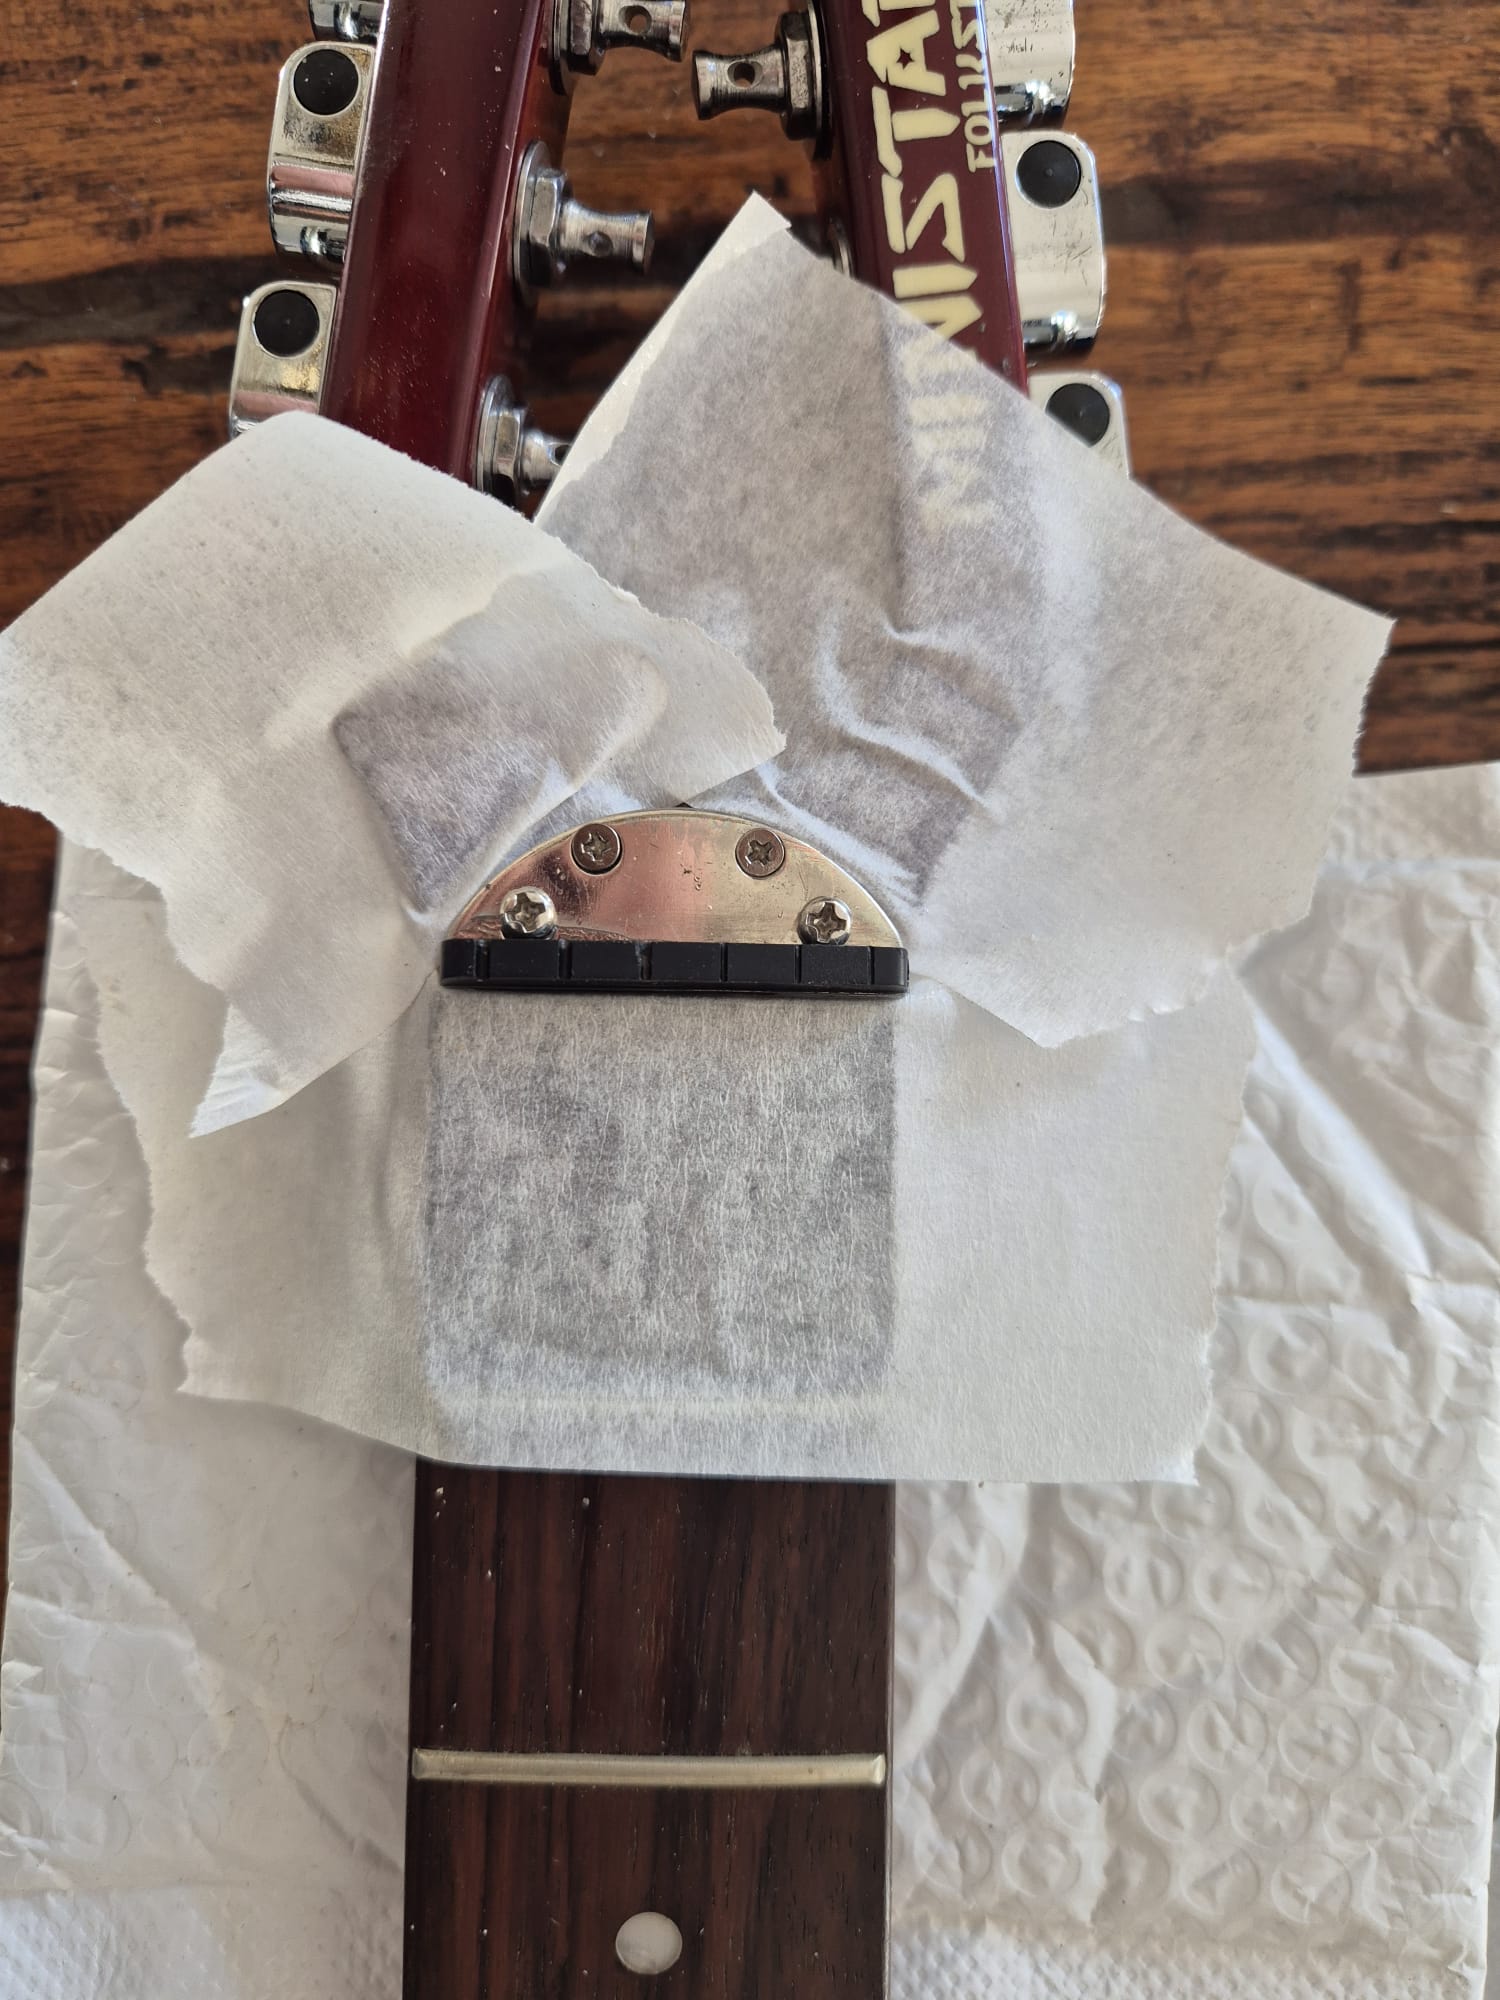
The nut must be glued in, at the top of the freatboard. I sanded the place to glue the nut with a piece of 80 grit and gled the nut with woodglue whle holding it in place with a small clamp.
Then I put on the strings, and filed the topcam’s grooves for the strings so they are at 0.3mm above the first fret which I like as best position for easy playablility.
I had to lower the delivered bridge’s topcam with 2.6mm to get the best playable position of the strings above the lower frets.
Then, I started tuning the ukelele. This proved to be the most difficult part for me since I had stringed the instrument incorrect. When delivering the instrument to the user, I found out that the thickest string is nit the top string like I am used to, but that the 2 topstrings are inverted for use on a uelele. After switching thes 2 strings and retuning, it was allright. Pff!
Below are some pictures of the ukelele, during the process of building it. Hope this may help new builders! Cheers, jan