


3D modeling, scanning and printing
The Creality Falcon pro 22Watt Laser unit is the standard delivery for the ‘entry’version of the Creality Falcon 2 pro enclosed laser engraver/cutter.
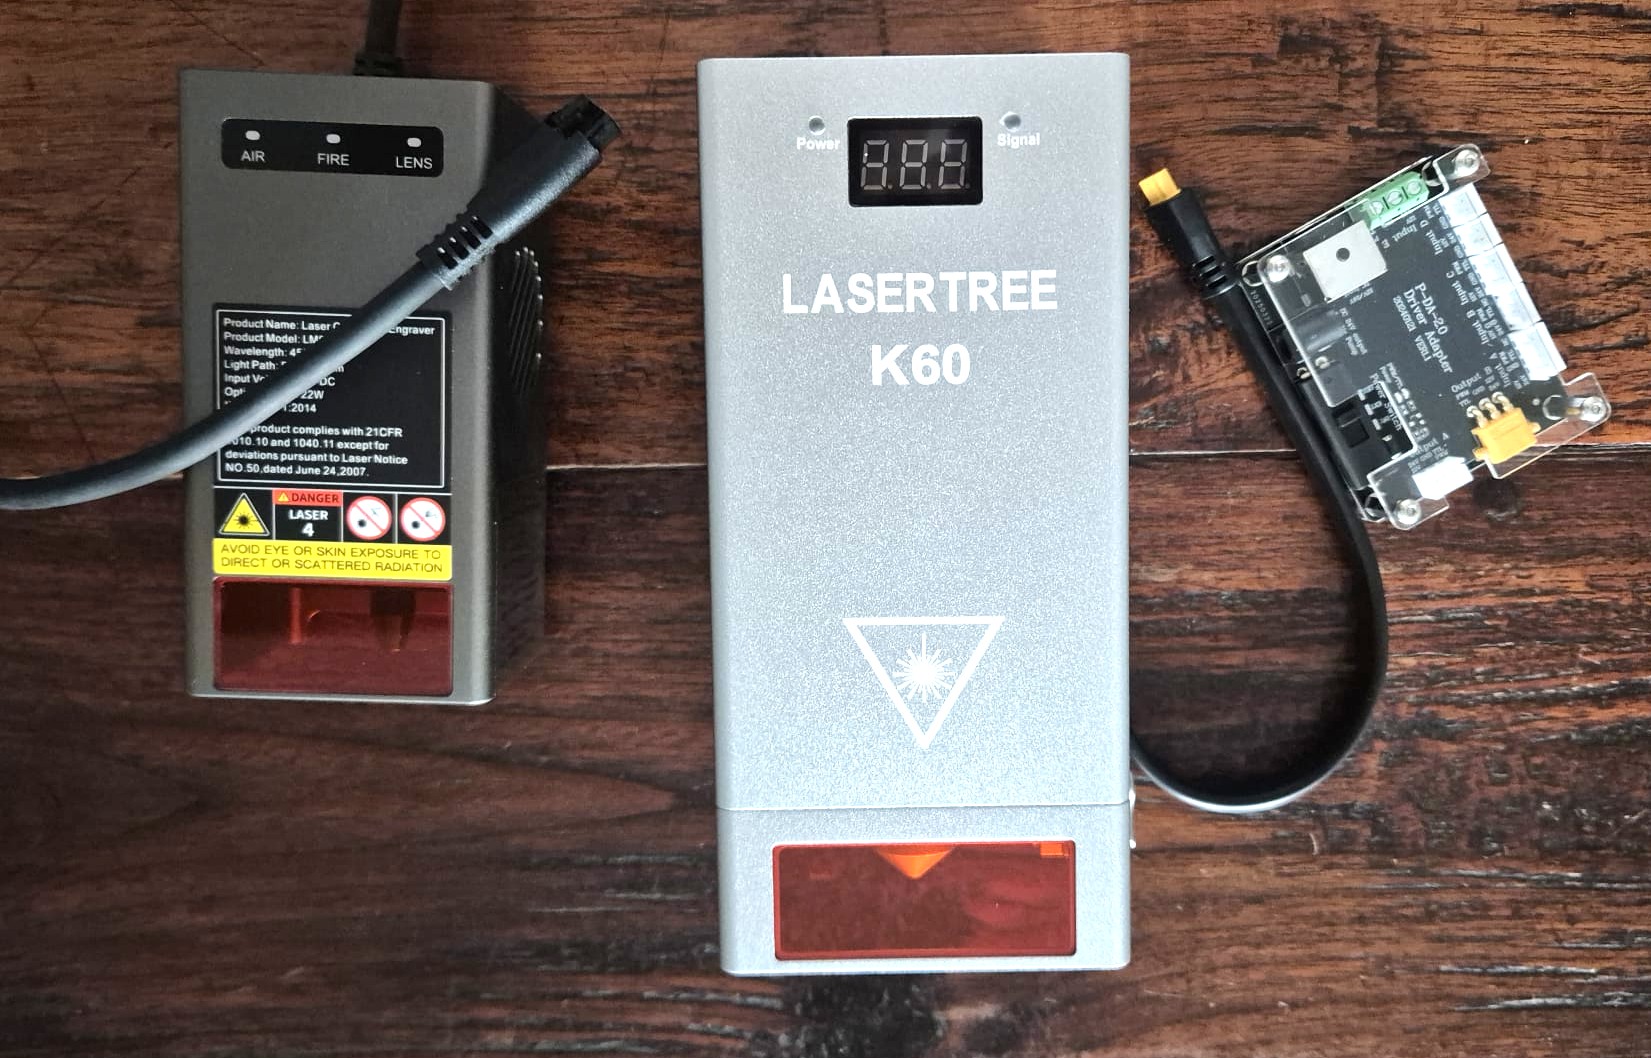
The Lasertree LT-K60 laser is available as just the laser unit.
READ THESE ARTICLES FOR AN IN-DEPTH REVIEW OF THE LT-K60
There’s a lot of similarities between both lasers, and quite a lot of differences.
Obviously, the power outage differs. I do not own a Creality 60+ watt laser, but from my research I know that the Creality Falcon2 60 Watt “+” big blue laser is in size comparable with the Lasertree 60 Watt blue laser version.
Both Creality’s laser as Lasertree’s laser make use of 6 Watt blue laser diodes in arrays of 4 pieces per stack of 20-24 Watt.
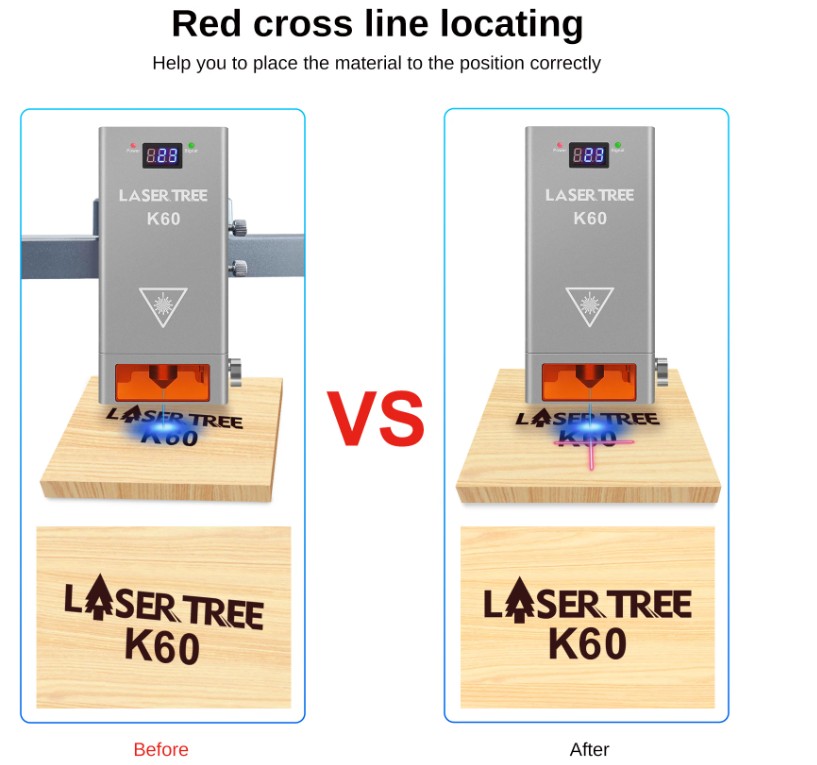
The laser light come from the side of the housing and is defleted by mirrors so the light beams will all come at the same place through the beneith mounted lens.
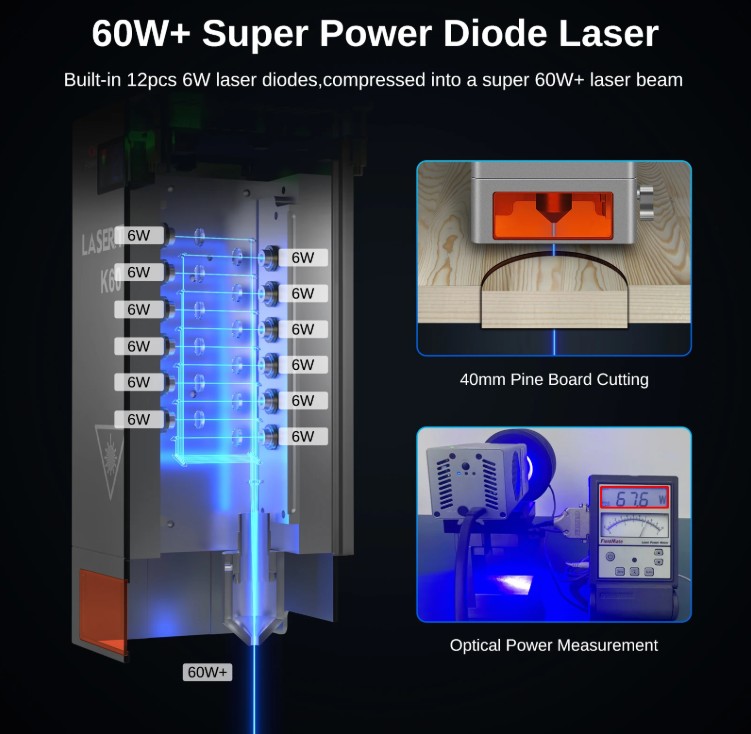
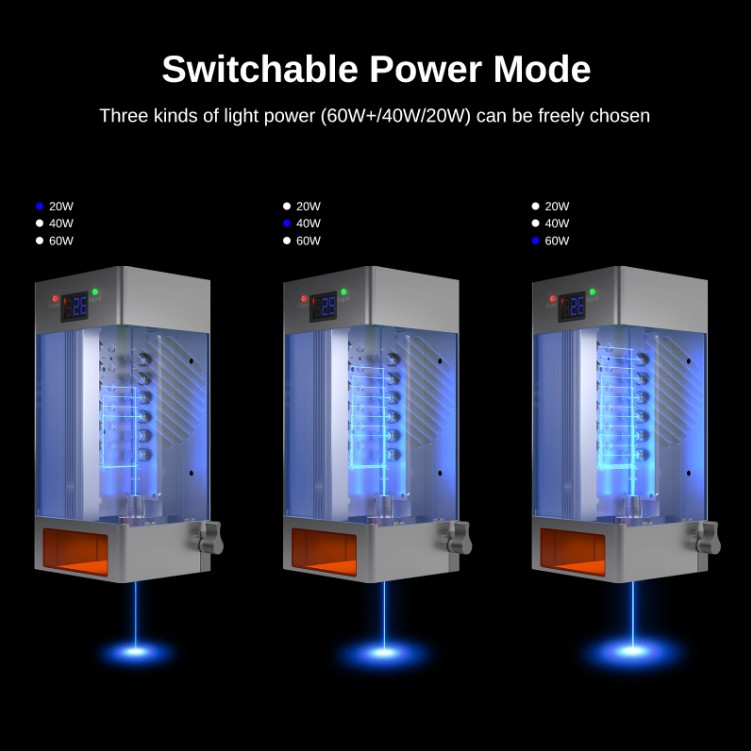
If you need more power, one or more stacks of laser diodes are placed on top of the existing stack. This is the reason that these type of lasers are more precise when you use less stacks of laser diodes. The switchable power of the big lasers like the 60 Watt types can either use the lowest stack for 20/22 Watt, the lowest and middel Pack for 40 Watt or all Packs for 60 Watt.
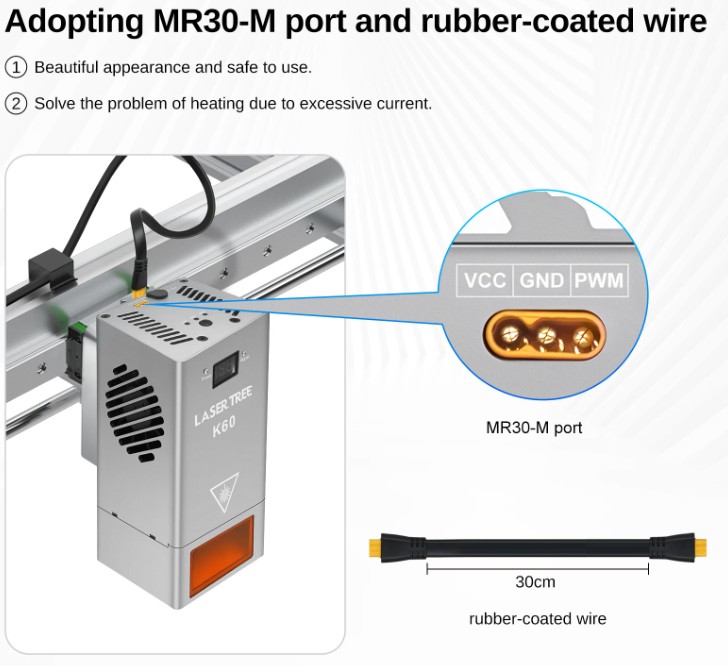
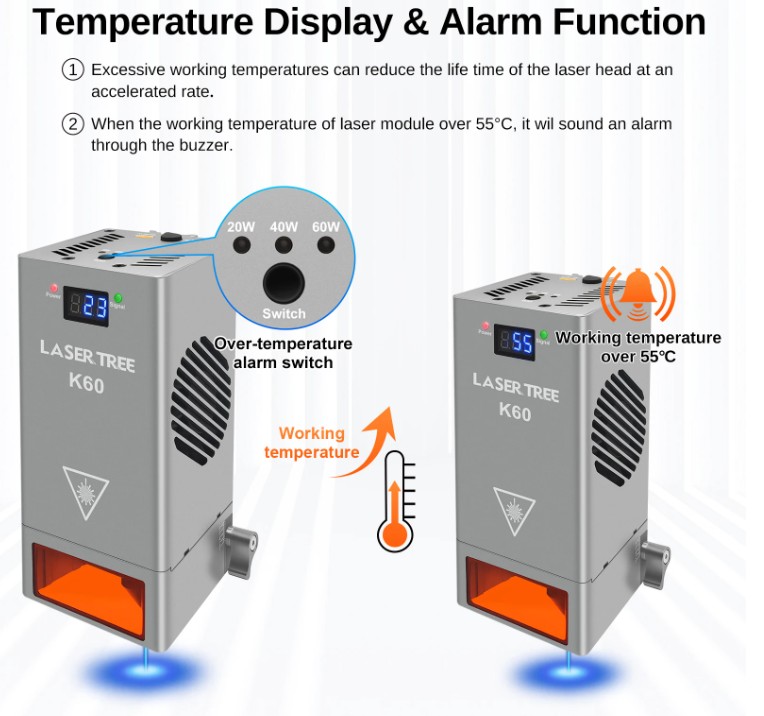
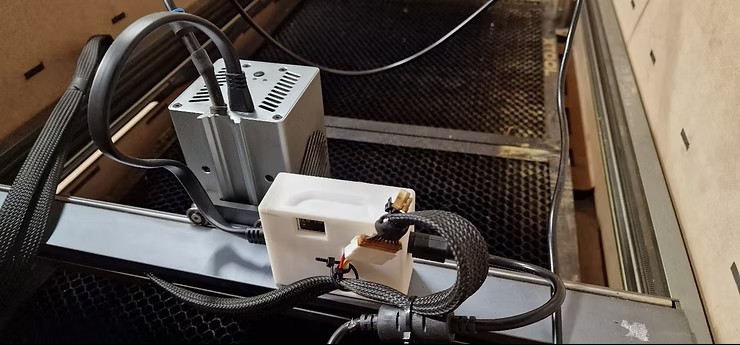
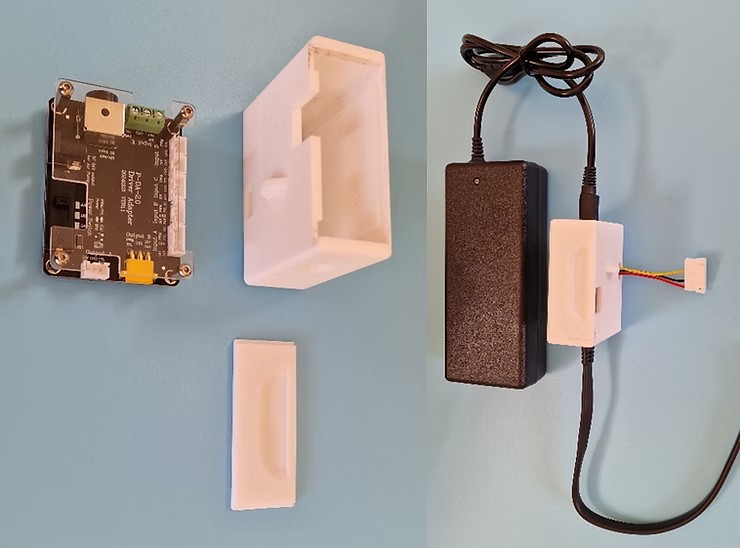
Then, for the real difference between the Creality Falscon pro laser and the lasertree laser: The Lasertree is a so-called ‘plain’ laser. No intelligence, no smoke or flame detector, no air flow detector and so on. There is a temperature guard though which includes an alarm signal and front temperature readout. The only electrical connector is for power and PWM. This has a 3-pin connector and that’s it. If you use the Lasertree laser, it is recommended to do all your monitoring and safeguarding separate, either next to the laser or somewhere inside the enclosure.
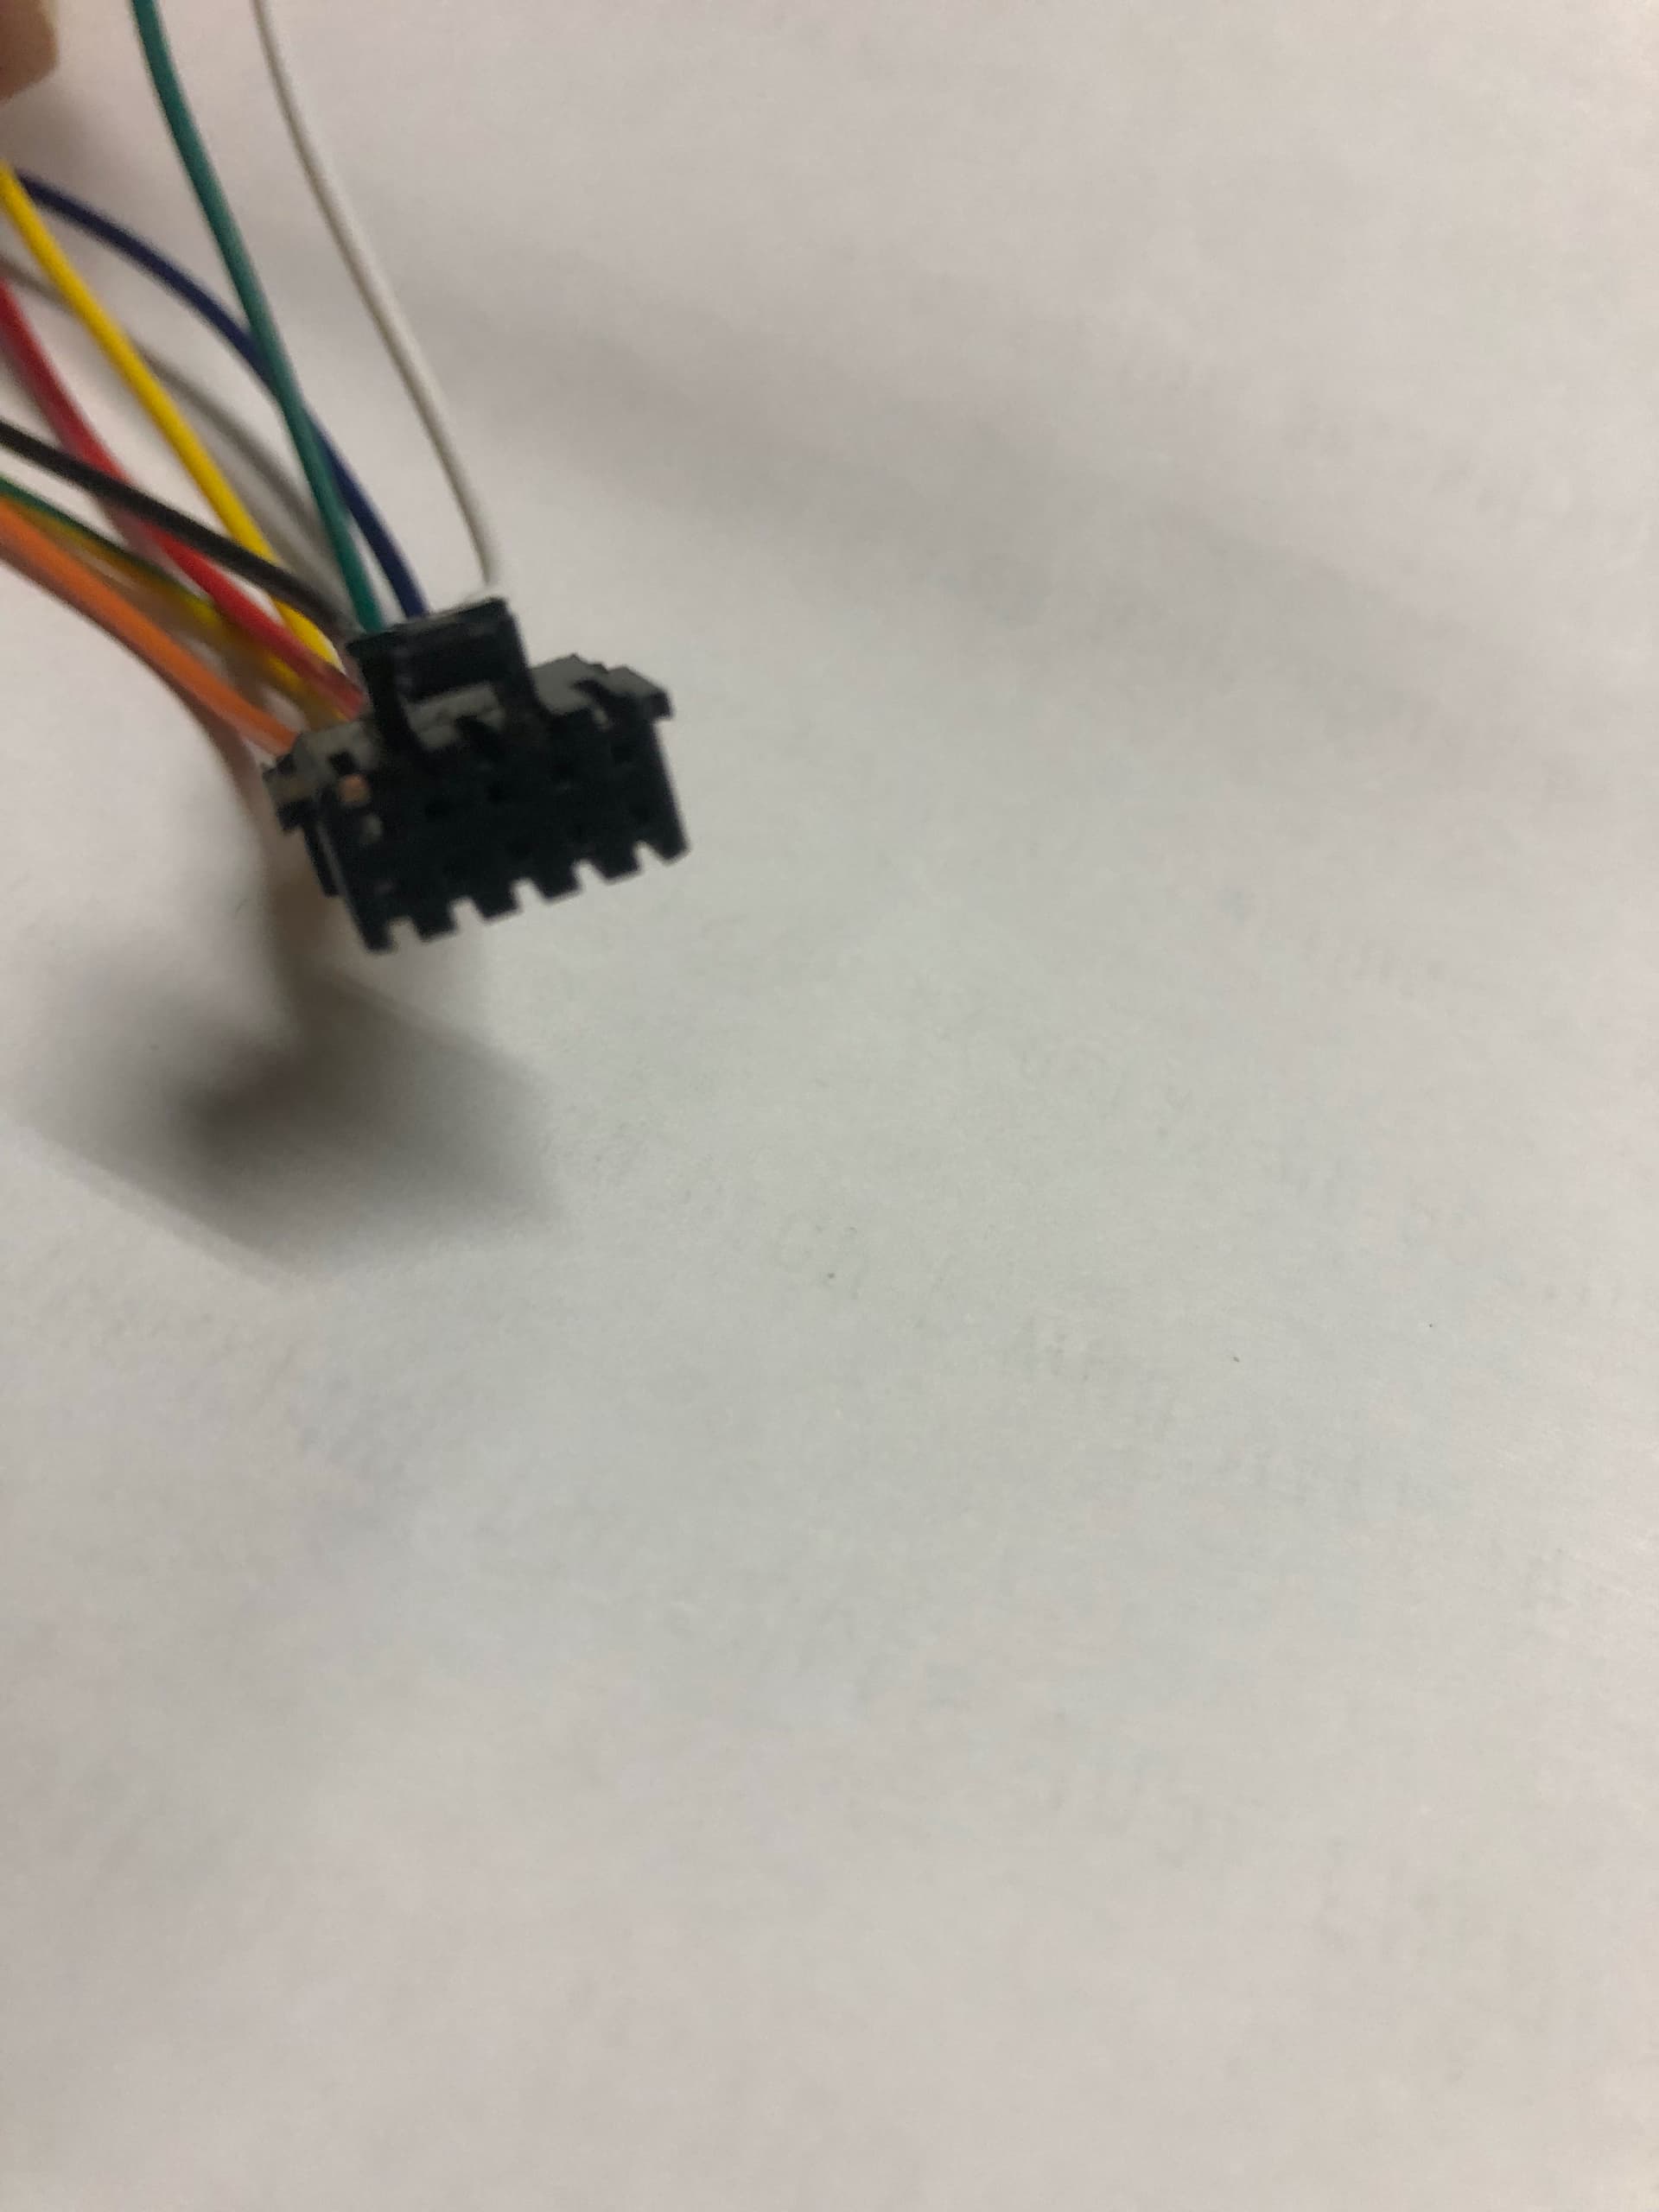
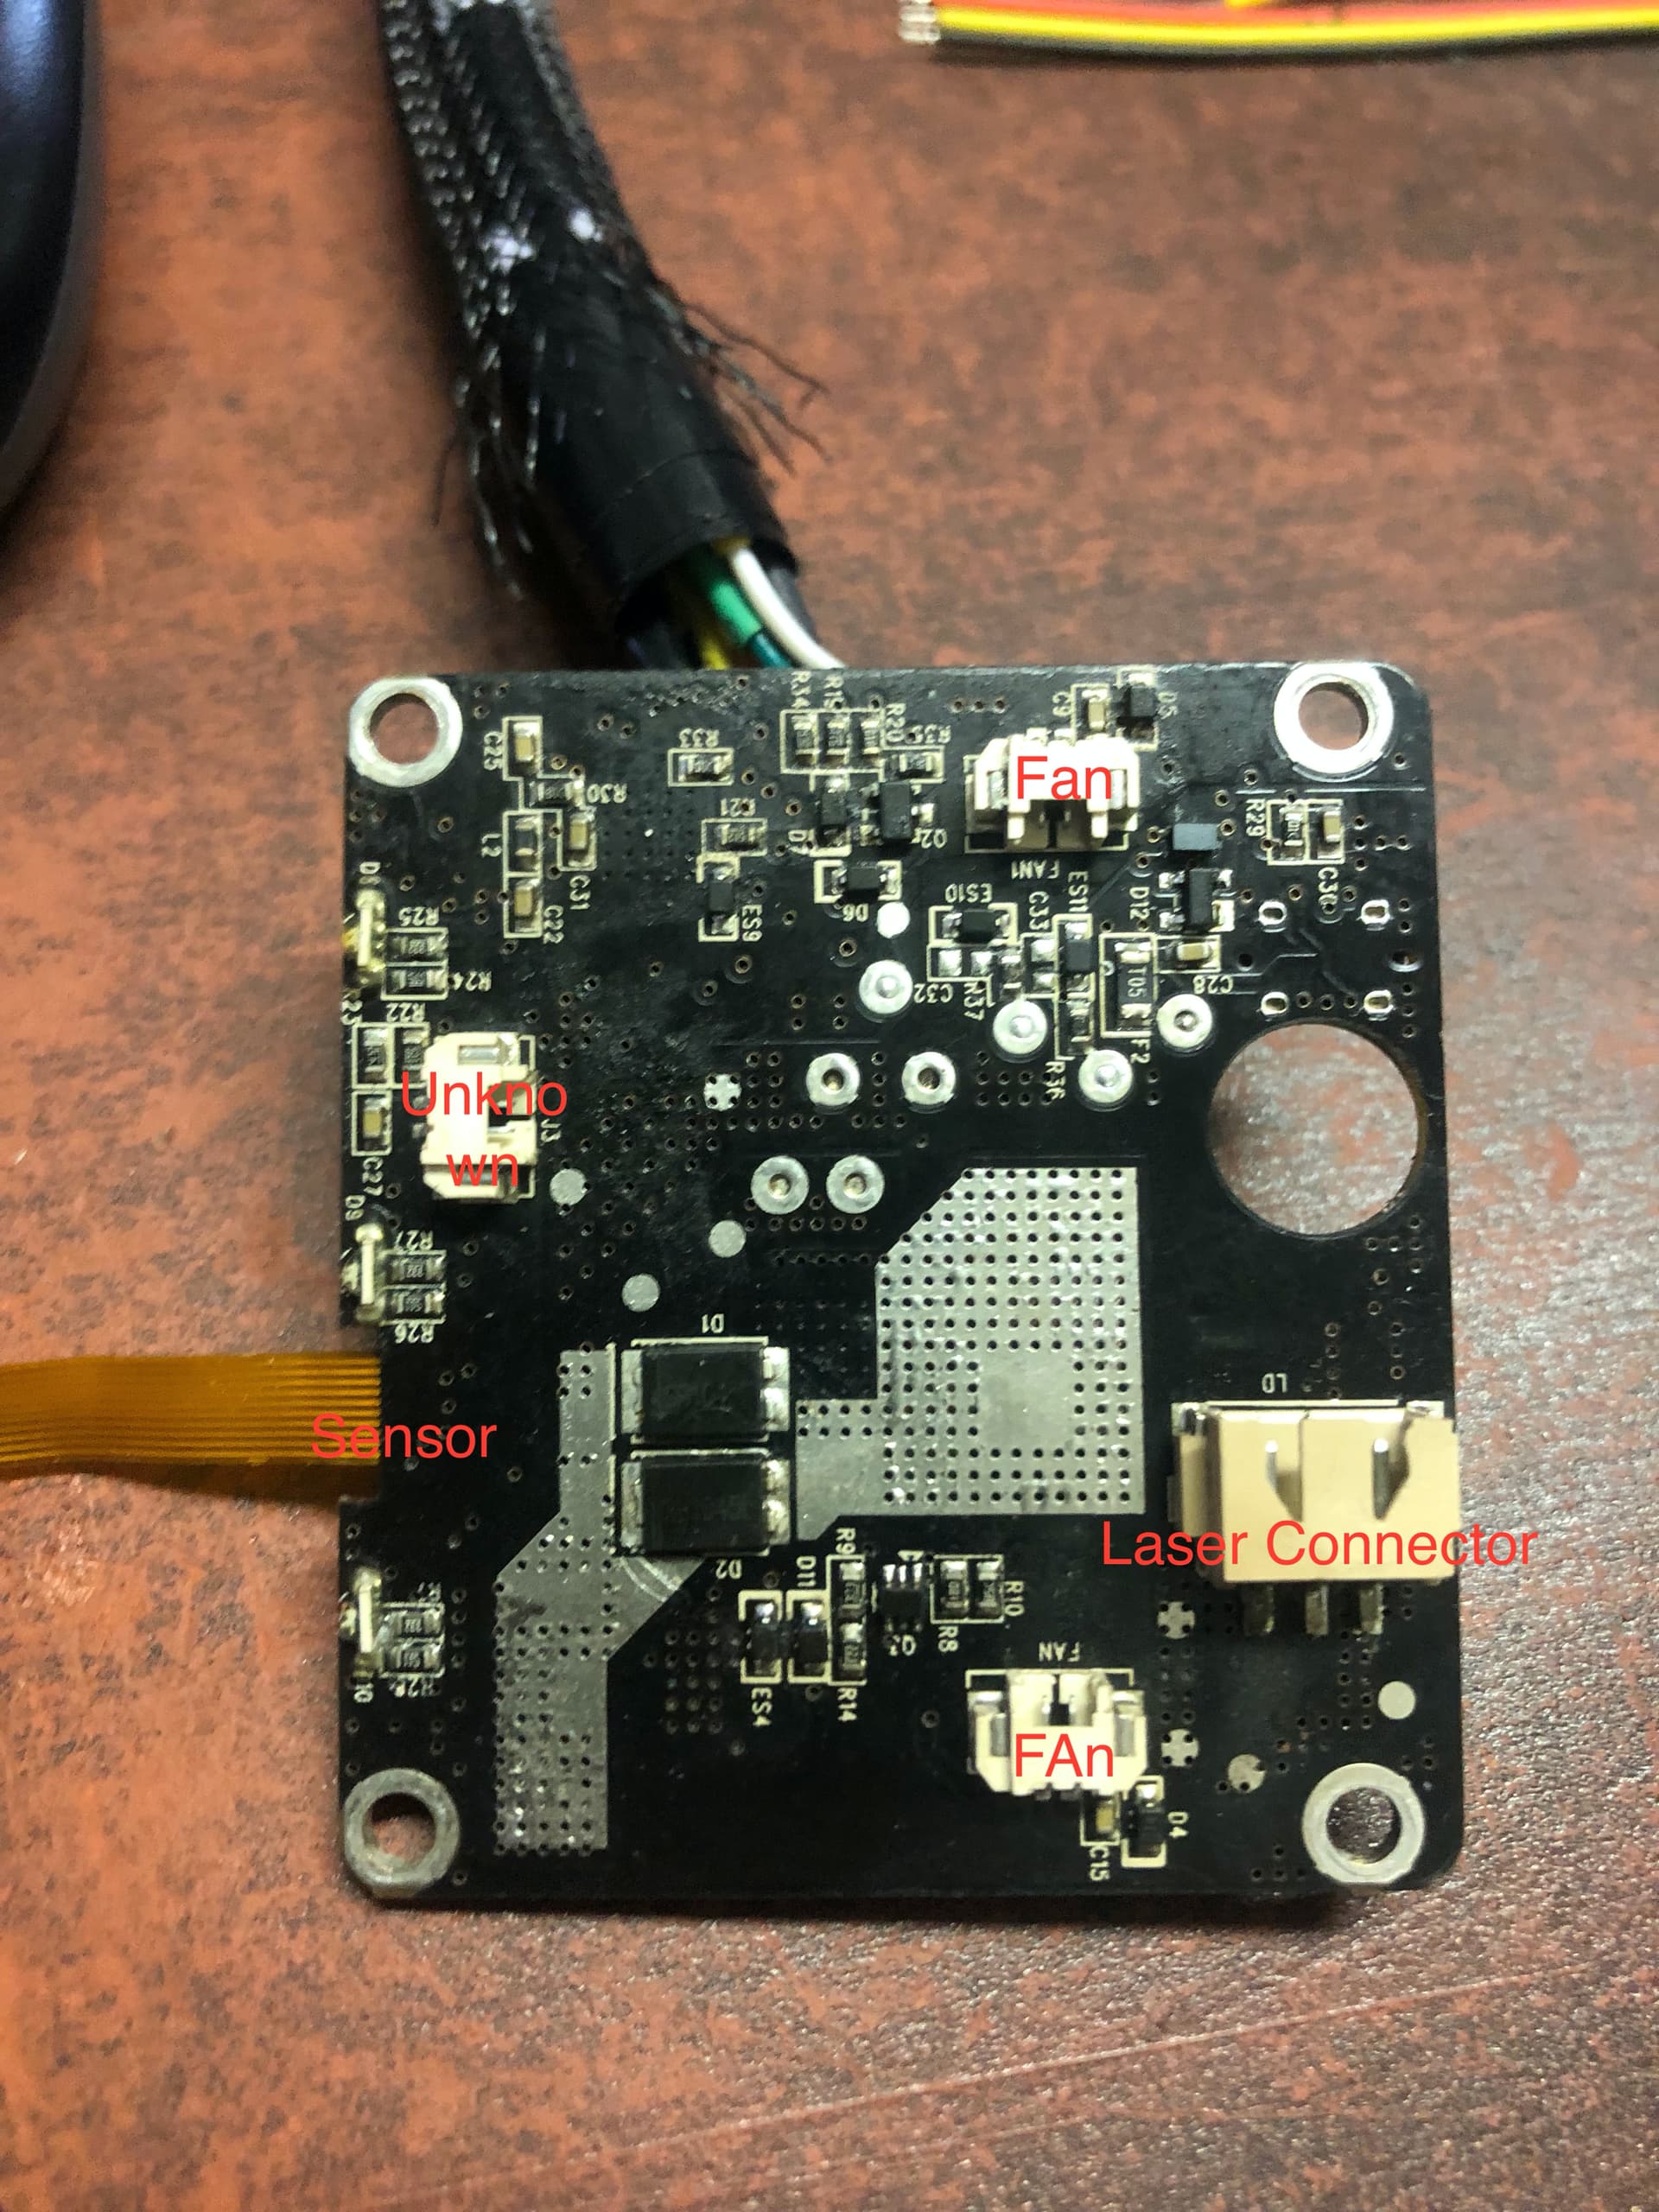
The Creality Falcon2 pro laser holds on top of the laser diode stack(s) ,which by the way also include cooling body and fans, a PC board with a.o. a microprocessor. On this board, all cabling is done to the external and internal users. And-also a USB-C connector is externally accessible for upgrading the firmware. The laser unit is connected to a connector box, left on the X-rail. the cable is connected to the connector box with a 10-pin (BTW, only 9 pins are used) standard 2.54 connector. The cable enters the laser module on top and is safely mounted.
On the internet, I found quite a lot of users that opened the 22 Watt Creality Falcon2 laser due to errors after either bad type of smoke clogged the laser, or some pitfall happened due to inexperienced usage like overheating due to clogged cooling fans. You can find these user stories HERE.
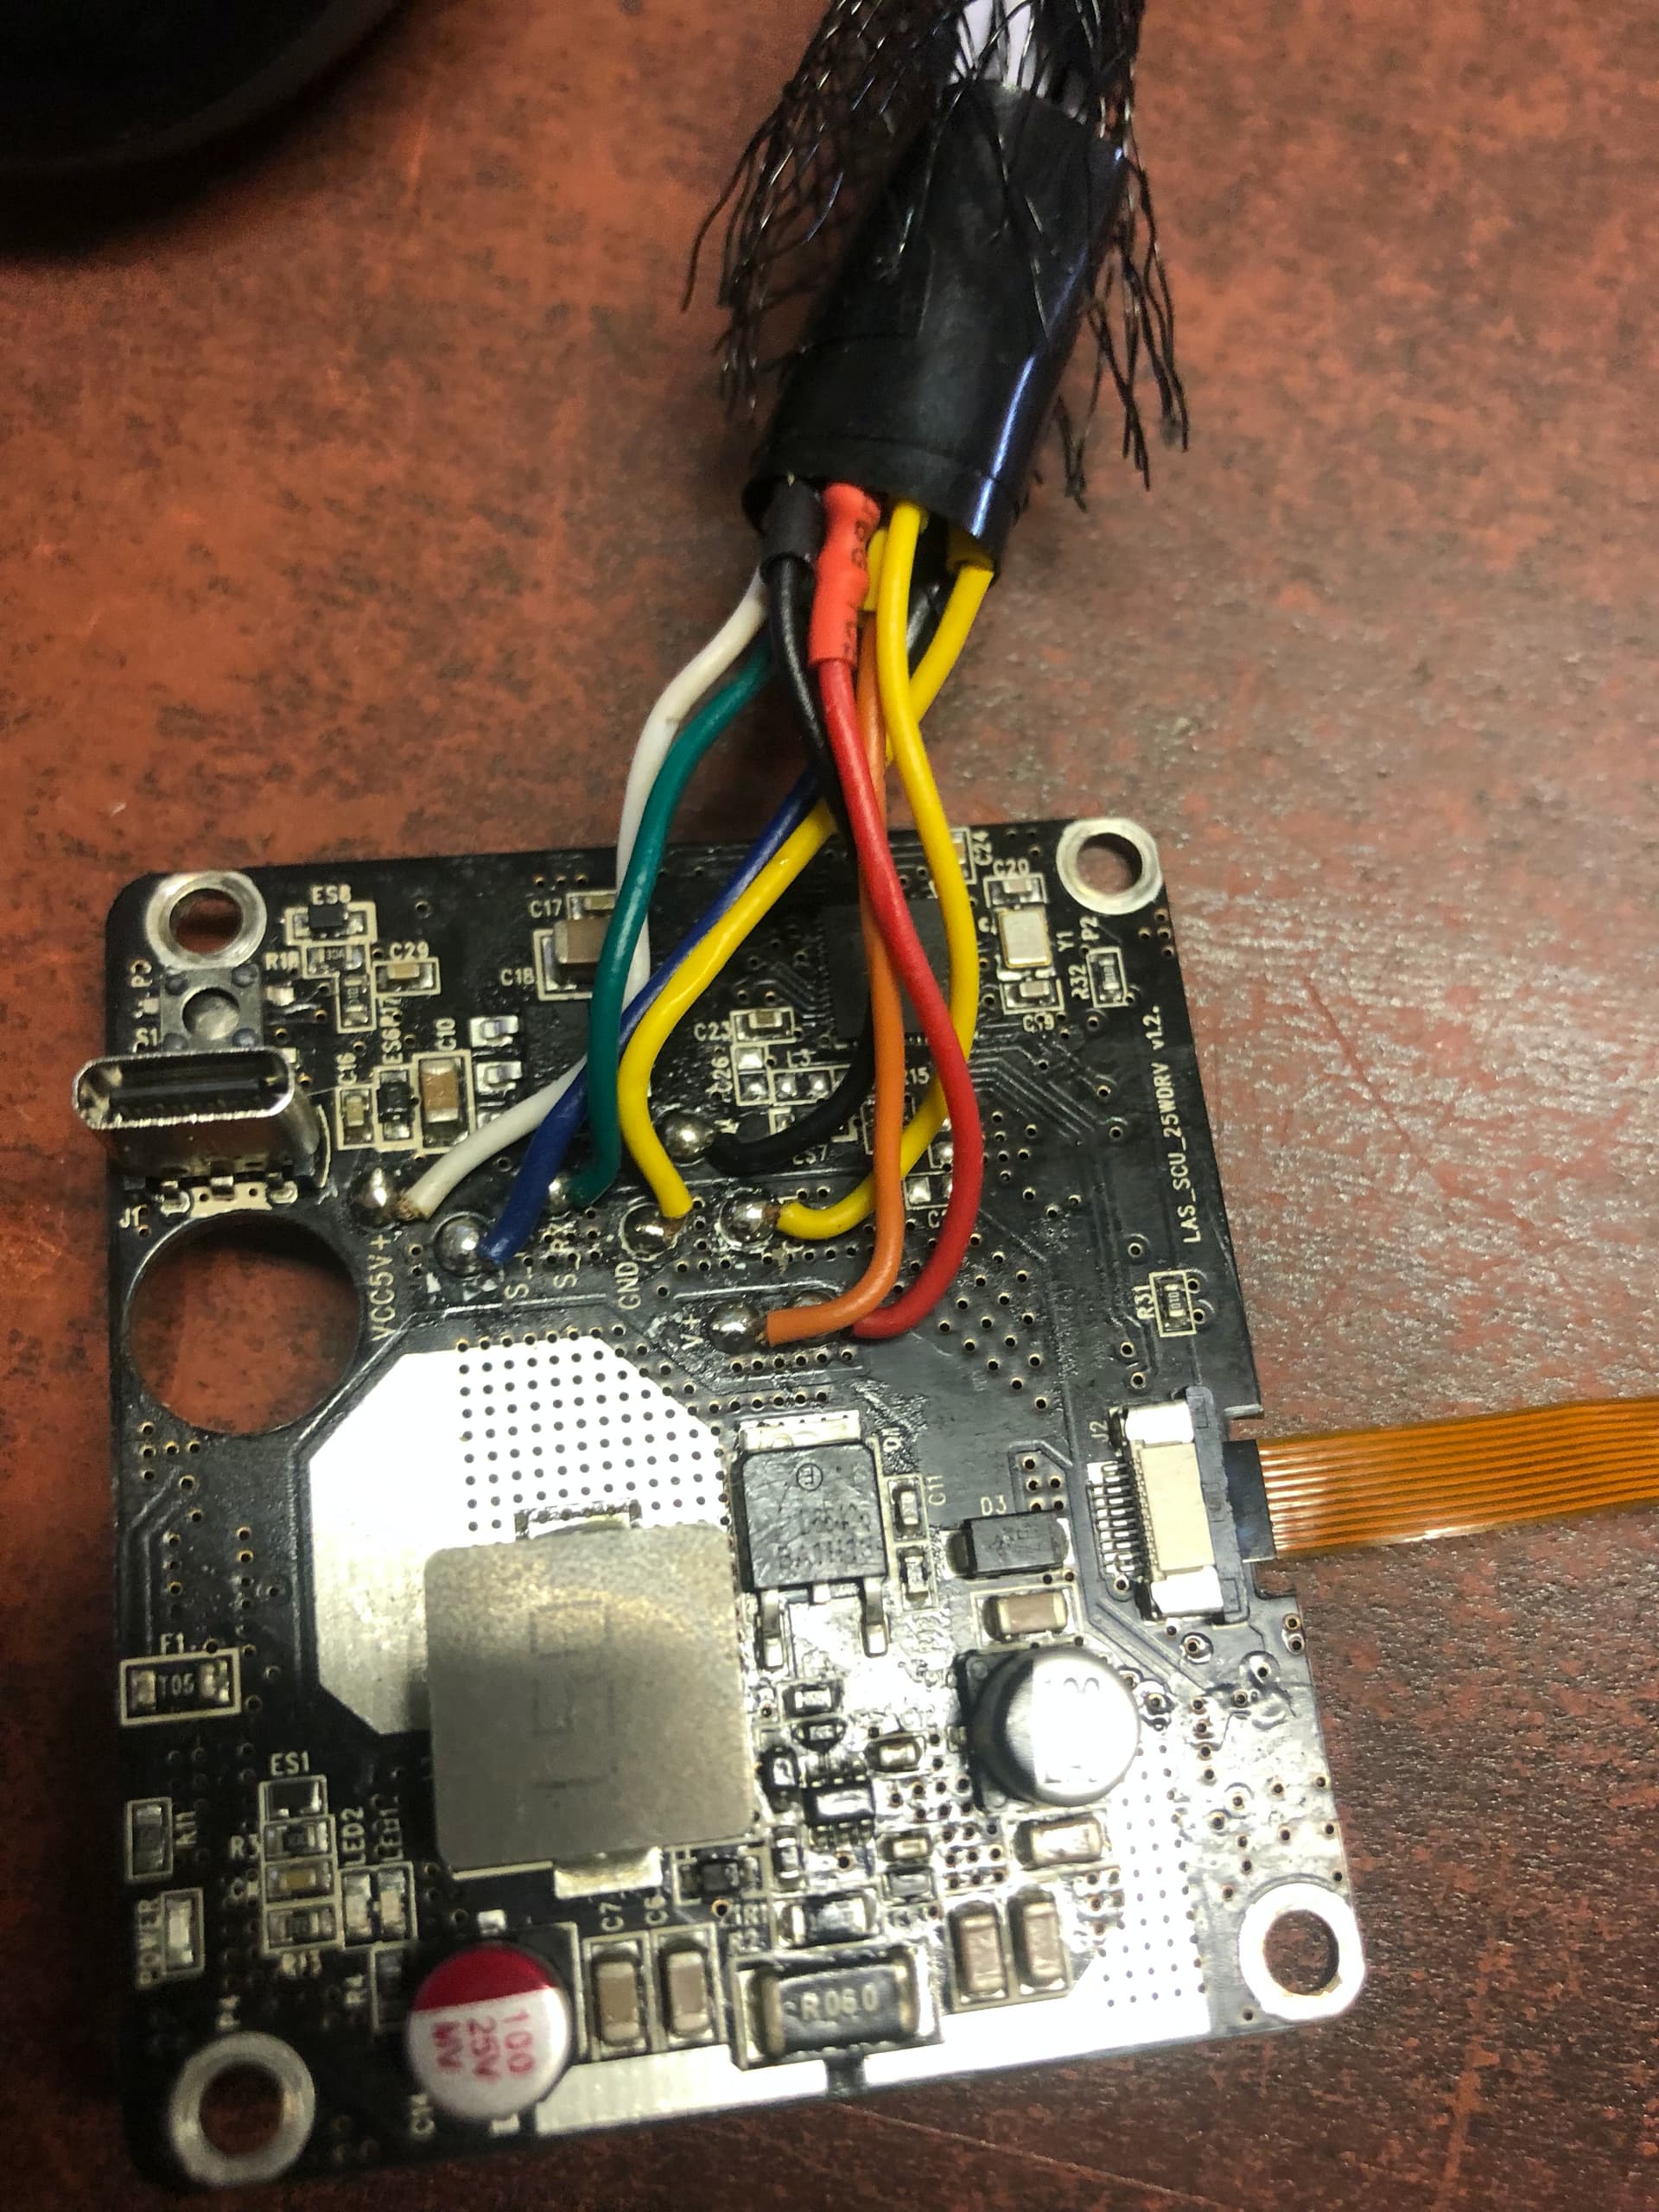
As I look at it, the Creality Falcon 2 ‘s laser unit is a very smart design, due to the upgradeable processor, smoke and flame detection, and air flow detection. The status of these sensors is exchanged with the motherboard so when things go bad with the unit or the job at hand, the machine will terminate any ongoing job to prevent damages to the machine and its surroundings.

And- as for the Lasertree 60 Watt unit? I was going to use it in my Indymill CNC setup, and I still feel that this is a smart move. However, I did order a couple of additional sensors like flame, -smoke, and airflow detectors. I intend to make myself a small Arduino board or possibly an esp32C3 board to check on the ongoing laser jobs. I have plenty of space to mount this on the Indymill and connect it to my controller system. Will let you know how this progresses!
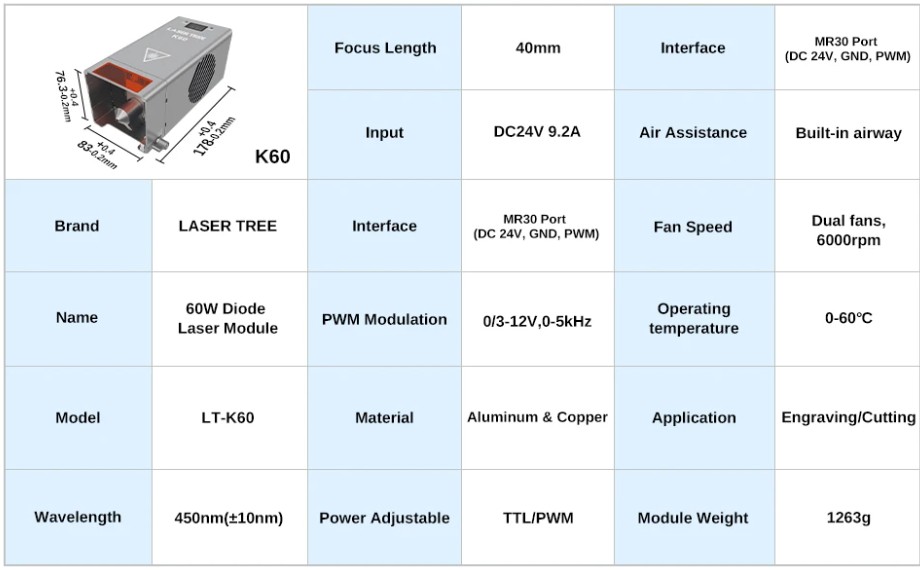
Data and pictures LTK60:
Case&Lid STL DOWNLOAD (zipped)
Finally I made the transition to a robust diode laser machine for my wood and acrylic cutting work. Until now, I have been using my K40 CO2 40 Watt laser cutter/engraver. I will continue to use the K40 machine for clear glass, as it cannot be cut/engraved with a diode laser.
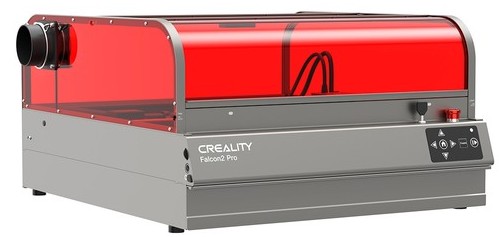
The Creality Falcon 2 Pro with 22Watt output power is chosen because the laser is quite powerful, but mainly because I will be using this machine in my study with an exhaust vent through the roof of the house. I have the K40 CO2 laser in the garage, which works fine. But it is difficult to use easily because of the limited space in the garage. I wanted to keep my big laser ready to use, which means that I need a permanent setup. Because the K40 is water-cooled and has a fairly large cabinet due to the large laser tube, it doesn’t really make it easy to handle when moving it all the time.
The Creality Falcon 2 Pro has a relatively small cabinet and a closed housing. therefore, I could put it in my existing in-house 3d printerroom. It did not go easy, though. I needed to get a couple of 3d printers decommissioned to make the required space available.
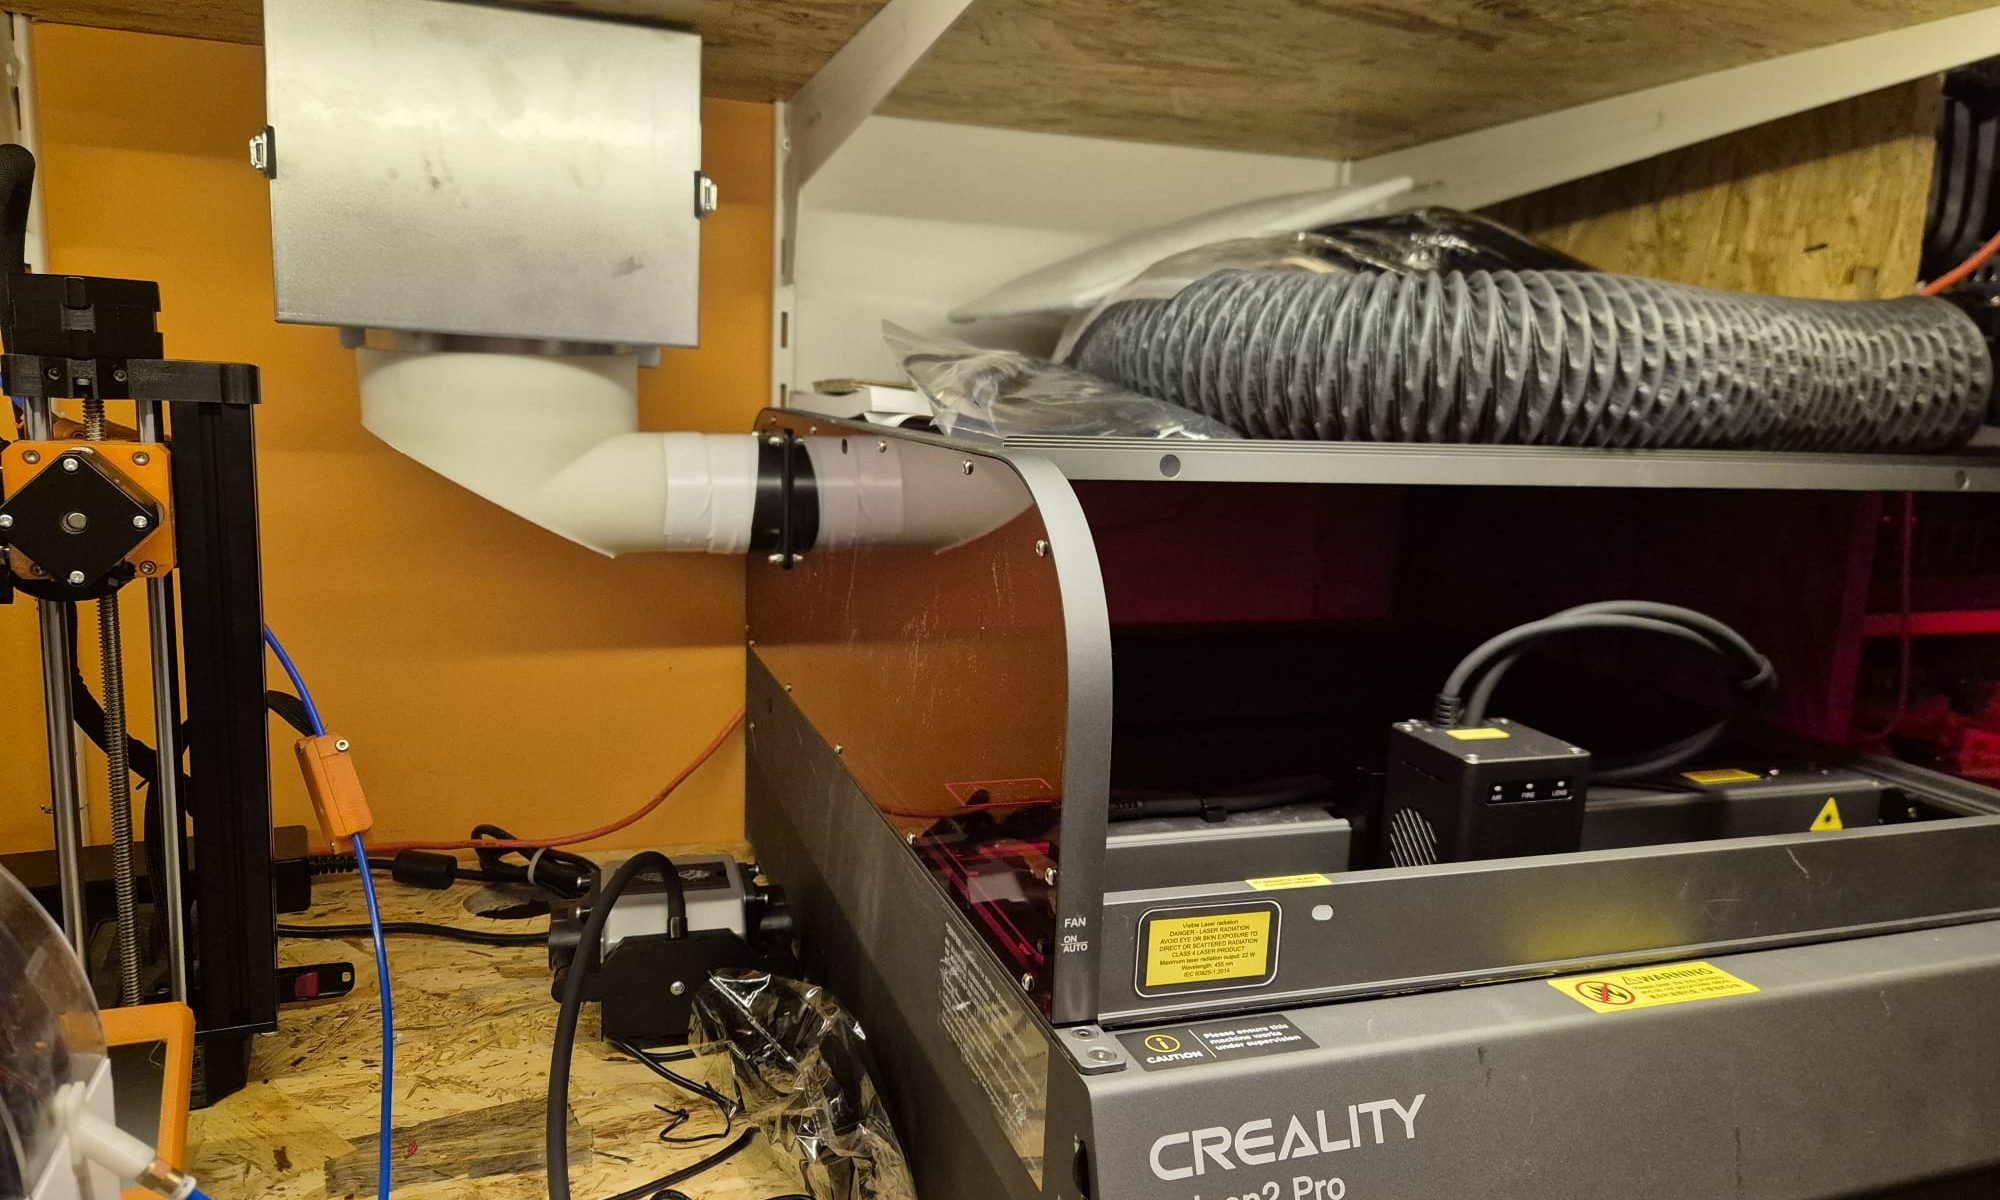
For the exhaust of the Creality Facon 2 pro laser engraver/cutter, I have installed a filter cabinet with a coarse and fine filter + carbon filter. This can get the exhaust gases somewhat filtered so they can be safely discharged. This is especially necessary with acrylic and other plastics.
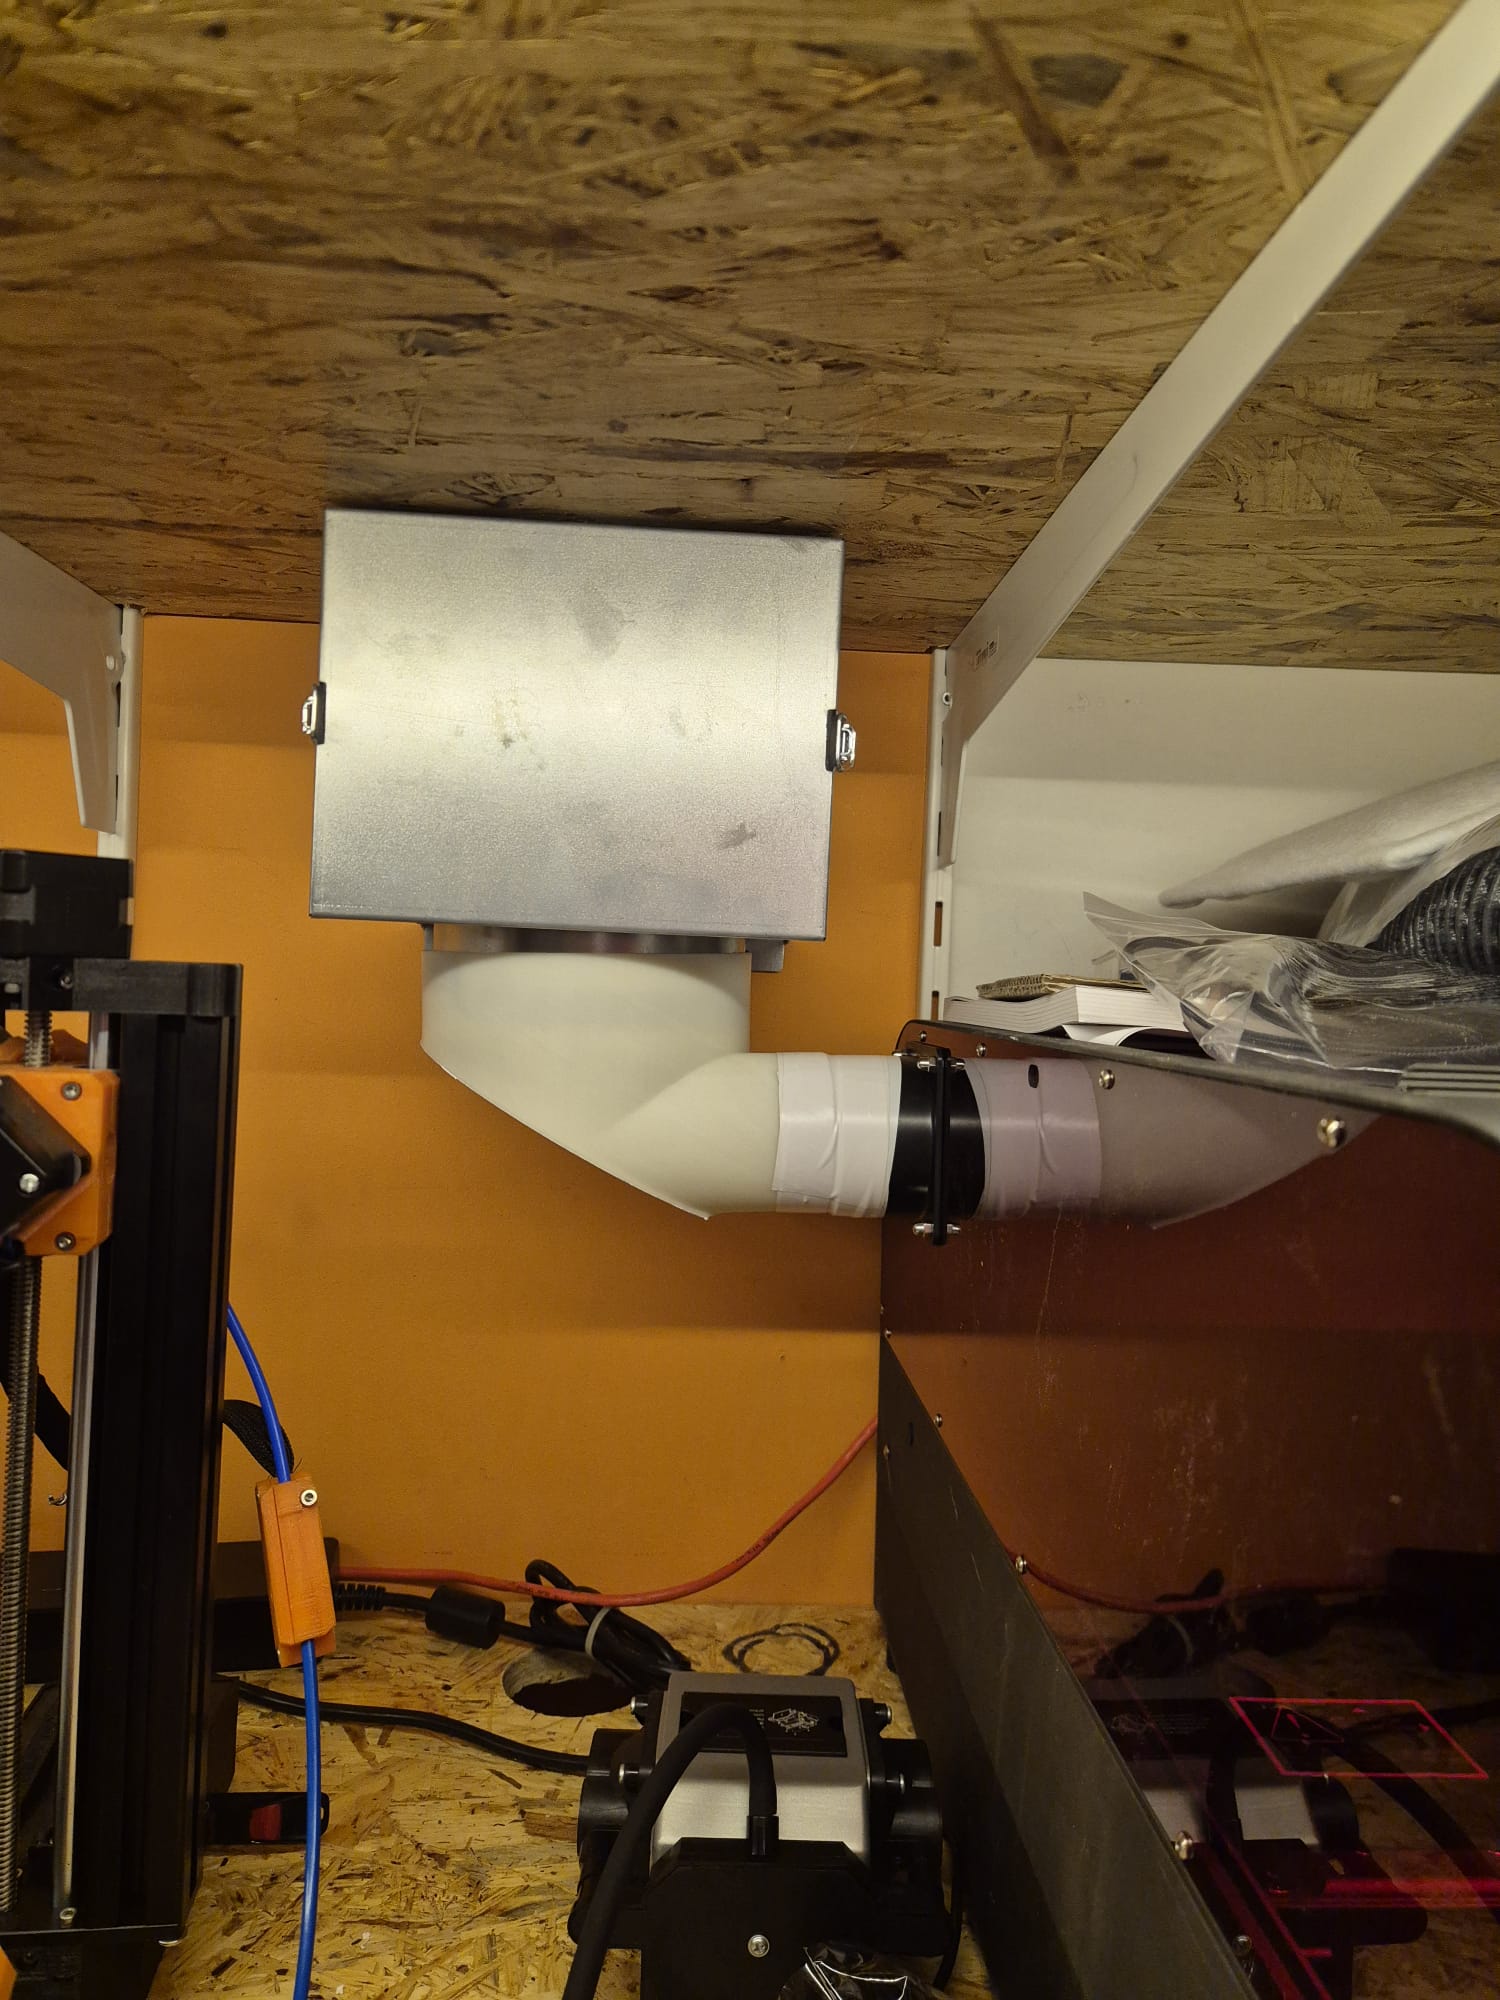
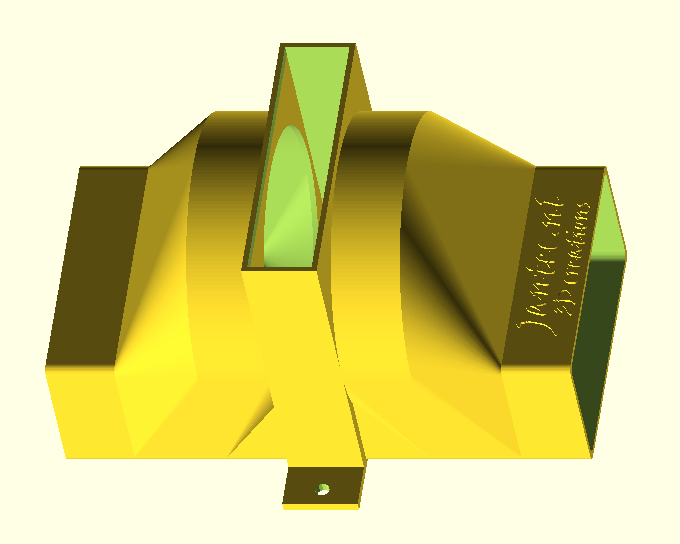
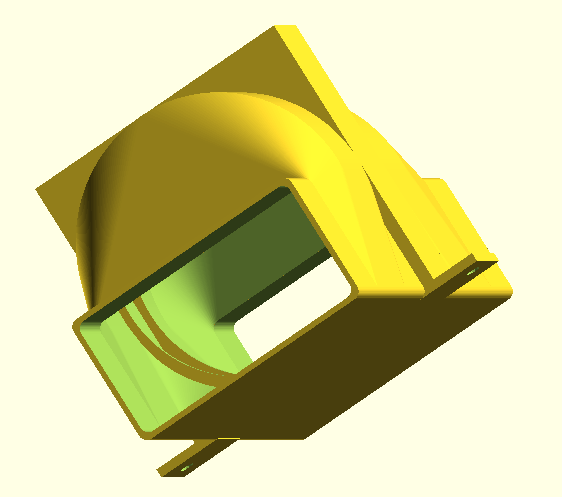
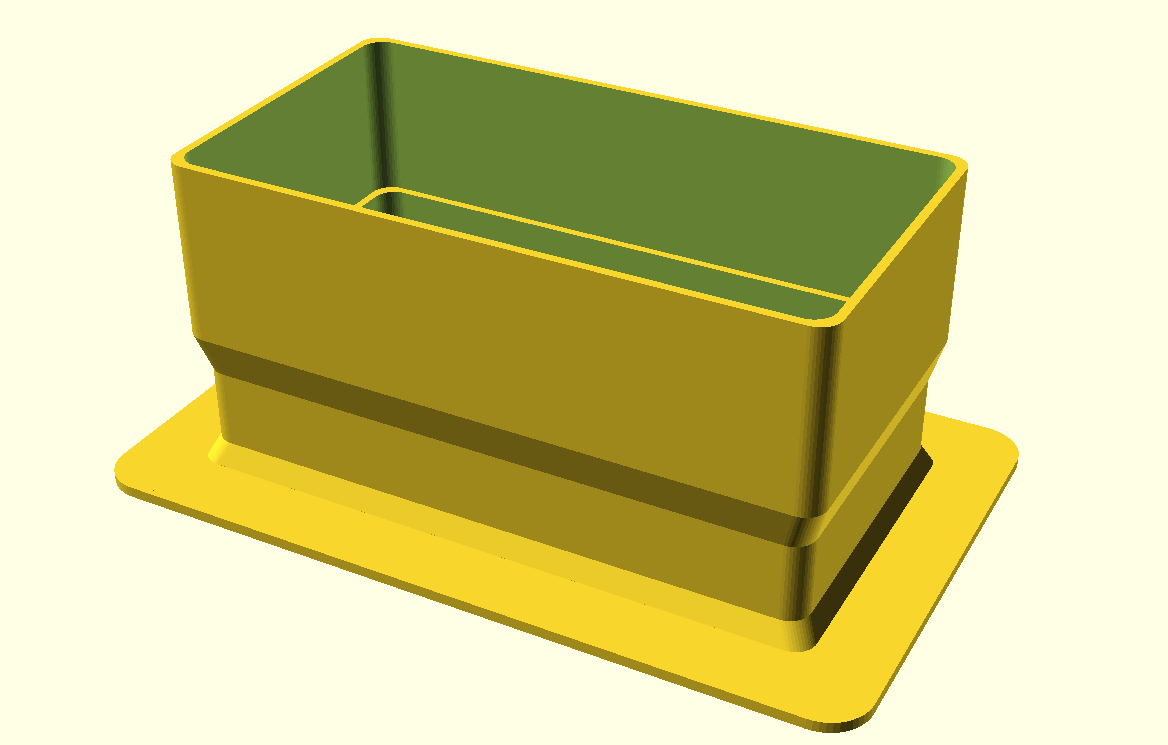
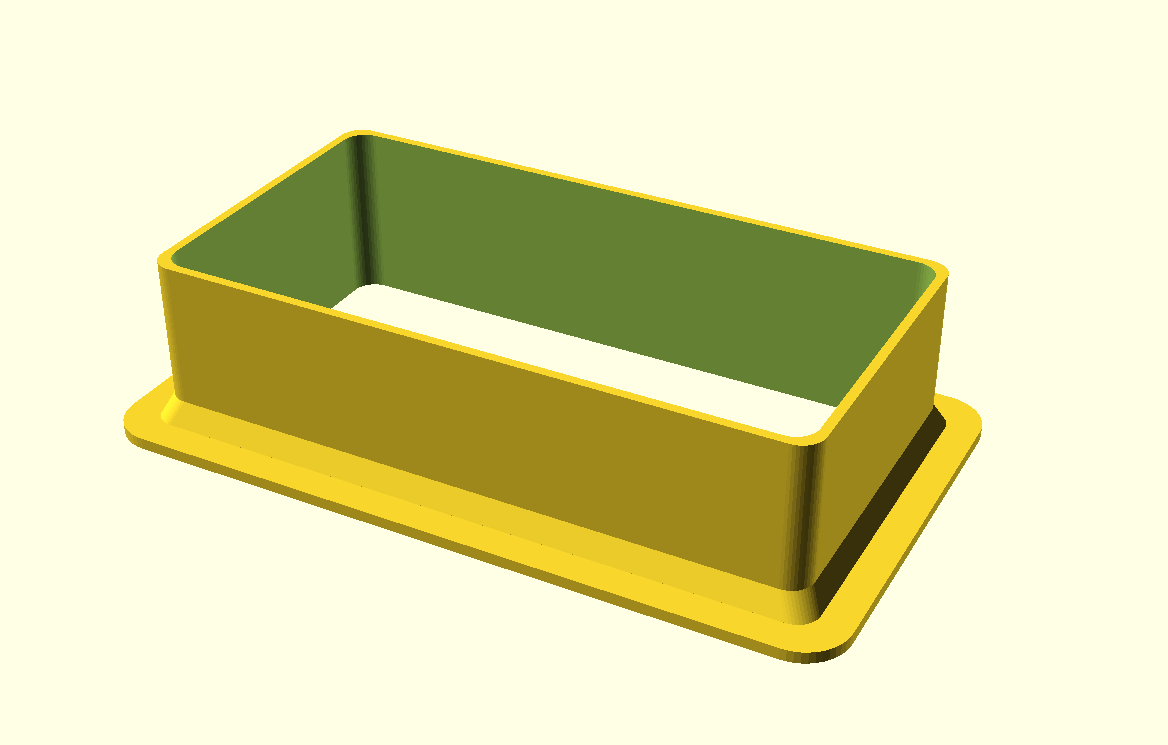
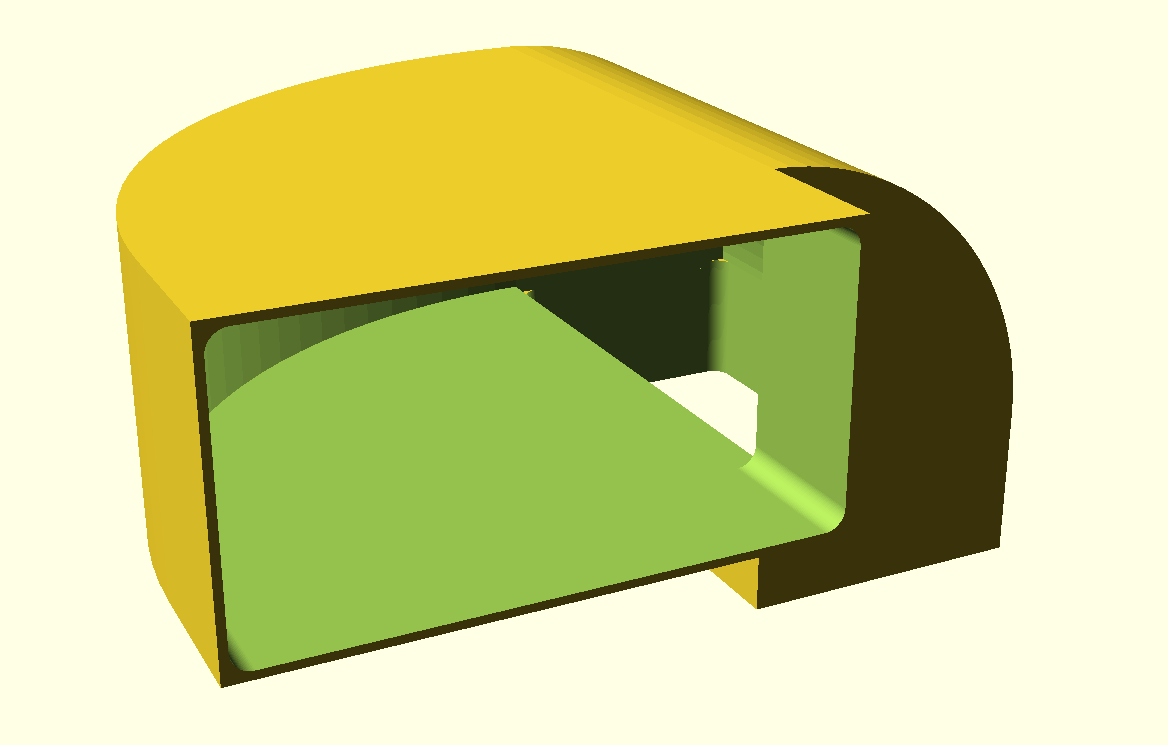
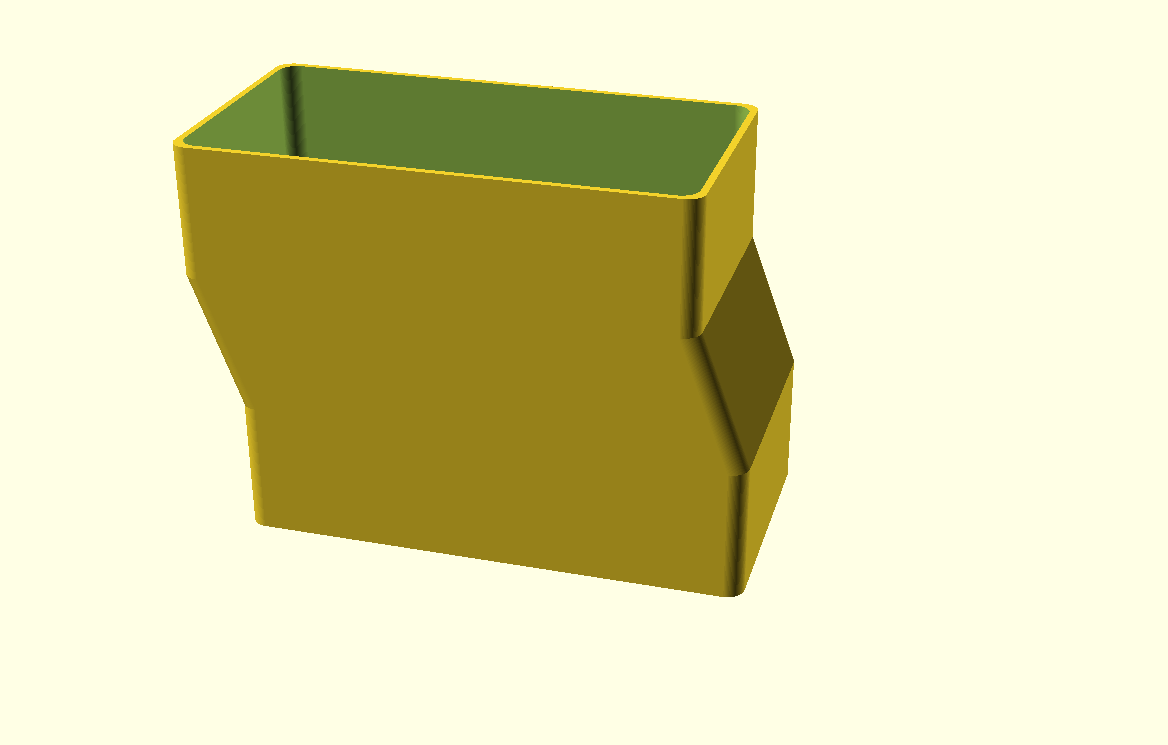
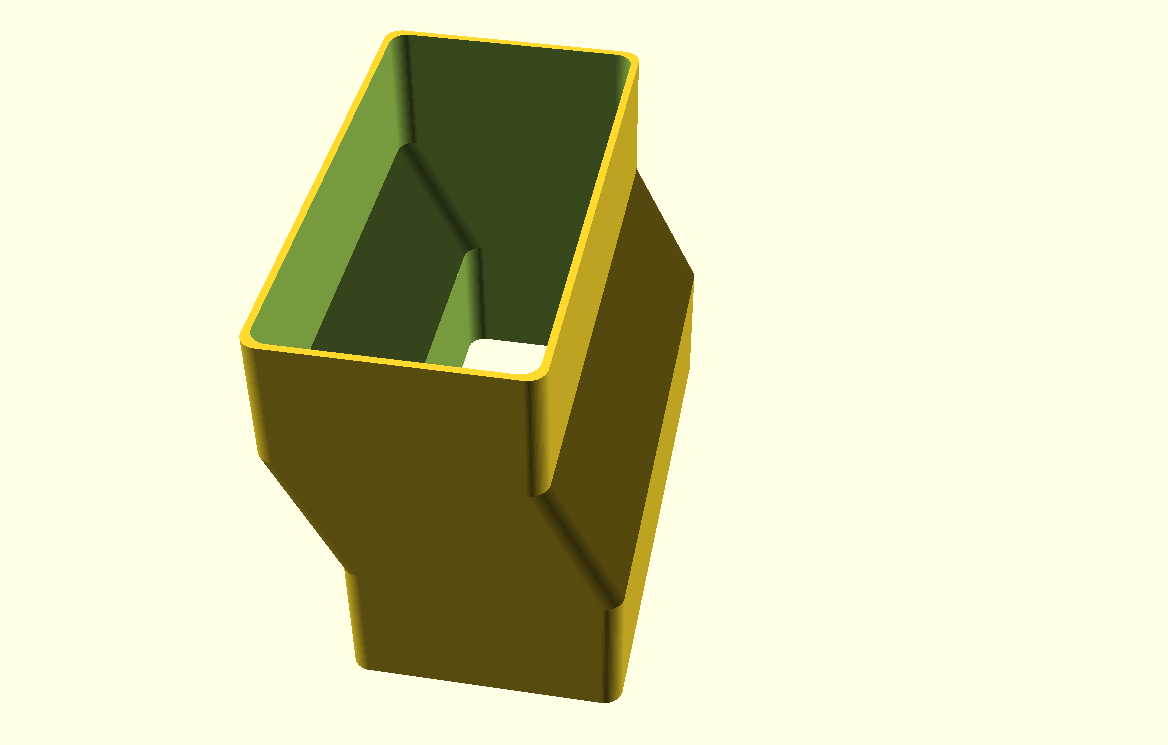
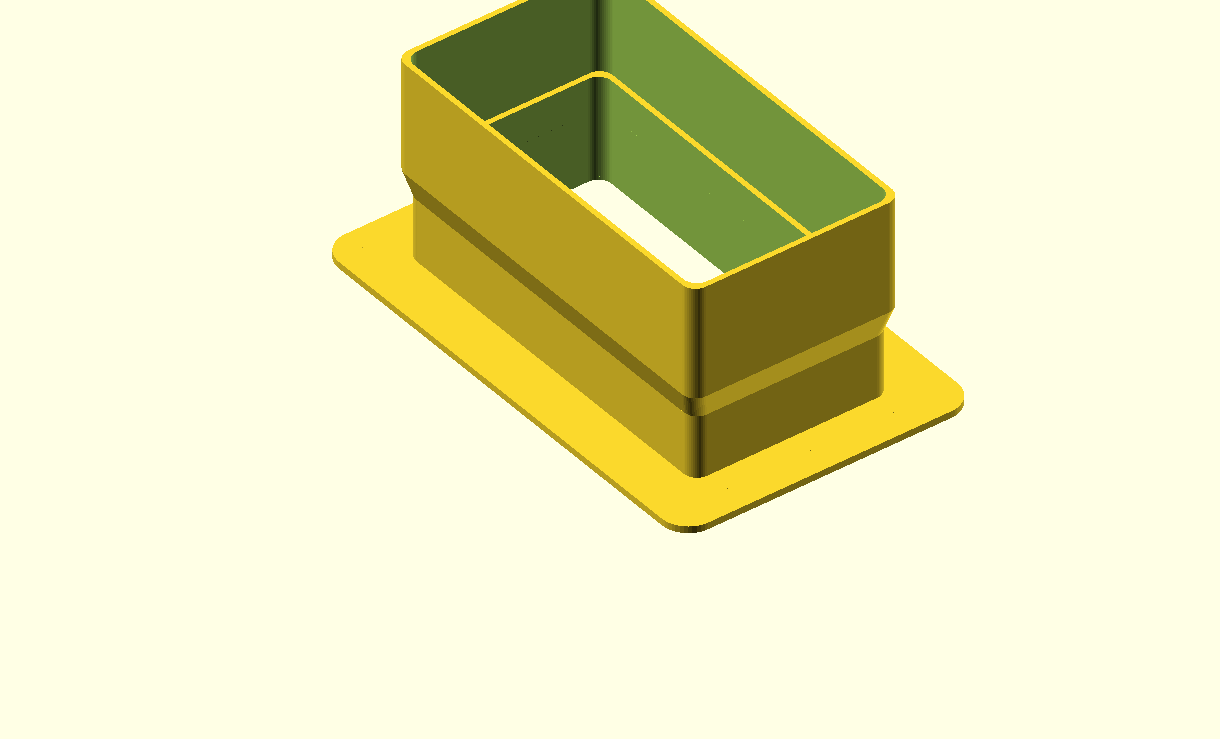
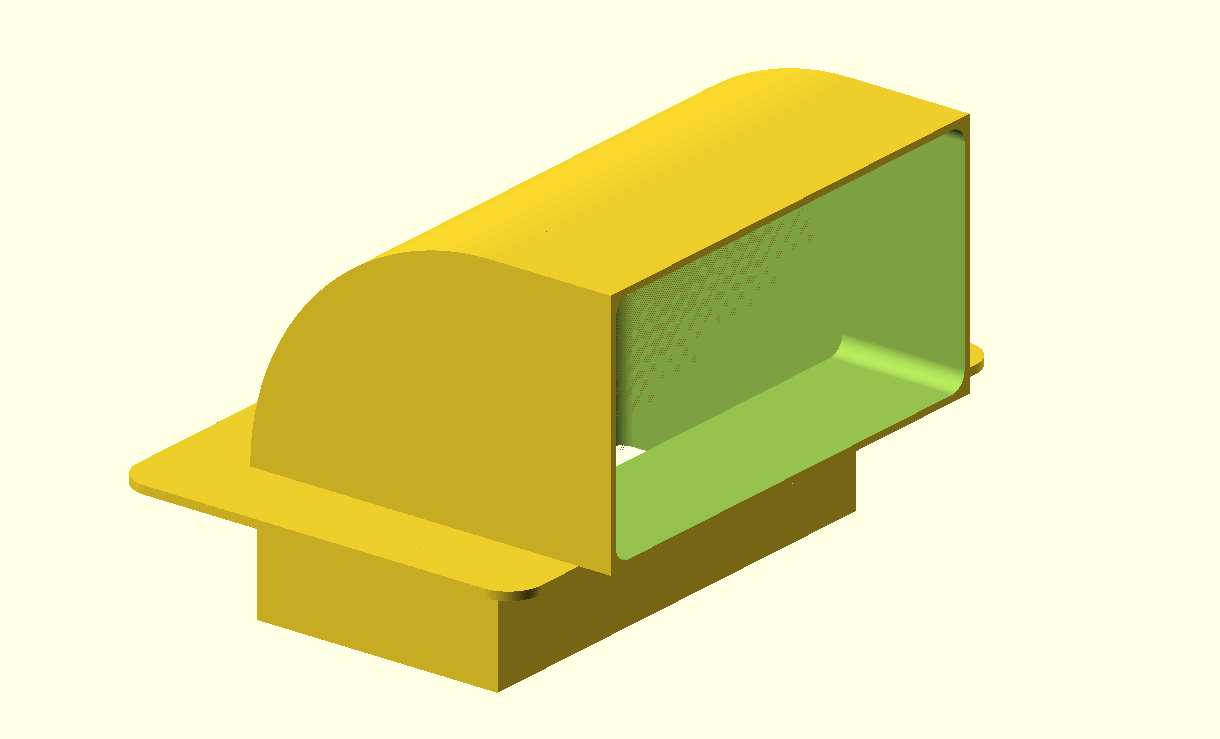
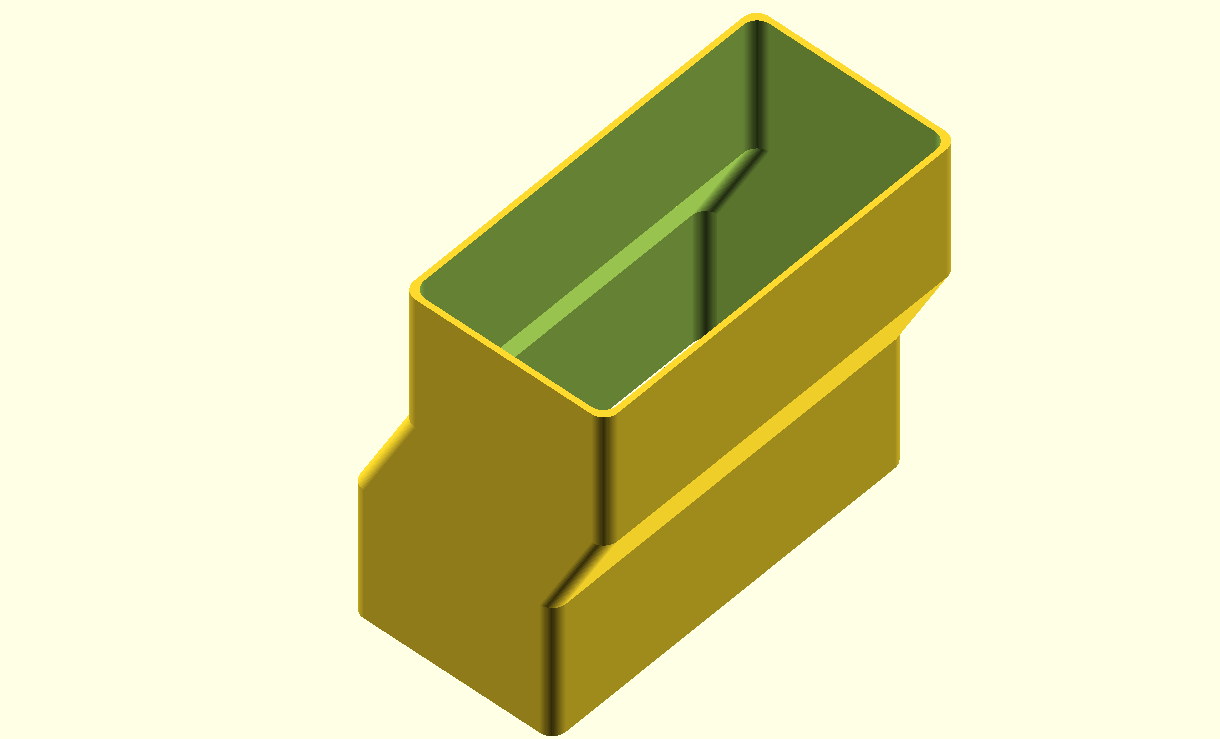
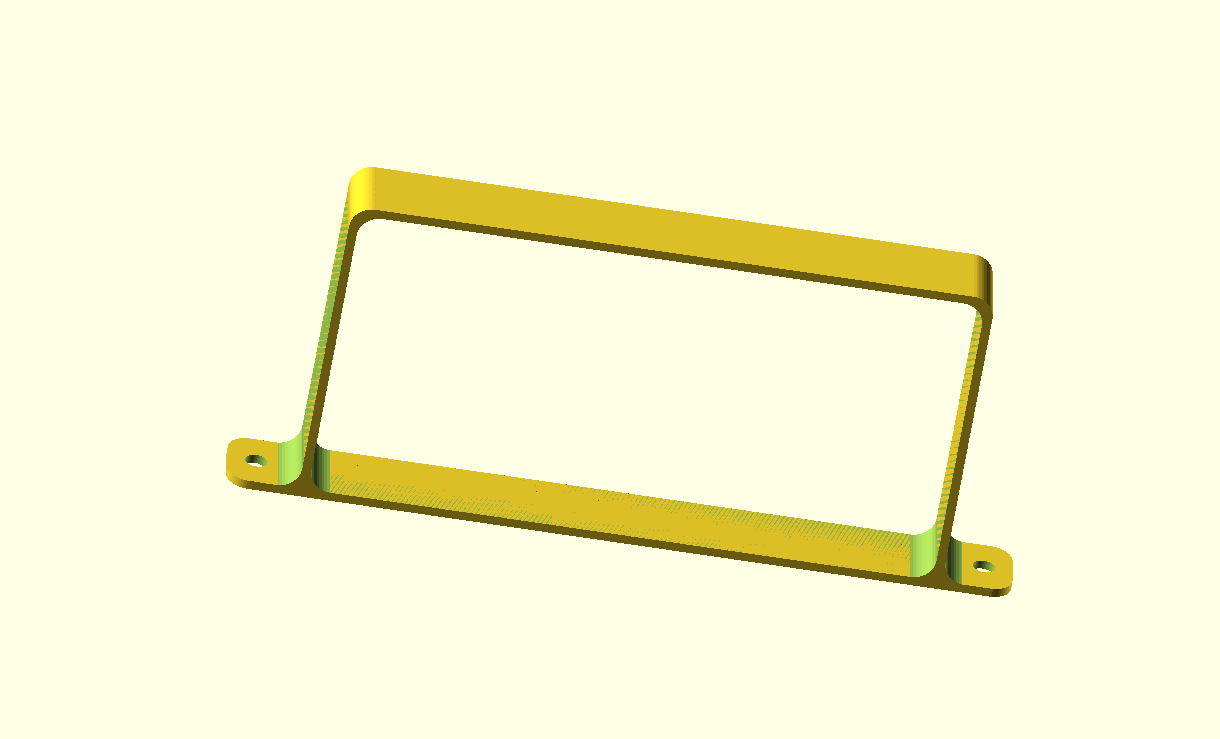
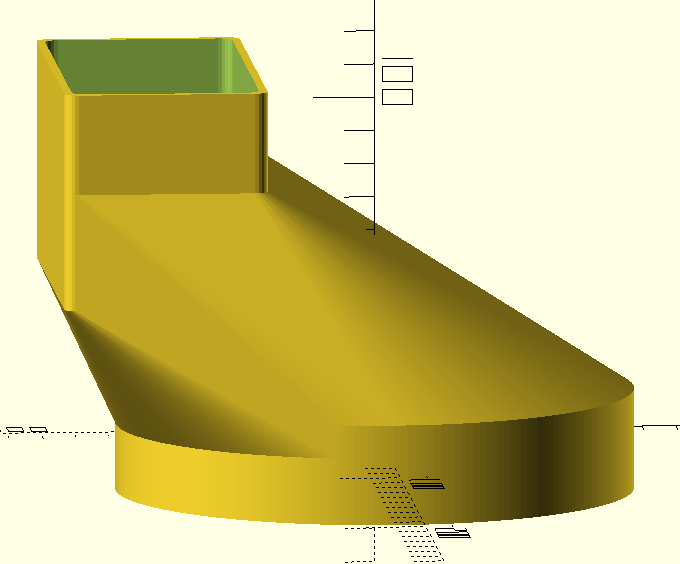
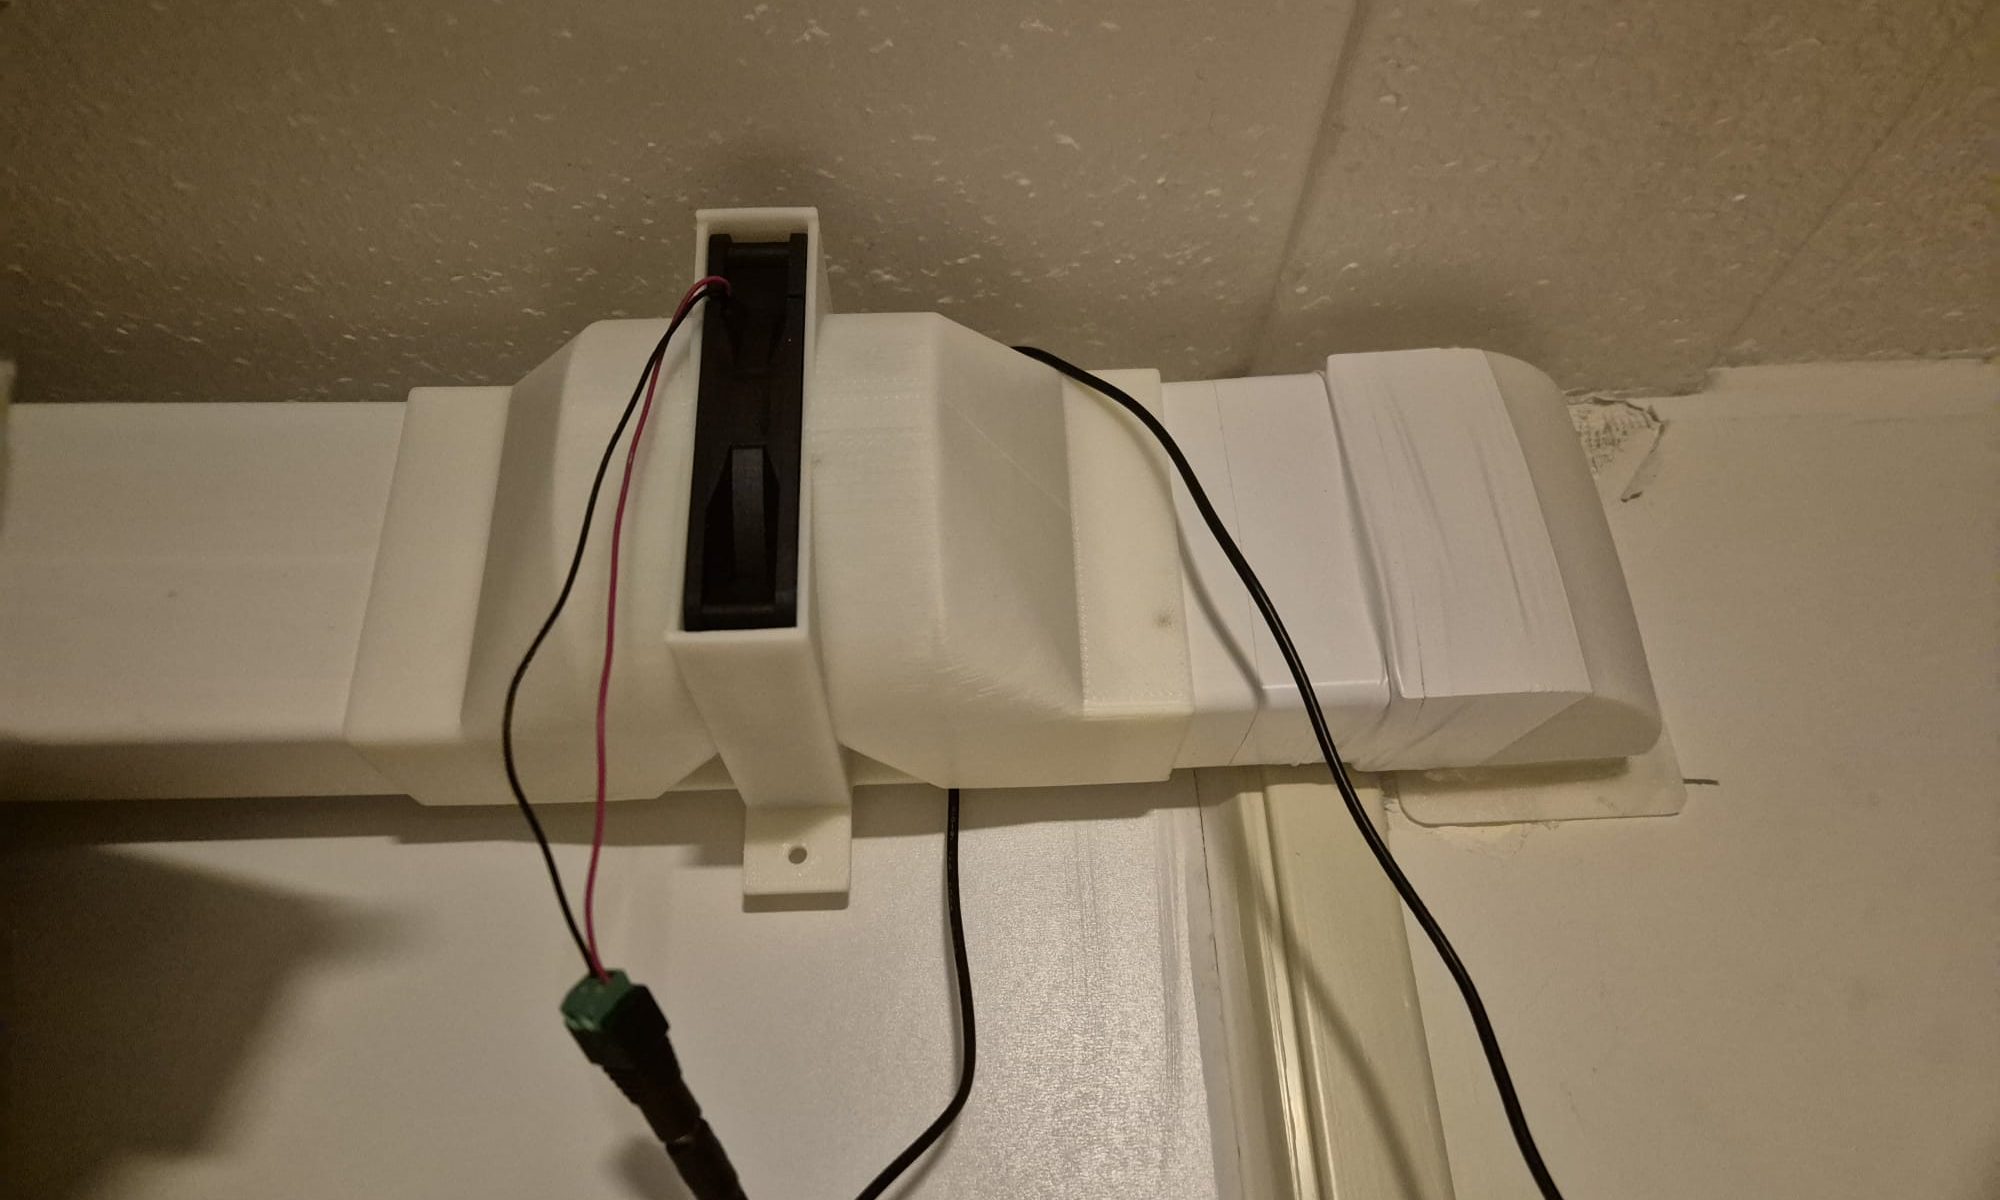
The above connecting piece between the metal filterbox and the laser housing was designed in Openscad, and printed in white ABS on my Voron600.
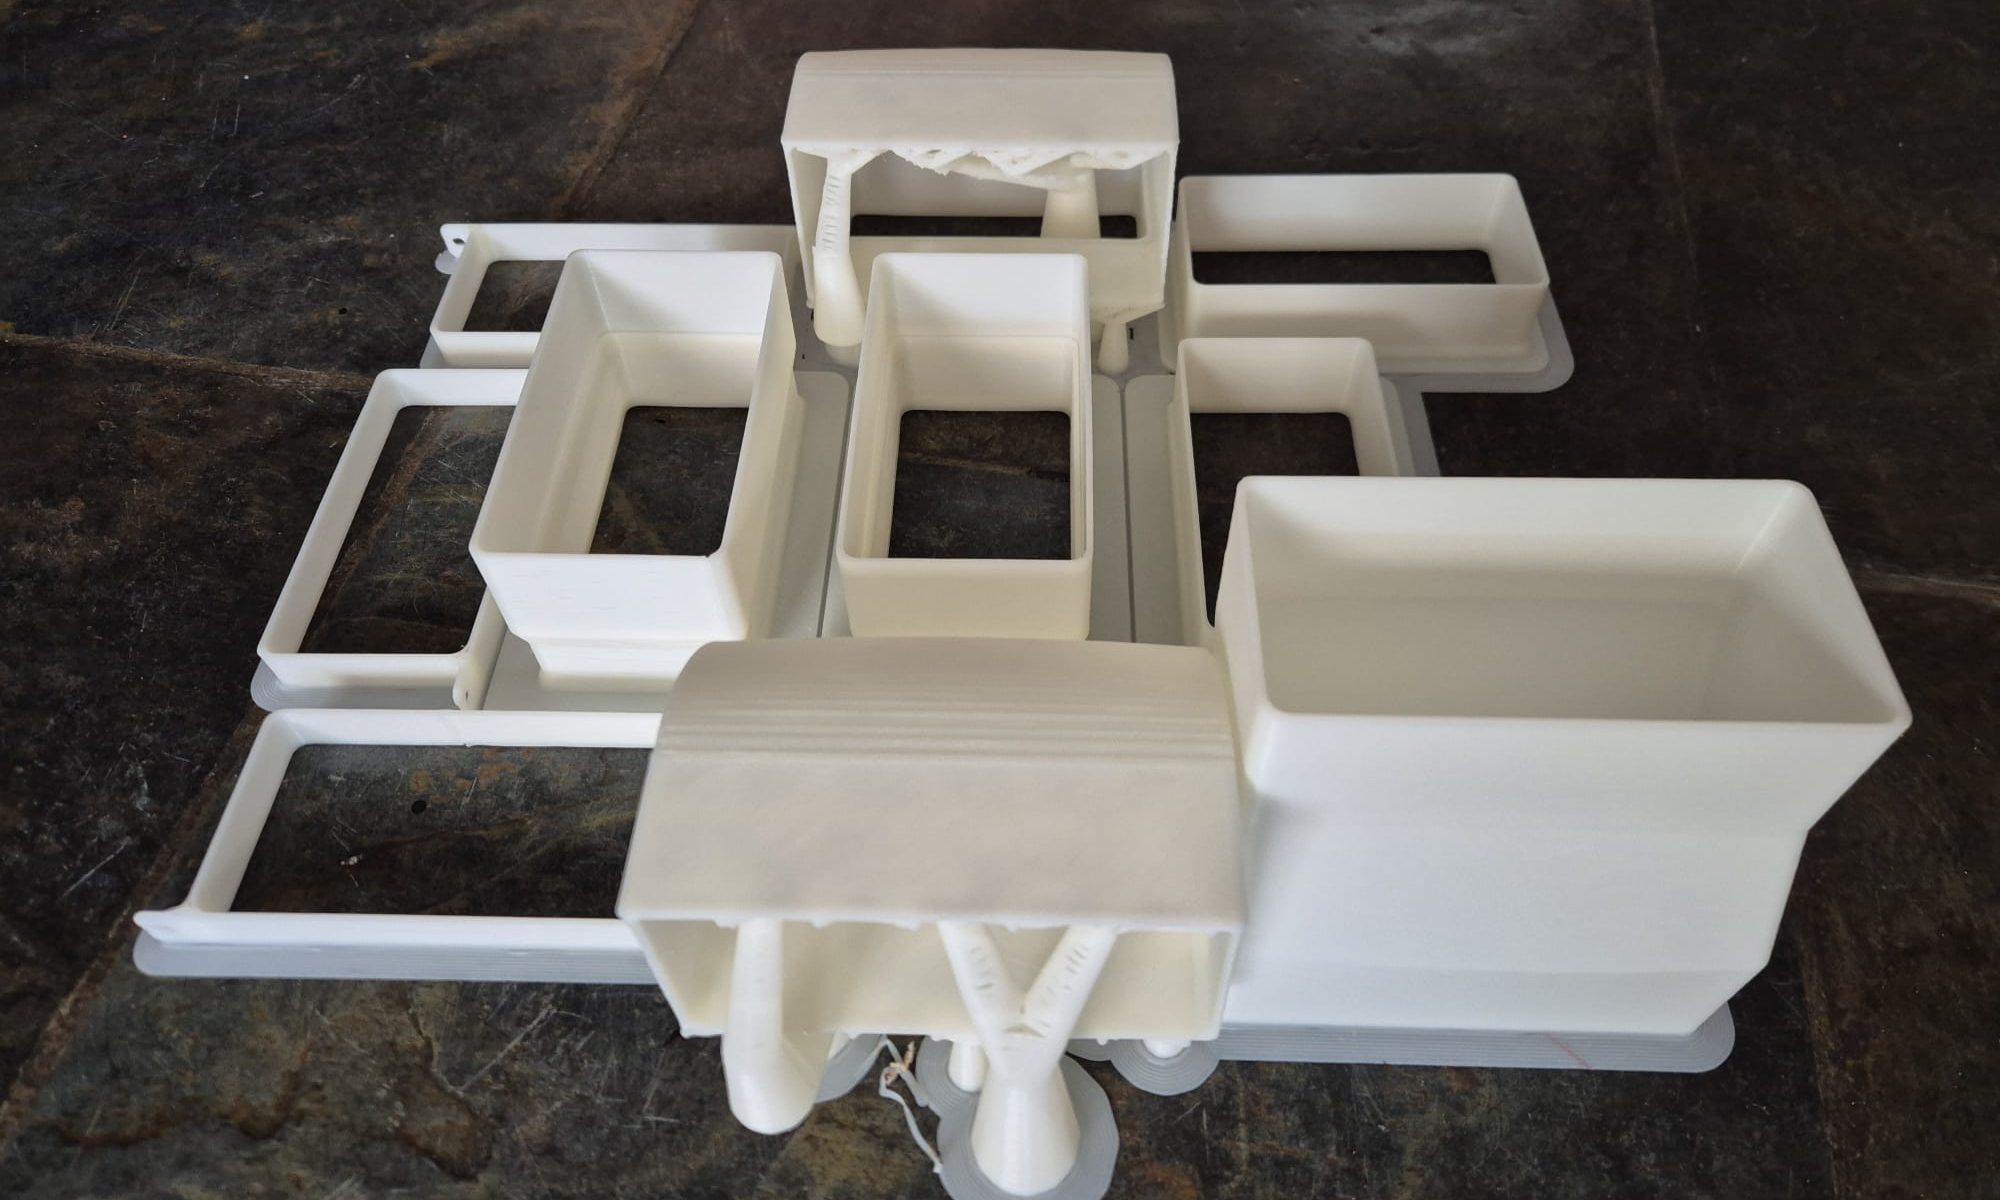
The exhaust pipe runs from the workroom on the first floor to the second floor and then a short distance through the house to the former exhaust of the central heating boiler. I no longer use that central heating boiler because of the heat pump. All special connecting pieces have been designed in Openscad, printed in white ABS on the Voron600.
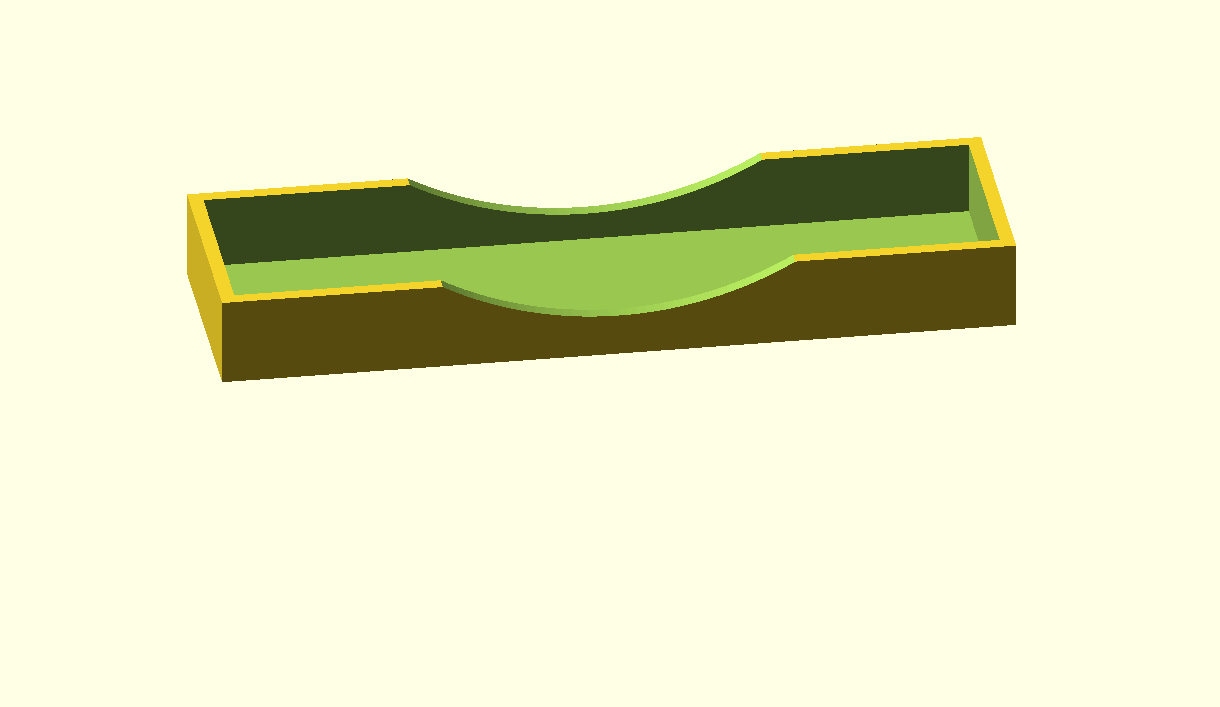
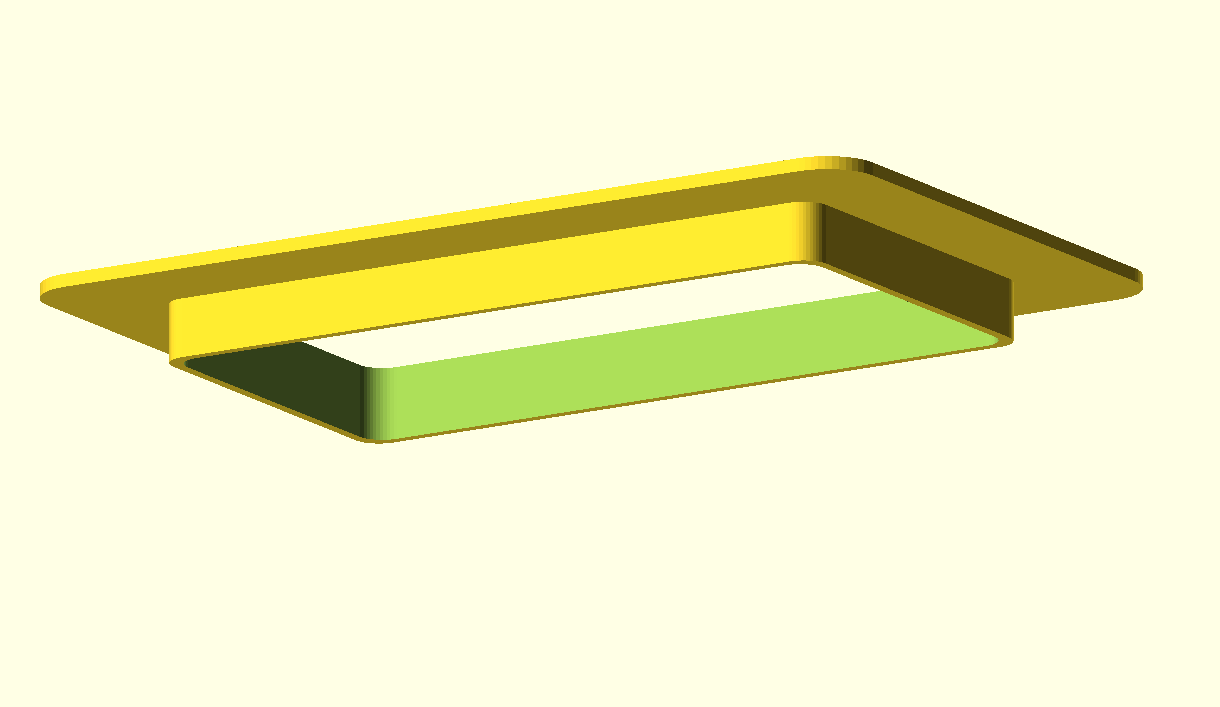
The 110x55mm exhaust pipes are flat pipes so that I can run them neatly along the wall with standard available 90-degree bends in the corners.
There is a high-volume additional retraction fan mounted just before the outlet through the roof.