BYD Atto 3: User experiences after 9 months and 10,000 miles

This review replaces my previous reviews of my Atto 3, as all of my desired software enhancements have been completed filled in by BYD.

Meanwhile, software version 1.4 was loaded into the car via OTA on 18-9-2023 and as far as I am concerned, the car is completely OK in terms of software.

This is of course very personal. by now I am used to the beeps and other sounds the system makes when something is signaled or detected that I do not always immediately interpret as dangerous.

I have even learned to appreciate the fact that the system intervenes in dangerous situations. The other day I was driving behind a driver who suddenly hit the brakes in the middle of the intersection for some unknown reason. Before I could brake, the car was slowed down so that no collision occurred. I had not had similar intervention from the car before and was very pleased with it. It also shows that you really only know what you need when you have (unnoticed). So at this point I’m all over the place. Safety sometimes seems patronizing but avoiding a collision is enough reason, as far as I am concerned, to learn to appreciate the safety aspects of the Atto 3.

Intervention by the car on the steering wheel when you approach the edge of the road too much I previously found very annoying, and so did the accompanying beep. But I can also keep a little more distance from the shoulder and avoid the intervention. Matter of doing.

As I had mentioned in my earlier reviews, there were quite a few things that were just not set up nicely, which made driving the car uncomfortable. These were things like faltering A/C controls, or just the wrong air freshening functions available but also things like the fact that the A/C did not remember what the last setting was and should start with that again by default next time. That’s all fixed now, though.

Also promised afterthoughts like Apple Carplay and Android auto have been around for a while. I myself use Android auto and that works absolutely great!

Issues that remained:

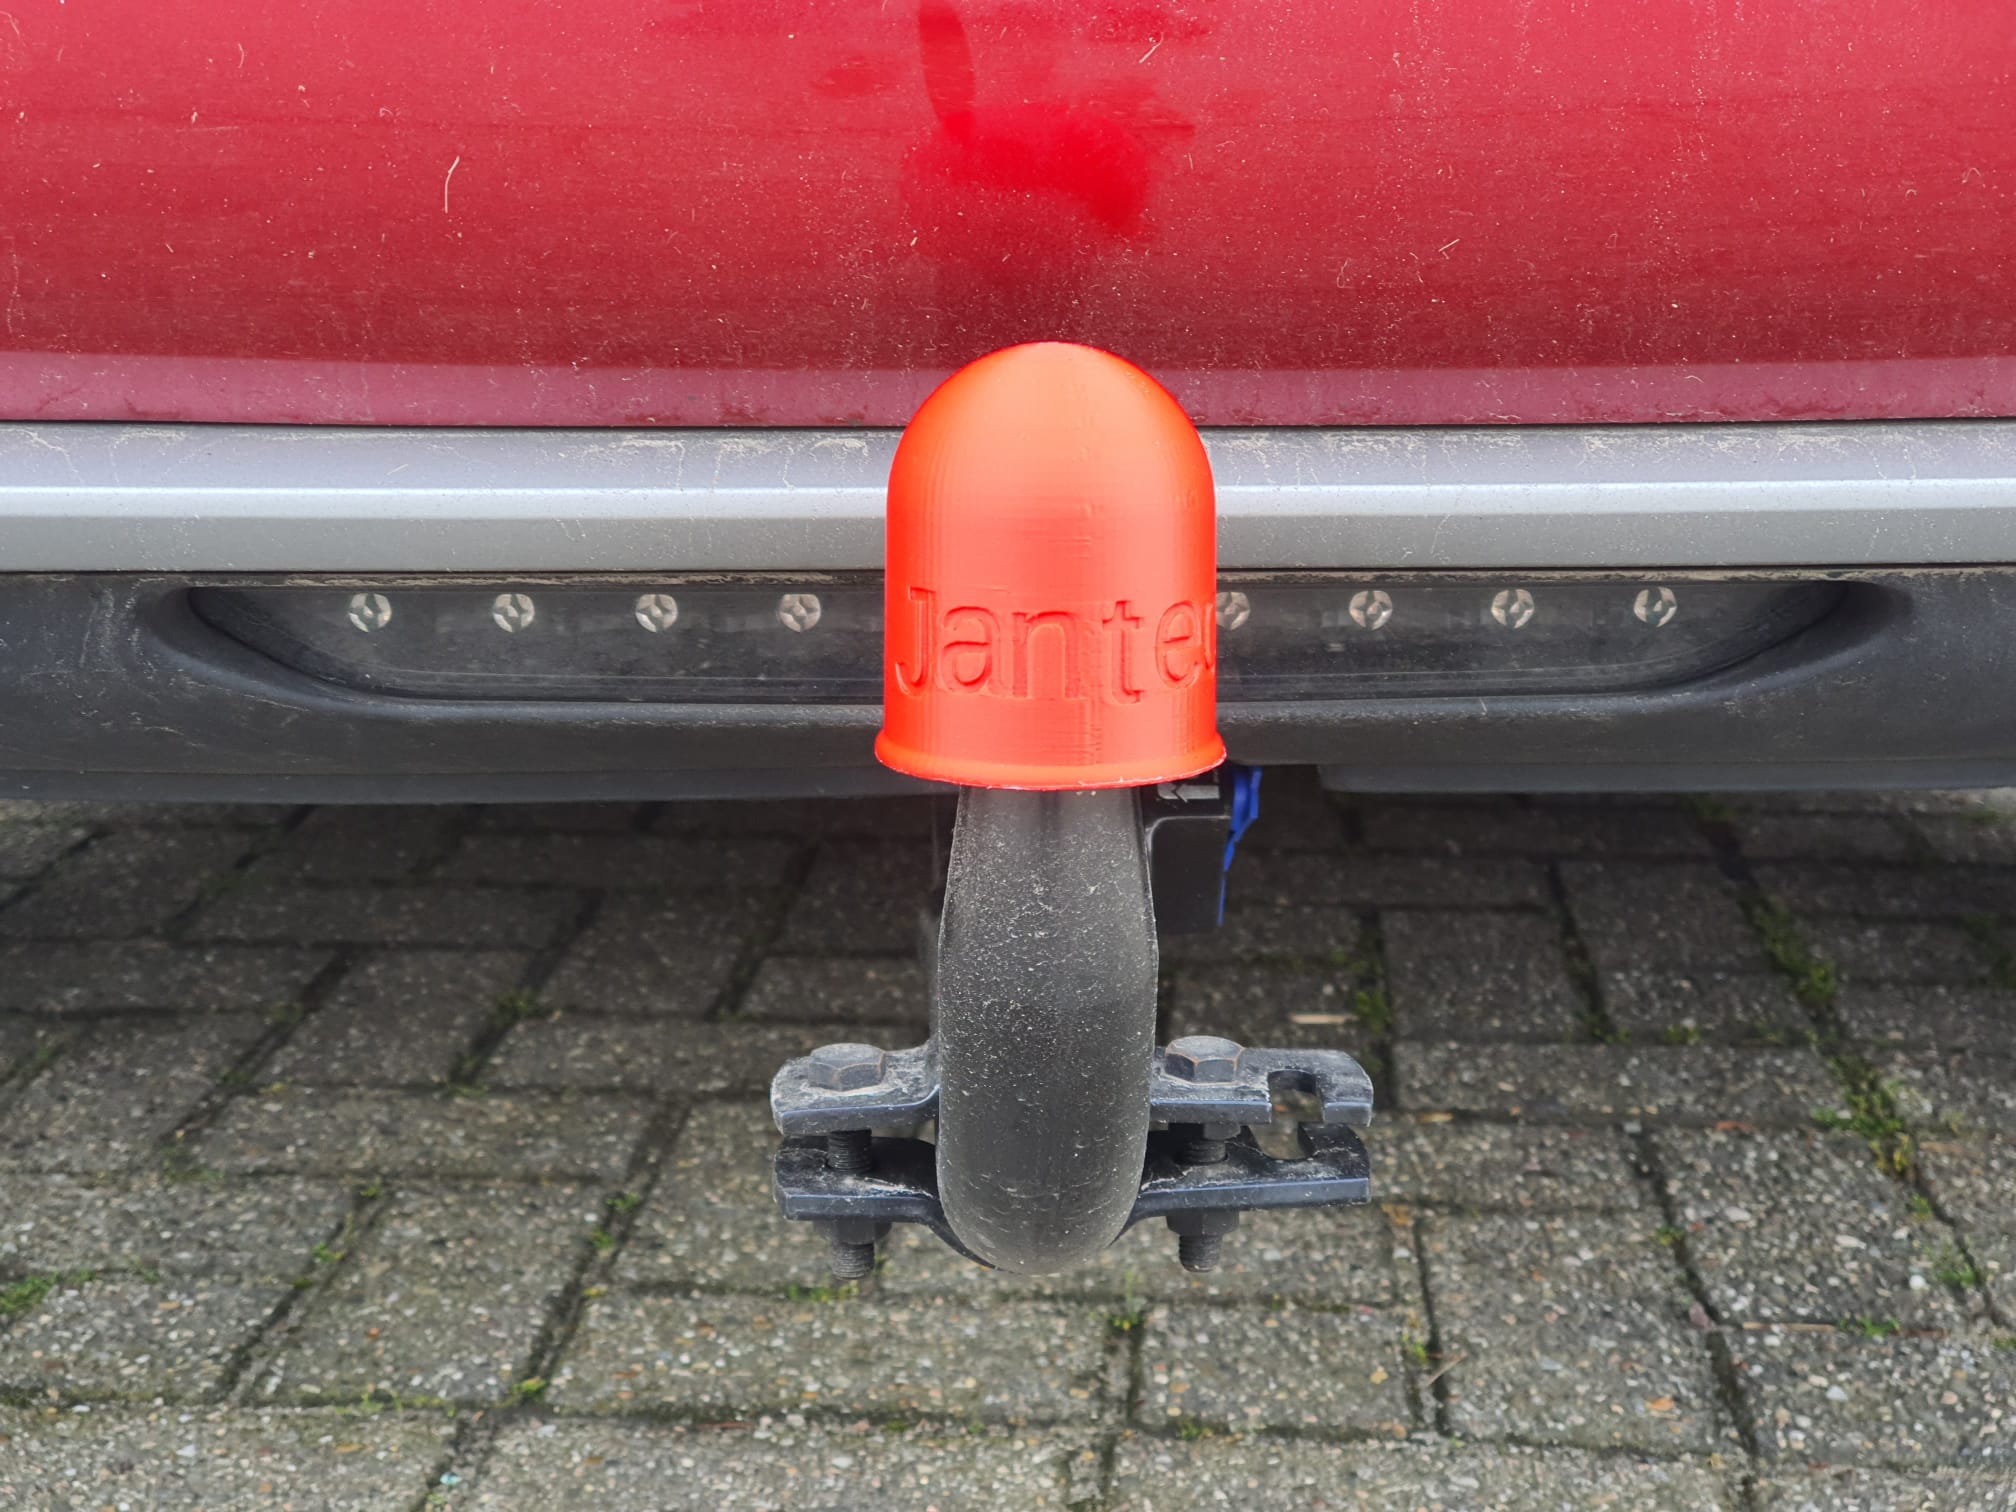
1) I have the tow bar, but the car is officially not allowed to tow any weight because the car is not “homologated”. That is, there is no towing weight on the car’s Certificate Of Conformity. You can never get that later, only when the car is registered. Very unfortunate, especially since we were more or less verbally promised at the time of purchase that all that would still come.

2) No standard dashcam function while the cable is just pre-mounted. The camera is not mounted off-factory (for NL). I fixed this recently

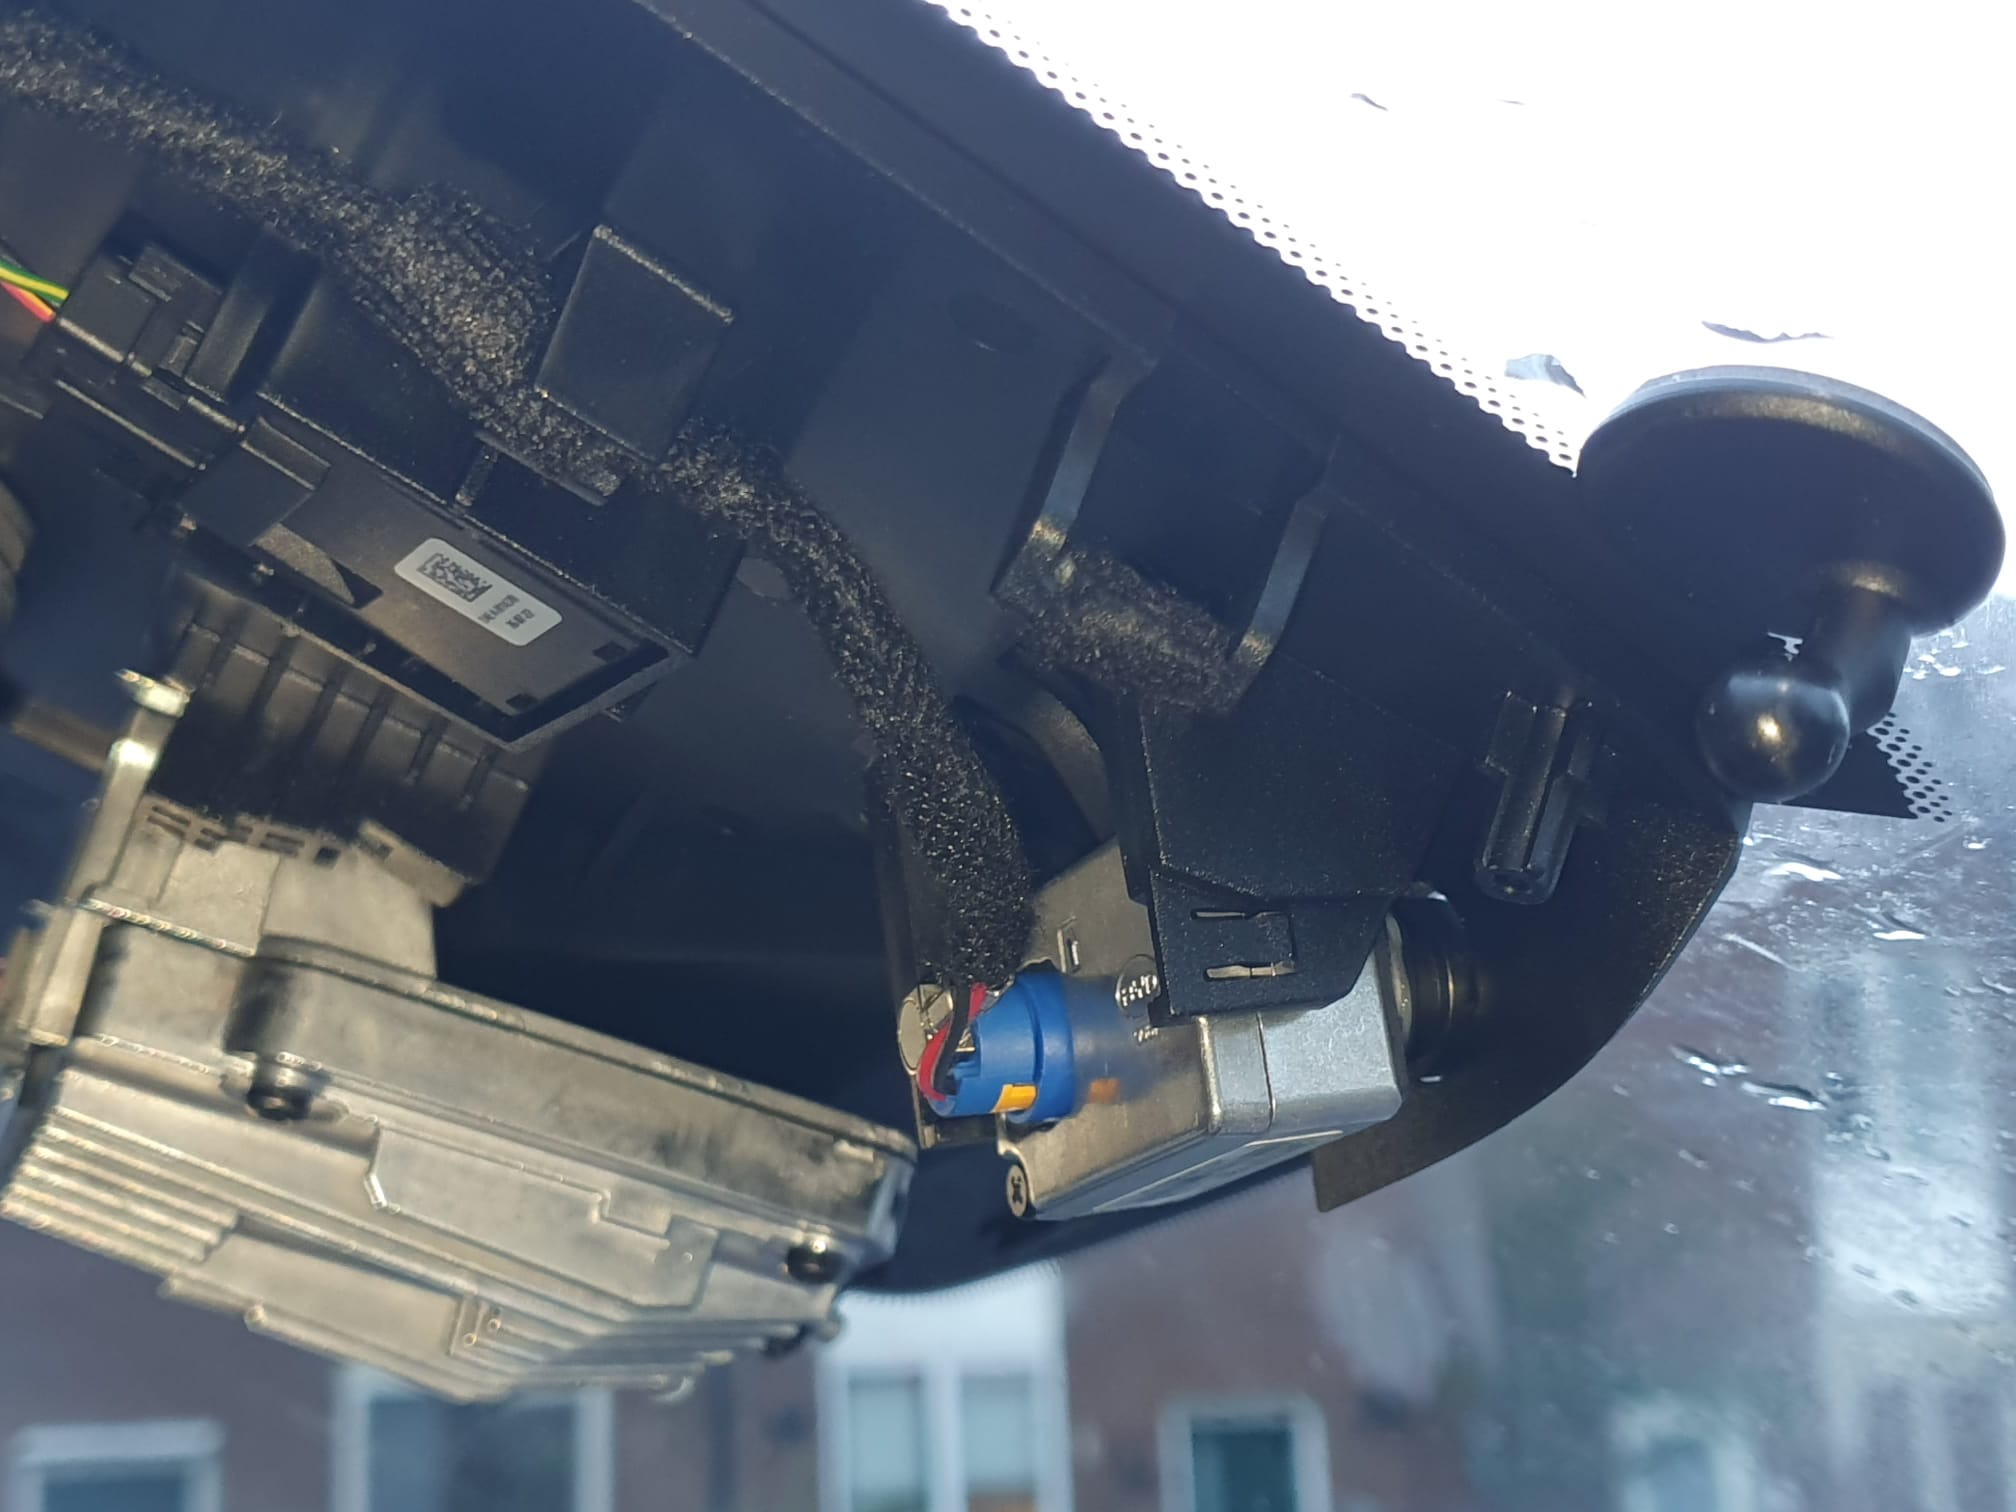
3) No rain sensor for the windshield wiper. I was not used to that at all so it was getting used to having to operate the switches myself all the time. I can fix this and ordered the parts but I haven’t started yet. Read the progress HERE .

Other topics:

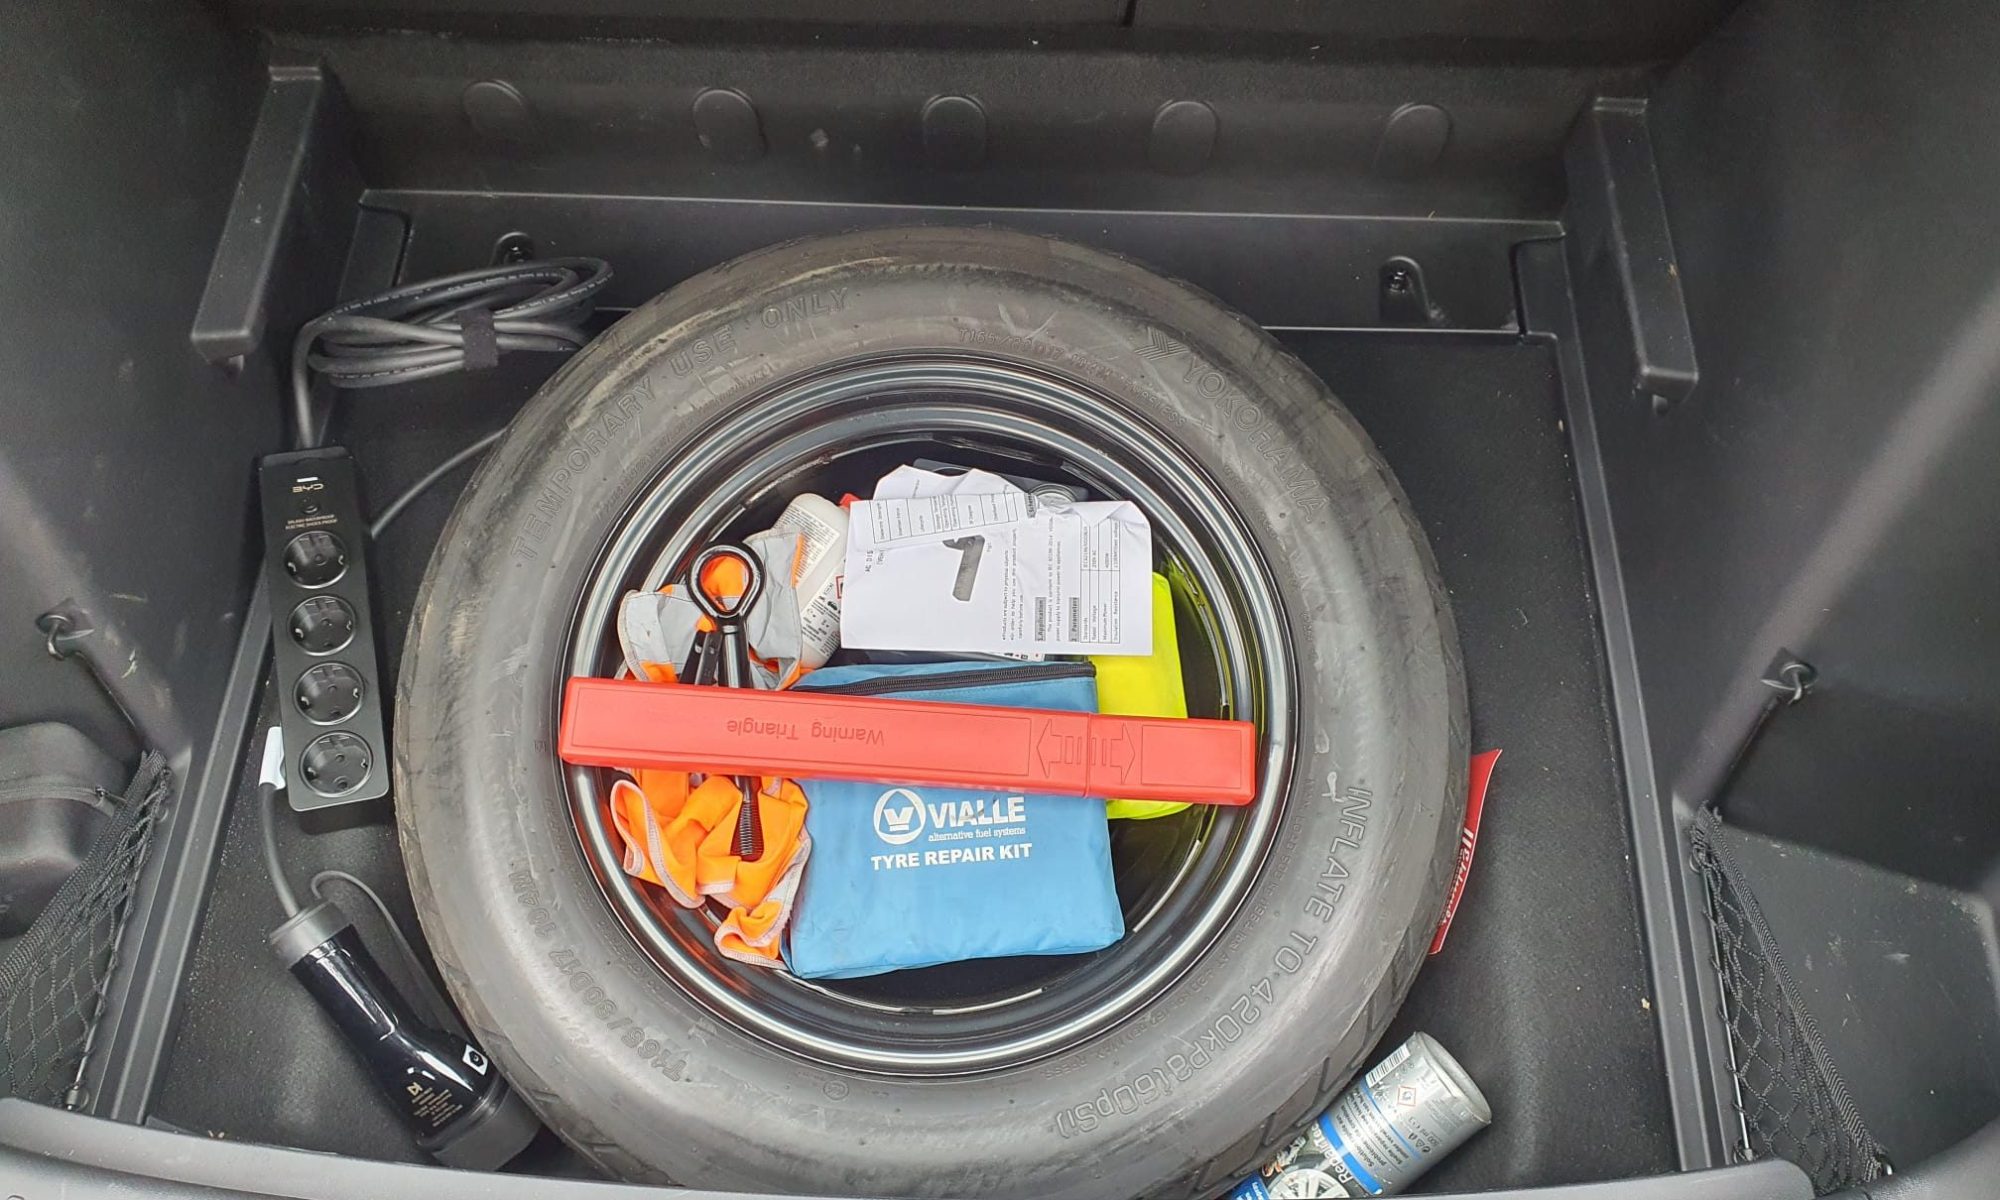
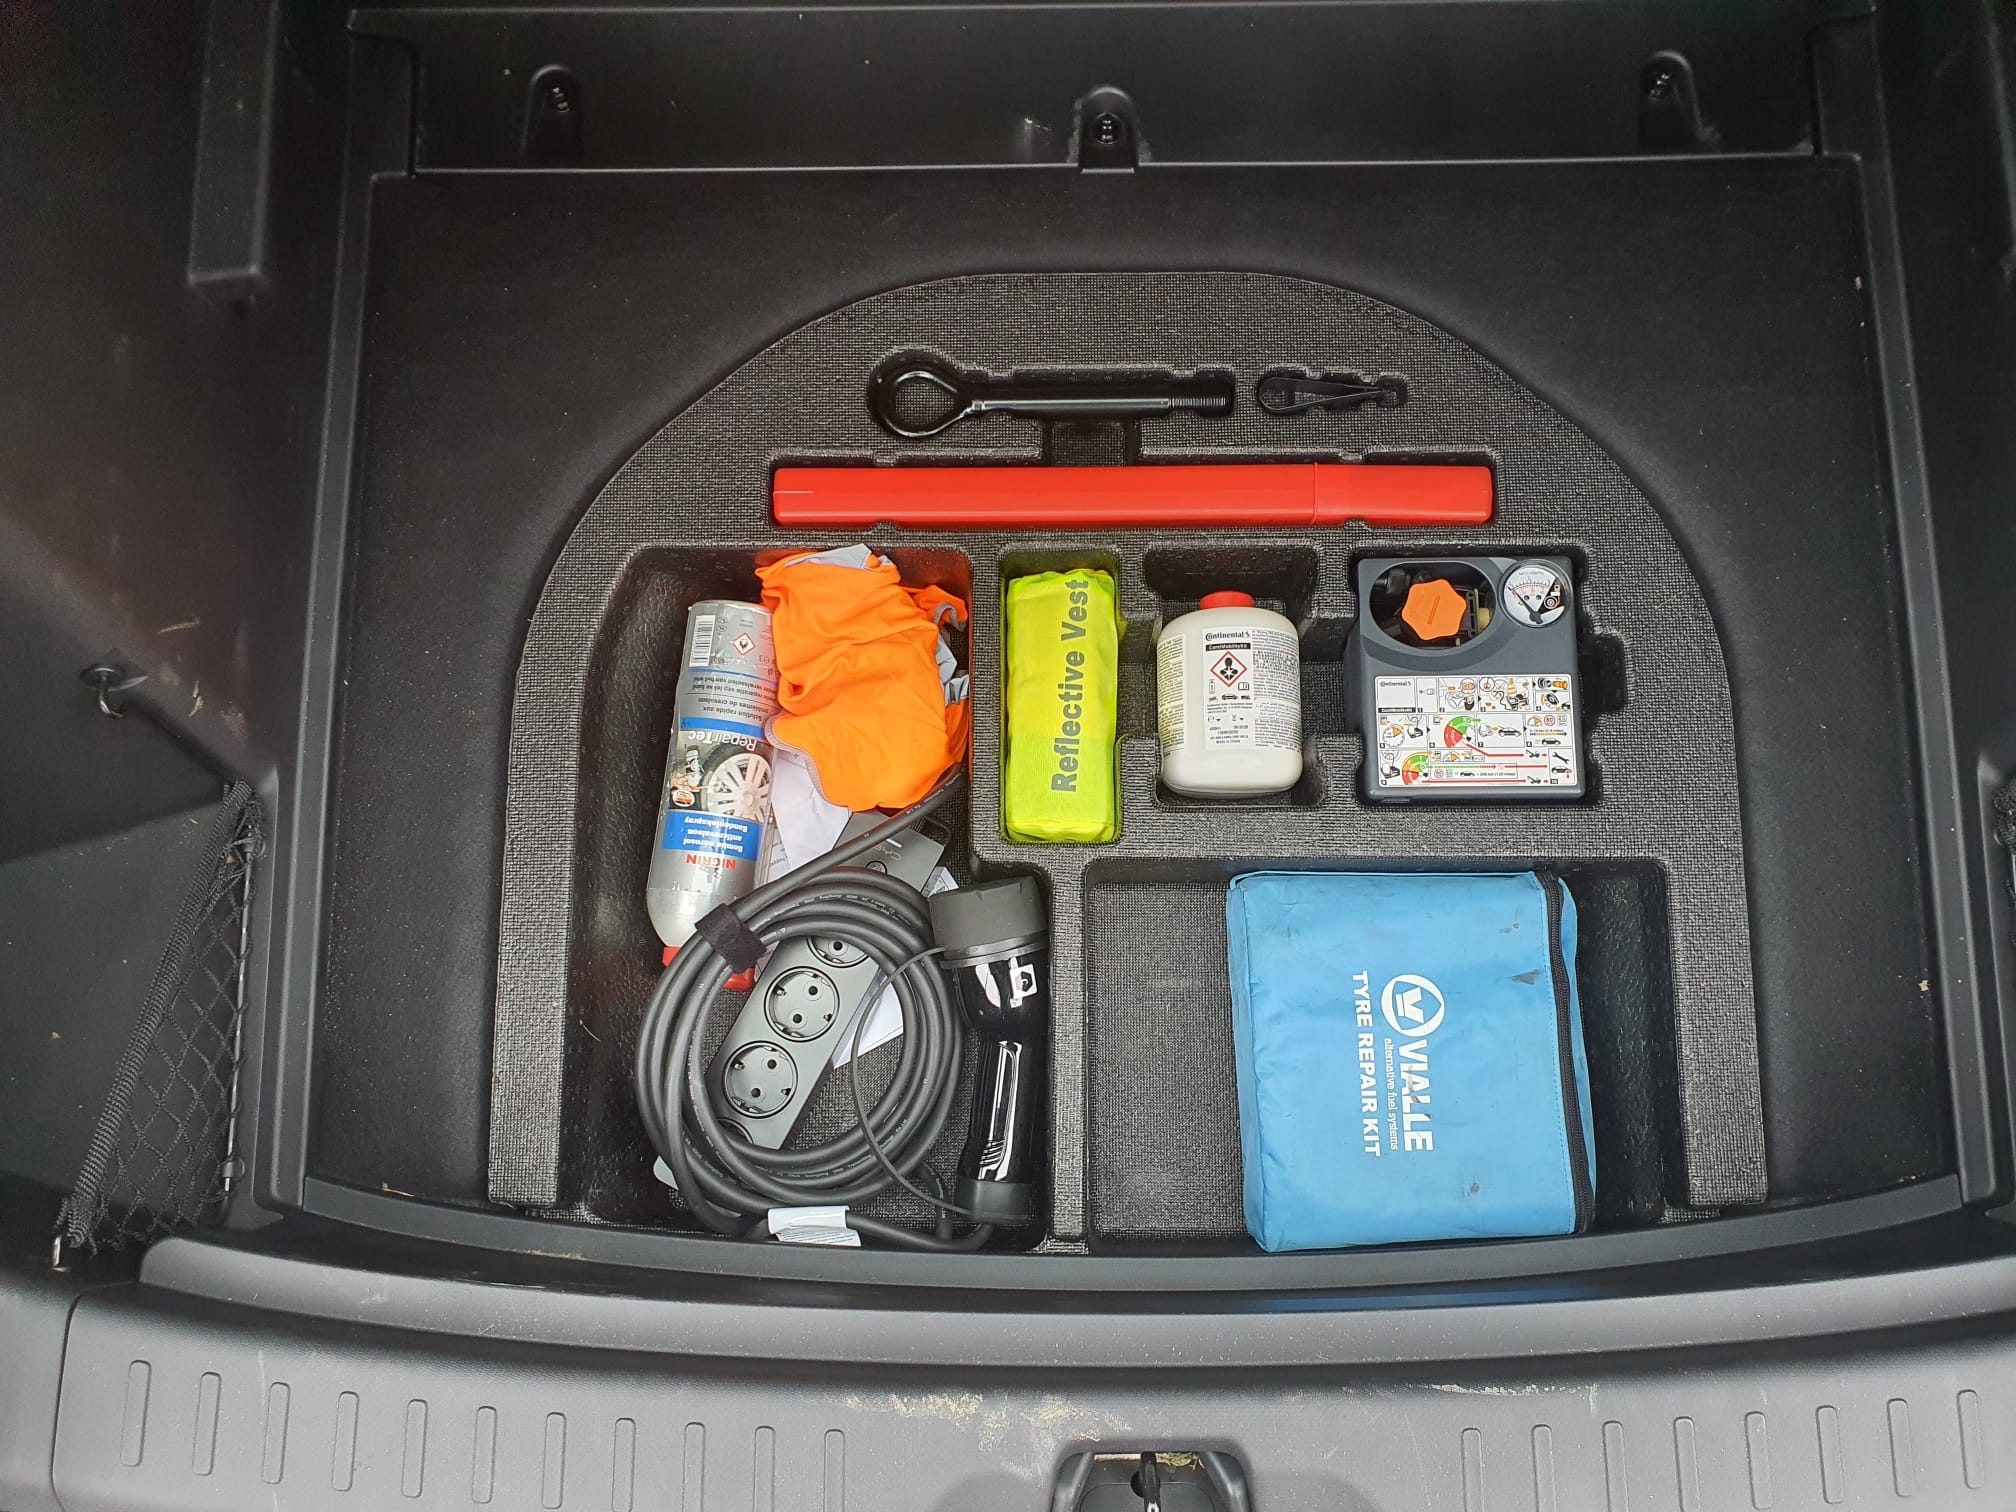
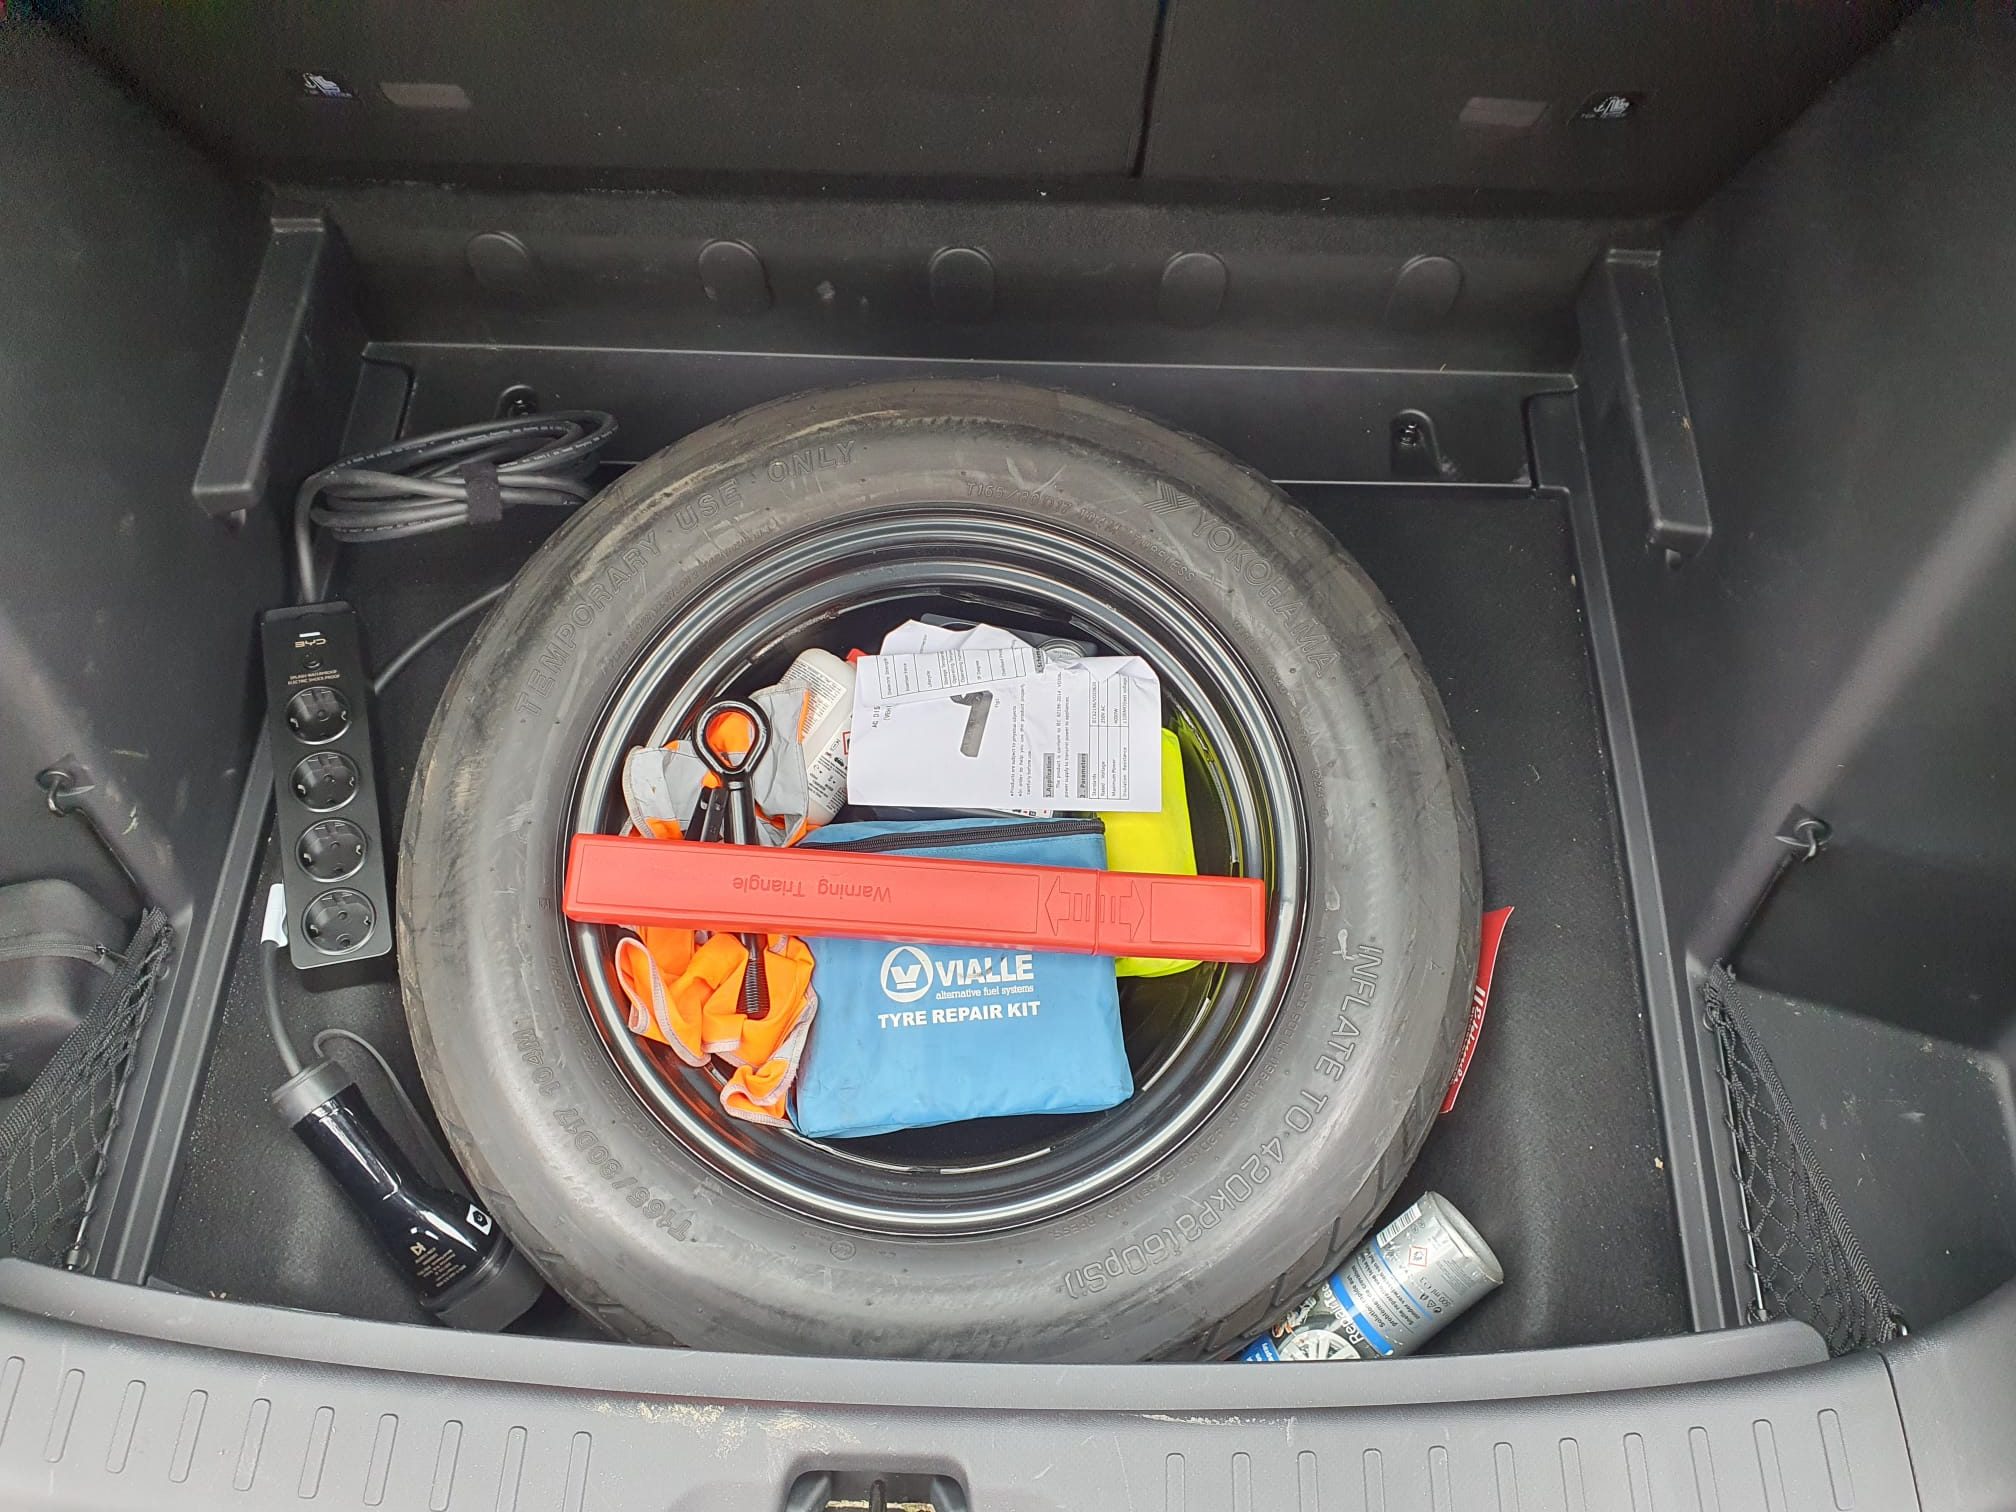
I retrofitted a spare tire myself, of course you never need it but when you do… yes, exactly!

And immediately upon geting the car I had the standard summer tires replaced with all-weathers.

Driving experiences

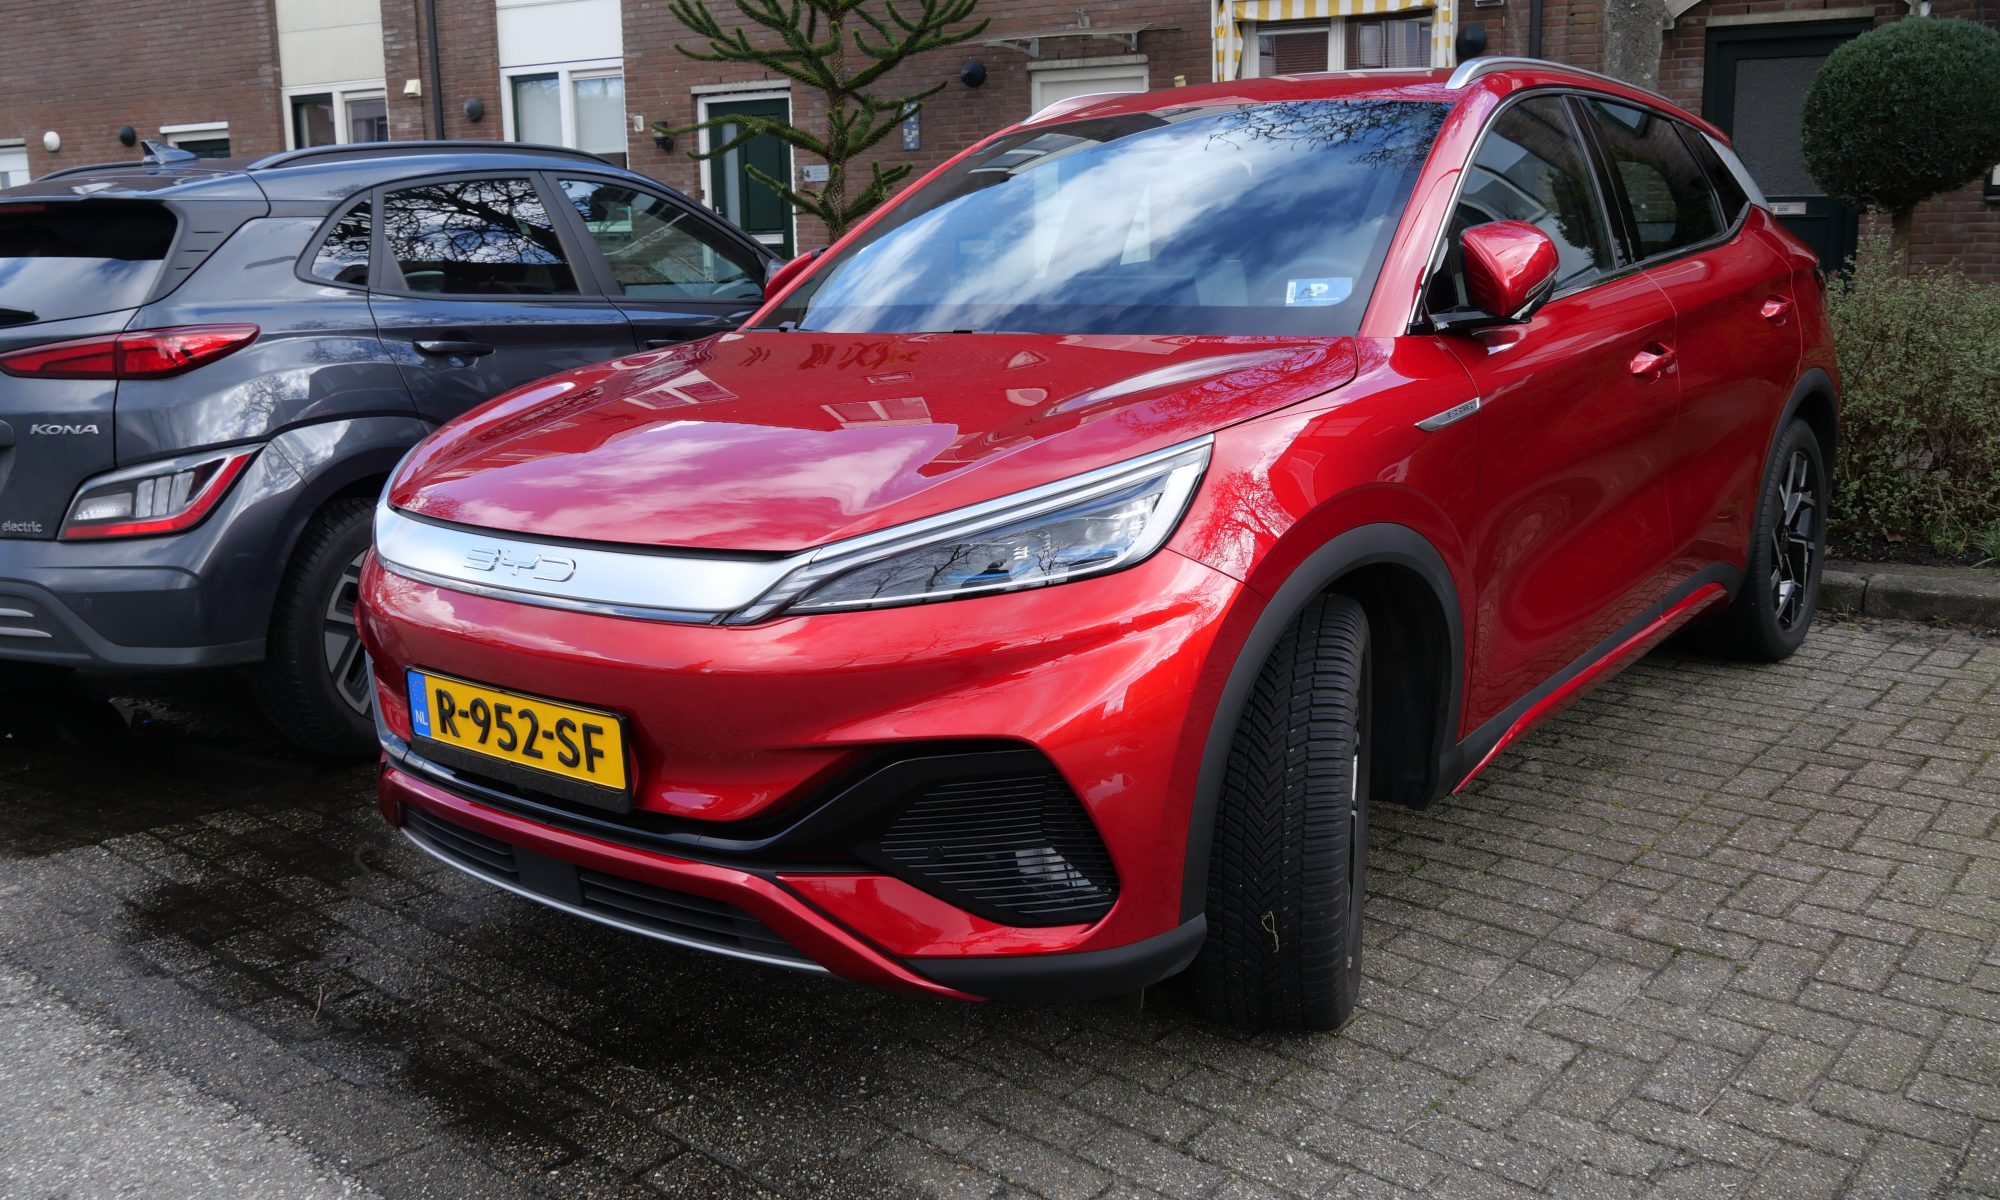
I have liked the car from my first drive in November 2022 in terms of driving experience and handling. The software improvements have made my experience even better. The Atto 3 does not drive like a small mid-size car but behaves on the road very similar to my previous car(s), Volvo V70. Maybe an odd comparison, but I also drive other cars with regularity and with that I experience difference but between the Atto 3 and a latest version V70 so not. You could also say that a V70 is a dodgy car, but that is not my experience with the last made version V70’s. PS: My last version V70 F (BW), 2 liter gasoline/LPG had an empty weight of ‘only’ 1450 kilos, the Atto weighs empty 1825 kilos….

Anyway, I was and still am very satisfied with the Atto 3.

As far as driving experiences and the range of the car are concerned, I have also experienced a few things over the past 15,000 kilometers.

Driving an EV is very different from driving a fossil fuel car. Filling up the charge level takes longer than filling up at the gaspump.

The Atto 3 weighs 1,825 kilos. Minus point associated with a relatively heavy EV: You really have to be very careful with some speed bumps, not to always just go over them at the advised speed. Often it goes well but I now have 1 in my route where I don’t want to go faster than 40 while there is an advisory of 60. On an 80 km/h meg. driving on it is OK, but when driving off at 60km/h it’s like falling off a platform.

Consumption and charging

But, especially on the trips abroad this past year, it turned out that everything goes very well when you check in advance WHERE you can charge WHAT with which pass or app. Because the Atto3 can ‘only’ fast charge at 88 kiloWatts it does take a while to charge the car all over again. So I do that at 40-50% remaining charge. And then 15 minutes is enough to be back at 90-95%. Then you may have to stop more along the way but I don’t mind that for 15 minutes. You drive with the Atto 3 from 100% to 50% about 210 kilometers. So stopping at about 200 km after 2 hours of driving so suits me very well.

And then you come to the real difference between fossil driving or electric: Everything you do costs electricity, and with an EV, so does range. Headwind: 10% less range. Average consumption at 90 km per hour is about 14 kW for 100 km, so a full tank of 60 kWh will get you over 400 km, even 420 km WLTP. At least, in summer at 90-95 km/h on a flat road without storm, without headwind and without too much load.

I have tried a number of driving scenarios and my most notable one is on the A2 from Breukelen to Abcoude at 130 km/h with no headwind or storm, though at night with lights on. Average consumption: 35 kW for 100 km. So if you would drive 130 km/h for a longer period of time, you would get barely 250 kilometers and then the battery would be empty.

Suddenly I understood why the Atto 3, but now most new EVs are capped at 160 km/h….

If you drive mostly on county roads and/or urban and you can control your foot a bit with acceleration, you can easily stay under 15 kW/100km, I sometimes even manage to average 14 kW/100km.

Of course, it still remains a small/medium SUV and the streamline also affects consumption….

BYD Atto3 install automatic front window wiper installation with rain sensor

After over six months of driving my Atto3, I still have 2 “residual” issues that  bother me.  (2023-05-12)

1) The climate control.

It is still not as I would like it to be. The temperature in the car still varies, despite a fixed temperature setting. But it thankfully no longer varies as much as it did when the car was delivered. I always have the car set at 19 degrees Celsius, and the interior temperature varies between 16 and 22 degrees with that. Interestingly, when driving at longer constant speeds, the temperature does stabilize after about 5 minutes at the set temperature. But when I leave the highway or get in a traffic jam, the temperature rises immediately and then it takes about 3 minutes before the temperature returns to the set temperature. If I then drive faster again for a few minutes or more, it gets about 3 degrees colder than the set temperature and only then does the temperature stabilize back to the set value.

After I figured out this “behavior” of the heat pump system, I never adjust the temperature again and learn to live with the increases and decreases because the temperature will eventually be readjusted. But the way this works is very annoying. It has been filed as a complaint with BYD Amsterdam, also because of the constant fogging on the inside of the car’s windows after parking at outside temperatures below 10 degrees Celsius.

2. The lack of an automatic rain sensitive wiper controller.

Due to the lack of automatic wiper control, I am going to fix this myself. So far I have done that with my cars on which no sensor or control of the rain sensitive automatic wiper control was installed off-factory.

Previously I used the rain tracker RT-50A kit from Hydreon/Sonic for this purpose and since it is no longer available I use similar systems that are available in the market.


29-07-2010 Pont de Normandie, France with the Rain Sensor sticker. The installation is neatly concealed and the sensor sits against the inside of the windshield of the DS, just behind the mirror….

install_rt-50

RT-50A_Install_xbase.cdr

Vehicle-Specific Installation Notes RT50A

Actually, I would prefer to install an OBD2 system, but so far I have not been able to find an after market system for that. And building something like that all by myself will be too much work for me, also because I am not sure if the BYD Atto3’s wipers are indeed controlled with an addressable proprietary OBD2 control module.

Therefore, I will go for the old school solution with standard wiring and an installation on the existing wiper switches. But then in the wiring harness under the dash. I know it’s not practical to “hack” such a drastic solution into the car in a relatively new auo but my irritation with the absence of this option is so high that at one point I seriously considered trading in the BYD Atto 3 for a Hyundai Kona or the like for this alone.

The standard wiring requires, in addition to the power supply from the switched 12V on-board voltage, an intervention in the connections between the wiper switches and the wiper motor. I am going for the simplest solution where I use the new module as an assistant for the existing installation. Then I can activate the new module with 1 extra switch that I neatly tuck away flat in the underside of the steering column. And then all the functions of the existing switches will remain intact. The new module then works in parallel with the original ‘single-wipe’ switch. So that means I will NOT have the ‘HIGH SPEED’ option automatically activated by the new module, and the new module will only use the default wipe speed for both single-wipe and continuous wipe.

This is the new module I ordered from FRUUGO (China):


As shown in the above wiring scheme for a system where the wiper motor is used in the ‘positive’ power ON way (*and the motor’s common connection is towards GROUND), the connections of the following wires need to be made in the car:

CUT the existing connection from the interim controller to the wiper switch (that is on the steering column)  AND connect the wire you just cut (that comes from the INT switch) to the new module’s BROWN wire.  This is the main connection that sends a 12V pulse whenever rain is detected by the newly installed rain sensor.

Furthermore, connect the Grey and Red wires from the new control box to the switched 12Volts so the new module receives working power supply voltage.

Also, connect the Black wire to Ground, anywhere on the car.

Tham CUT the connection between the steering column’s wiper switch that is responsible for the SLKOW connection to the wiper’s motor an conne ct both cut ends to the White and Yellow wire from the new controlmodule.  Be  aware to connect the in the right way, i.e. YELLOW towards the wiper motor and WHITE towards the wiper switch!

Lastly, the GREEN wire from the new connection box needs to be connected to the HIGH speed wiper cable.

Since there is no on/off switch in the setup, the rain sensor will always be active as long as you set the existing wiper switch to the setting where the INT (or a chosen INT position, as for the Atto3 has multiple INT settings) position is connected to the  module’s active pulse wire (BROWN).

Hopefully the wiper switch will not be based on OBD2, since this will make it a bit more difficult to get the rain sensor module installed because it will then need to be hacked into the wiring of the wiper motor directly, and will require a to be installed hardware  switch to choose between the old and new situation.

For the Atto3, I will make a dedicated wiring scheme for the above whenever I will get to install the new system,  that will probably be during my summer holidays 2023 July/ August.

All in all, this is not a difficult installation BUT if you don’t get it right, you could damage the car’s electronics and I will not hold any responsibility for any damage fiollowing my setup for this or any other install.


BYD Atto3 -Spare tire in the trunk

Above the original filling of the space at the bottom of the trunk of the Atto3 is shown, with a.o. the tire ‘repair kit’.

I like to drive around with a spare tire because I drive on construction sites quite often, and so far I have had 2x tire damage because of that.  And such a damage is not always fixable with a fluid repair kit.

My new spare is a home-bringer also used on a Toyota RAV4 : R17 165/80/17 tire and a 5X114.3X60.1 rim with the same circumference, pitch and center hole as the BYD Atto3.  The RAV4 weighs a bit more than the Atto3, so it should be fine.

At the bottom of the trunk the available space for a home-bringer is only 57 centimeters in diameter for a spare tire.

This means that the spare tire will be slightly higher mounted, on a mounting bracket.  Under the spare tire there is then room for the jack and the likes.

The trunk cover had 2 positions, and this shelf at the bottom of the trunk therefore only comes to one possible mounting depth, i.e. in the highest position.

So- that’s how I positioned the spare tyre (from a Toyota RAV4, 17 inch) in the boot of the car.  Not the nicest way but it works OK. The shelf that comes with the car can be positioned in the upper position no problem.  I added a hydraulic mini jack and a wheel bolt wrench, since this was not part of the car’s accessories.

To hold the tire down, I made a mounting bracket from square iron tubing 20-20-2mm with 3 holes: 2 to tie it with M6 nuts to 2 of the 4 already available threaded M6 bolts and 1 hole in the center of the square stock to carry an M10 bolt going UP with a washer and a wing nut. The M10 bolt goes through 1 of the boltholes of the rim.   I welded the M10 bolt in the center of the square steel and made the rear part almost flush with the square steel.  Then, I mounted the bracket down on the floor of the boot with 6mm tubed M6 IKEA nuts that I had lying around from an old double children’s bed.   These nuts are about 15mm in length with a large flathead on top and an Inbus insert in the top.  This is ideal, because the M6 steel bolt-ends that stick up from the boot are only around 18mm in length and don’t stick through the 20mm square stock.

BTW: I shortened the 2 not-used standing M6 bolts to the height that they just carry one M6 nut each, might be useful in the future.

After the spare tire was mounted and secured with the washer and M10 wing nut on the bracket I used the bag that came with the removable part of the pulling rod to store all loose components like the puller for the plastic boltcovers that are mounte in the wheels and o on.  This is placed in the inner part of the spare tire.

Unfortunately, I forgot to take some pictures of the setup of the spare tire mounting bracket, will do that when I can and present this here, later!

error: Content is protected !!