

[Update 2022-07-14: I got my Creality lizard today !
Extremely small and fast, I just tested it this afternoon and it is way faster and easier to use than the Creality CR-1!
More to follow soon, in a seperate post.]
Comparison of 3d-DIY hobby scanners versus Creality CR-1 3d scanner
Previously I built and extensively tested both versions of the Openscan scanners and the ciclop scanner. The openscan types are very different from each other but use simple firmware with an Arduino or a Raspberry PI contoller. The Ciclop is a simple 3d scanner with a rotating platform and a USB camera.
Openscan mini
The Openscan mini takes pictures with the RPI camera and rotates the camera around the object to be scanned. This indicates the limitation, you can only scan small objects. After scanning you have to import the photos into meshmaker or via the new free cloud solution from Openscan’s developer Thomas Megel. The mini is fully controllable via the web-based software available for download on Thomas Megel’s website, where you can also use it to upload and process your photos and then download the 3d files.
Openscan mini + Raspberry PI (2-4)
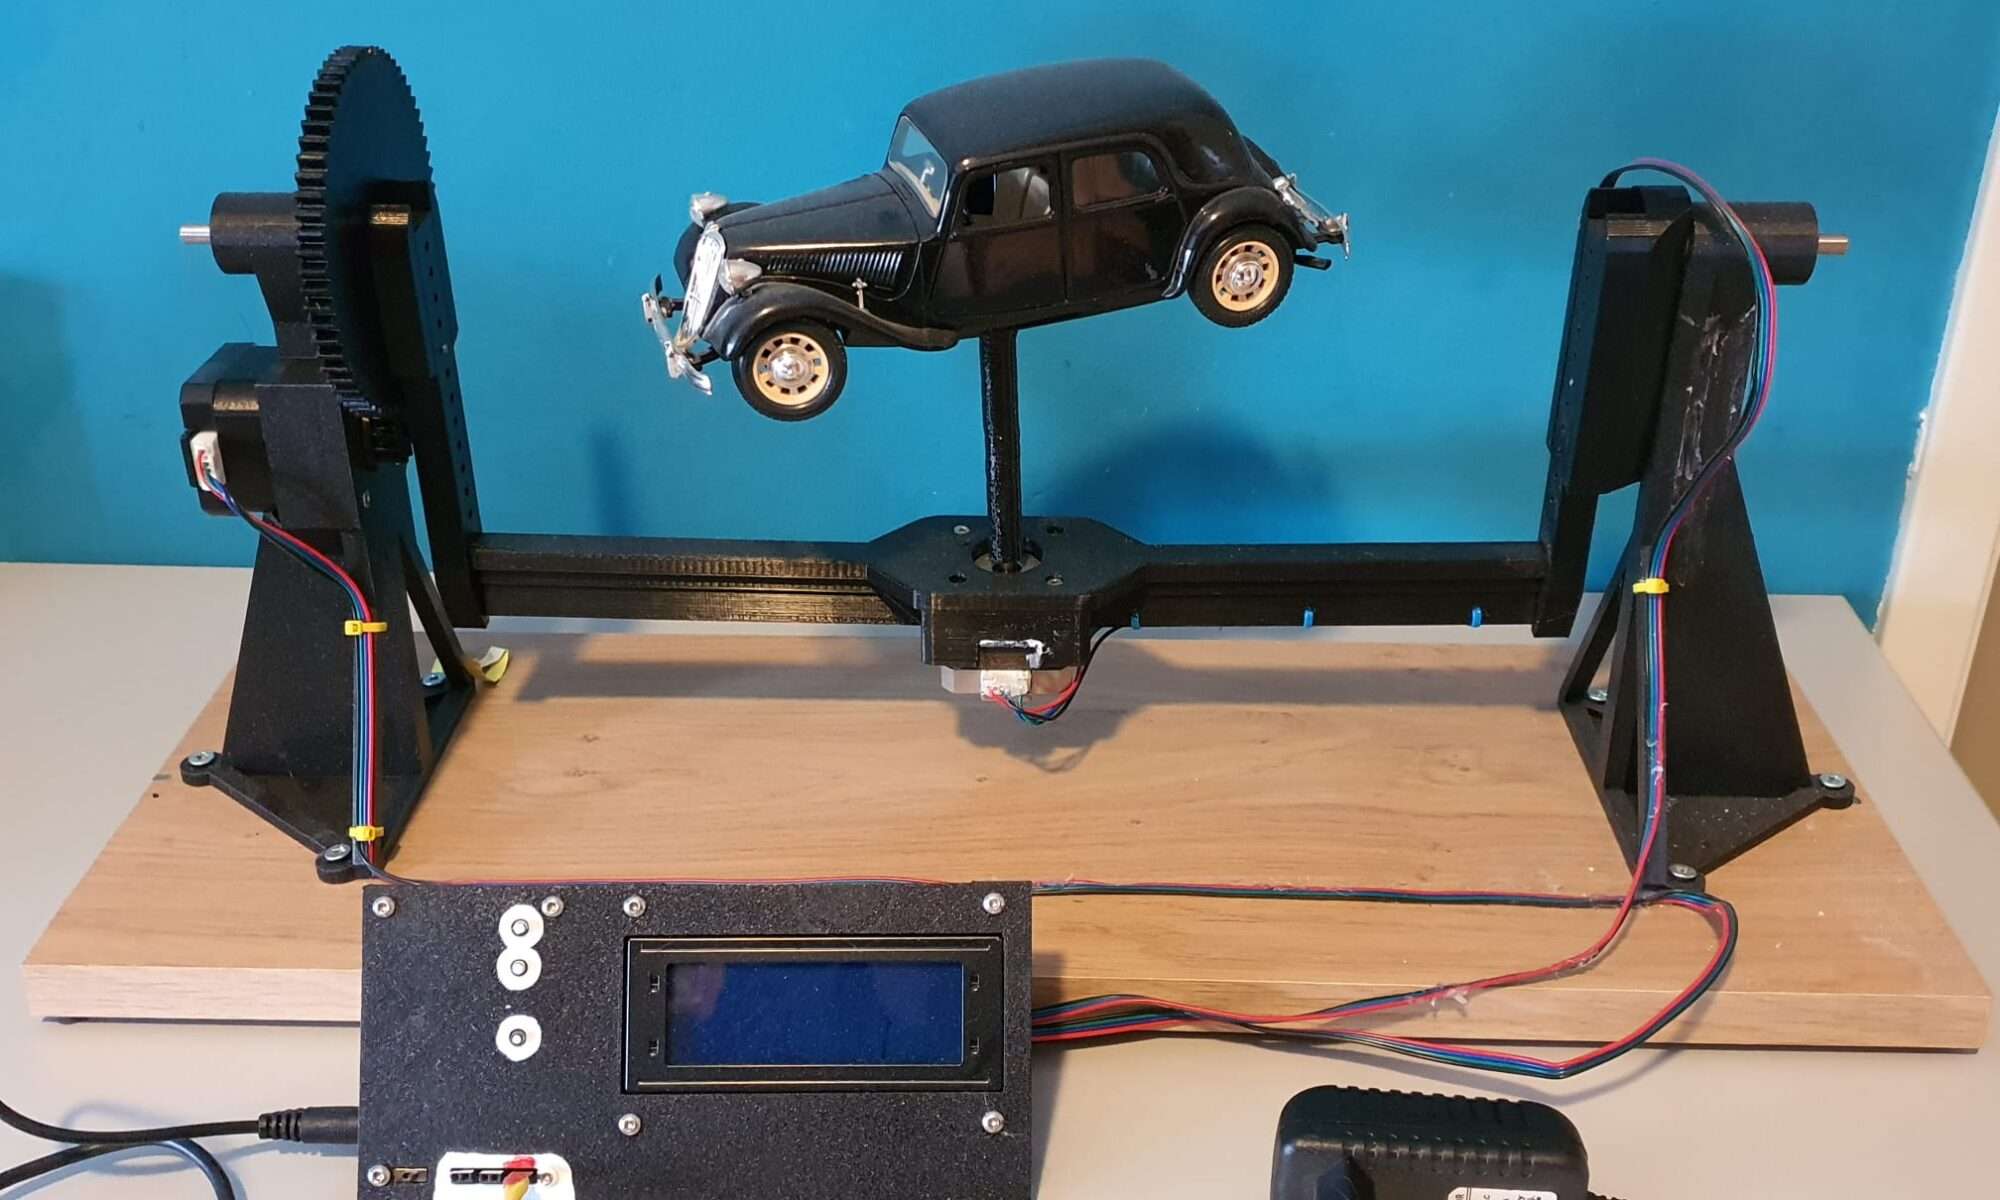
Openscan classic
The classic version of the Openscan scanner can handle larger objects and uses an external camera. I used my Canon 5D Mark2 for this, with a ring flash. This solution works pretty well and uses the same software as the mini for processing and rendering. In the separate Arduino unit that controls the rotors of the scanners you can set the number of steps vertically and horizontally and you have to transfer the pictures from the camera yourself to a meshmaker-like processing to construct a 3d image. Quite cumbersome but it can be done for free and gives a pretty good workable result. Provided you spend some time on it.
Openscan classic 3d scanner with on the left the Arduino controller, with small buttons you can set the steps and on the LCD you can see what you are setting. Below is the connection for the remote to your camera. It is recommended to use a good flash or at least extra lighting. The advantage of an external camera is that you can make razor sharp images, for example by using follow focus or, as I did on my Canon5DII, using continuous focus.
Ciclop 3d scanner
The ciclop scanner works with a fixed platform and no vertical movement. It is very similar in operation to the Creality CR-1 scanner but I have never had good results with it. There are 2 red diode lasers on the sides and 1 USB camera in the middle. The result in terms of photos is fine, but it is ultimately about the rendering software and the processing of the photos taken, just like with the Openscan classis. and that is for the hobby environment just in my experience not (yet) sufficiently well developed with this ciclop 3d scanner.
The Creality CR-1
I purchased the Creality CR-1 scanner in late 2021 because I saw a few projects coming up where a good scanner would come in handy, and I didn’t want to spend extra time on it. Besides, I was very curious about the results of this ‘all-in one’ scanning solution.
The scans made are very useful, and the rotating plate on which you can place the object also works well.
My experience is that hand scanning is very laborious, and you have to scan all parts of the object to be scanned carefully. This means that you have to pay attention both to what you are scanning through the screen, where you can follow the construction of your scan live, and what you are doing towards the object with the scanner in your hand. That takes some getting used to, but after a few scans it is much easier.
Very nice is the way it works with this scanner: The live-view of the accumulated scan tells you where you need to scan even better and if you forgot something you scan again and let the included stitch software make one merged scan of it. That also works very well.
What do you need besides the scanner: Saving the data is done on your PC or laptop, rendering is done via a GPU, and the control and power for rotating table and the scanner itself is done with a separate PSU.
It helps when you have a fast GPU with quite a bit of memory. I have a 3600 GPU in a Thunderbolt3 external casing attached to my Dell XPS13 i7 for on-the-go use with 5 meter extension cords for the scanner. This works very well, but really the 13 inch screen is too small for this work. Carrying an external screen is not an option so I have to make do with this. And the external Thunderbolt casing is actually too big to carry as well.
Another possibility would be to use a gaming laptop that already has a fast GPU in it, with a 17-inch screen. Might get one anyway, when more work on the go comes along. For now, I mainly use the scanners at home/business so I just use my hi-res 27 inch IIyama screen to the Thunderbolt / 3600 GPU, that works fine!
Experiences: This scanner works completely differently than the Openscan versions. The camera needs more distance from the object to be scanned and therefore the whole setup requires more space. I had to get very used to the fact that you have to have more than a meter all around to get a good view of your object, even with small objects.
I am still going to try using a front lens or zoom lens, need to check what fitting this scanner uses for the lens-to-sensor.
Summary and overall rating from 1-10:
The Openscan mini (7) works fine for small objects, is easy and good to use with the web-based software and with the online rendering service.
The openscan classic (6) works well but requires a relative amount of setup work, knowledge of and experience with the setup an you can use the same online rendering service from Thomas Megel.
The Ciclop (3) is in my opinion too immature to use seriously.
The Creality-CR1 (8) is a valuable professional solution for medium size projects up to large projects (10-200cm diameter), good local interface via PC/Laptop with fast processor and fast modern GPU.