
I have driven my BYD Atto 3 from its purchase in November 2022 with a Garmin mini dashcam mounted in it, on the windshield just above right next to the interior mirror. That works fine, except you have a cable running that you have to get rid of and you have to use your phone app to view the footage.
According to the BYD dealer, it is not possible to retrofit the original BYD dashcam.
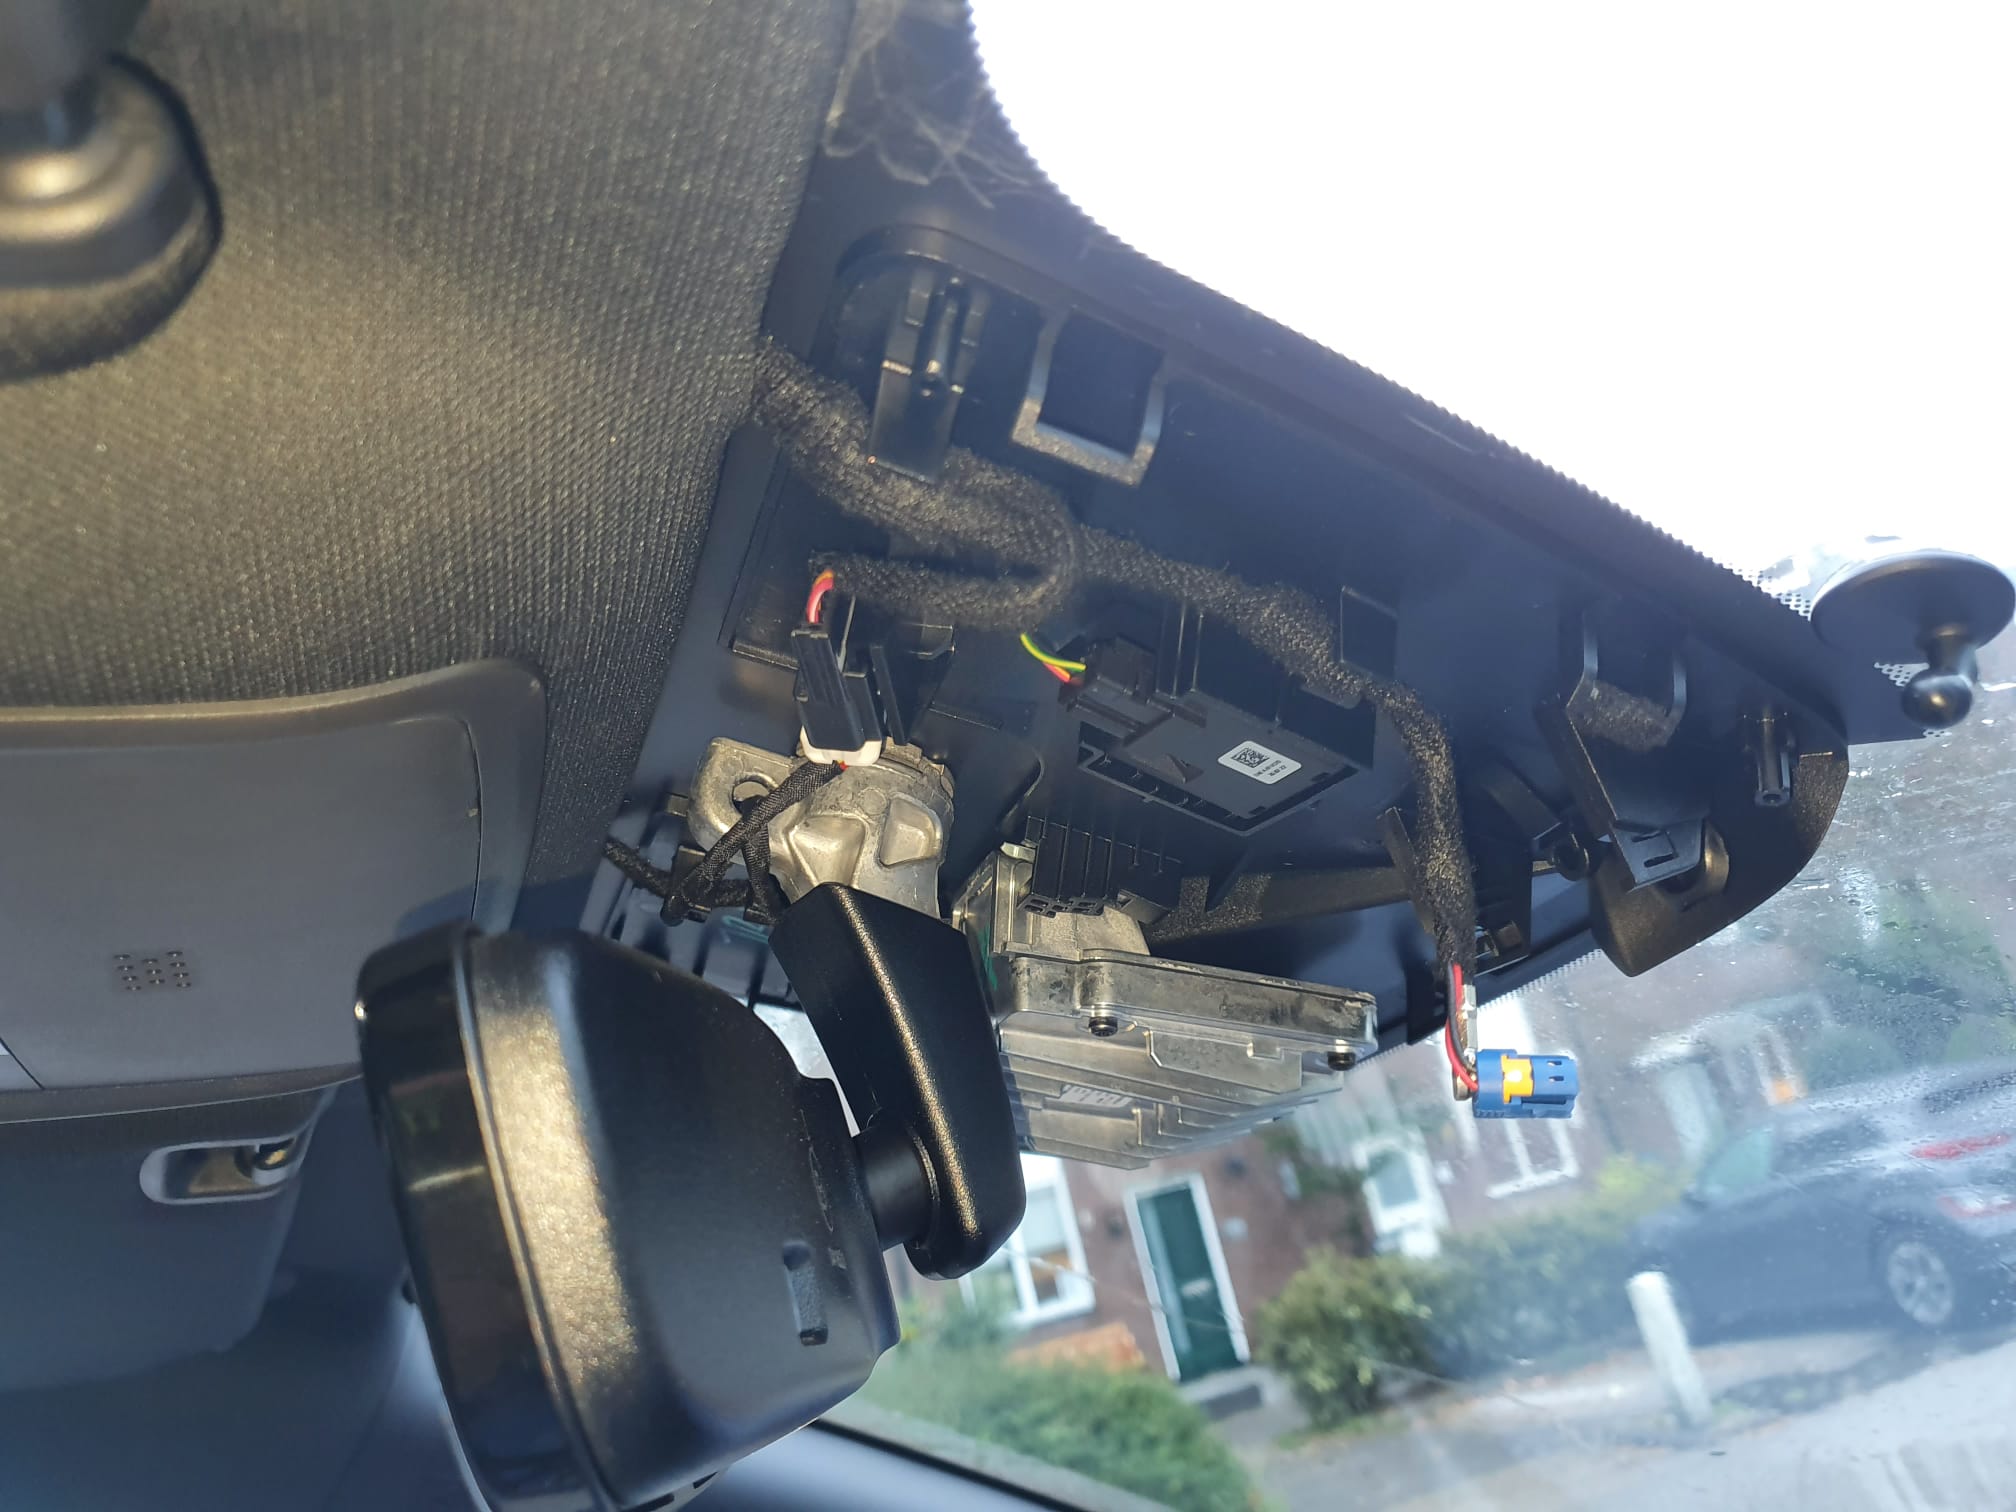
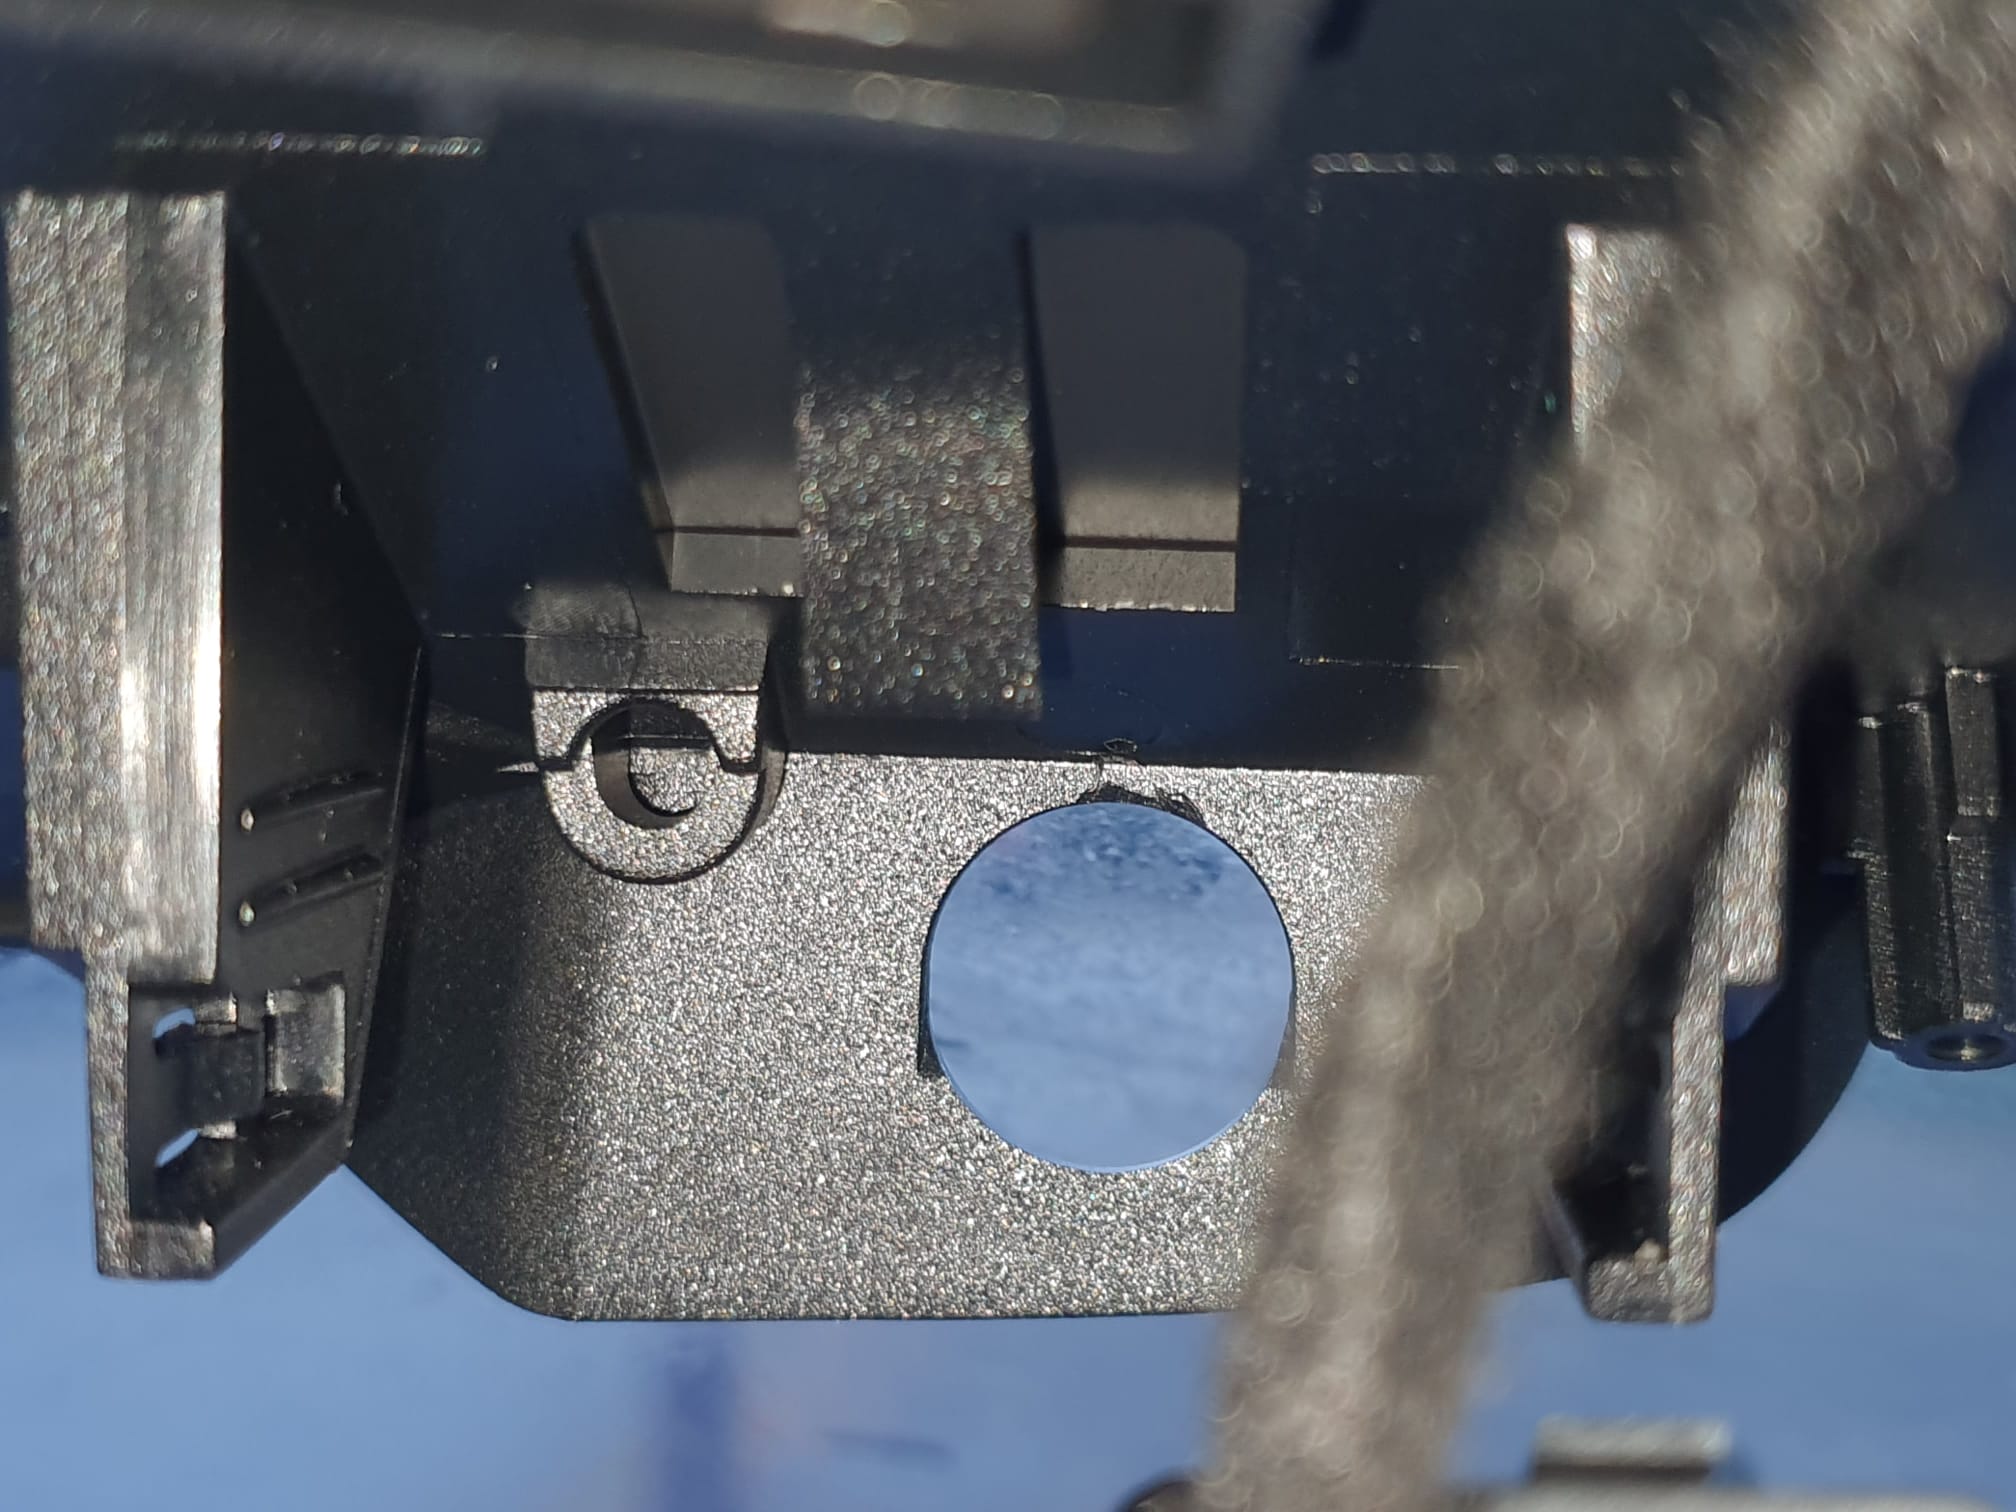
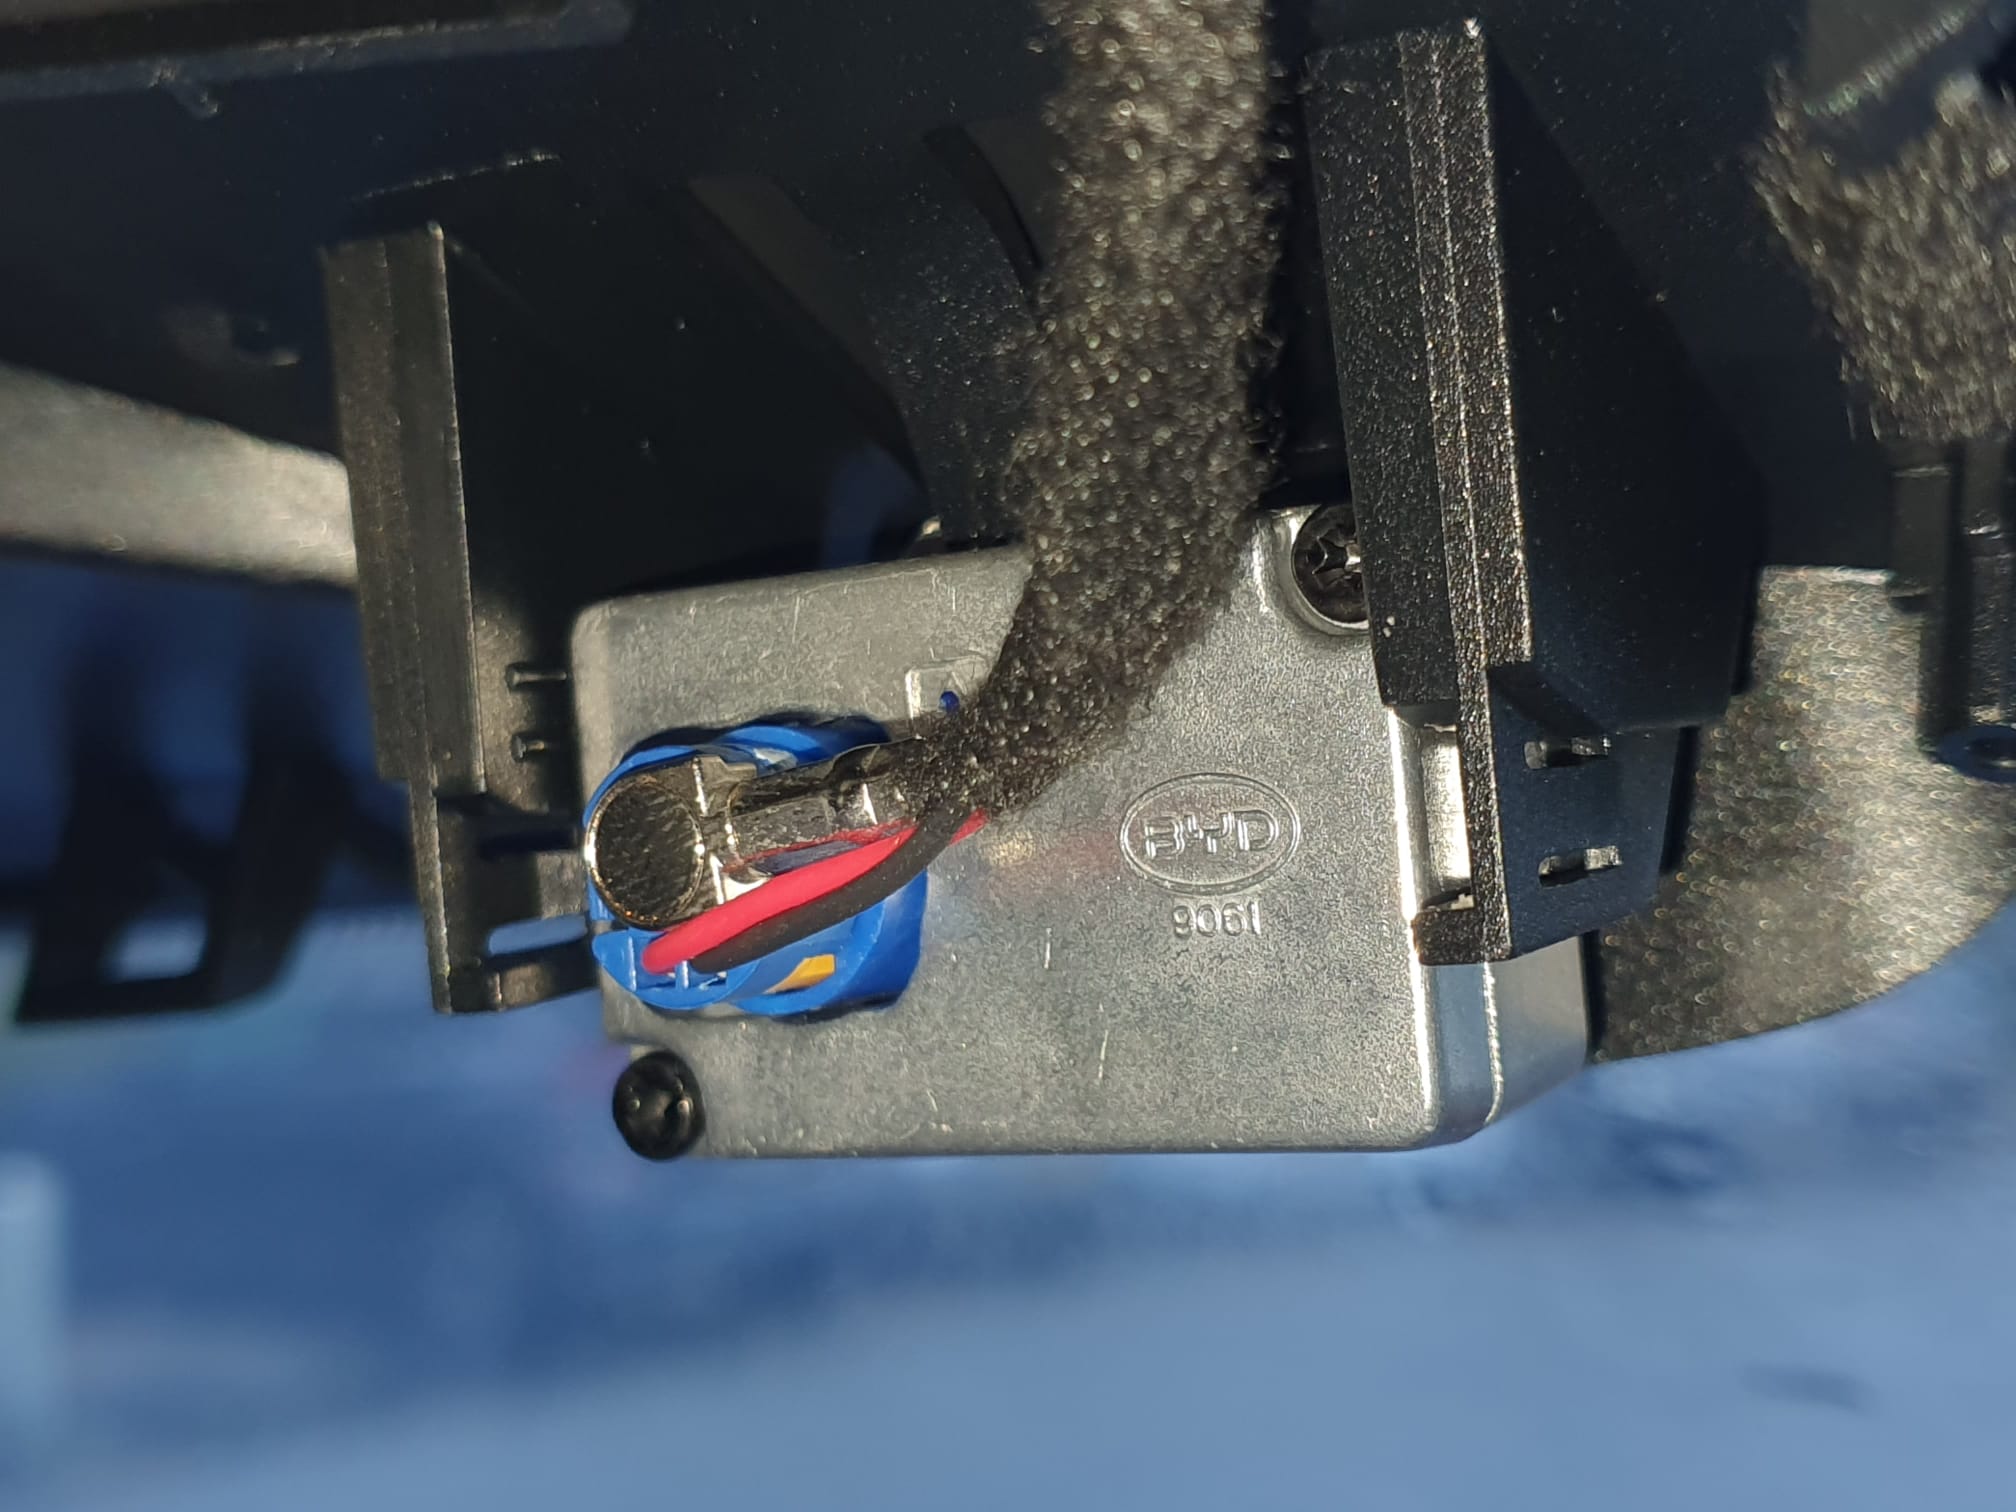
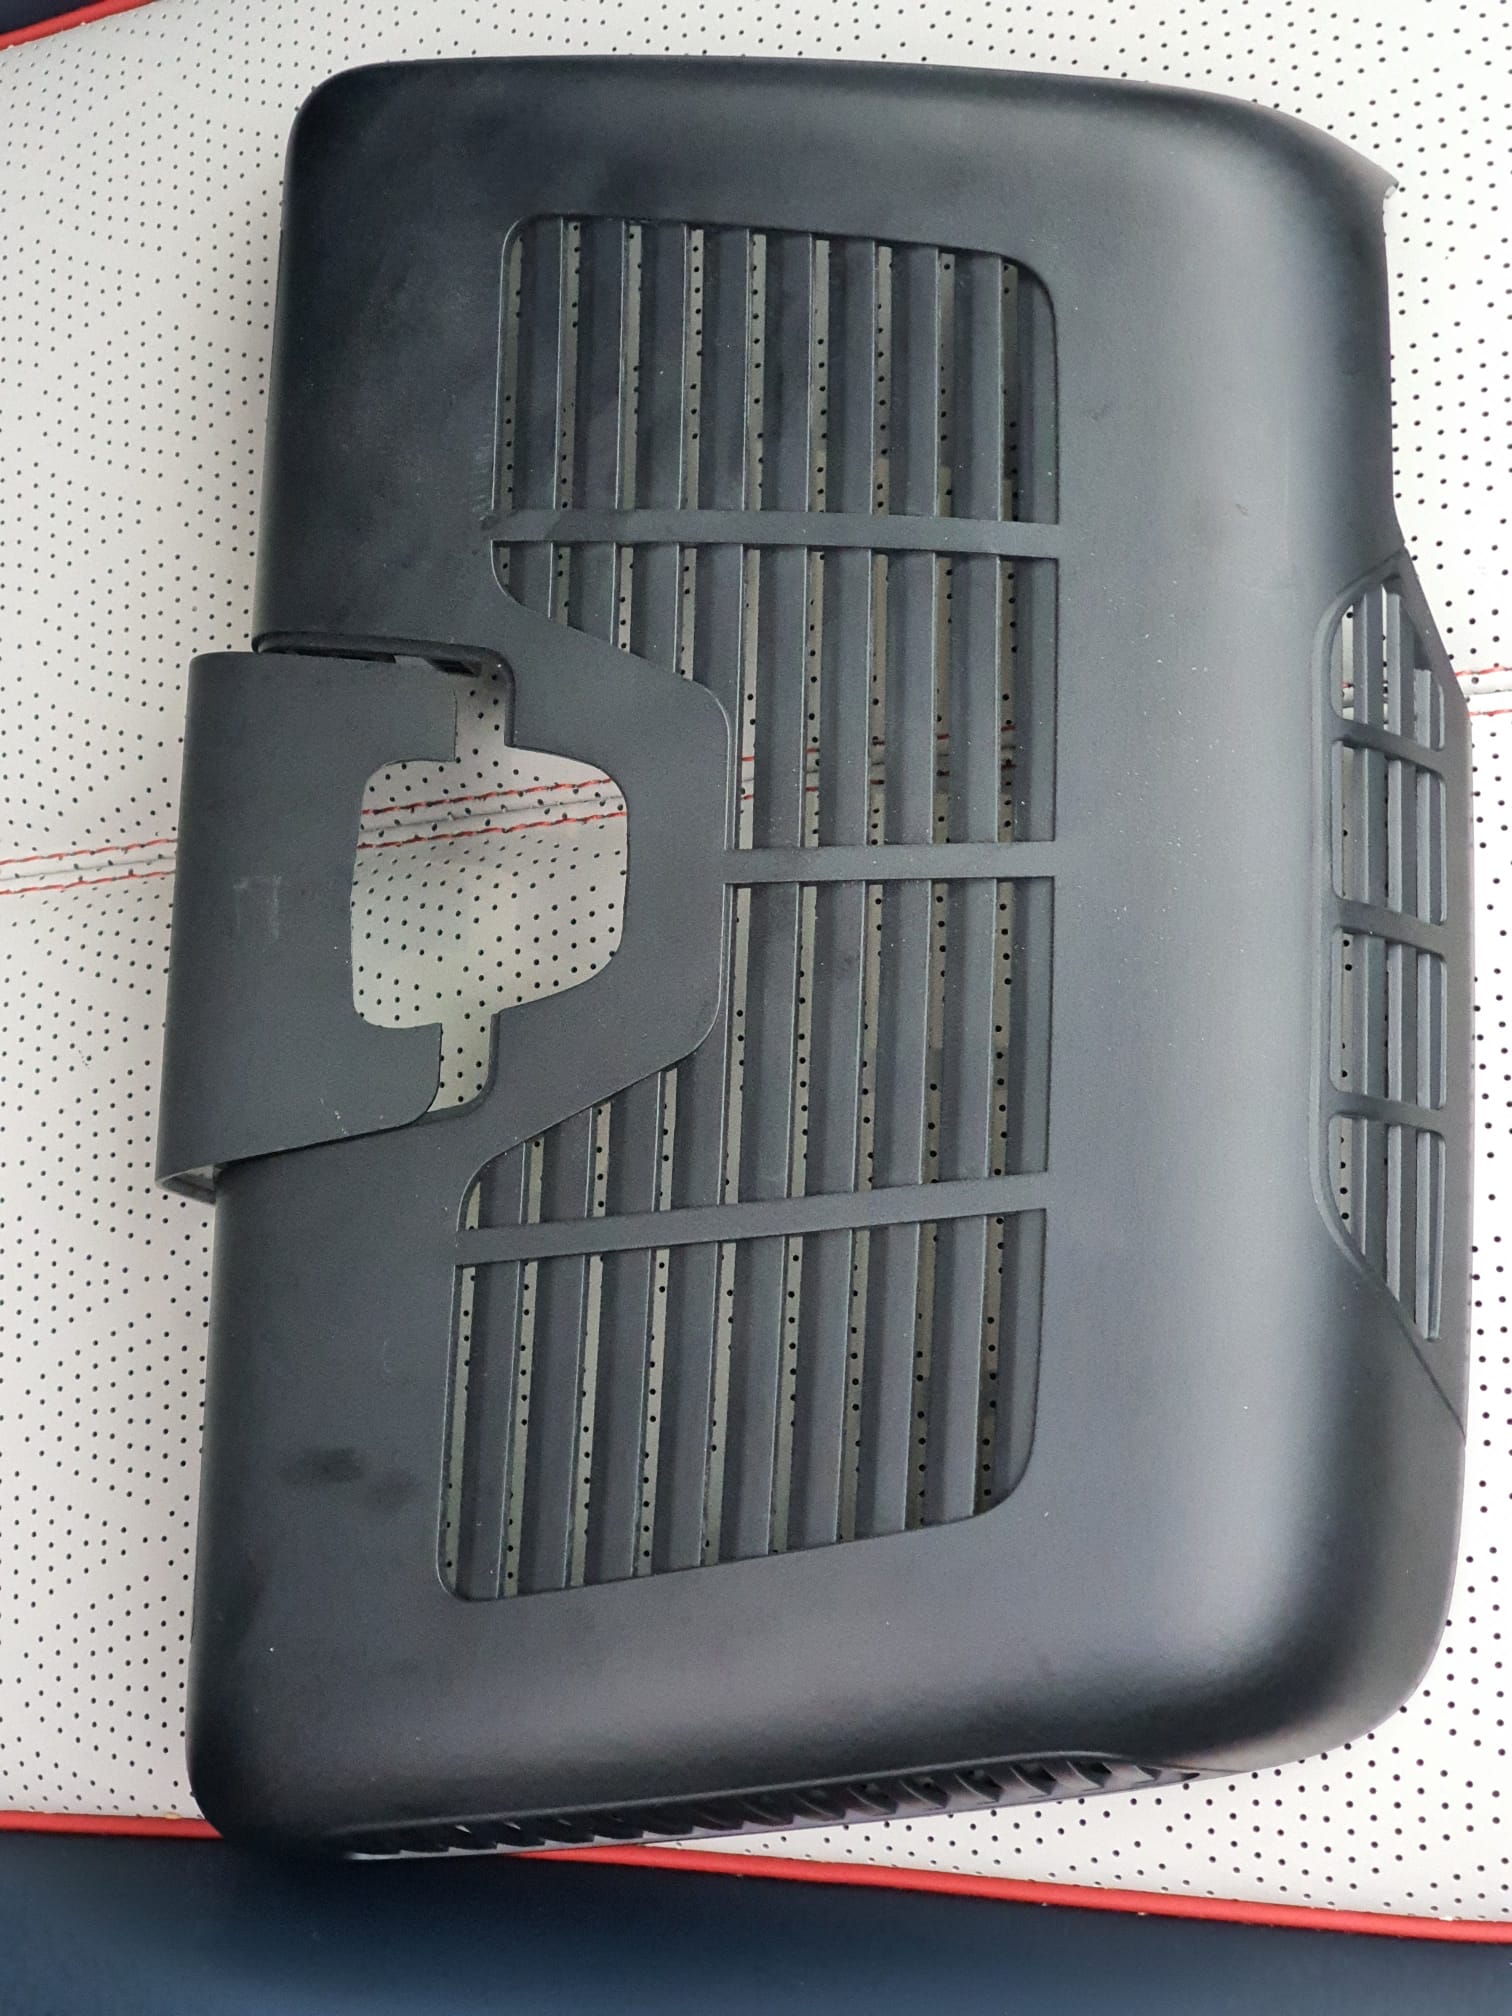
I removed the protective cover where the dashcam should go in, using appropriate tools for this purpose so as not to damage the plastic snap brackets.
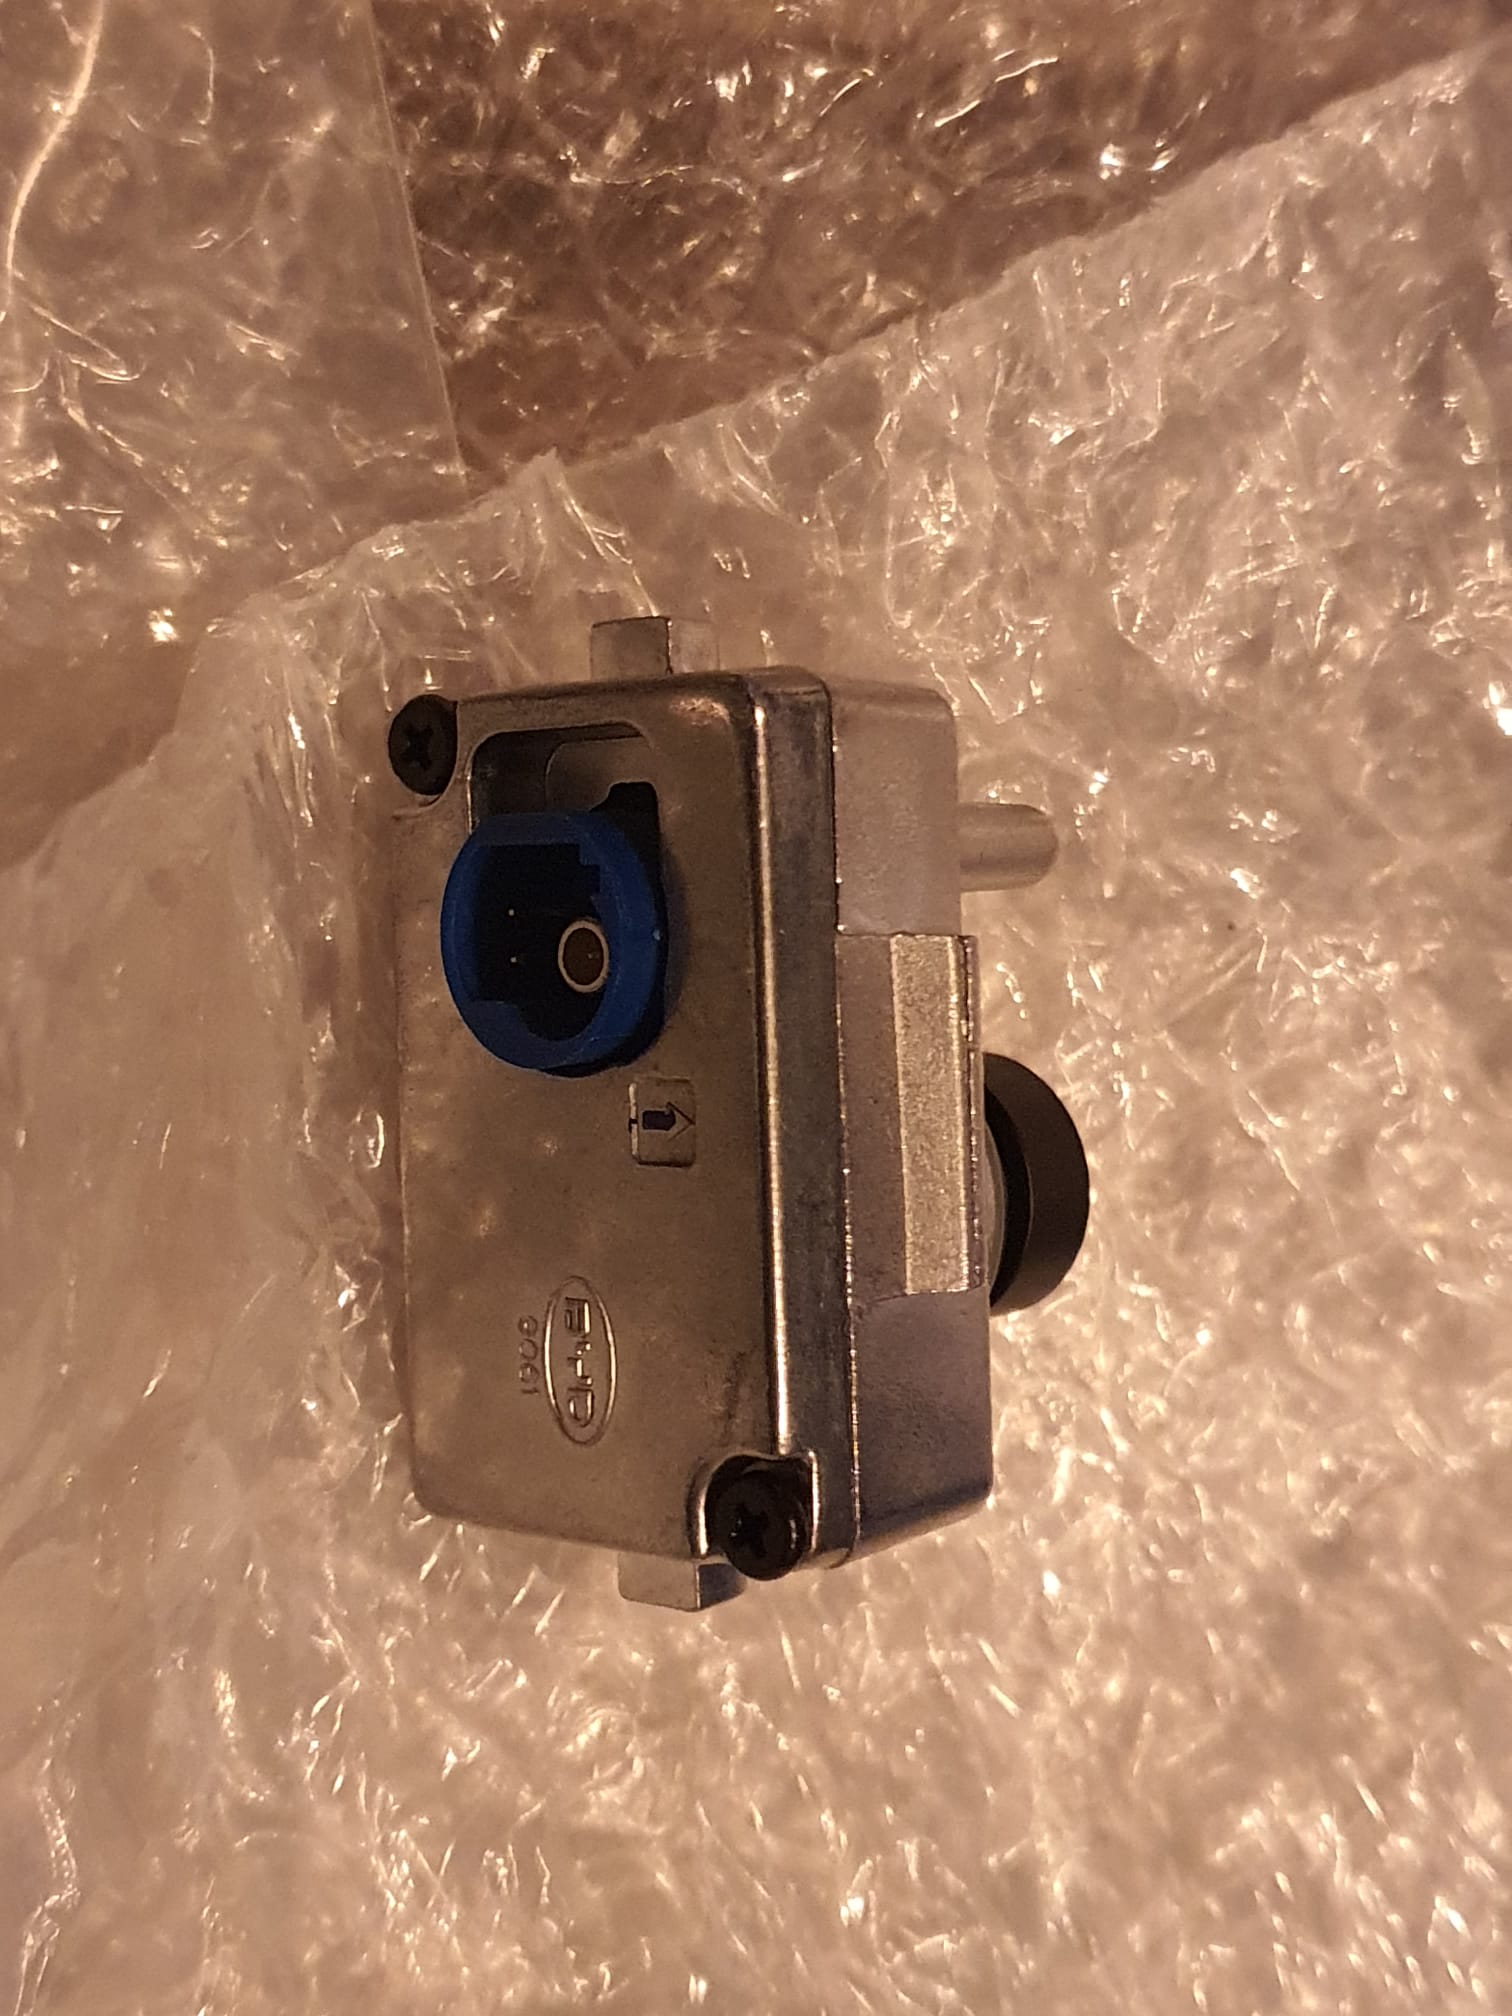
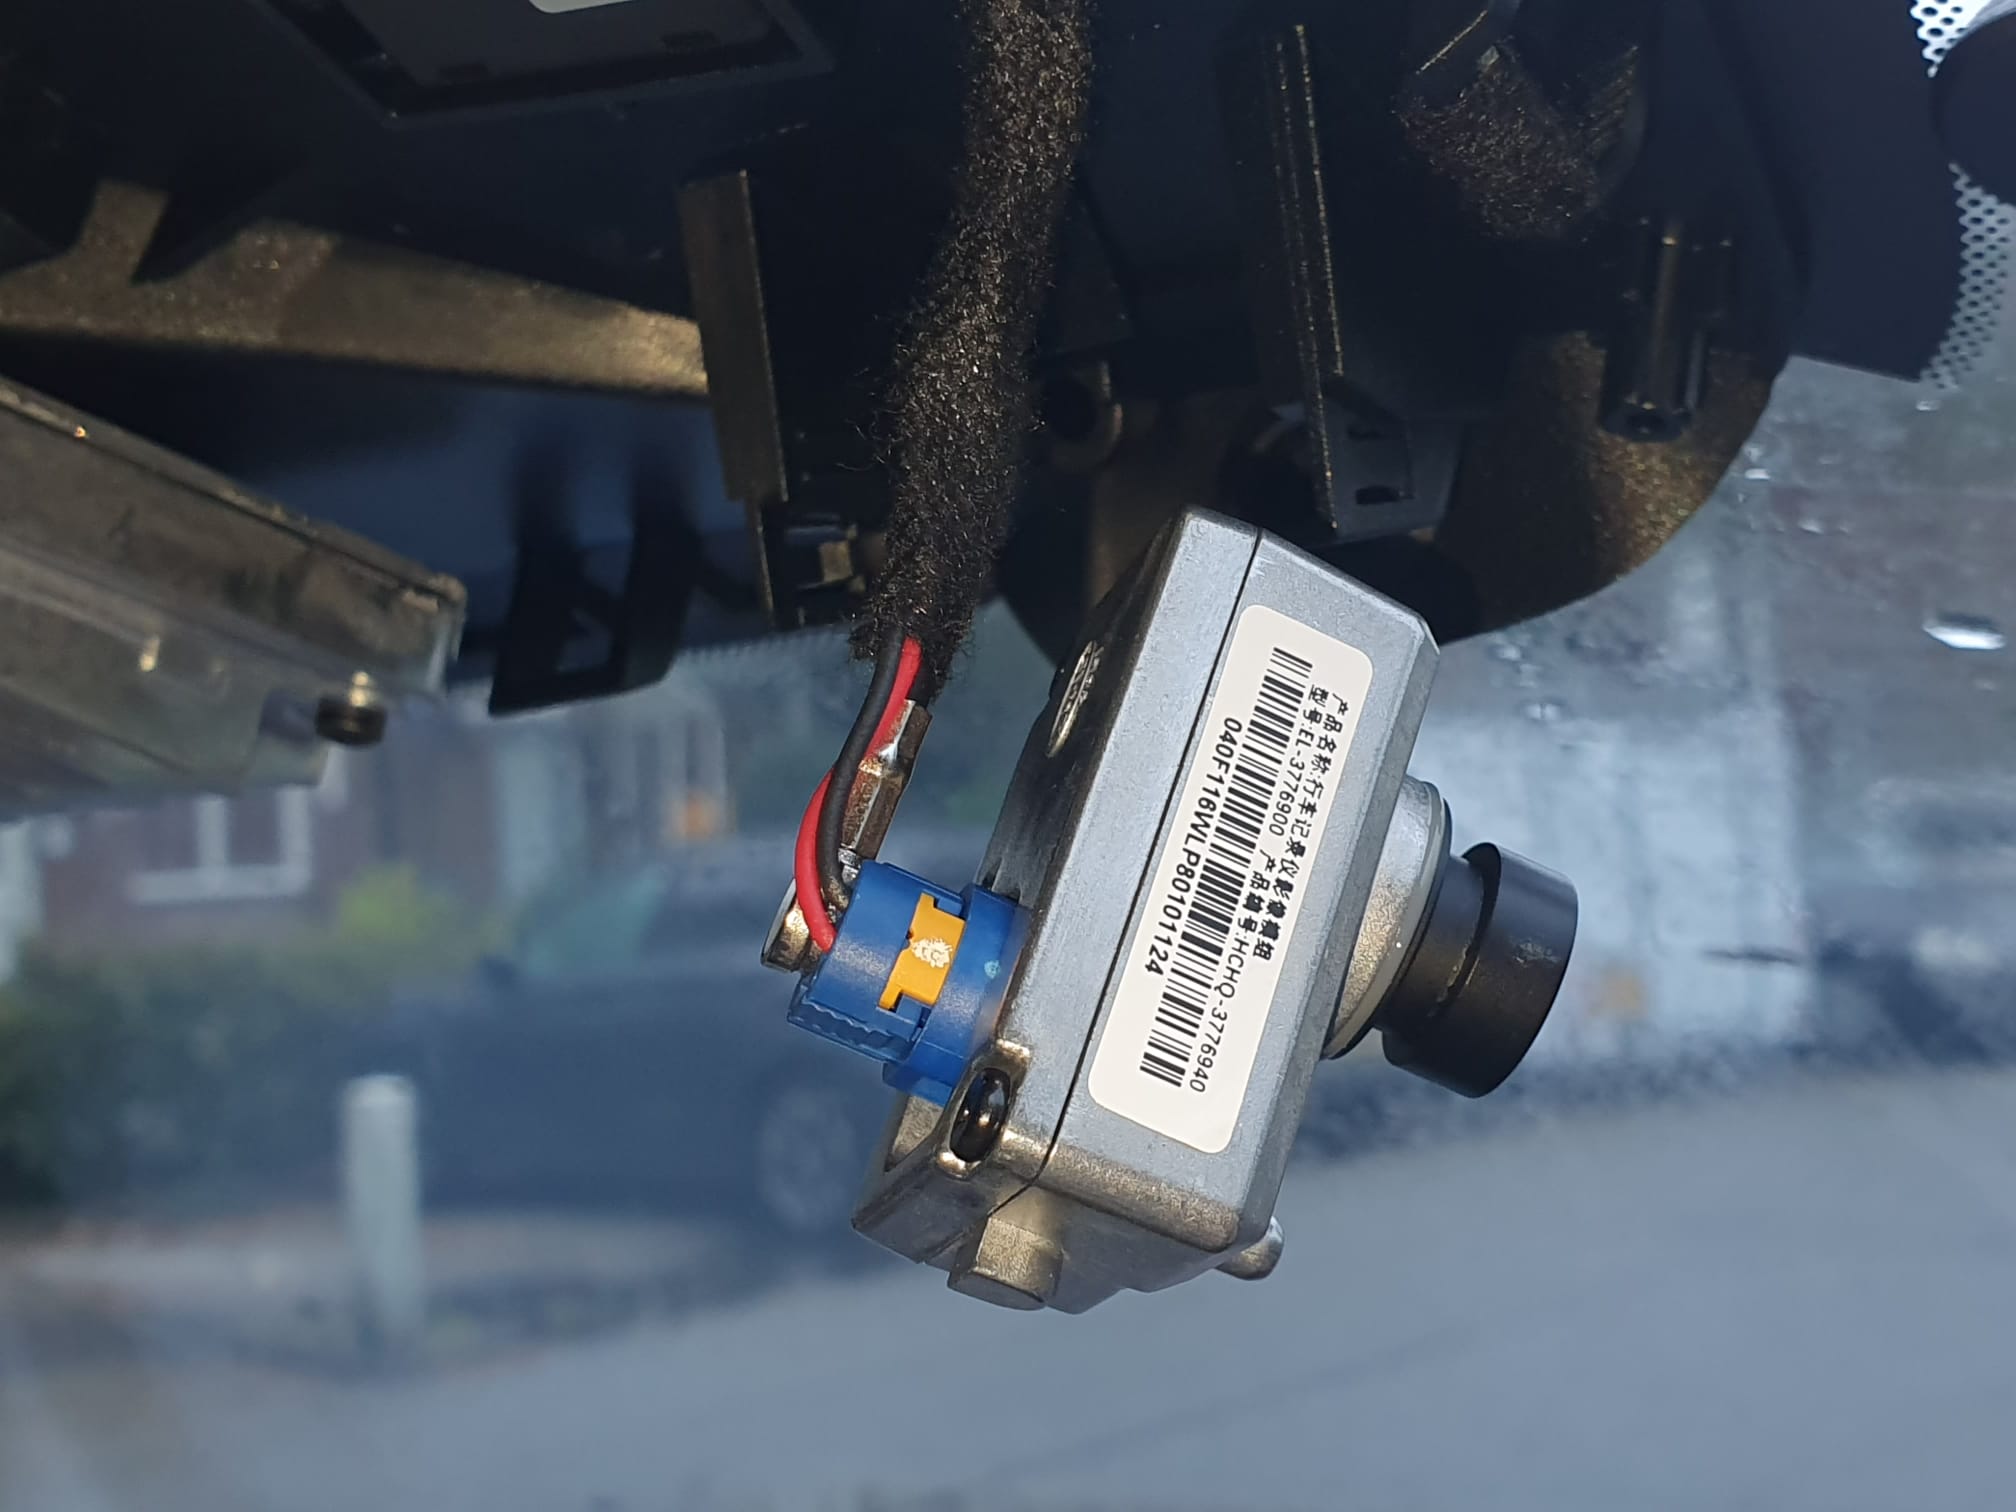
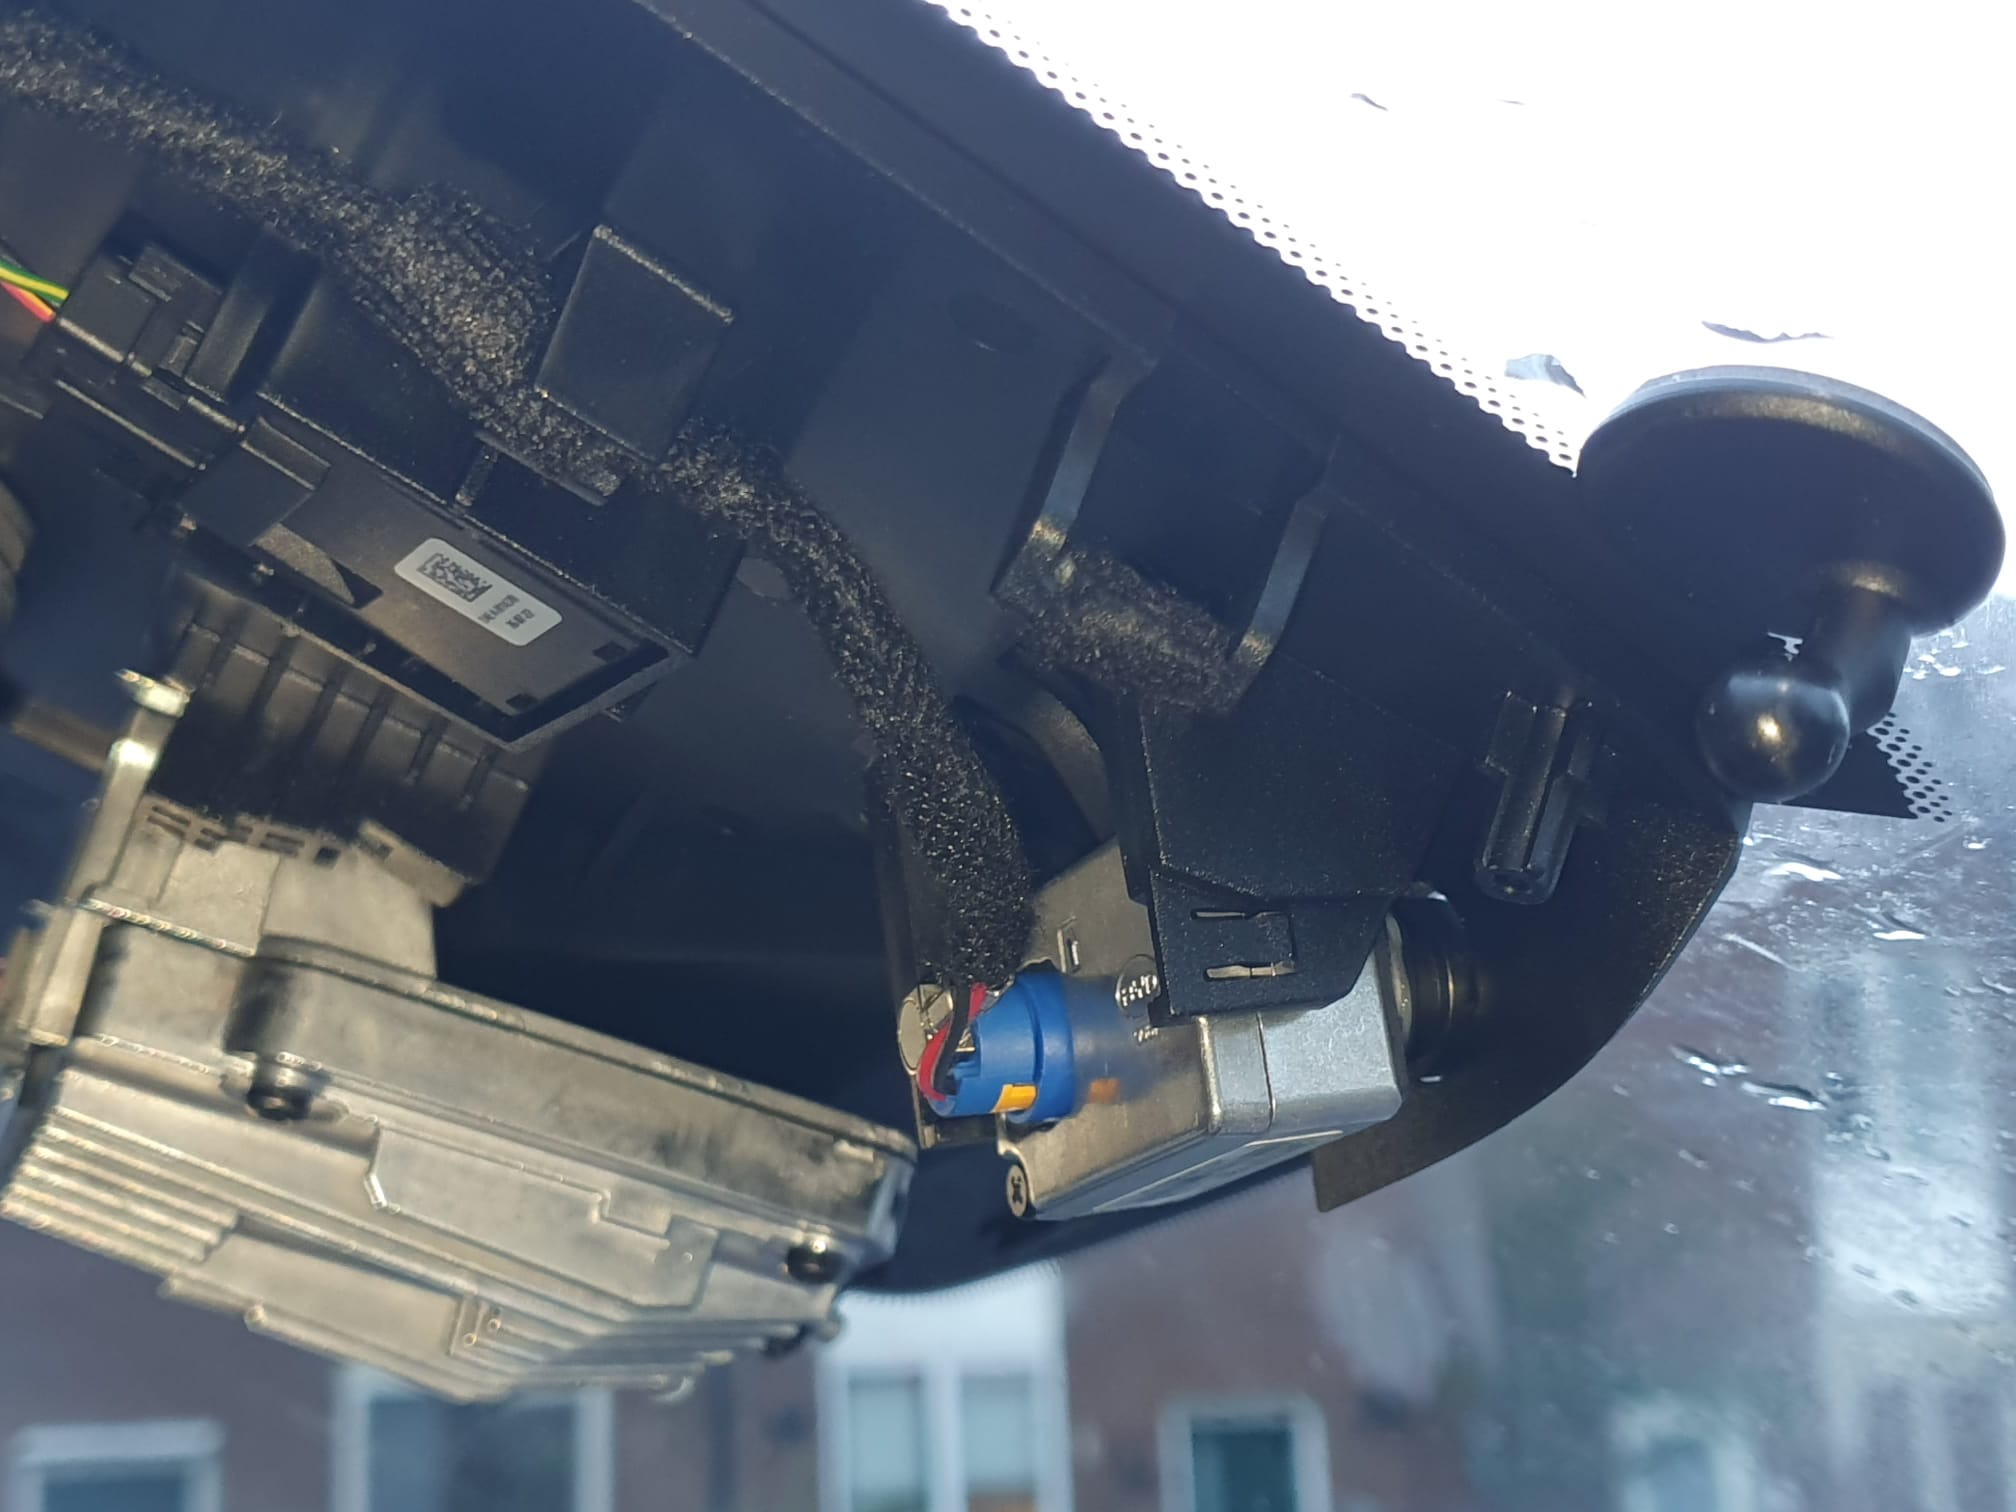
It then turned out that the cable for the dashcam is just neatly mounted there. On the right side of the picture below, you can just see the mounting foot of the Garmin mini dashcam. The blue loose connector with yellow area is the connector for the original BYD dashcam. Obviously, this is for a left-steered version but for a right-steered version the situation is just mirrored.
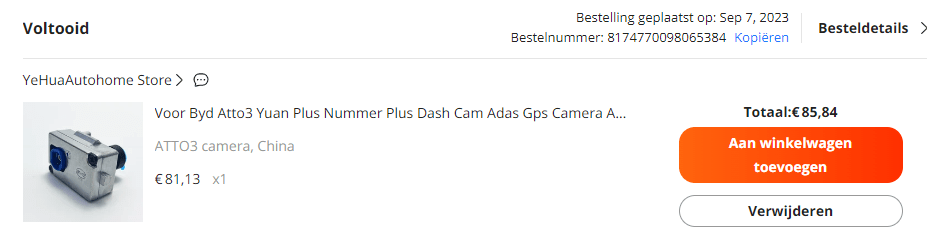
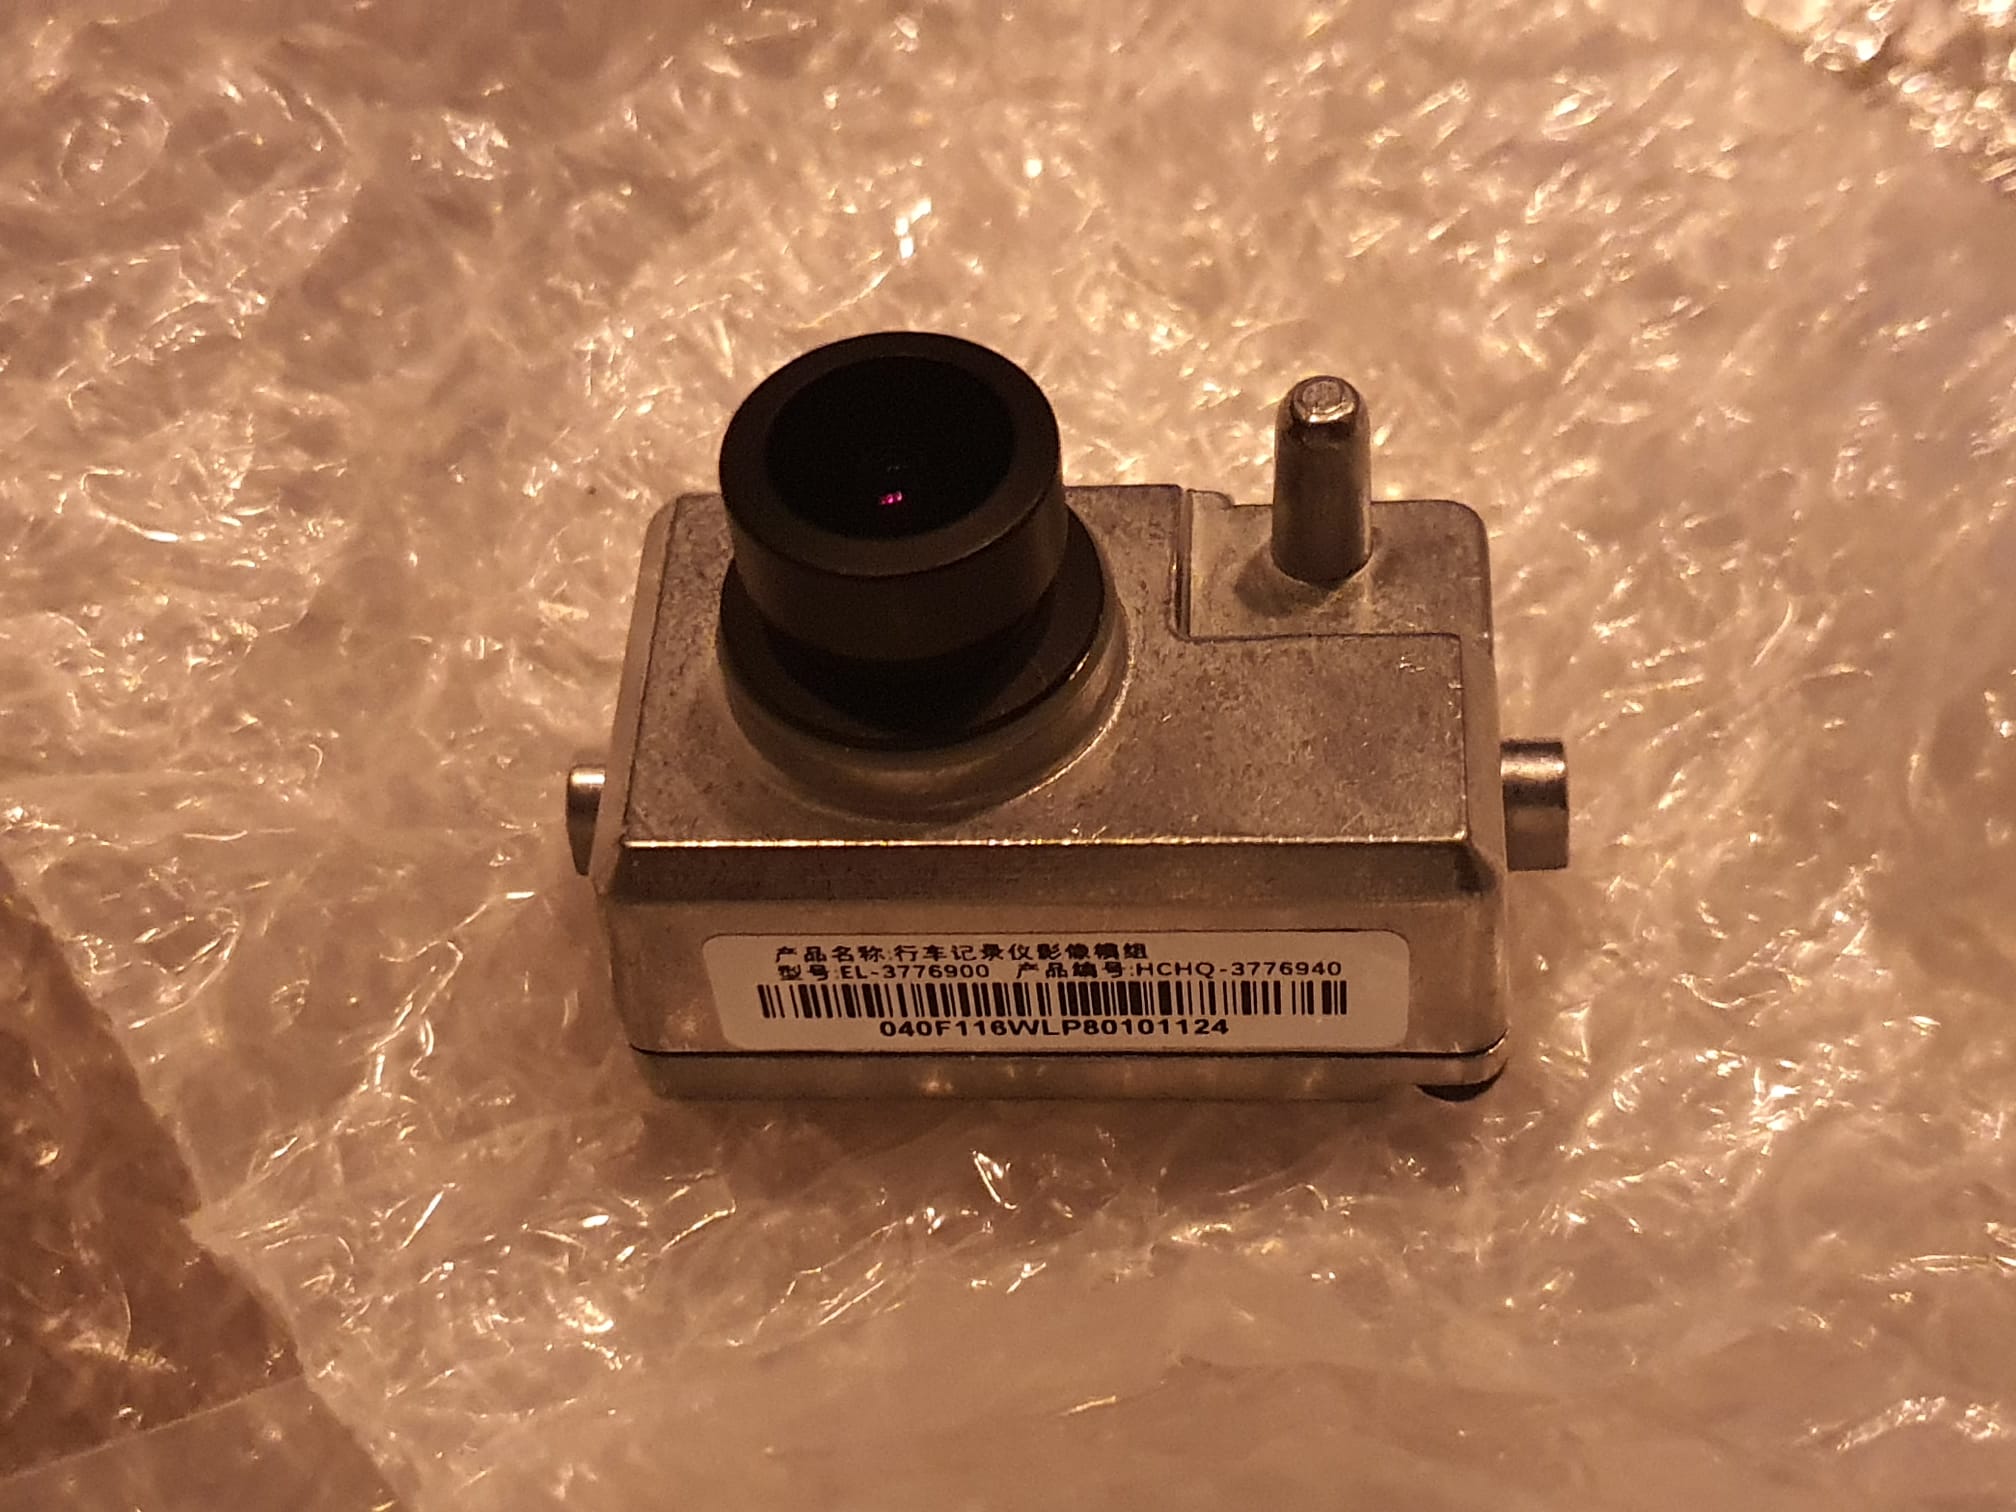
On Aliexpress I just came across the original BYD dashcam as a separate replacement unit, for about 83 Euro. So ordered it 2 weeks back and mounted it this morning.
Mounting is very simple: First remove the rubber where the lens of the dashcam should come through .
Then click the cable into the camera, it is automatically secured. Look very carefully how to insert this plug! It is a combined plug with 2 contacts for the power supply and a coax video connector attached to each other so it only fits one way!
And click the camera in the right place in the holder.
And…guess what? It just works. I also simultaneously had the update of the car to V 1.4 underway, and after booting up, the car detected that a dashcam was present. And the app was activated right away, so the camera now functions integrated into the car!
I then mounted the protective cover and neatly removed the Garmin dashcam mounting sticker and cleaned the windshield. When reinstalling the protective cover, I placed the large part first. Then turned the mirror down under and inserted the small part into the large part. That took some very careful work…
.
The software is self-explanatory: you do need to insert a MicroSD card under the dash. I have a 128Gb MicroSD card in there and I formatted it to FAT32 via the car software’s camera app.
What you find after using the camera is a number of directories on the microSDcard. your files are in the DCIM folder, arranged by video and photo.
The app allows you to change a number of settings including the recording time per recorded clip. I always set that to the longest possible time, here it is 5 minutes. just like the Garmin.
You can watch live and then also take pictures. I have programmed a quick button on the steering wheel to allow the dashcam to take recordings when I feel it is important. Of course, the app always makes recordings anyway, which are kept for a short time because of the size of the storage on the MicroSDCard. when the card is full, the oldest recordings go off. But when you initiate a recording yourself then this recording is always saved on the MicroSDCard.
Programming the camera power button for protected (non-erasable) recordings) goes like this: You use the screen rotation button on the steering wheel for this purpose. Press this button for 5 seconds until the large LCD screen gives you the choice of what you want to connect to this button. So I chose video recording for this.
If you want to copy recordings, the easiest way is to copy them to a USB drive via the file manager app of the BYD software. just copy from MicroSDCard/DCIM/…. to USB/… paste like on your phone.
That’s it! Have fun with your dashcam in the BYD Atto 3.