Citroën ID/DS (1970) downloads in English only

The Dutch downloads are available in the Dutch downloads section

ID19_repair_manual_472_1960

Camshaft characteristics and valve settings Citroën DS21 DX2 types only

Repair manual Citroën for all D types volume 1, December 1974

Repair manual Citroën for all D types volume 2, December 1974

PART 3 manual ID/DS English  (Electric)

PART 4 manual ID/DS English  (Bodywork)

Wiring Diagram, Cabling, Bulbs and wiring colors Citroën DX DJ DY DT DV from September 1969 onwards

Wiring Diagram only – Citroën DX DJ DY DT DV from September 1969 onwards
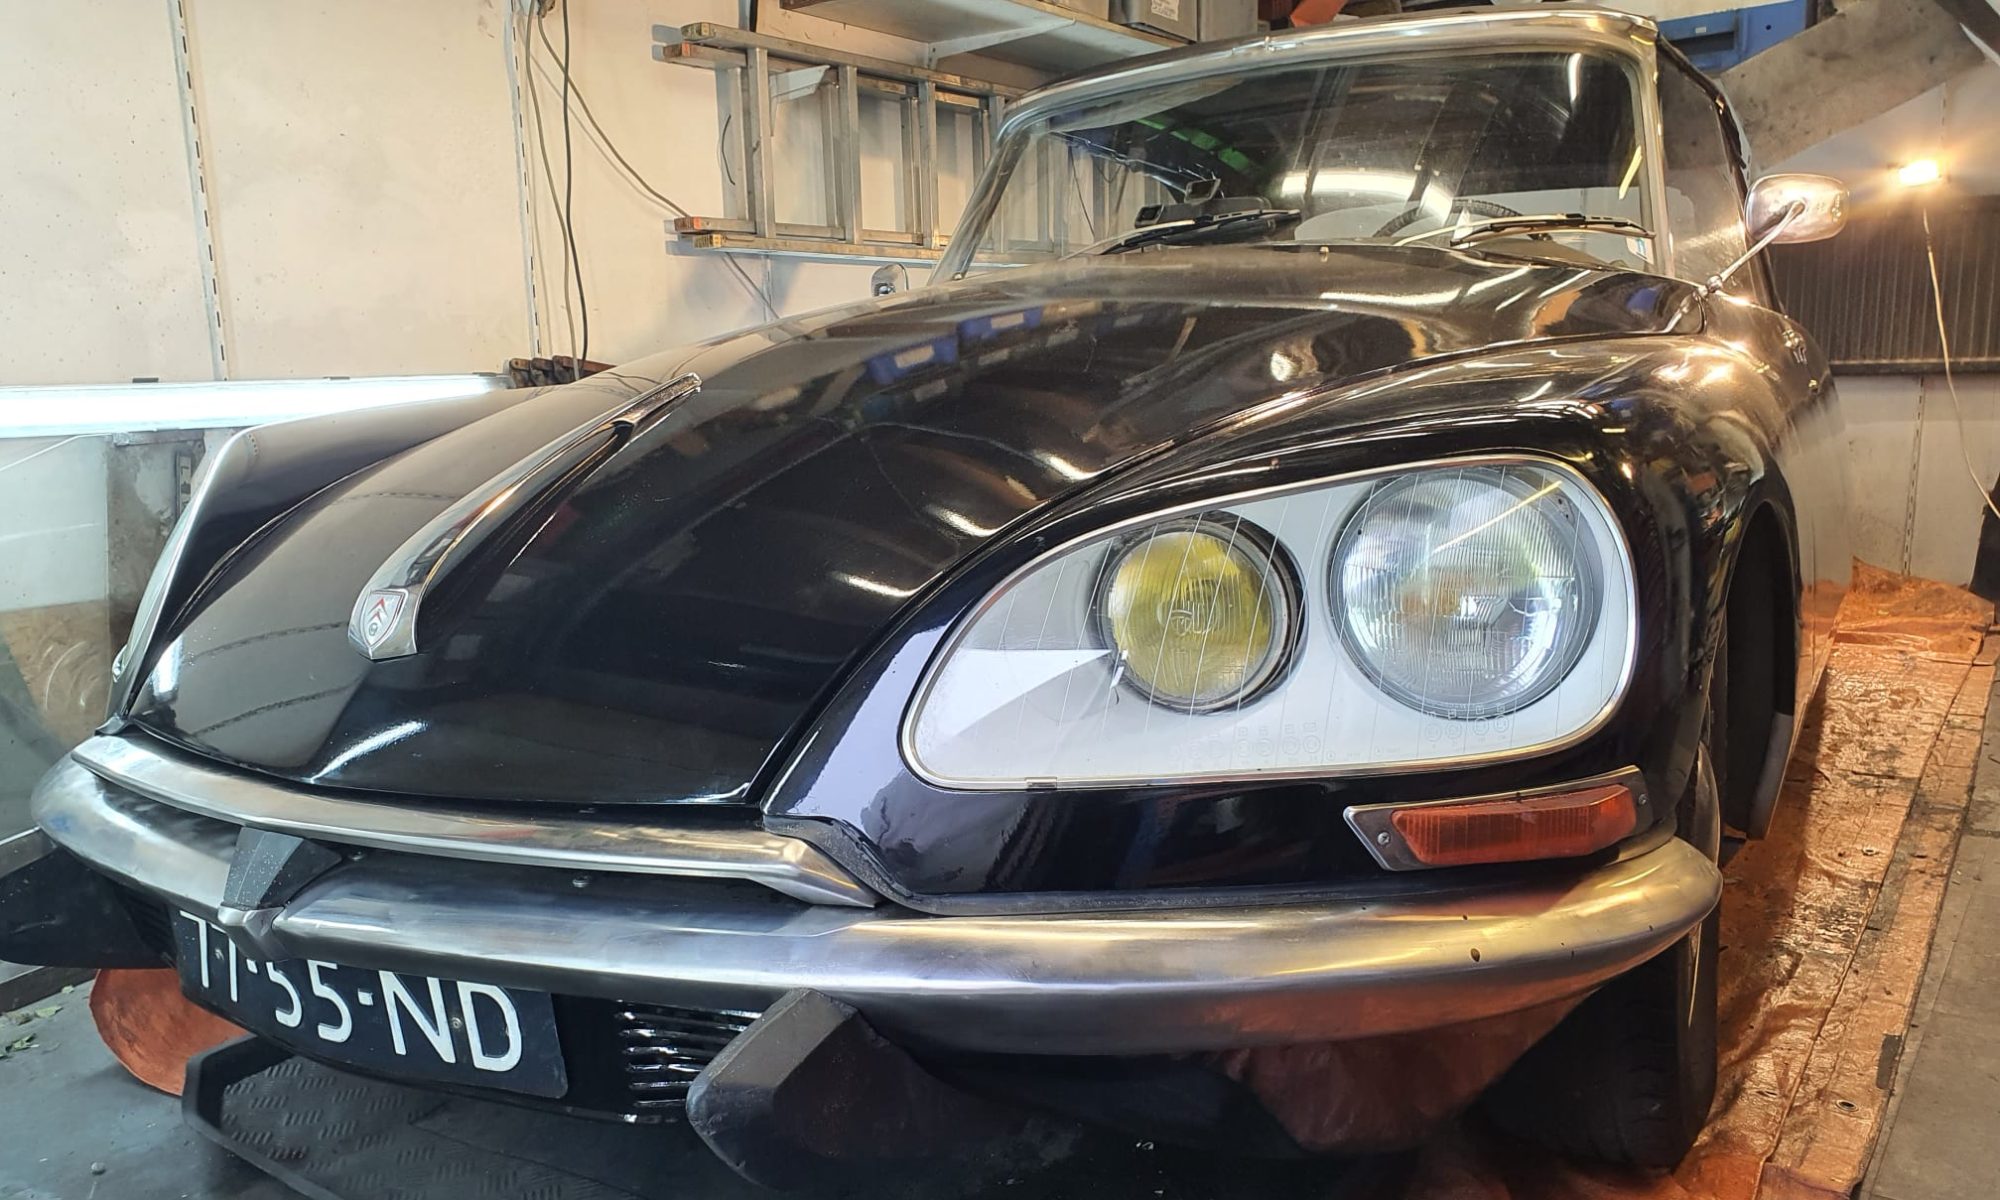
Original ID 1965 leather front chairs for my Citroën ID20 convertible (1970)

2021-June 6th.

Original ID20 chairs for the convertible are very hard to find, especially lately.

Fortunately, I have a complete set on stock with the front chairs side handle to fold the back forward, both left and right in the original brown leather version.

Also, I have the rear bench and back from the same donor ID (1965).  The rear bench don’t fit in my 1970 ID20 convertible but the front chairs will fit nicely.  I will get the car tomorrow out of the winter storage and will put the chairs in this week.  Then, finally, I can take the temporary Volvo C70 chairs out.

I will post some pictures to show what this looks like, asap!

Original ID 1965 leather front chairs for my Citroën ID20 convertible (1970)

Vialle D4 LPG evaporator exchanged with Lovato RGV090 evaporator

Due to some diificulty in getting the Vialle D4 evaporator to work properly with the Citroën ID20 and due to the fact that the Lovato RGV090 is made especially for carburetted cars like the ID20, I decided to put the Lovato in the car, and get the Vialle out.

I had previously already overhauled the Vialle D4 with a so-called ‘kit’.  In this kit, all diapragms, the needle and the rubbers were provided.  But, after the overhaul, it never really worked well.

The reason for not working well has to do with a number of things after a lot of research.  First of all, the evaporator is actually far too big for the required power of the engine.  The engine produces a maximum of 90 hp and the Vialle evaporator is then actually still in the lower range.  The result is that everything works but that picking up based on the demand for LPG doesn’t work smoothly.  You notice that with careful acceleration.  You have to push the throttle quite a lot to have effect.

No problem on the motorway, but it is difficult when driving quietly in the city or off the highway.


The Vialle D4 does not have a vacuum connection, but shuts off and on with an electric coil. (the one top-right of the above phote) The D4 can therefore also be used for ‘single point injection systems’.

But, I only want the LPG installation to be used as old school self-suctioned carburetted LPG installation.

So, end of February 2020 I put in a factory new Lovato RGV090 which basically is a vacuum controlled evaporator with an electric choke coil.


Lovato RGV090


On the Lovato evaporator only 1 setting is possible, and that is about the point where the evaporator starts giving LPG on command (and how much, given a specific suction).  The big plastic screw that does this presses on a spring that makes the diaphragm in the evaporator move more difficult when the screw is turned in (clockwise) and makes the diaphragm move easier on the suction of the air inlet when turned out.  This basically means that more LPG goes to the engine when the screw gets turned out more.

This is the setting that you should set to 1.5 % CO at 800-1000 RPM, the so-called stationary setting.

If you set this, the  2nd setting you must make is the throughput screw that is placed anywhere in the path between the carburettor and the evaporator.  Set this screw midway when you are setting the CO to 1.5 at stationary RPM.

After the stationary setting is done, try how the engine reacts to pushing the throttle.  If it does not react fast and firm enough, turn the throughput screw a bit out until the reaction at pushing the throttle is comparable to the situation on petrol.

Then, test drive the car and turn the throughput screw back a little every time until you lose power at full throttle. Then , turn this screw 0,25 to 0,5 turn open and you’re done!

PS: The one screw on the evaporator is NOT a stationary screw.  Although it does affect stationary RPM due to more/less LPG, you can only set it right when you use a CO meter,  Otherwise, you can ruïn your car due to too lean settings.

If you want to do it completely correct, the CO at 3000 RPM should be checked and set to 2.5- max 4 %.  The balance between stationary RPM and RPM 3000 is a difficult one, but make sure that you will NEVER get below the minimum values of 1.5% CO at stationary and 2.5 % CO at 3000 RPM!  And- make sure you use both the screws in adjusting the CO%’s.  Especially at 3000 RPM, you must adjust the screw that is in the LPG line.

If you want a better installation, get a system that utilizes a CO plug that reads the exhaust values of CO to regulate the quantity of supplied LPG.  Such systems are available from Lovato and Vialle, both with injected AND carburetted LPG systems.  It does require some additions to your car’s exhaust but that is all very well possible, should you want it.


CX hydraulic LHM pump in my Citroen ID/DS

Due to returning problems with 5 LHM pumps in my ID/DS I decided a while ago to get a CX pump, make it fit the ID/DS and replace the previous original ID/DS pump.

The problem with any original pump is that they all leak. Not during driving, but after a while, in the garage or in the parking lot.  I had 3 overhauled pumps from the larger suppliers but thay all shared this problem.  Not a lot of leakage but enough to get me in trouble in my parking garage.

On top of this, new MOT ruling is that a car, also old cars, may not leak any fluid.  So, it was coming anyway.

I had a LHM pump available, from one of the first CX series and this is what I did:

  1. pull off the pulley from the CS pump with a special puller kit(I bought my kit on aliexpress for 30 Euros including posrage). You need this kit since the newer pumps like from the CX use a press- on pulley.
  2. Get an original pulley that is alike the one in your ID/DS, or use the one from your car’s LHM pump. I used a pulley for 3 V belts, 2 for the feed side and i for my Airco.  Get the hole on the Lathe turned up to almost 16mm.  Not too  much or you cannot press it on the CX pump axle.
  3. Still in the lathe, turn the inside of the pulley to the shape of the CX pump’s outside diameter.
  4. Turn the pulley in the center so that the pulley is exactly in the right place (by measuring) , just not against the pump housing.
  5. I chose to put new metric M8 thread in the inside of the CX axle by using a rethreading kit (helicoil) for M8, for ease of installing the press-on pulley and for fastening the pulley with a standard M8 bolt.
  6. Turn a ring, inside 16,05 mm and about 8 mm thick, because the CX axle will come through the ID/DS pulley about 7 mm.
  7. Press the pulley on the CX pump’s axle, put the self-made ring on it and fasten the lot with an M 8 ring and bolt.
  8. Use thread fastener of any kind.
  9. Then, get the car and get the old pump out. I usually leave everything in, but my airco pump because this is really in the way.
  10. Put the new pump and tubing in, with new rubbers. I also replaced the sucking tube to the LHM supply.
  11. Then, fill the pump and hose with LHM and start the engine.  Woith the filter tube up, fill this with LHM till the pump works well. stop the engine, quickly replace the tube in the LHM barrel. It took me 4 times before the pump continued working.
  12. The result: Fast on her feet, and absolutely no more spillage and leakage!
  13. View te picture gallery for the details!