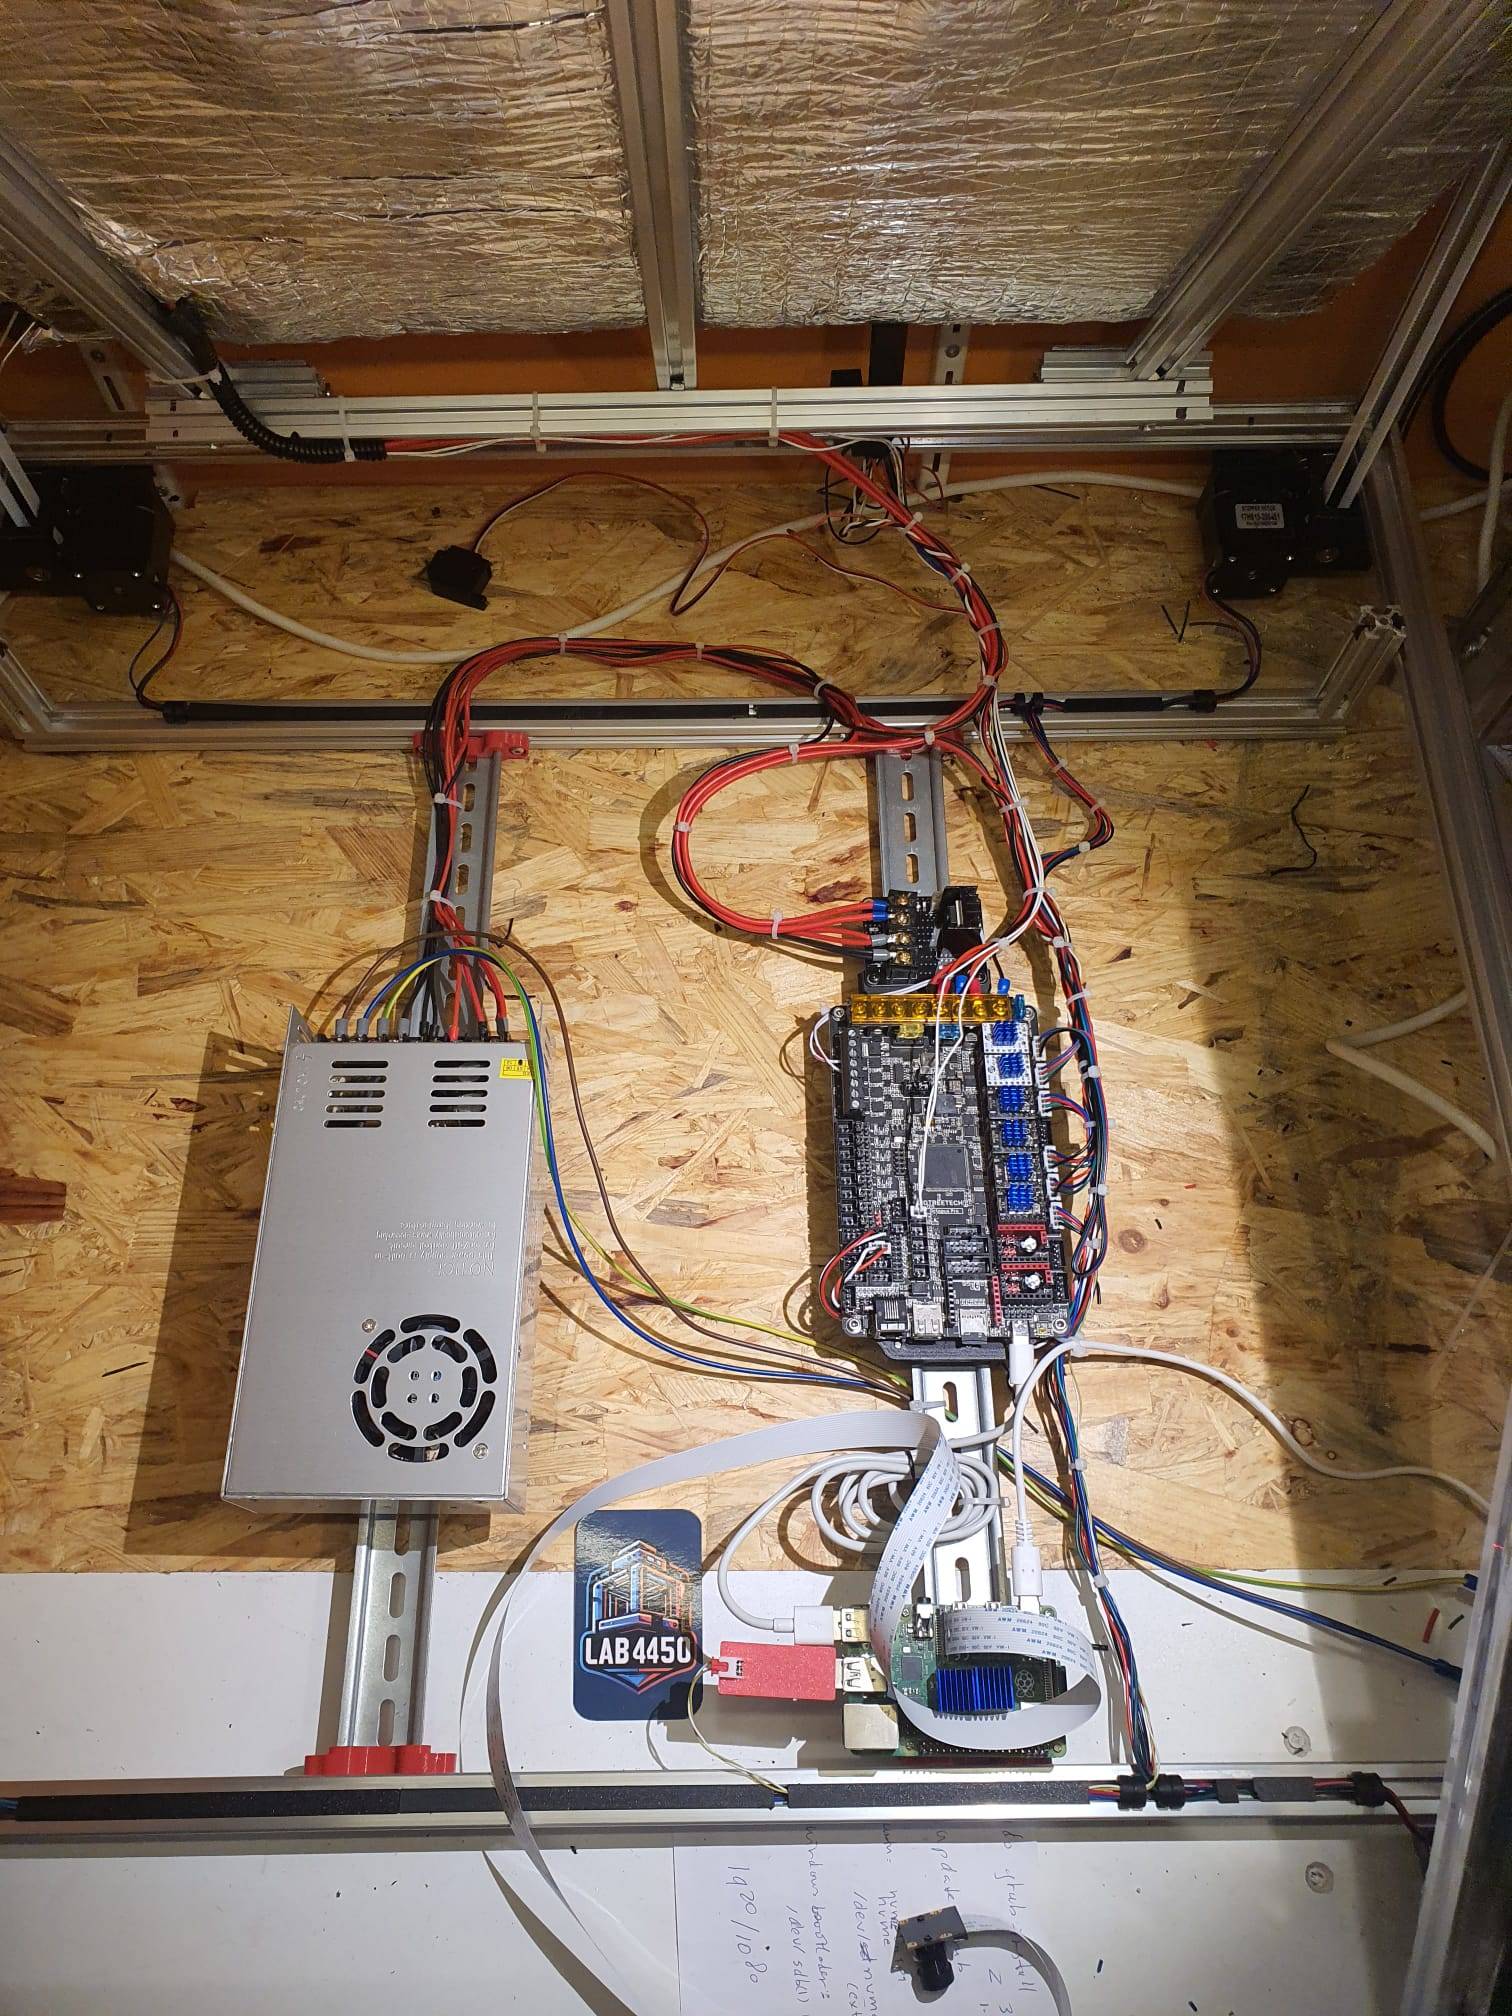
The firmware and configs of this build is described HERE
For a specific printjob, I really need a large 3d printer.
The largest printsize I had before building this big Voron 2.4R2 printer is my 330x330x400mm A30M.
But that only does PLA since it does not have an enclosure and the bed is not capable of anything over 70 deg C.
After a lot of searching I decided to build a new Voron 2.4 3d printer, sized 600 x 600 x 480 mm. the main reason for this build is that I really like to build someting instead of buying something that I will want to change afterwards anyway.
The external size of the printer for this build is 760x760x750 which just fits my available space.
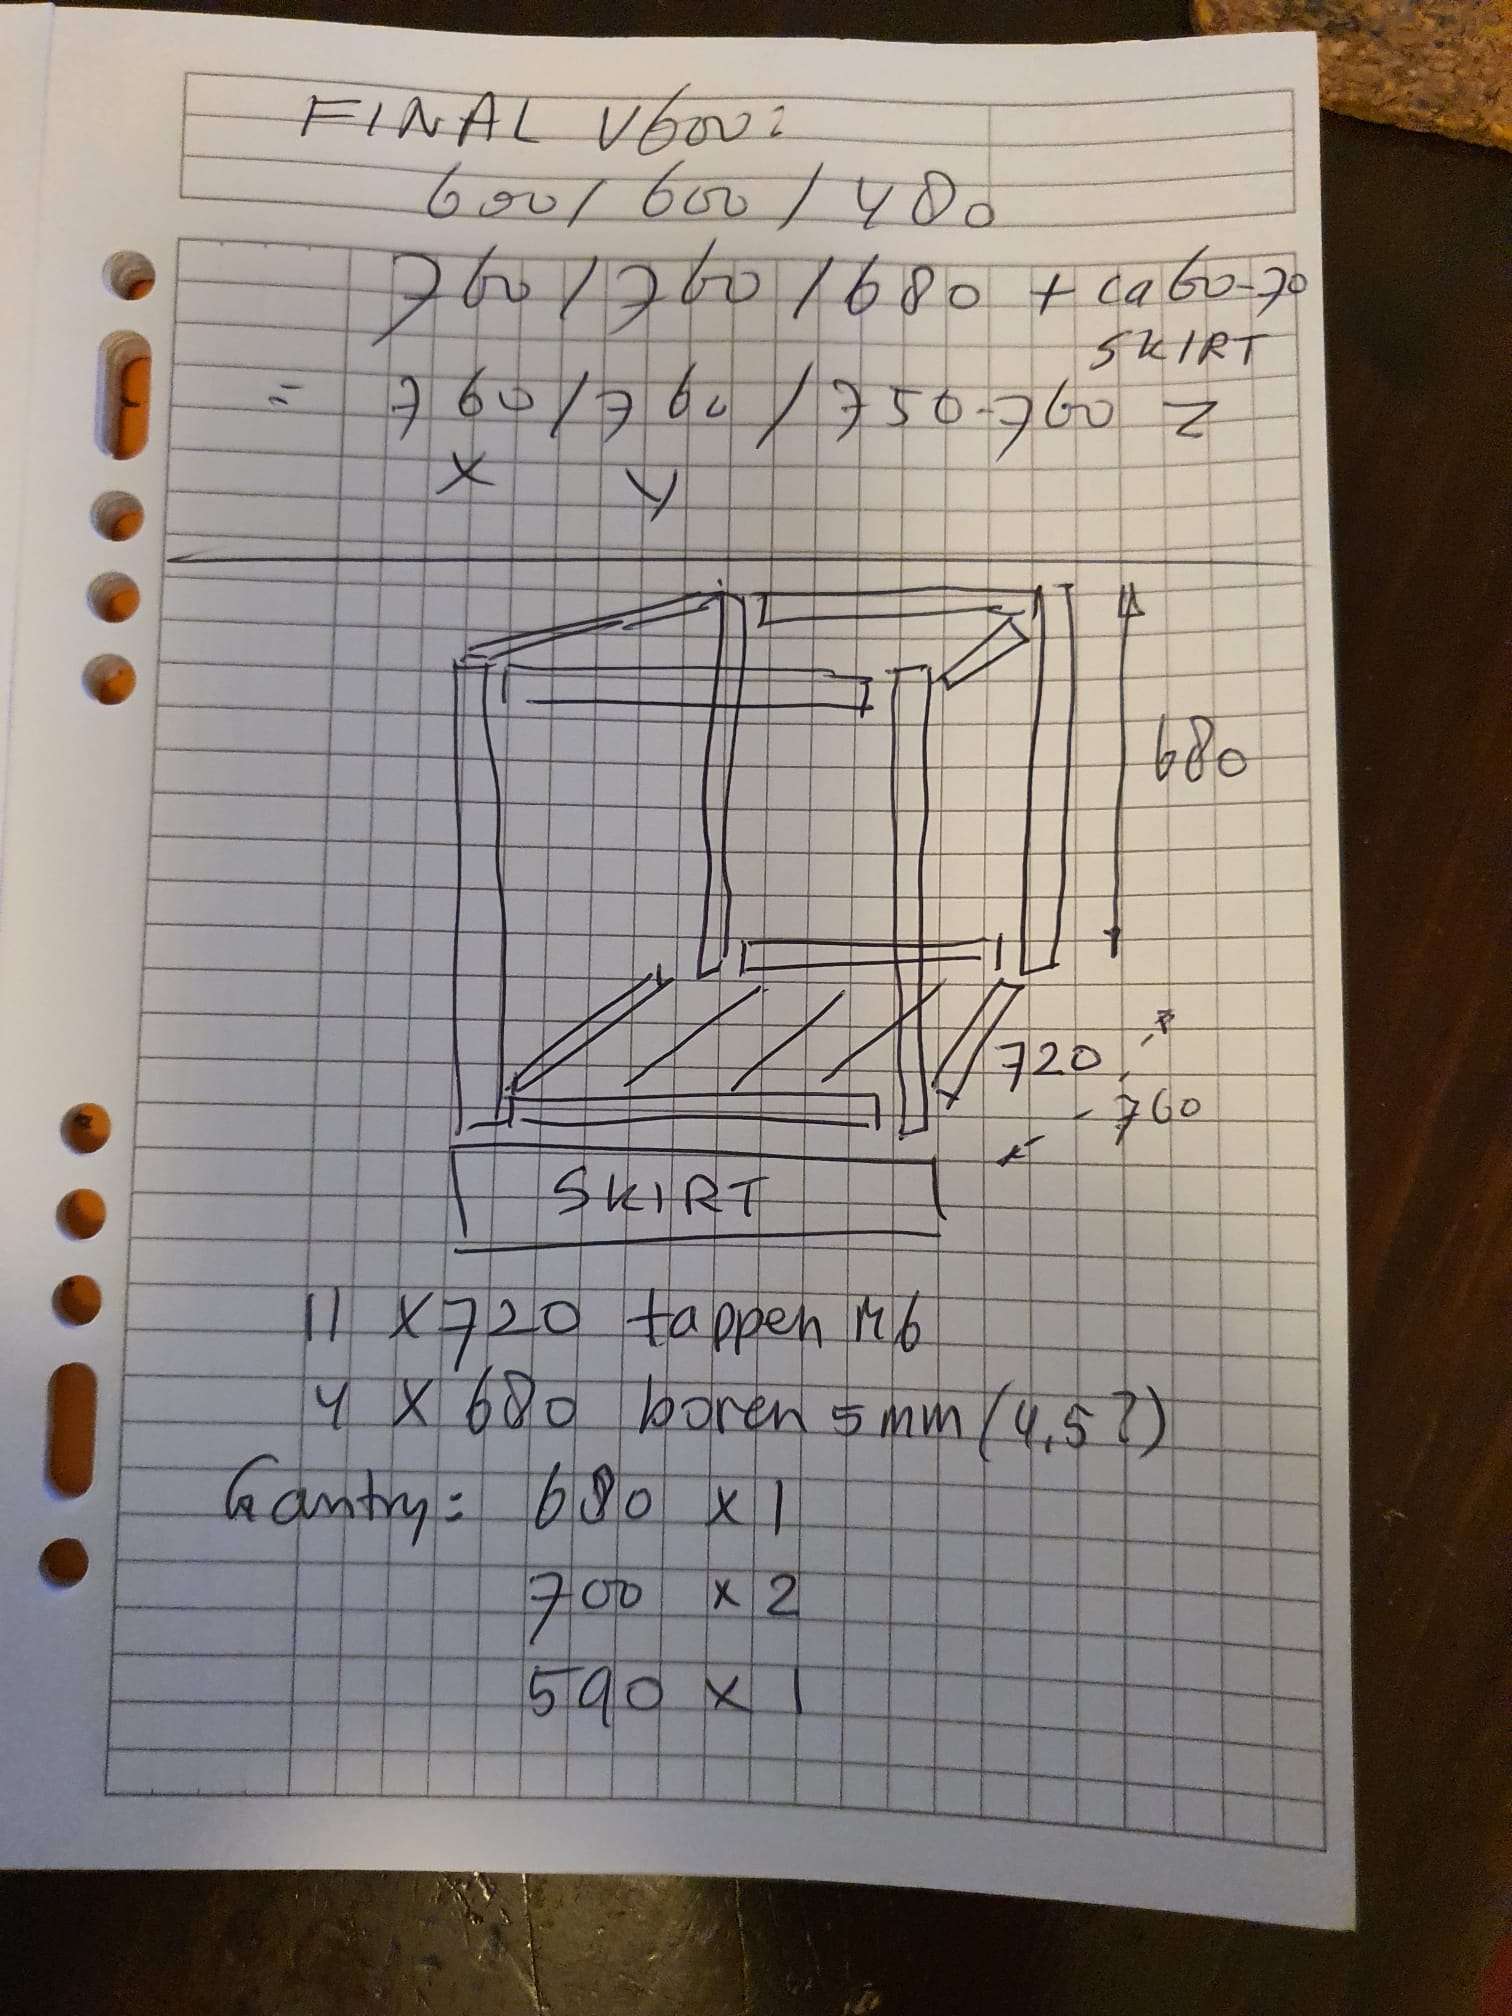
Since the door-opening (width) of my printing shop is only 700 mm, I can’t build the Voron 2.4 any larger than this, at least not at one of the sides. I do want the printer to be able to get out of the room when needed. I chose to keep the height of the externals within 700 mm. This means that the maximum Z-printing height will be ‘only’ 480 mm. If the printer ever needs to go outside, the top hat will be removed and it needs to be tilted 90 degrees before getting it out. But that’s fine, I don’t think the printer will be leaving very soon.
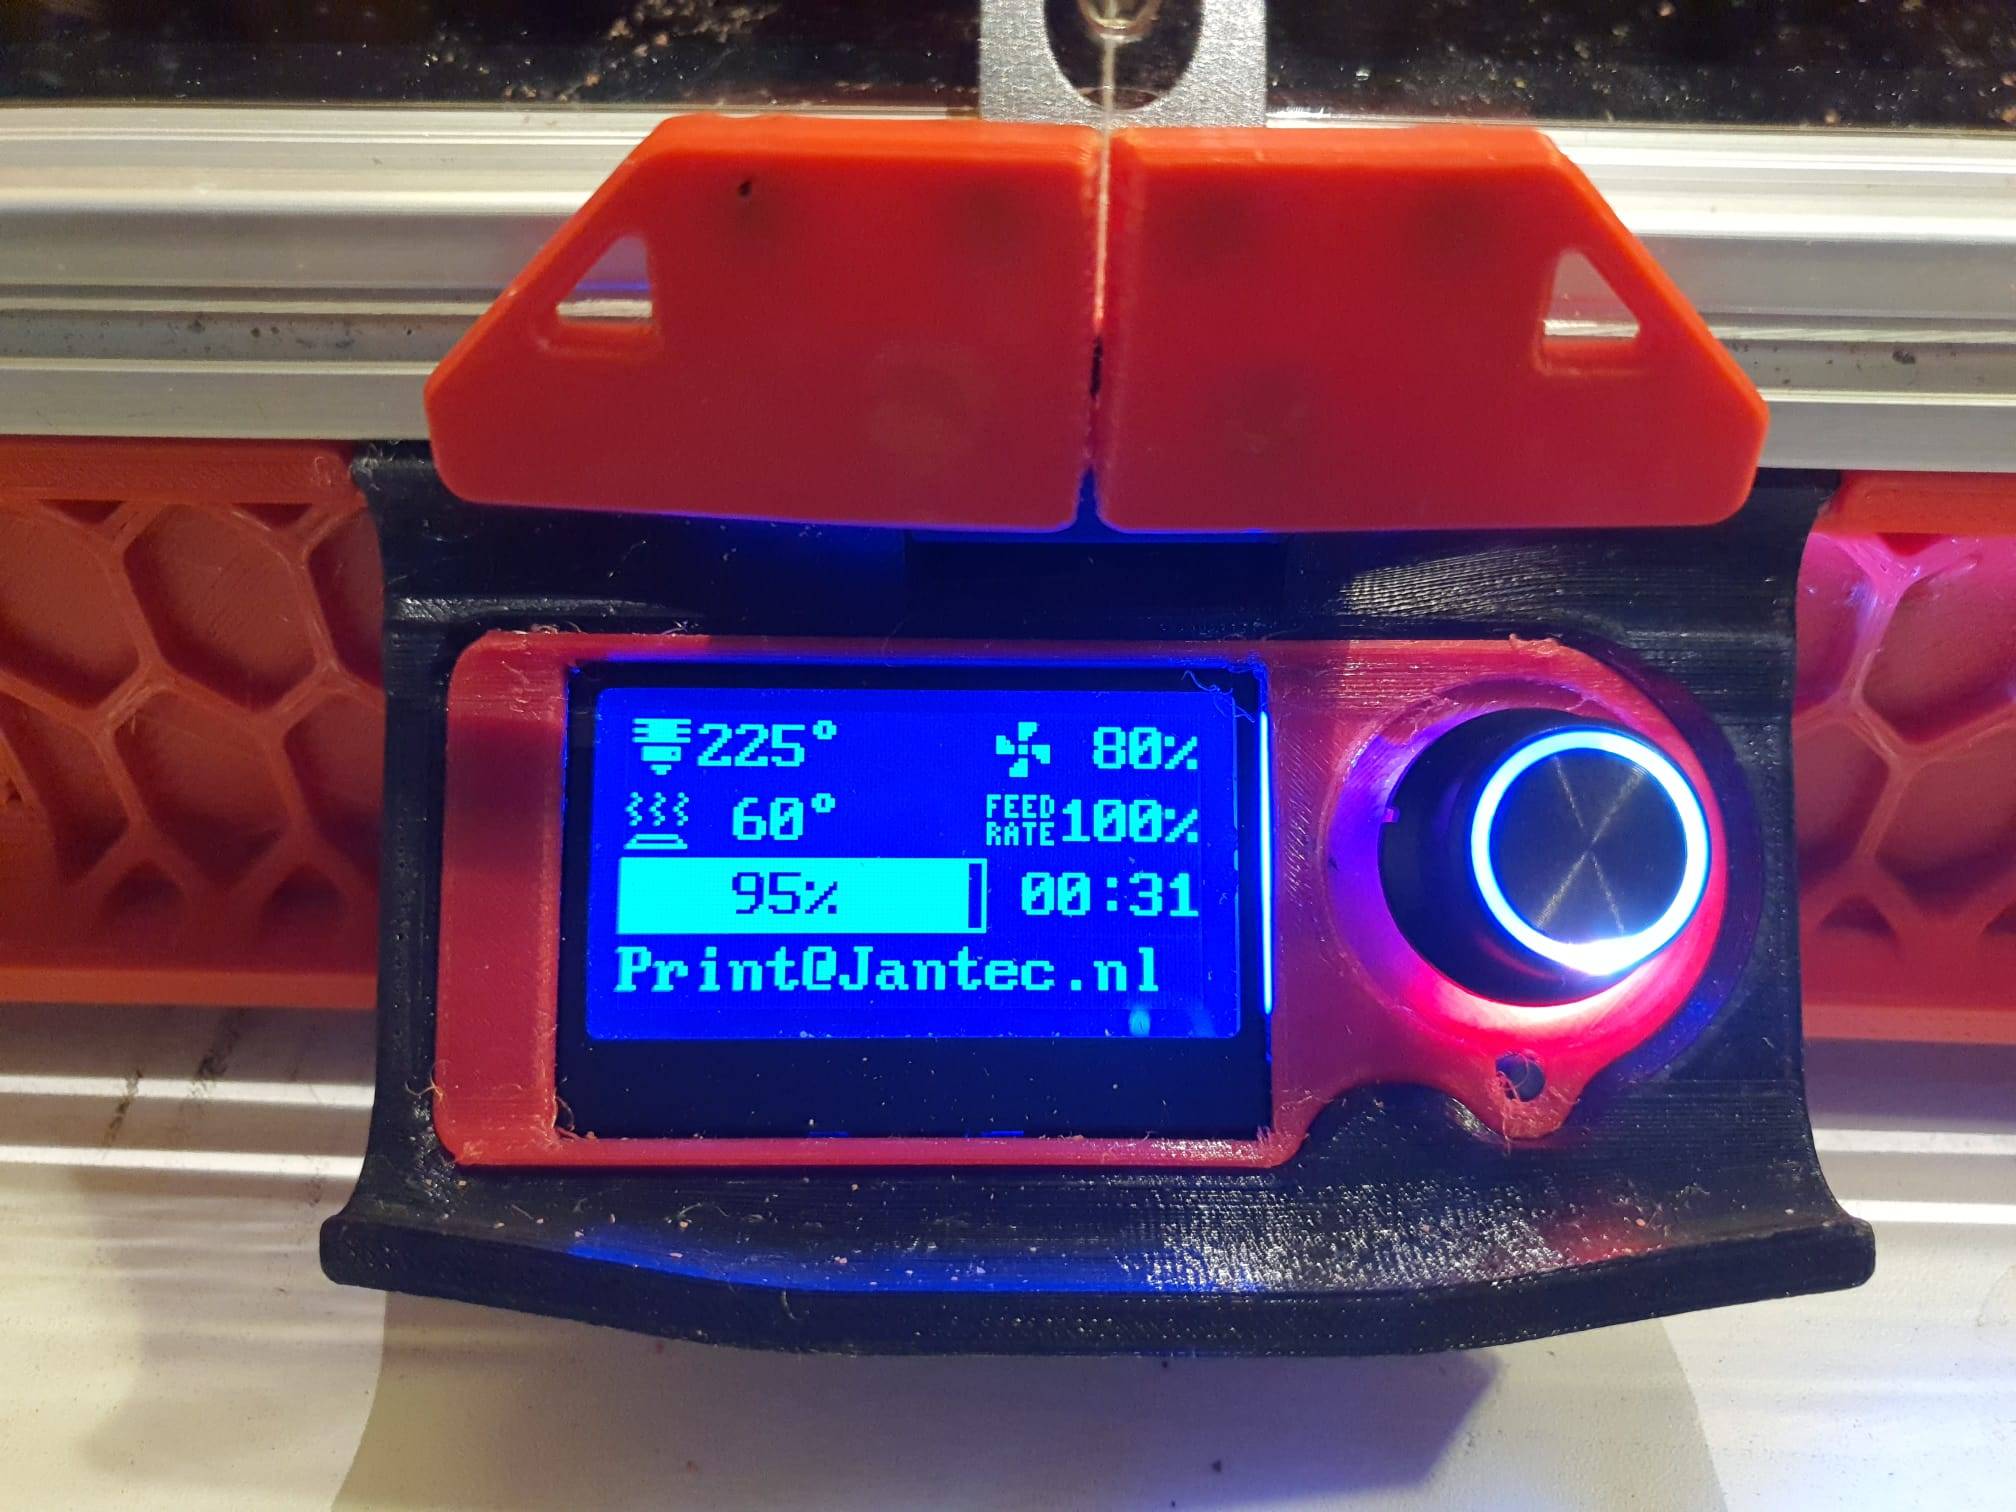
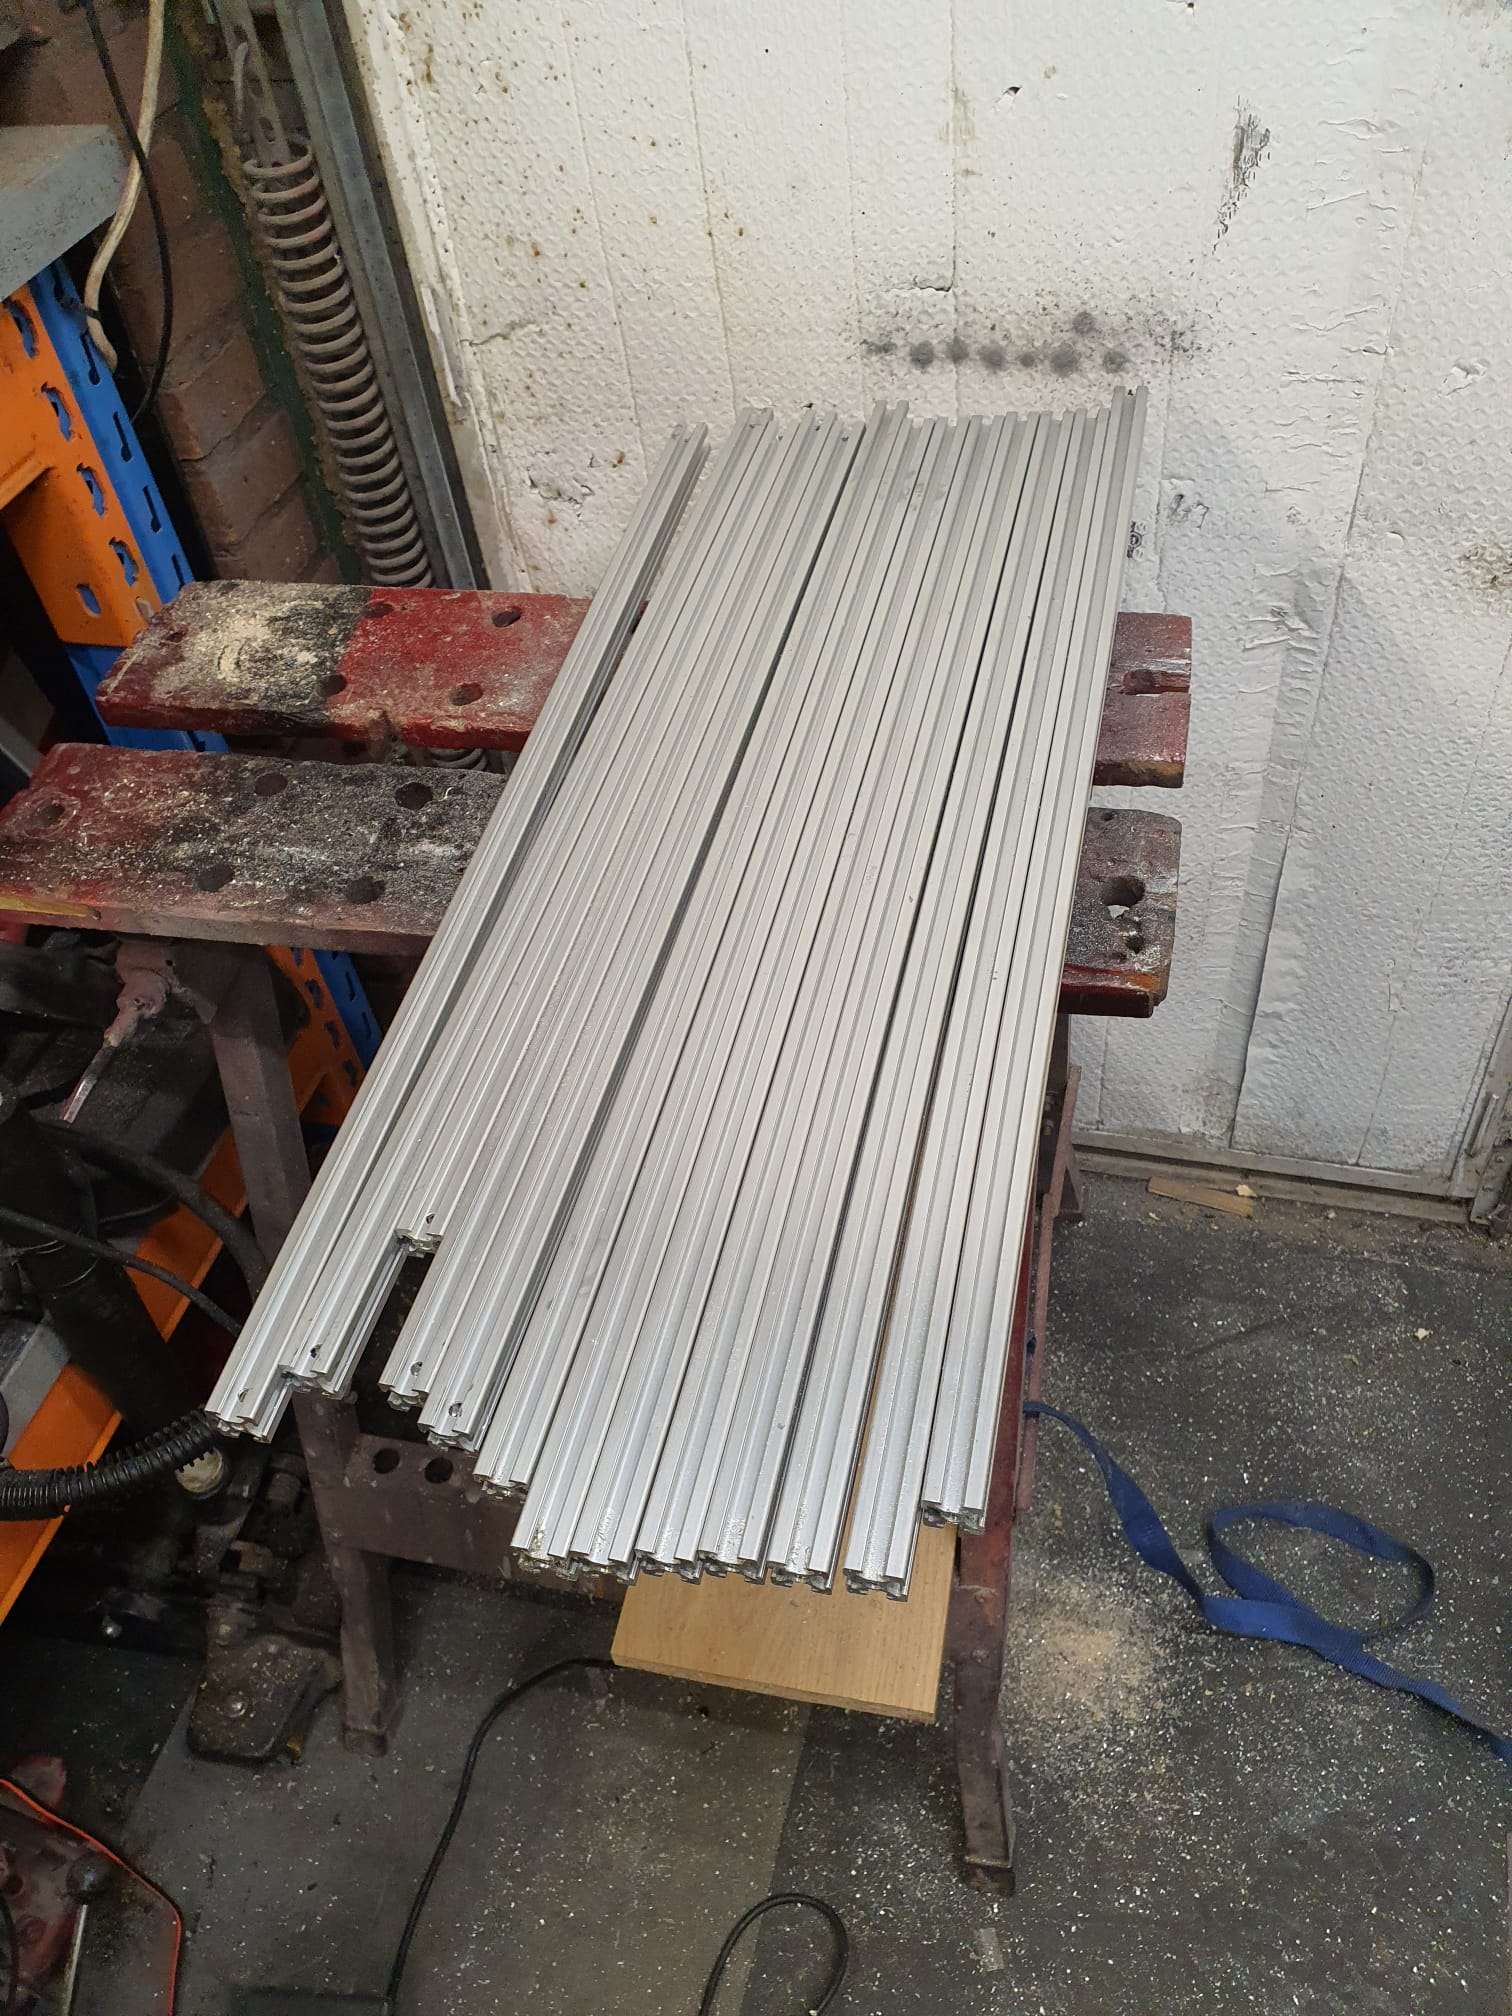
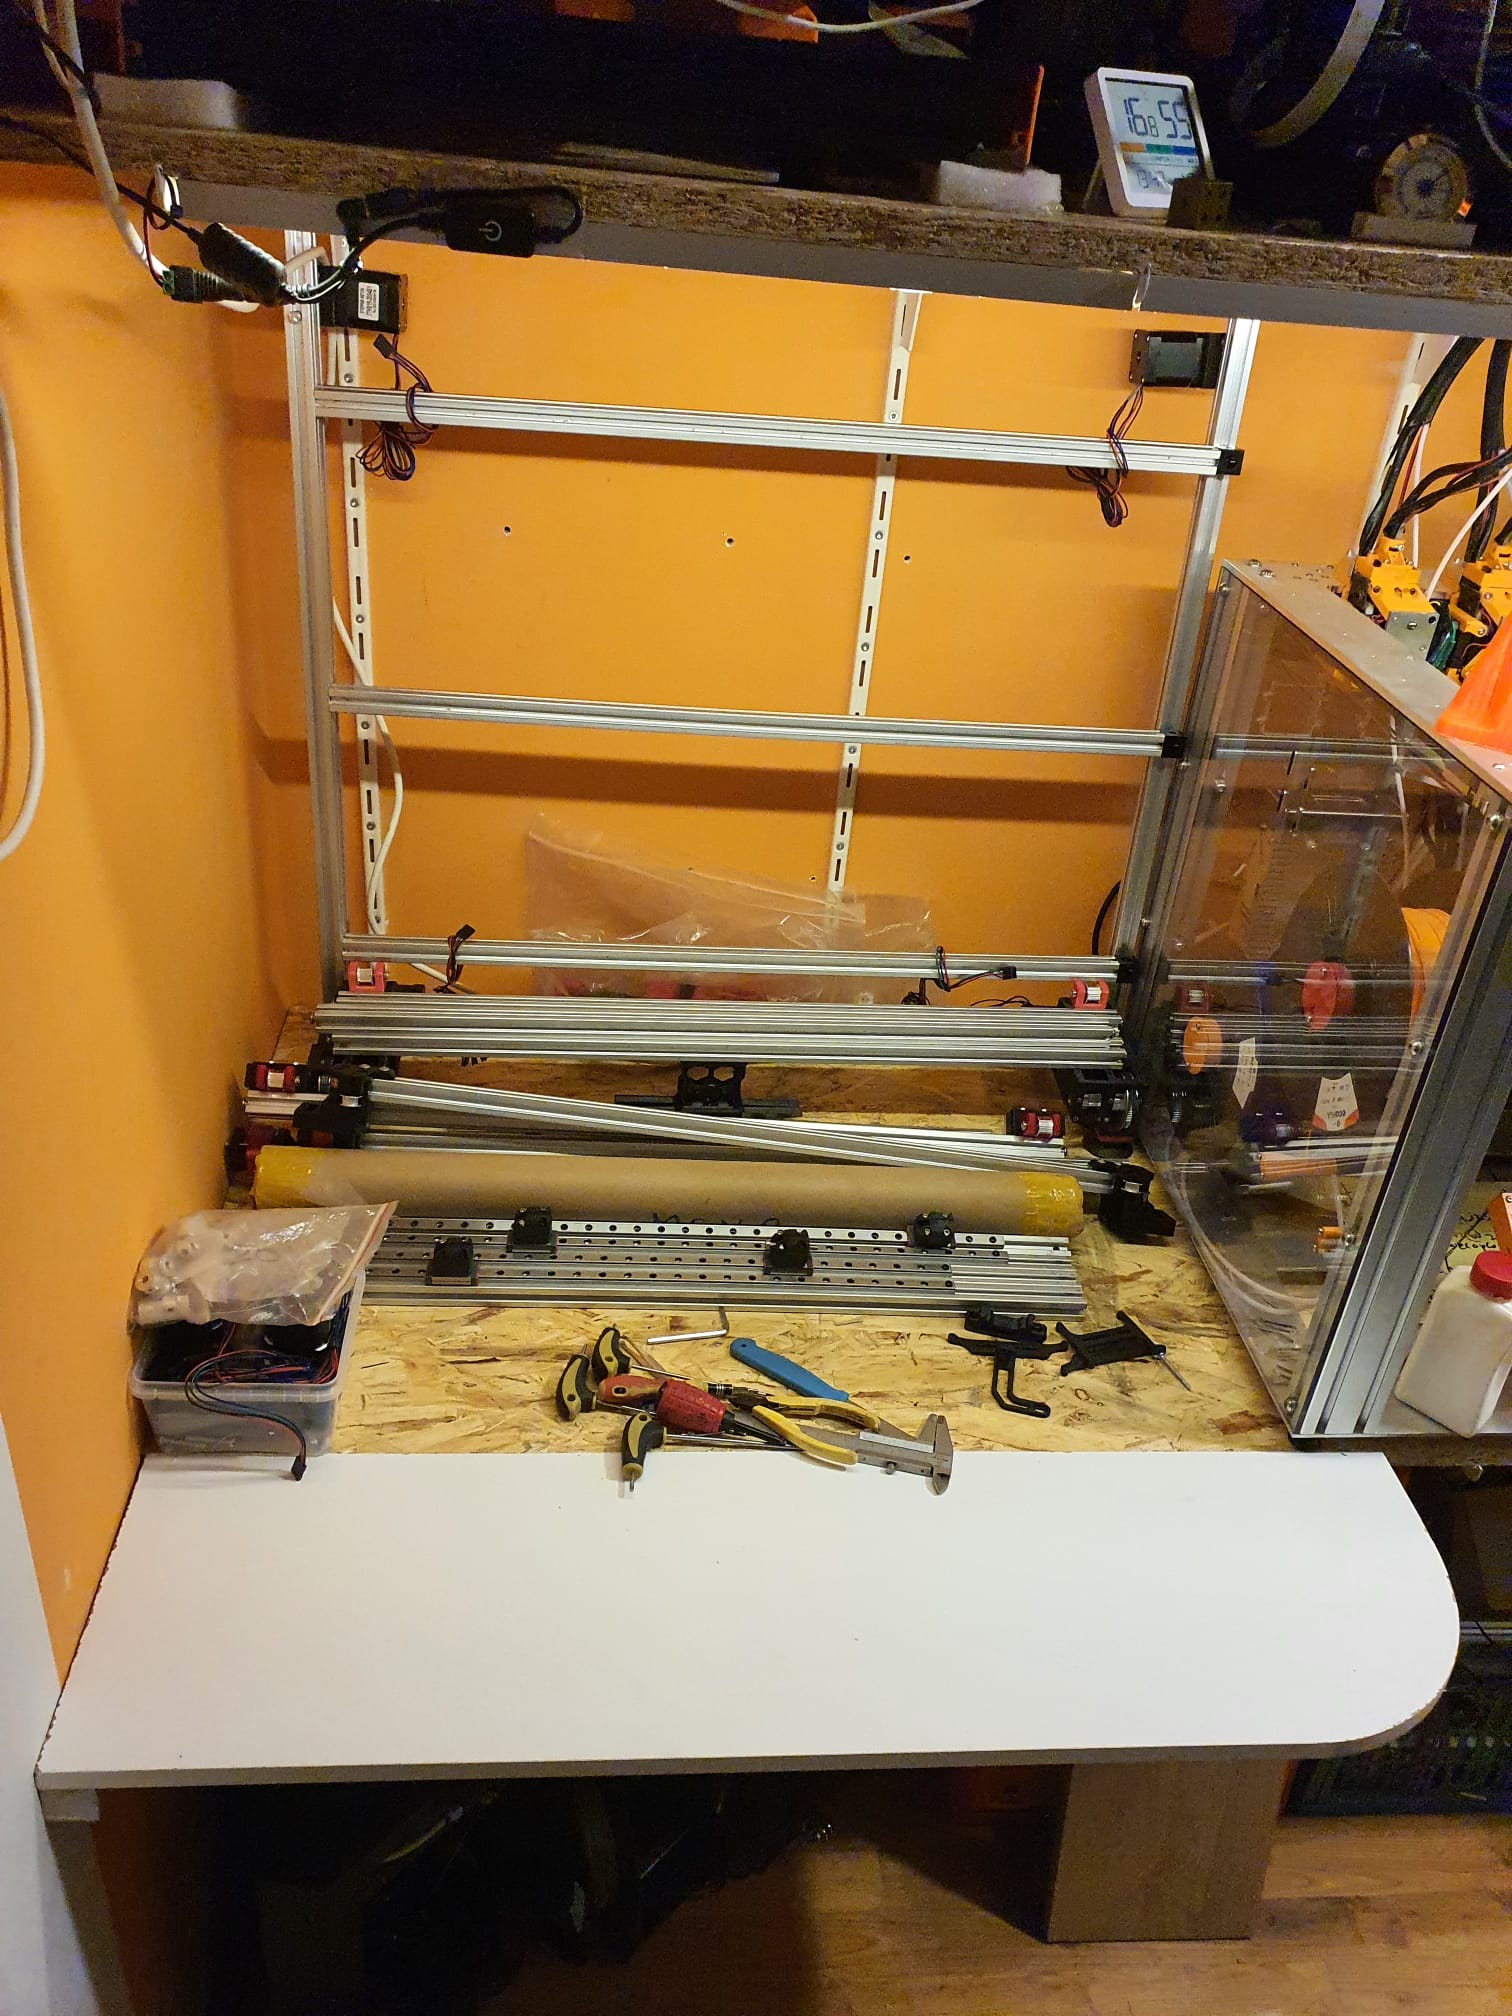
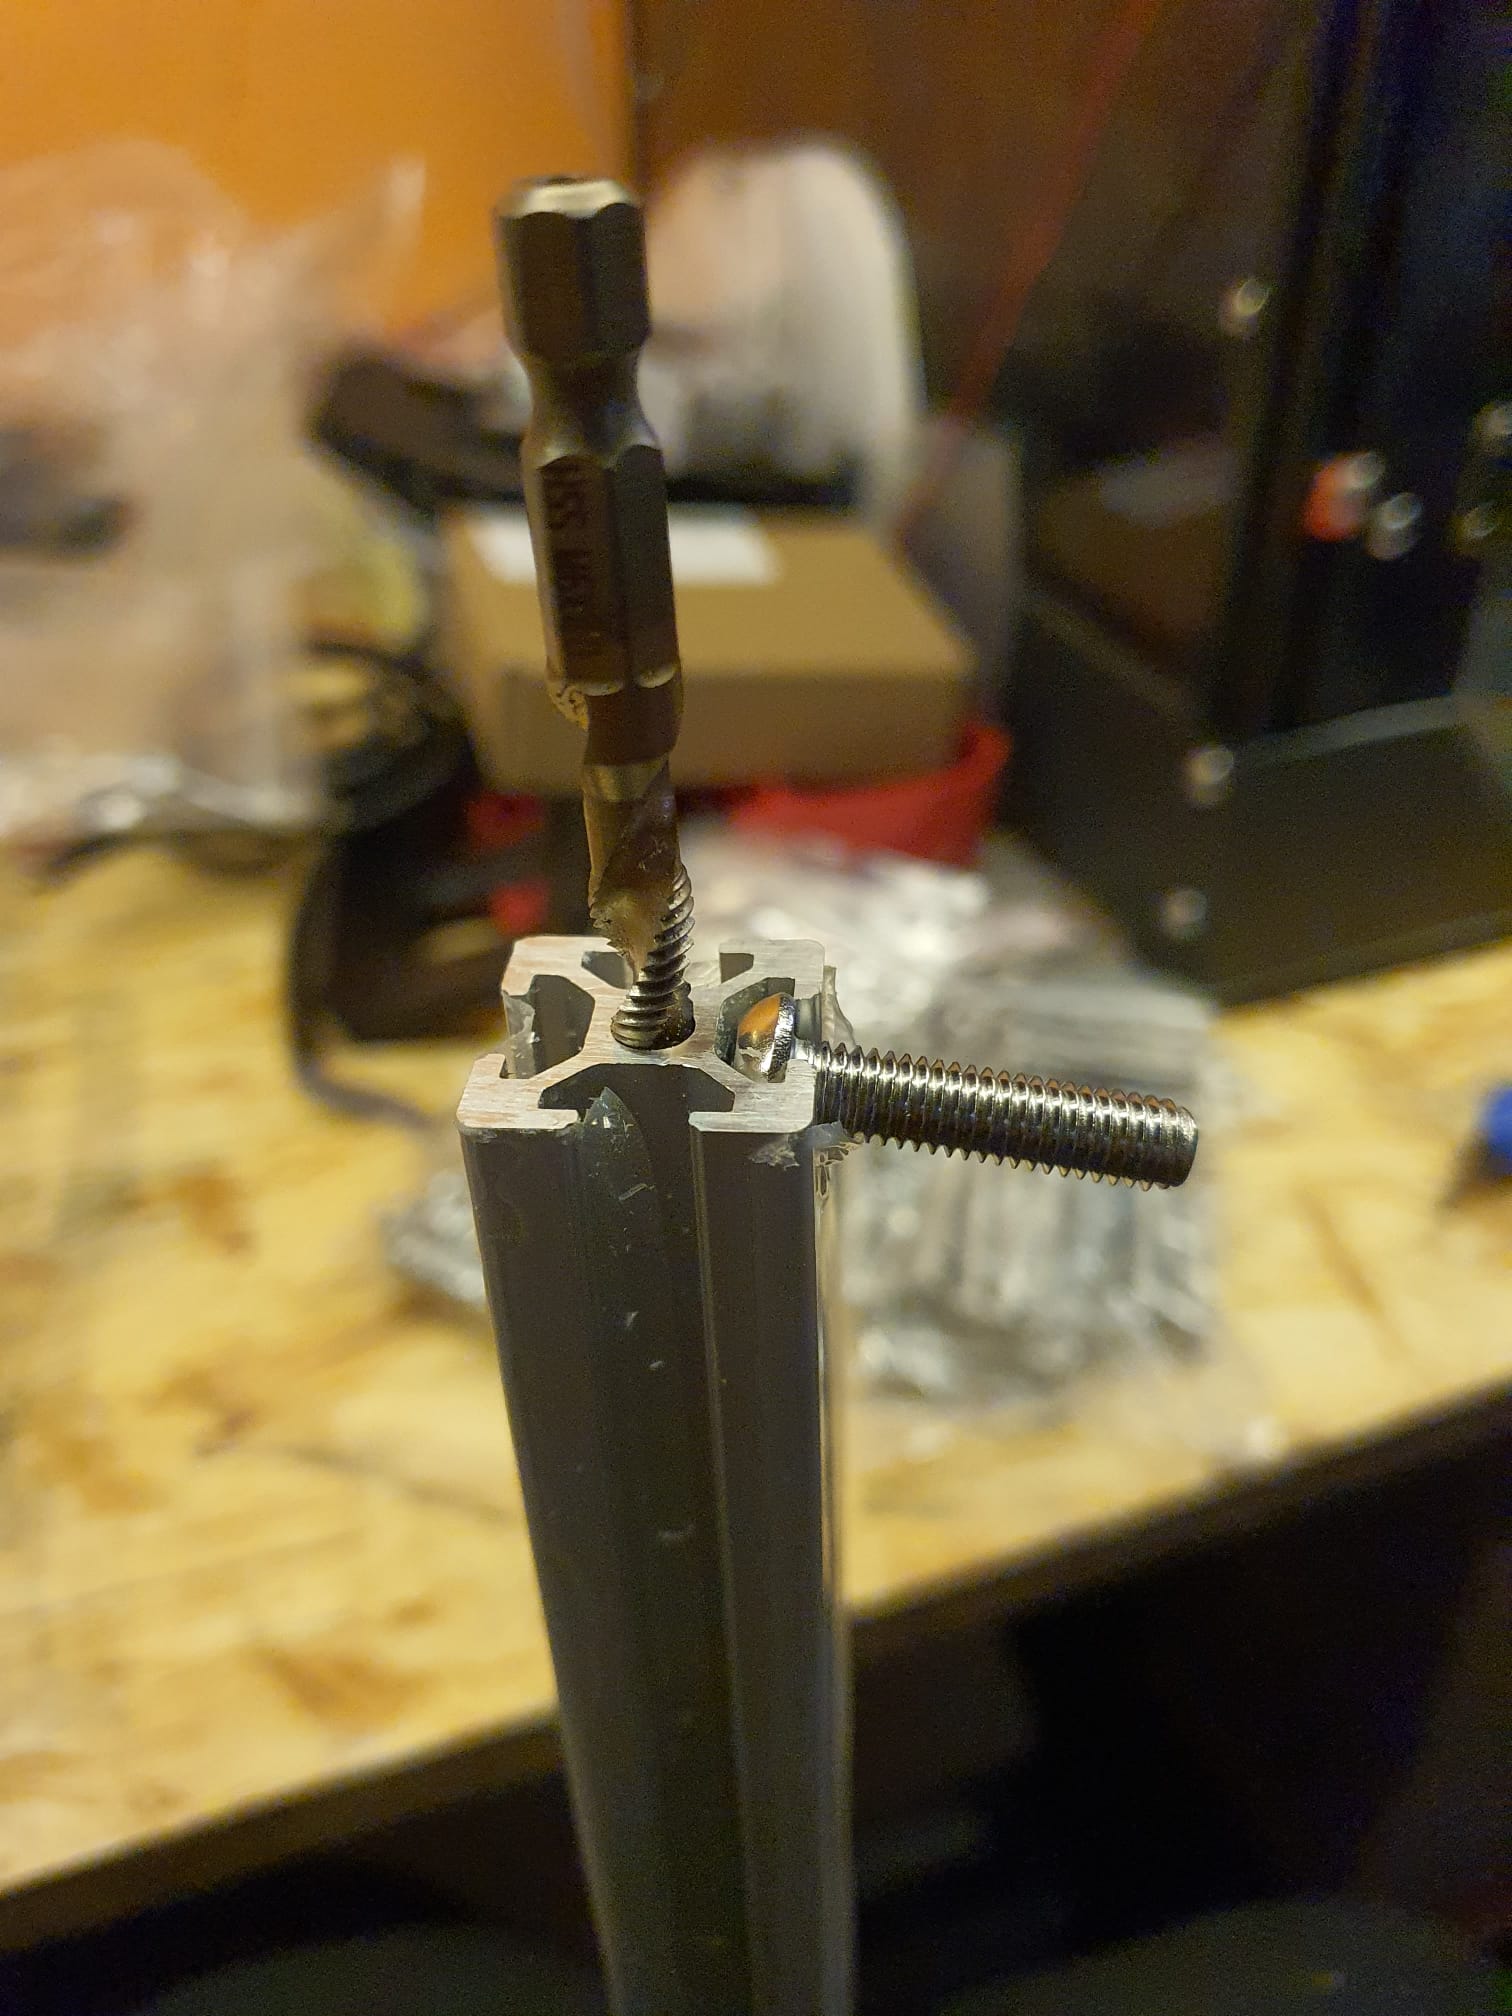
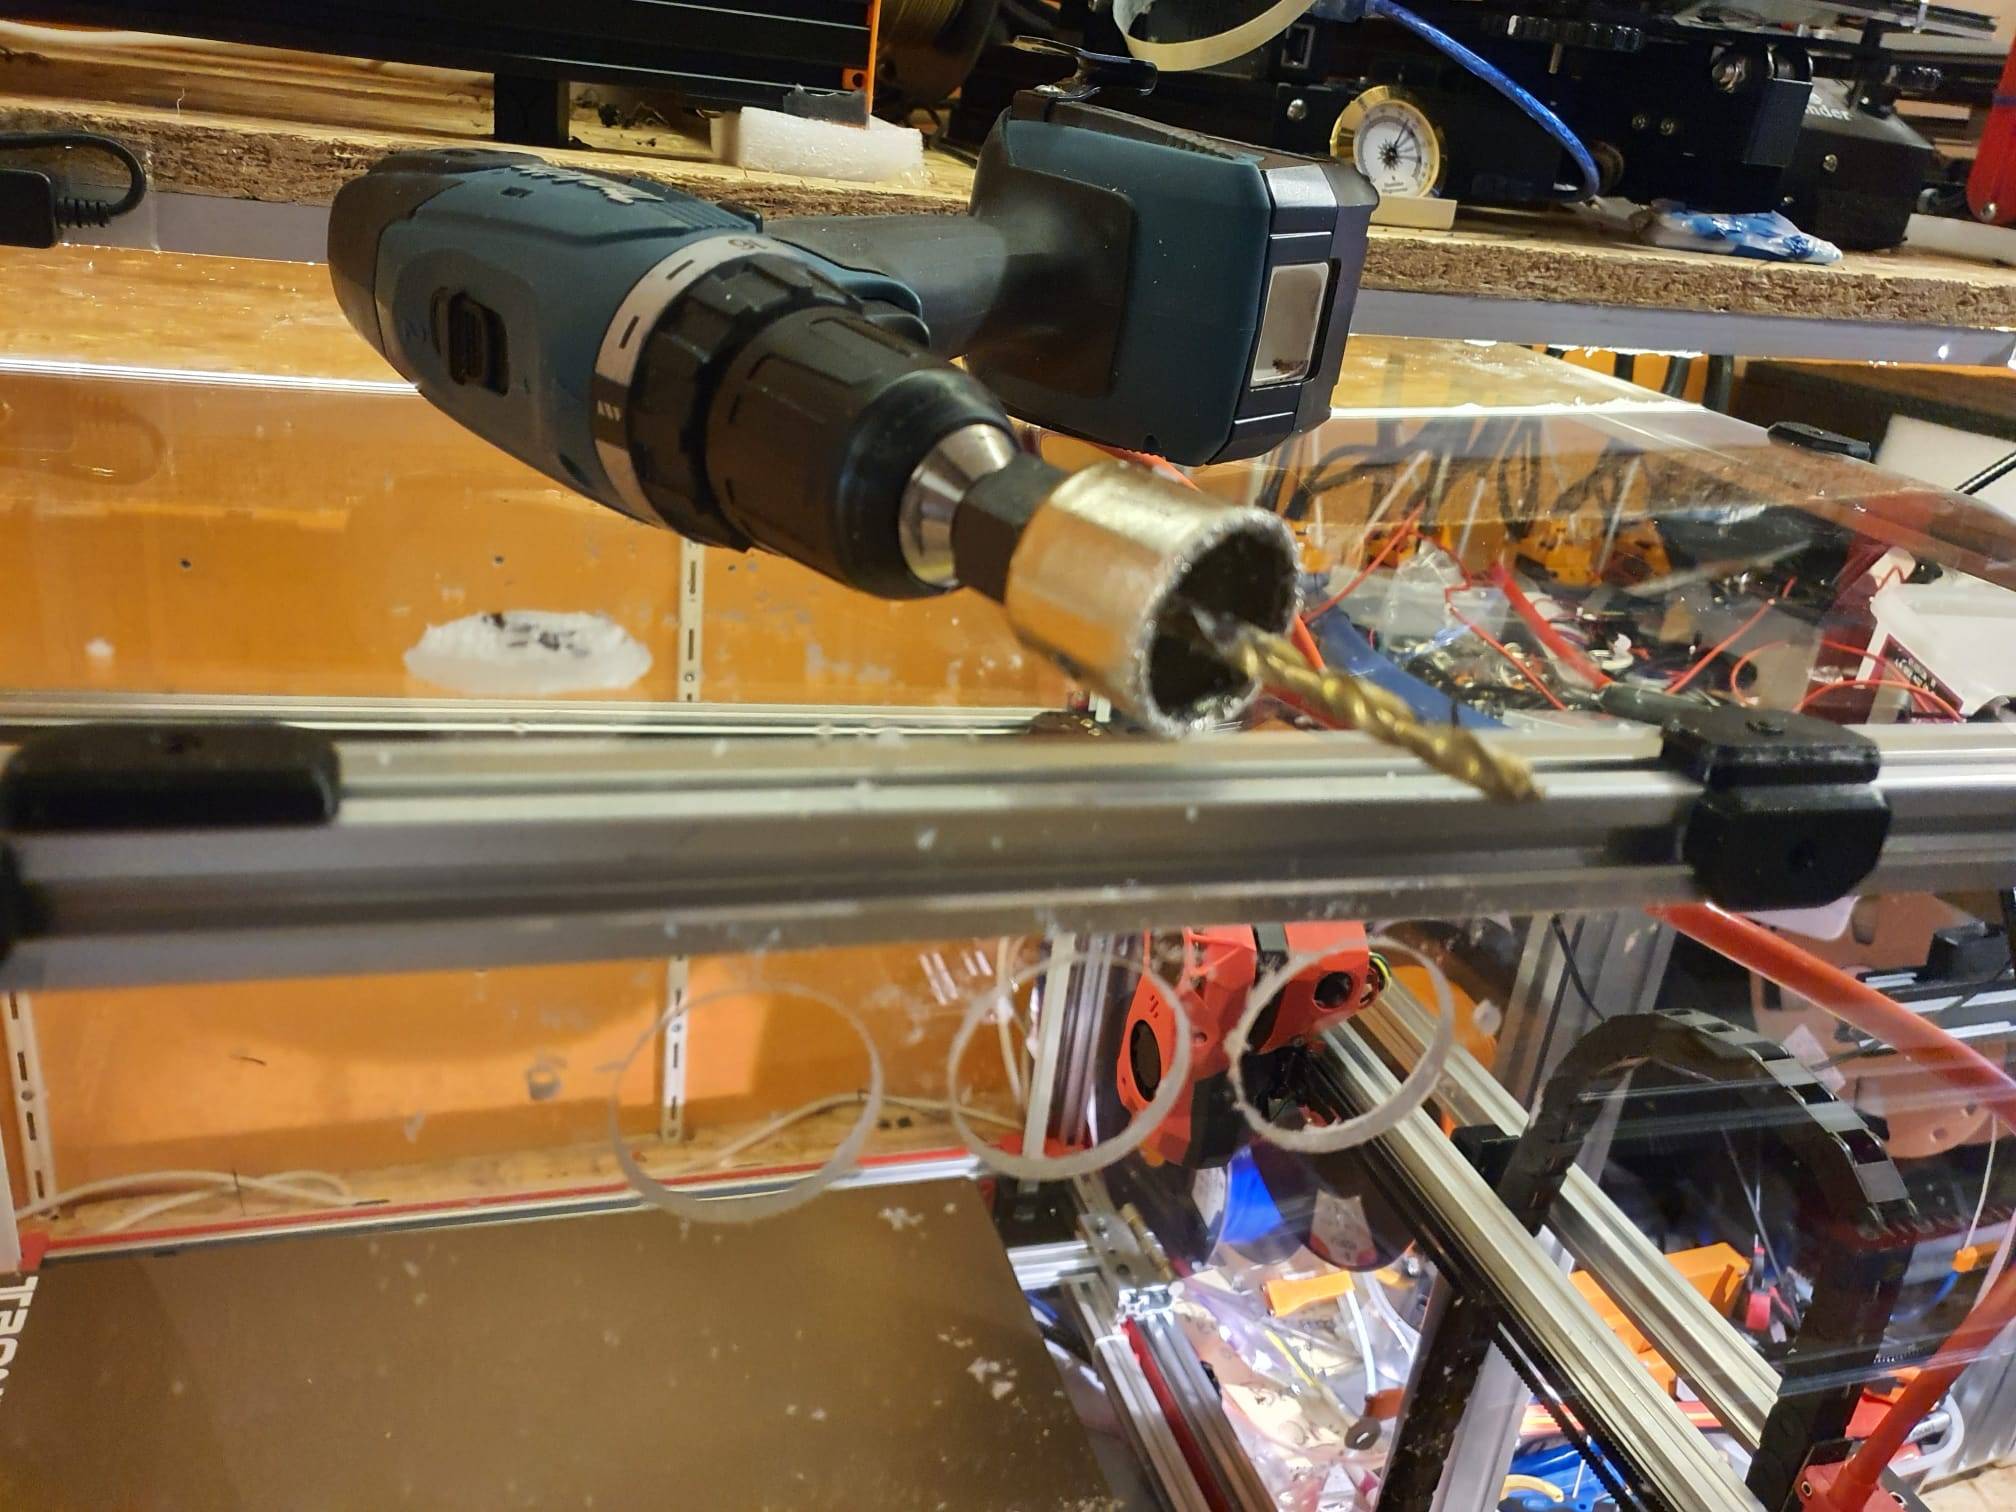
The build is continuing pretty fast. All electronics and printed parts are available. The 2020 extrusions were delivered yesterday, so next week I will cut, drill and thread the extrusions and will start building the frame.

I evaluated to make a different decision for the build, though, on the Z-height versus the width OR depth of the build. I need only one side to be within 700mm and this might be the depth of the build. If I would choose to do this, the printable volume would then be 600mm width x 540mm depth x 600mm height. That seems a lot better than 600x600x480. BUT- In my experience of printing BIG parts, I never reached the top of my large printers, only ever needed the X and Y to be as large as possible. Make any sense? In the end, I therefore stuck to the lesser Z-height since this will also fit well in my printer shop, because the shelves difference in height makes the printer fit well, also if I want a top hat like in the picture below, on my old Voron 300.
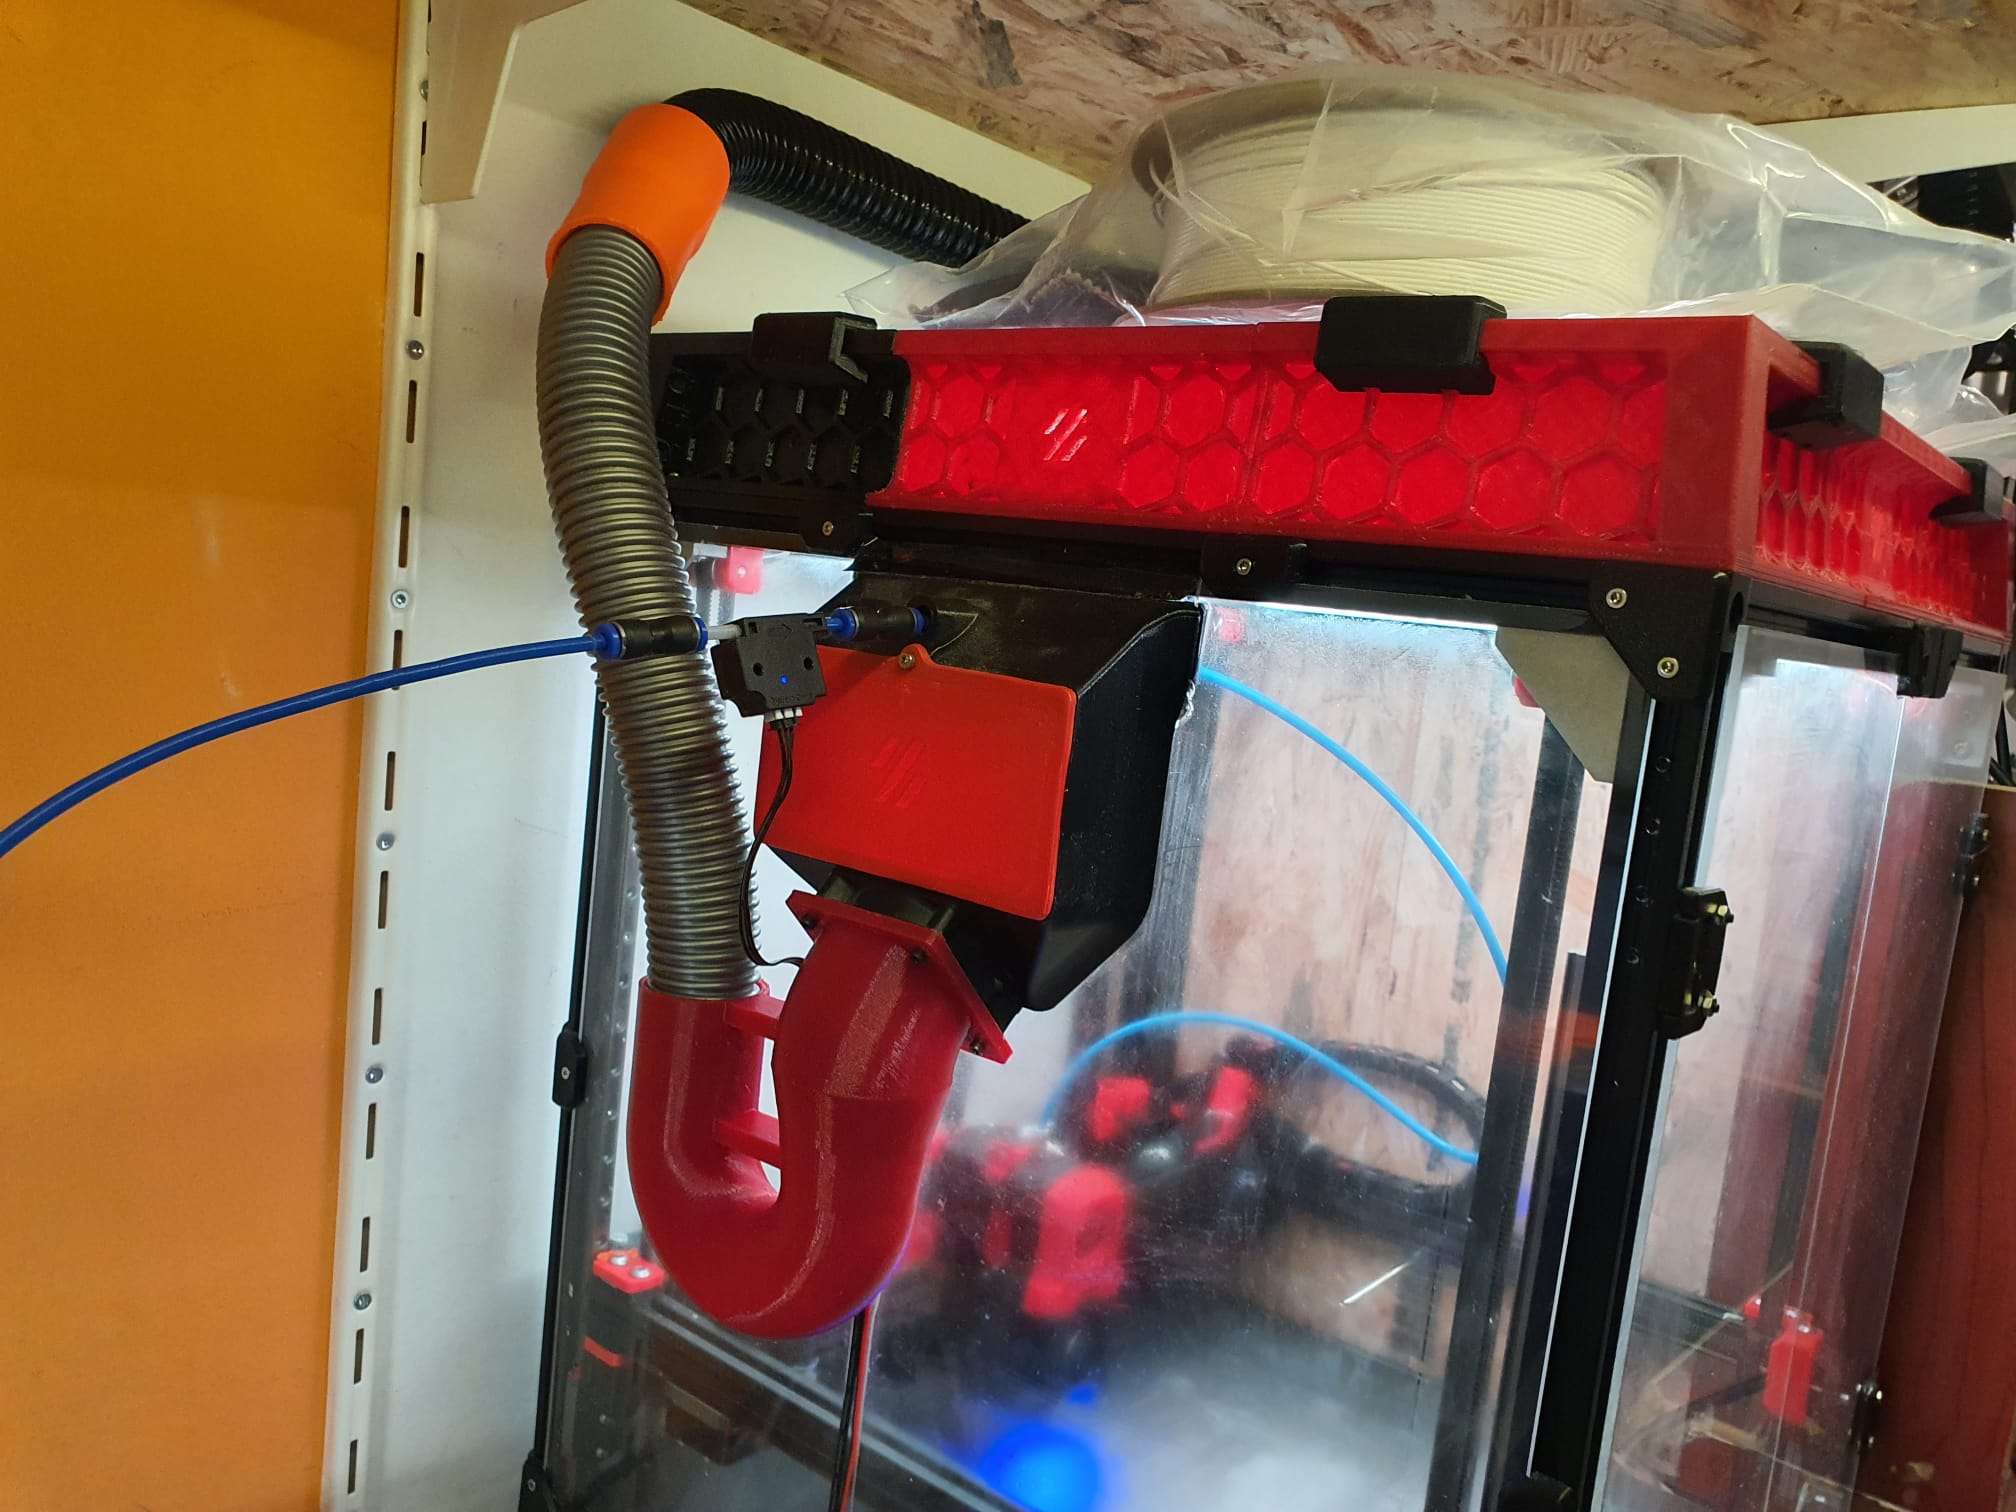
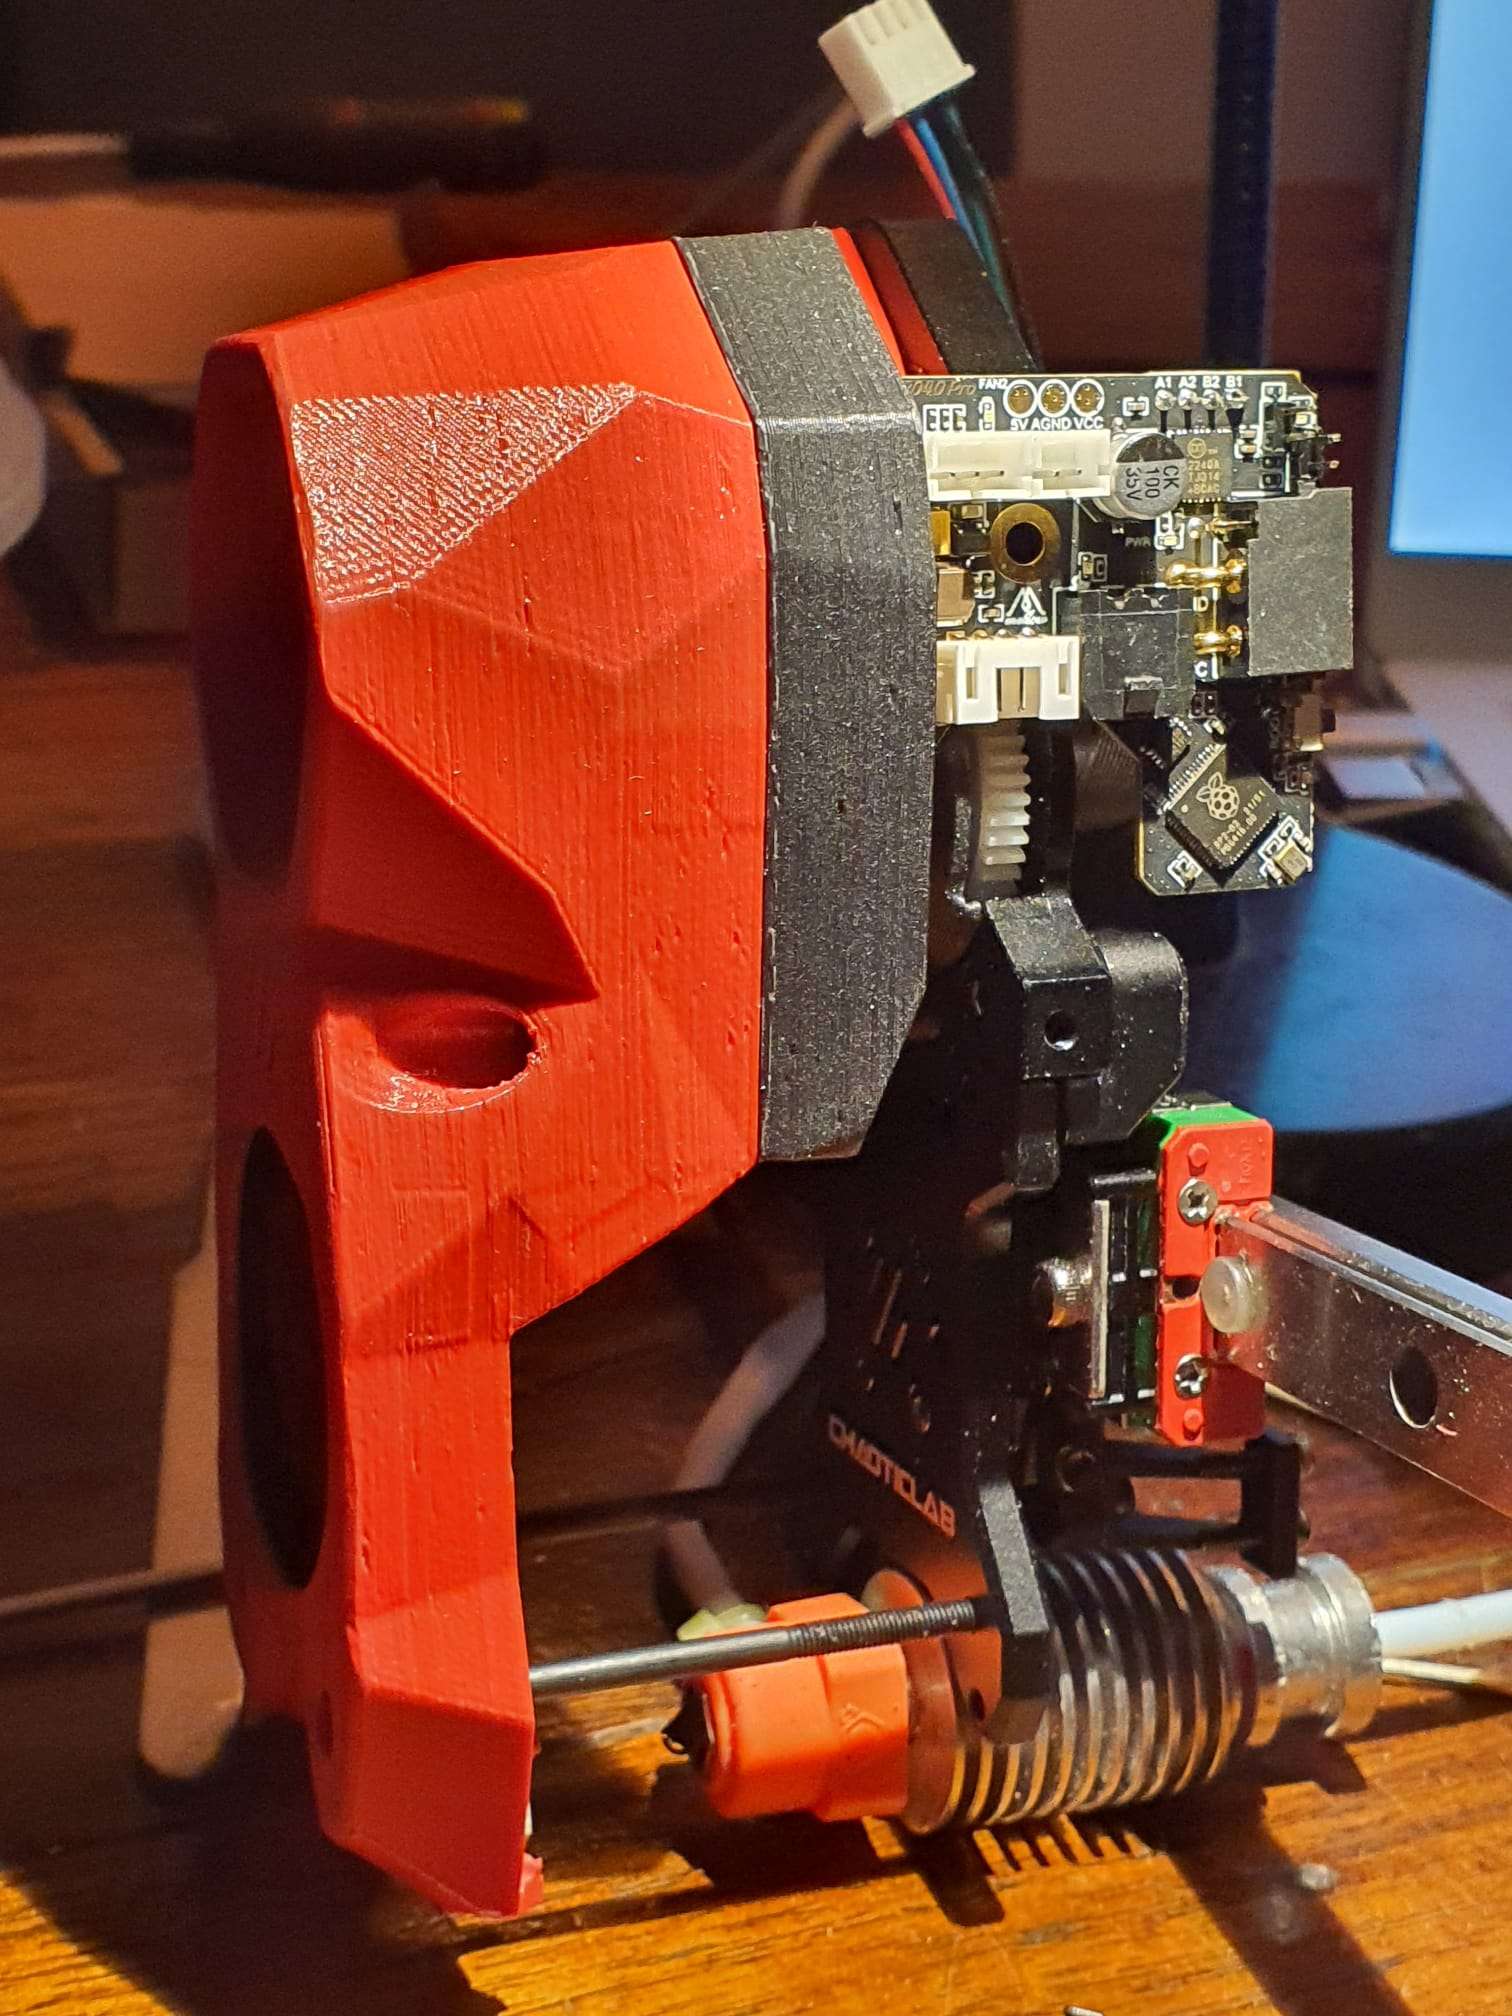

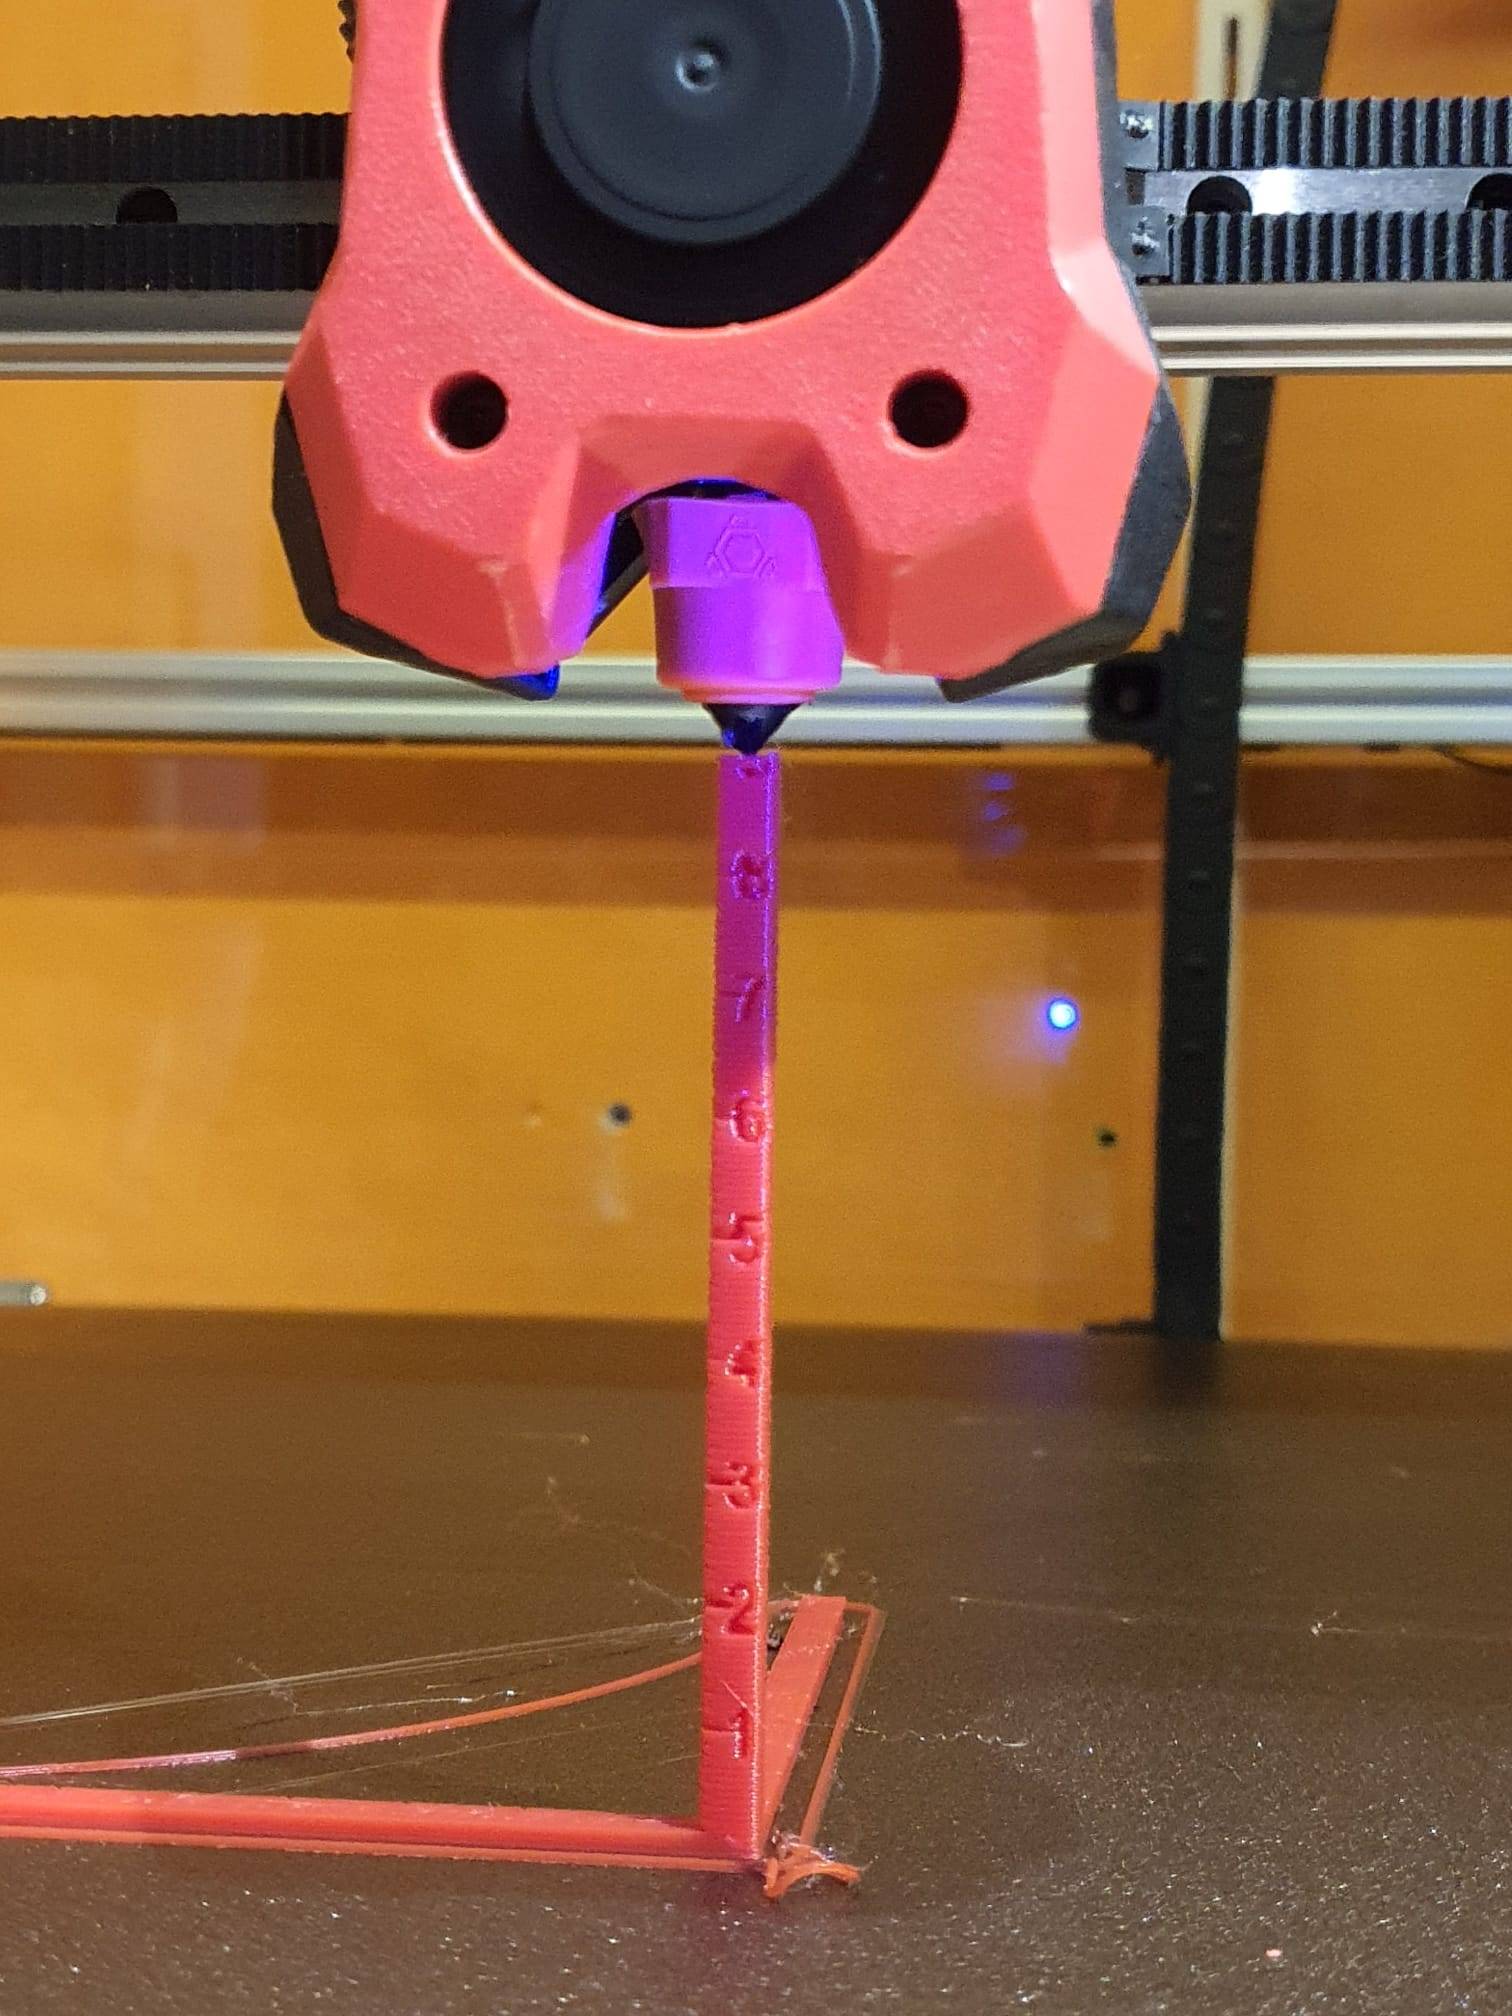
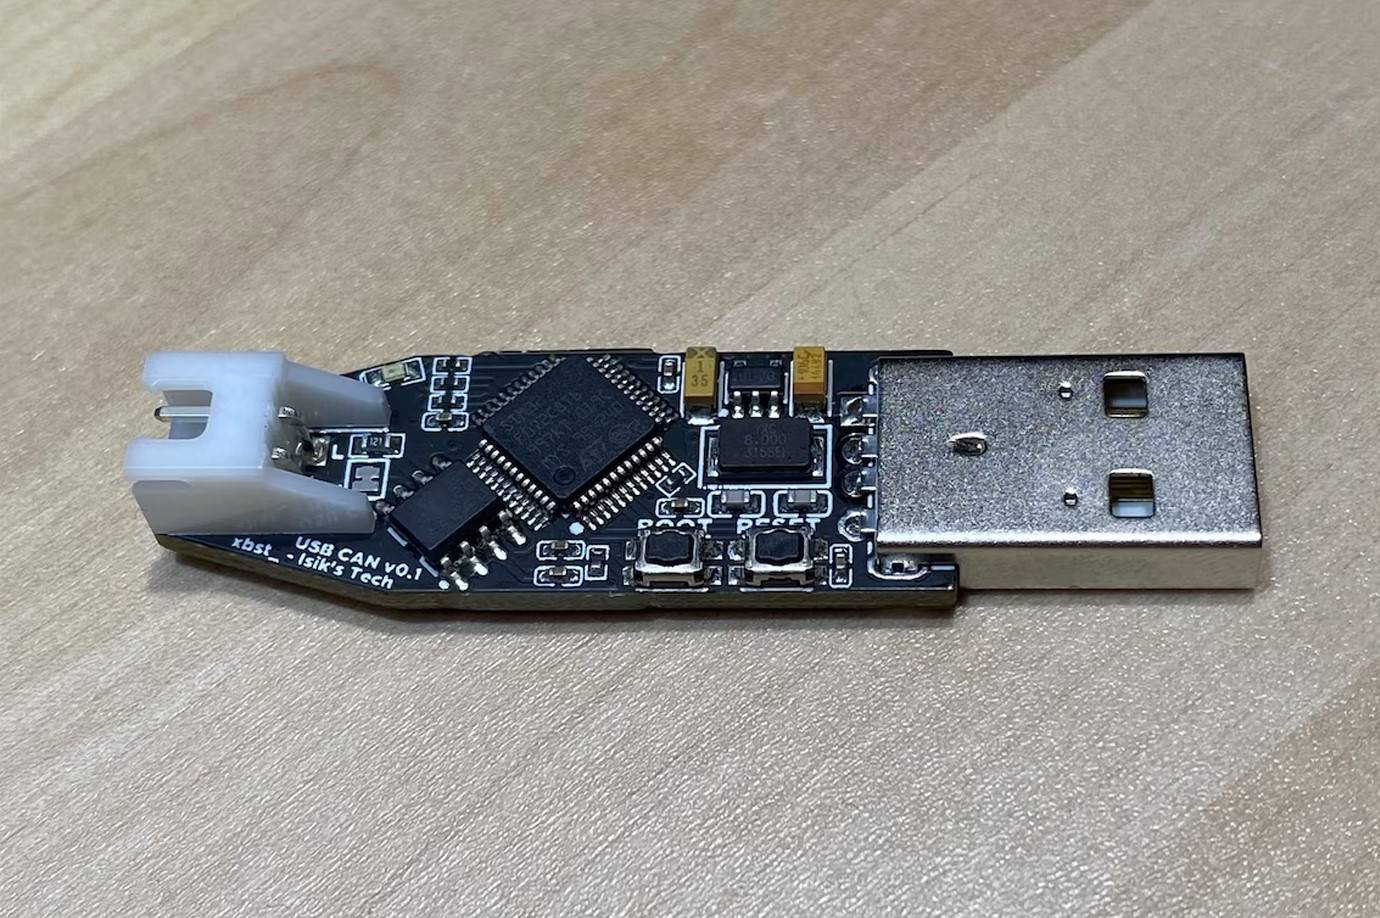
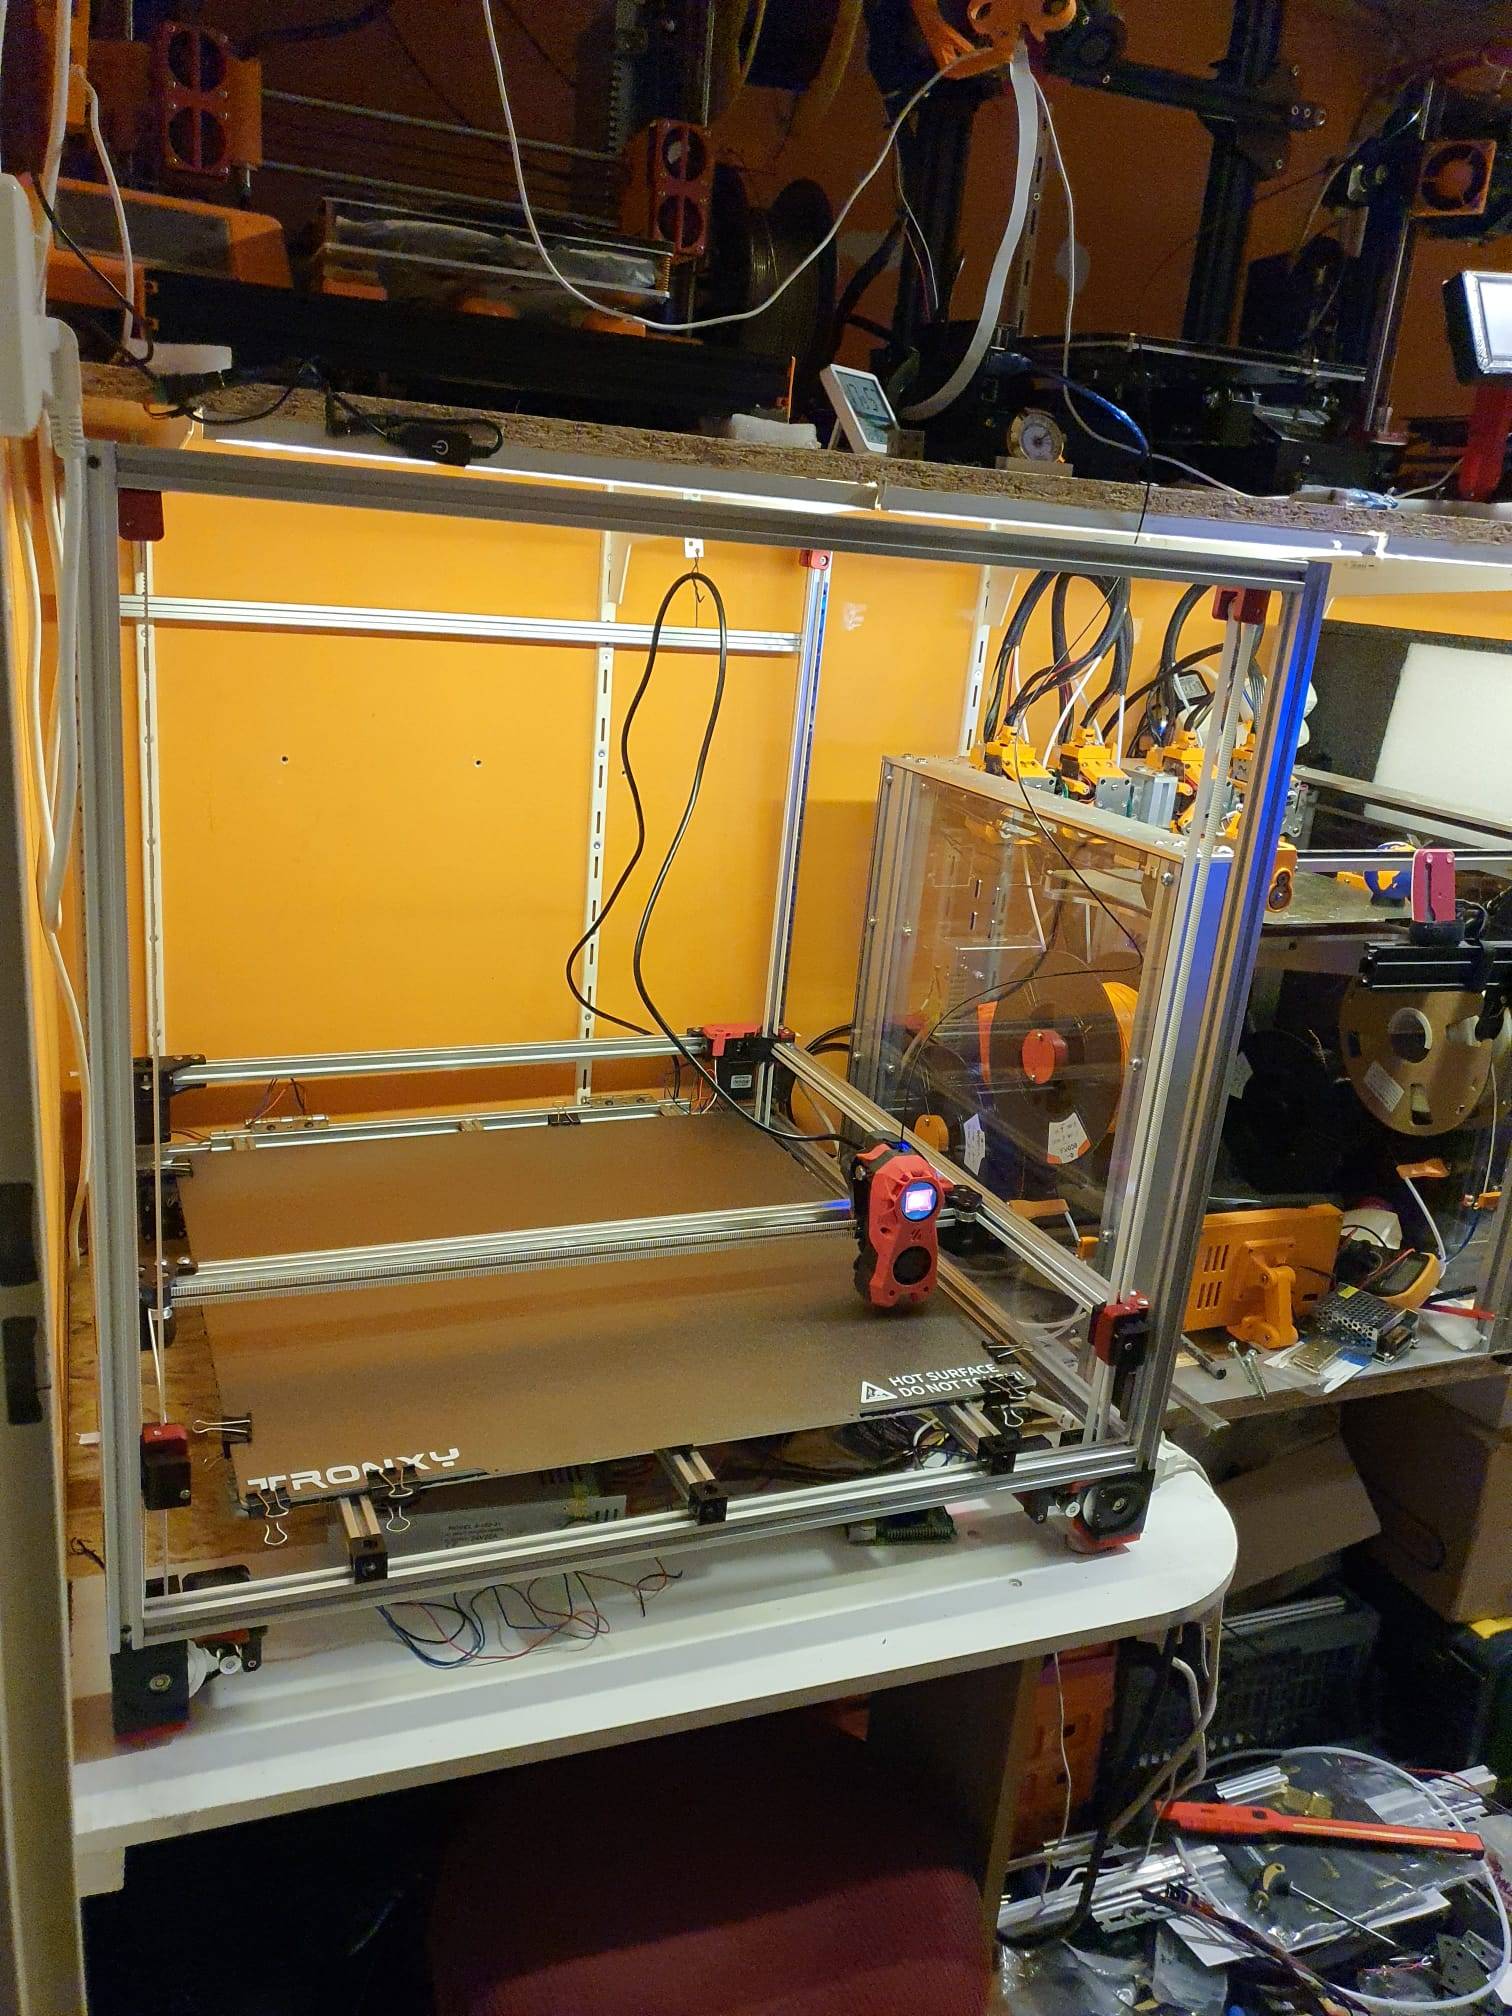
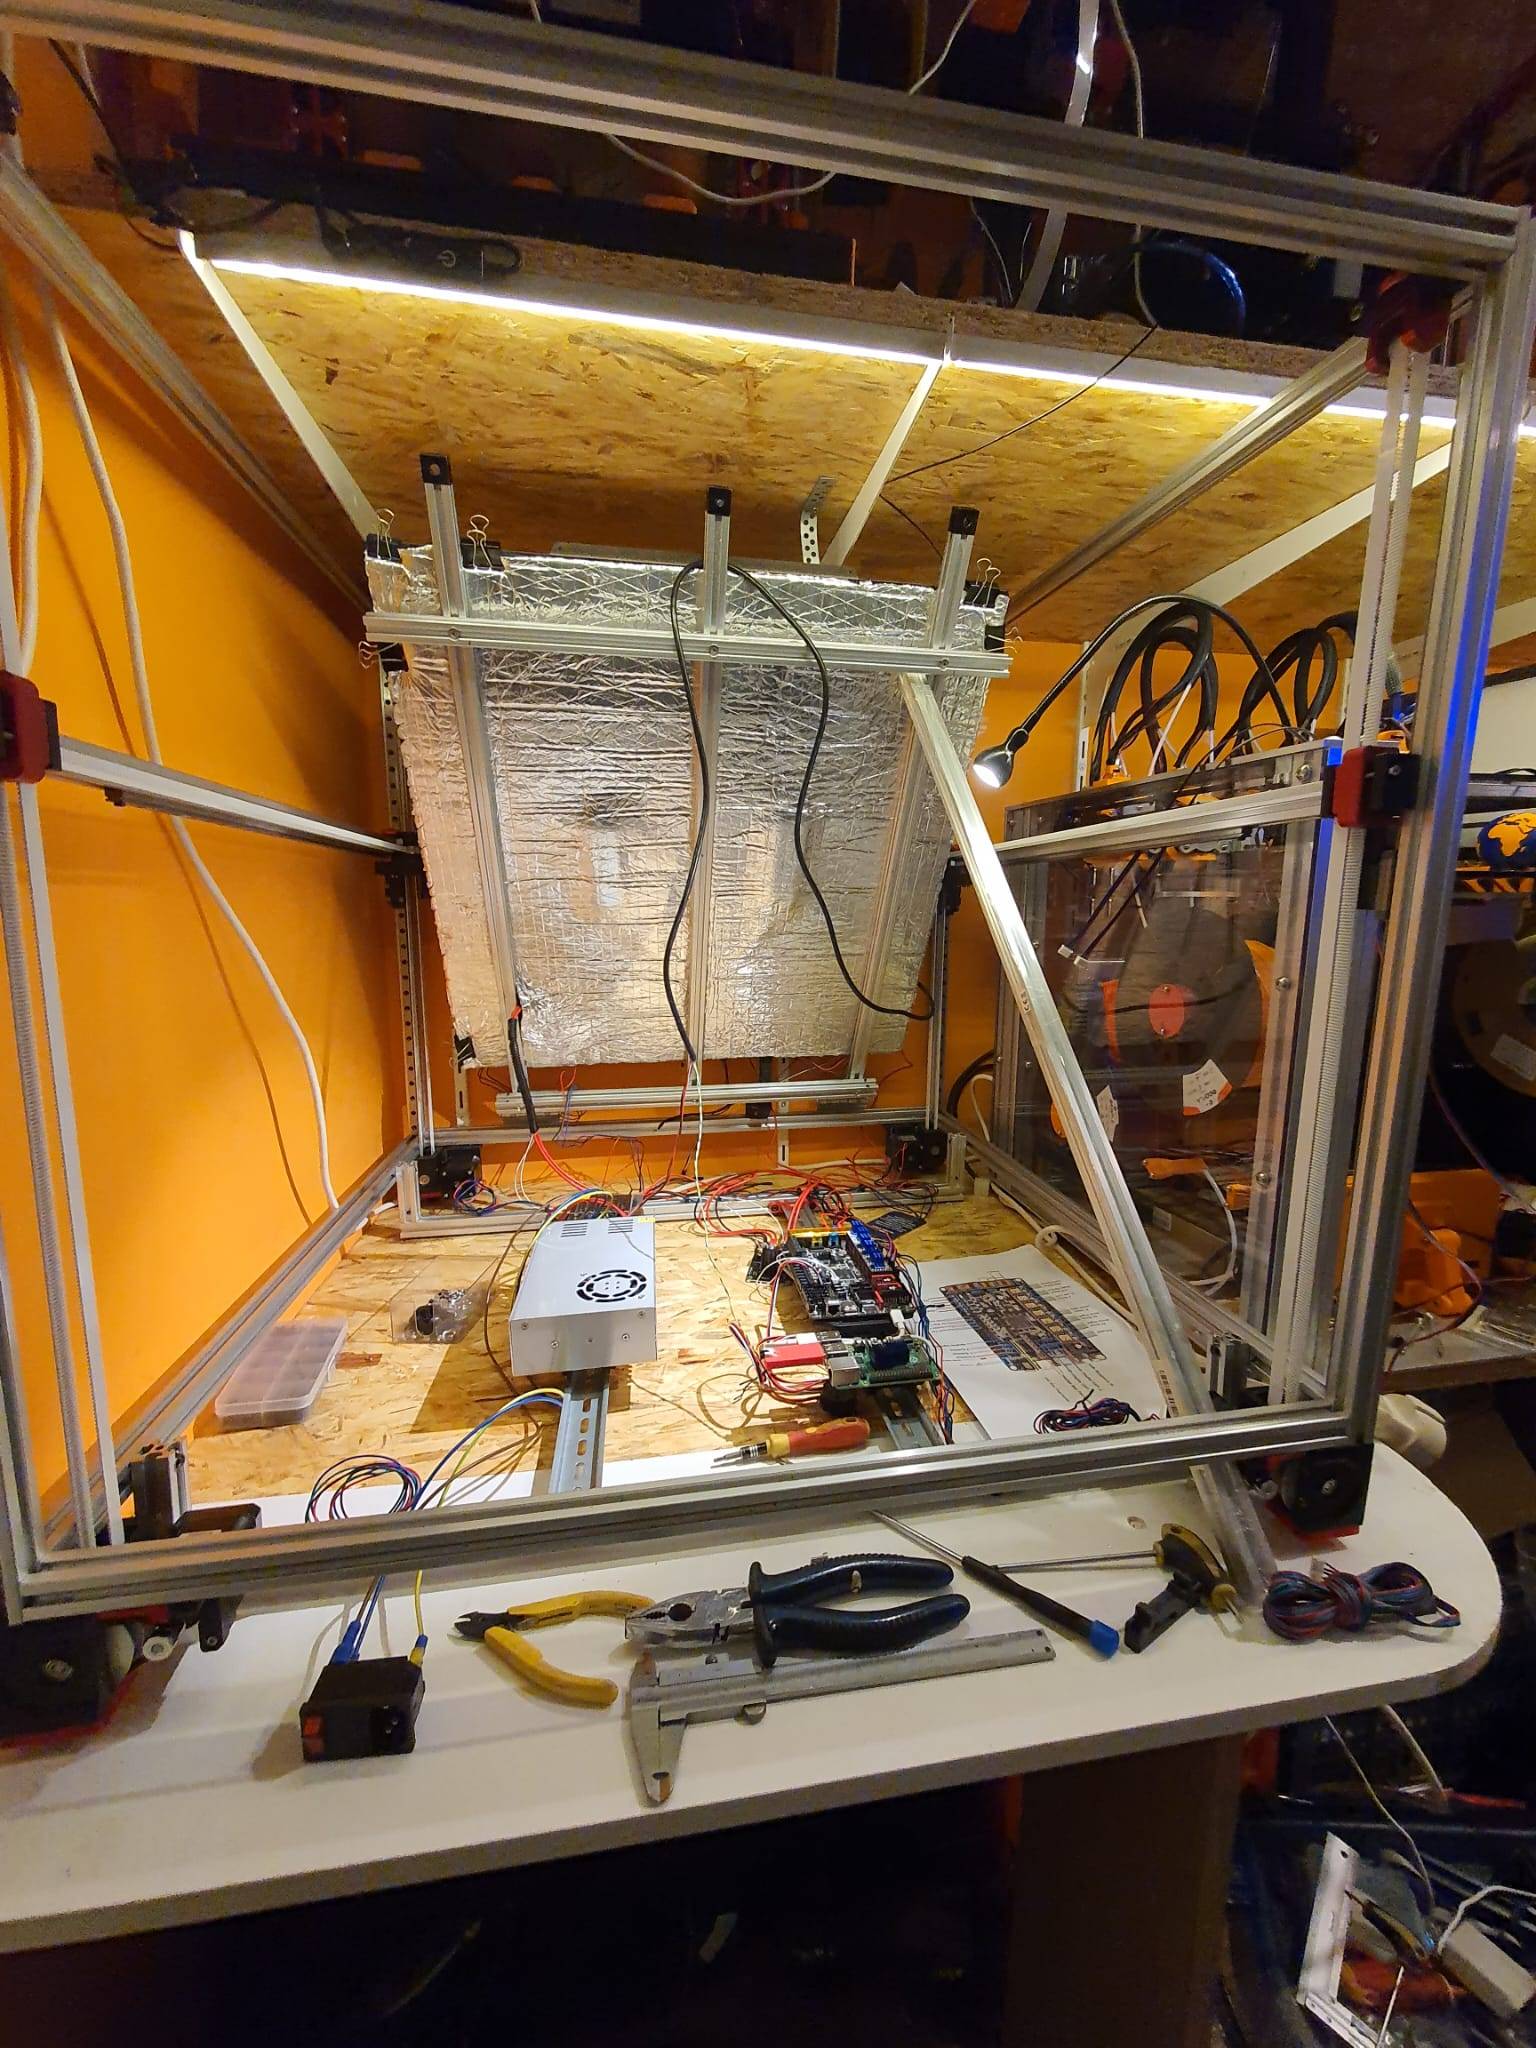
As shown in the above pictures, I also installed chaotic lab’s CNC-machined TAP module with the OMRON sensor. Since I will be using a bed with an X-Y of 600×600 mm, I expect that I will need a very good Z-sensor like hopefully the TAP will prove to be.
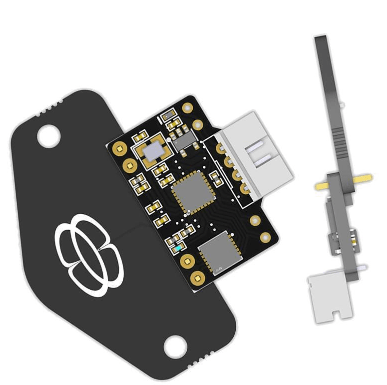
Alternatively, for a faster and more secure bed mesh I might want to put the IDM sensor in, at a later stage:
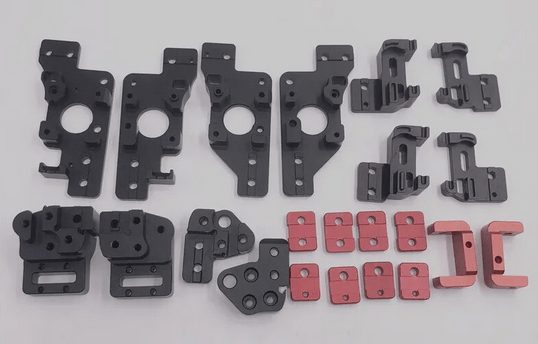
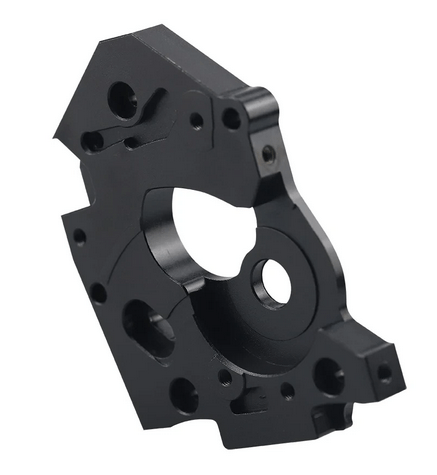
I first printed the extruder parts and all of the movement parts. I already had some leftover parts for the Z-axes from an earlier build. For the gantry, I bought a complete kit of CNC machined aluminum parts.
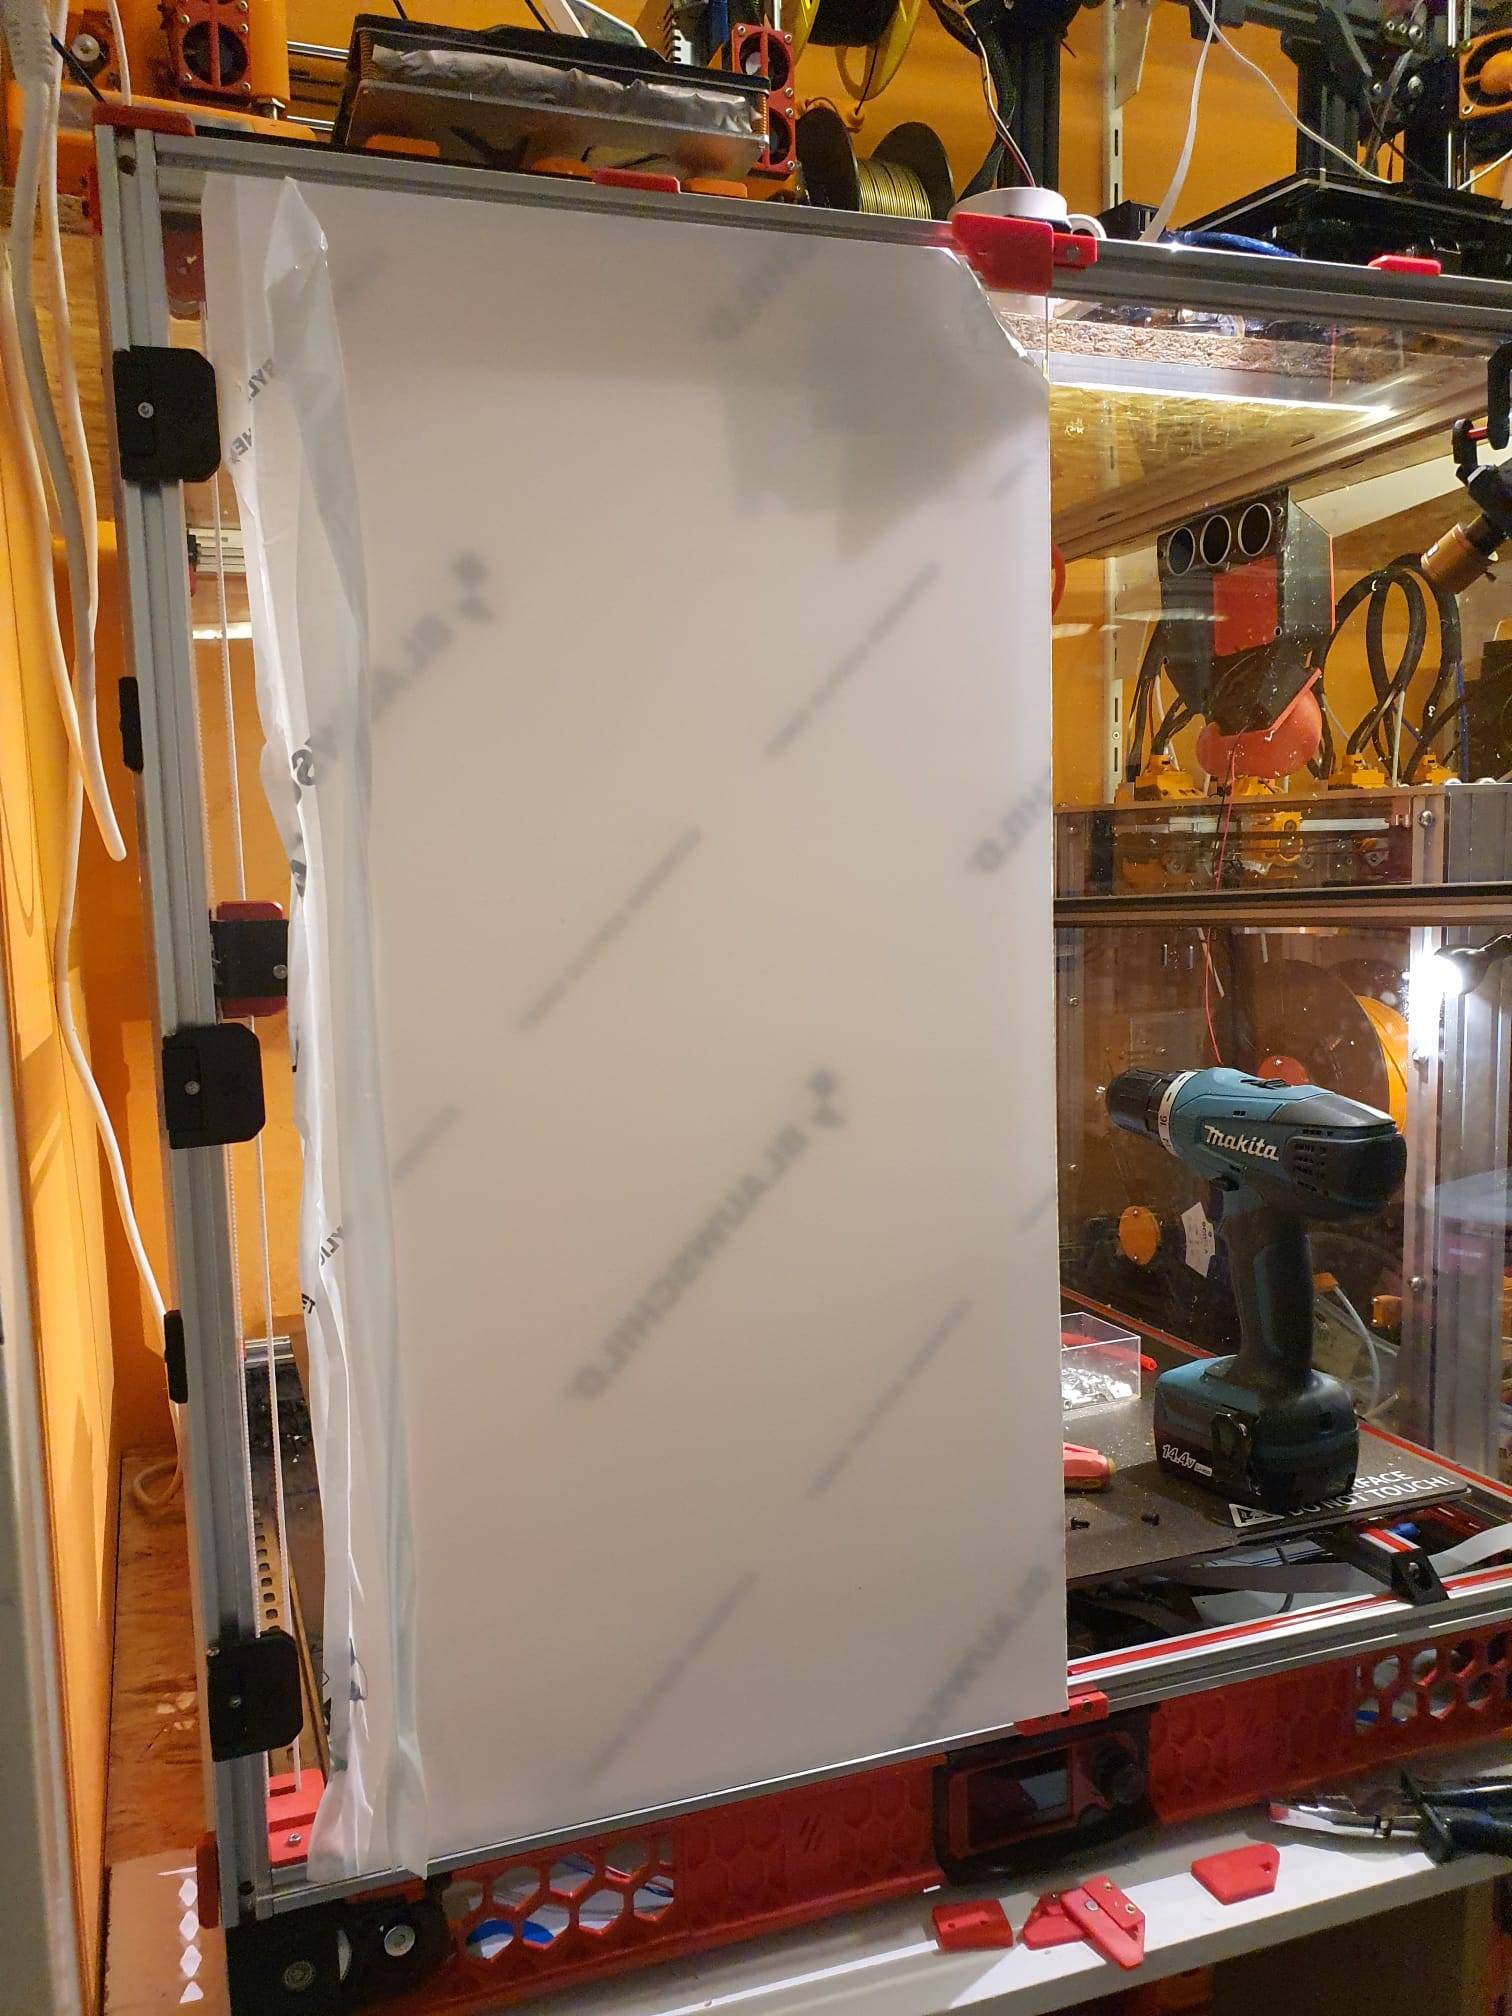
For the time being, I will make the outside covers from thin triplex wood. Only after all is well and I know the printer works perfect, i will decide how to move on. My earlier model Voron 2-300 has all transparant acrylic covers and that is nice but always dirty from fumes. I might go with aluminum dibond on all sides but the front. If I will use dibond, I will screw it directly on the 2020 profiles to get as much rigidity as possible.
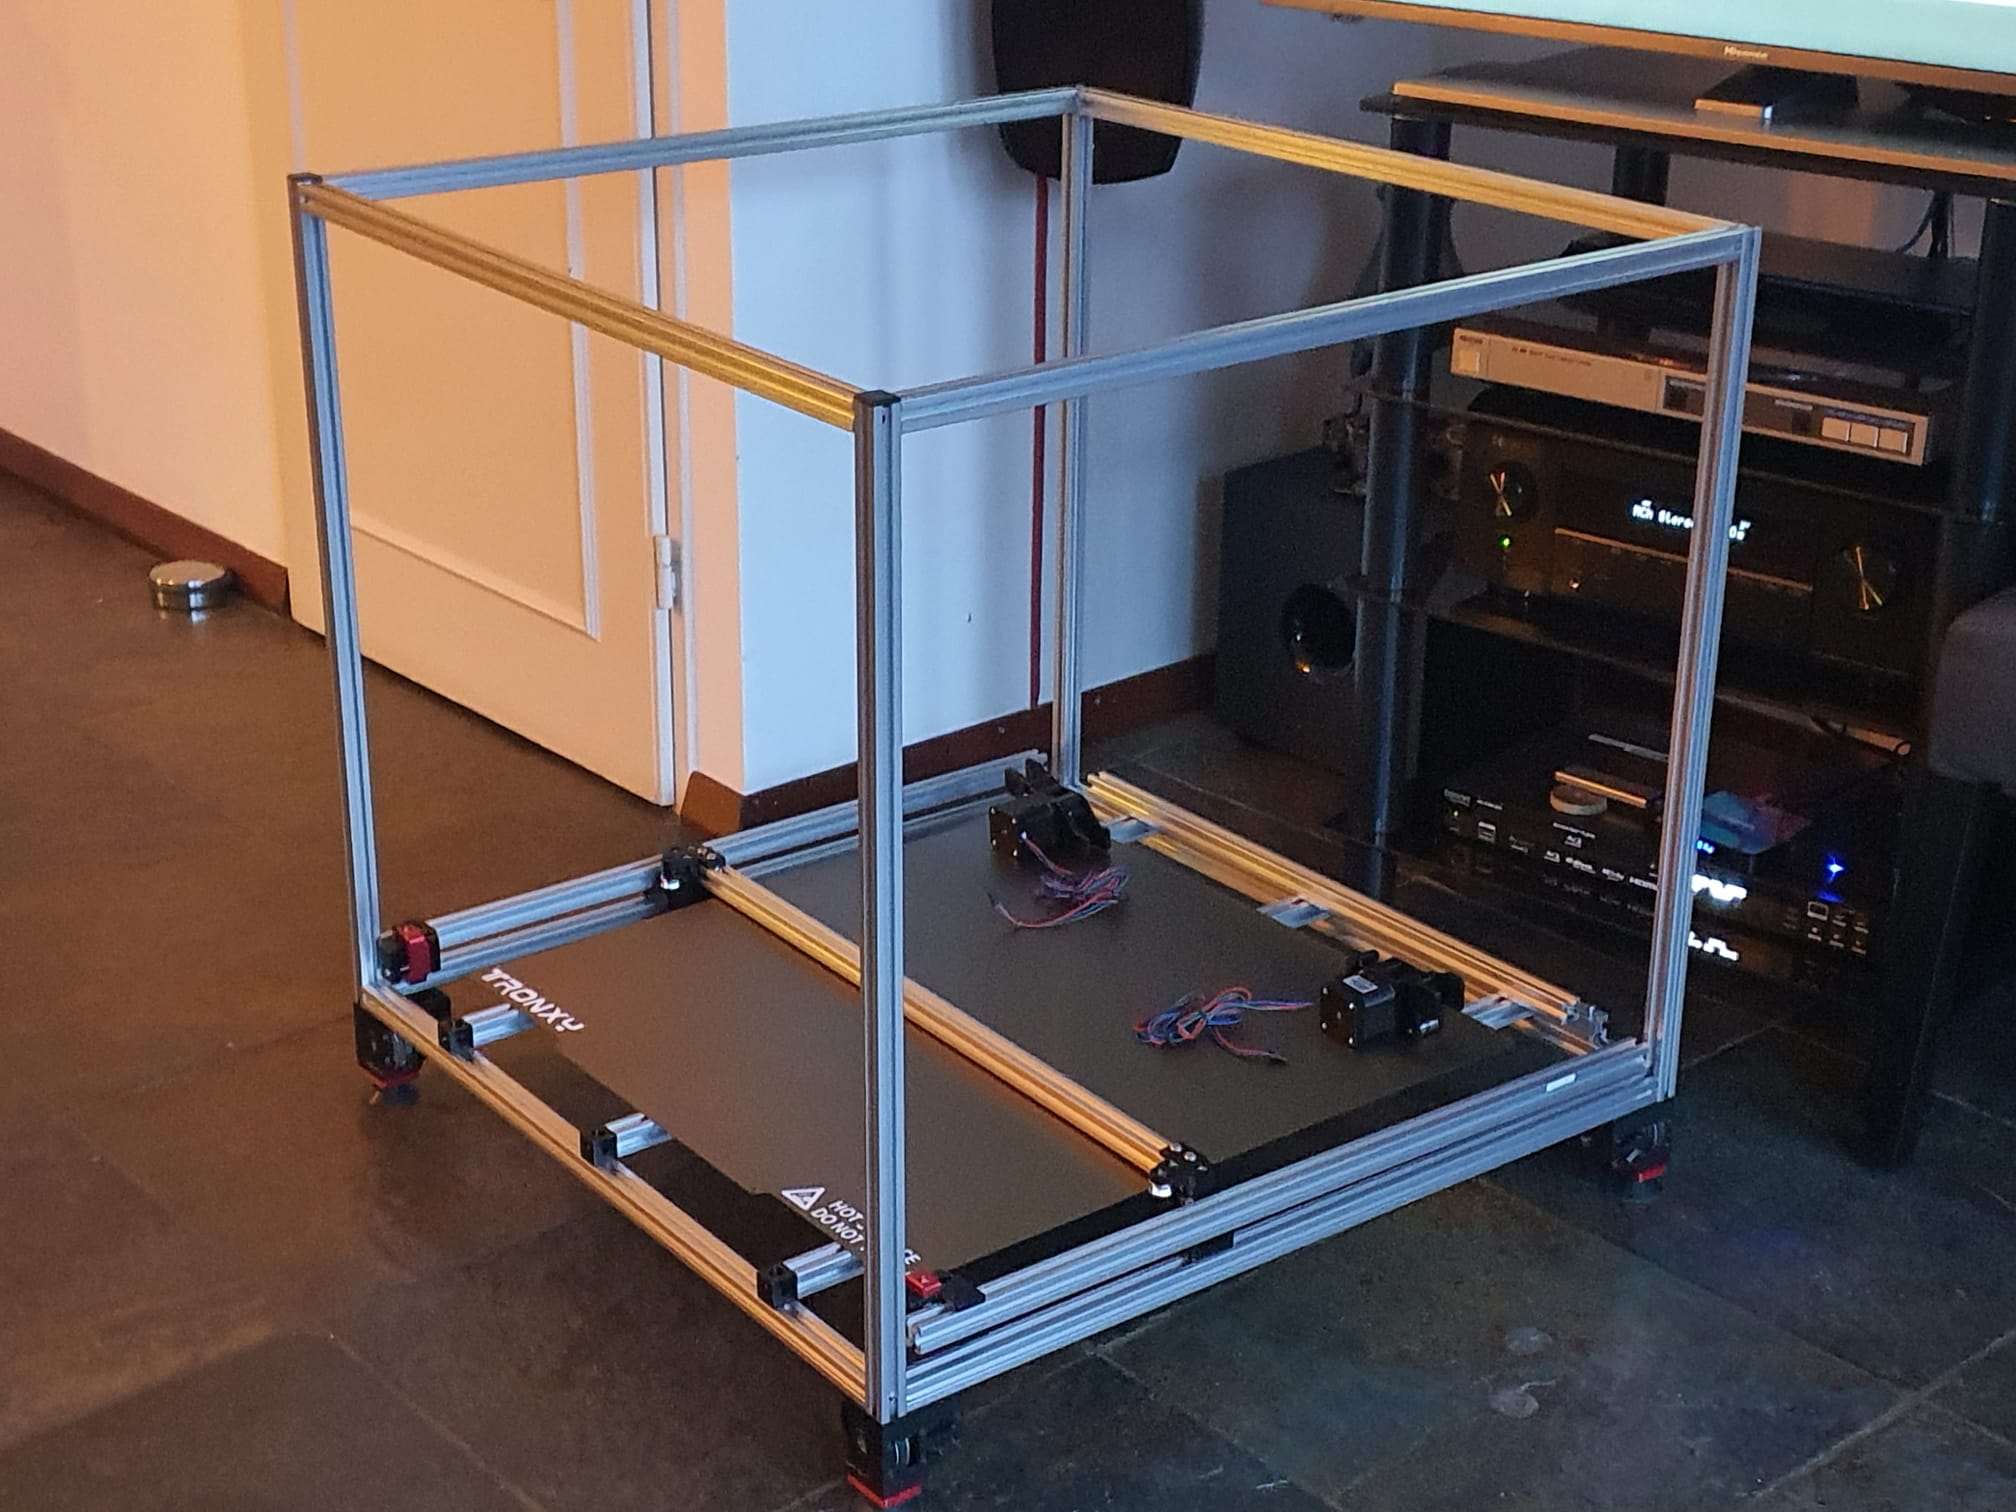
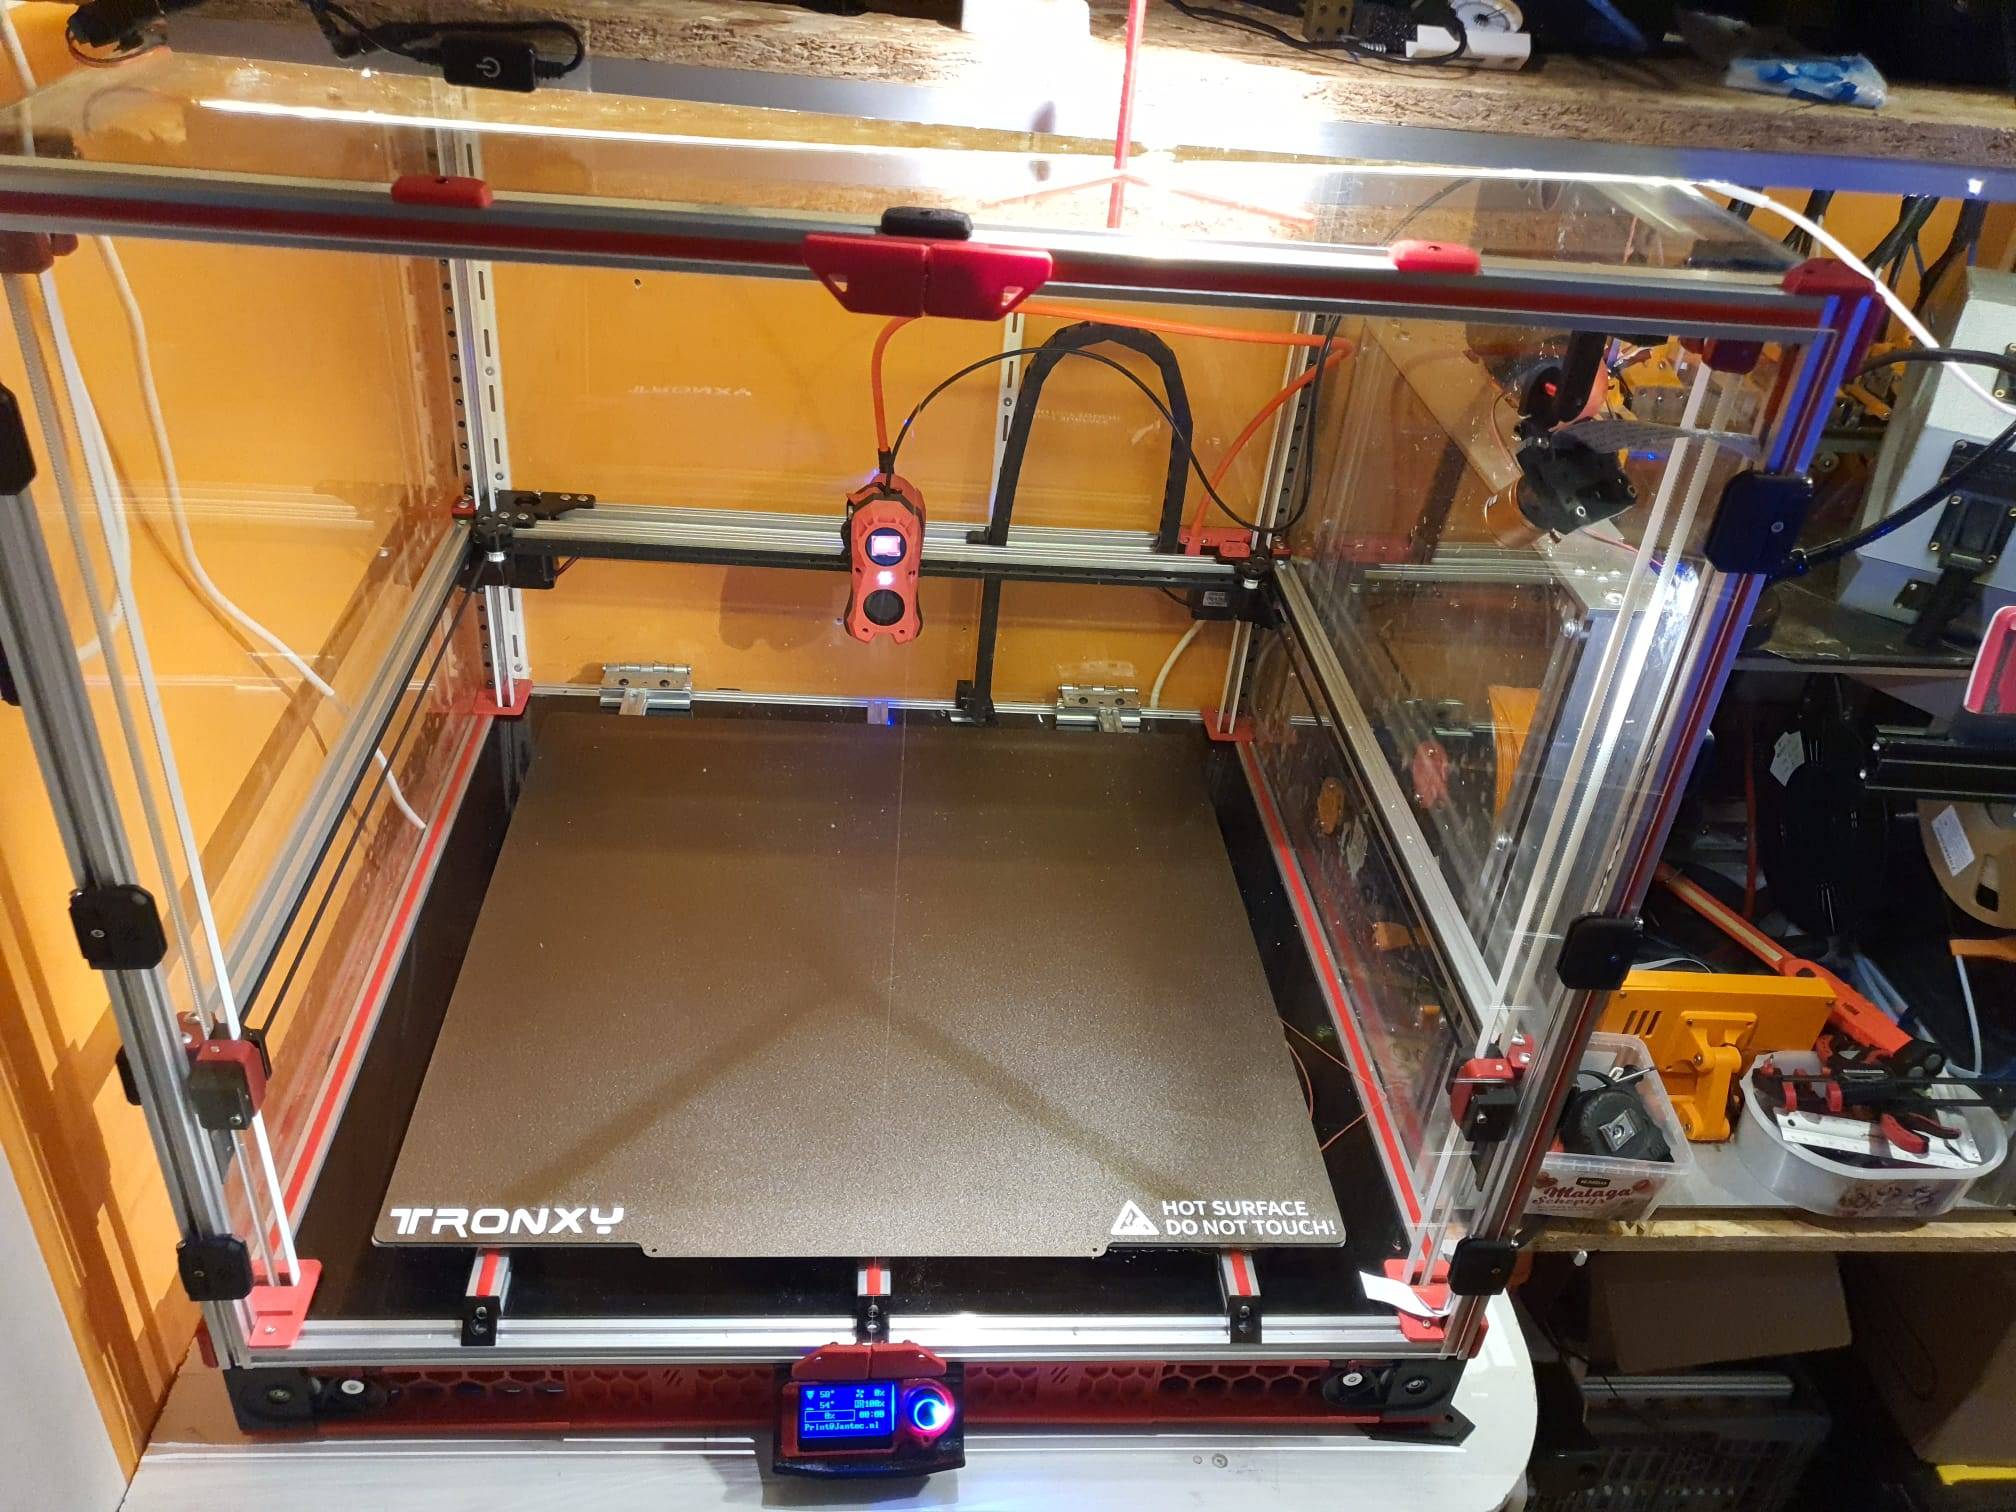
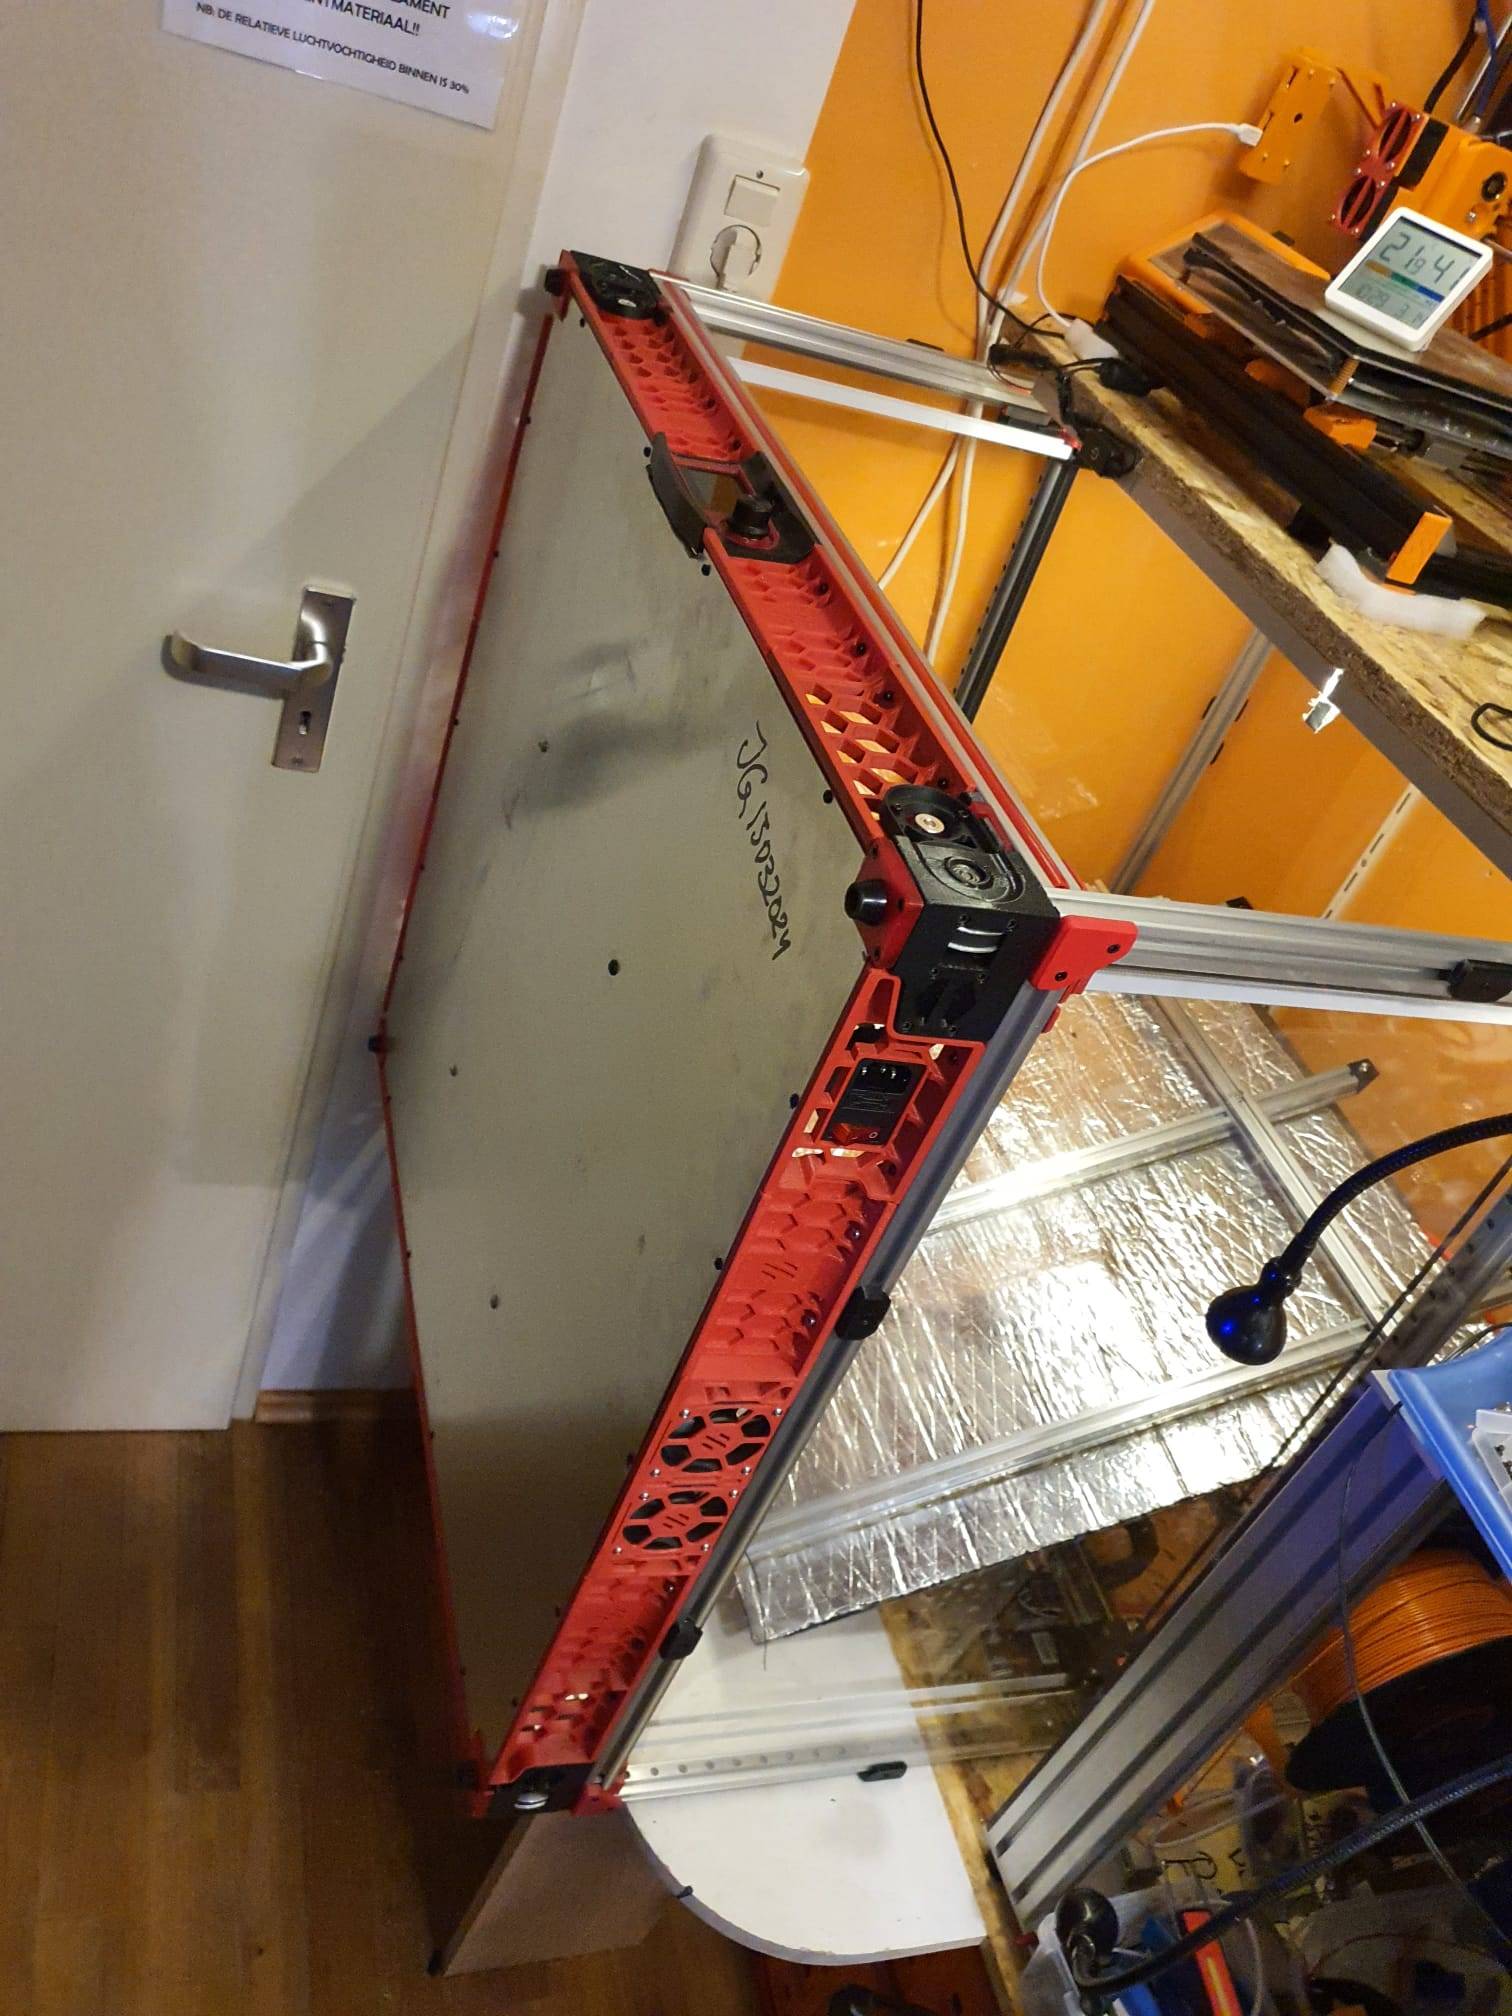
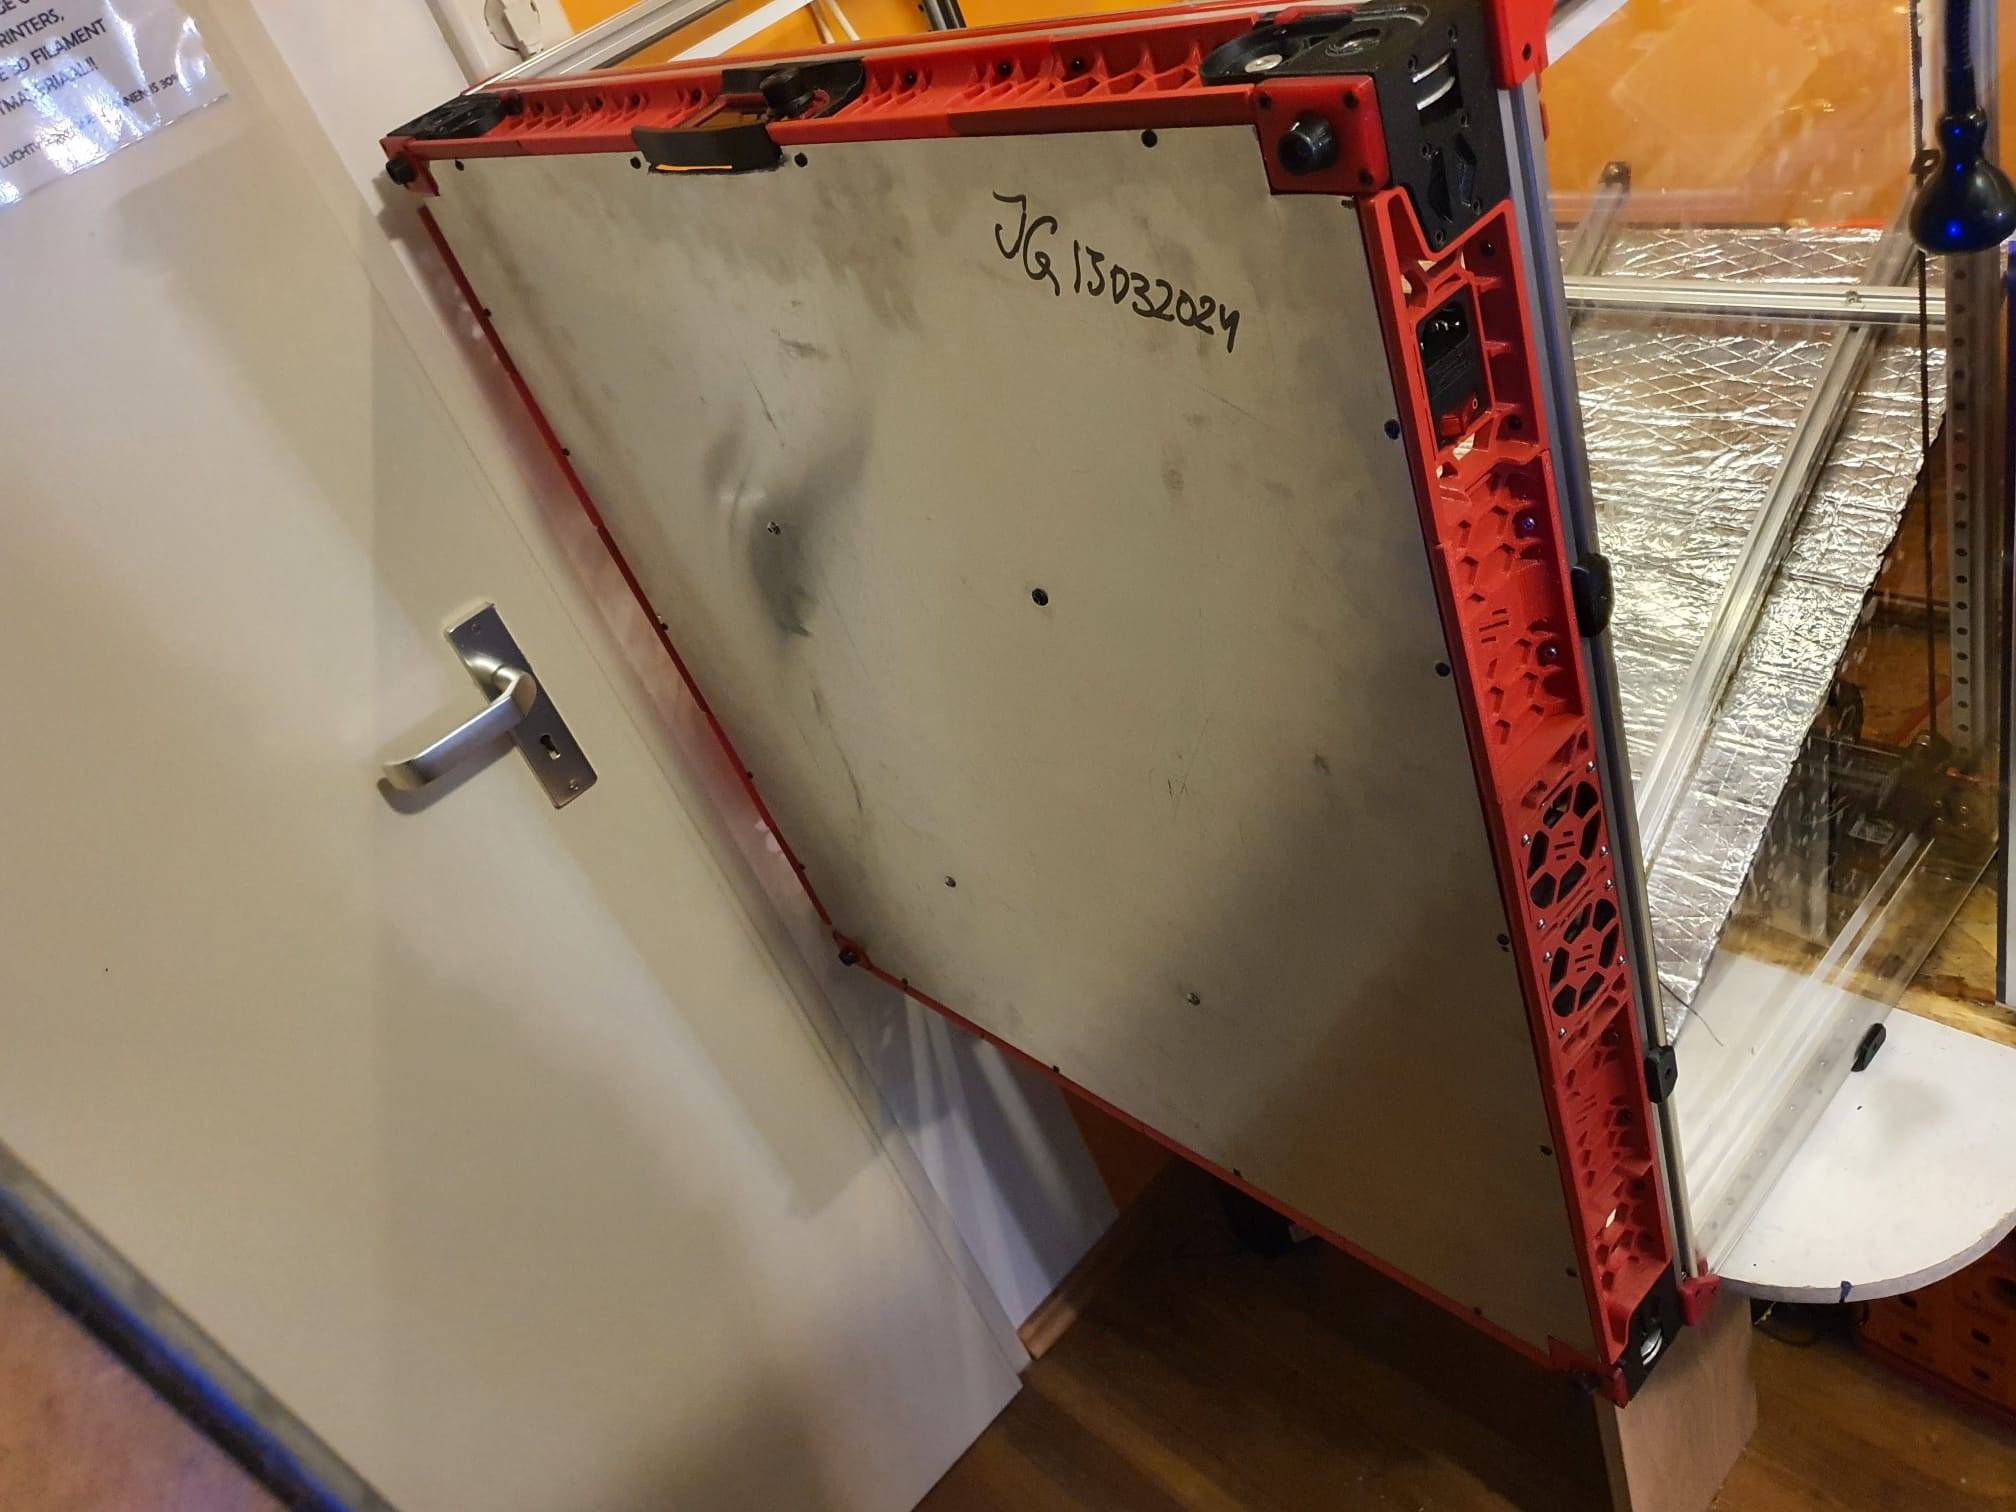
I ordered and received a Tronxy 24 Volts 500 Watts 600×600 heated bed as is used in Tronxy’s large volume HEVO printer. Thanx guys!

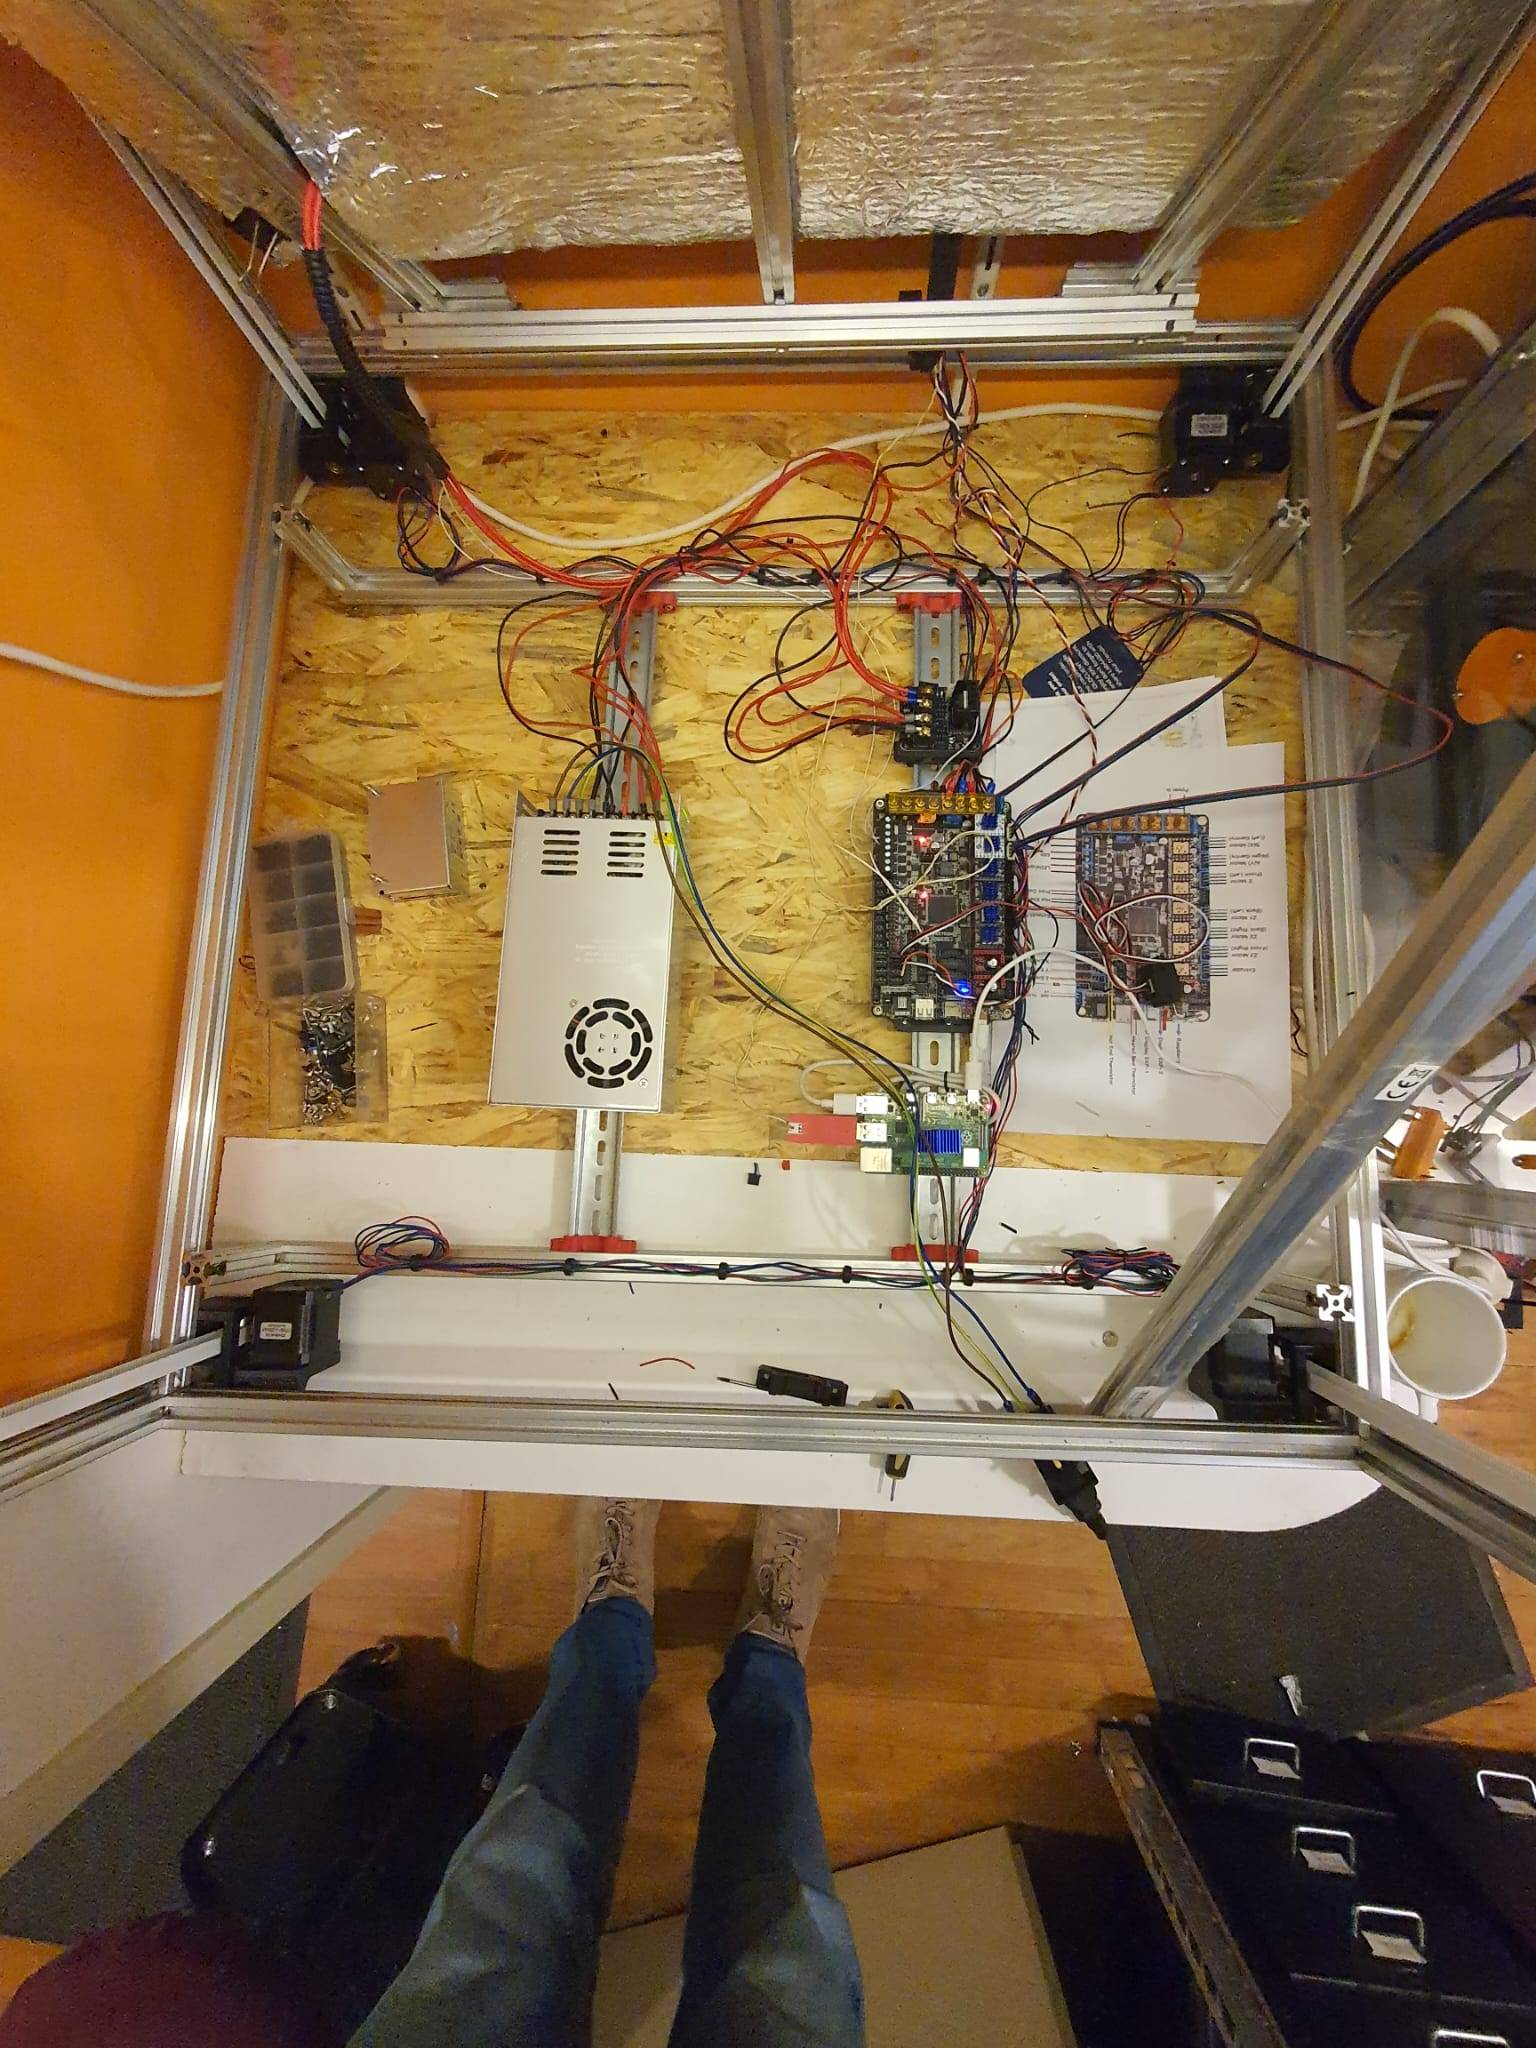
In this build, I will use 3 extrusion 2020 parts to mount this large bed in the Voron’s frame. I intend to fit the bed including extrusions tiltable, hinged at the rear. In my view, there is no way I will ever reverse the printer once it is in place in my printer shop. To reach the electronics, making a tilting bed is really the only solution.


The above concludes the build of the hardware.
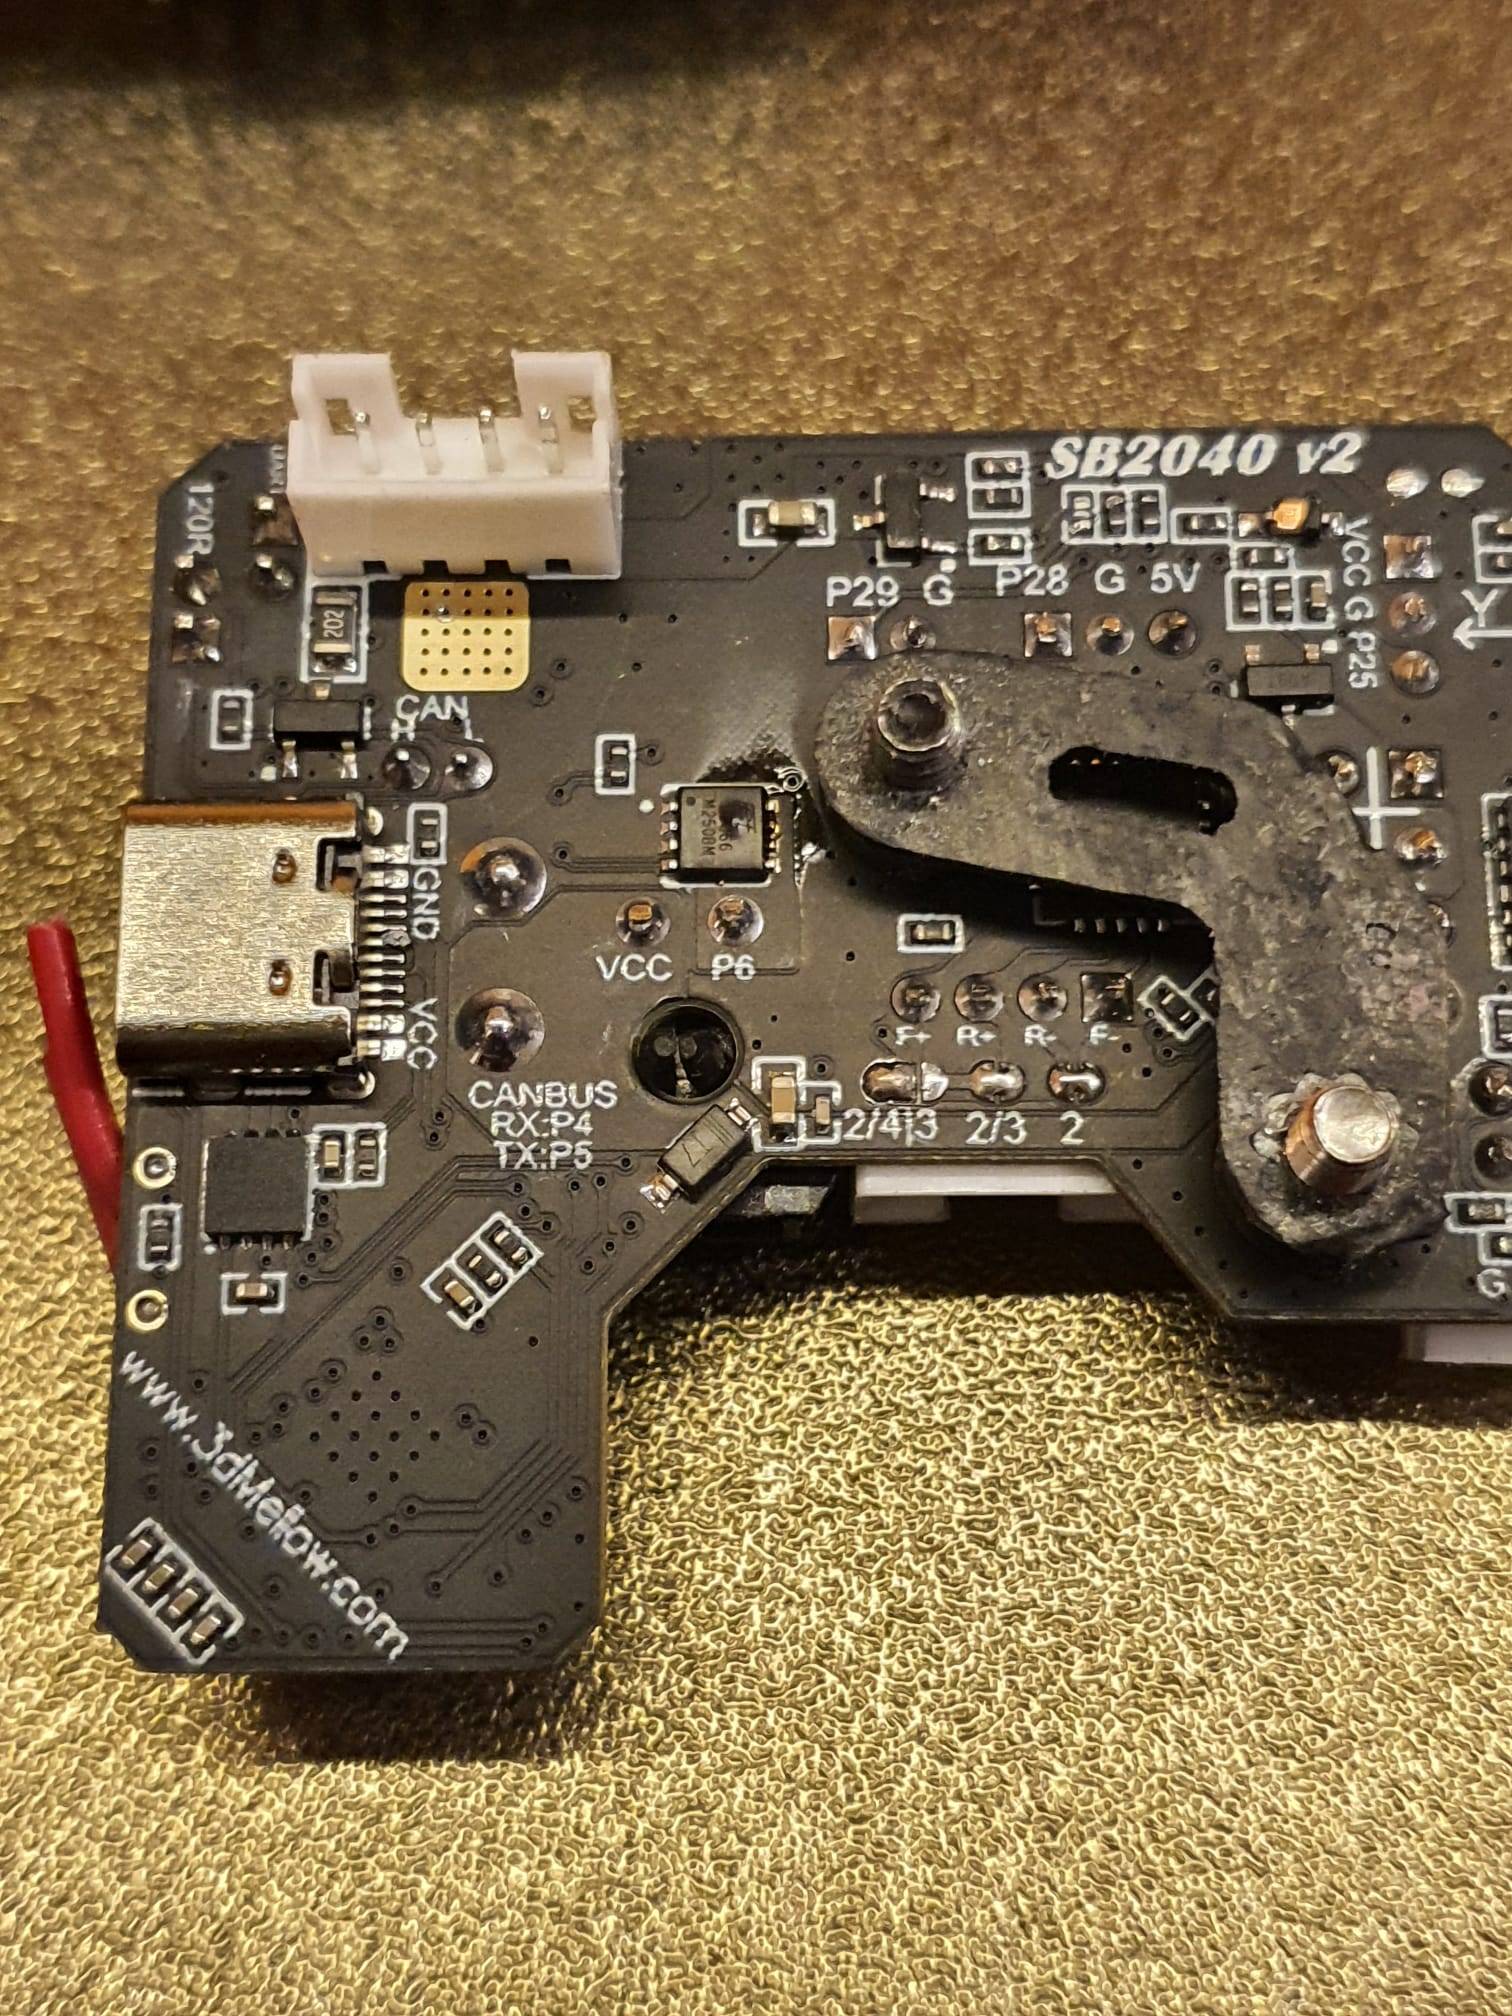
The repair of the Hotend Canbus module, the build of the enclosure and so on will all be added as additional posts.
The firmware and configs is described in another post HERE
 Video van WhatsApp op 2024-03-16 om 14.34.15_29d2041d Video van WhatsApp op 2024-03-16 om 14.33.45_8bd30d74