If you are interested in purchasing these original jantec.nl designs, please email us at info@jantec.nl!
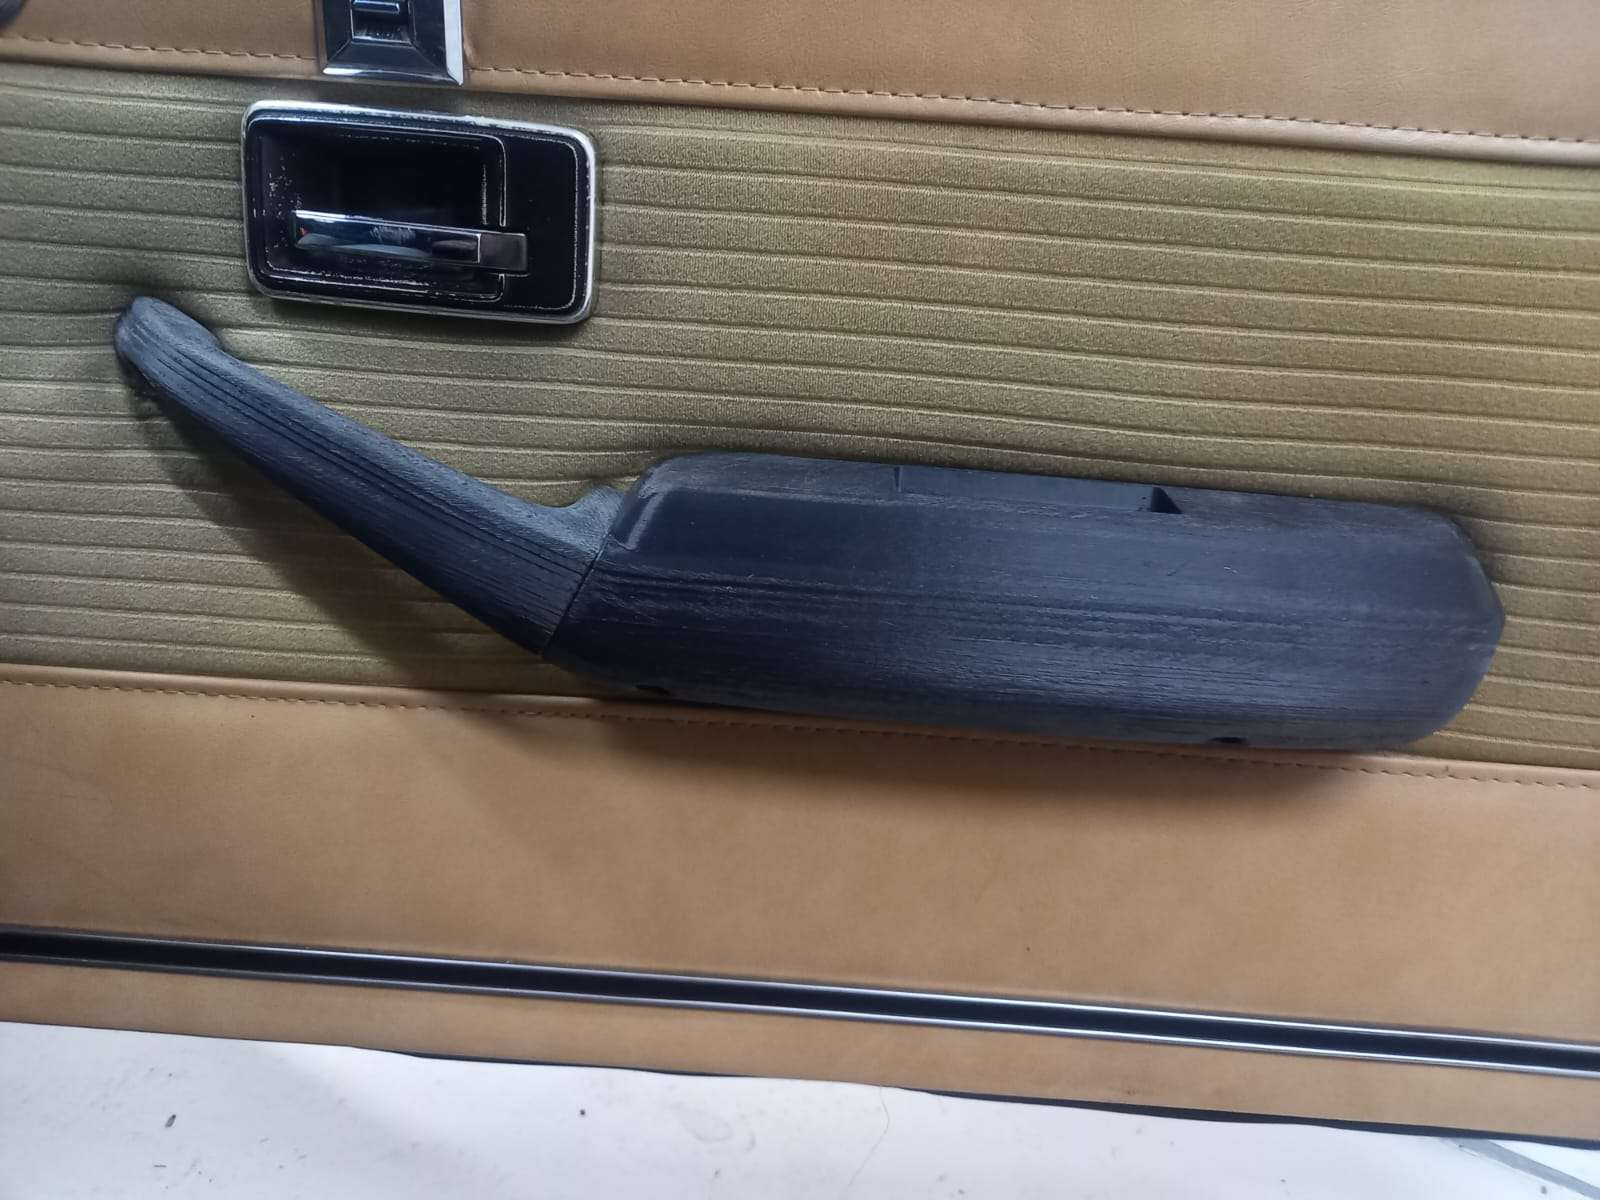
My brother owns a completely overhauled Chevrolet Camaro with power windows (I believe from 1969 or 1971) and asked if I could scan, improve and reproduce the armrests since these are both quite sloppy.
This type of Chevrolet Camaro is the only version that has these large armrests and they are a typical product from those days.
Manufactured from plastic and covered with some kind of latex.
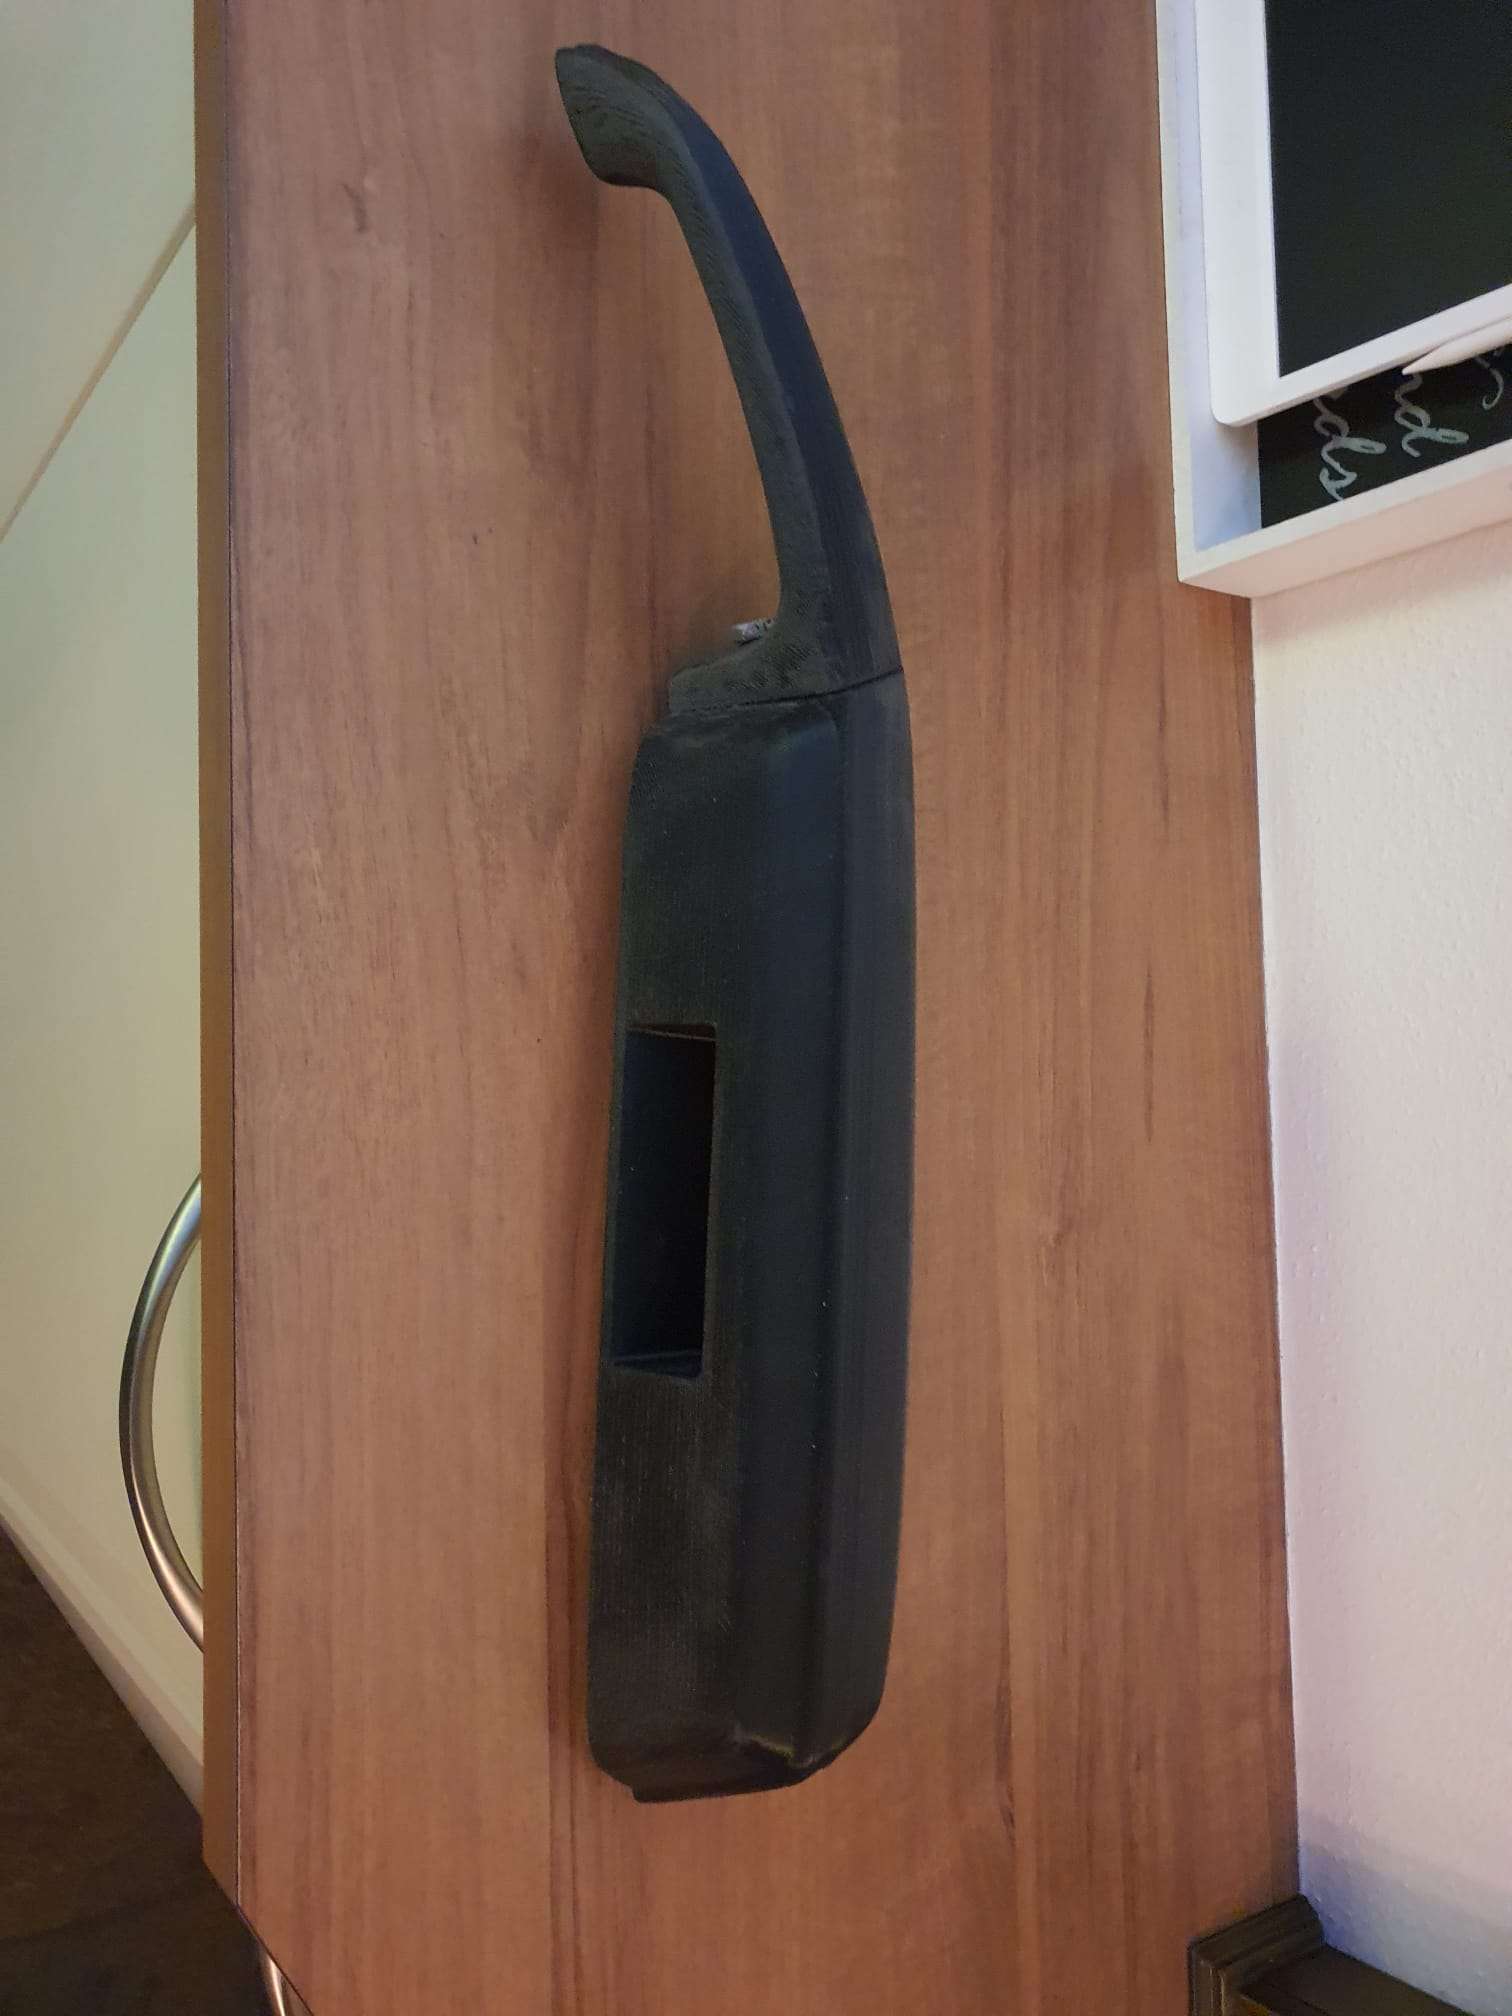
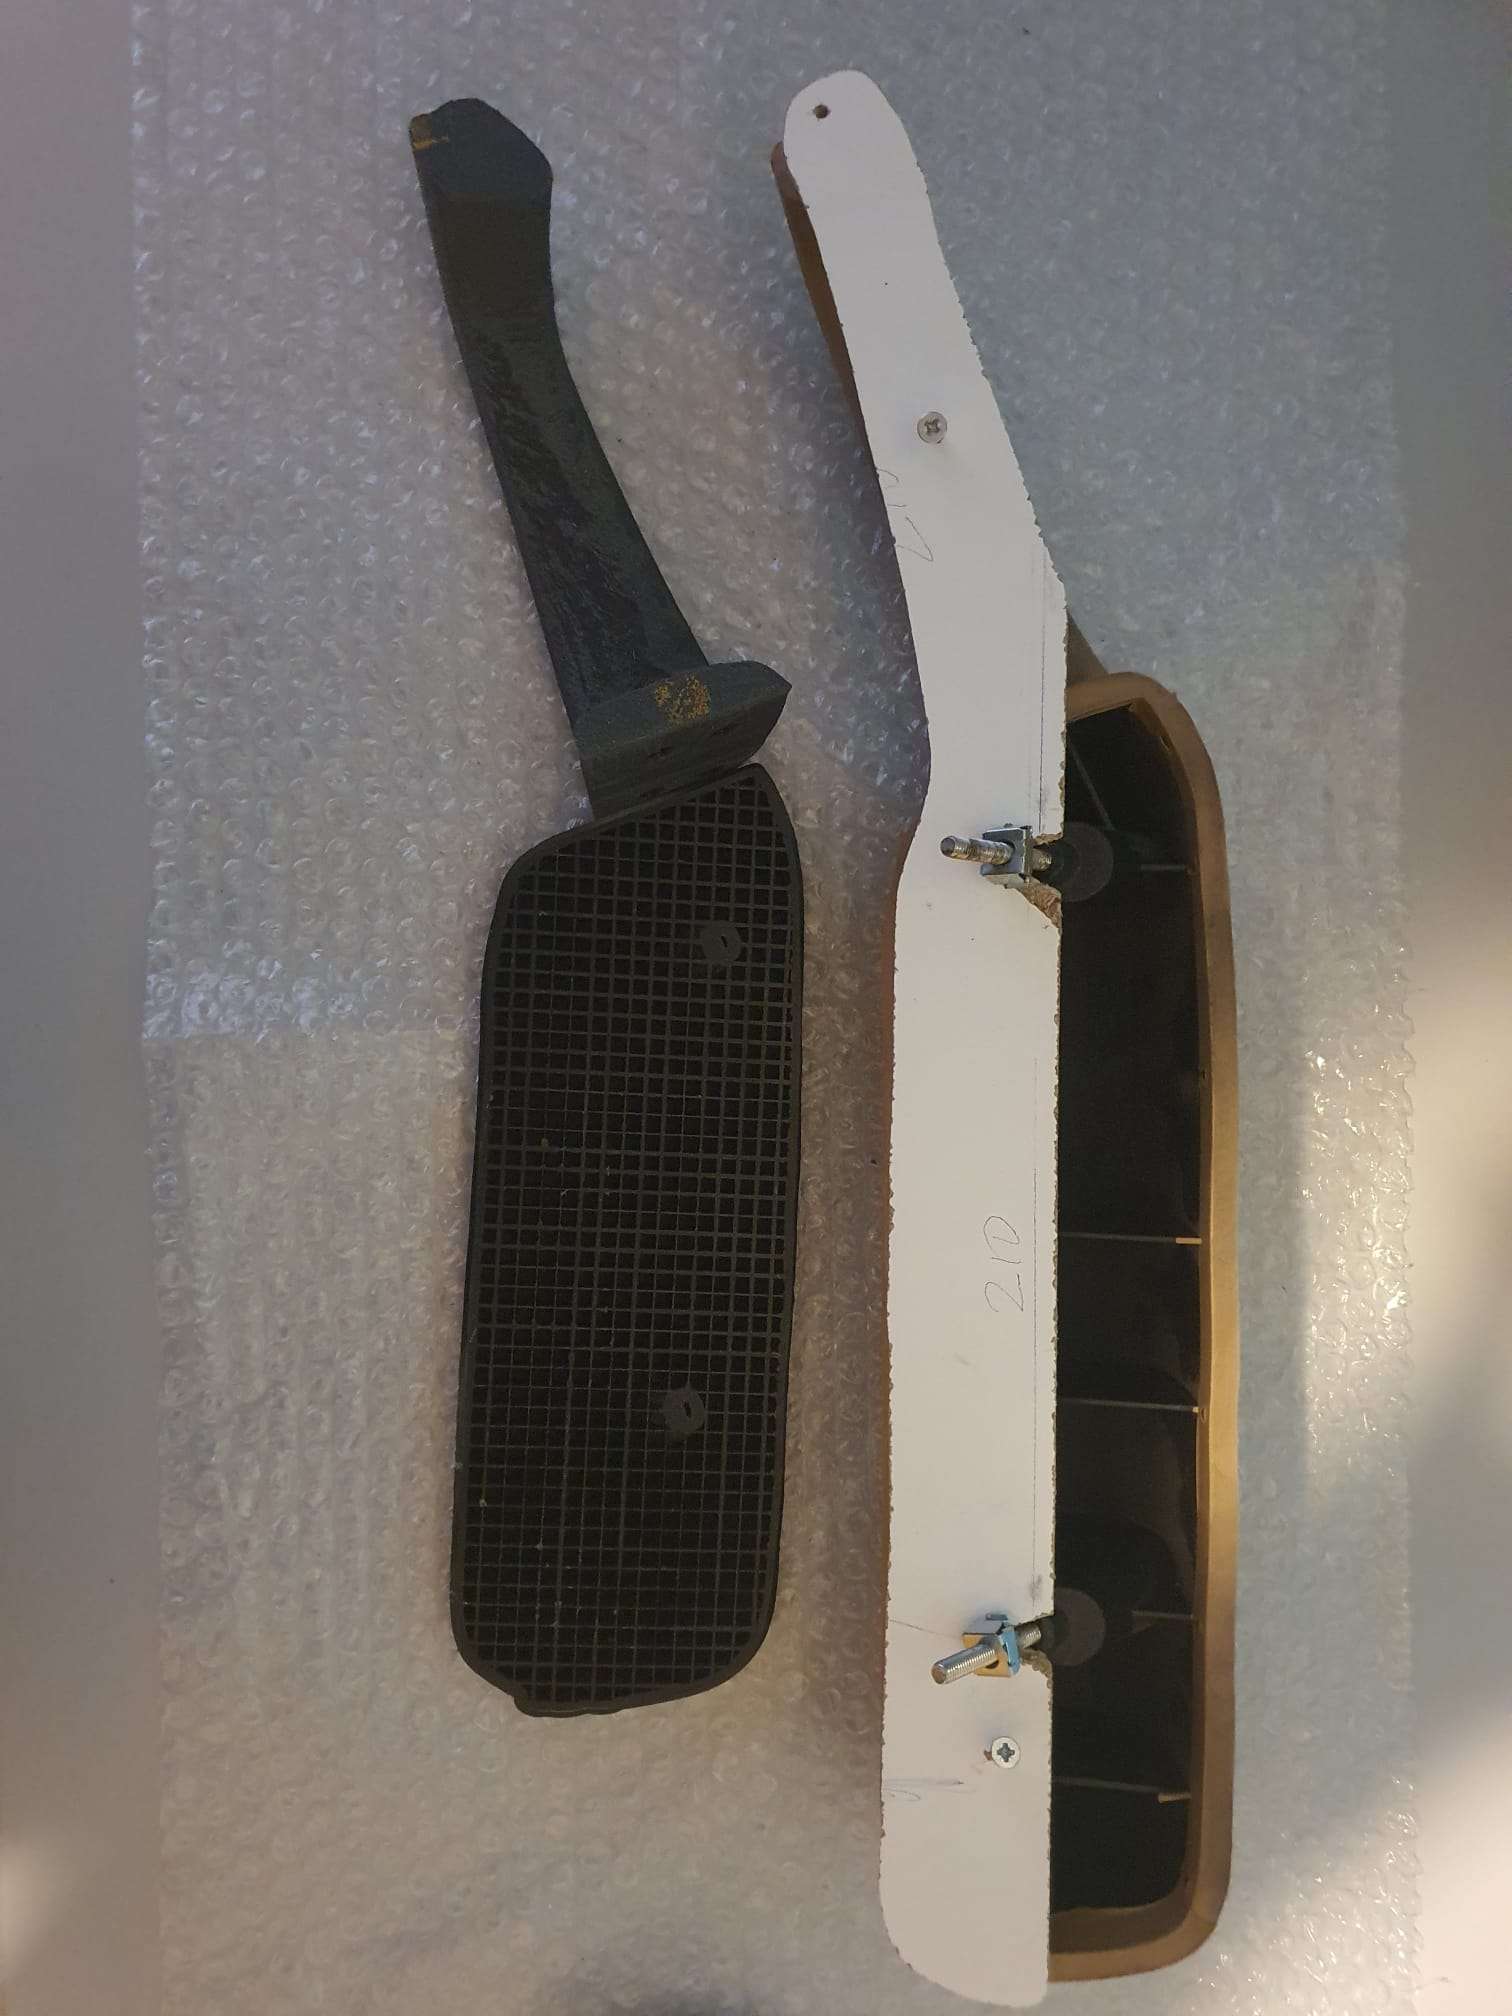
Due to time and usage these armrests are both L and R broken between the actual armrest and the handle that is used to close the door.
This handle is at the front of the door and with these long and heavy doors some force is required to close the doors.
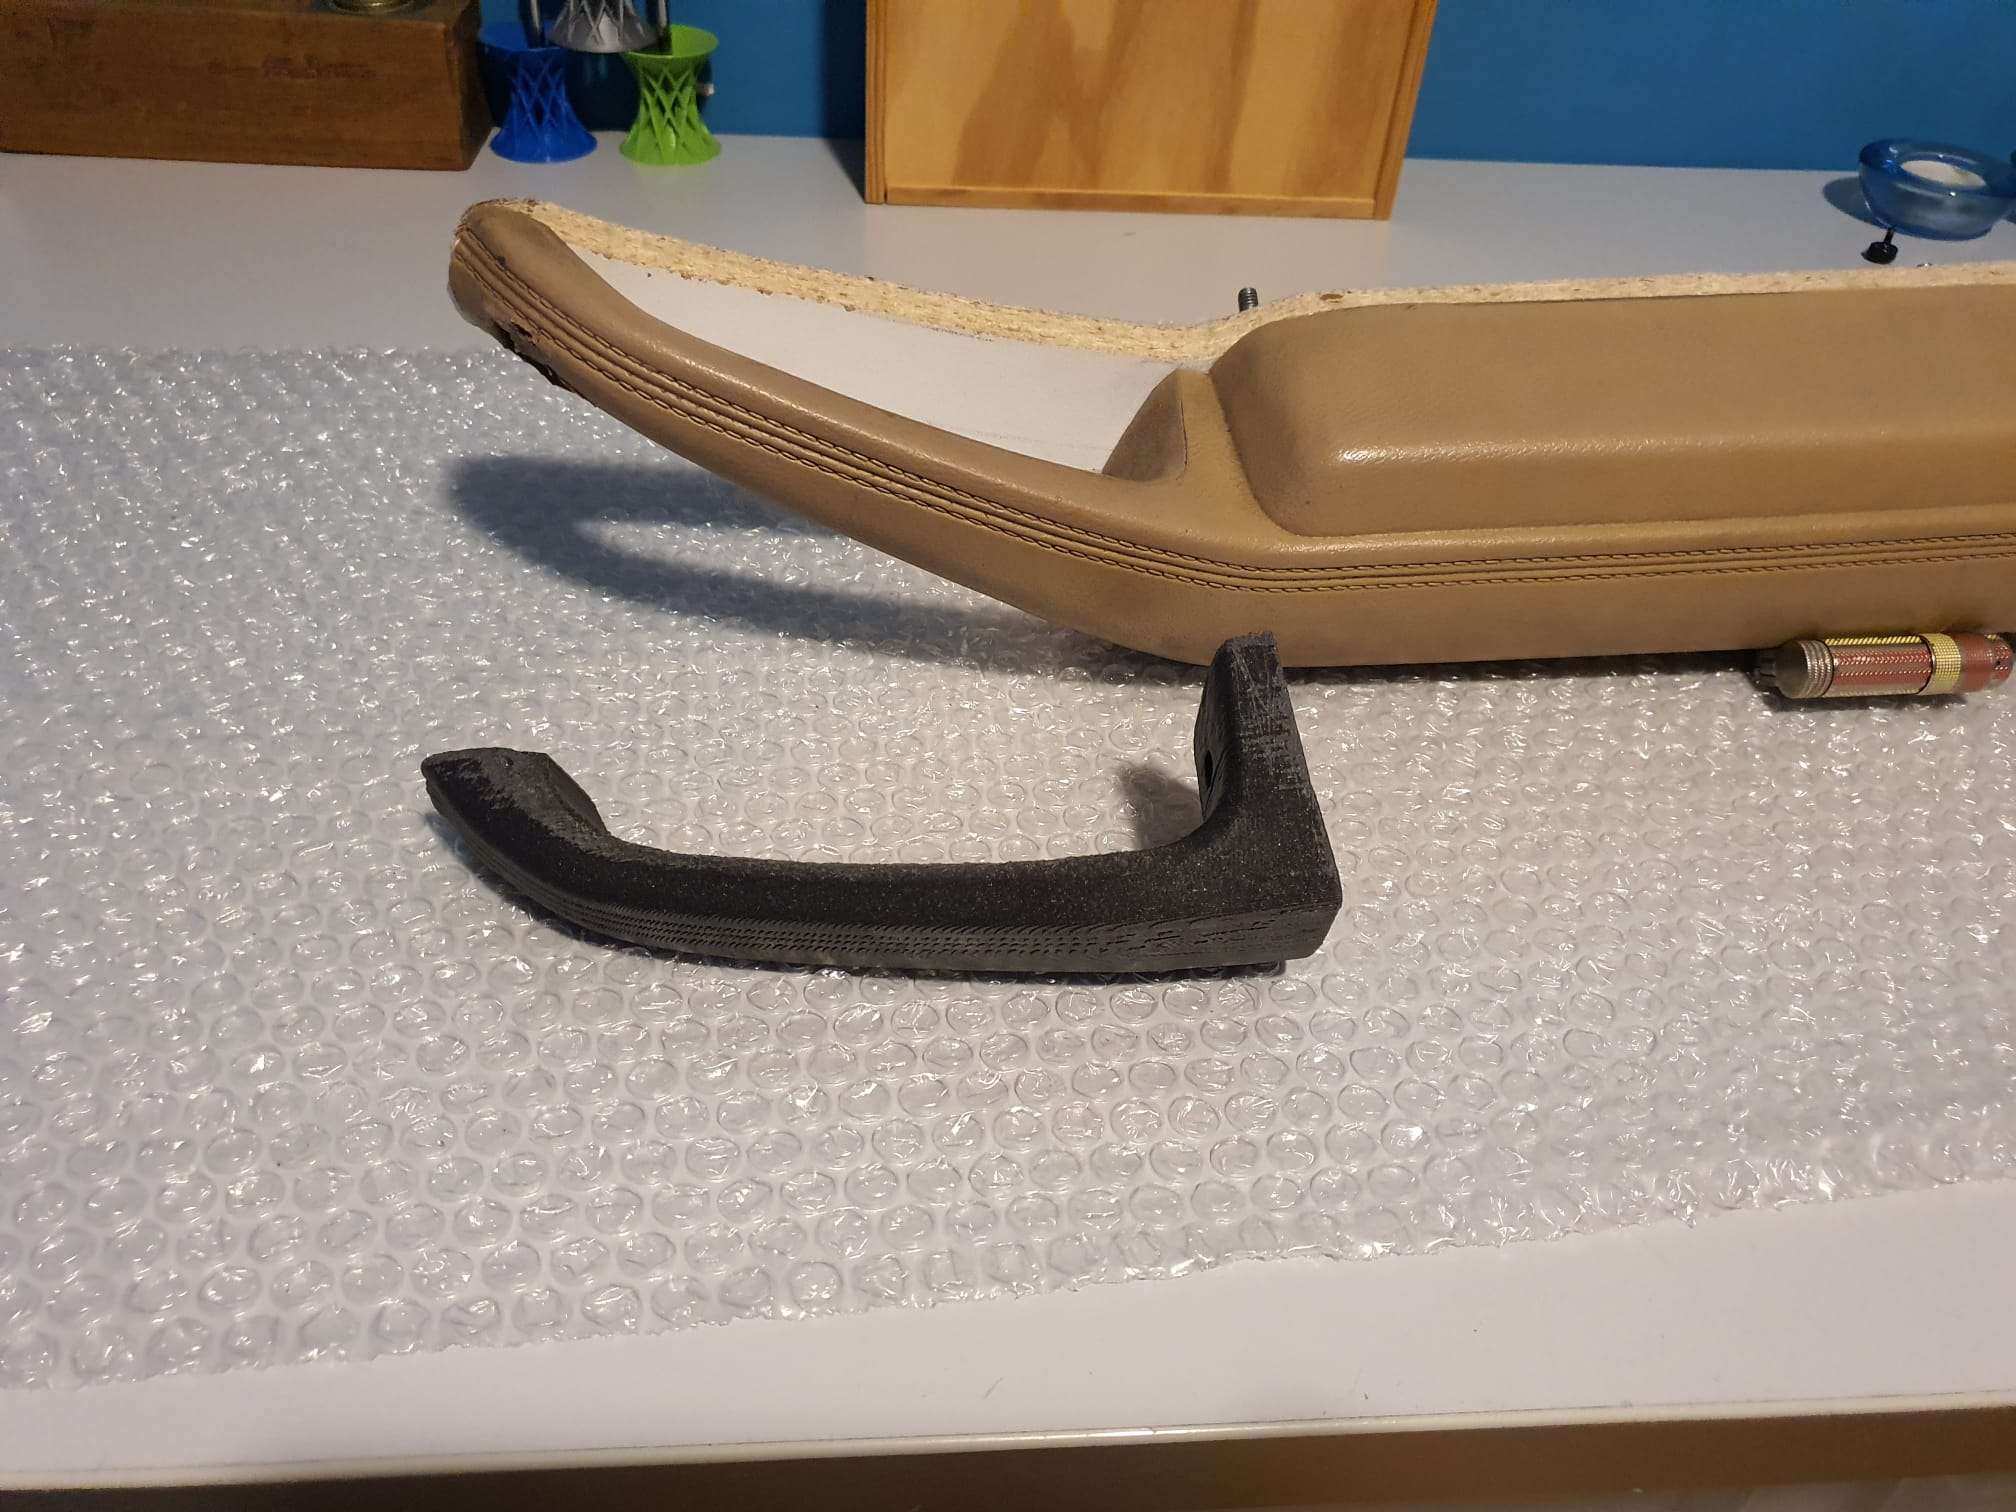
Therefore, we will try to modify the armrest with an additional handgrip in the large part of the armrest.
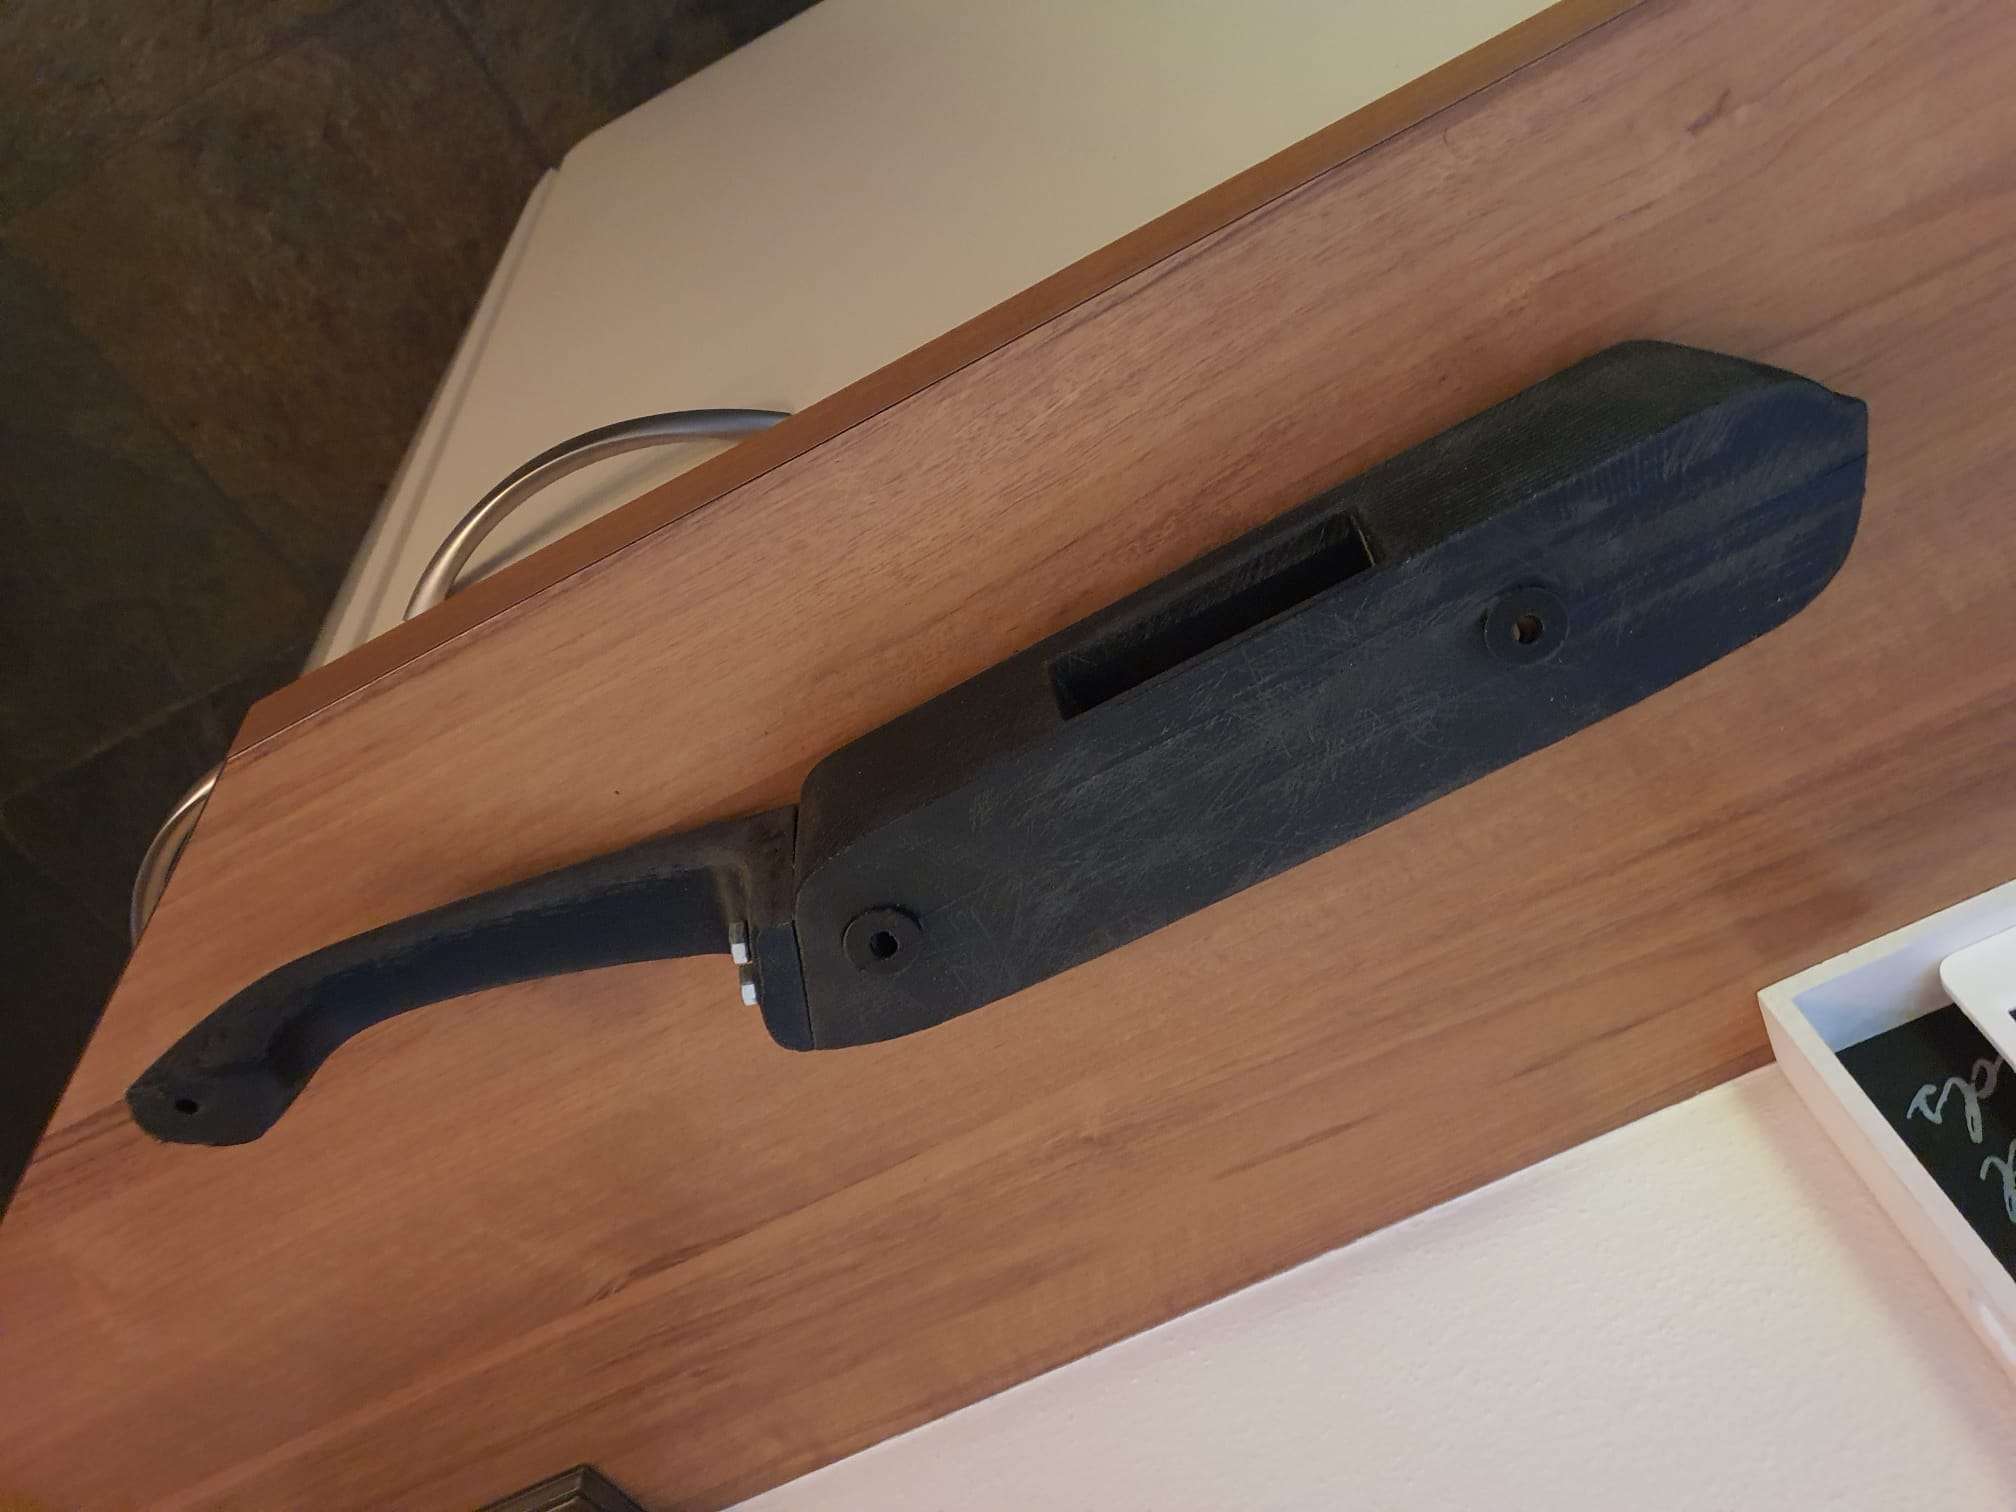
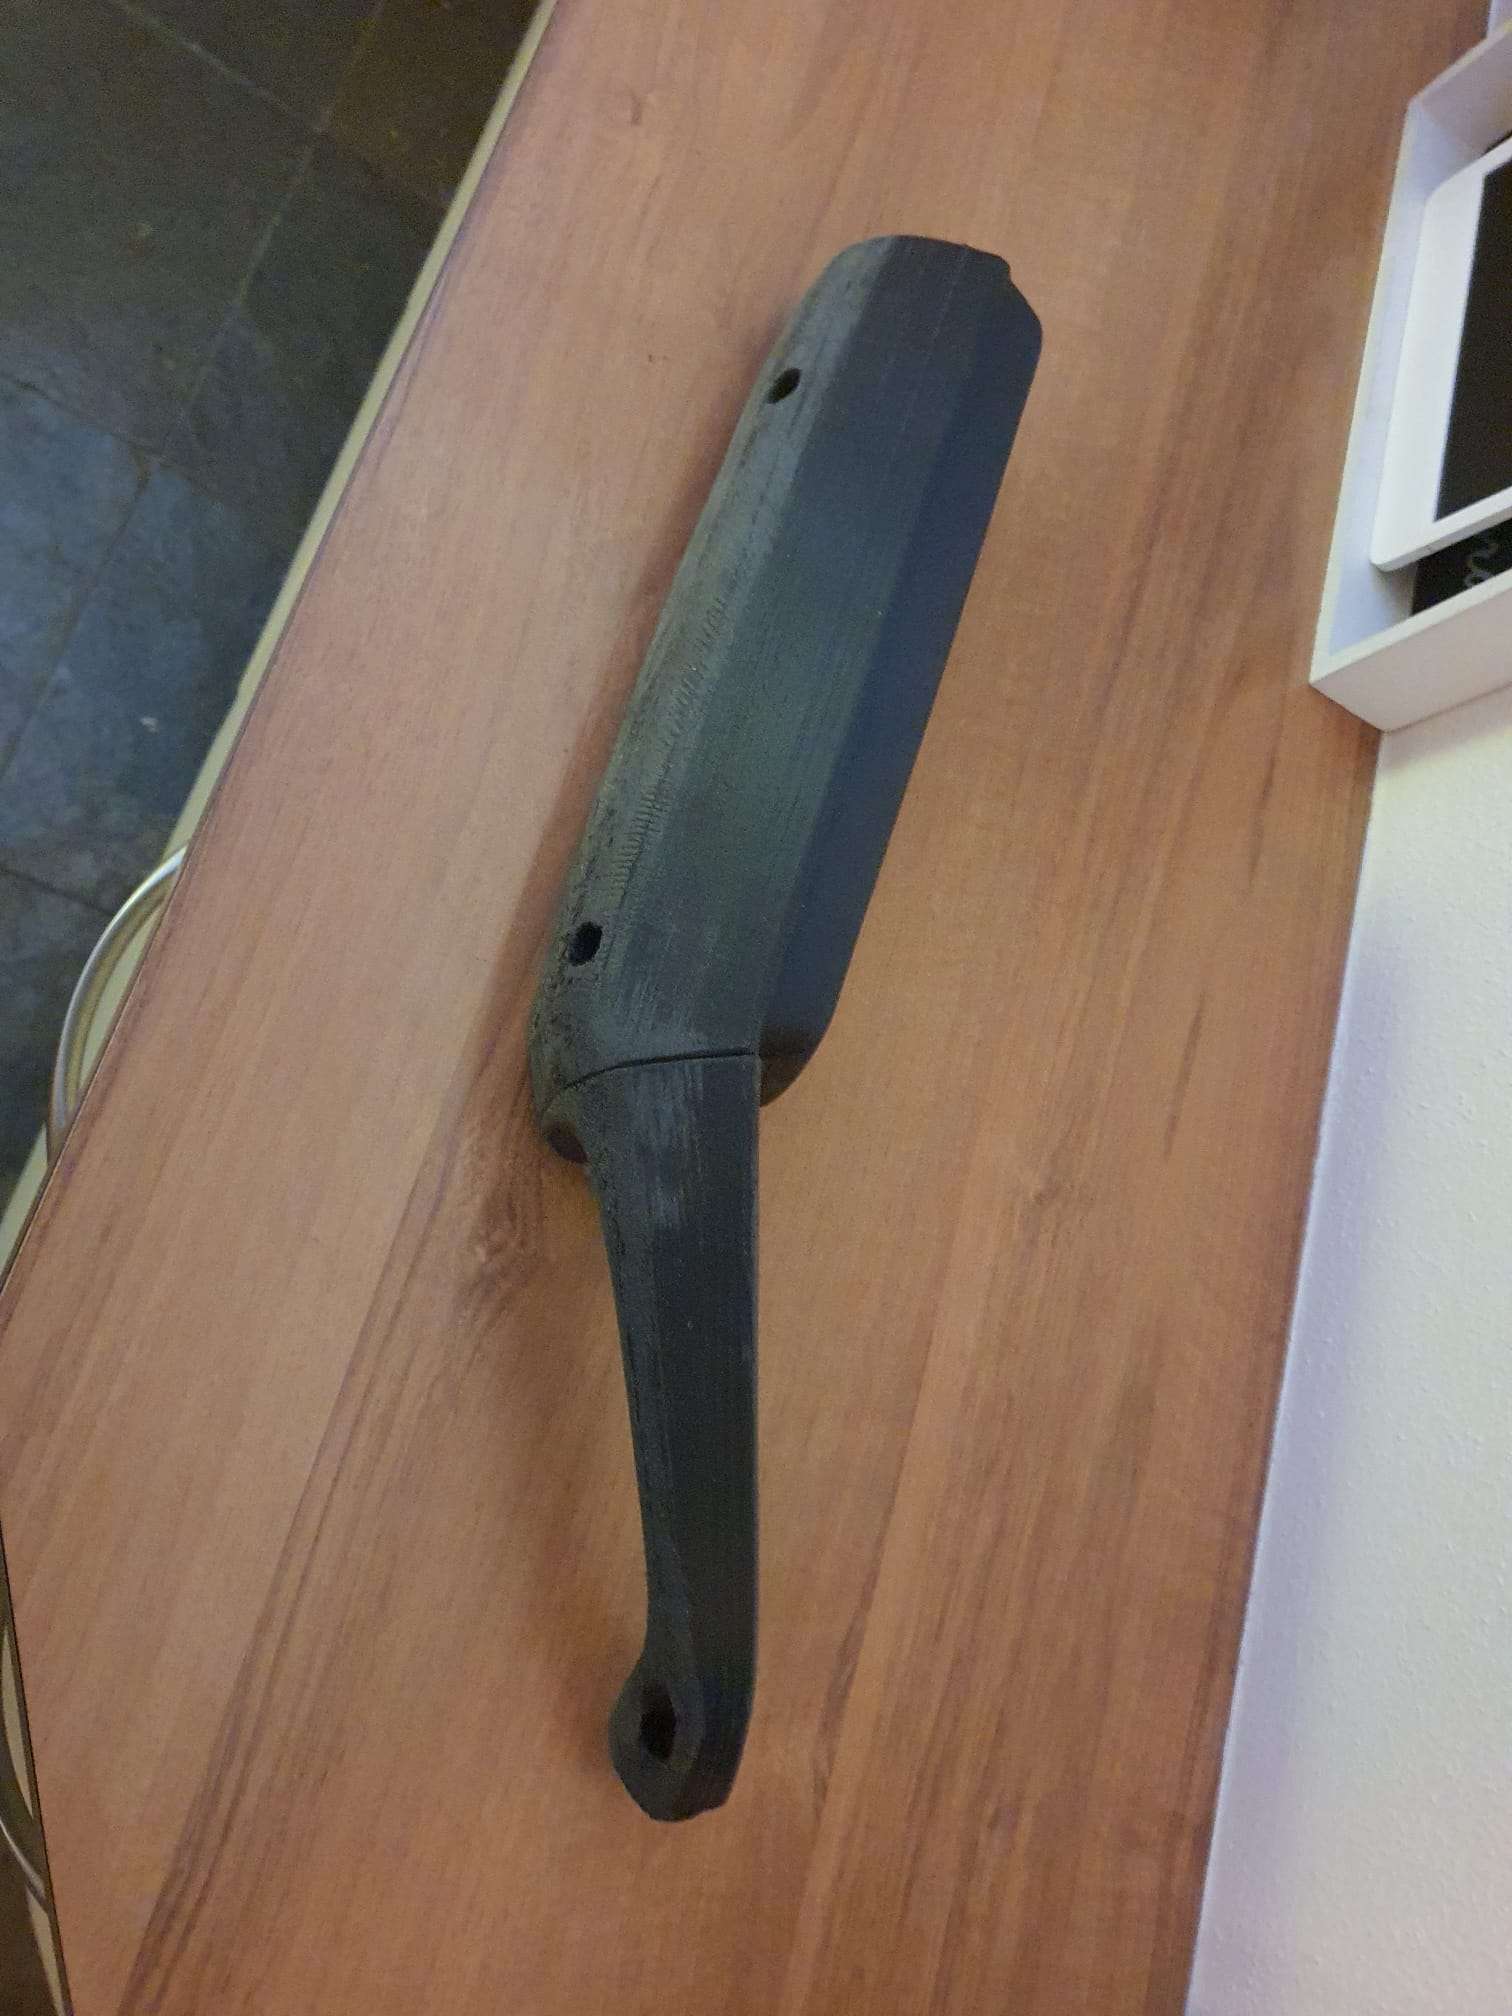
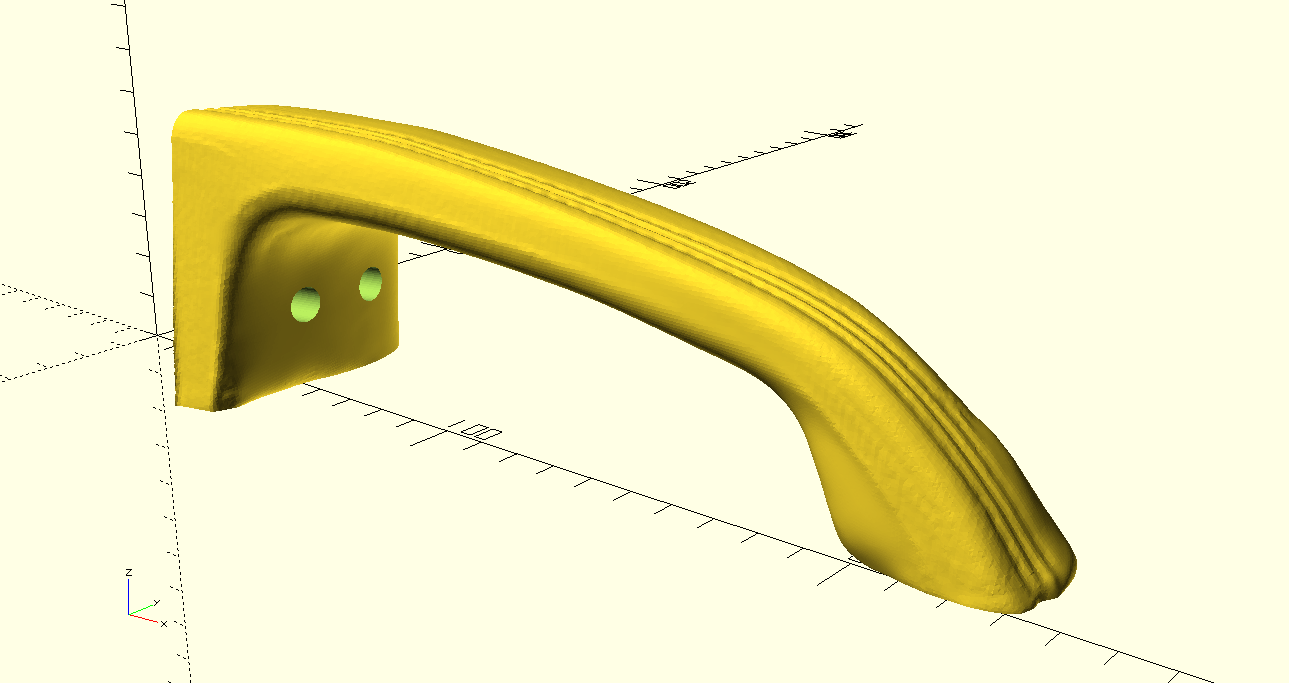
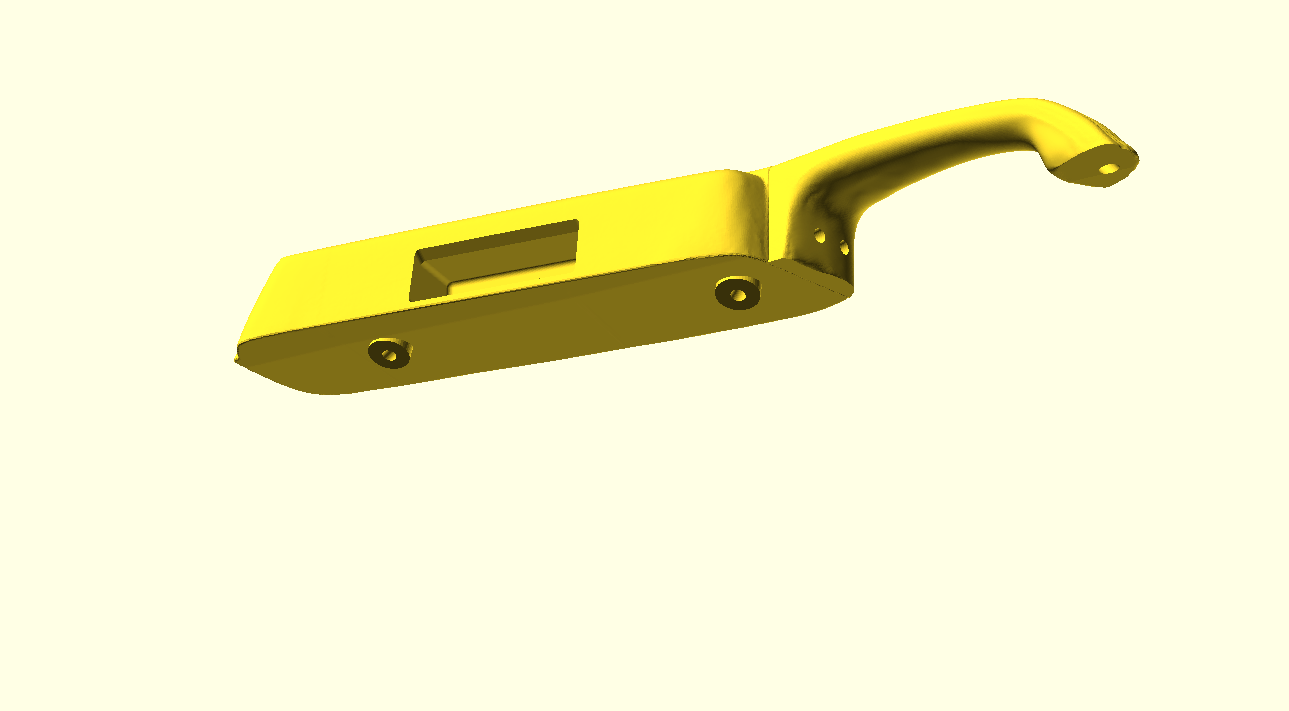
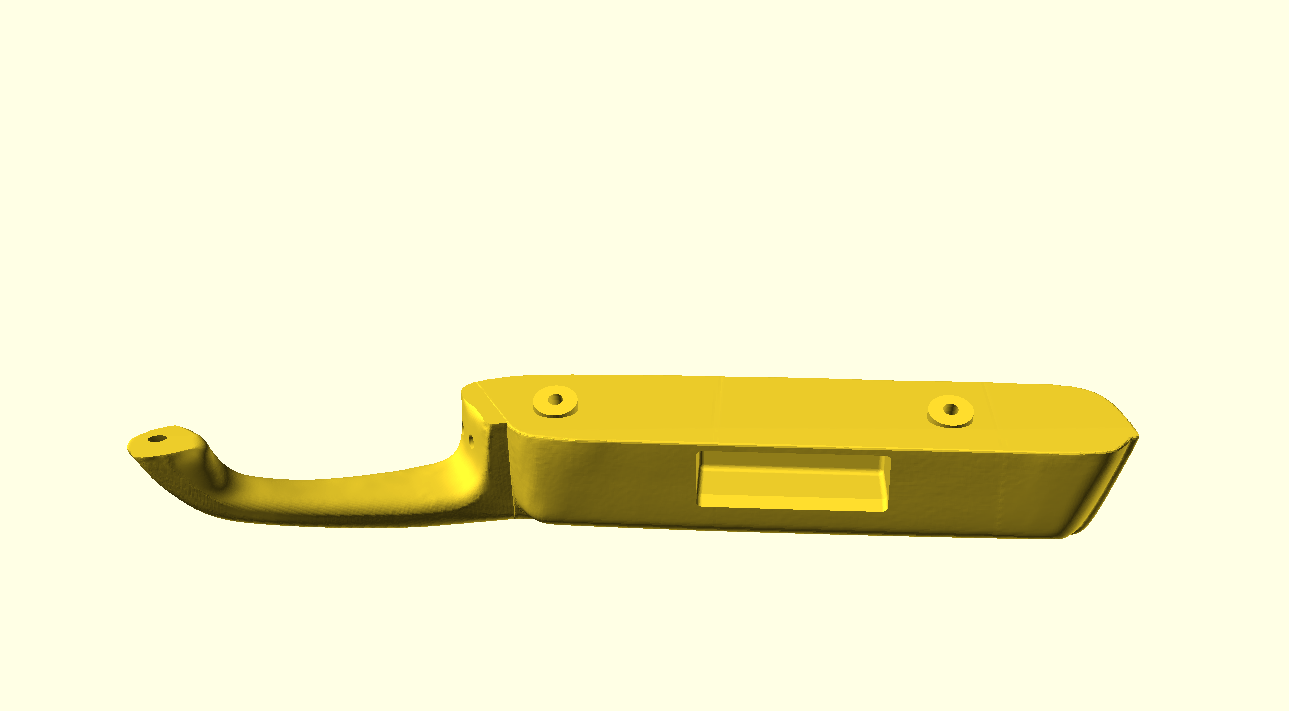
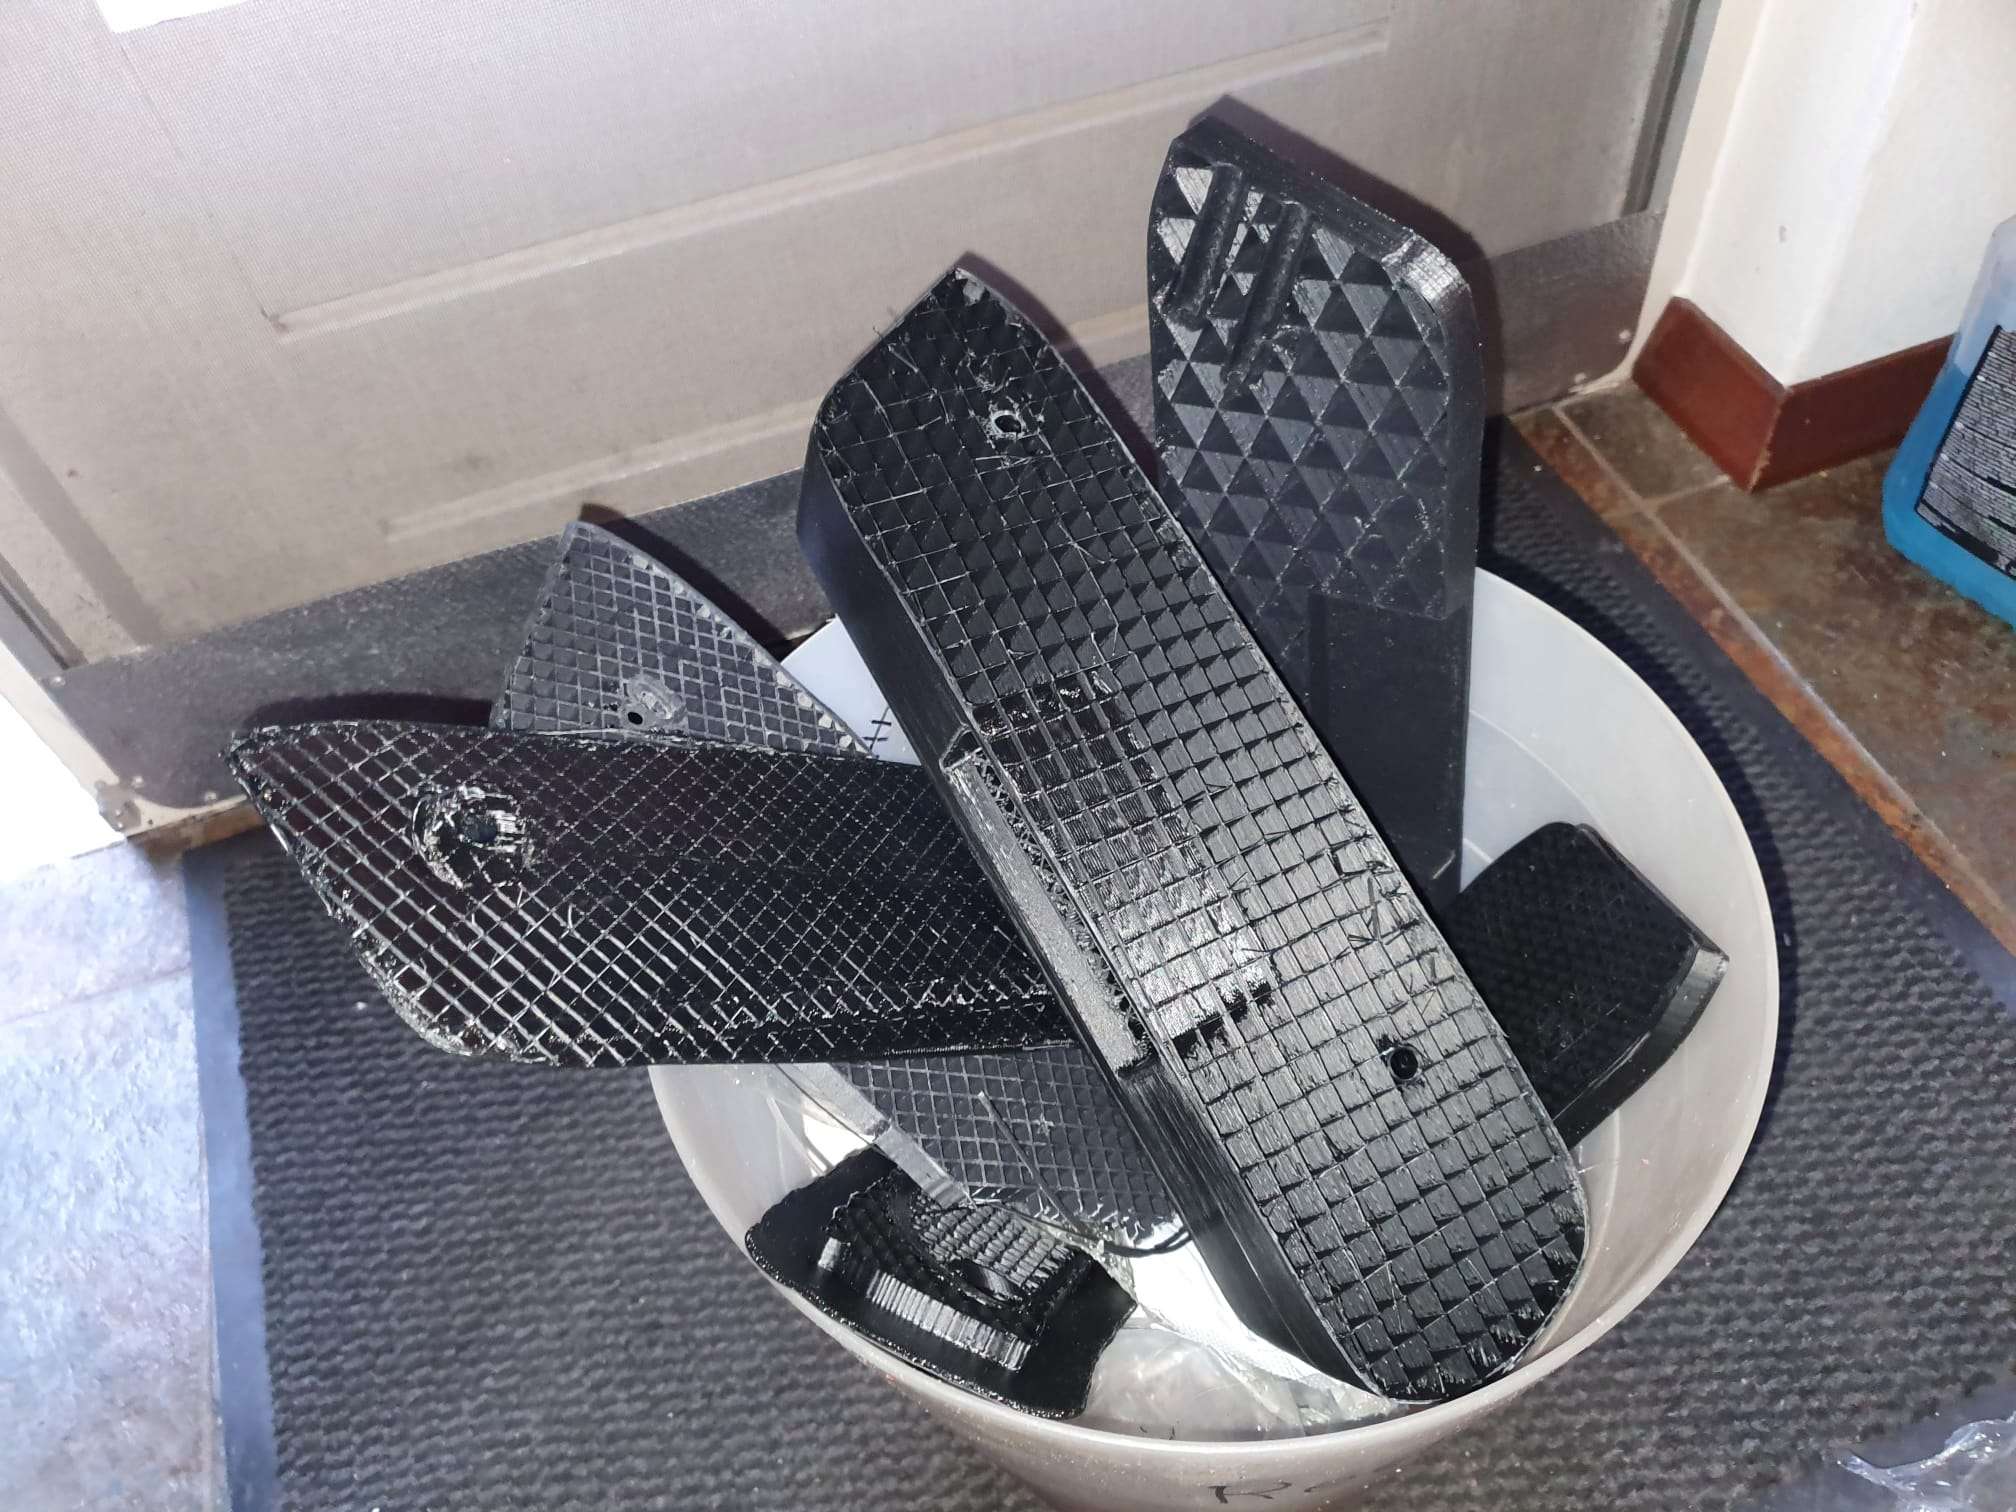
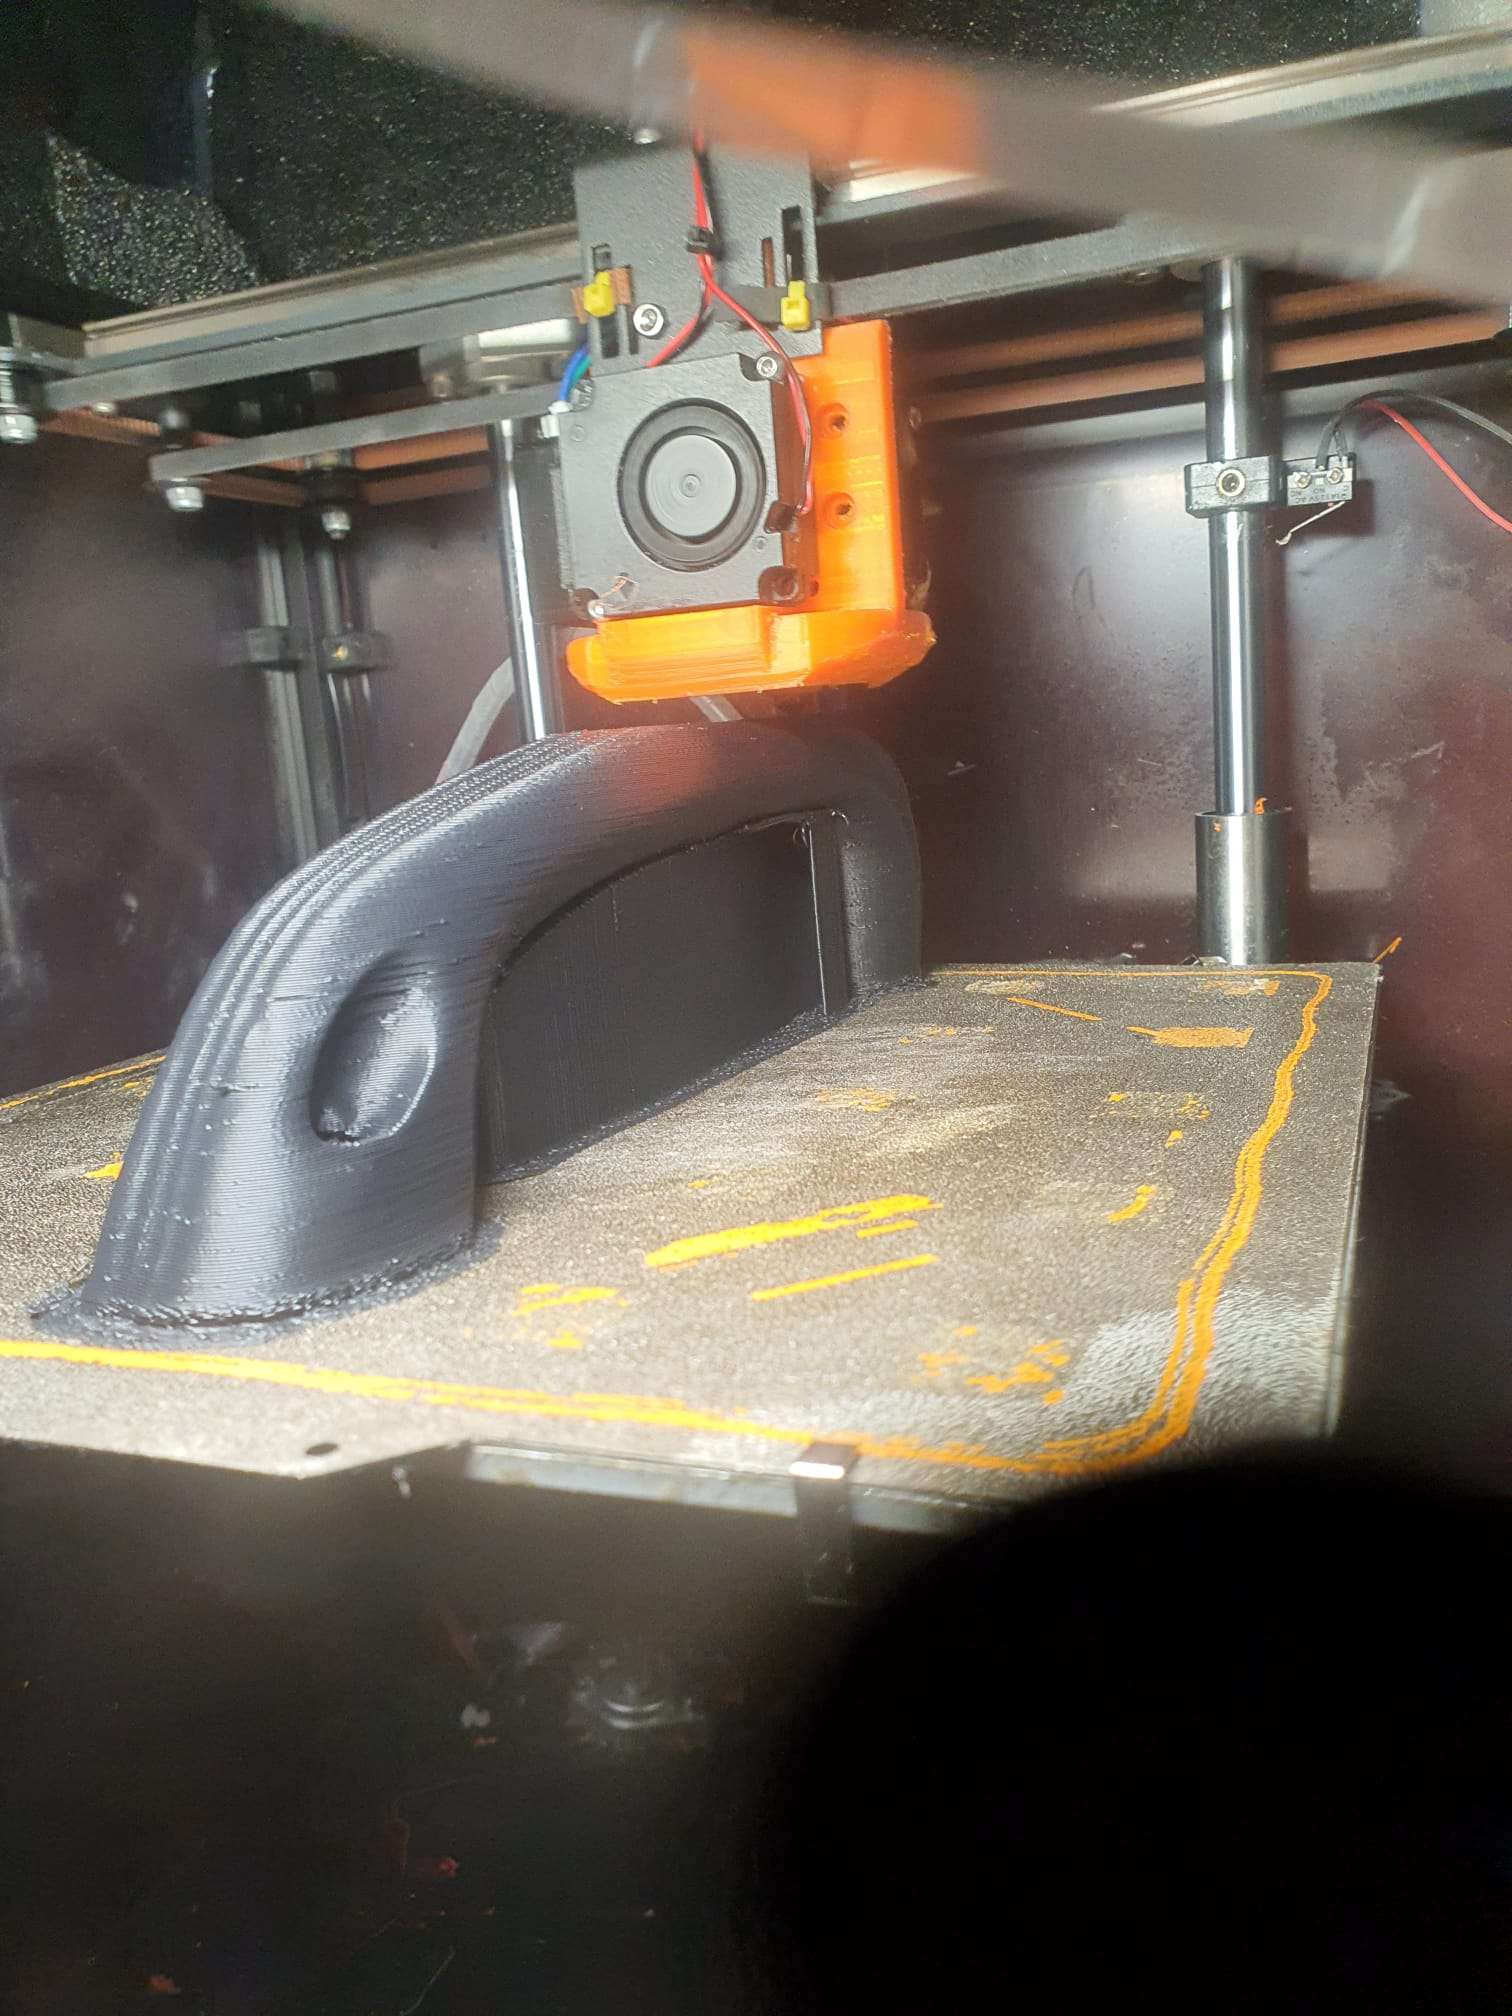
So- I used my Creality lizard scanner to scan one of the the original armrests and cut the design in 2 connectable parts. This makes it printable om my Voron300.
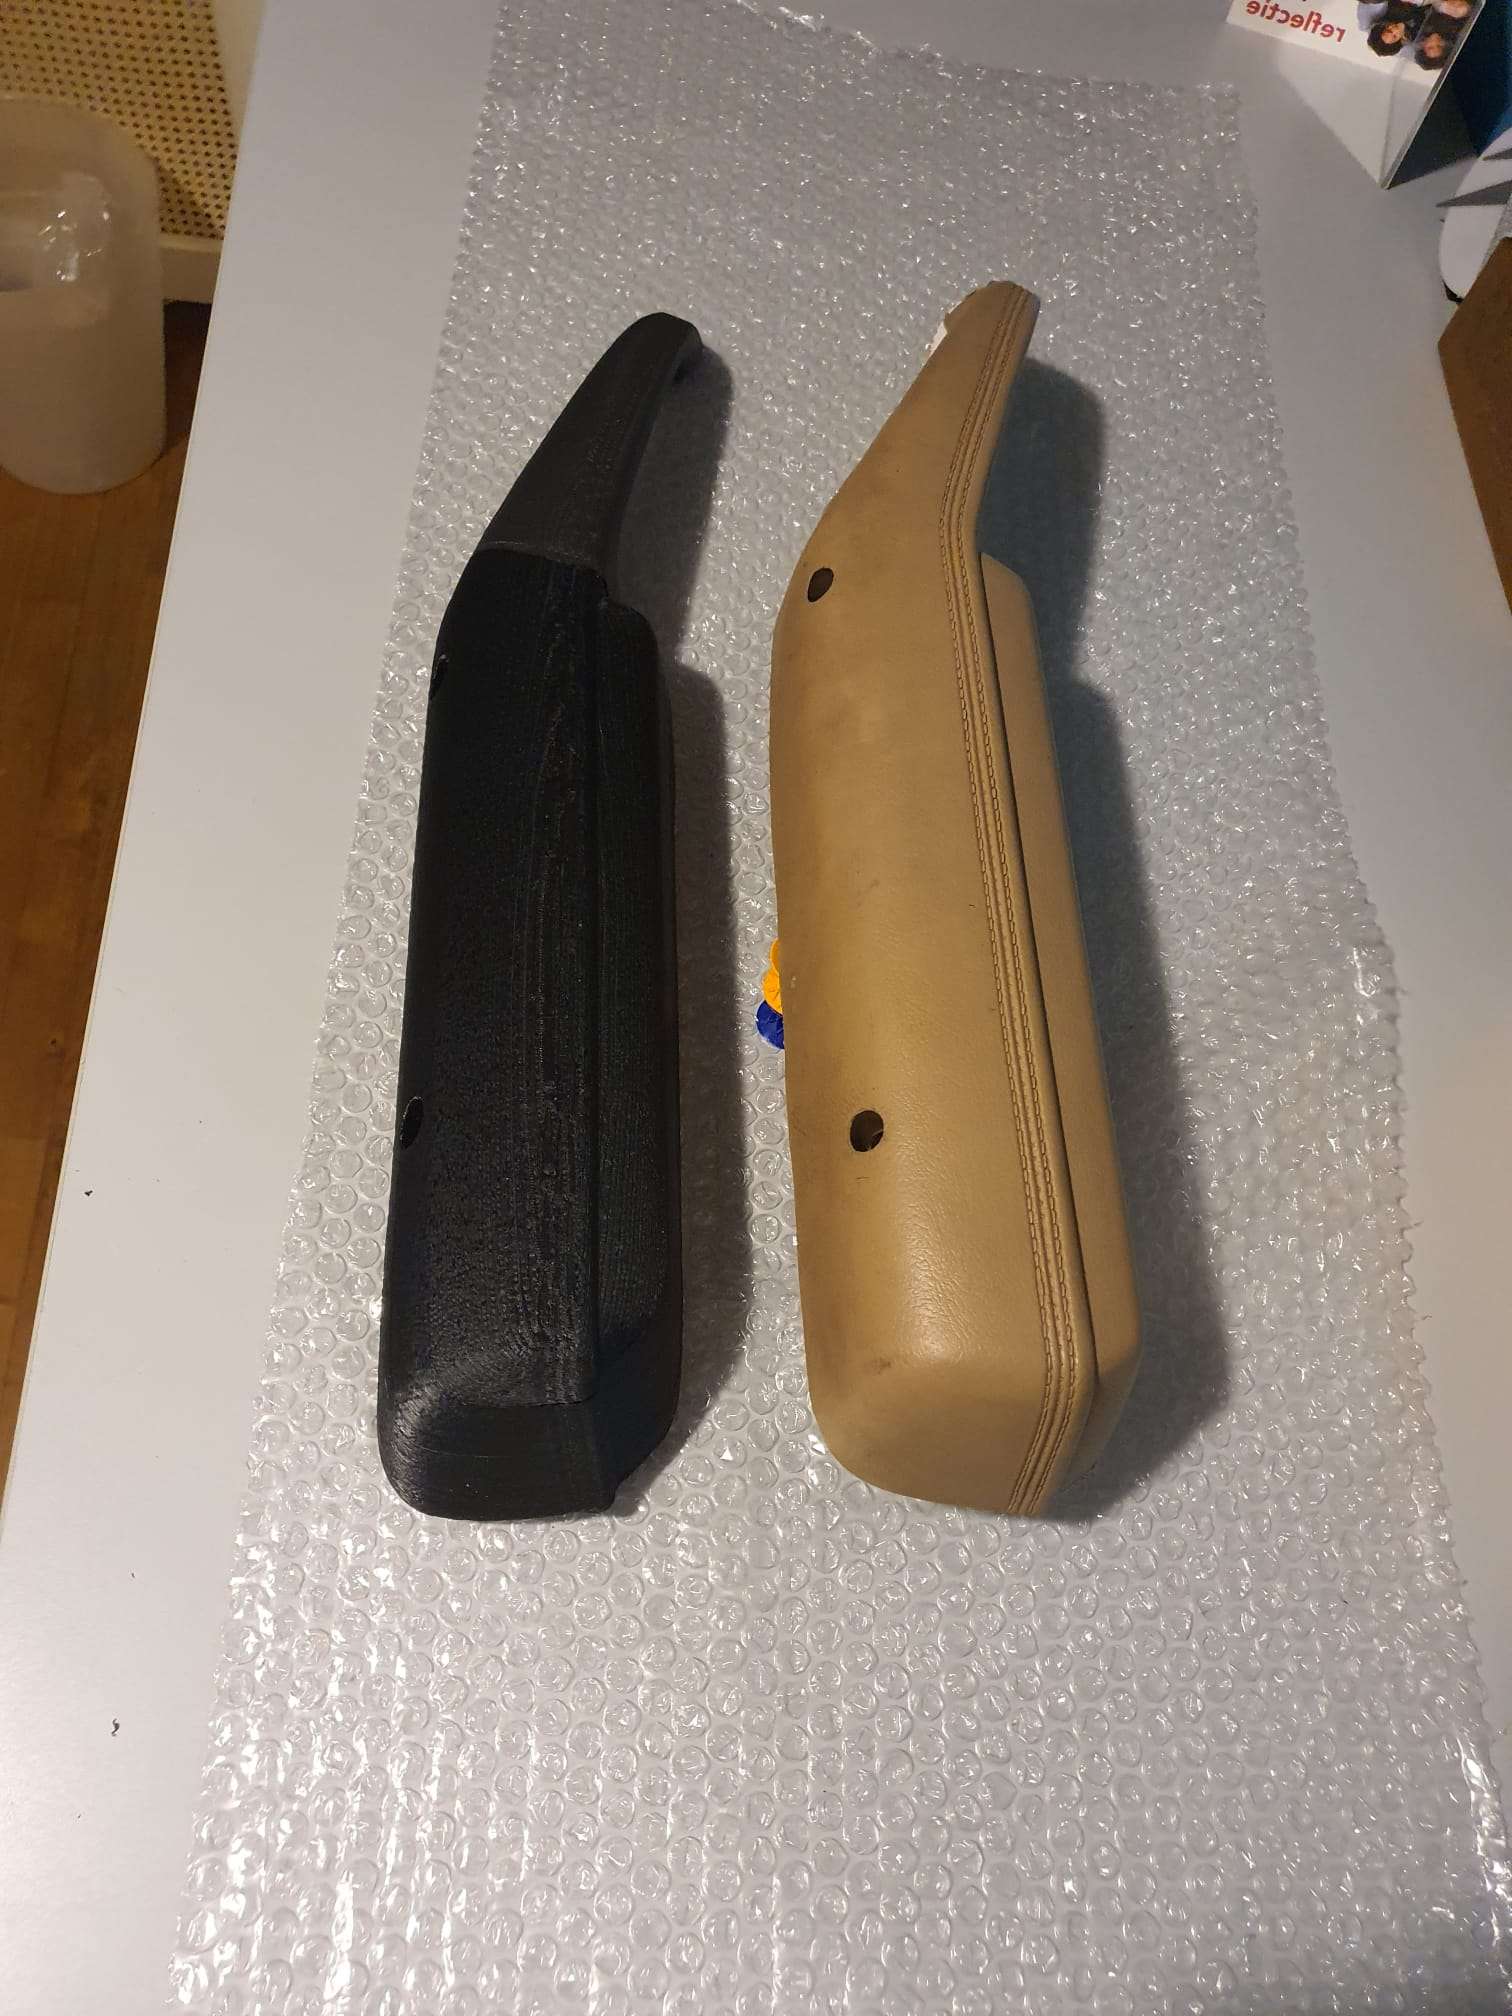
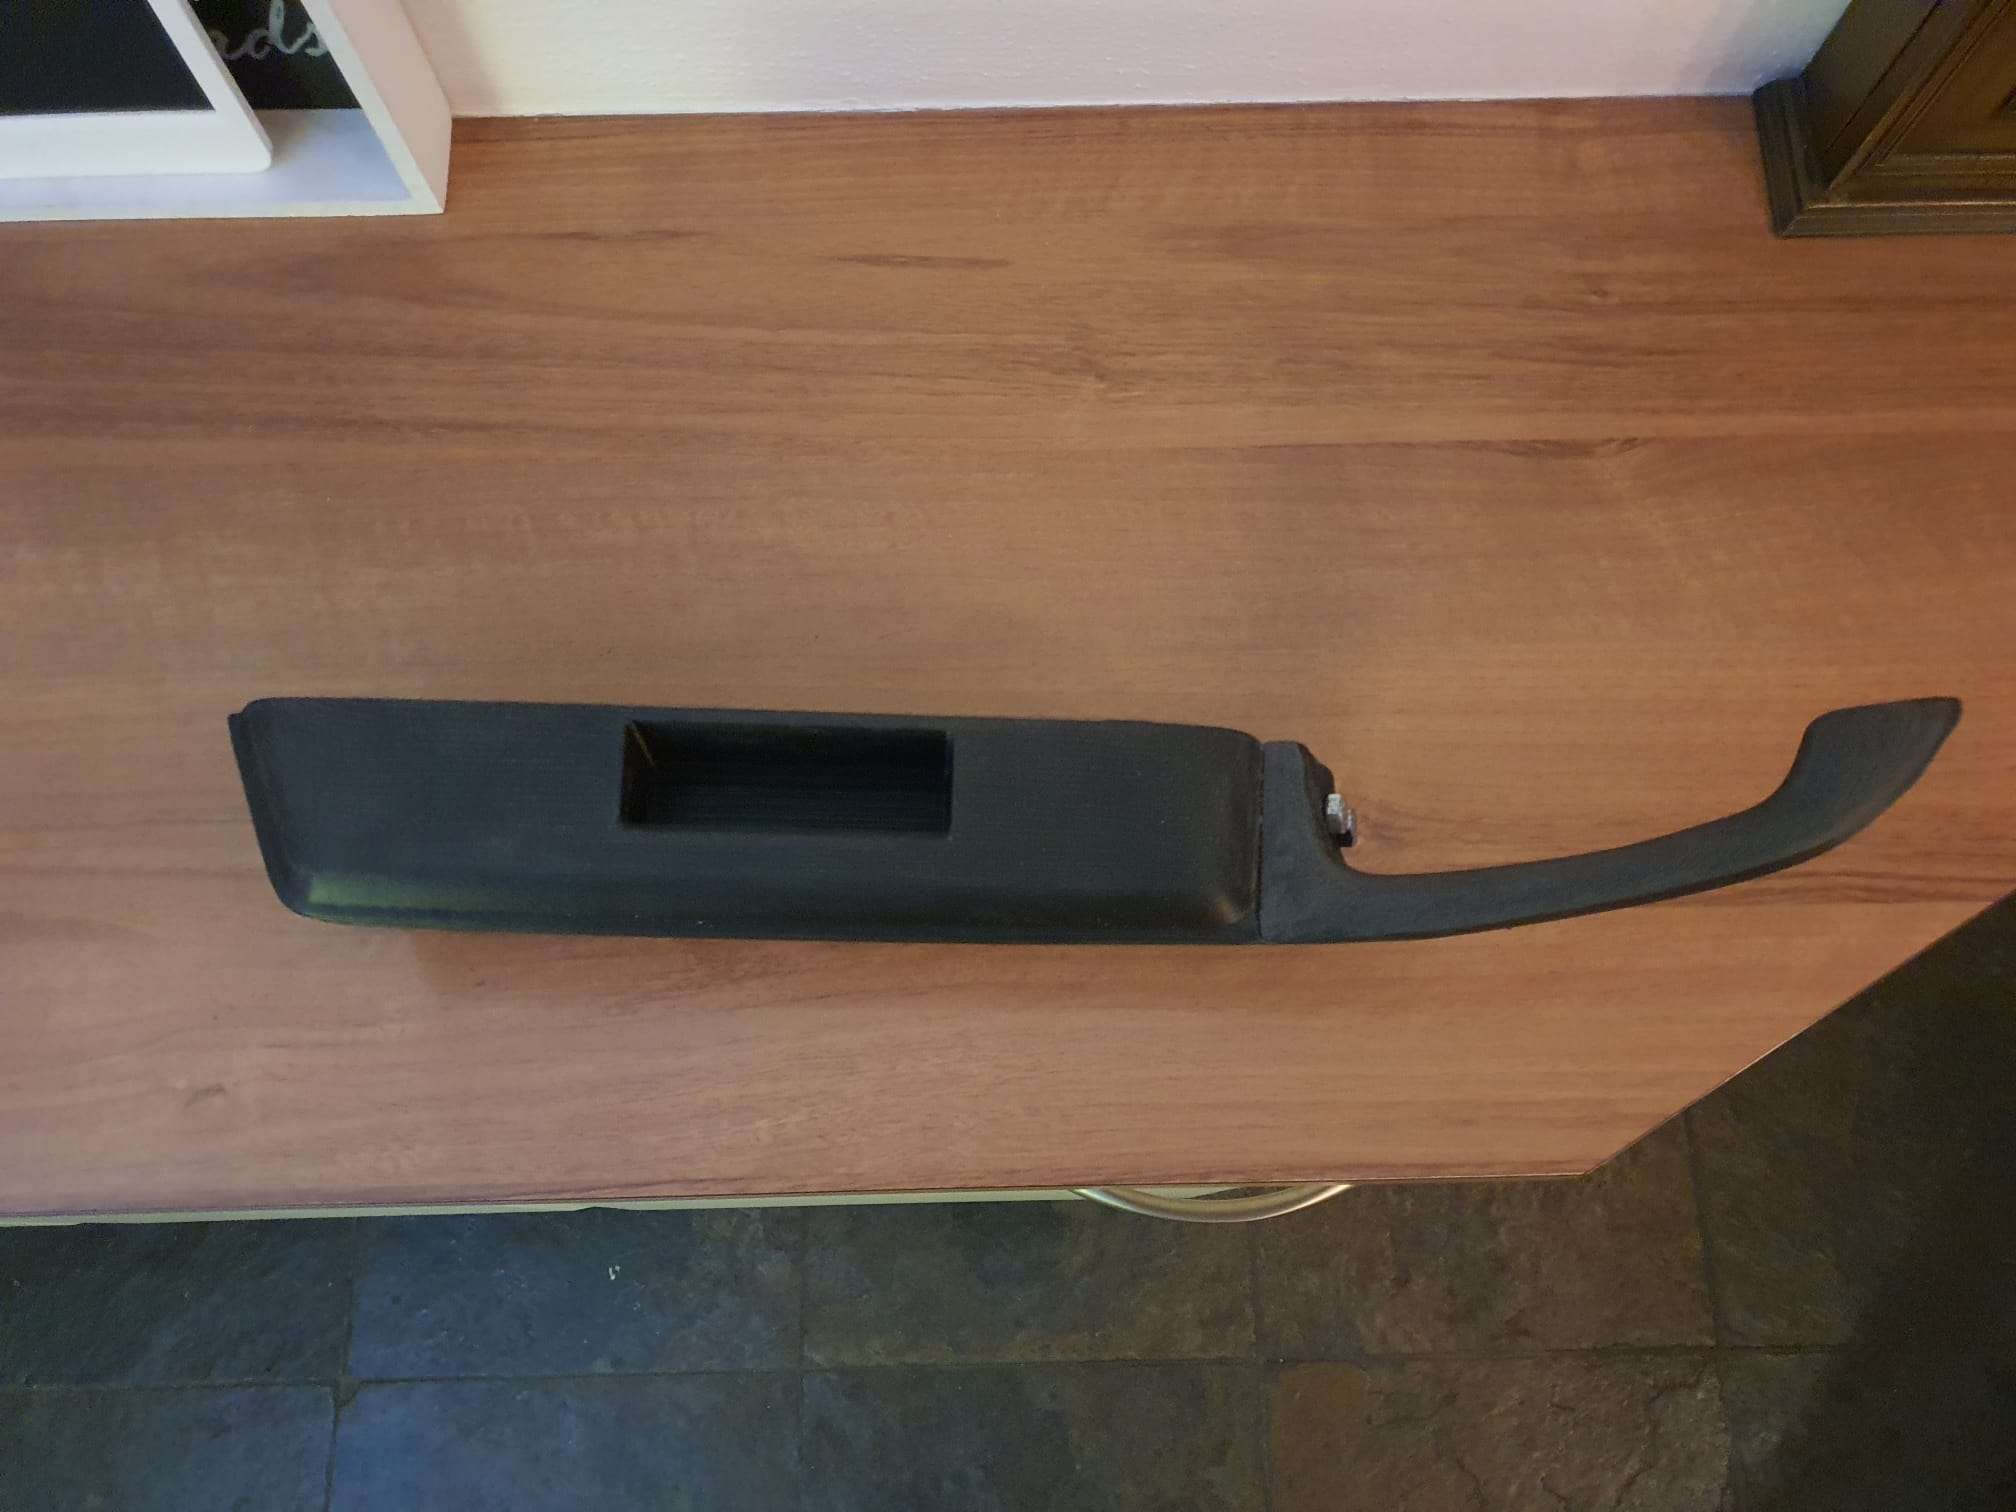
After 3d printing in ASA black, the parts got new leather upholstering.
After the right hand side was made to fit perfectly, we mirrored the design to produce the other armrest and handle for the left hand side as well.

The final result of the two 3dprinted parts joined on the right hand door
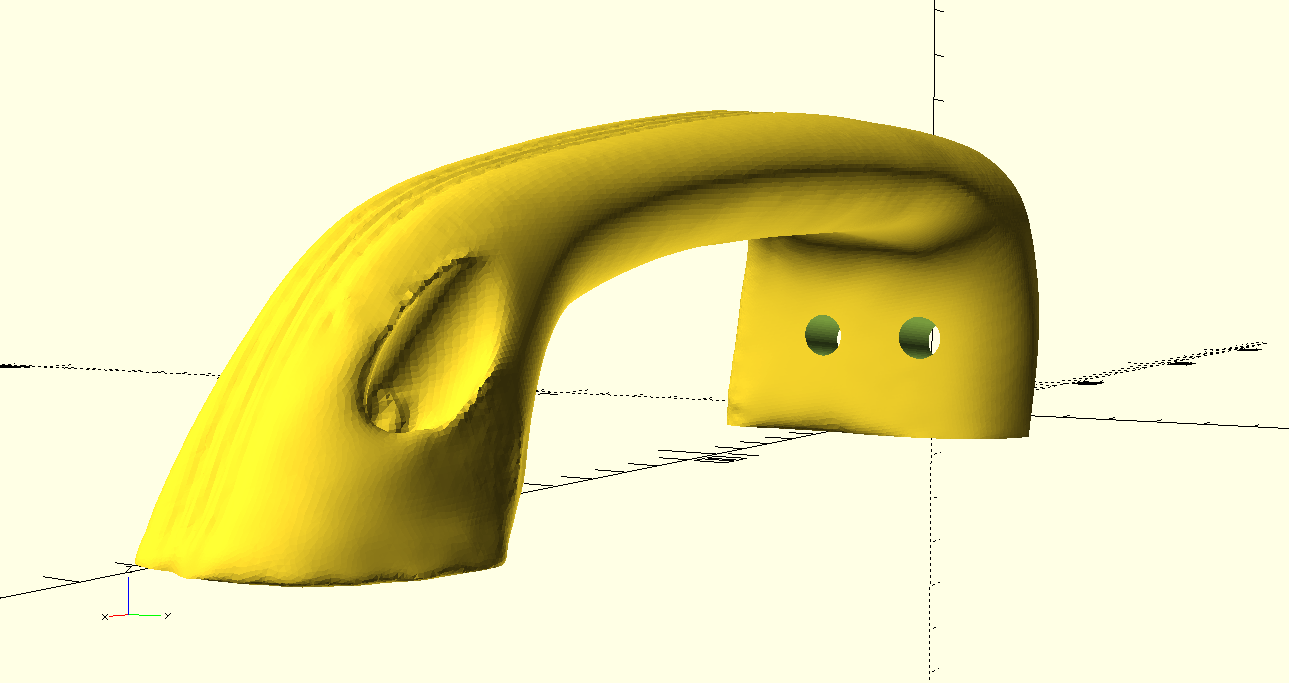
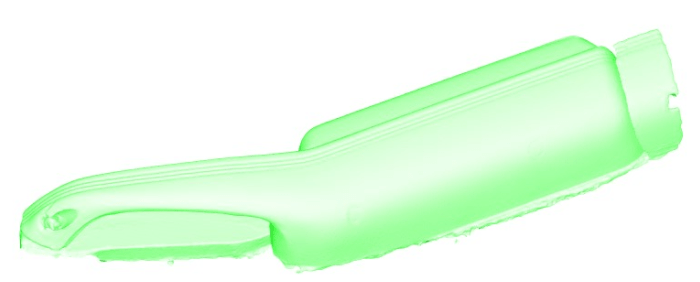
Scanning did produce a nice textured 3d mesh of the armrest BUT the scan proved to be inadequate when we mesured the length of the scan. This was 8.5 cm (more than 3 inch) shorter than the original armrest.
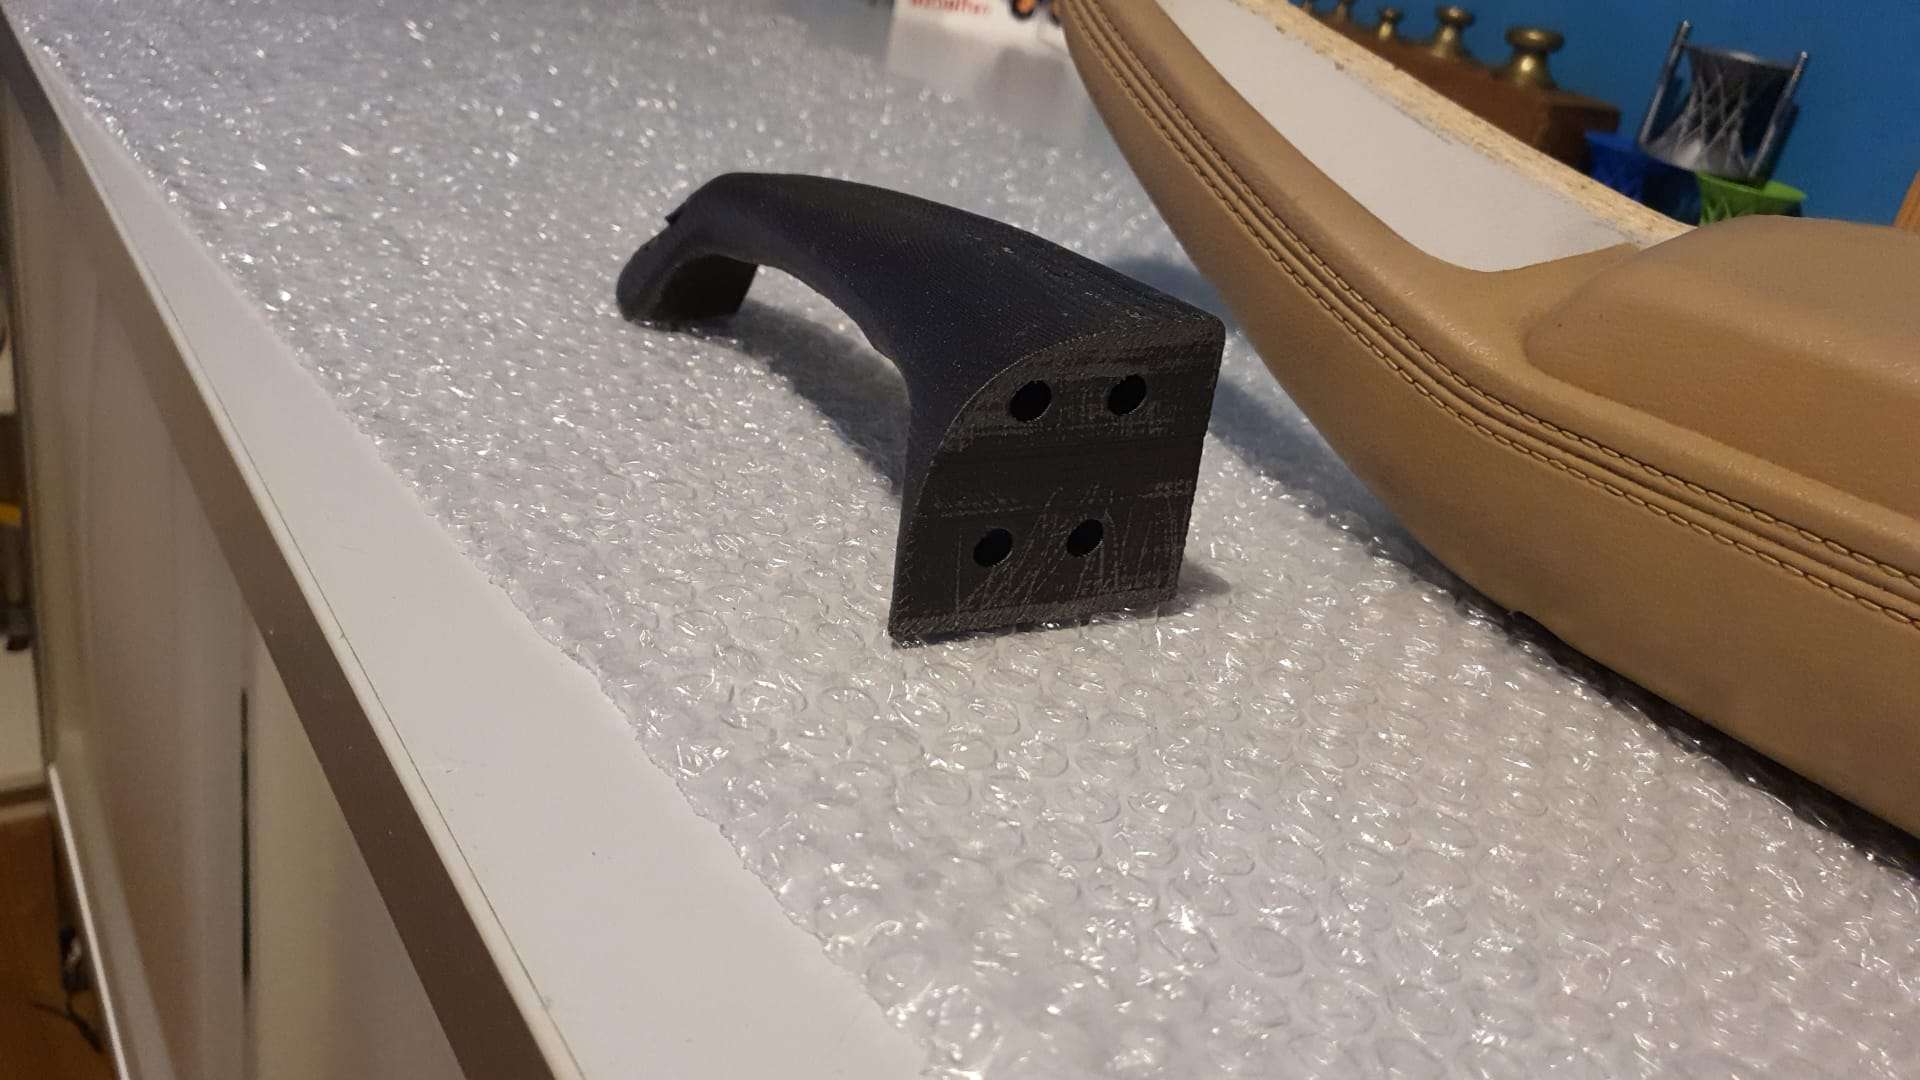
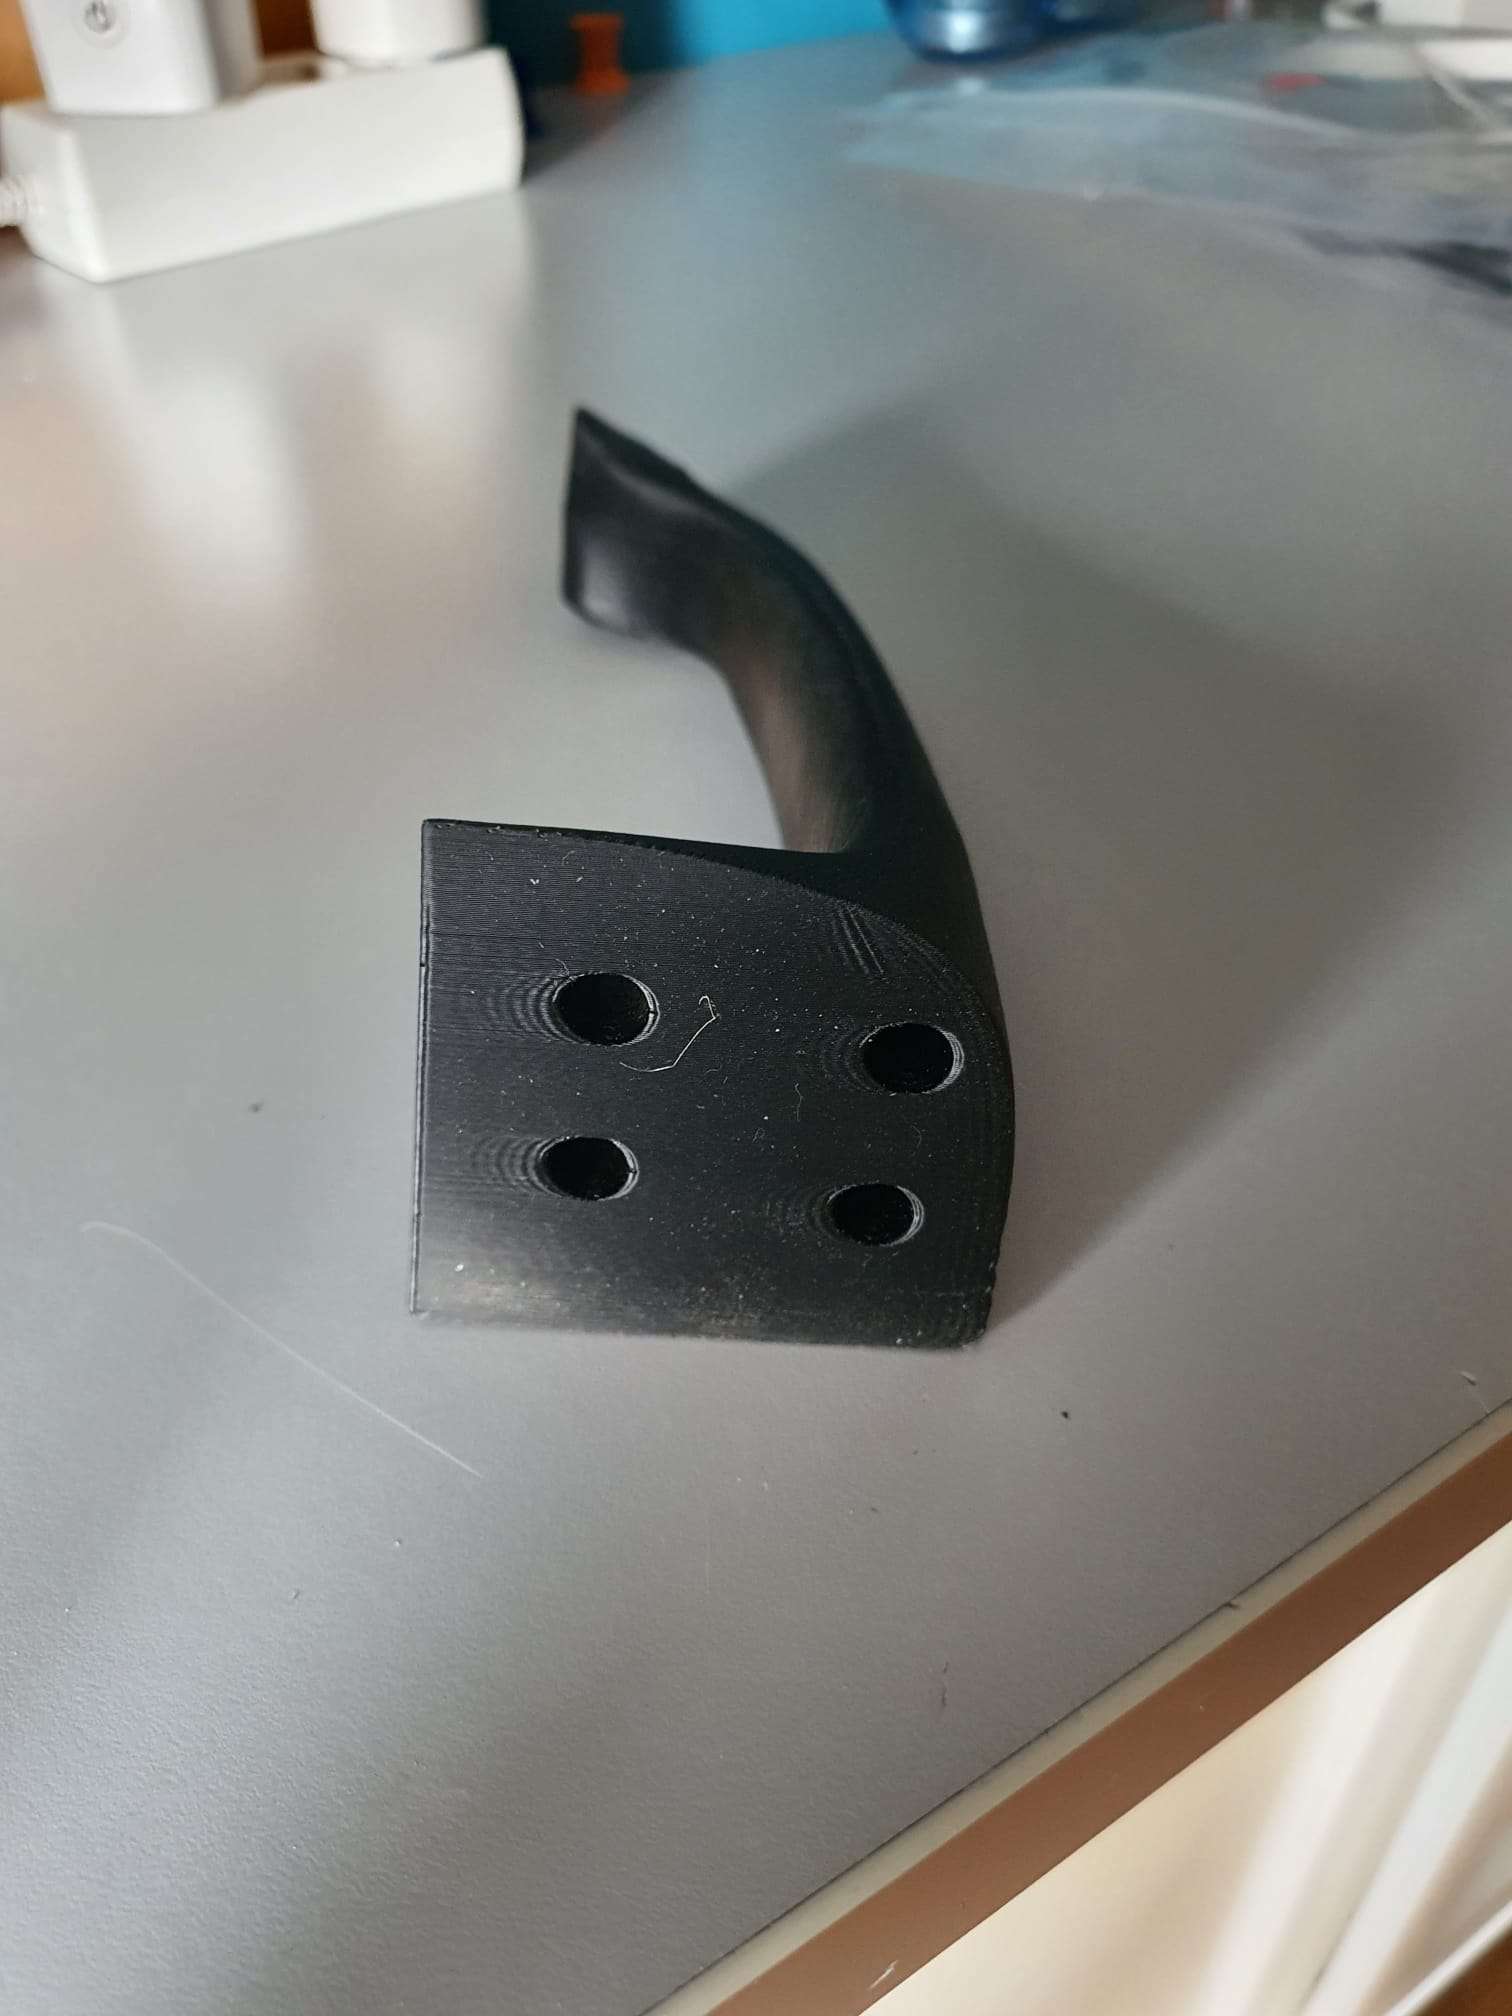
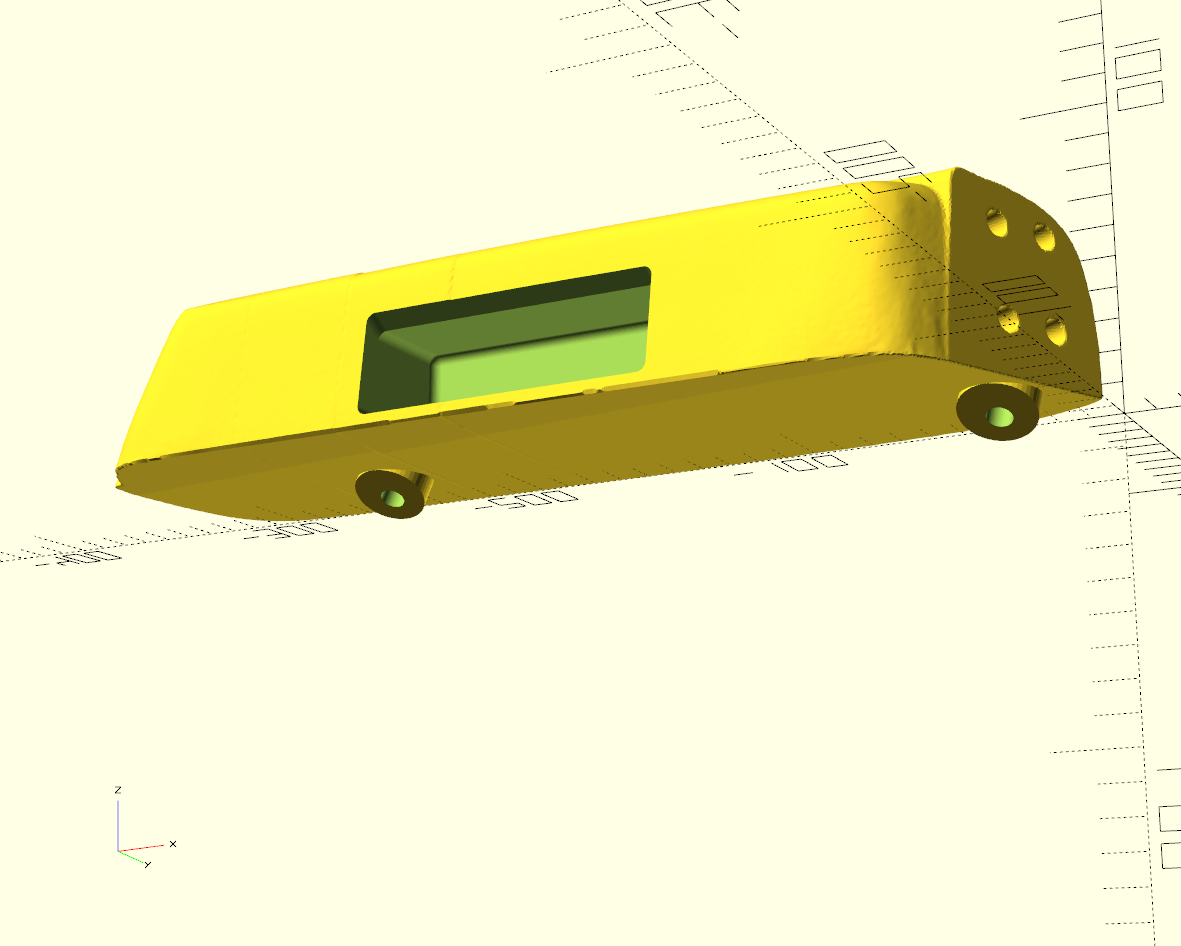
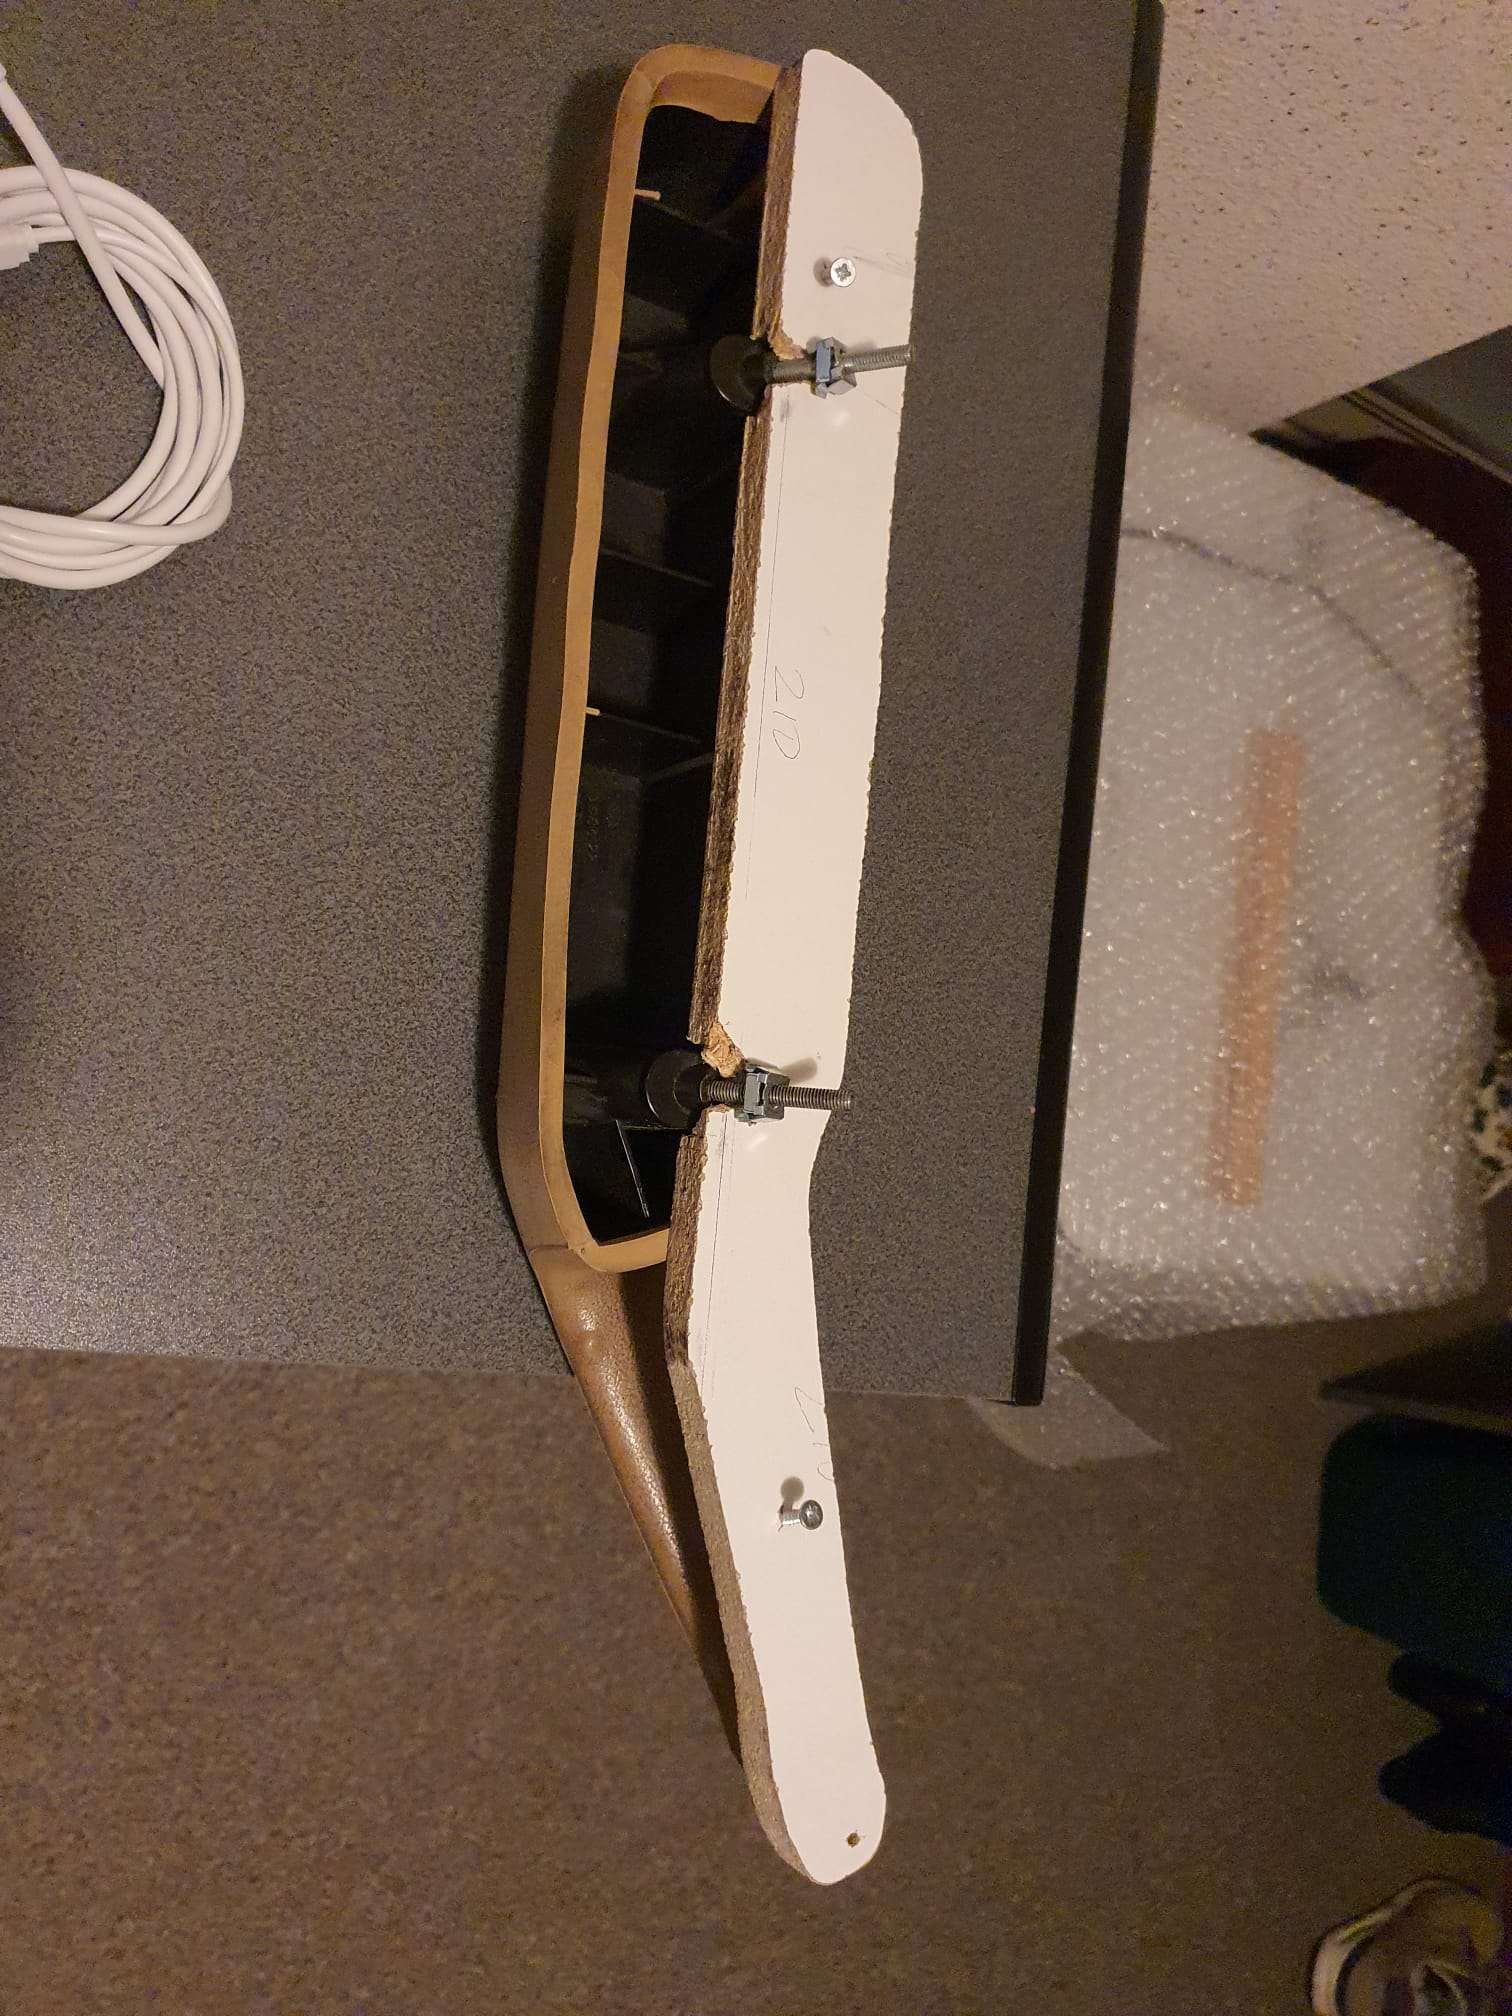
Also, the mounting holes were only visible as small round indents in the hull and due to the length decrease they were not at the correct position.
And-another problem occured due to the broken plastic inside the connection between the armrest and the handle: It was very difficult to scan the original armrest with the plate attached. The plate was however very needed because the handle needs to be fixated to get it at the right position for proper results with scanning.
Plus, the mounting spot that is at the end of the handle was severily damaged and the scan obviously also reproduced this ugly spot. I reworked this with meshmixer.
Fixing the above and making the 3 mounting holes into the design with a Cad/Cam program (I used both meshmixer and Openscad to get everything done) proved to be very time-consuming.
All in all- I always do my time-keeping when I do specific work- it took around 72 hours of my PC time to get this all done, up until the workable version of the STL files that were OK to be printed.
For scanning I use my Creality lizard scanner on my gaming laptop with built-in RT3060 GPU.
For editing, I use my newest ACER XPS13 laptop with thunderbolt, connected to my Razor external thunderbolt RT3060 graphics box and an external hi-res monitor.
3D printing is the next step that is very time consuming, but thankfully I only need to start the prints up and afterwards get the prints off the machines.
I made about 6 versions of both the designs and the printed parts before everything was OK.
The handle prints in around 6 hours on my twotrees sapphire pro at 100mm/s, 0.3 mm layer height with hi-temp ASA filament (0,6mm nozzle and BIQU high temp direct drive hotend installed).
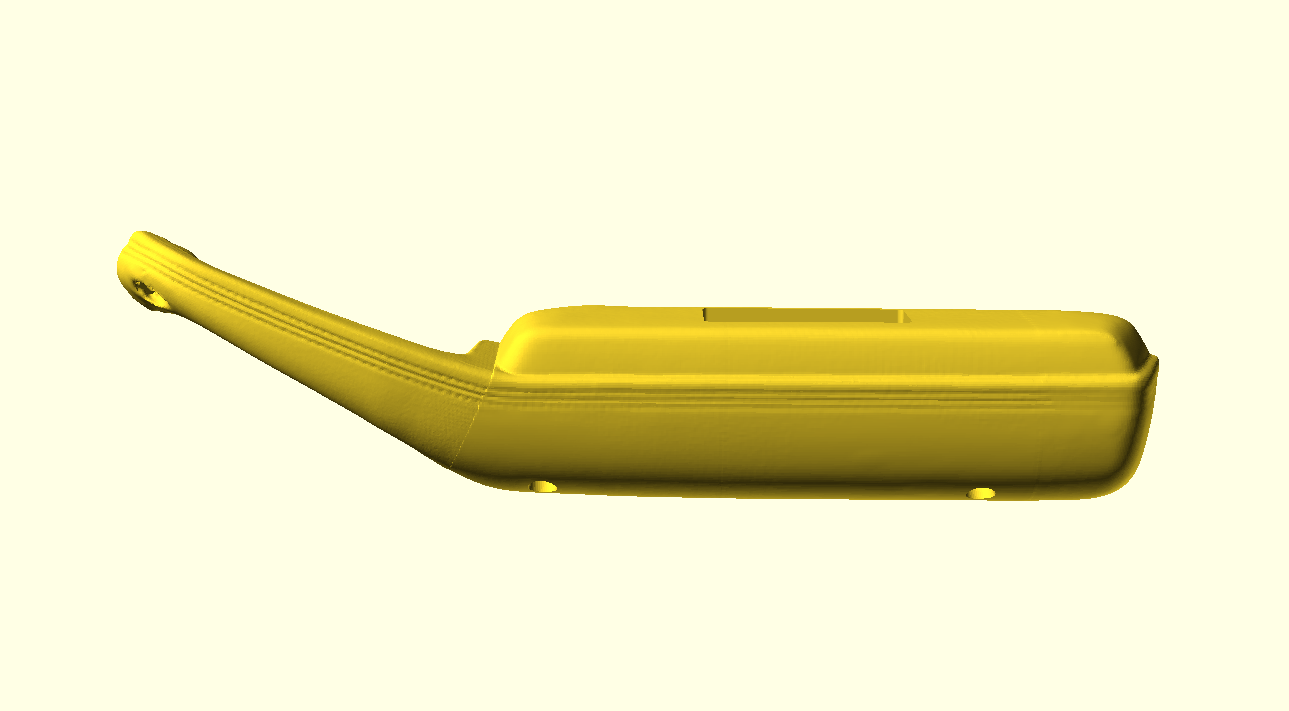
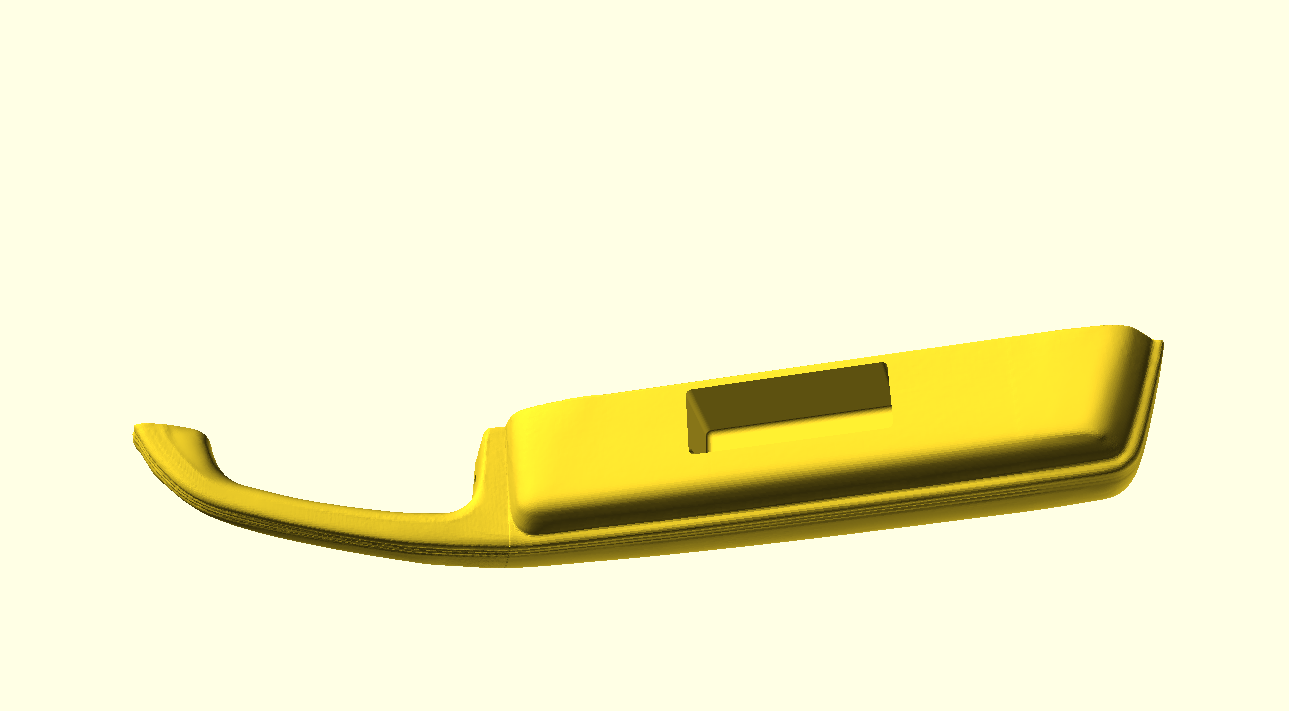
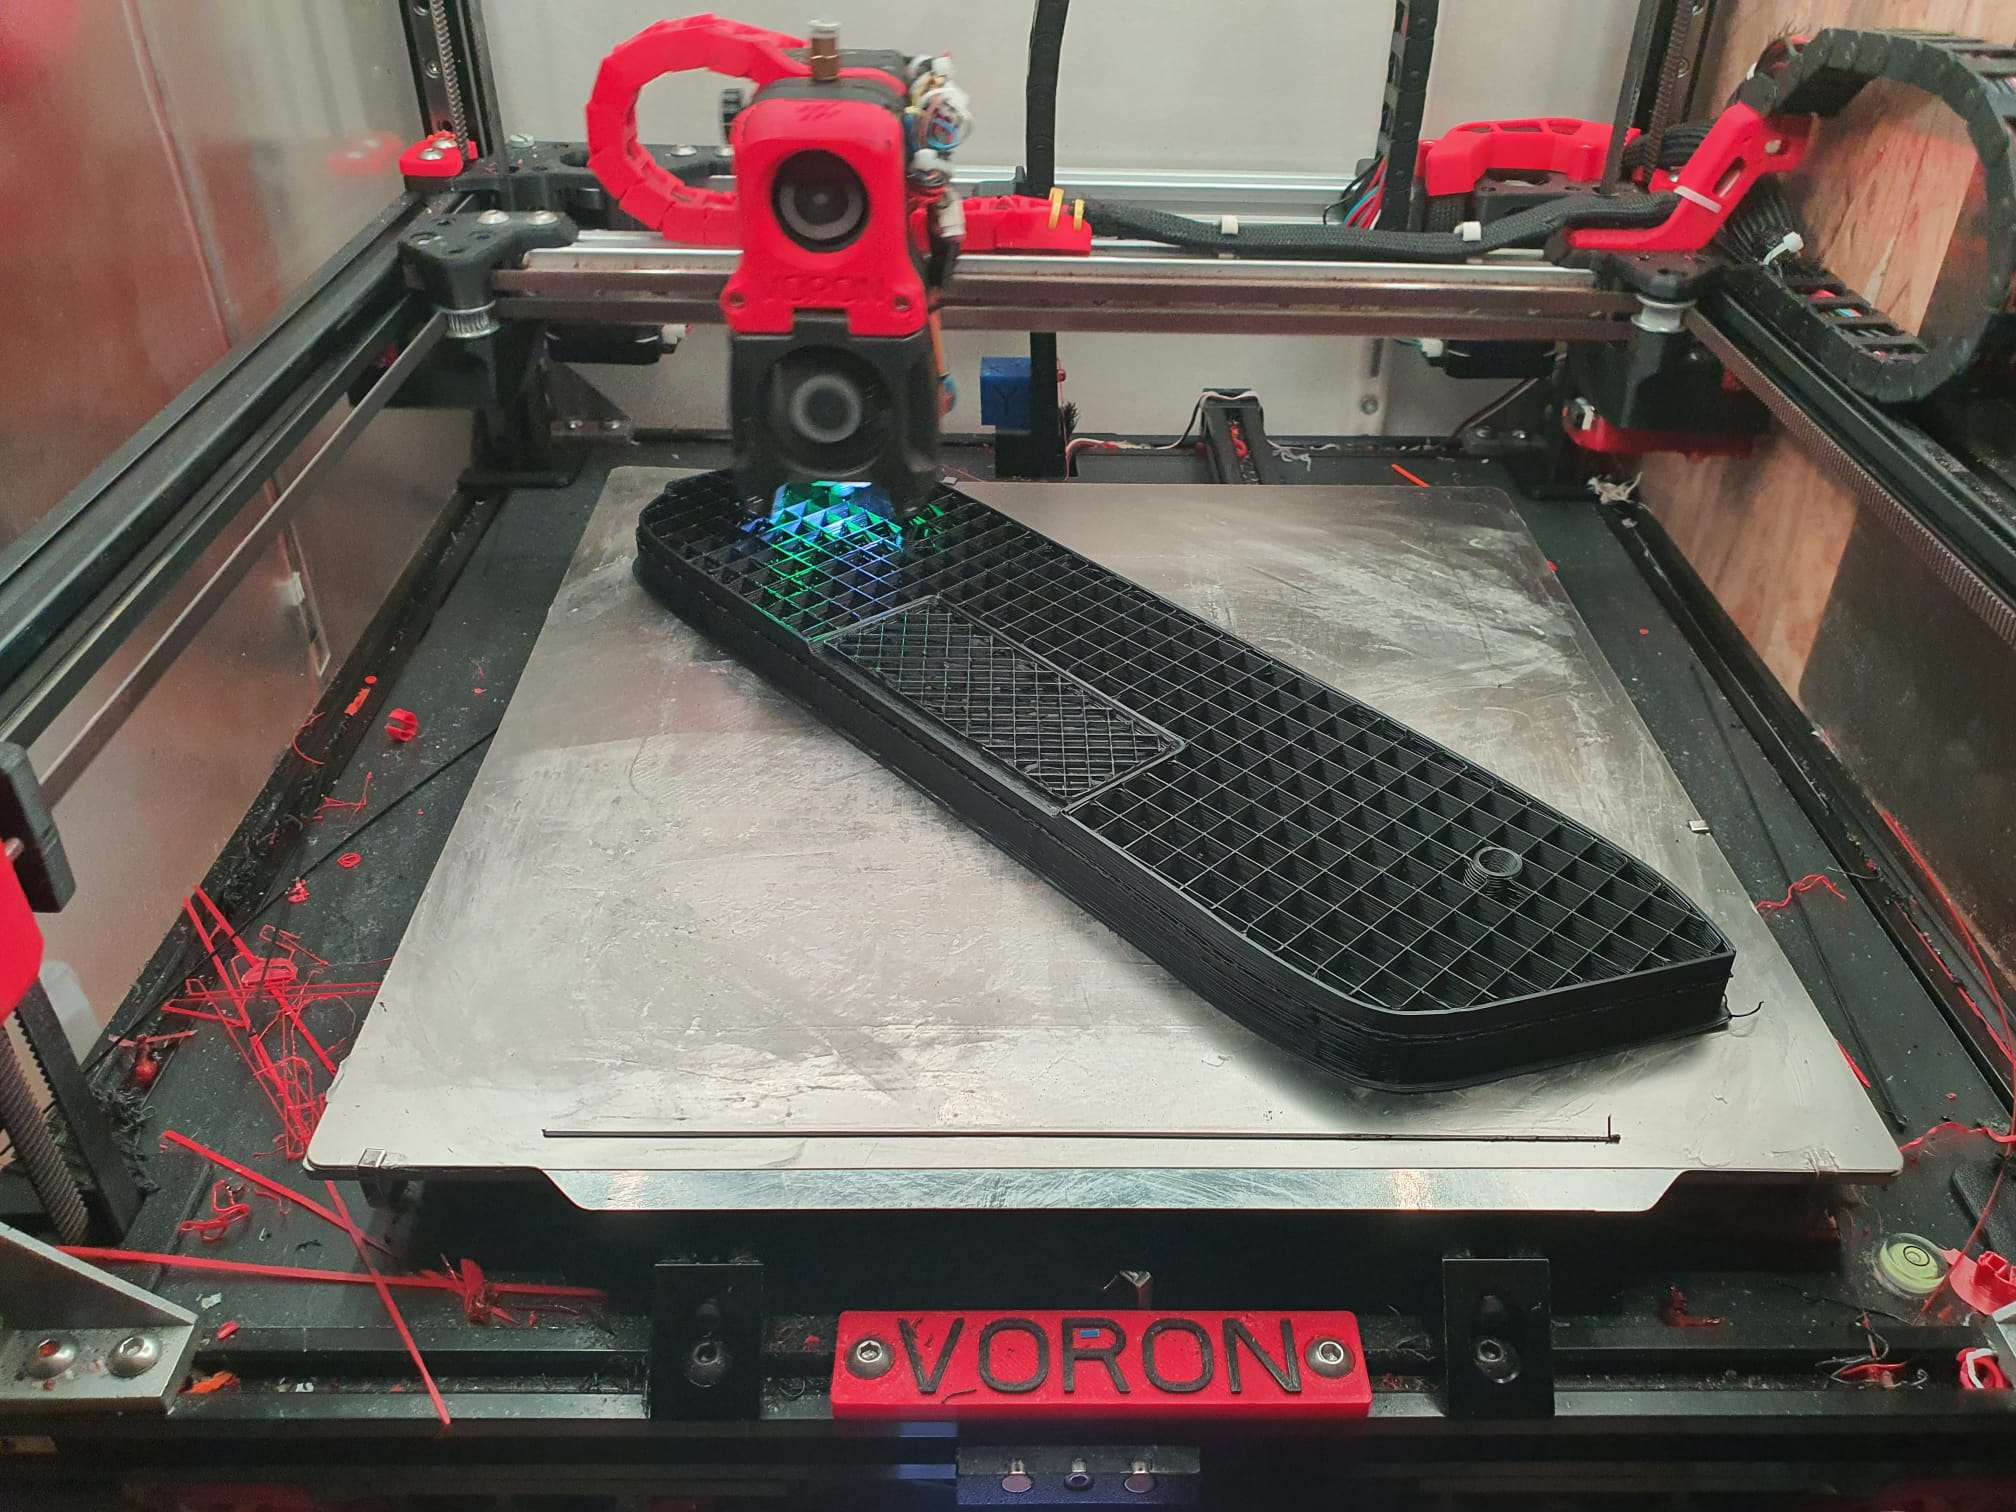
The large armrest 387 mm long part prints in 20 hours at 0.3 mm layer height, ASA high-temp filament on my Voron 2.4 with a 0.5 mm nozzle.
The results are shown below: