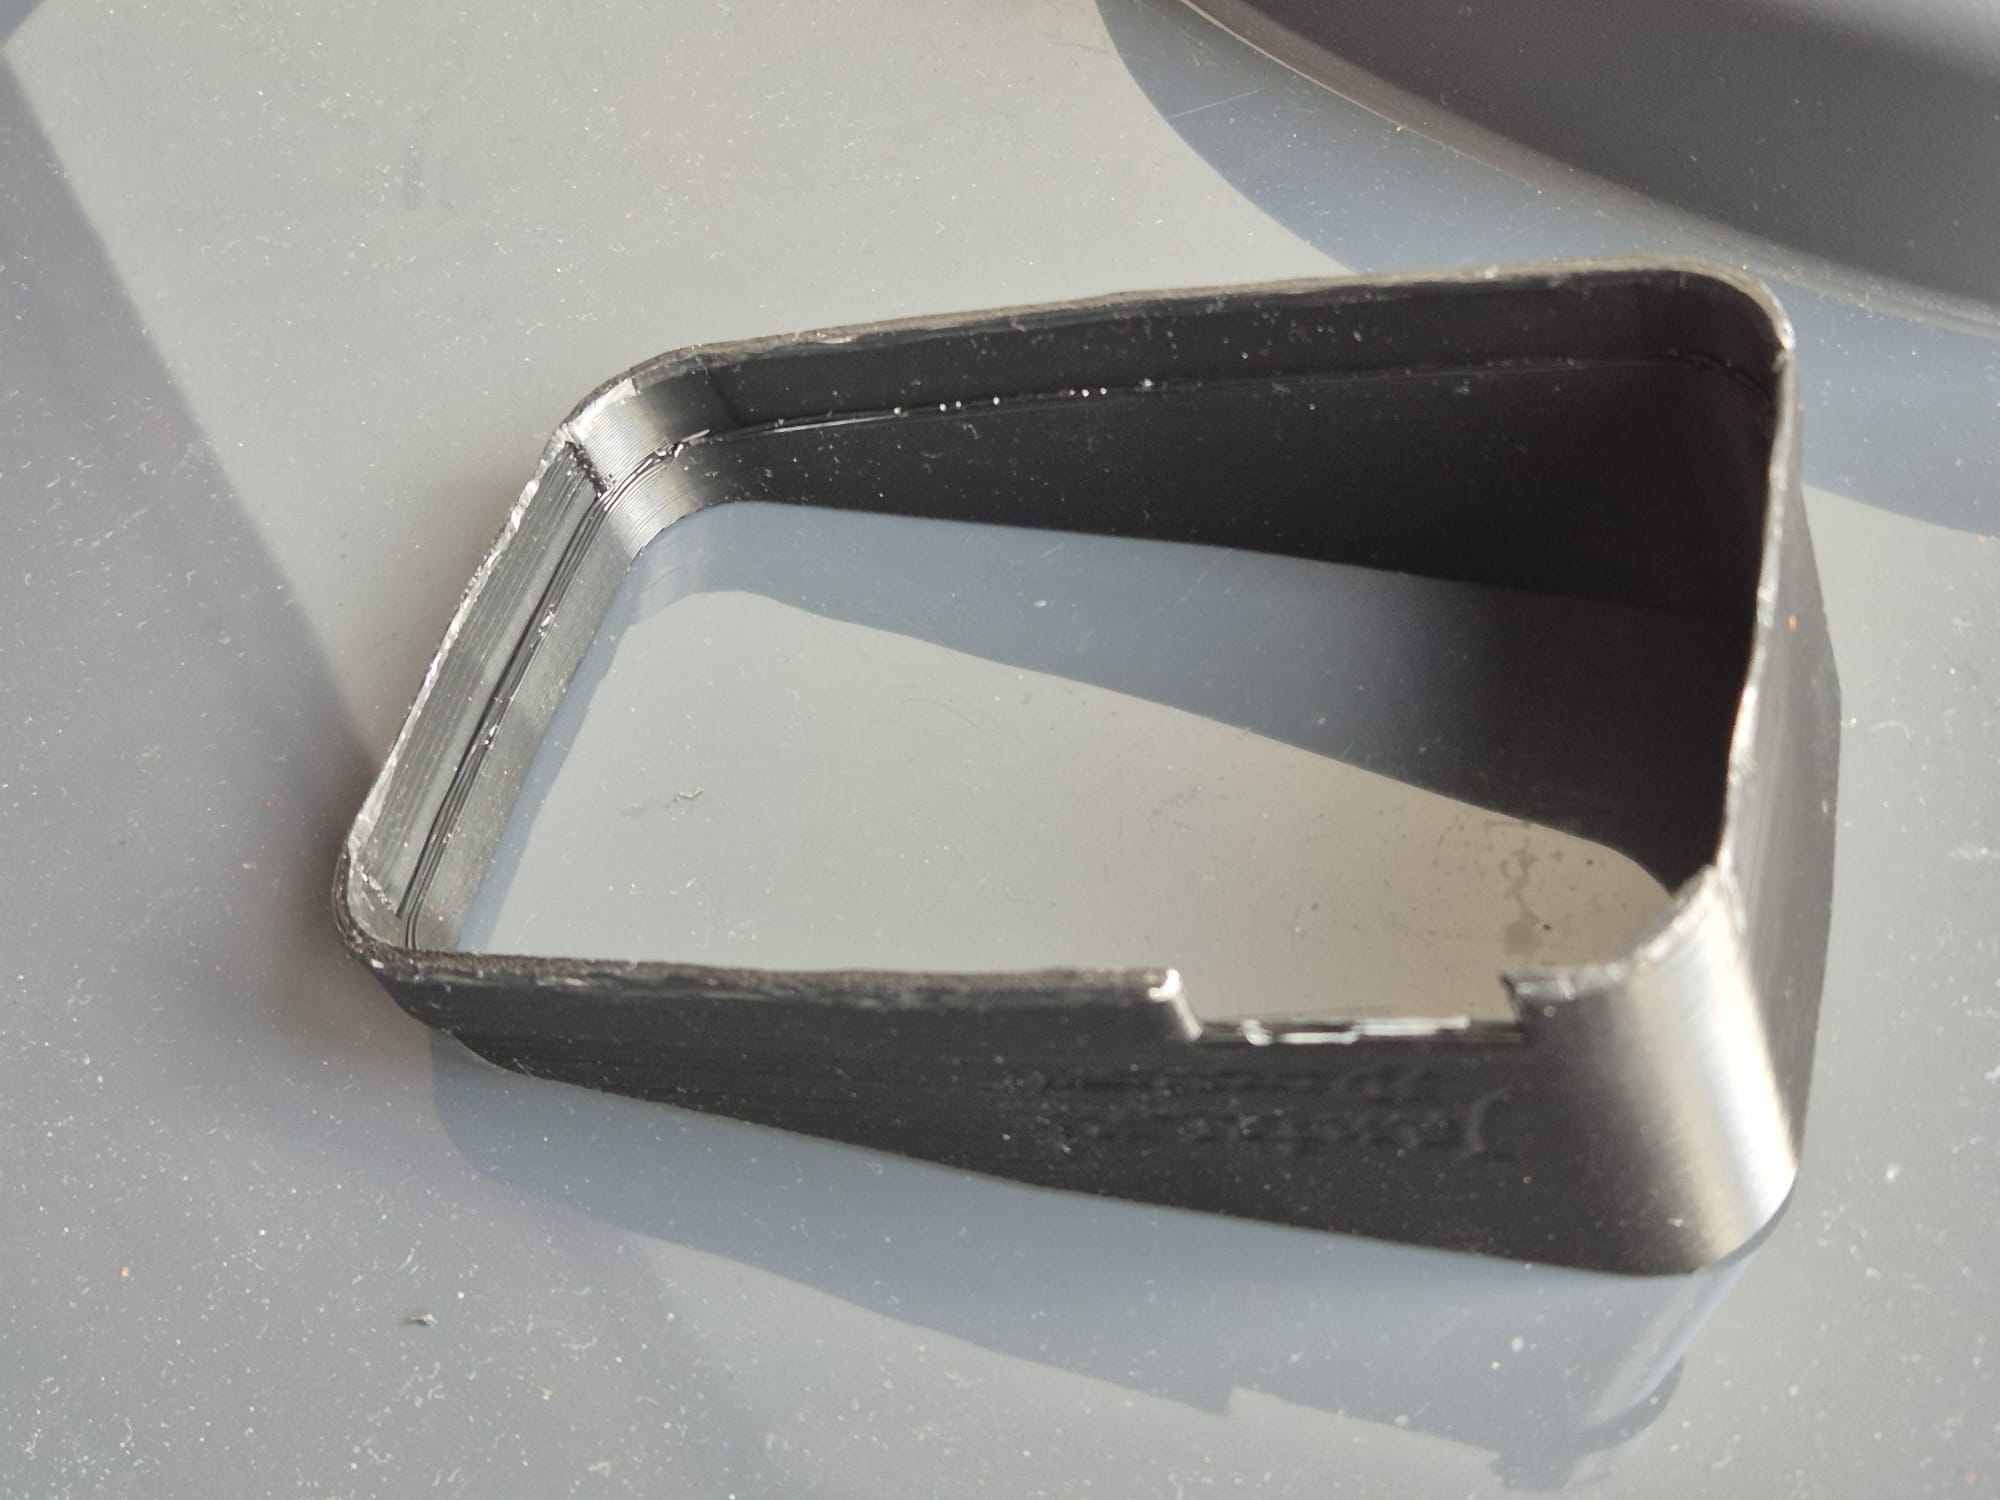
I designed this in Openscad and it took 2 days (off and on) to get it perfect. I started with a horizontal sun shade I designed earlier.
Please donate $1 to my paypal account if you use my original designs !
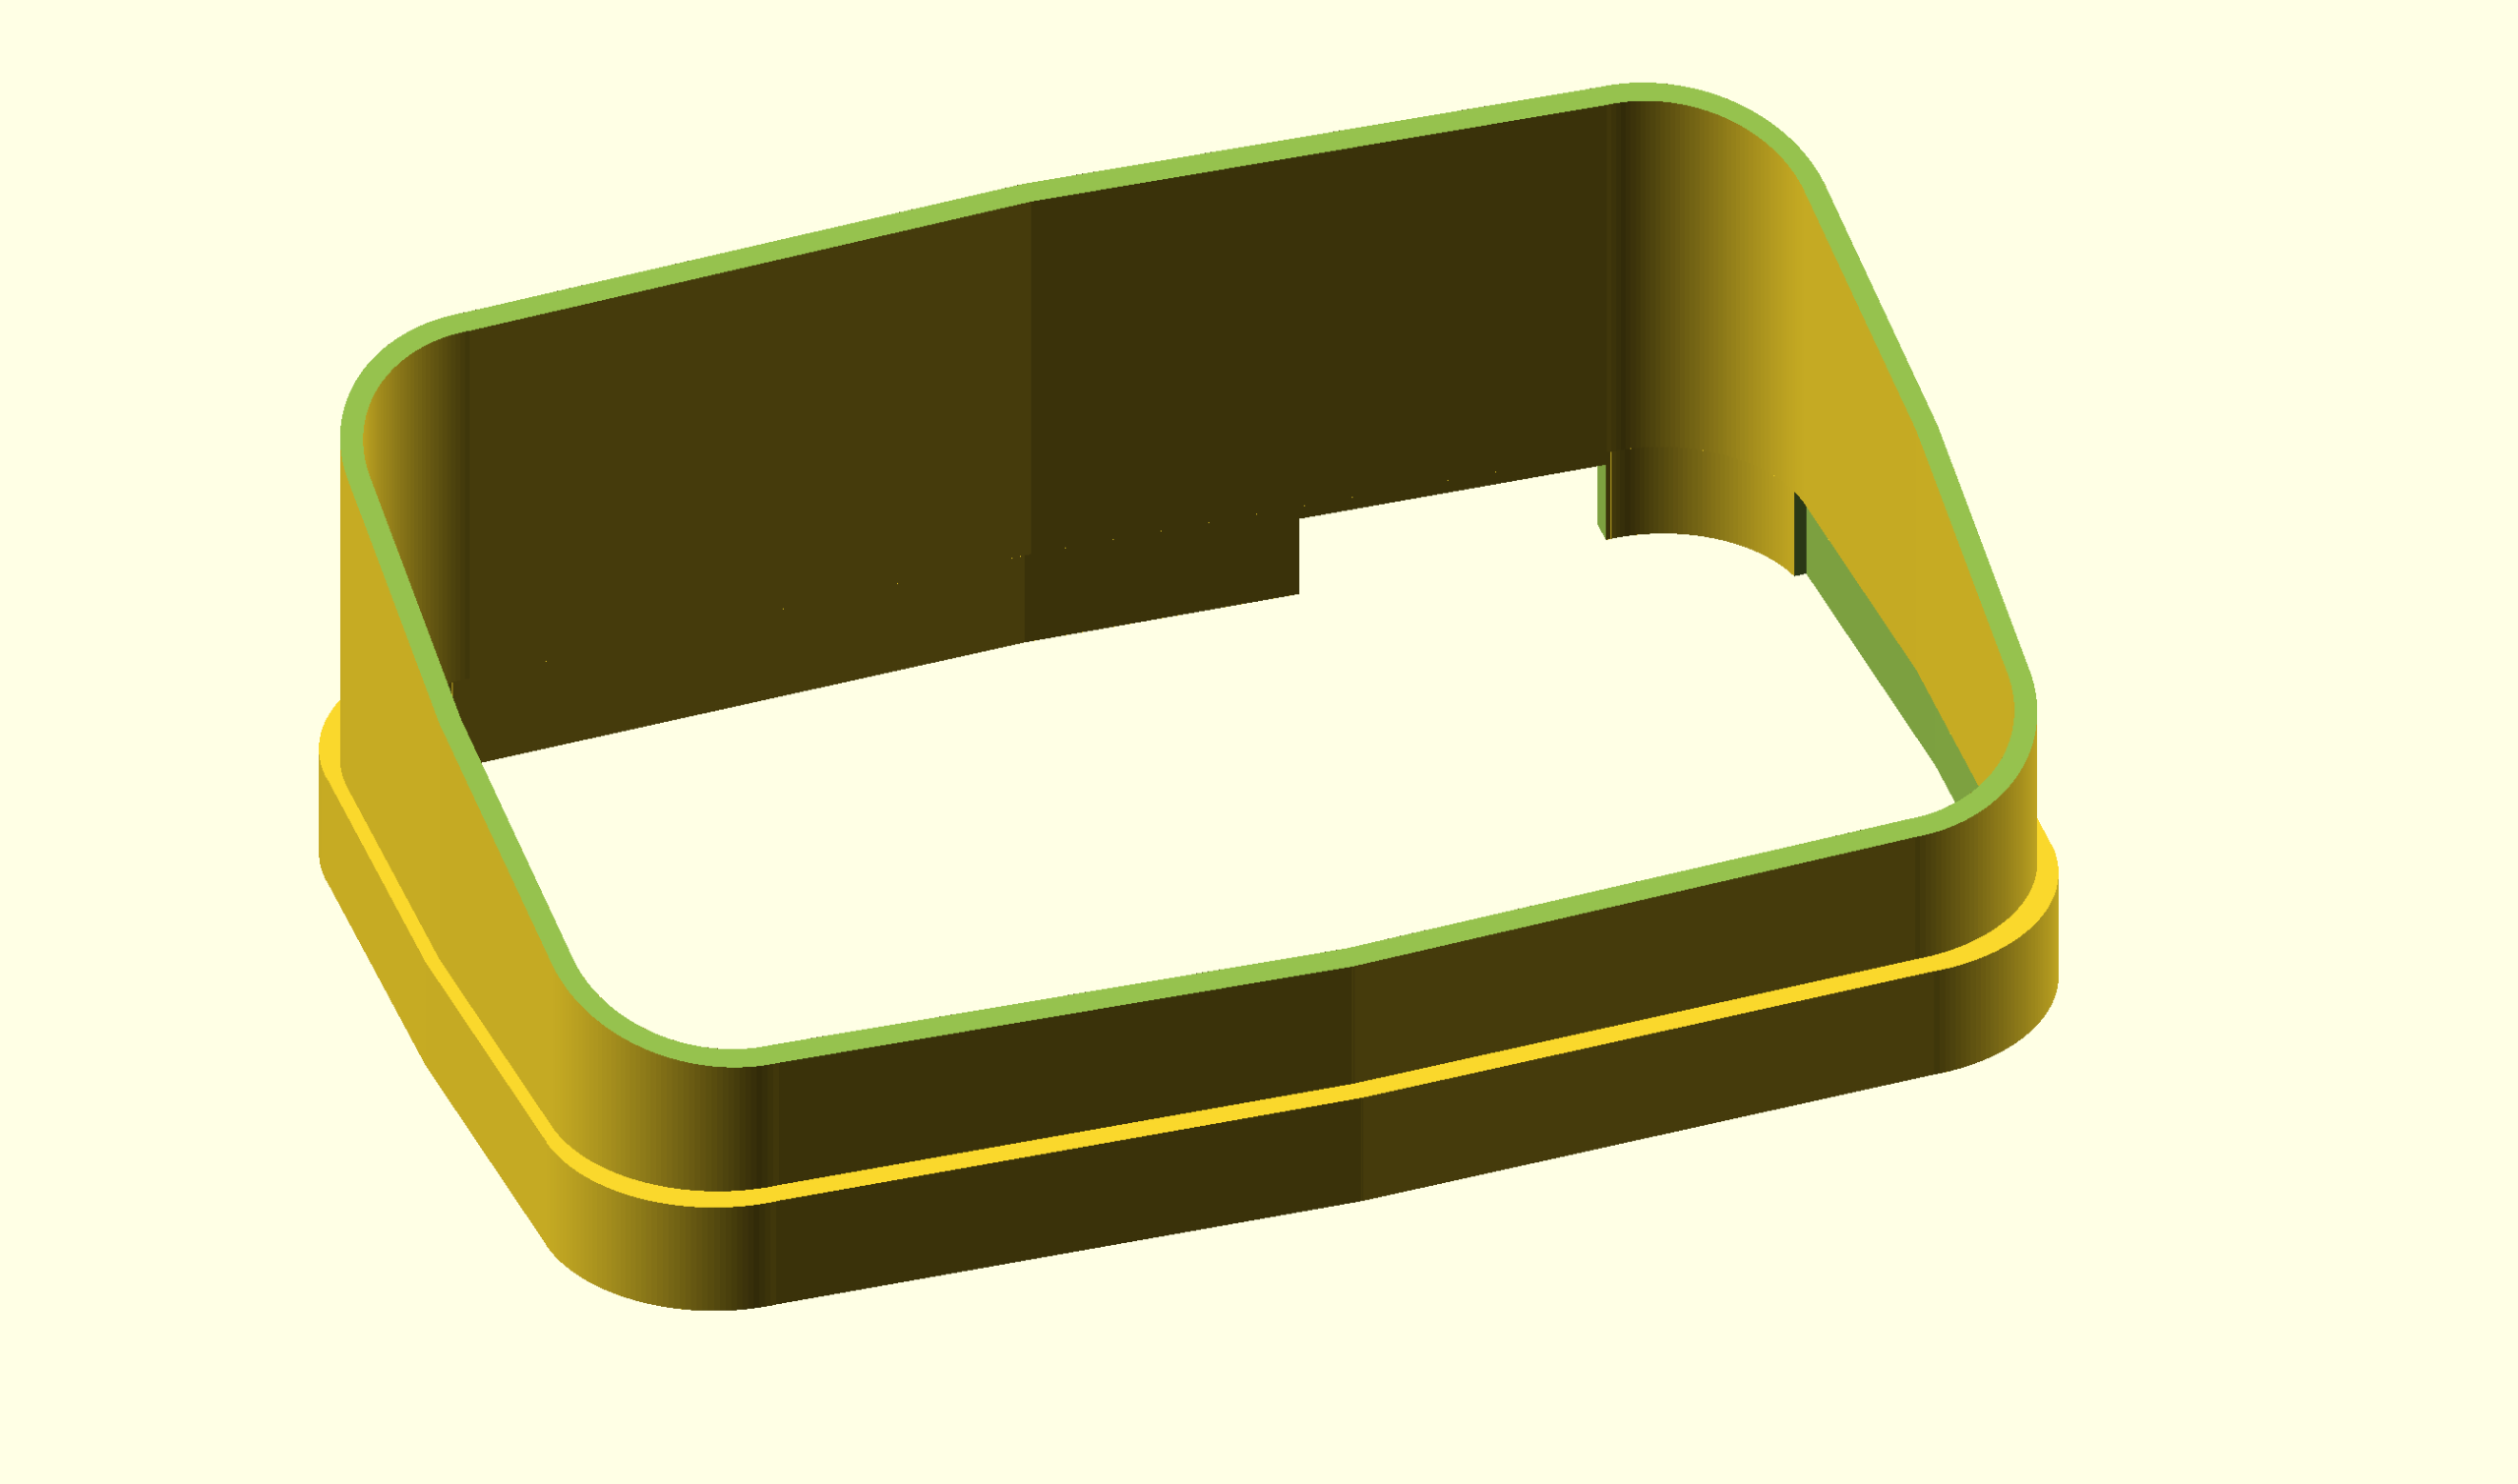
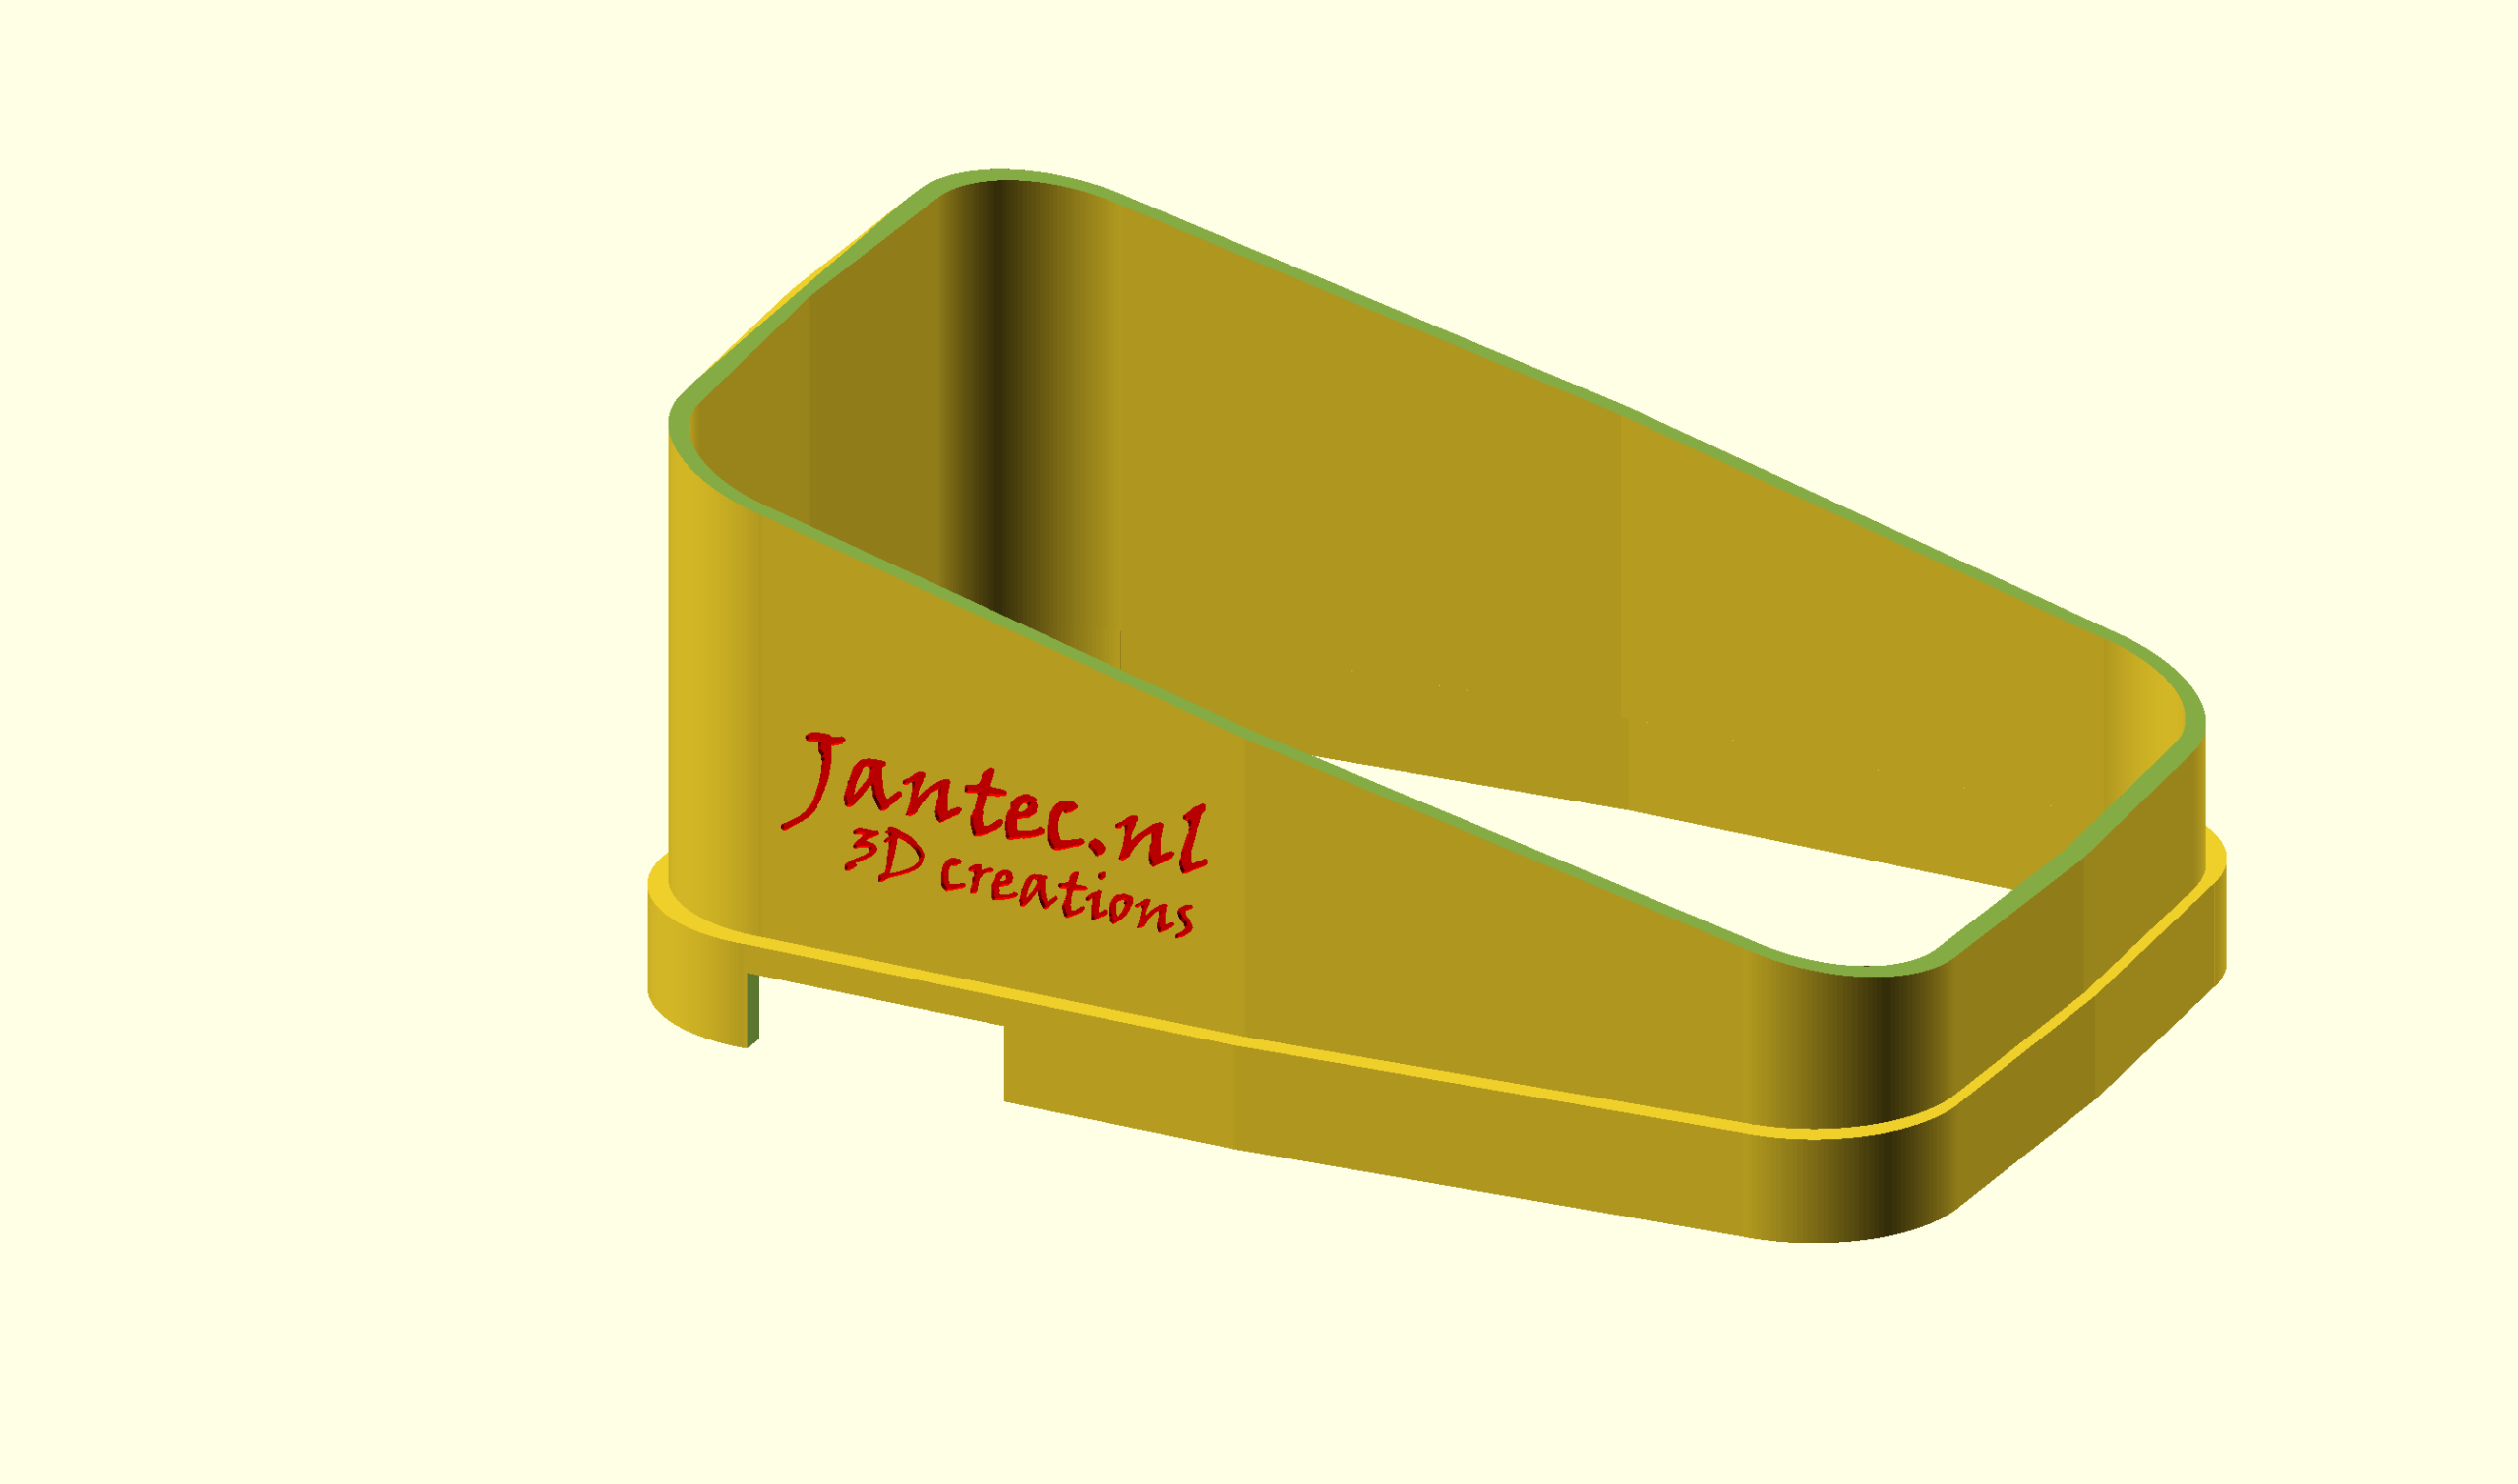
Tomtomrider550_sunshade_horizontal,_M_20251011V10
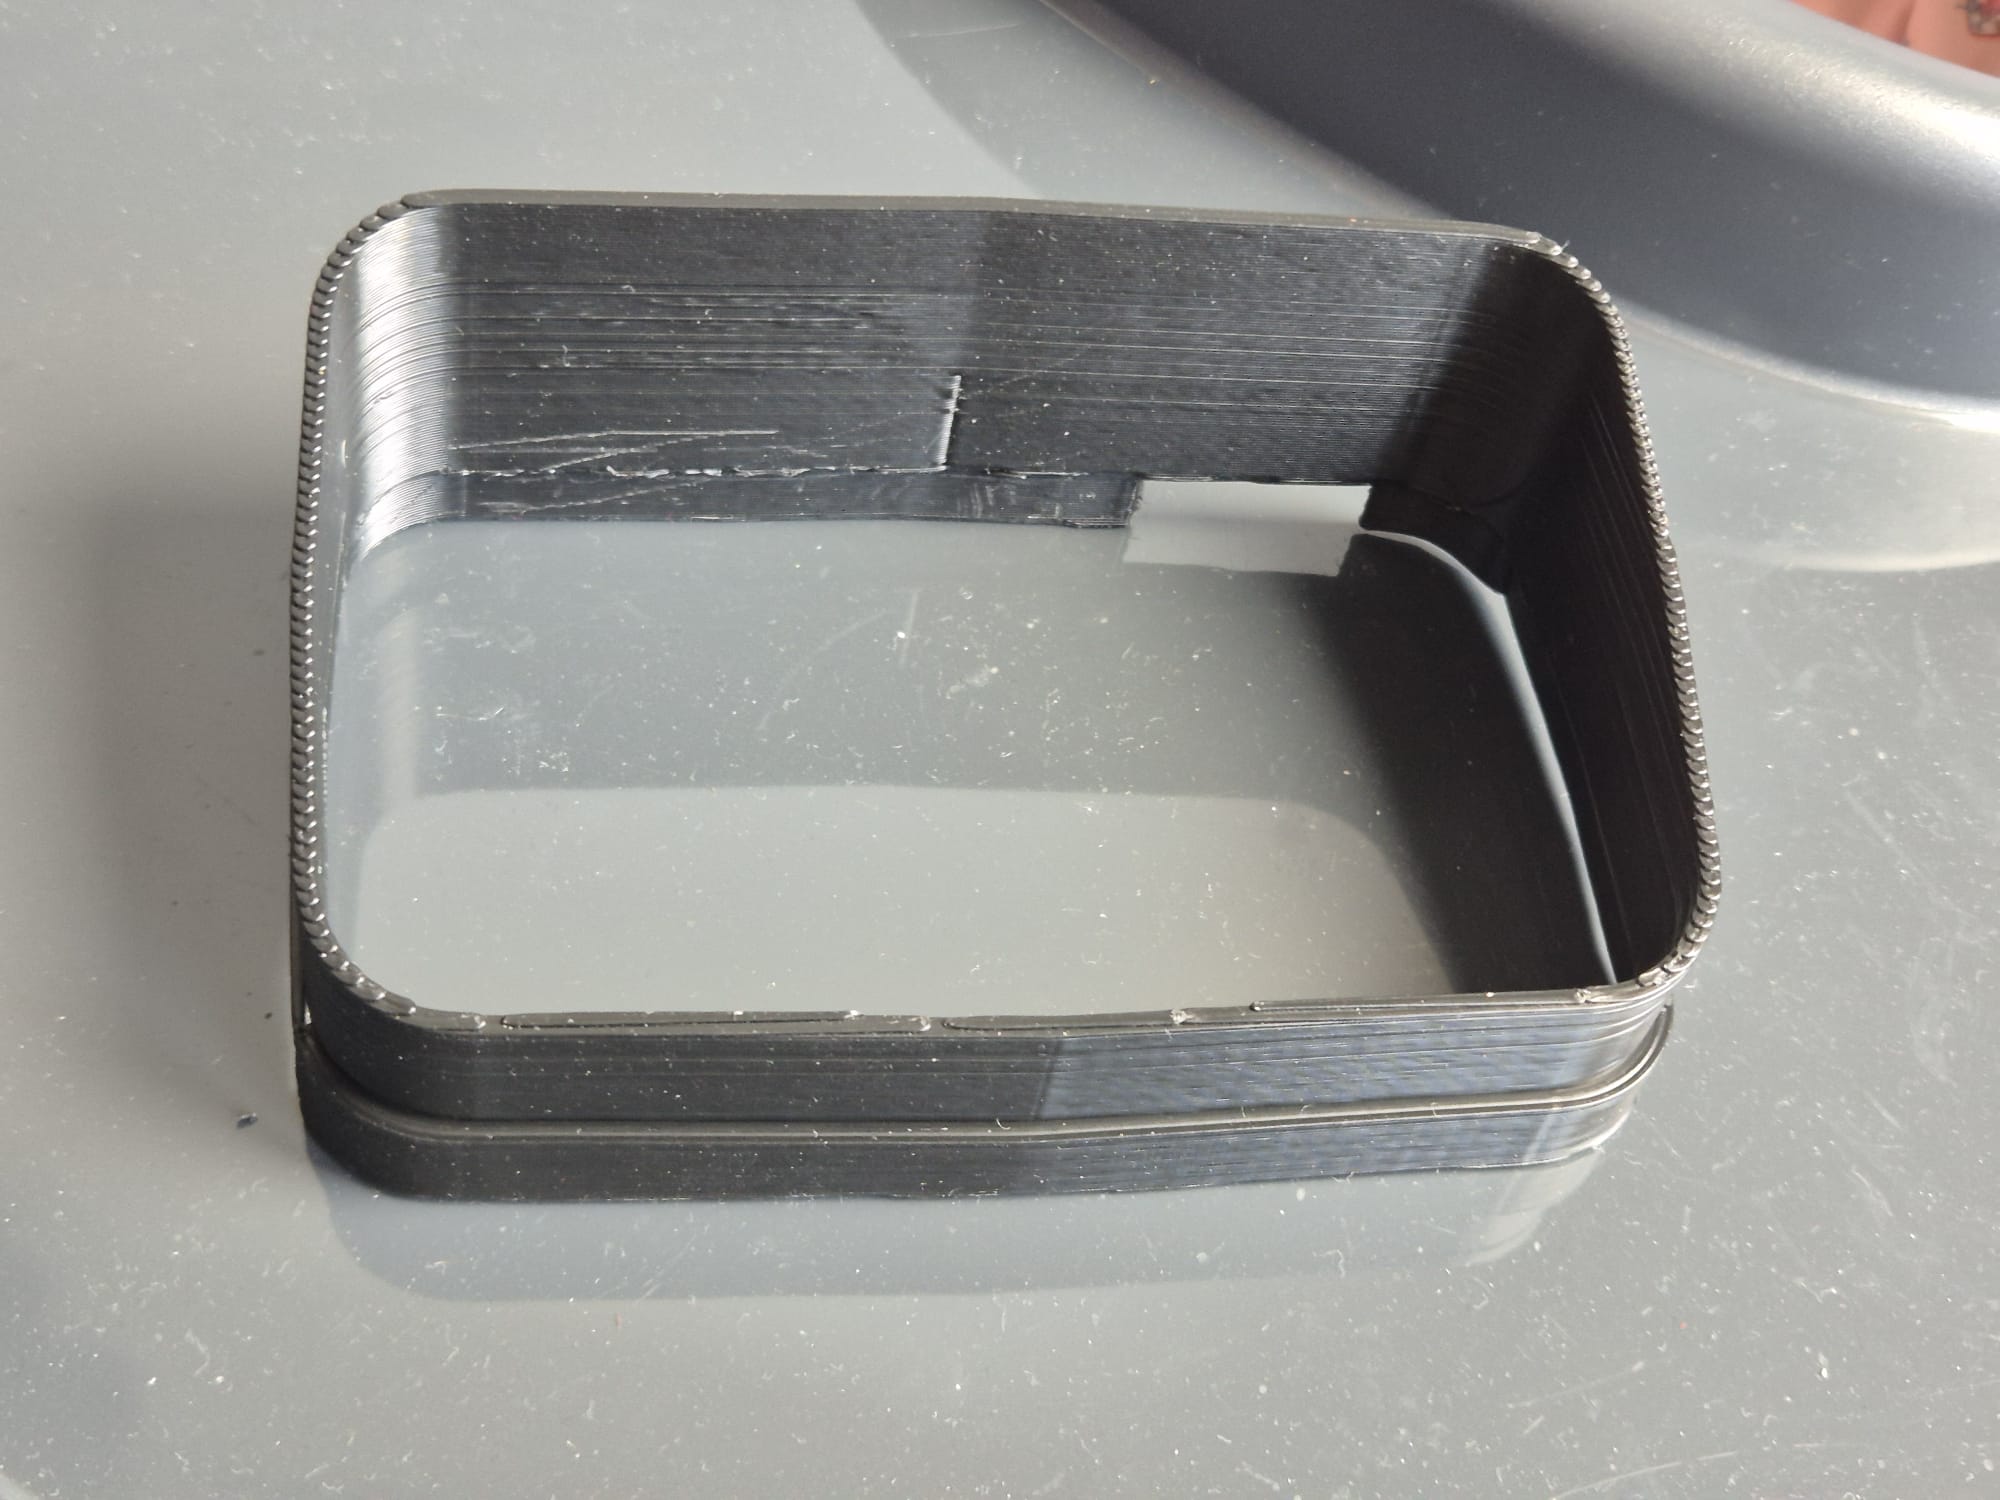
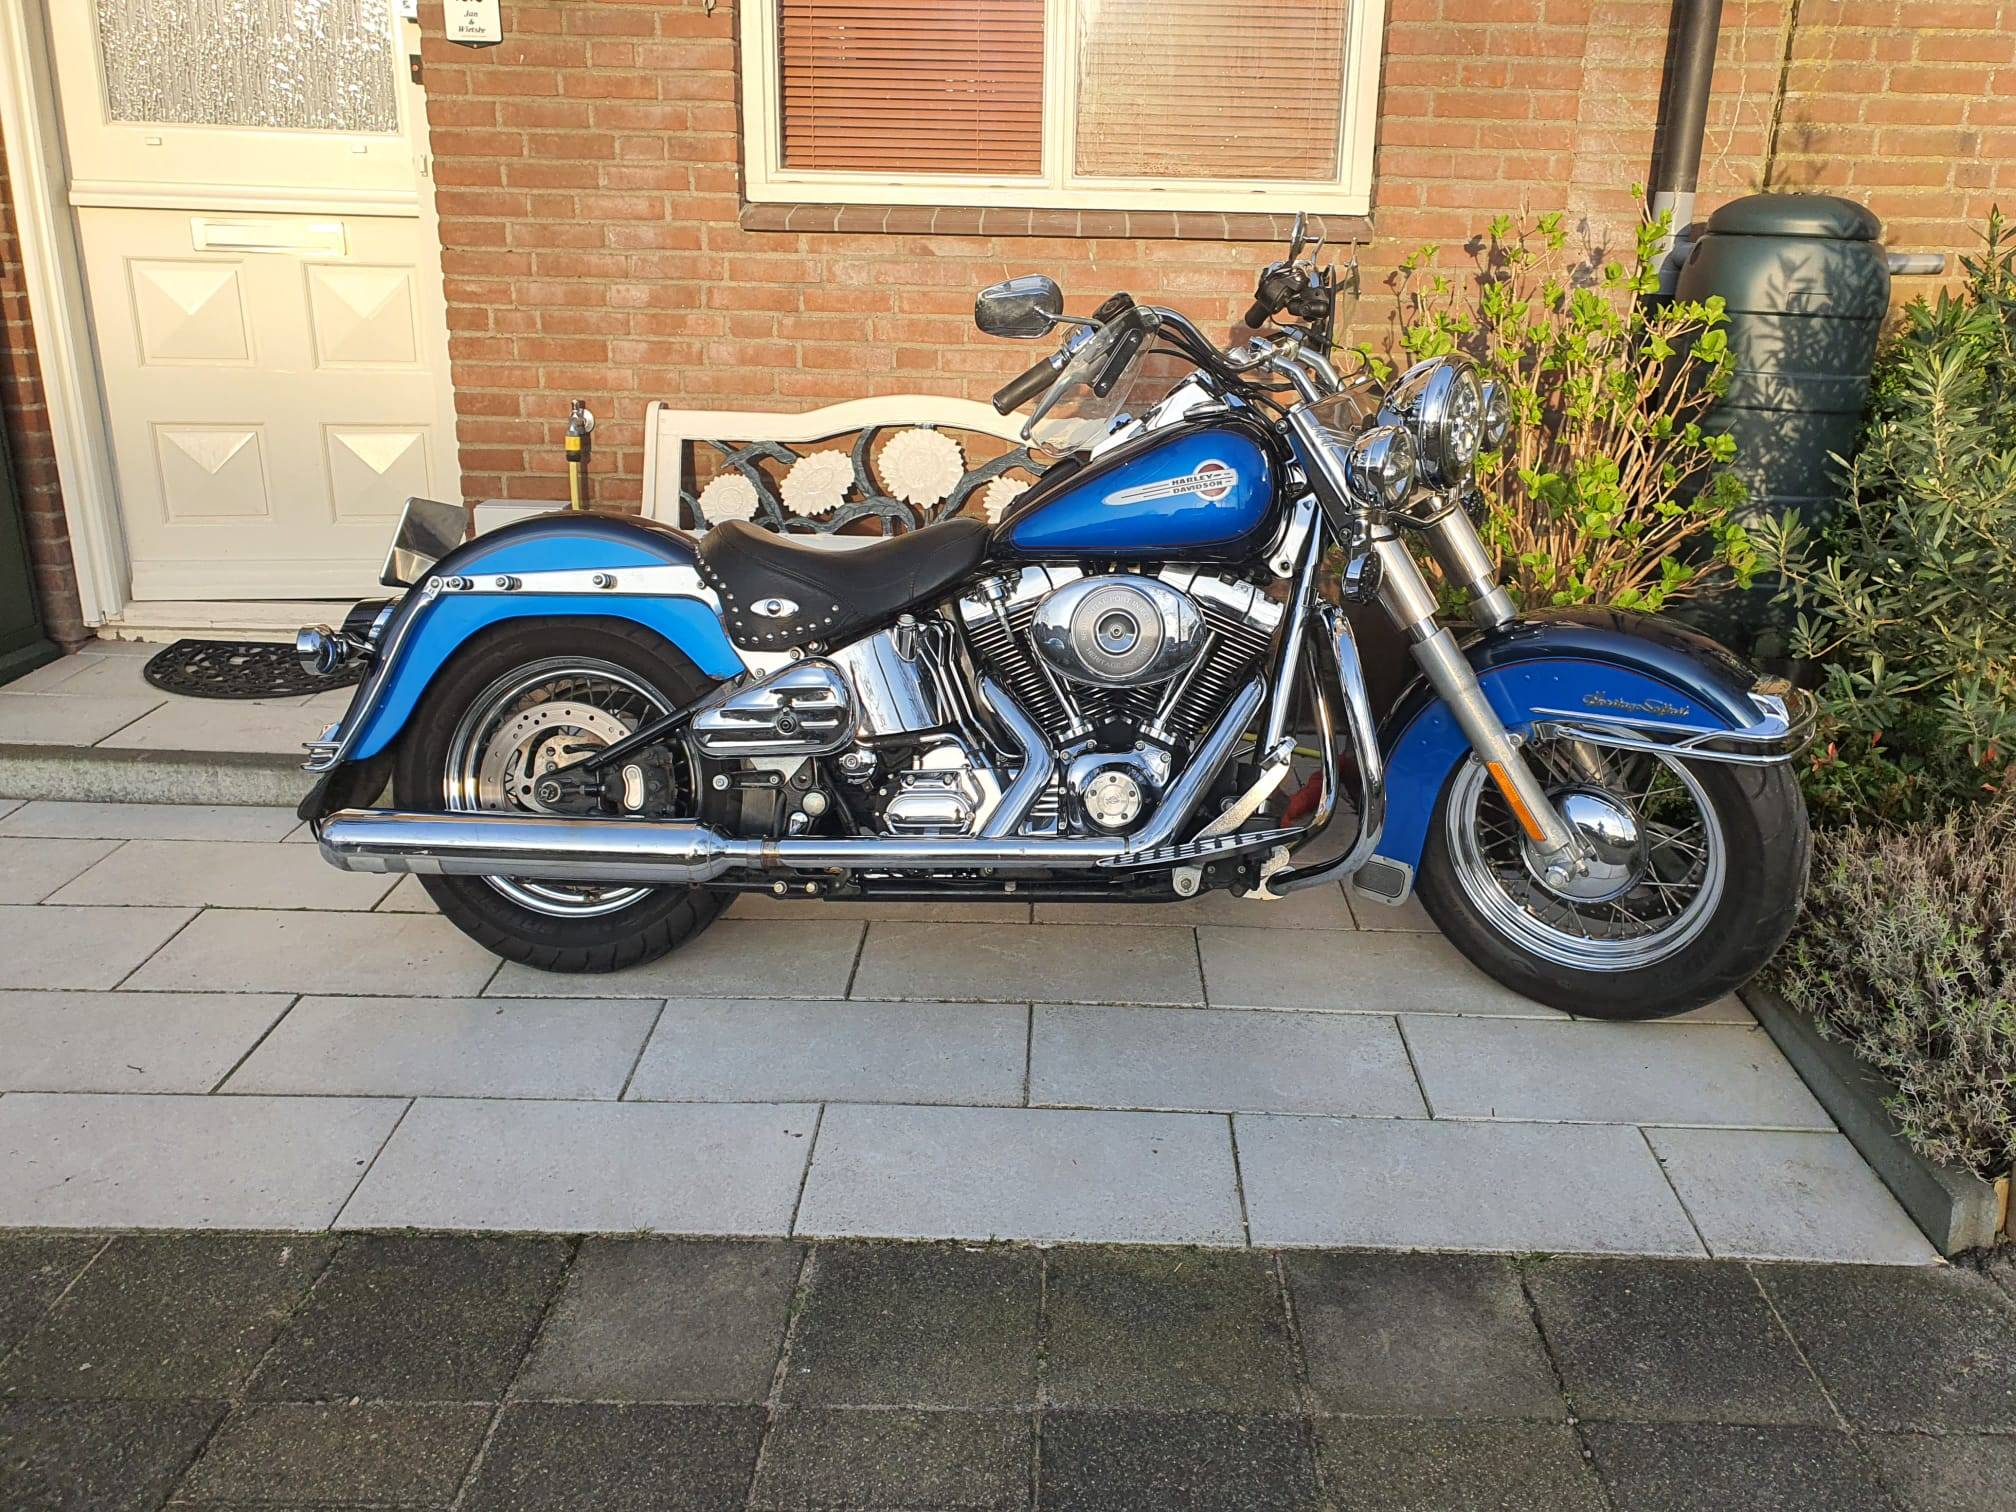
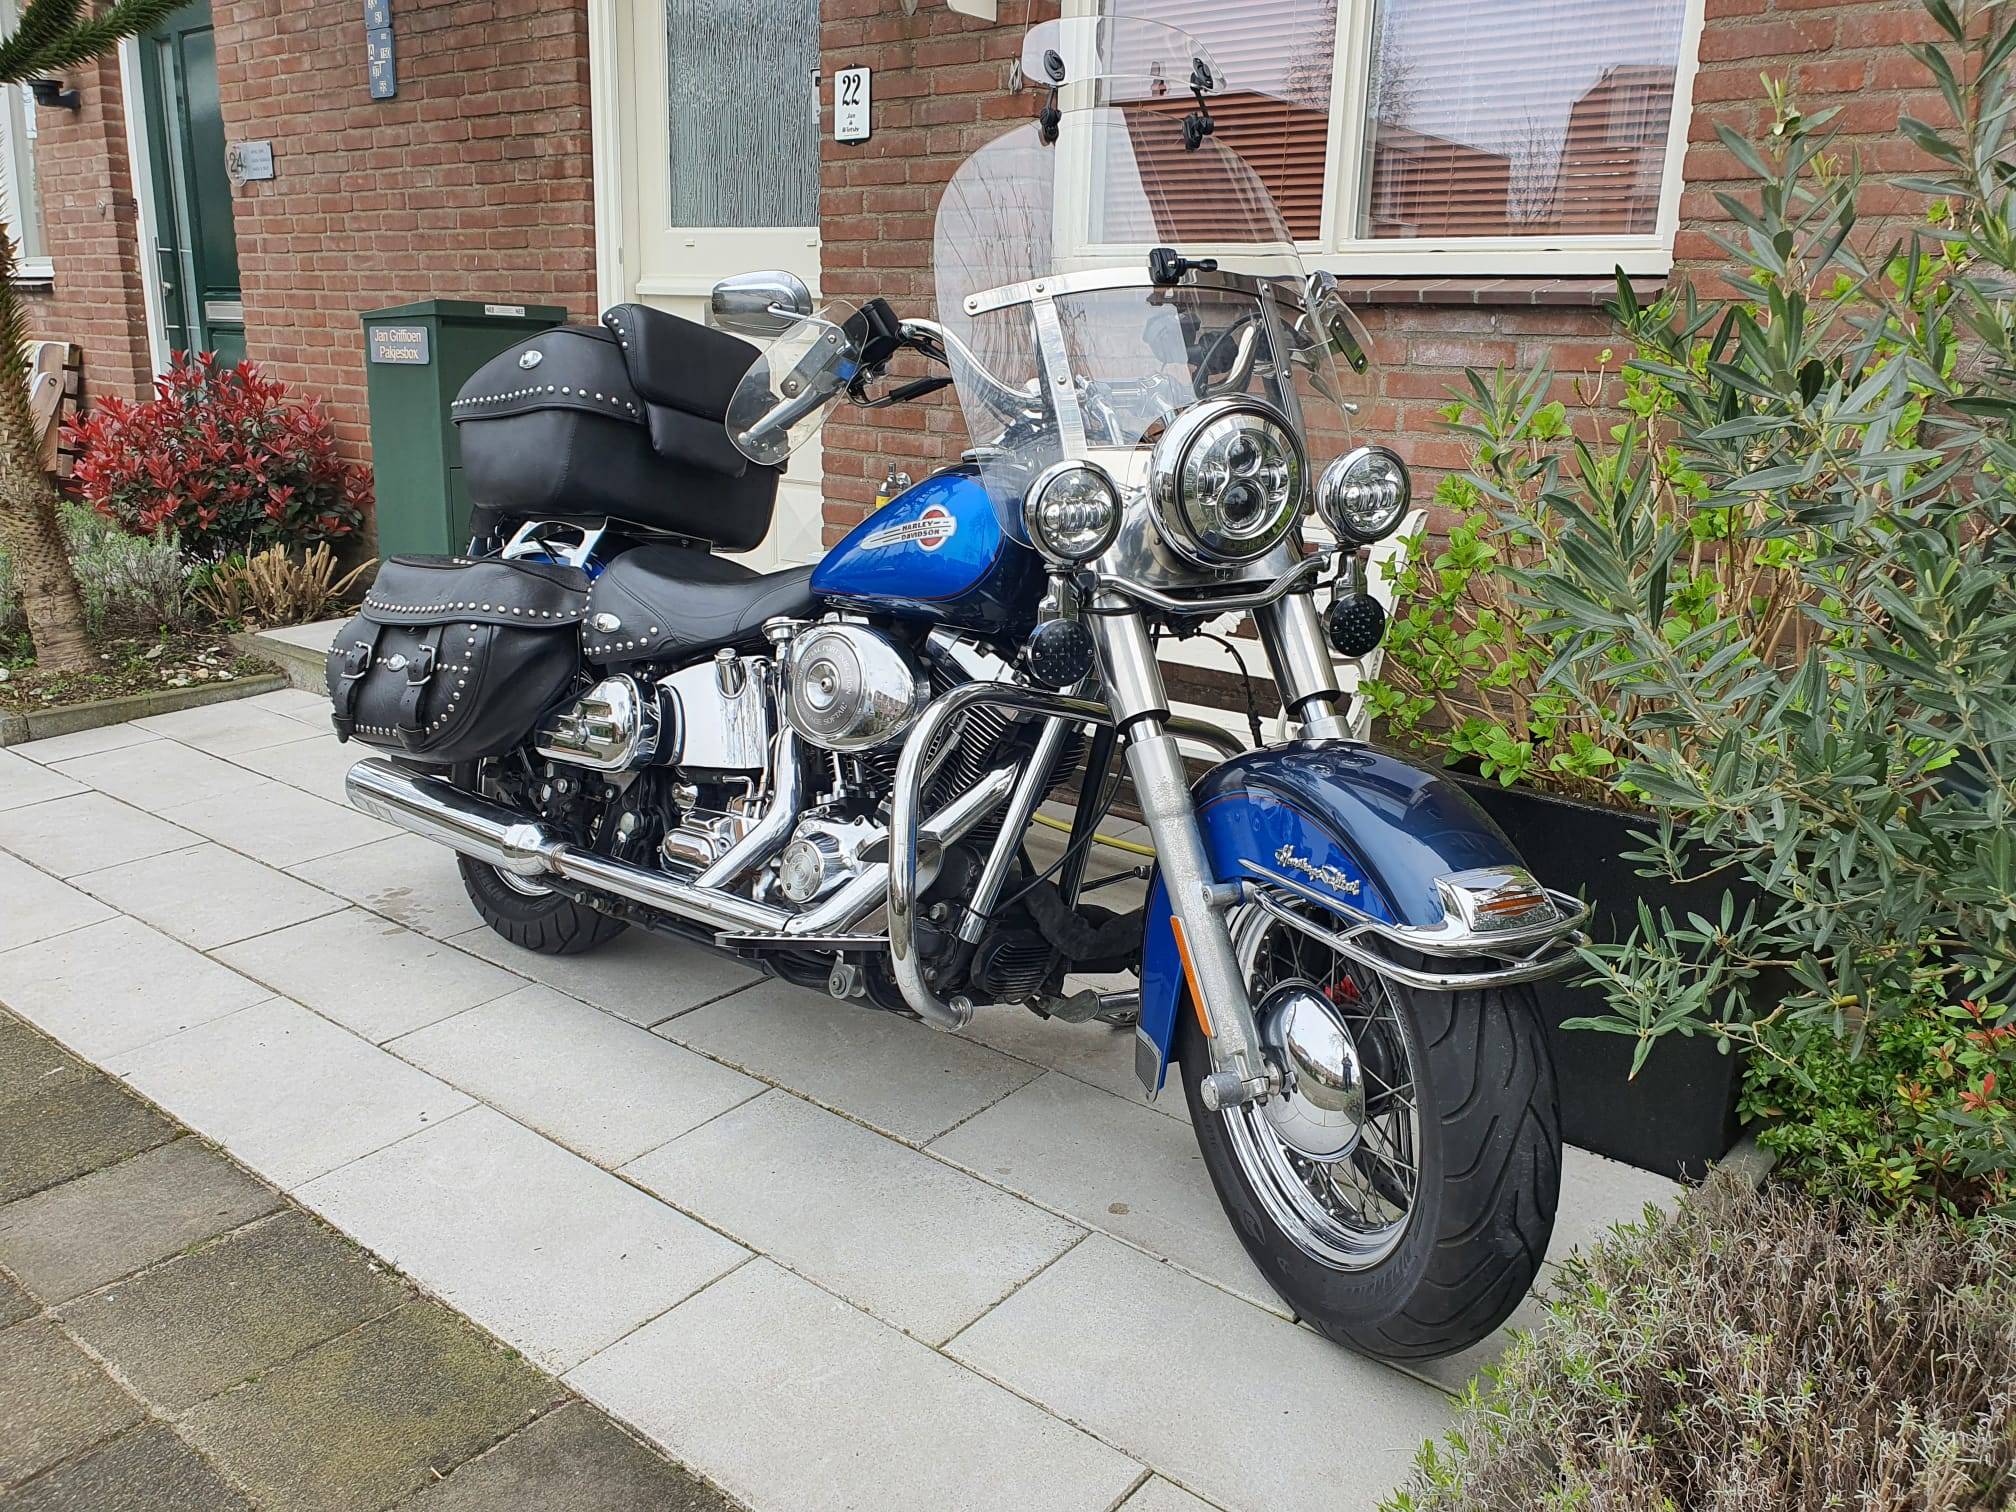
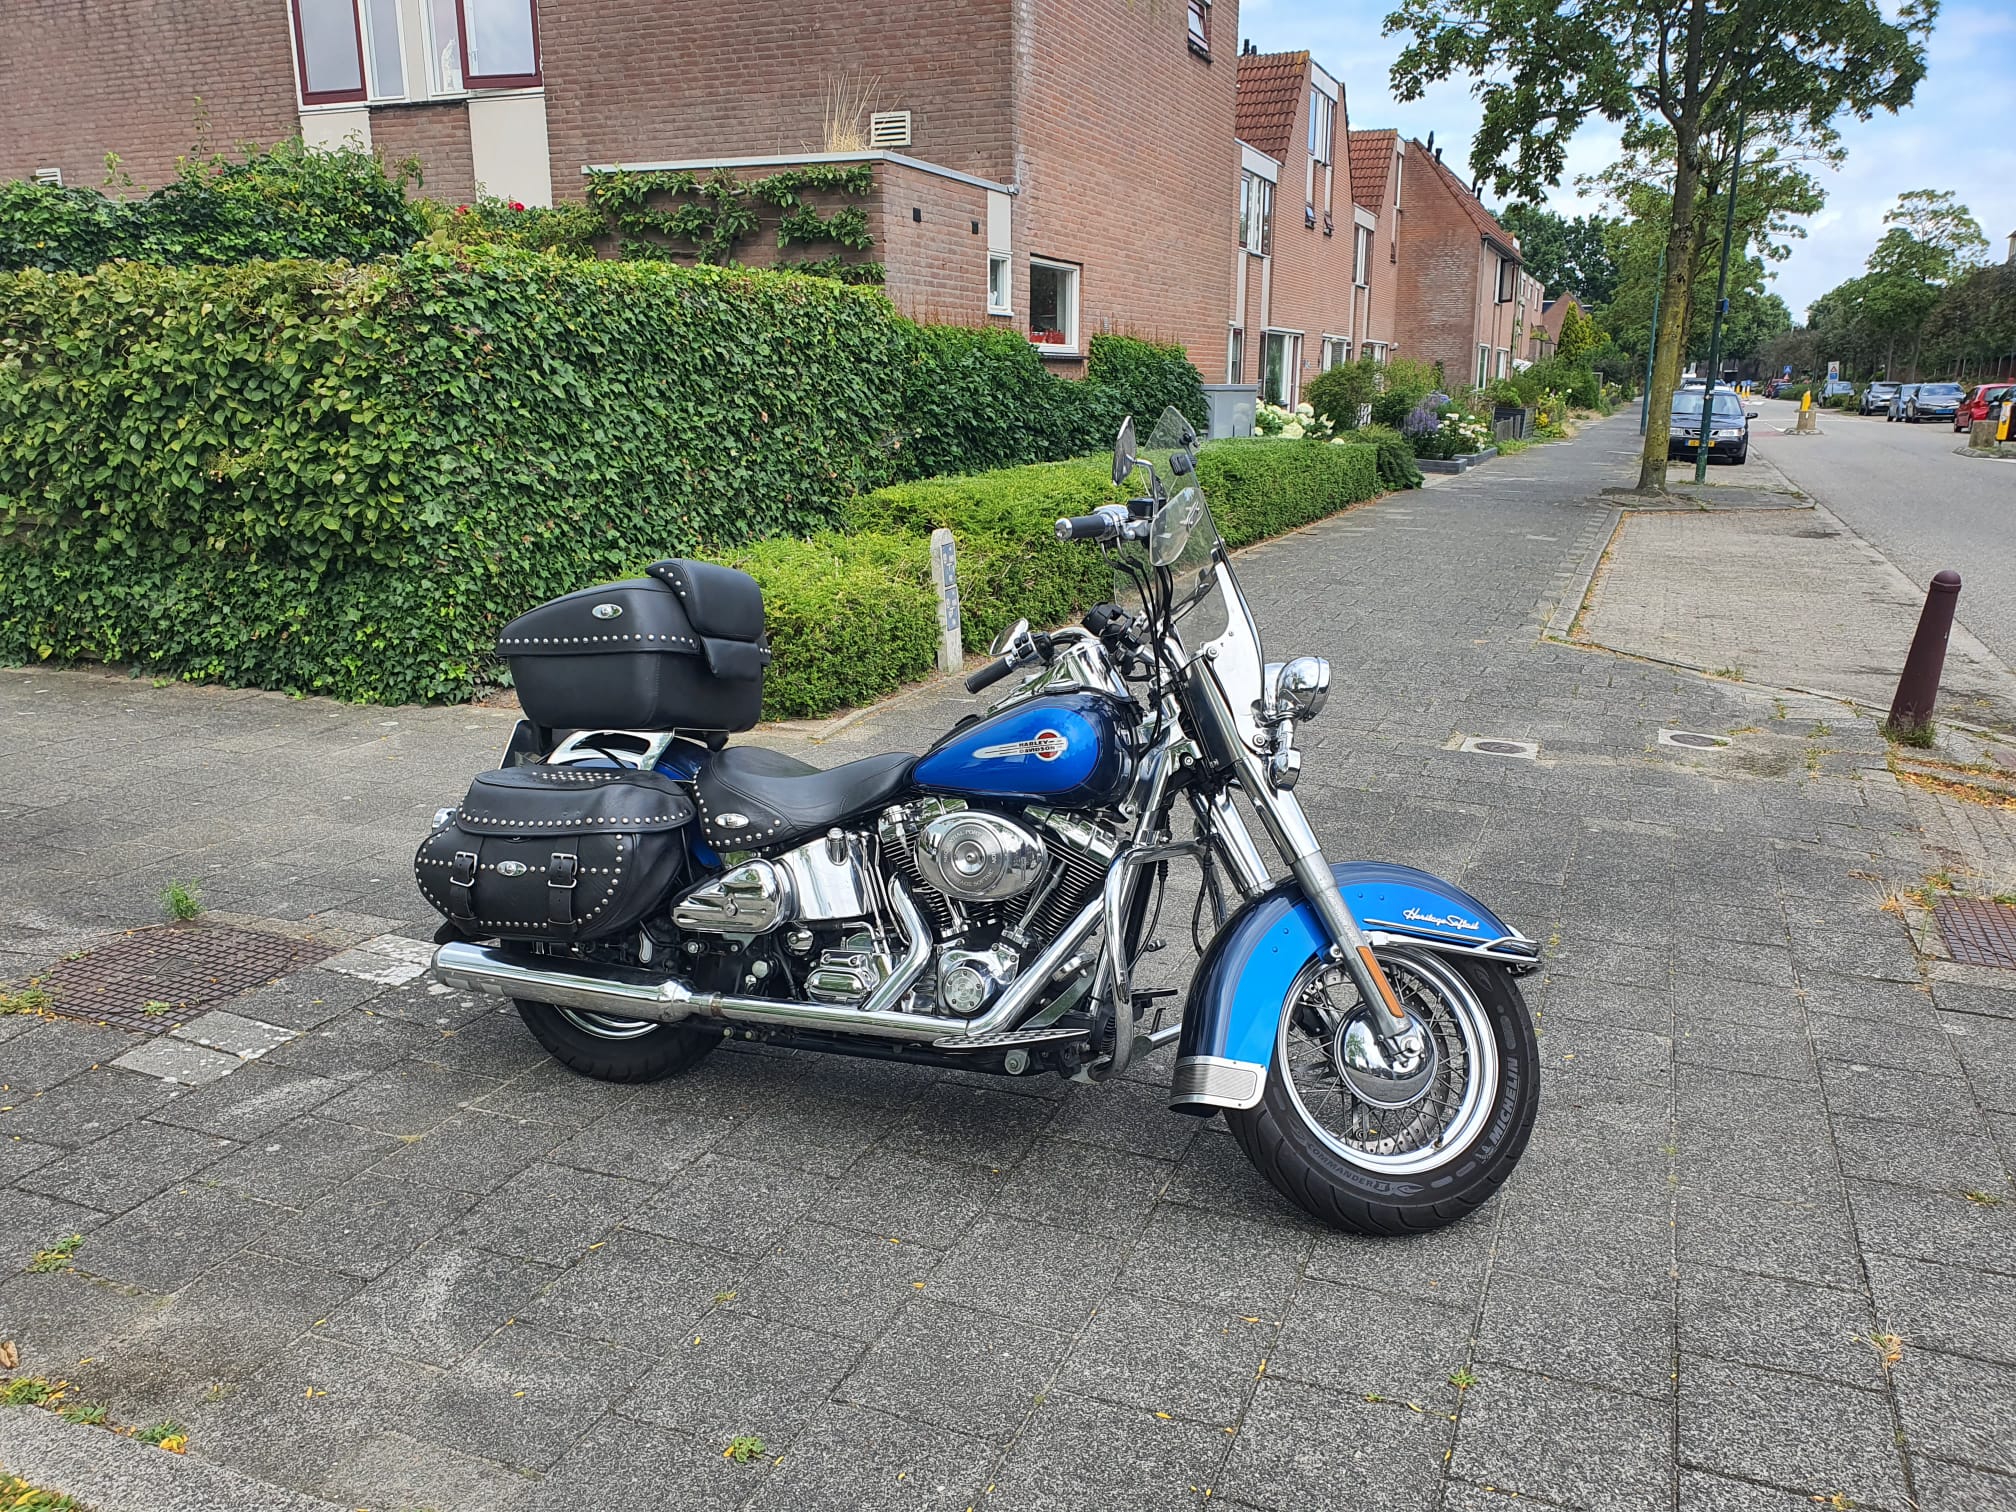
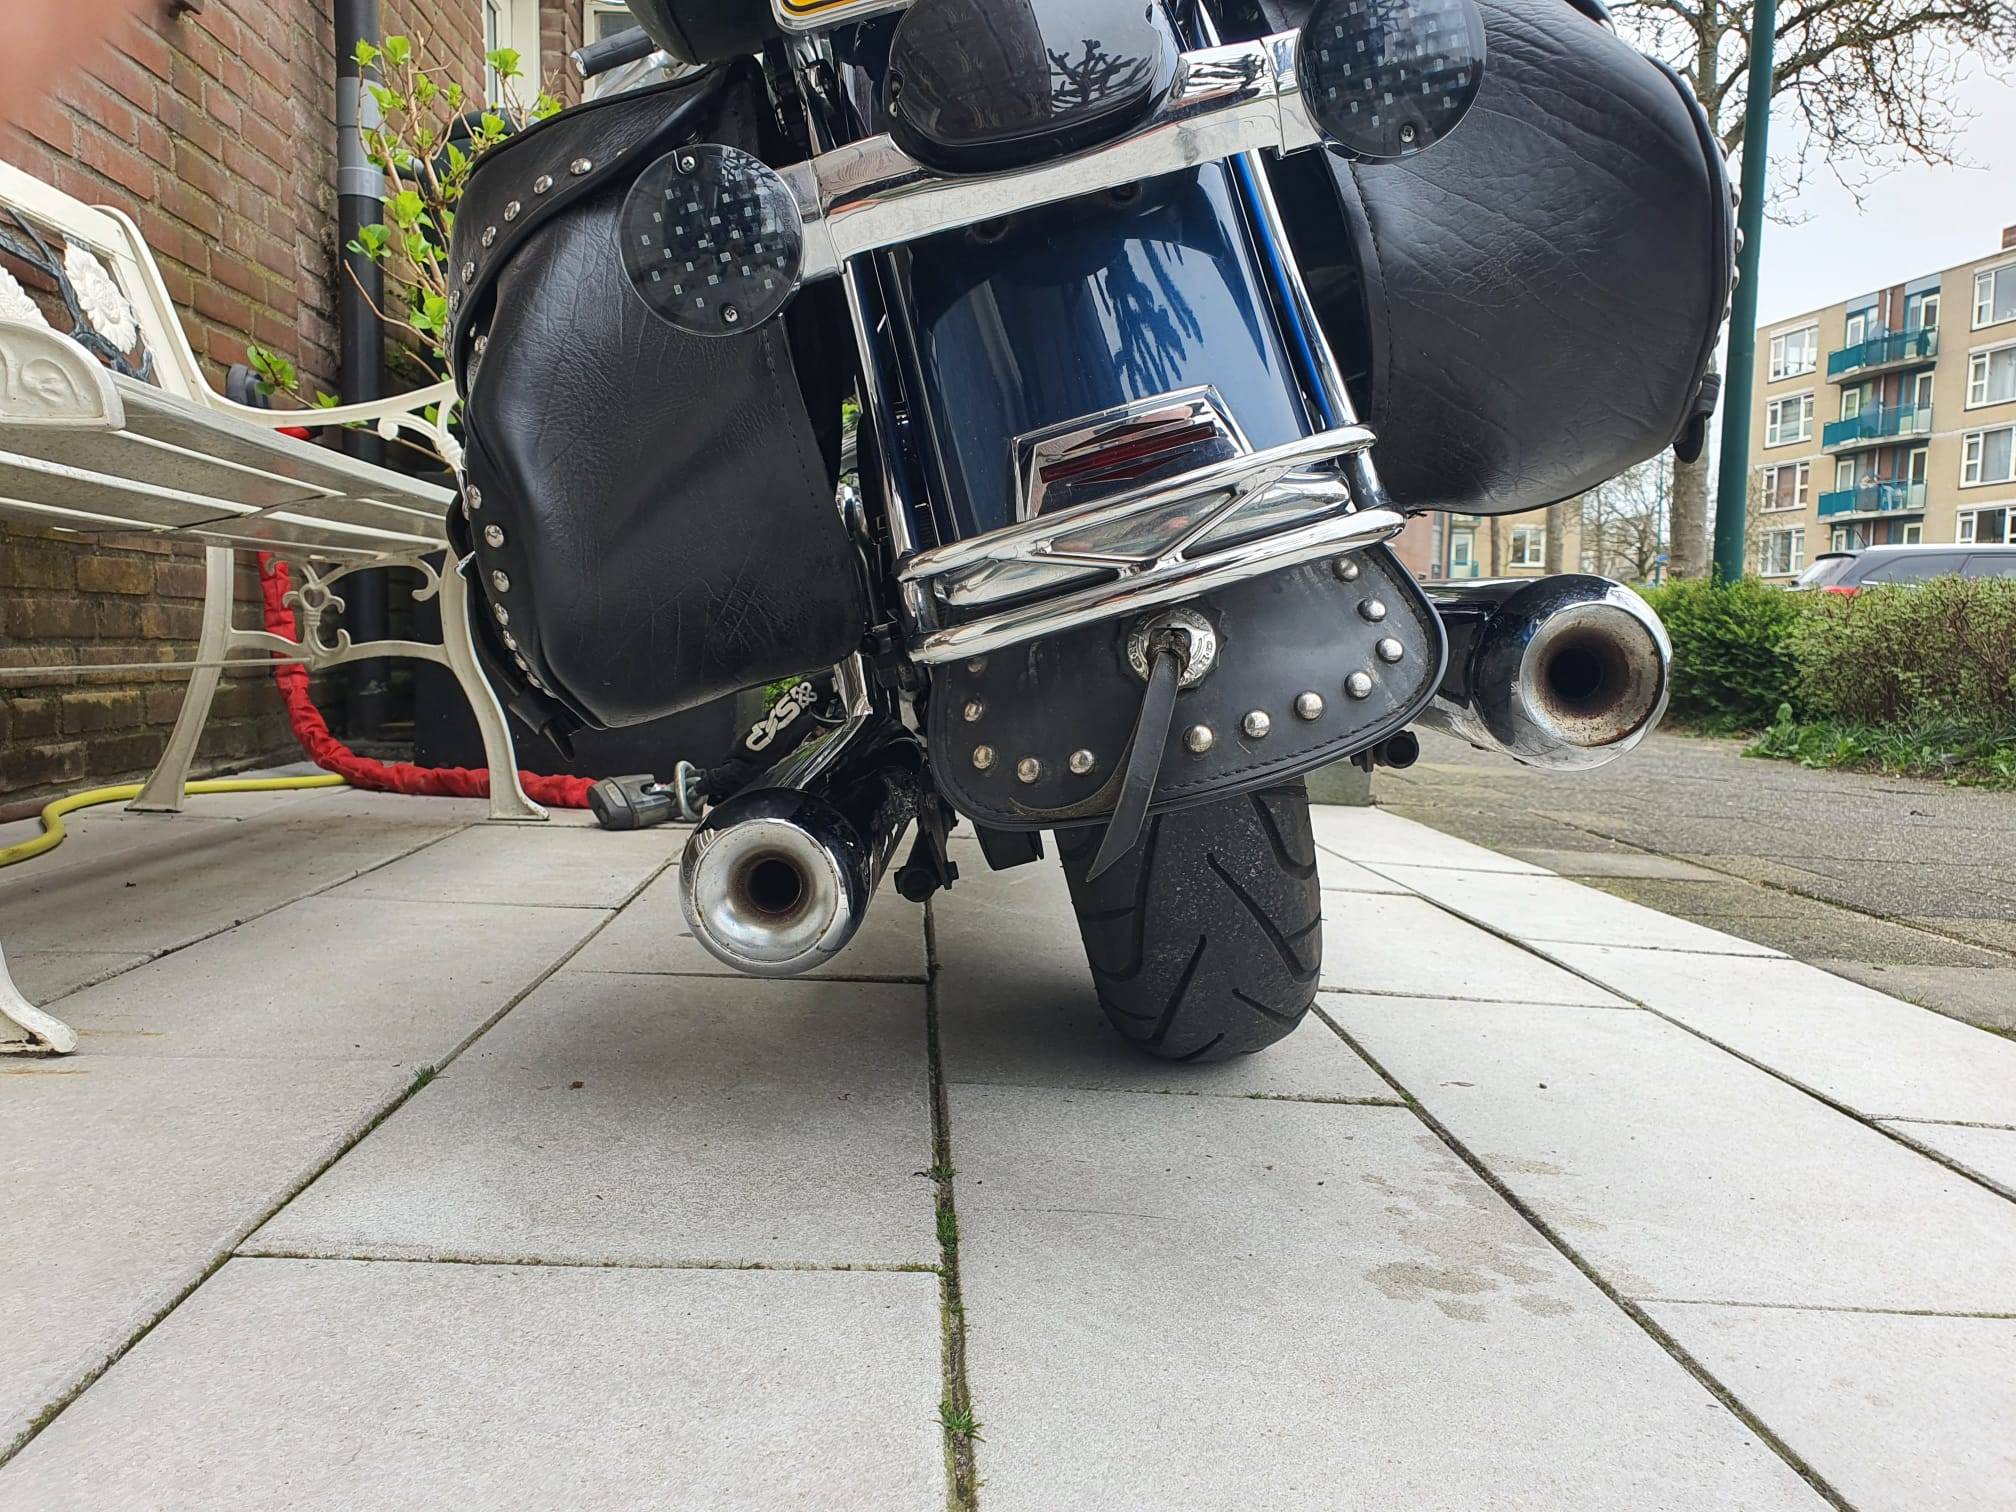
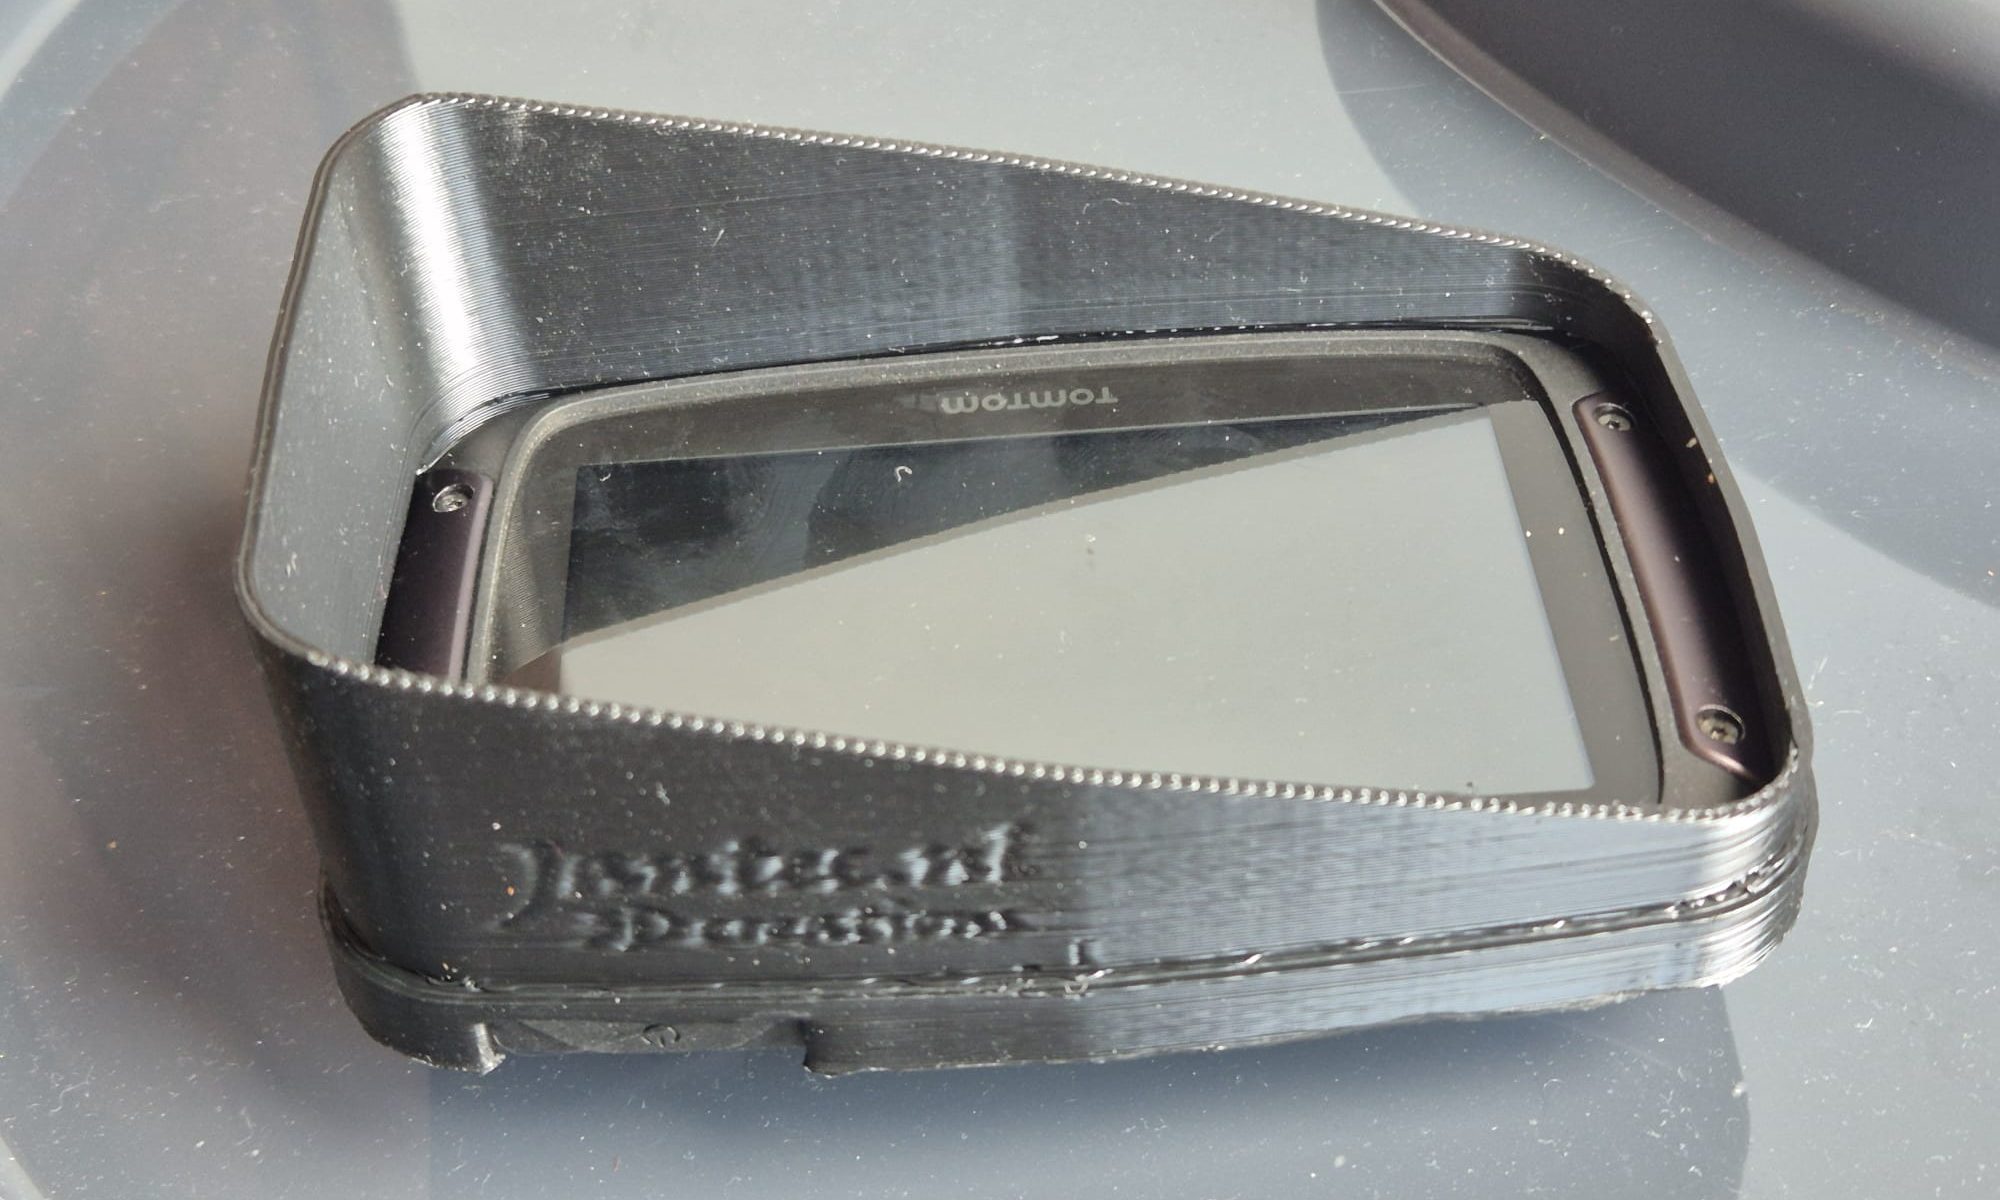
But I really needed a vertical one for usage on my motorbike.

So I changed the horizontal sun shade I had made earlier to a vertical one, which was very easy once I had the horizontal one really perfect. It took a couple of fitting trials before I had it good enough.
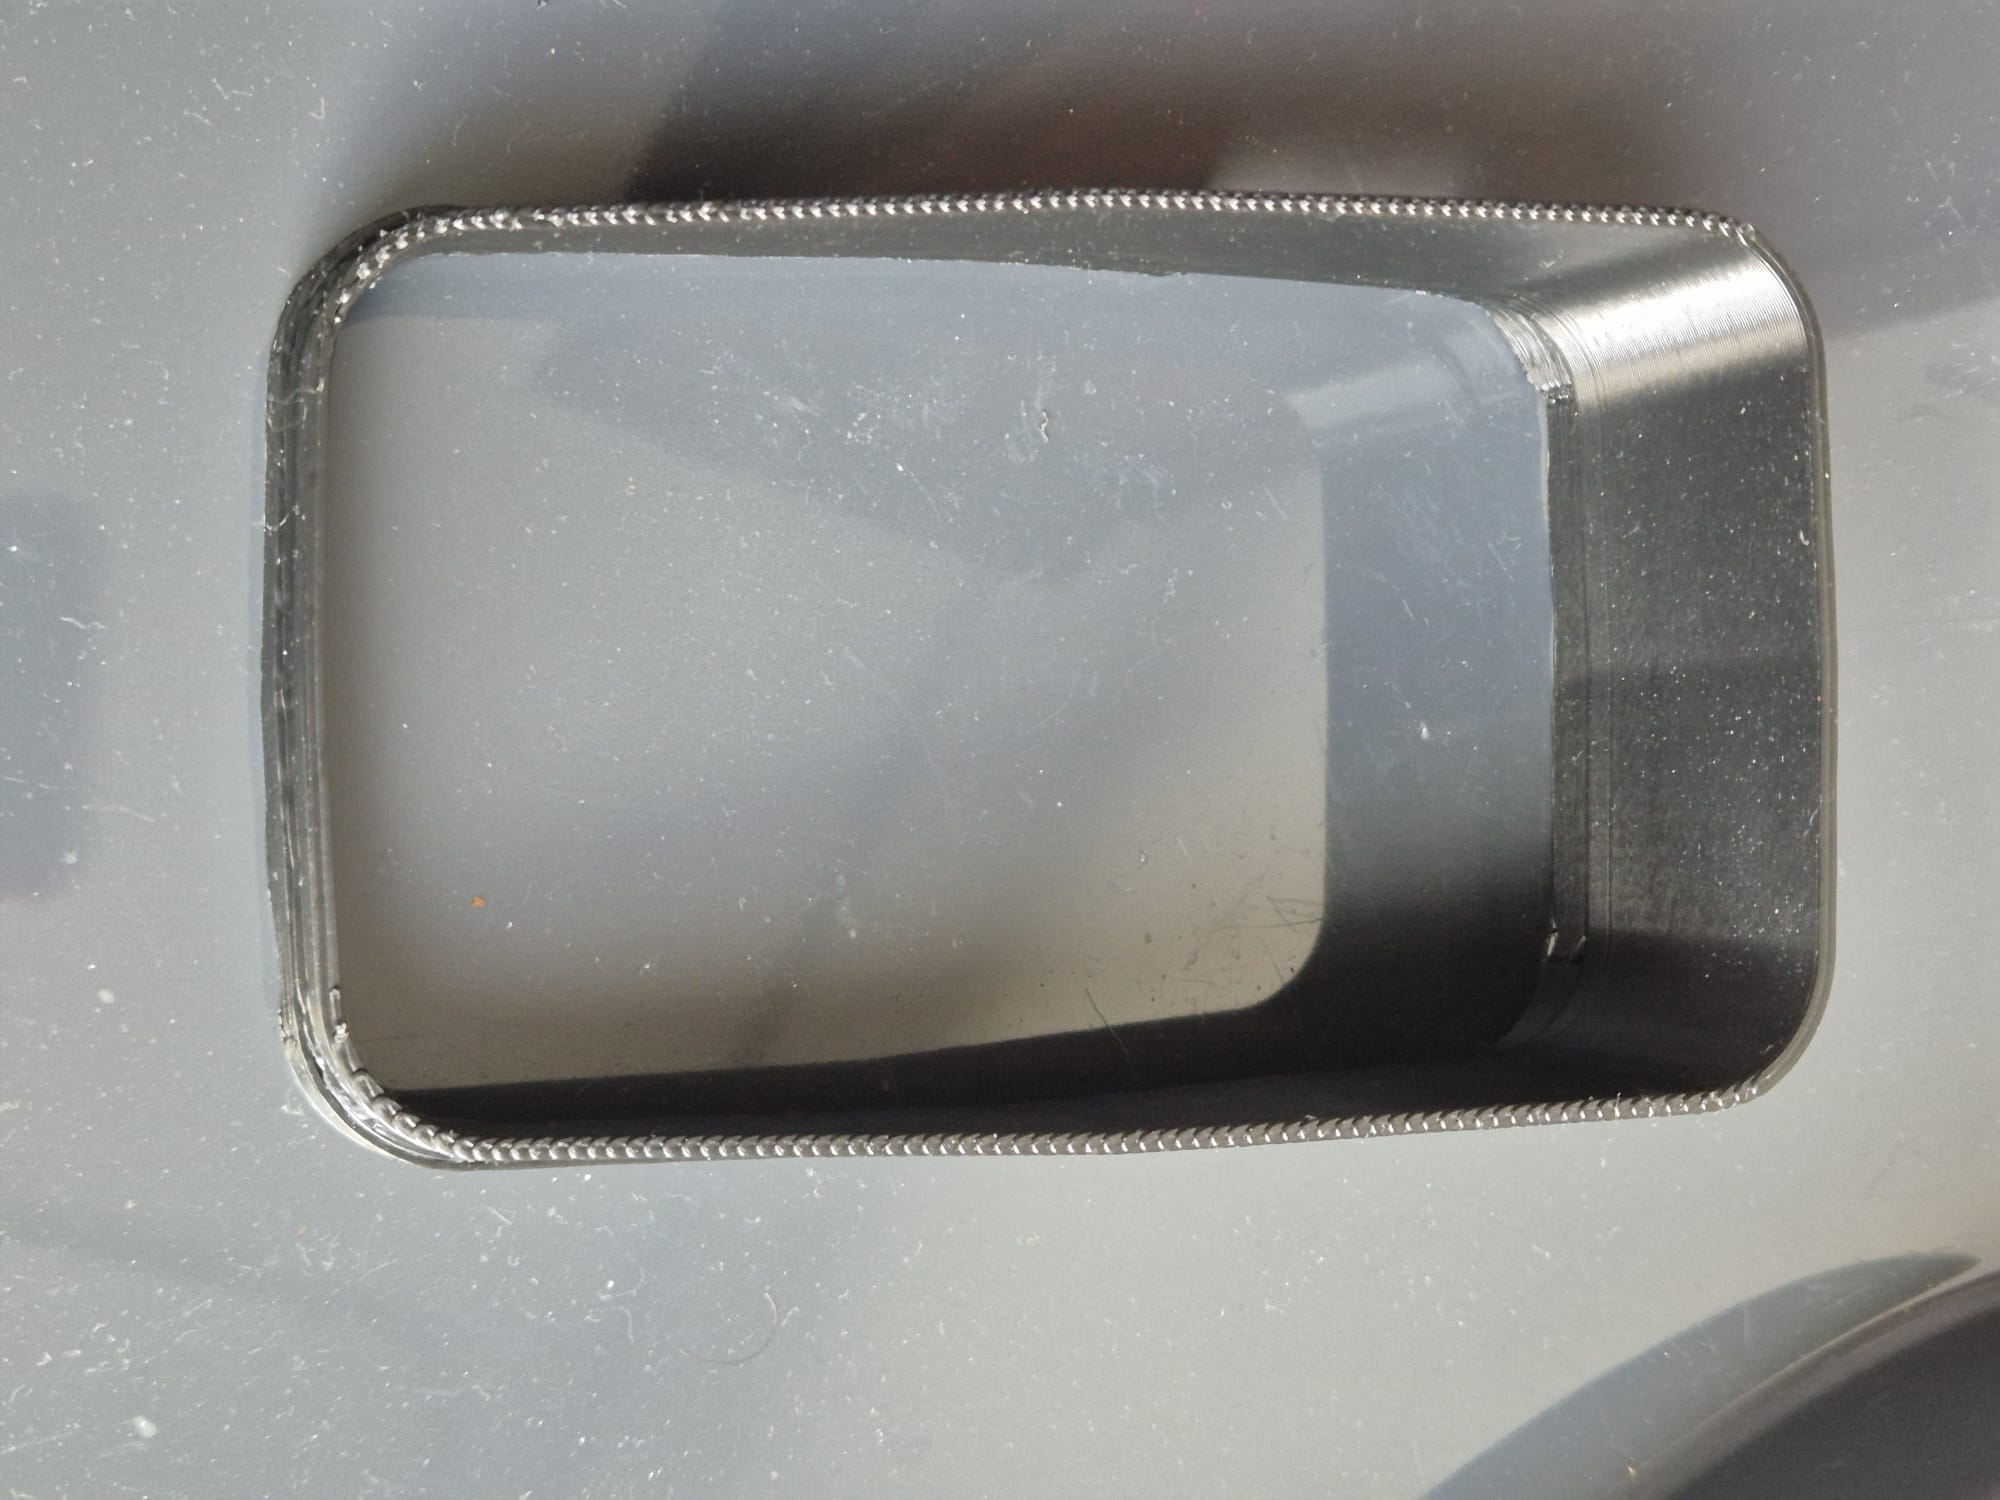
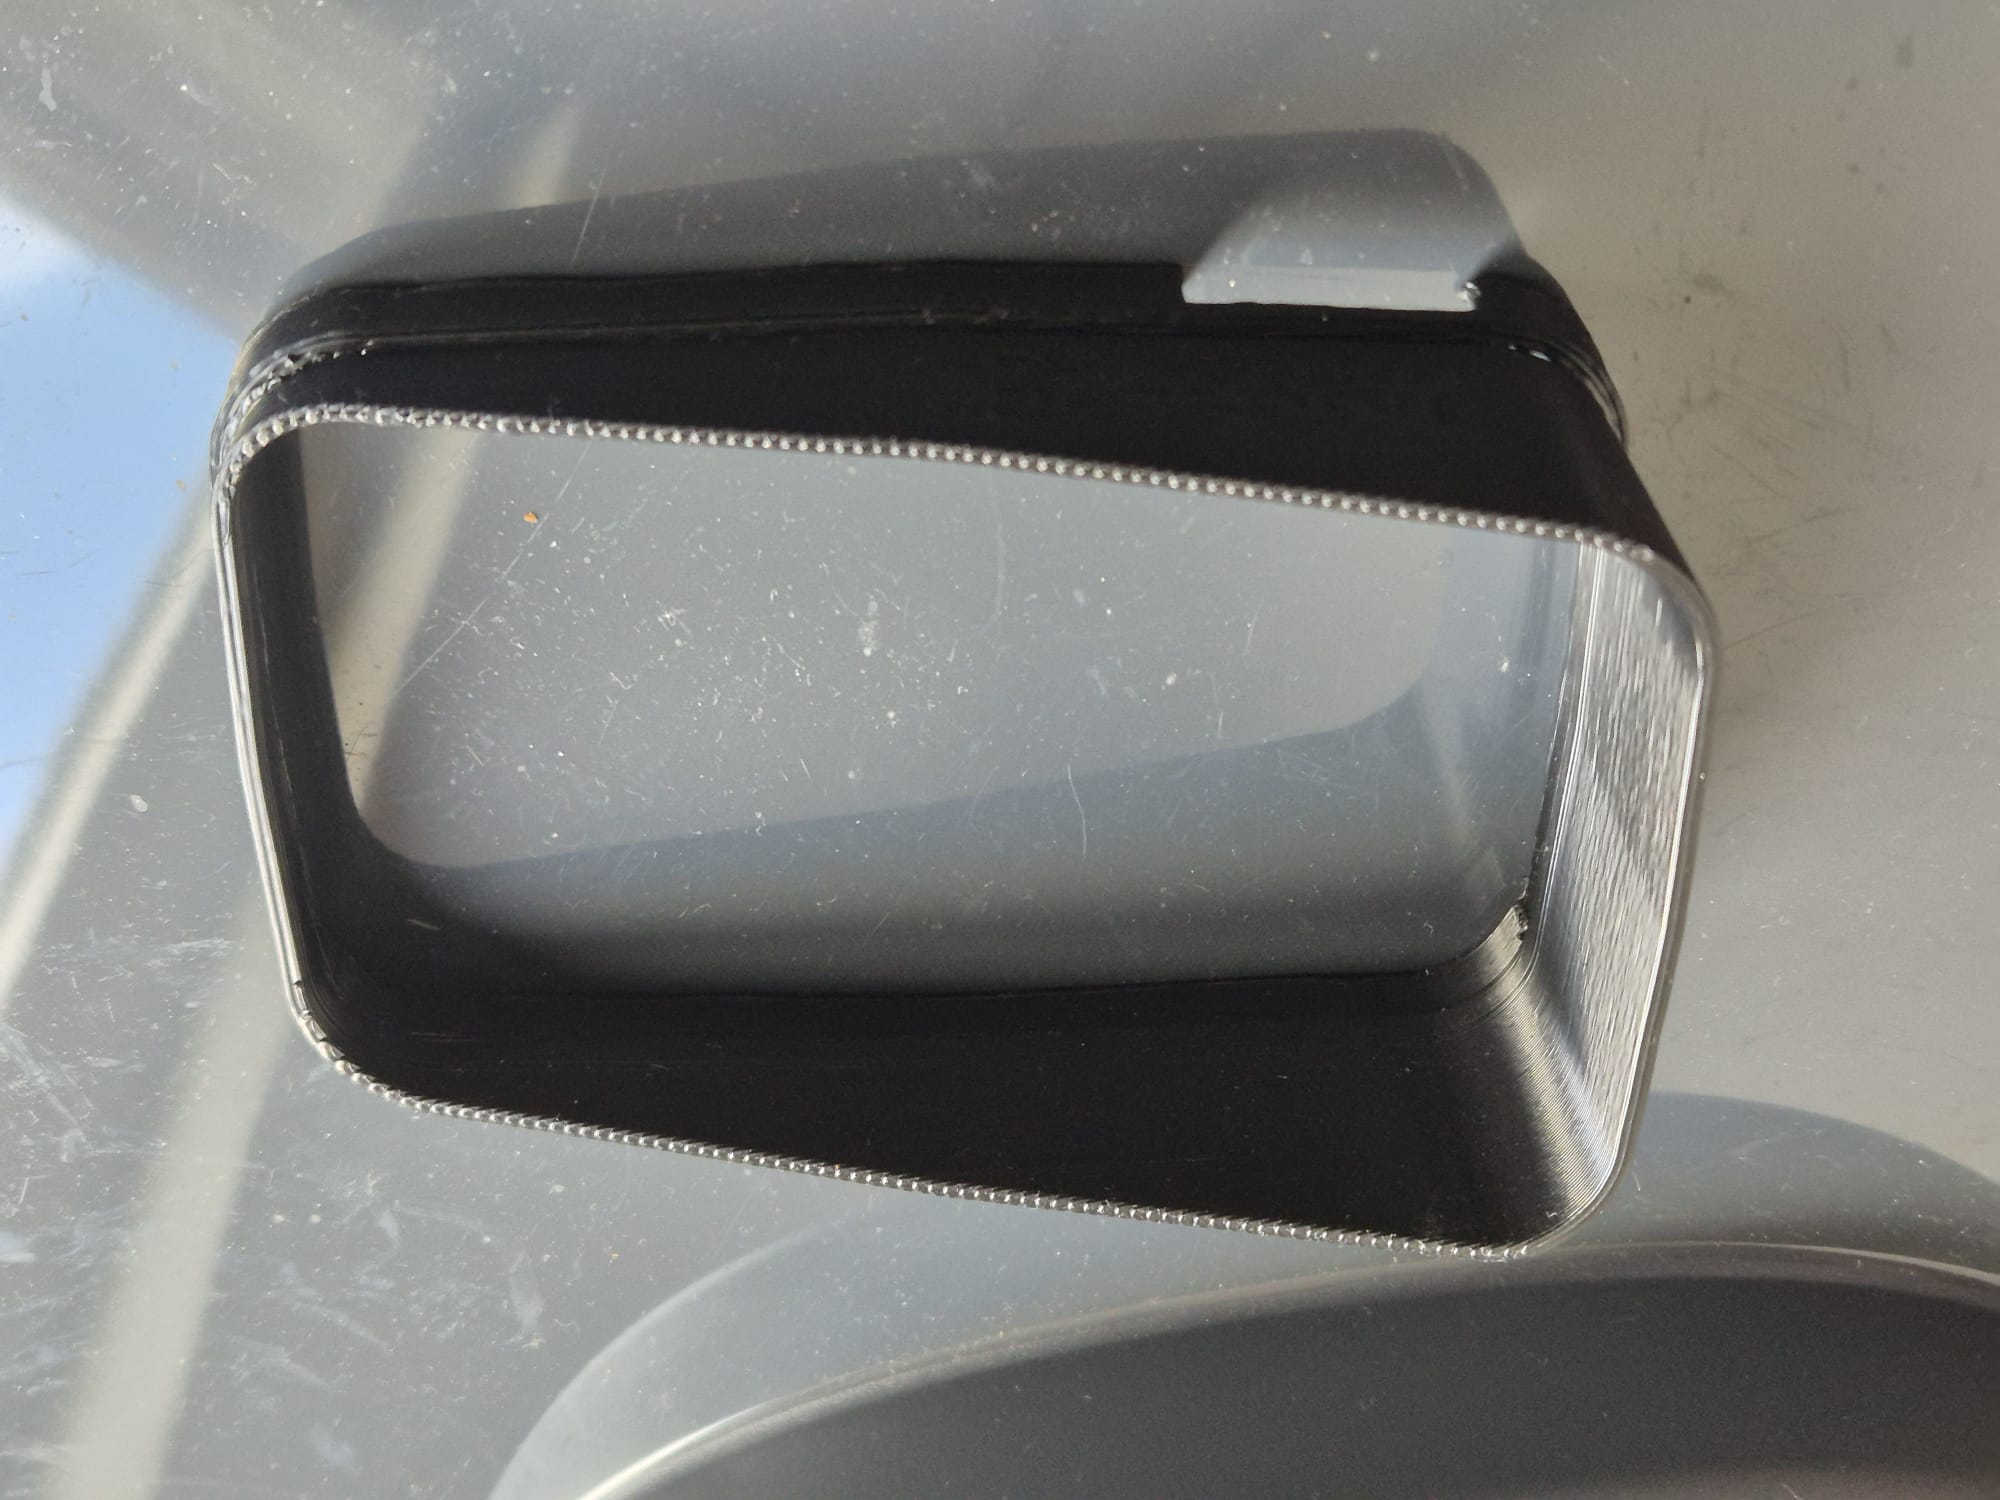
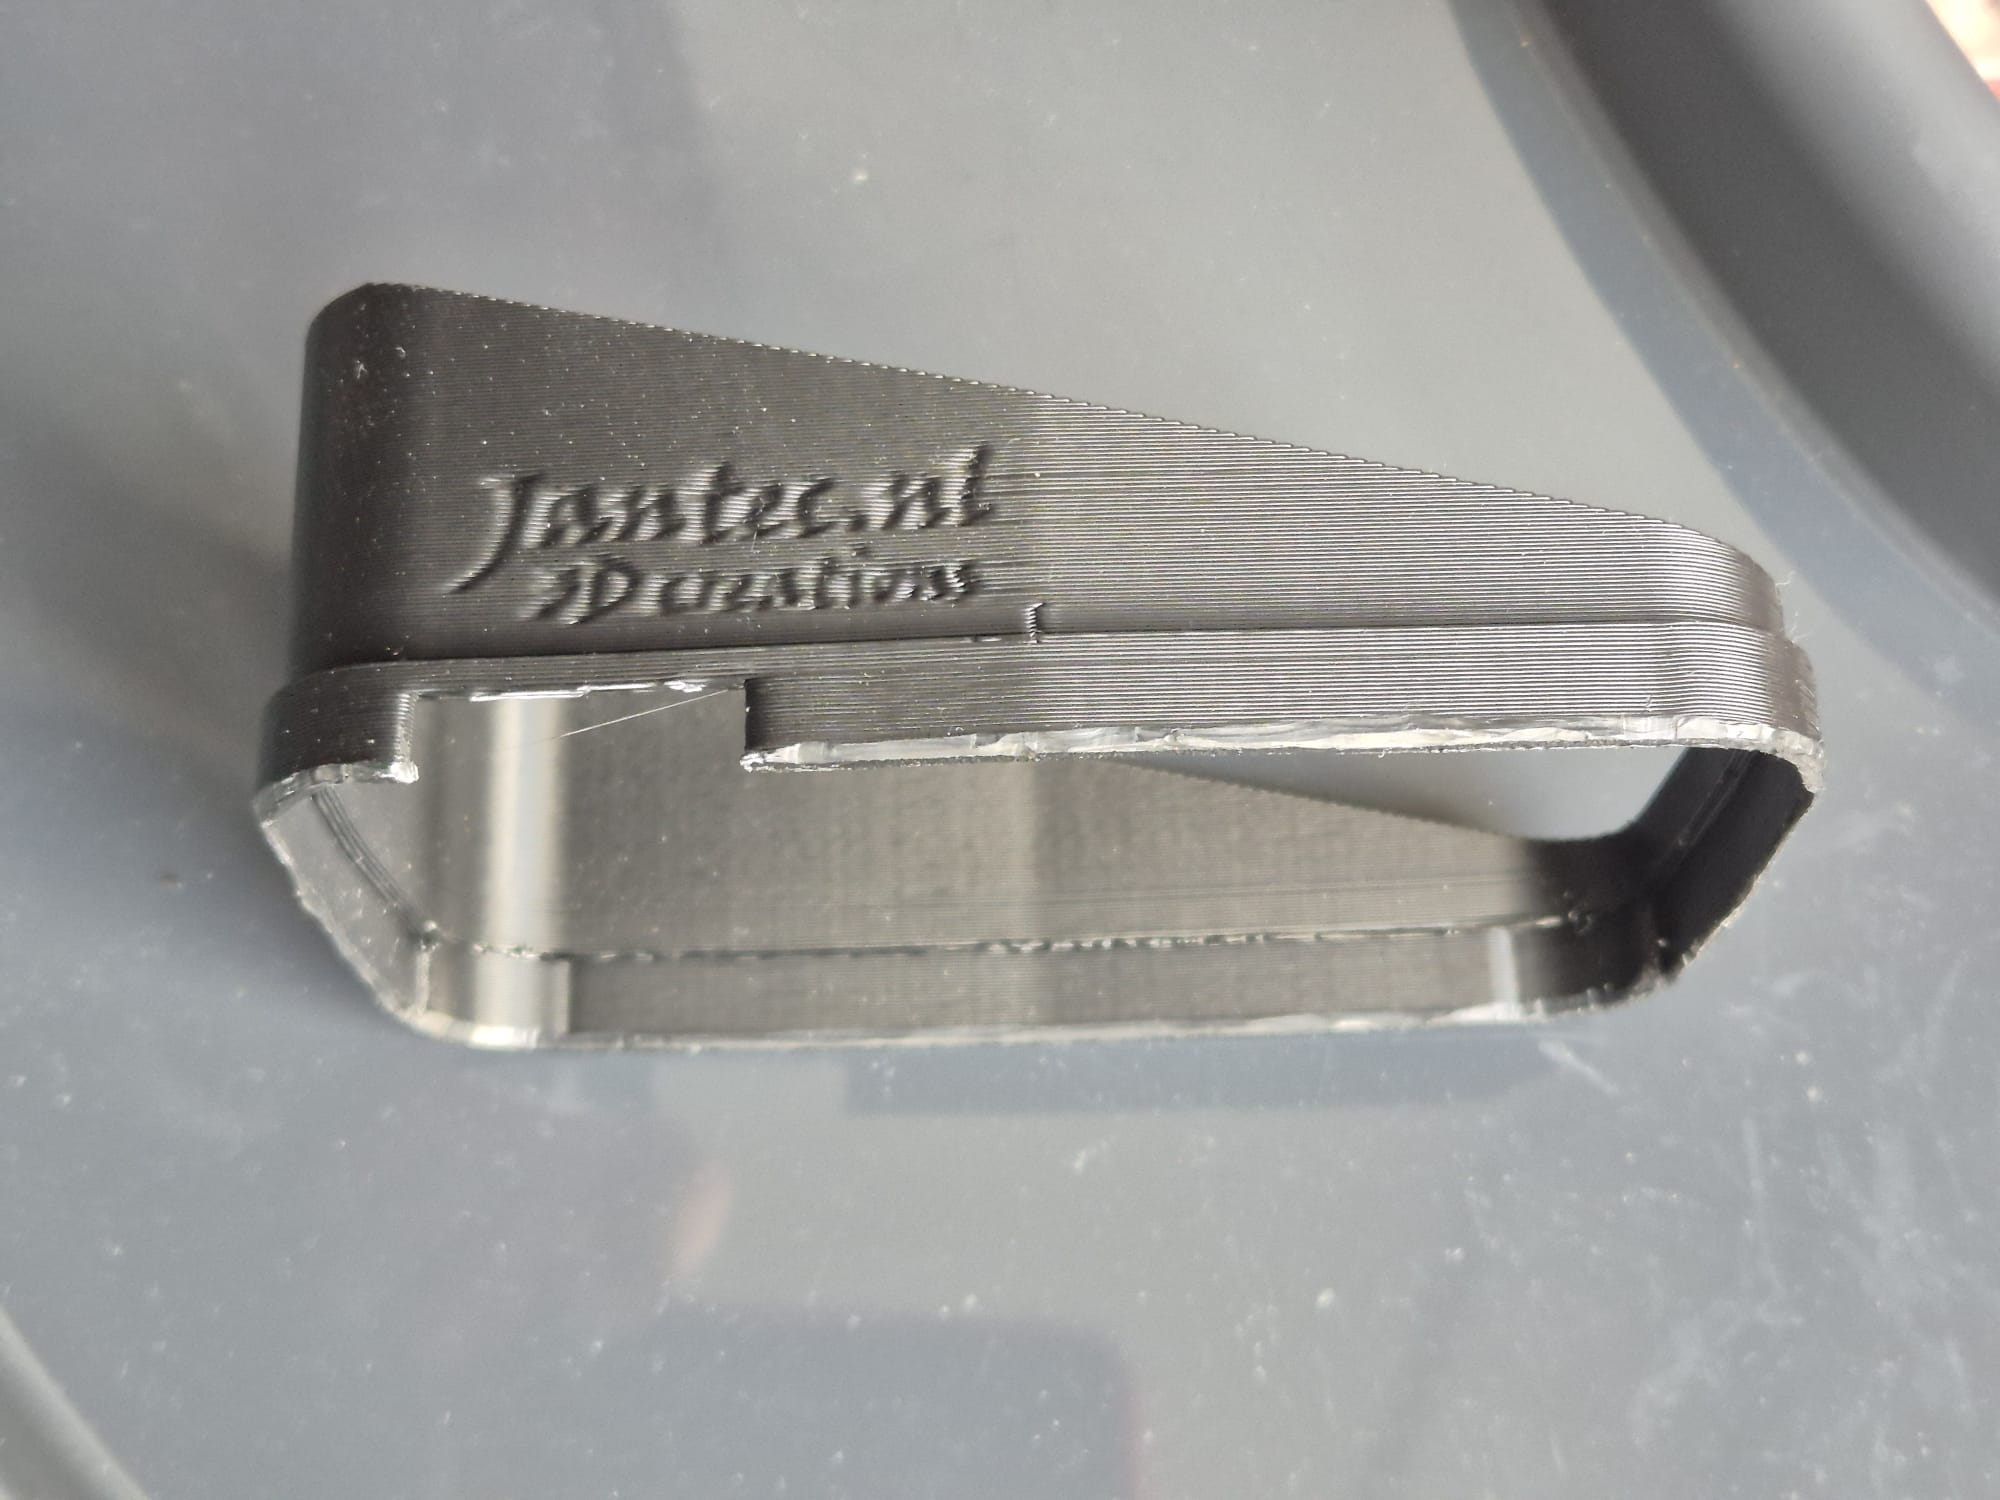
I printed this all on my hi-volume Voron600 with black ABS at 275 degrees, nozzle 0.8mm and layer height 0.4mm, 32 minutes to print the complete sun shade for my Tontom Rider 550. I always have the parts fan at 60% except 1st 3 layers and I print at 120mms, except 1st layer which is 20mms. Travel speed is 200 mms , rather low for this print at 0.4mmLH.
I use a rather high setting for Z-hop height at layer changes because this particulat ABS filament at this temp can give a small blob at the end of print lines and I don’t want the nozzle to jam into this at layer changes. Nor do I want to retract any more than 0.2mm since I don’t want any filament to get stuck in my so-called cold-end.
The sun shade fits snug around the Rider 550 but if you feel it is not tight enough, then print the sun shade at 99 % for the X and Y multiplier factors in your slicer.
And- yes, you should be able to print this STL file on any 3d printer with any filament and use your own preferred printer settings.
You will get much nicer prints when you use a 0.4 nozzle in your hotend and set it at 0.2mm layer height. It will then take around 2 hours + to print. Cheers!
Please donate $1 to my paypal account if you use my original designs !
UPDATED (nightly version)
Tomtomrider550_sunshade_vertical_L_20251011V10

Tomtomrider550_sunshade_vertical_XL_20251011V10

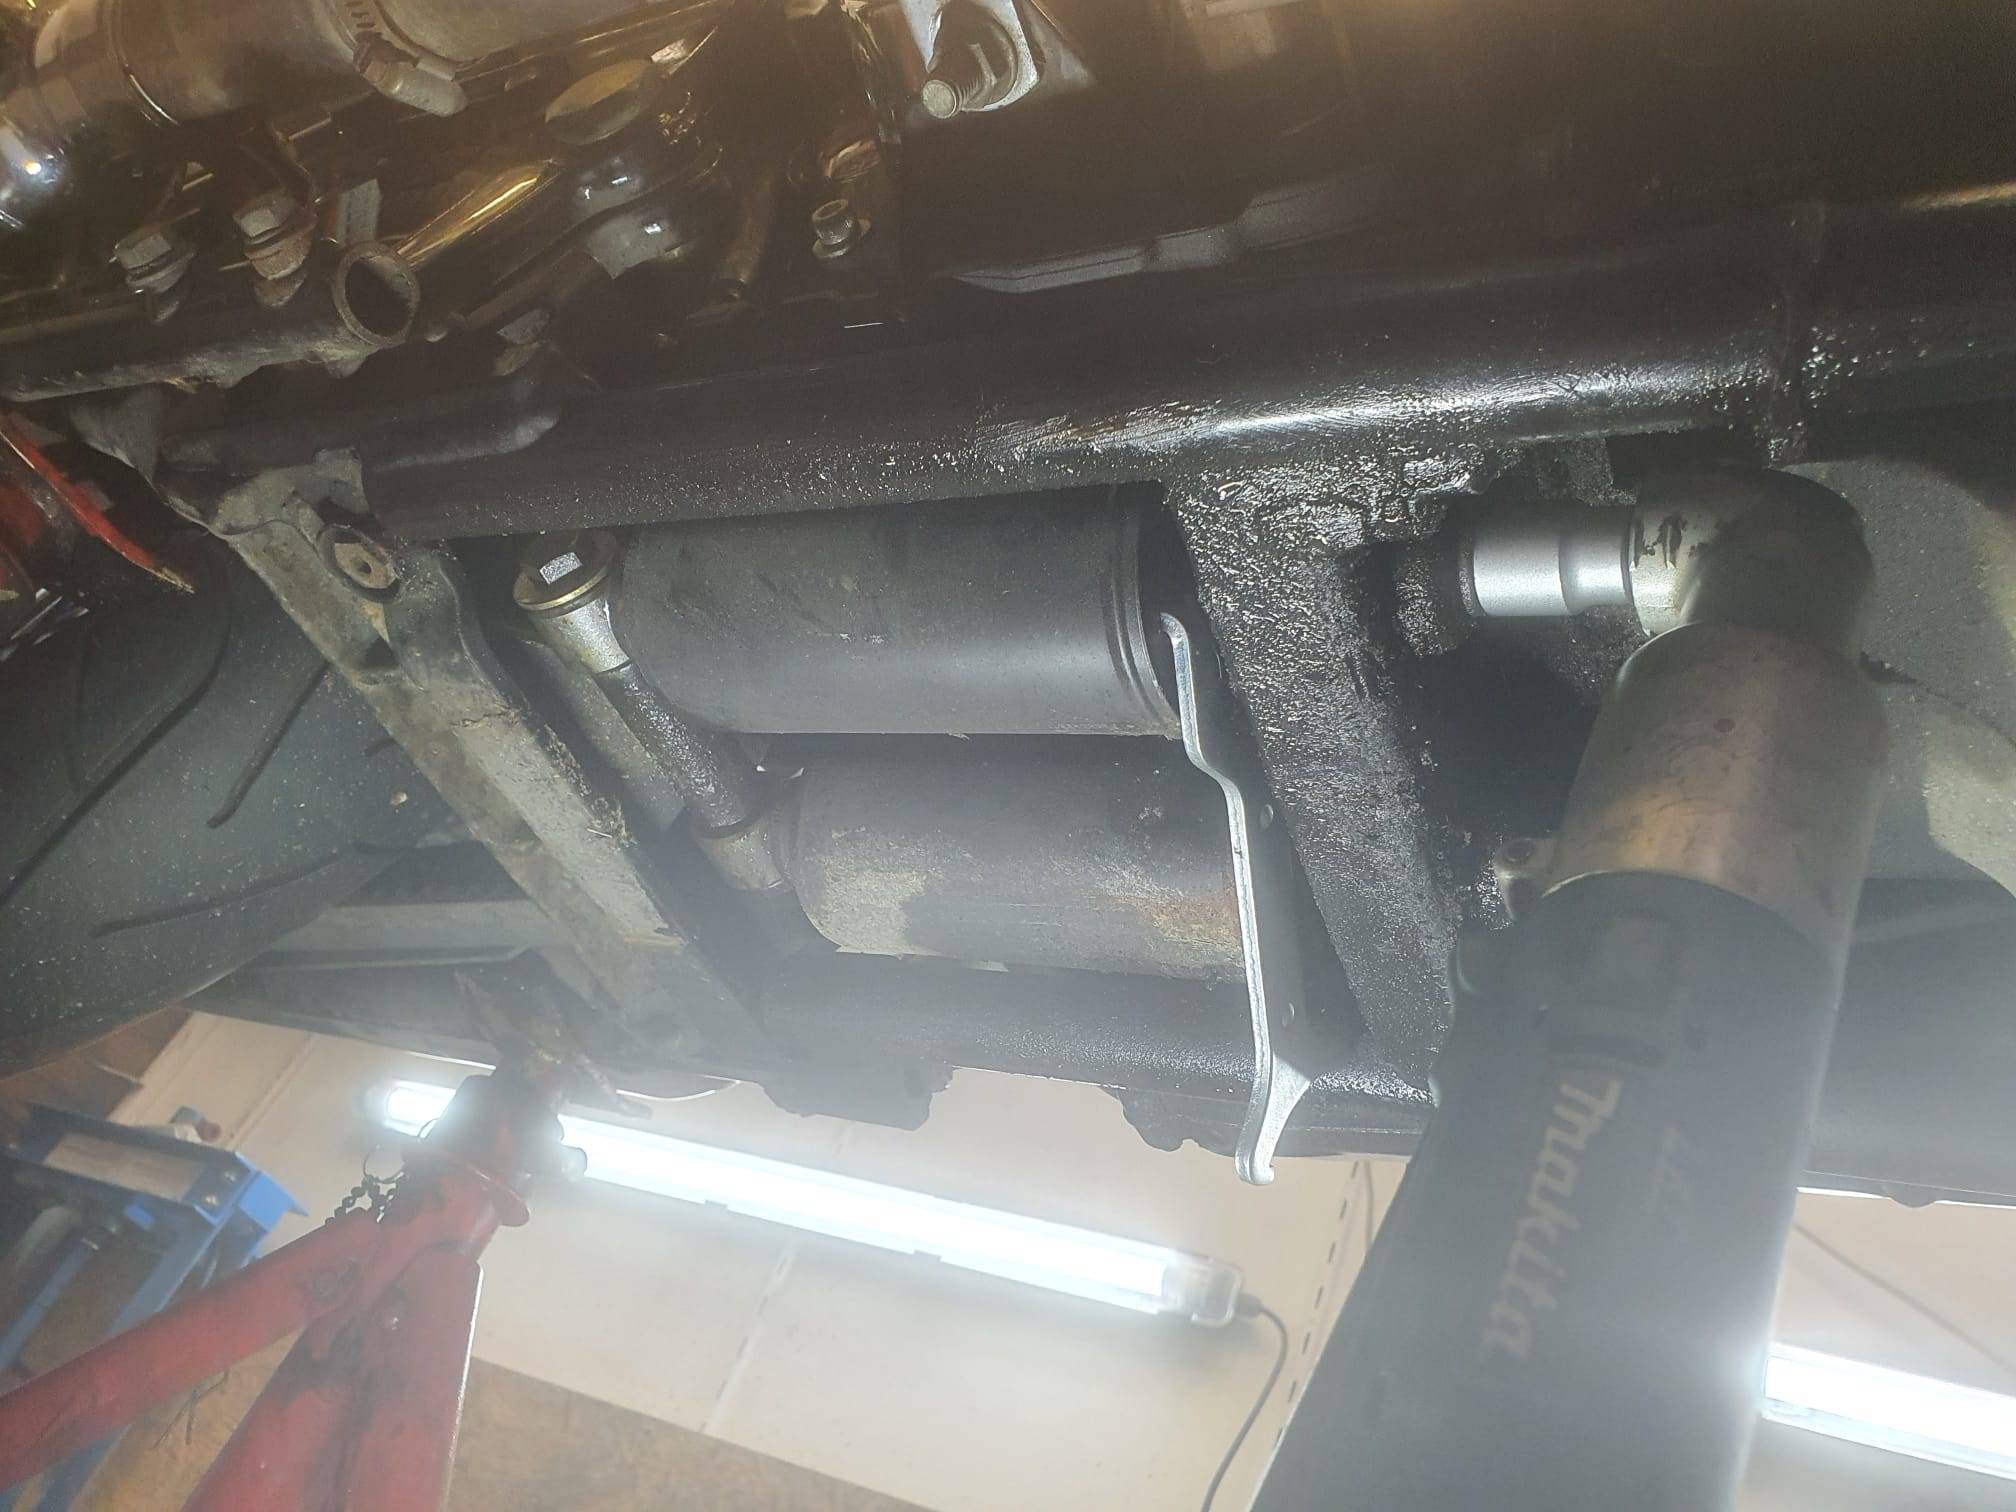
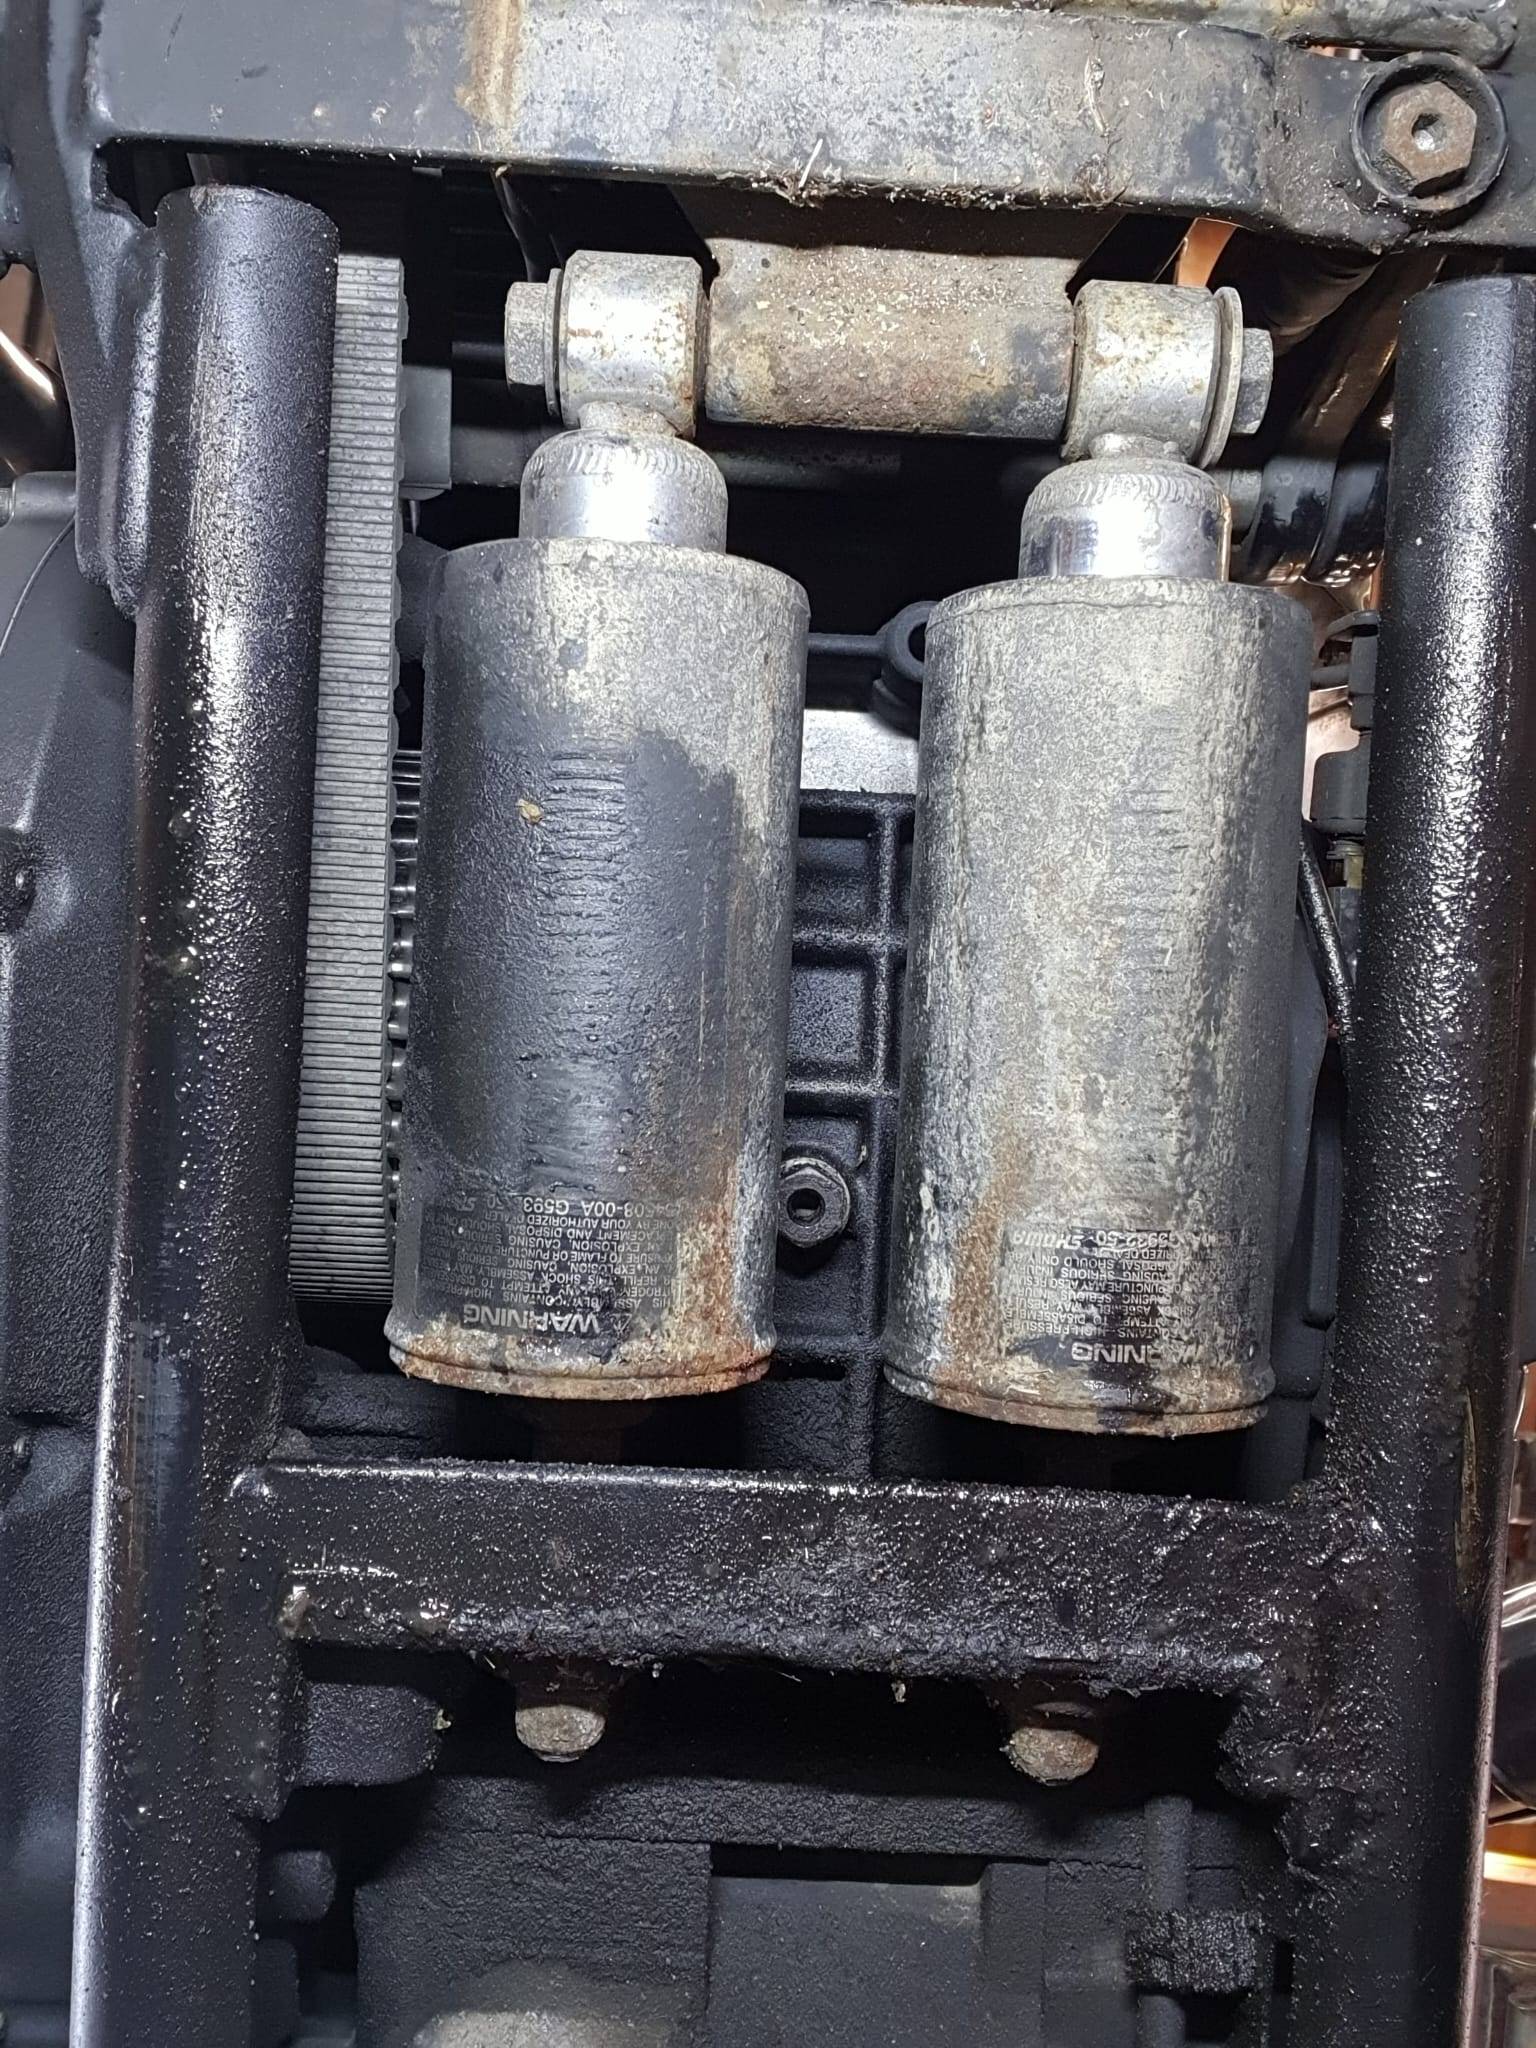
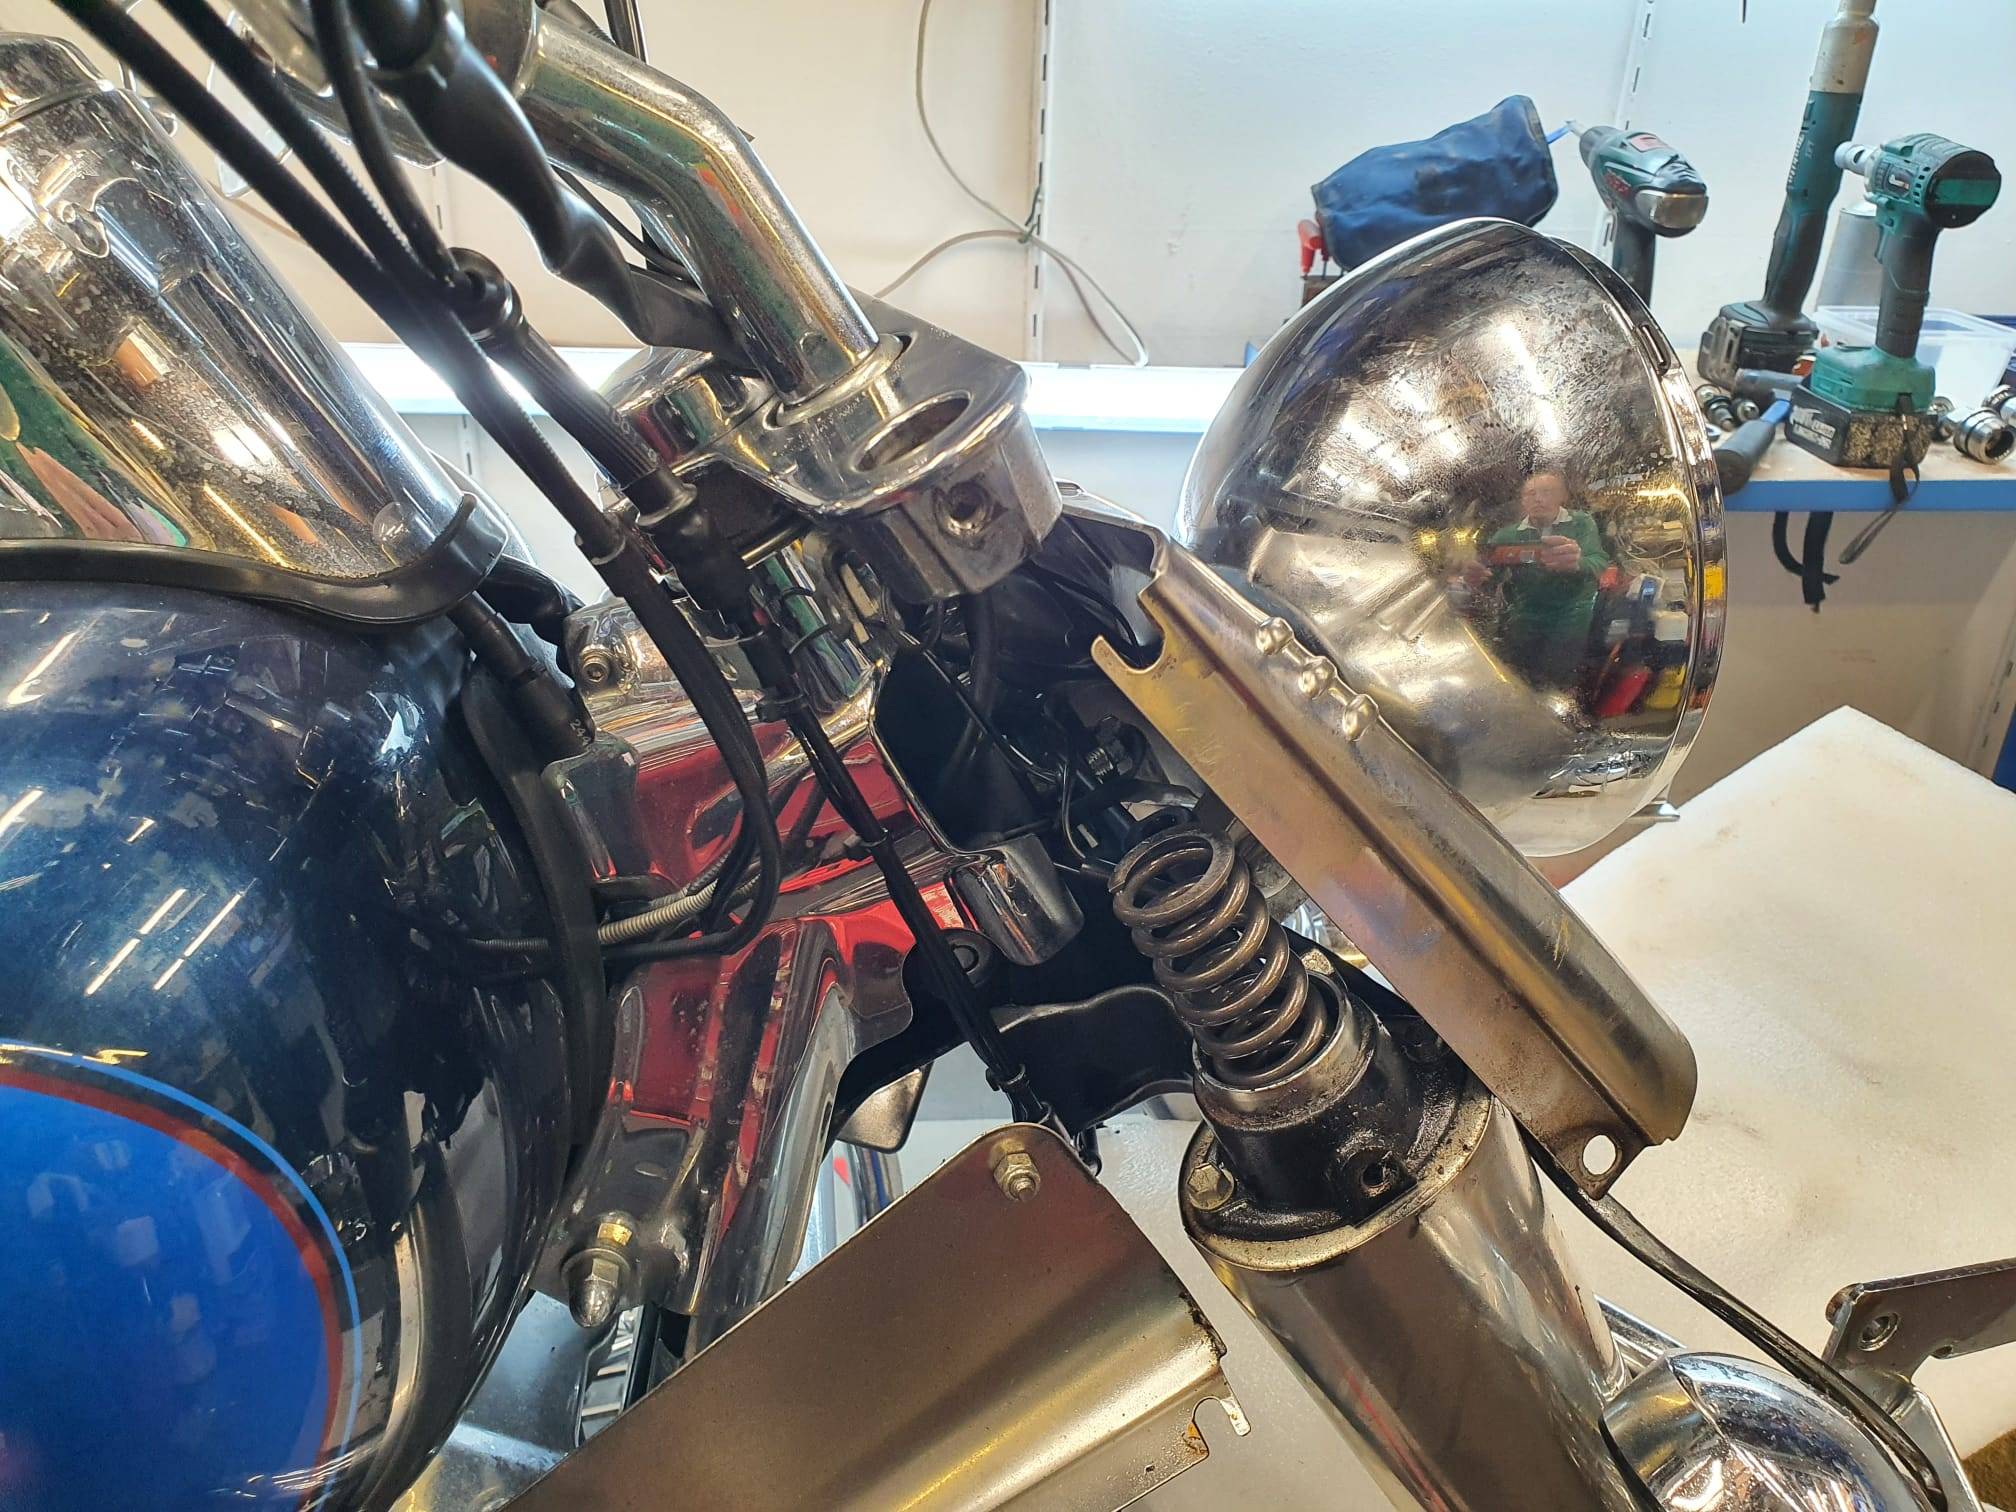
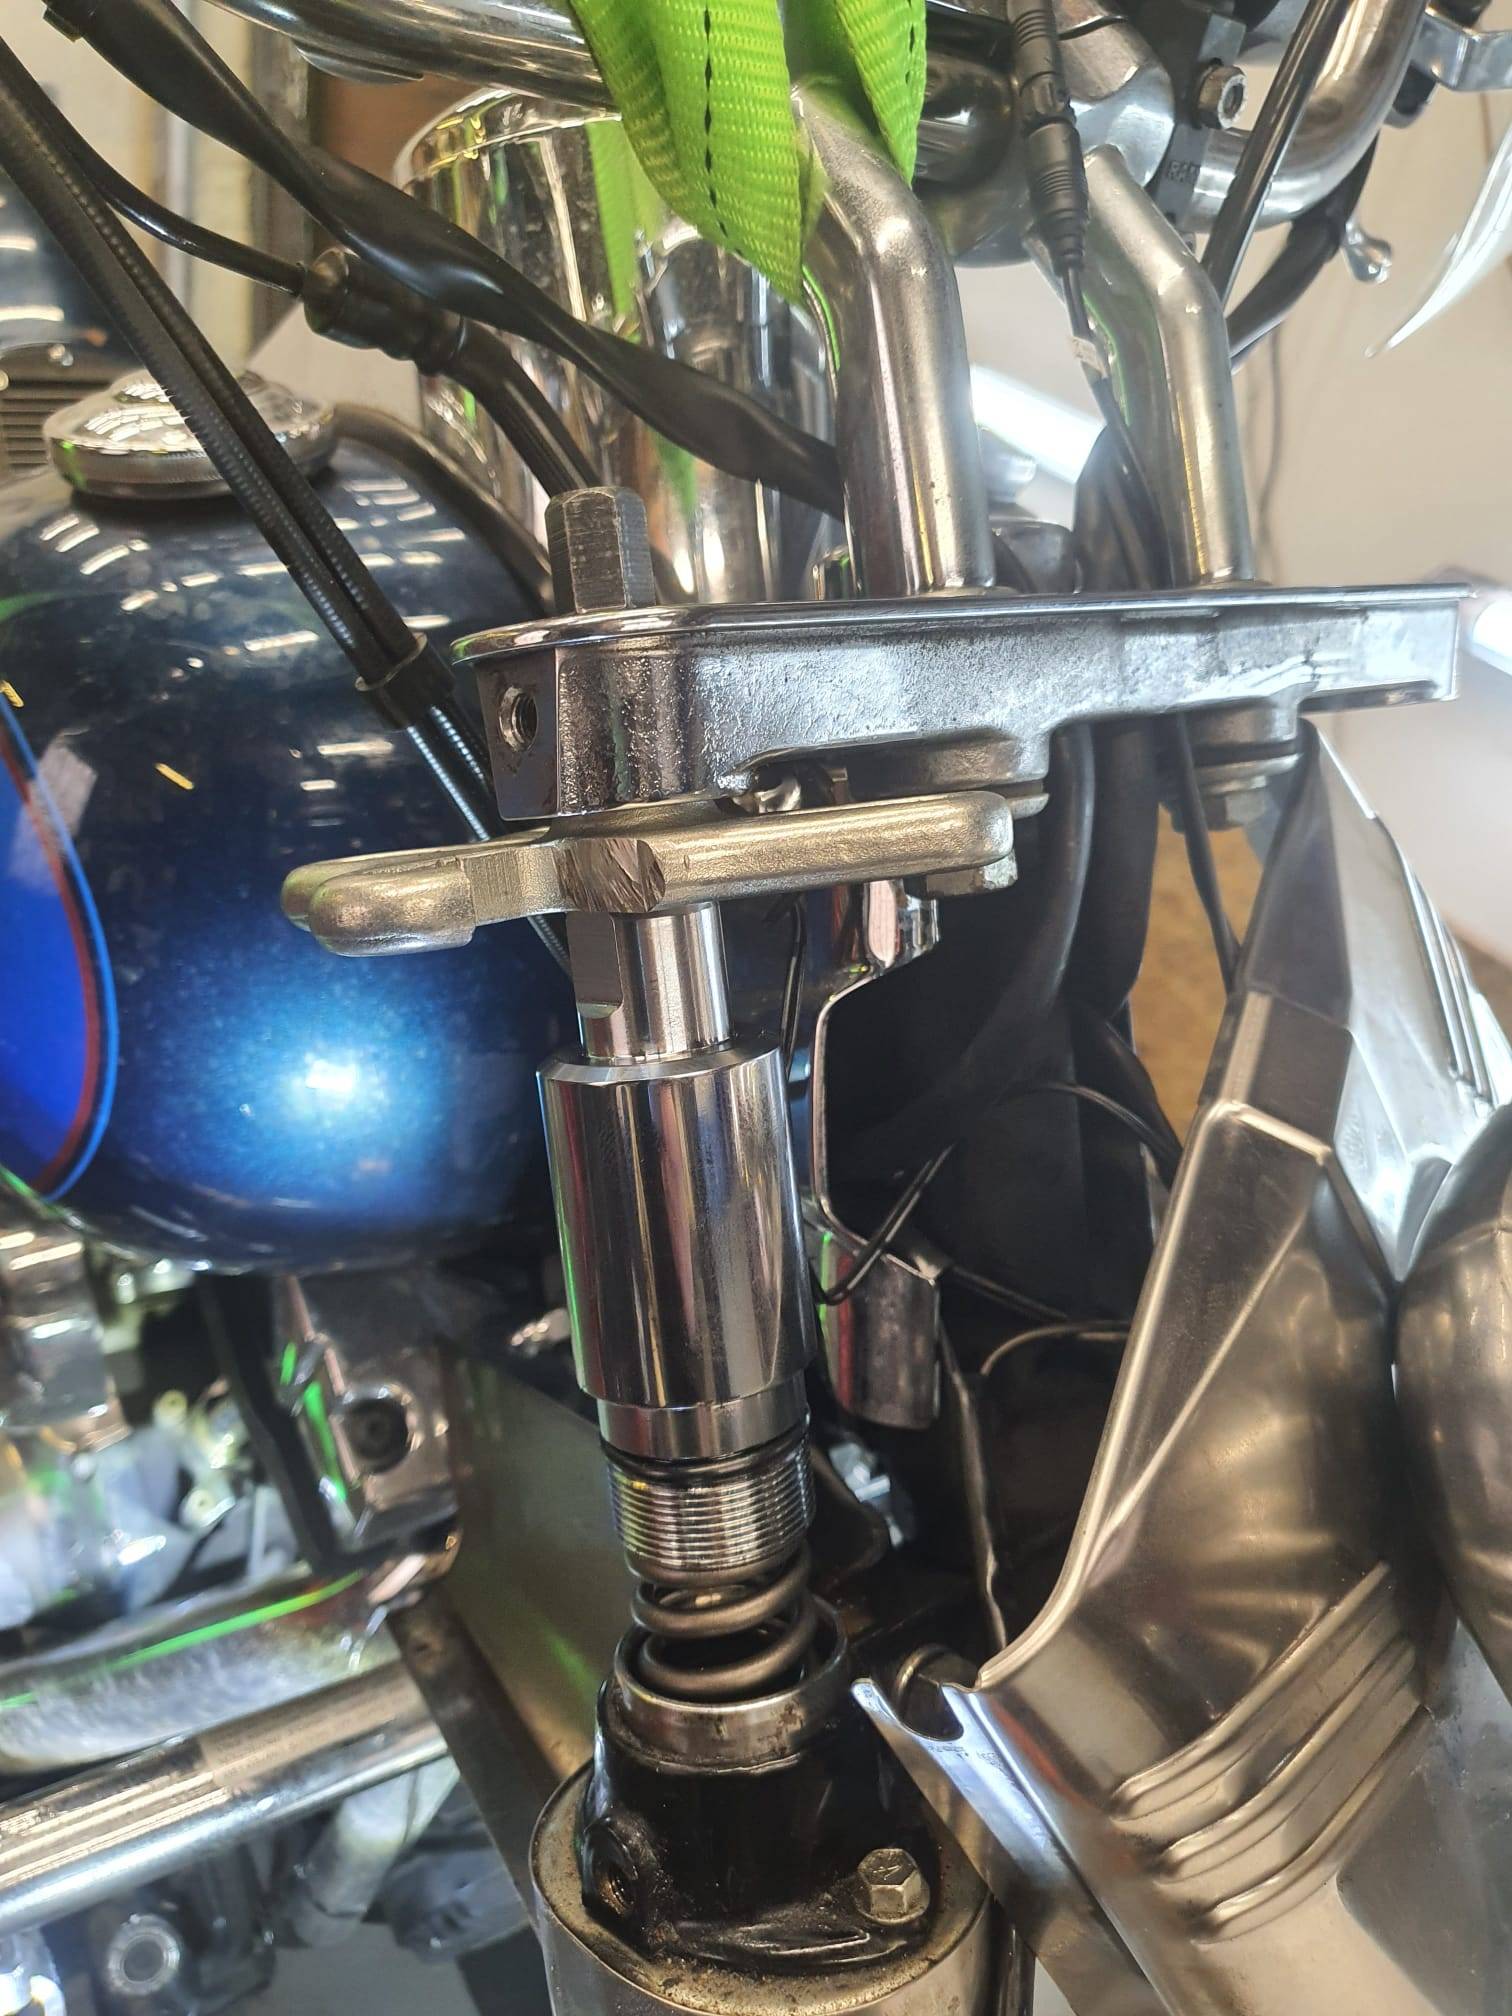
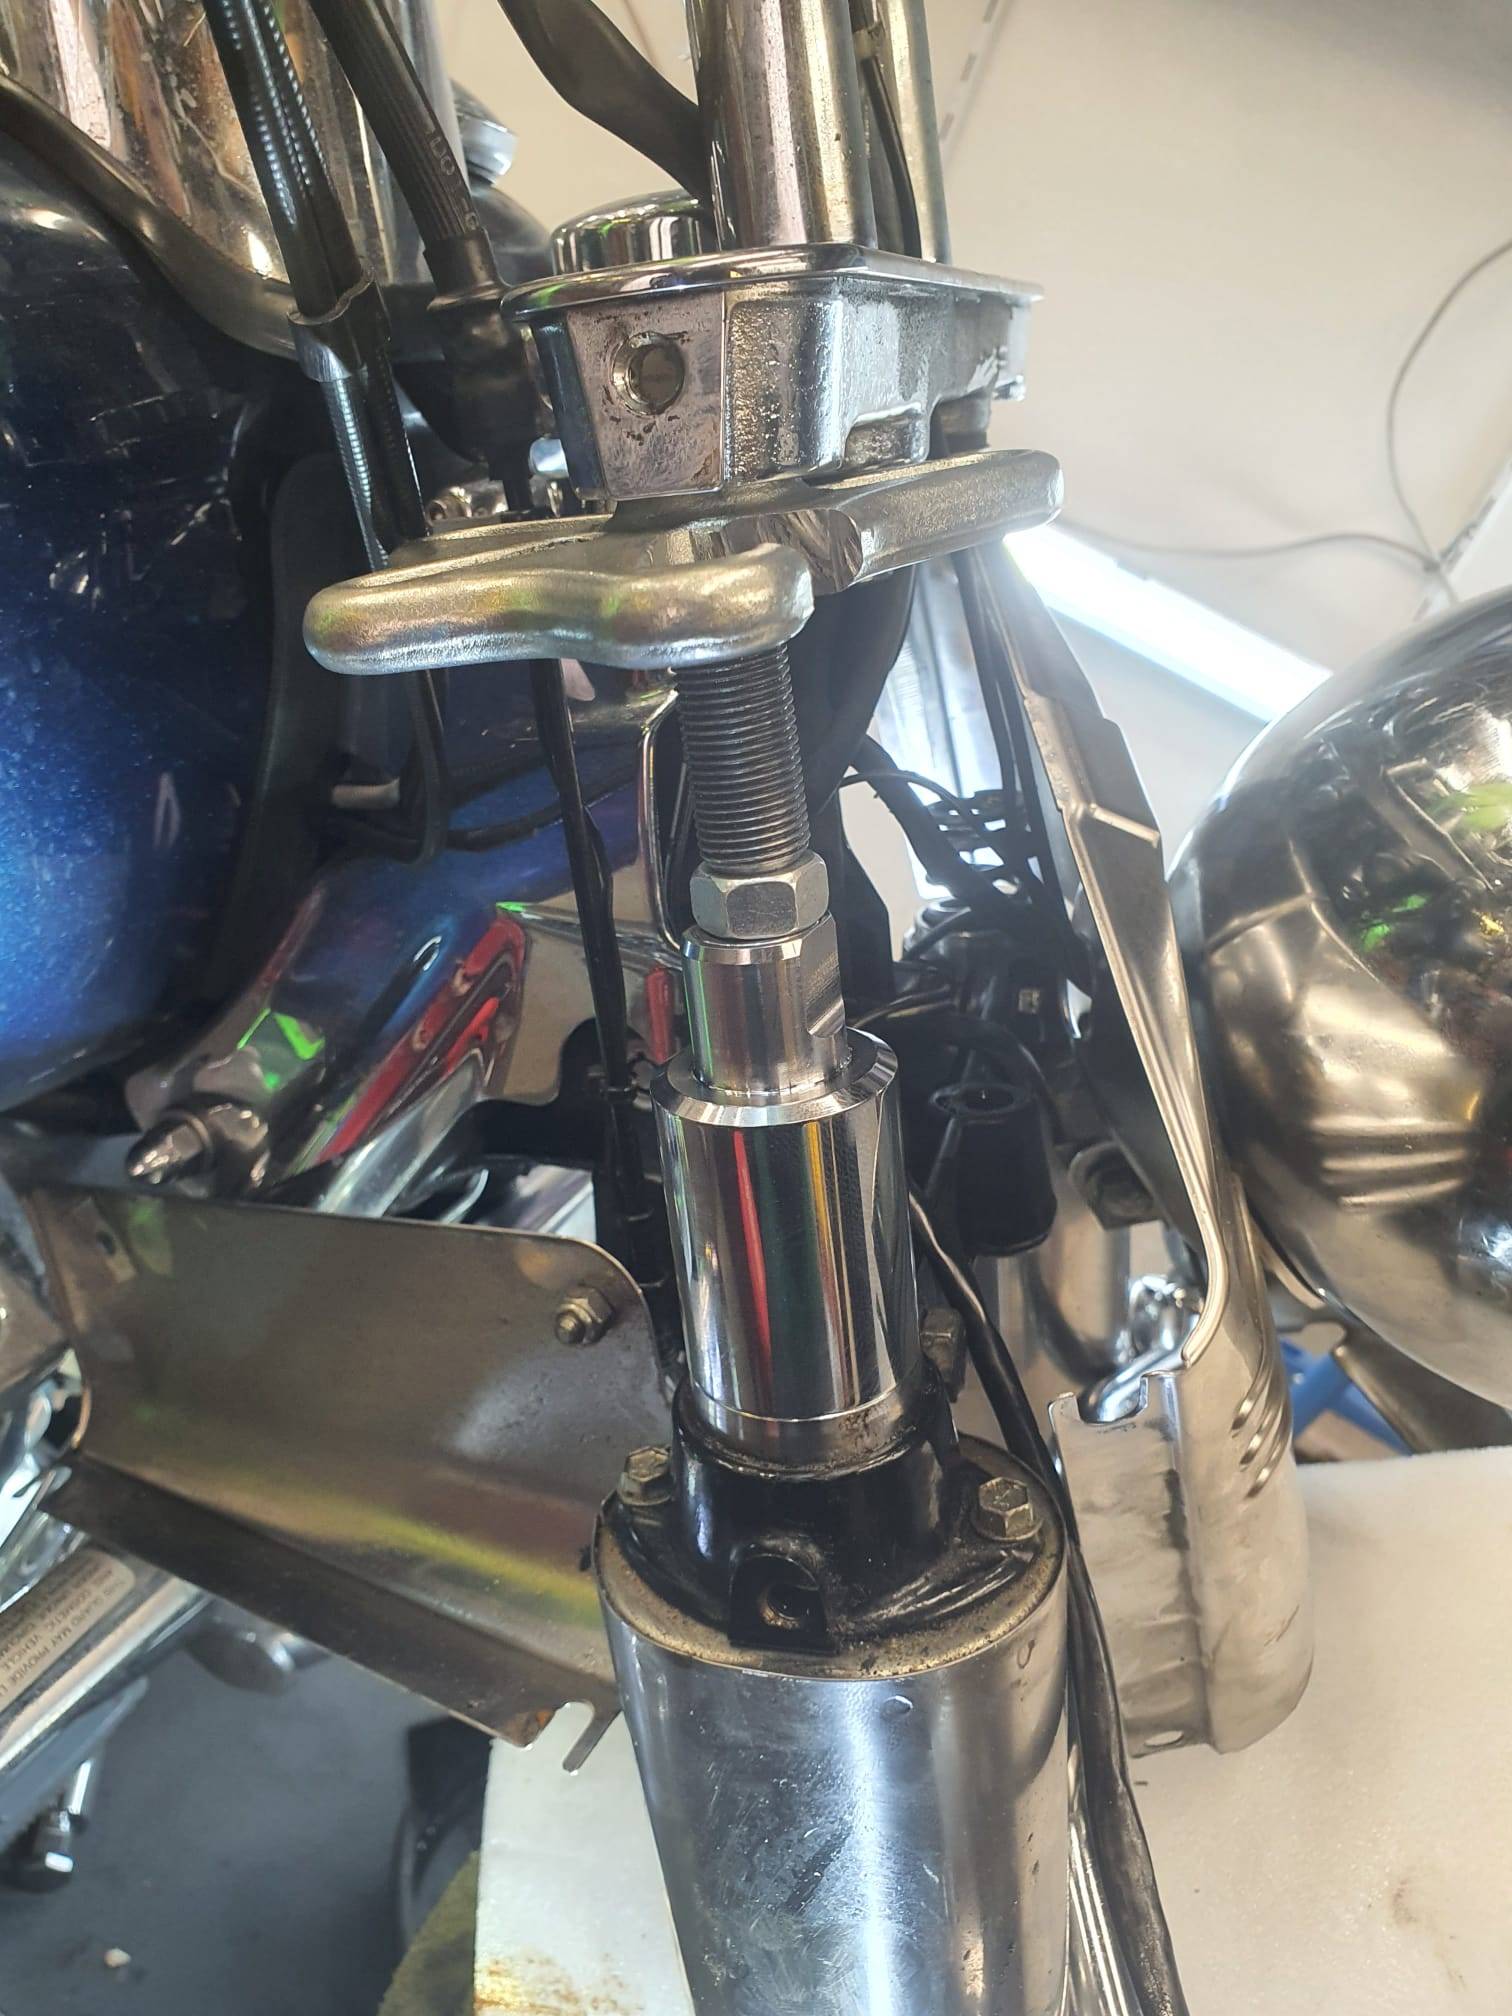
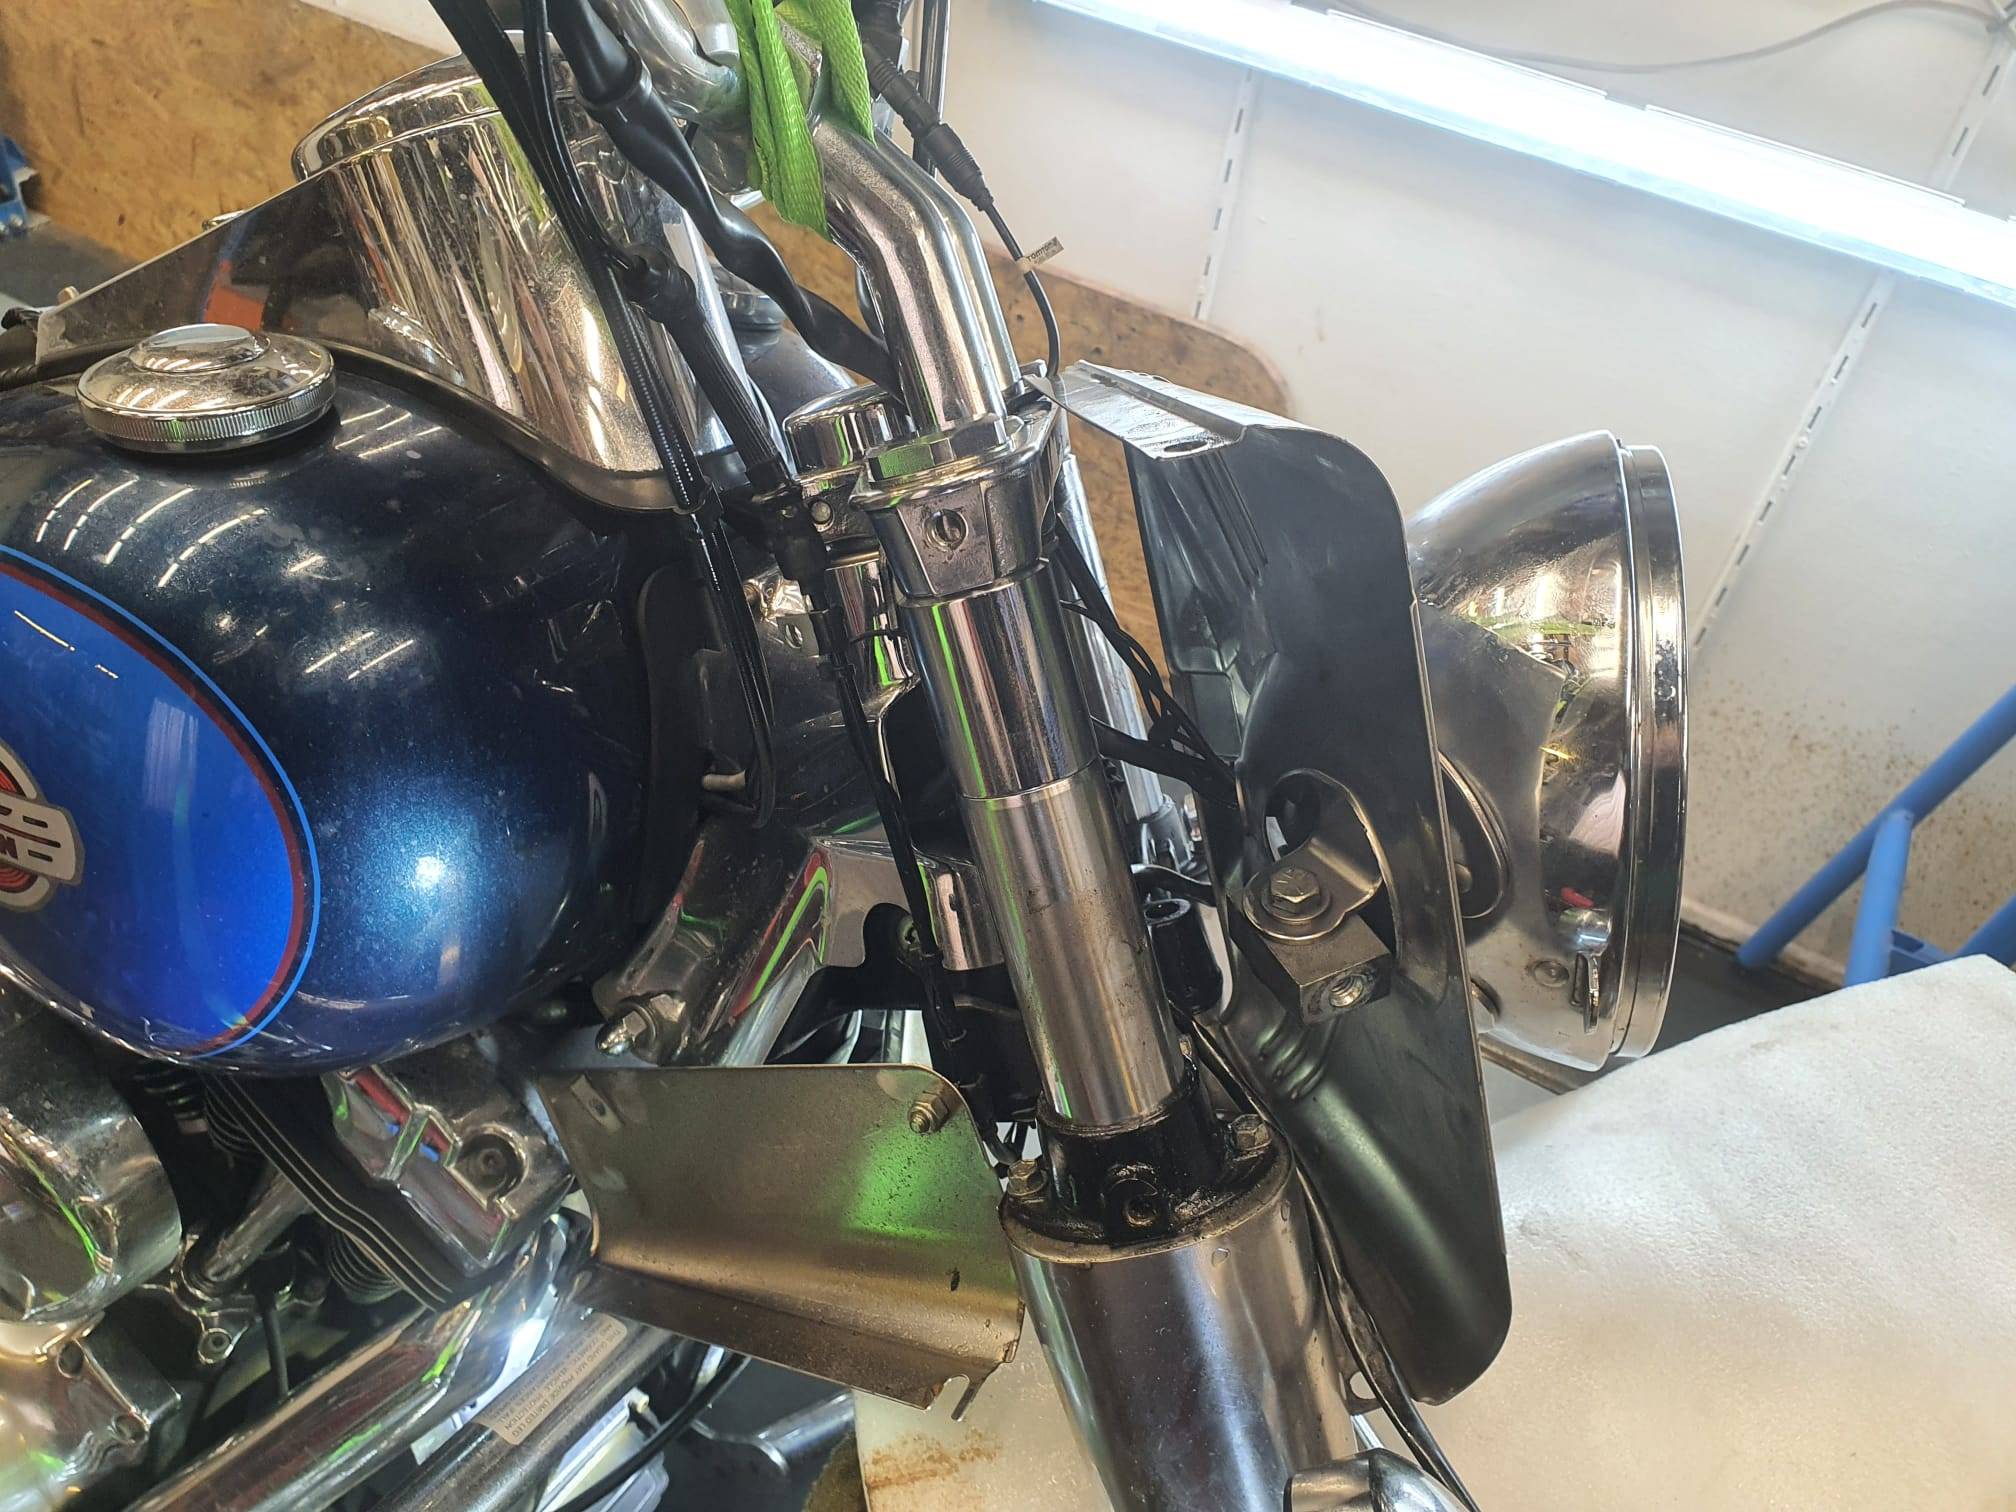
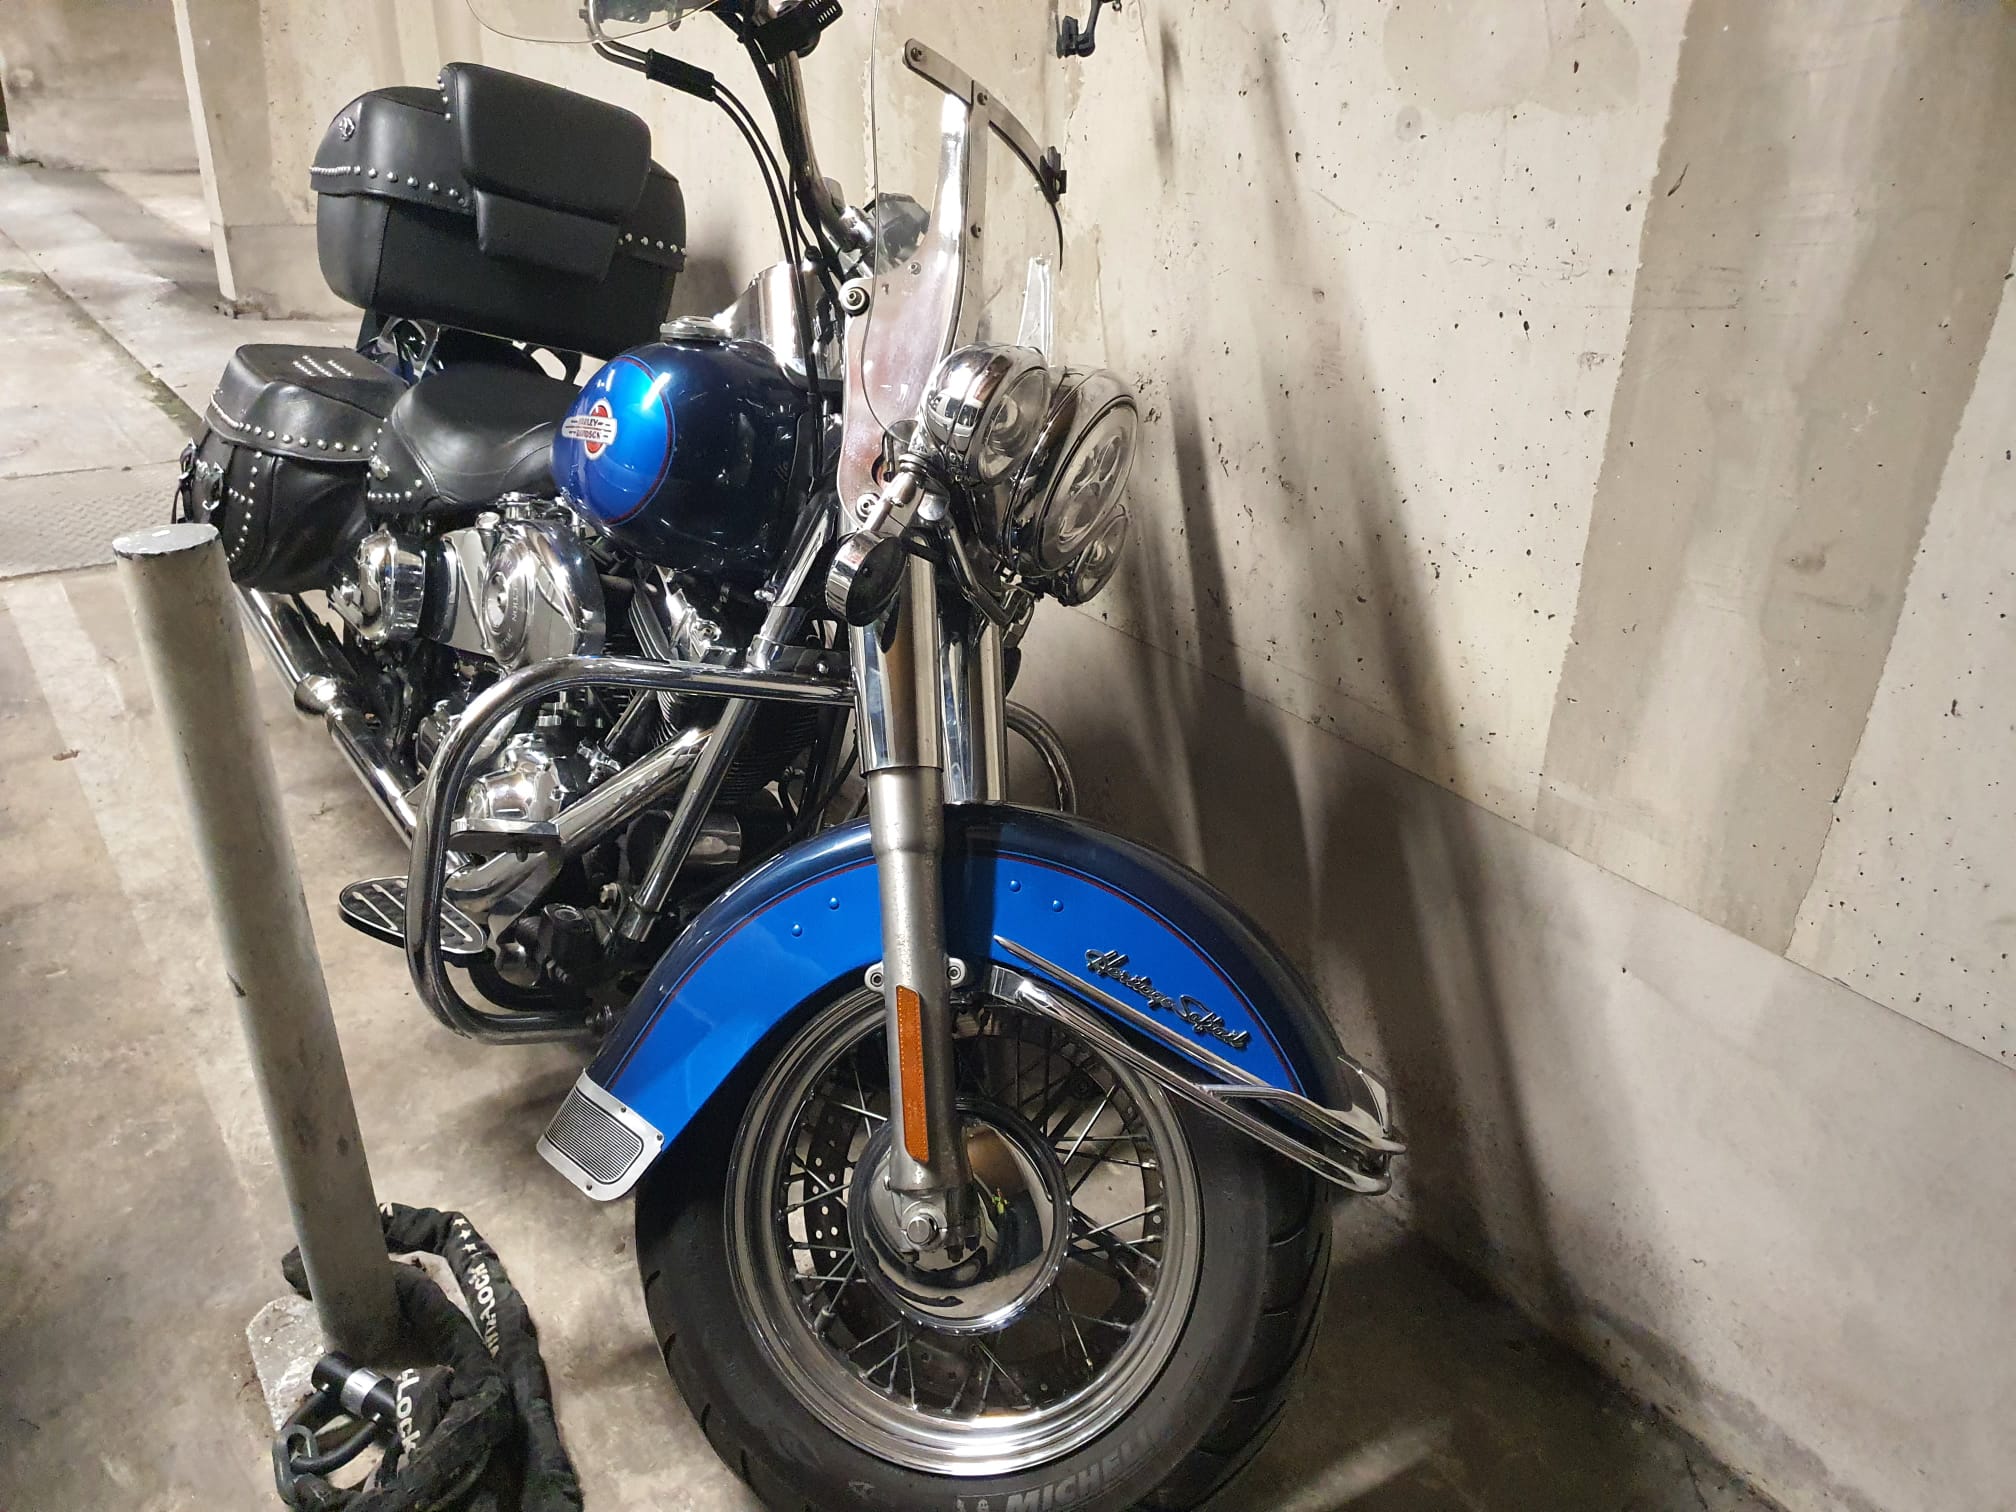
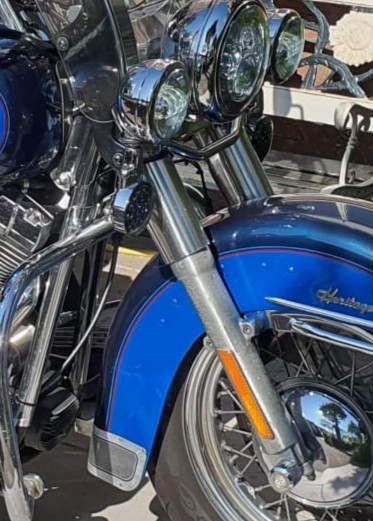
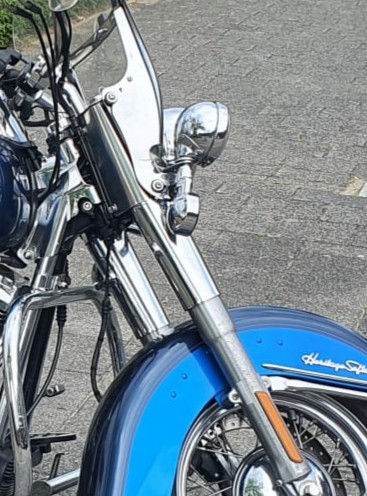
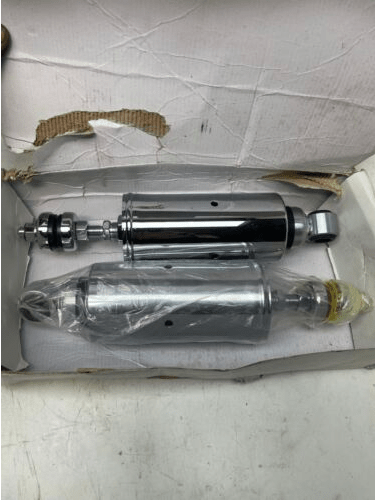
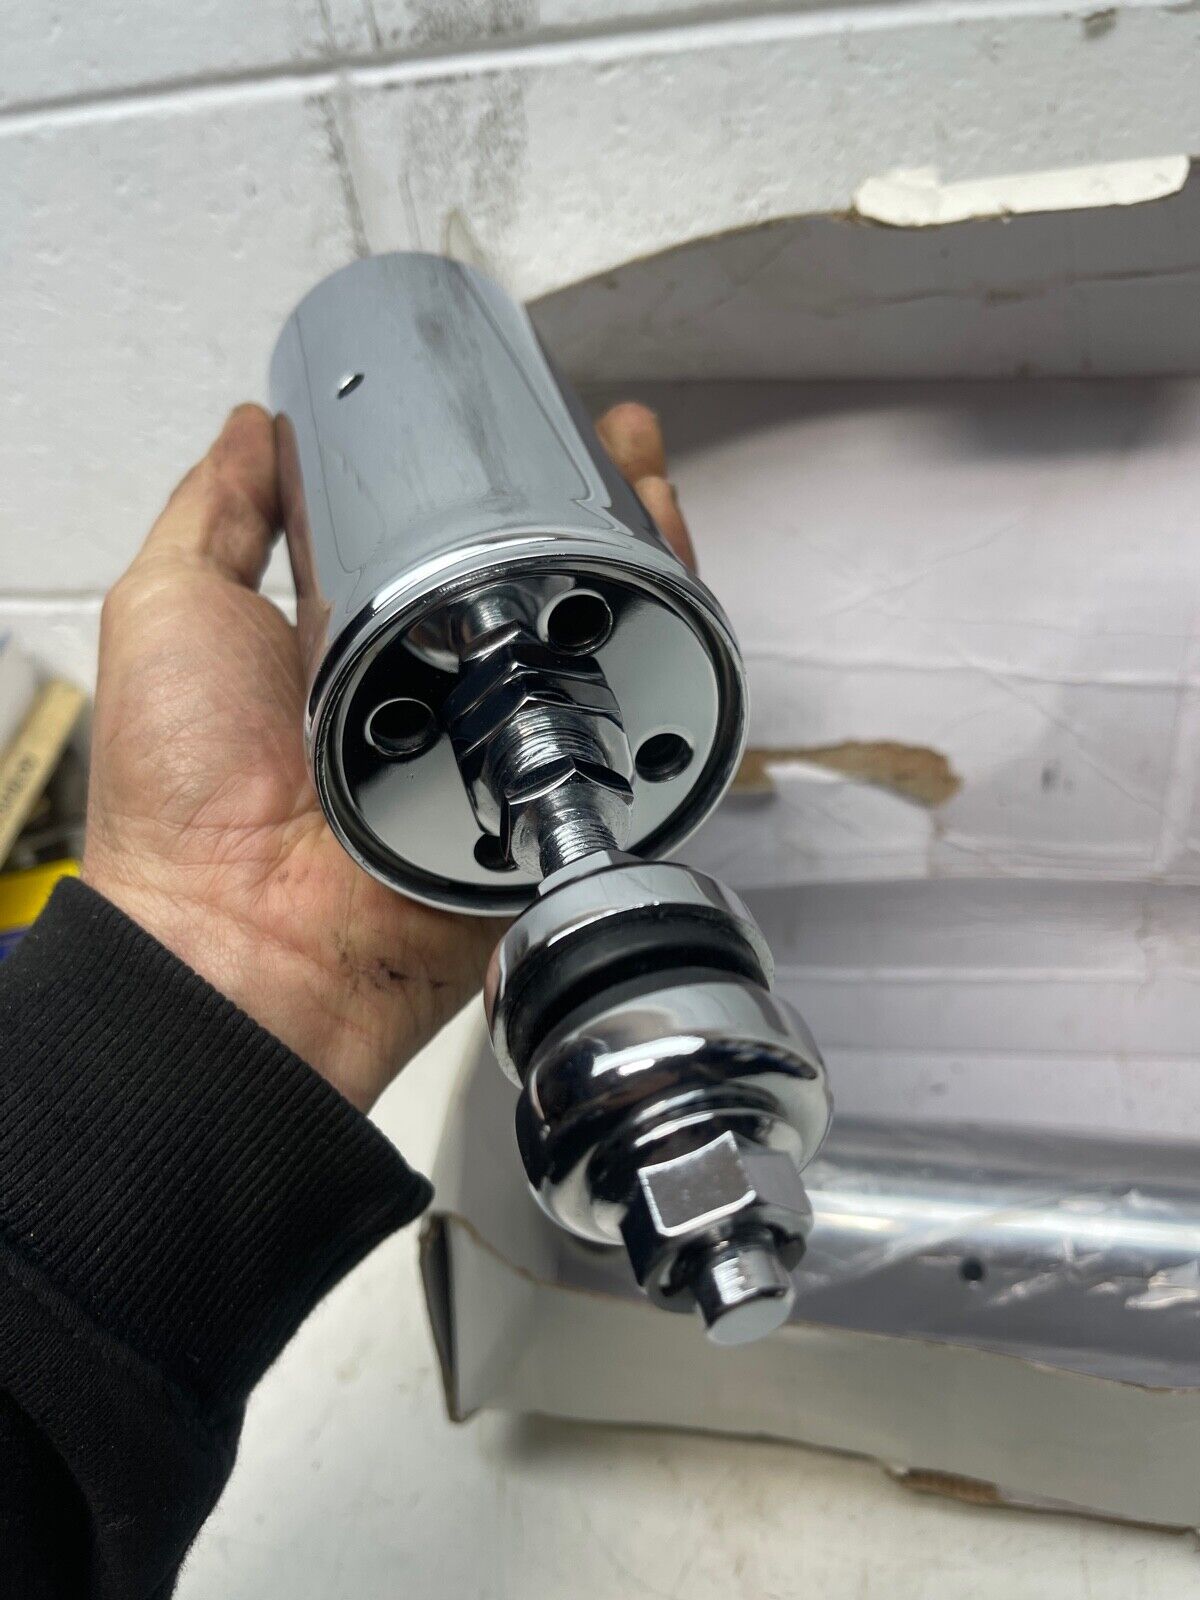
 With a little effort and use of some lubricant in the area around the lower forkplate at the place where they are munted, the forks will slide down. I let them slip down around 2 inch under the top steering plate.