First, the light housing/ shroud’s rear parts are removed, the brake line to the front caliper loosened and the headlight’s internal unit has been removed.
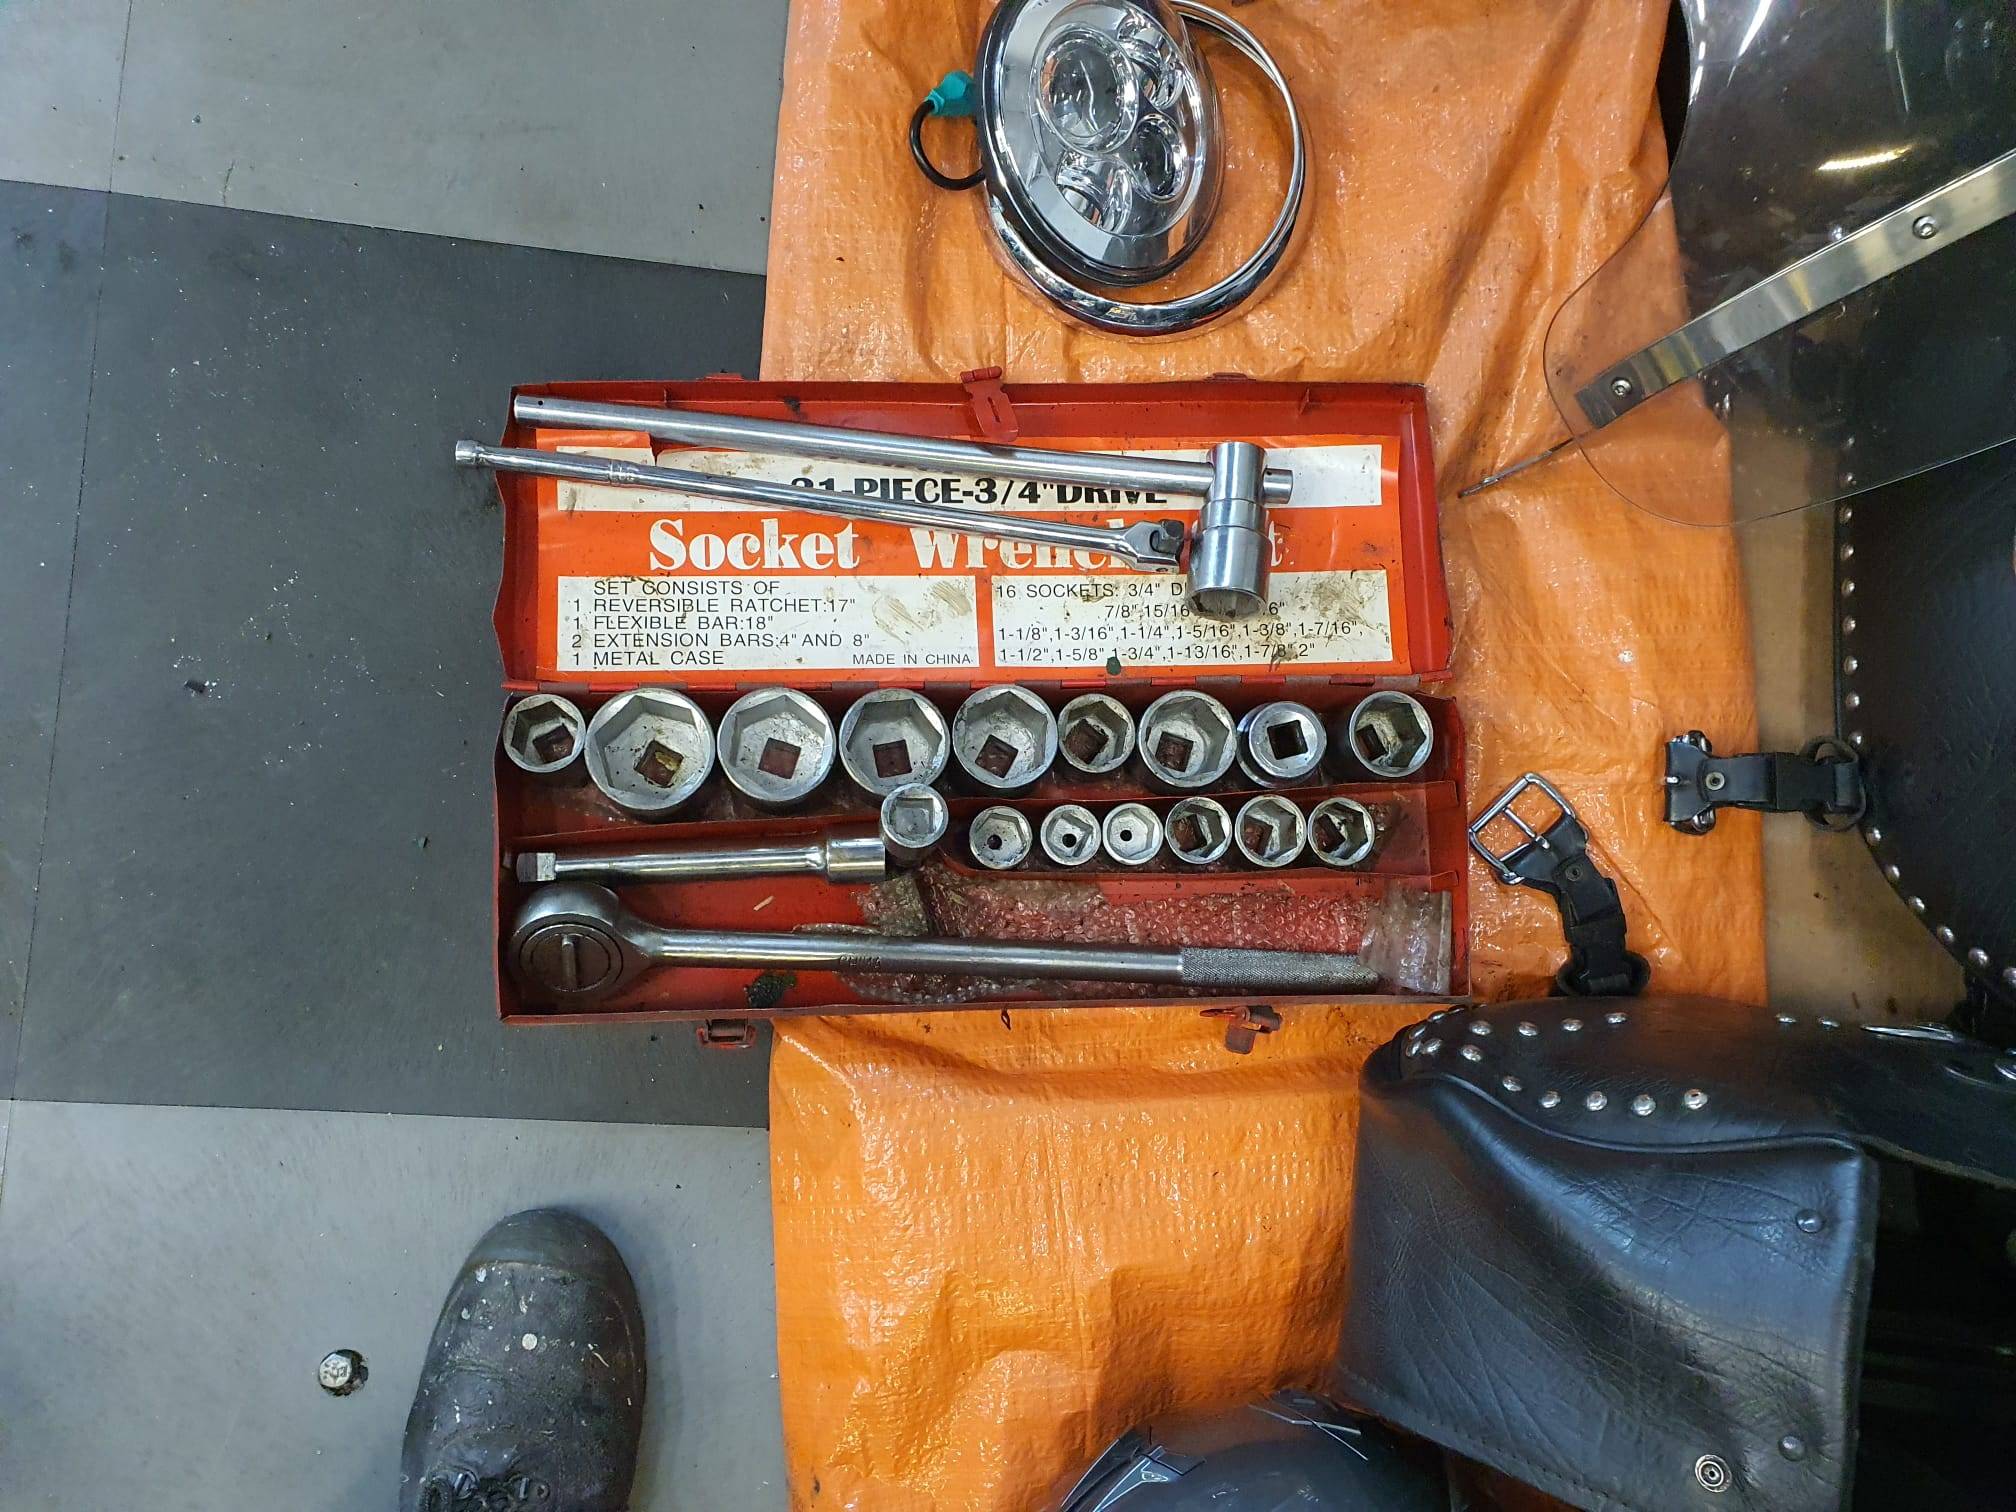
Then, the top BIG screws can be removed from the front fork units. For this, I used my large socket wrench kit:
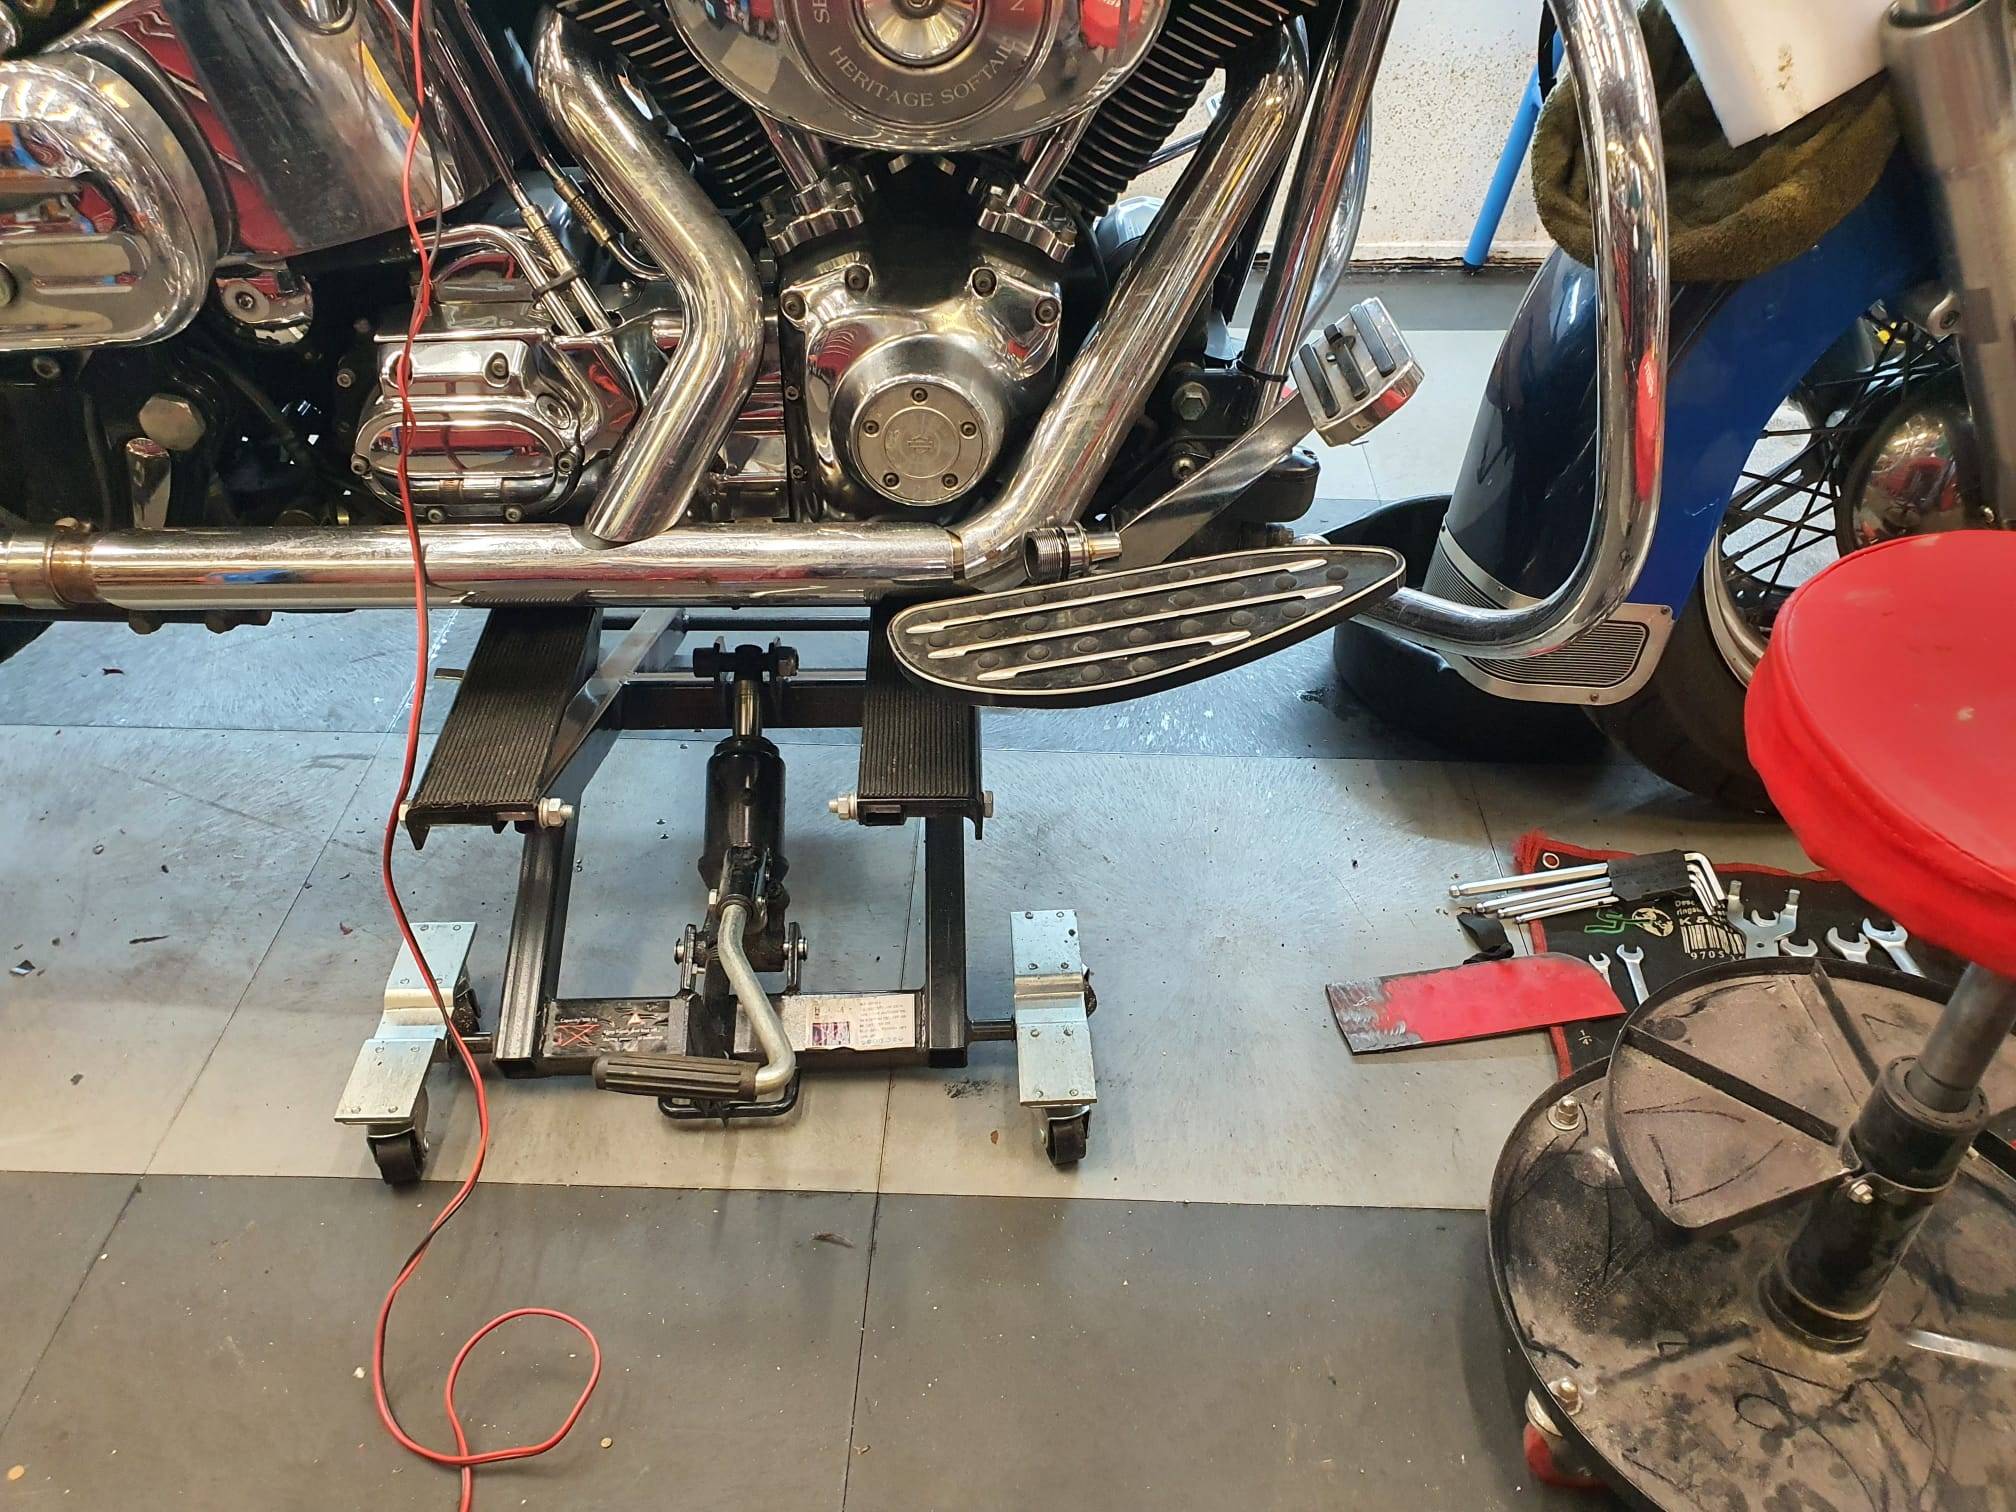
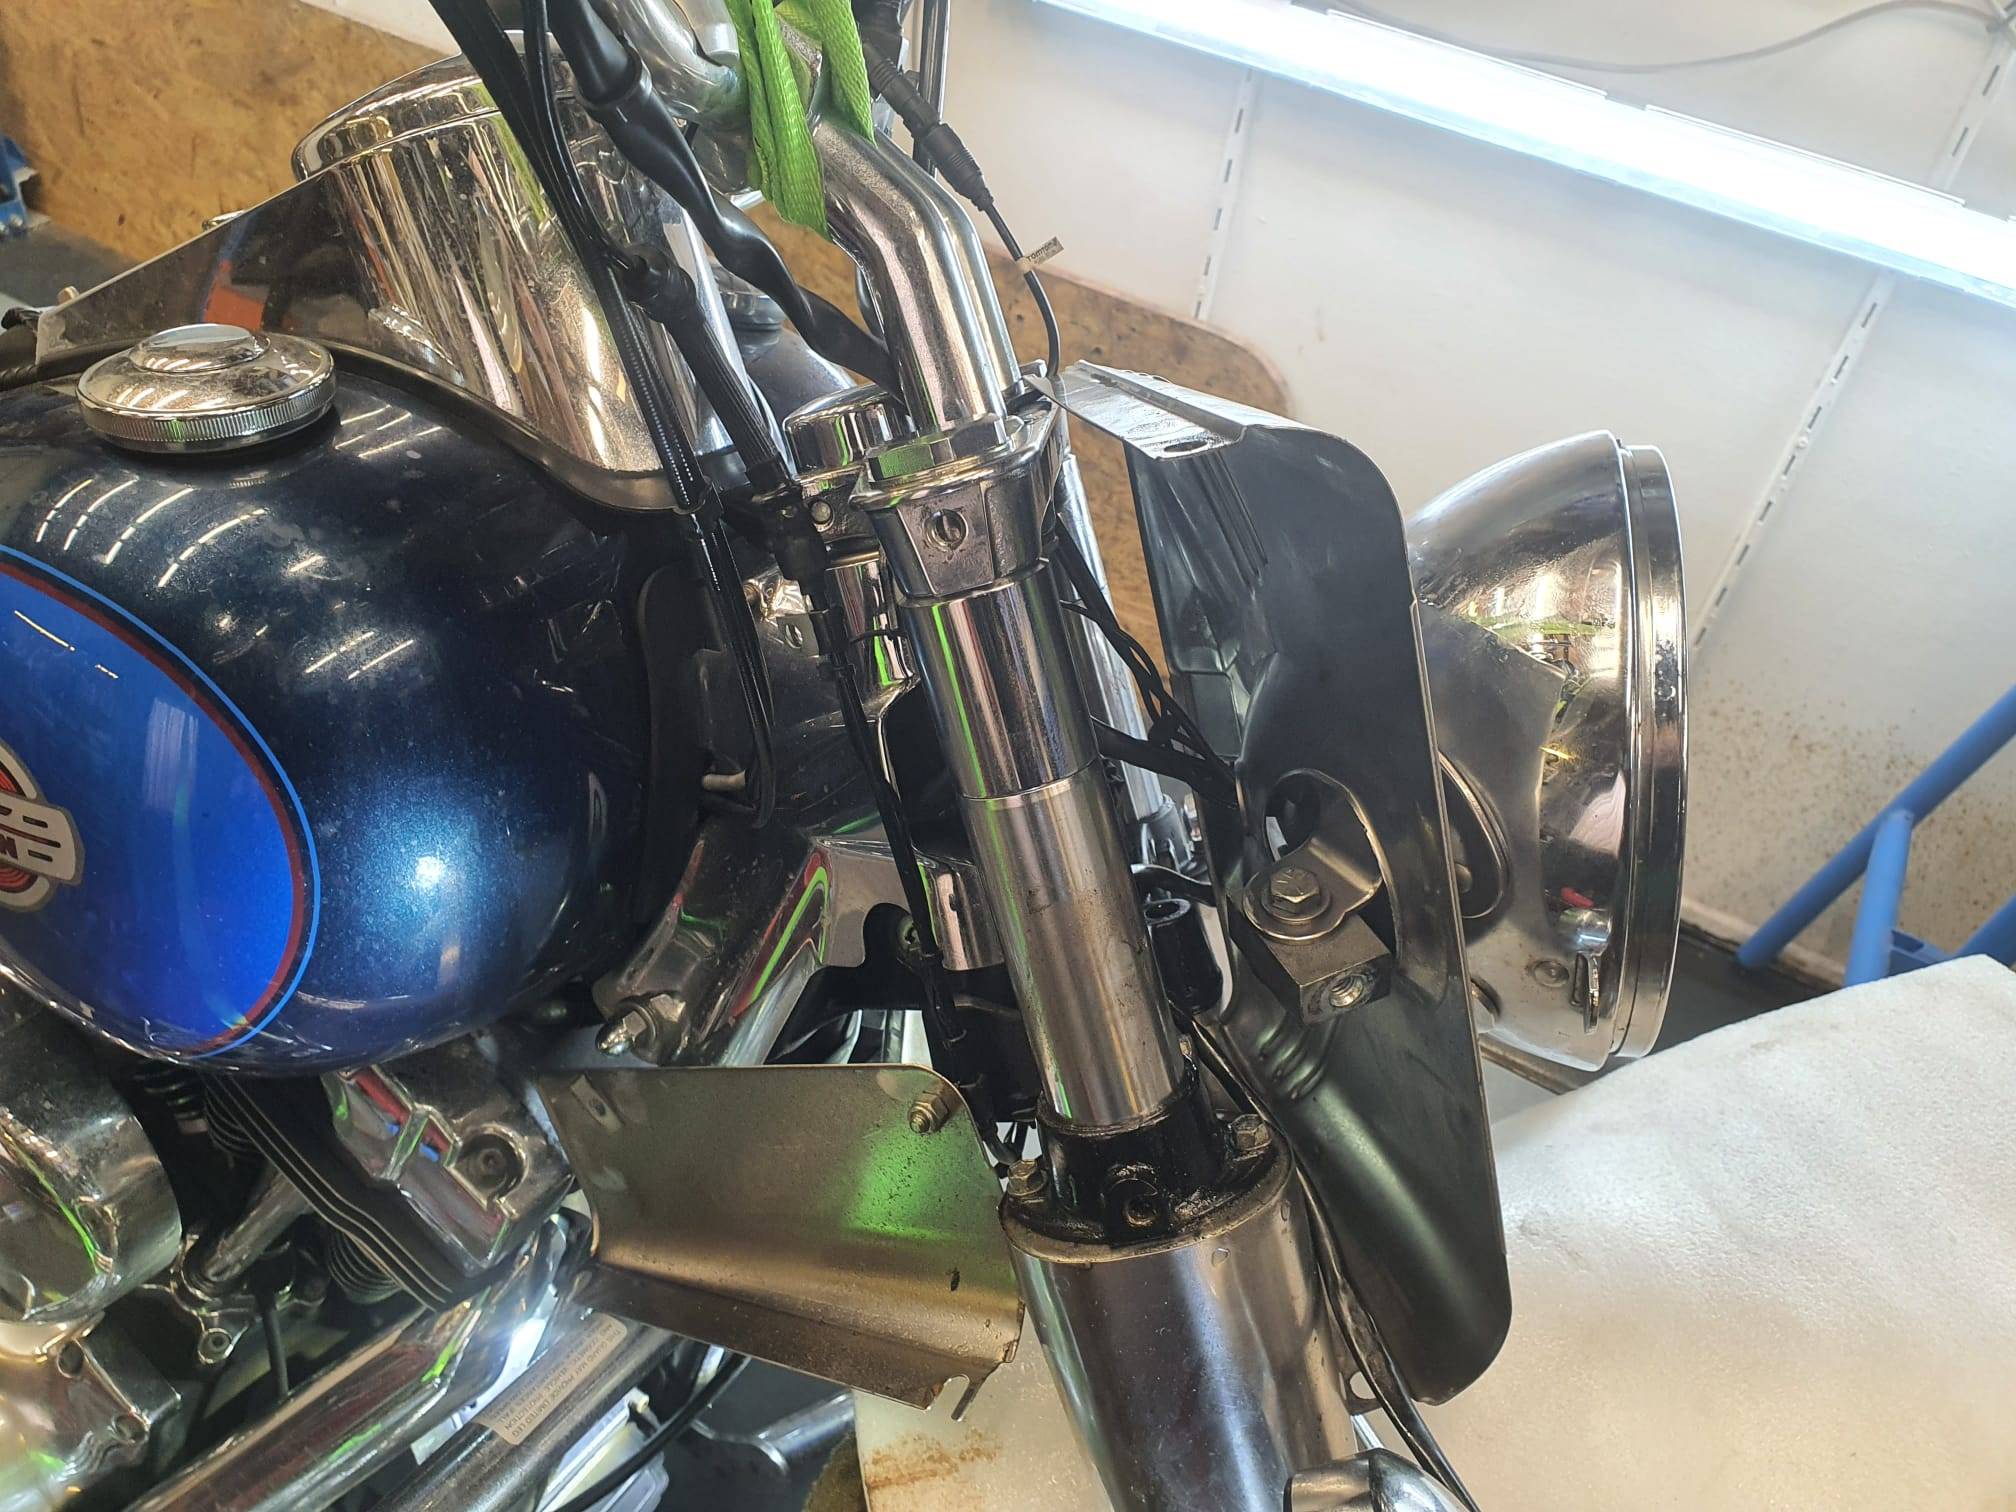
Then, I loosened the 2 bolts that clamp the front fork units in the lower steering plate. Then, I upped the bike a bit with my Harley center lift unit:
 With a little effort and use of some lubricant in the area around the lower forkplate at the place where they are munted, the forks will slide down. I let them slip down around 2 inch under the top steering plate.
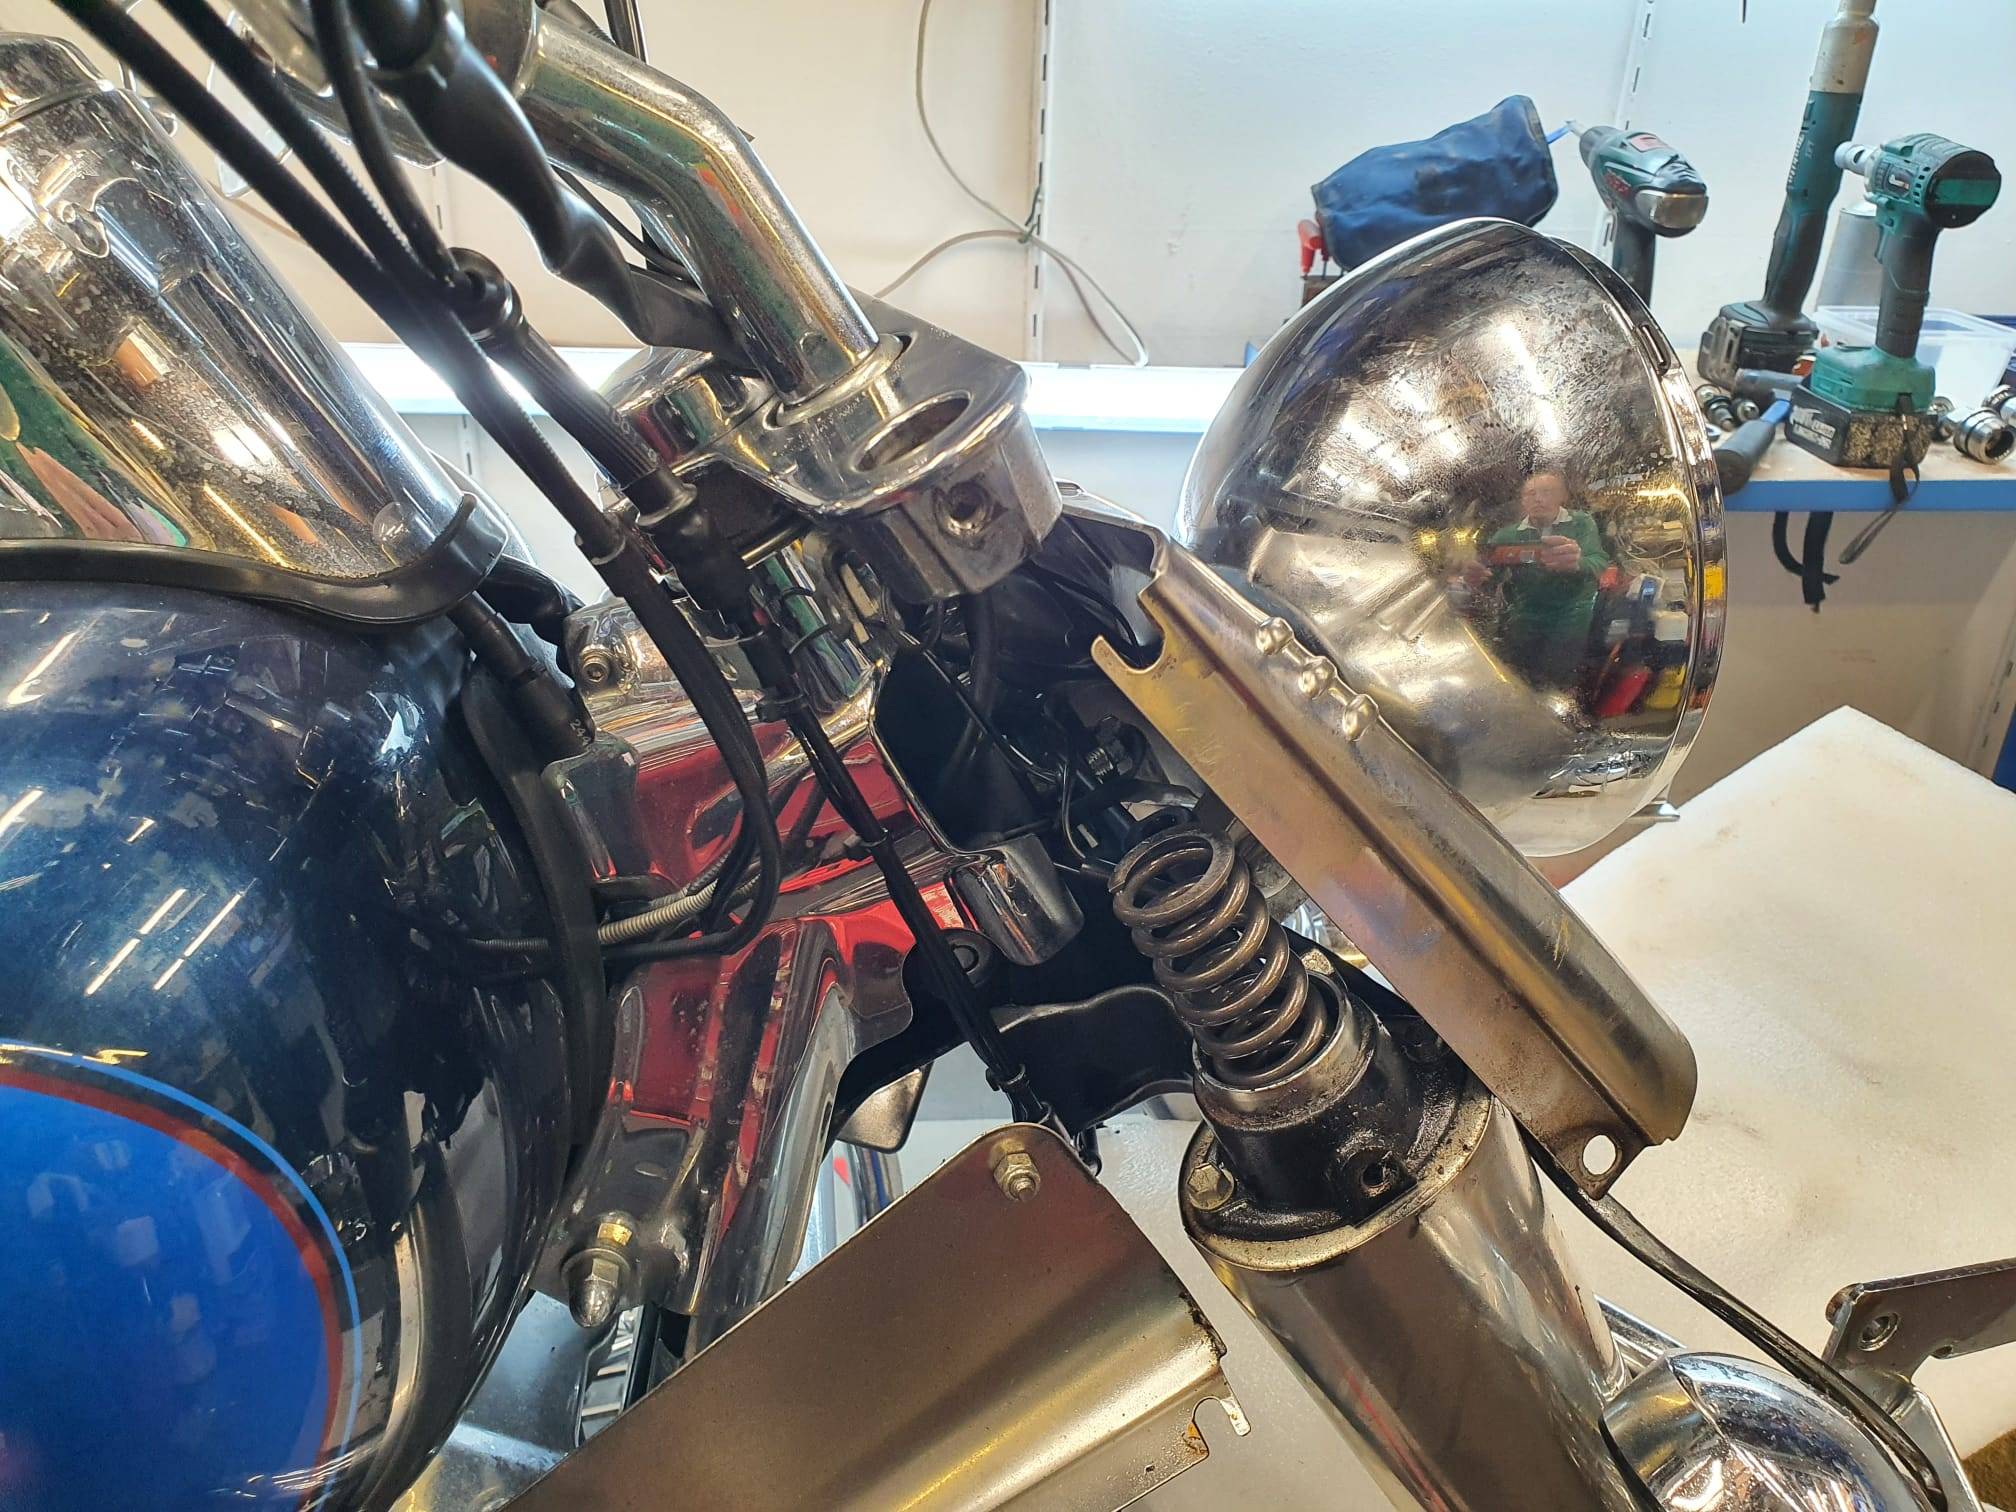
The, remove the large bolts and be aware that there is quite some pressure under these bolts, due to the fork springs. I put a steel plate between the bolt’s top and the hole where they were previously bolted. The bolts come off with a bang. The, they are captured by the plate. Ater both bolts are loose and held by the steel plates, you can slowly upp the motorlift so the springs can move freely. The bolts will fall down so be arare to either catch them of prevent damage to your front fender and gastank.
NB: My HD Heritage model holds 2 identical springs so the procedure is the same for each of the fork units. In other models, you can encounter different situations like 1 spring on 1 side and no spring on the other side. This is normal.
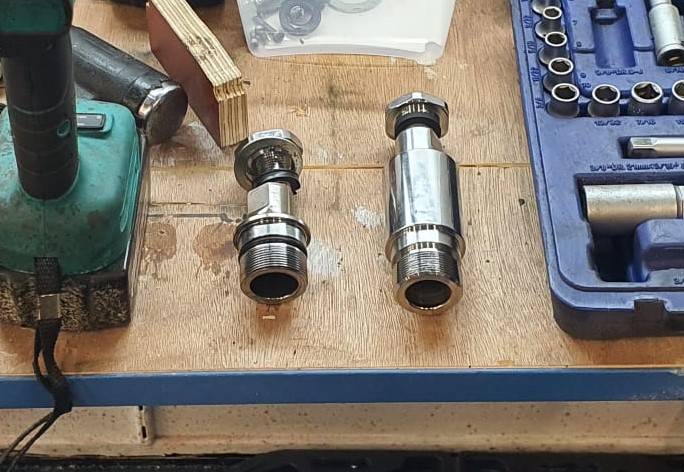
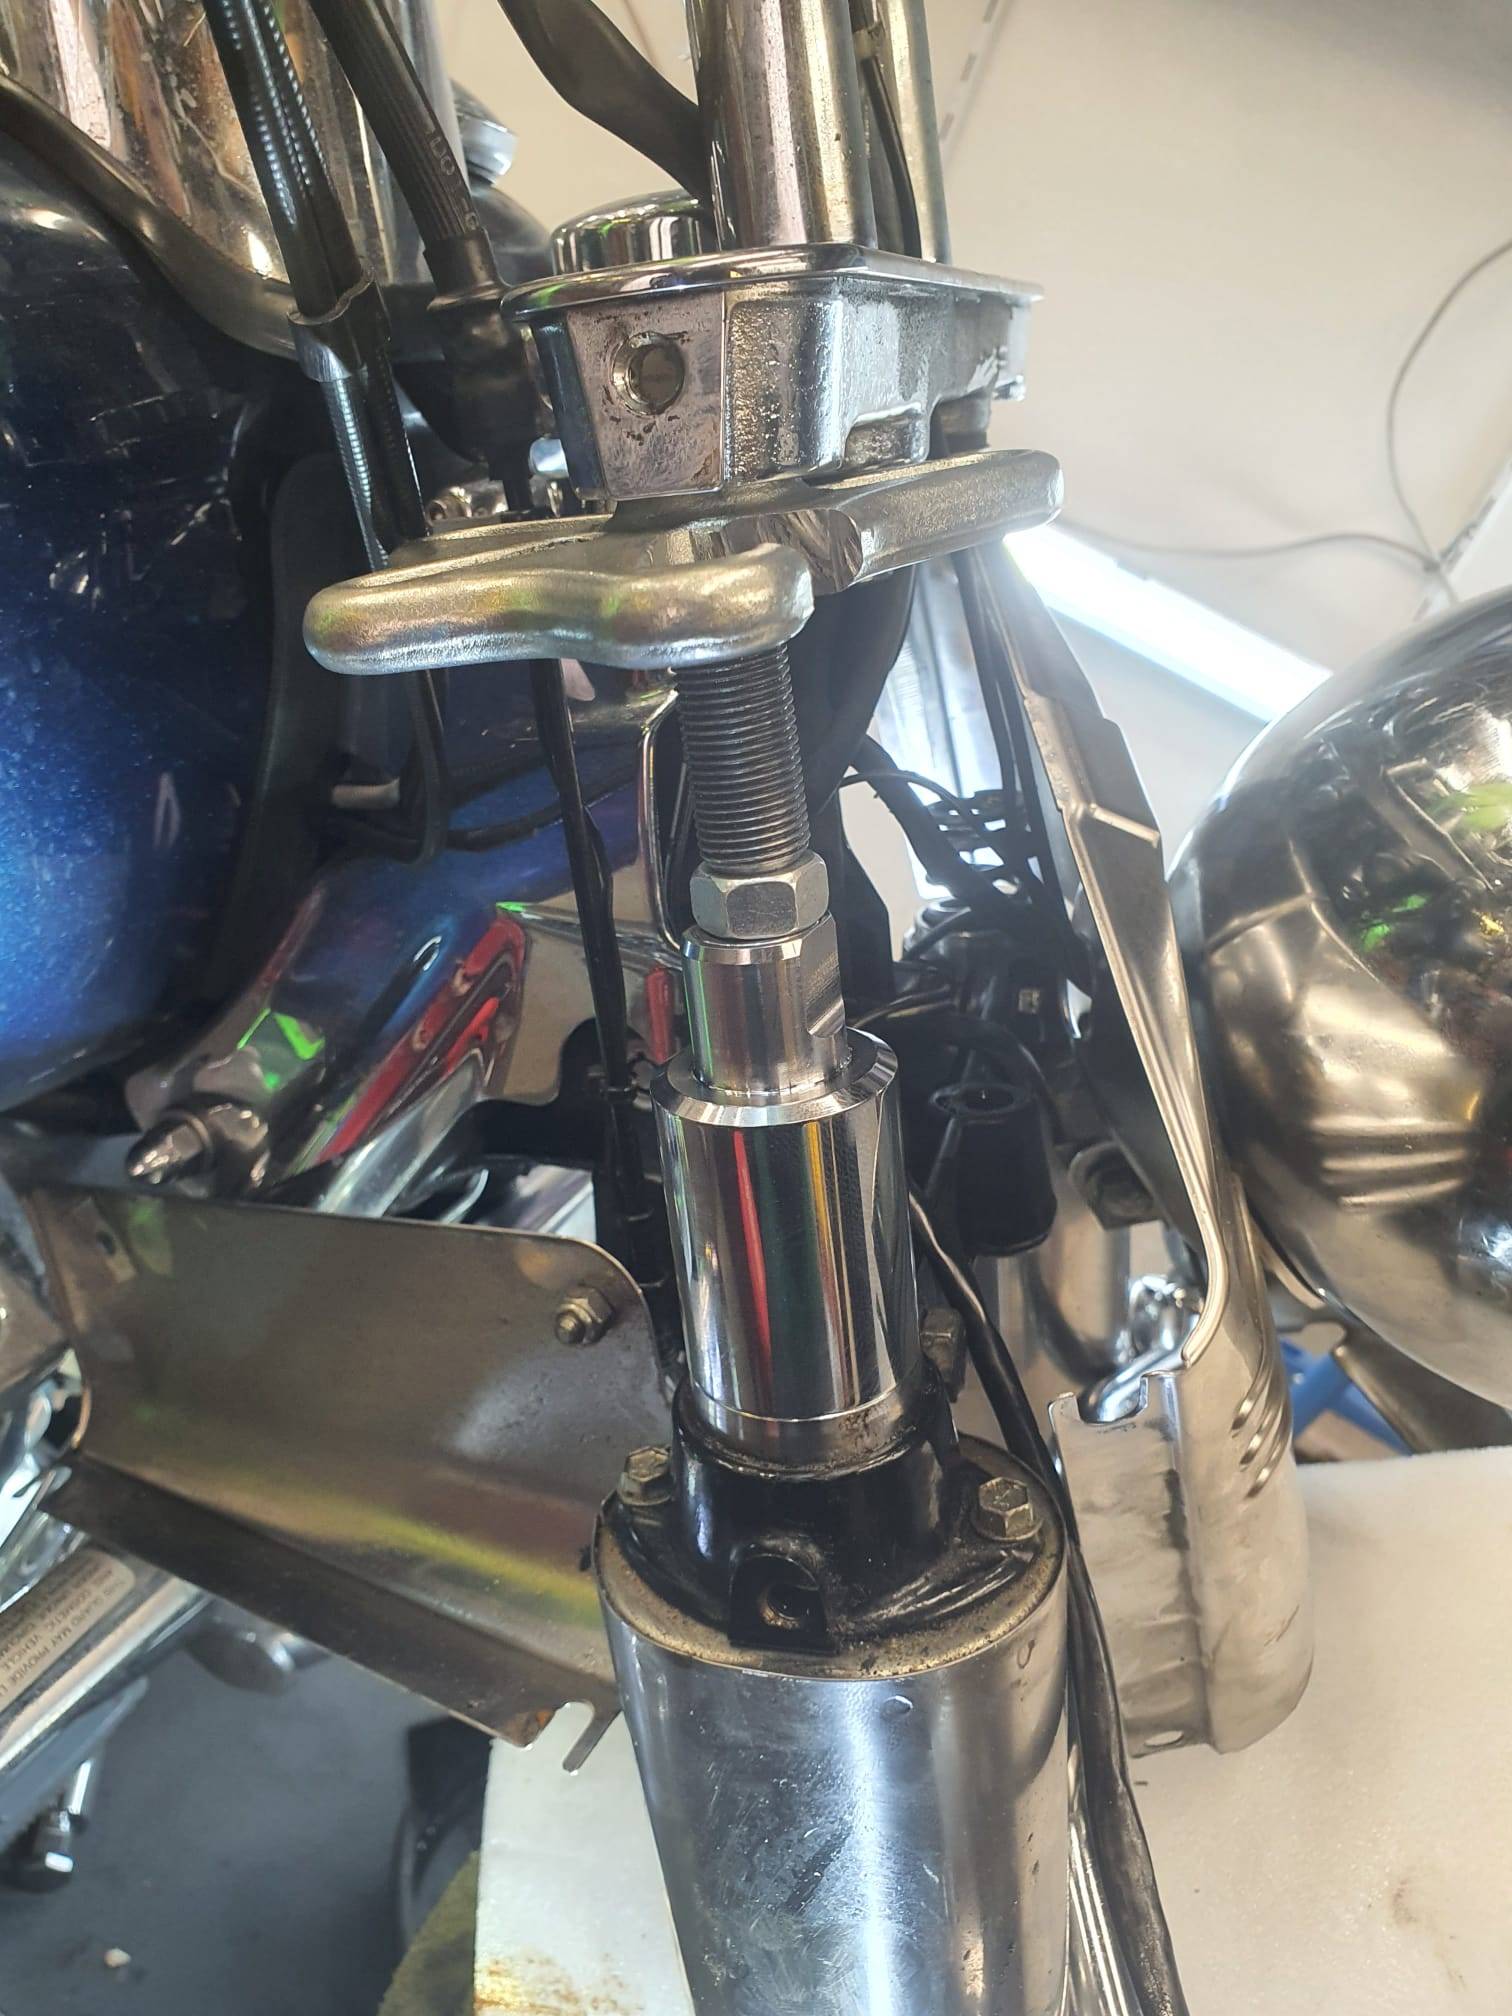
Now, the new extenders can be mounted. Put them between the spring and the plate with bolt from a pulley pull-off device, as shown in the picture:
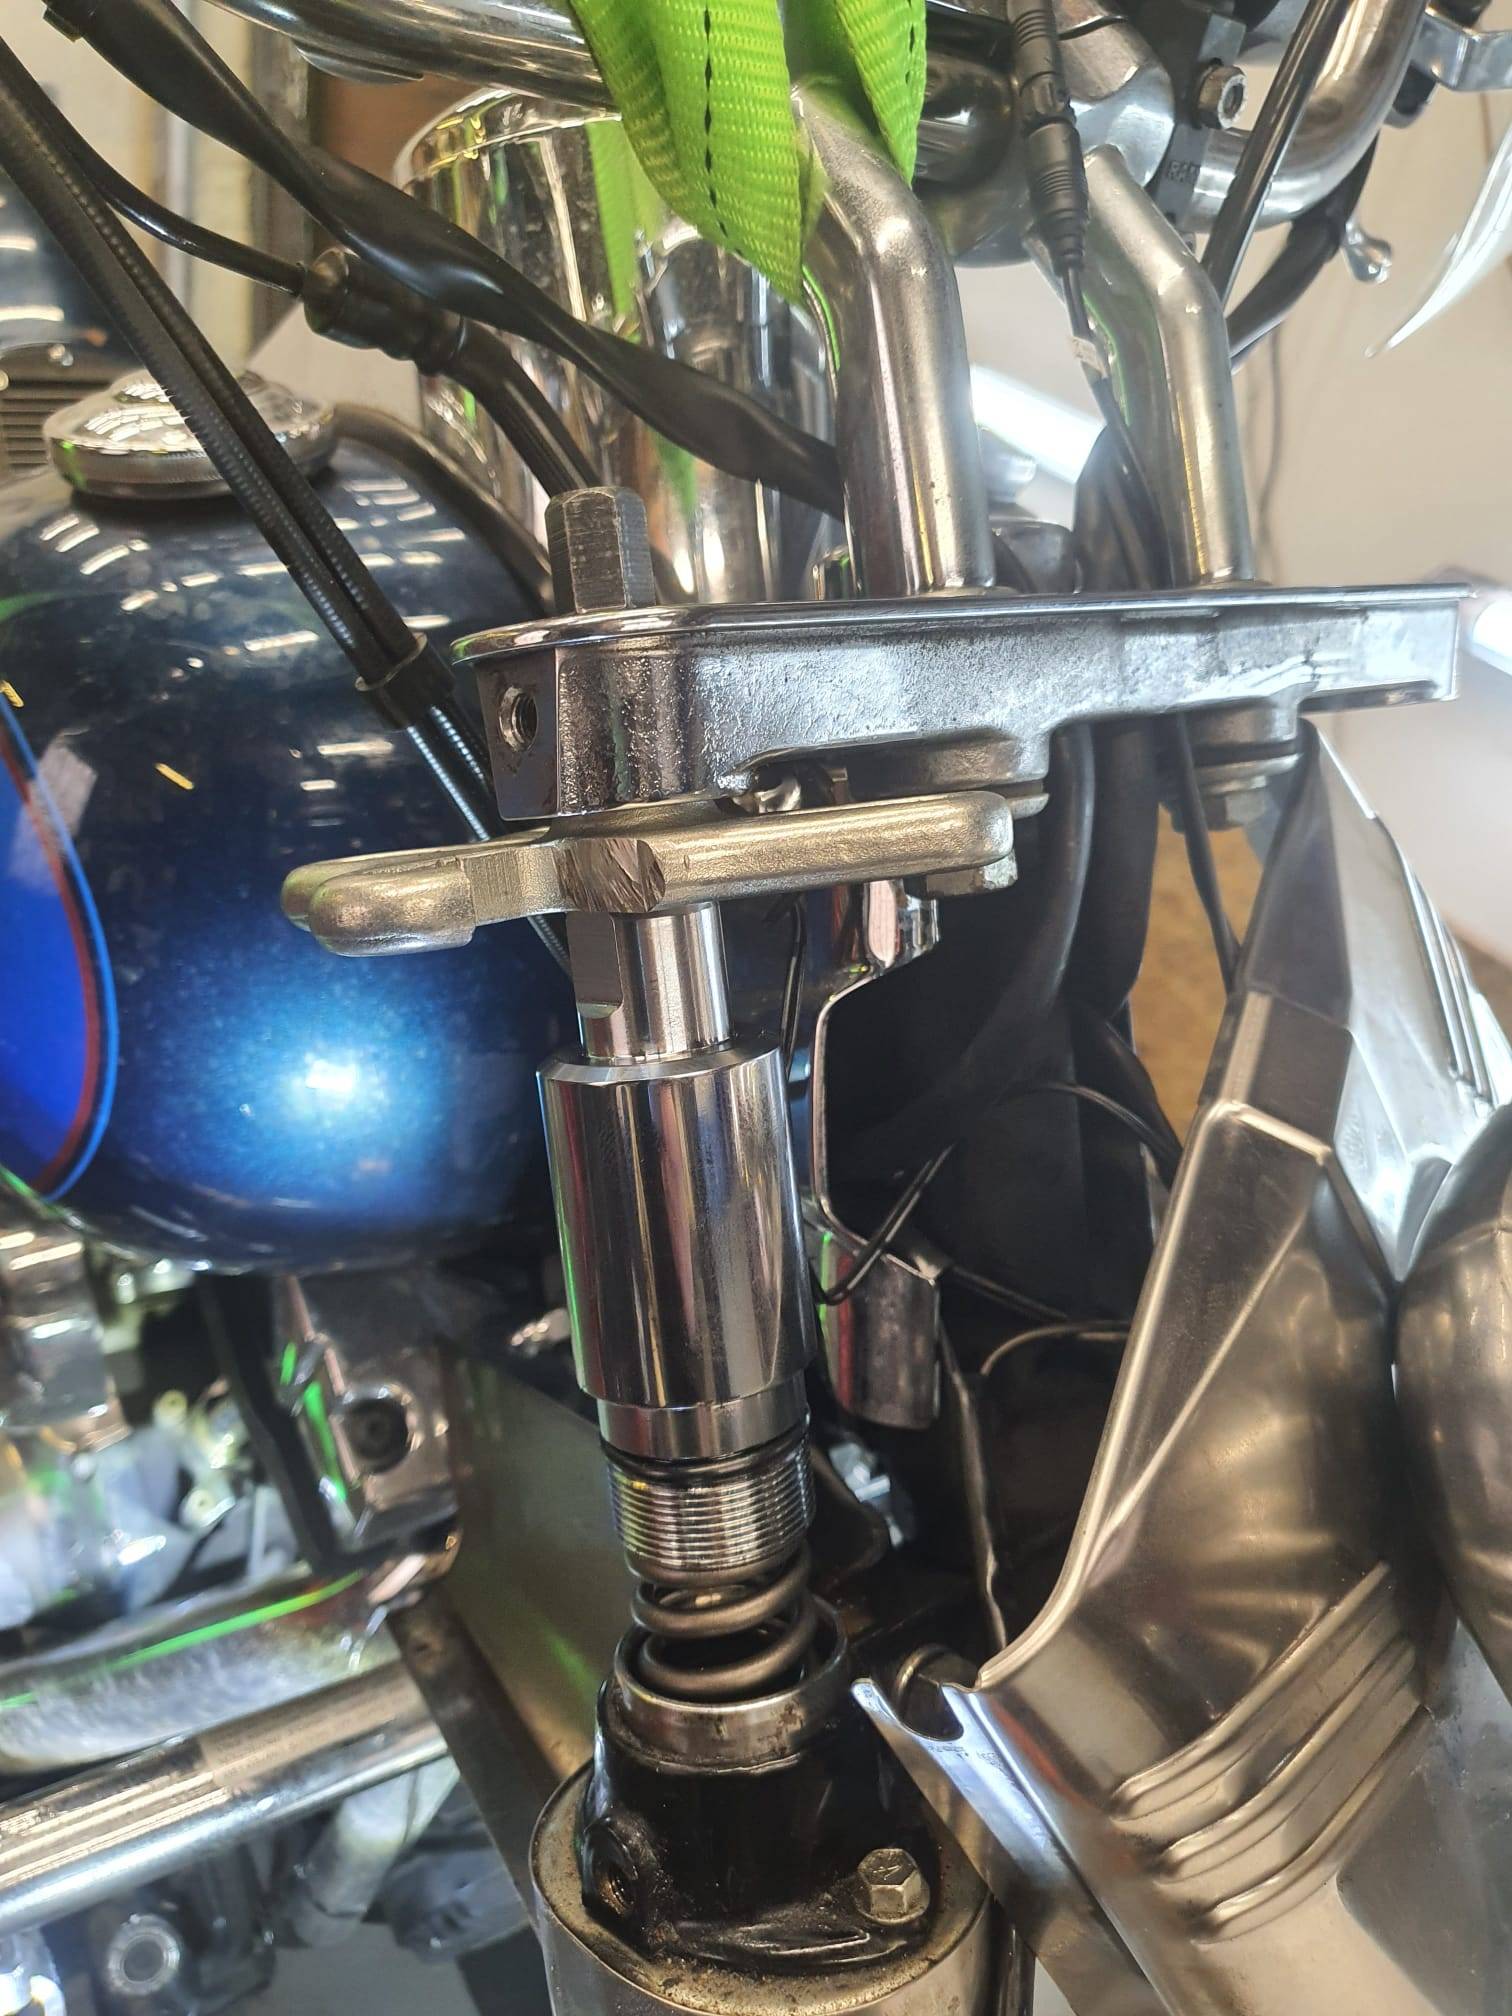
Then, drive the pulley device’s bolt through the bottom and push the spring in the fork, at the end screwing the new overstock bolt in the fork. It should then be like this:
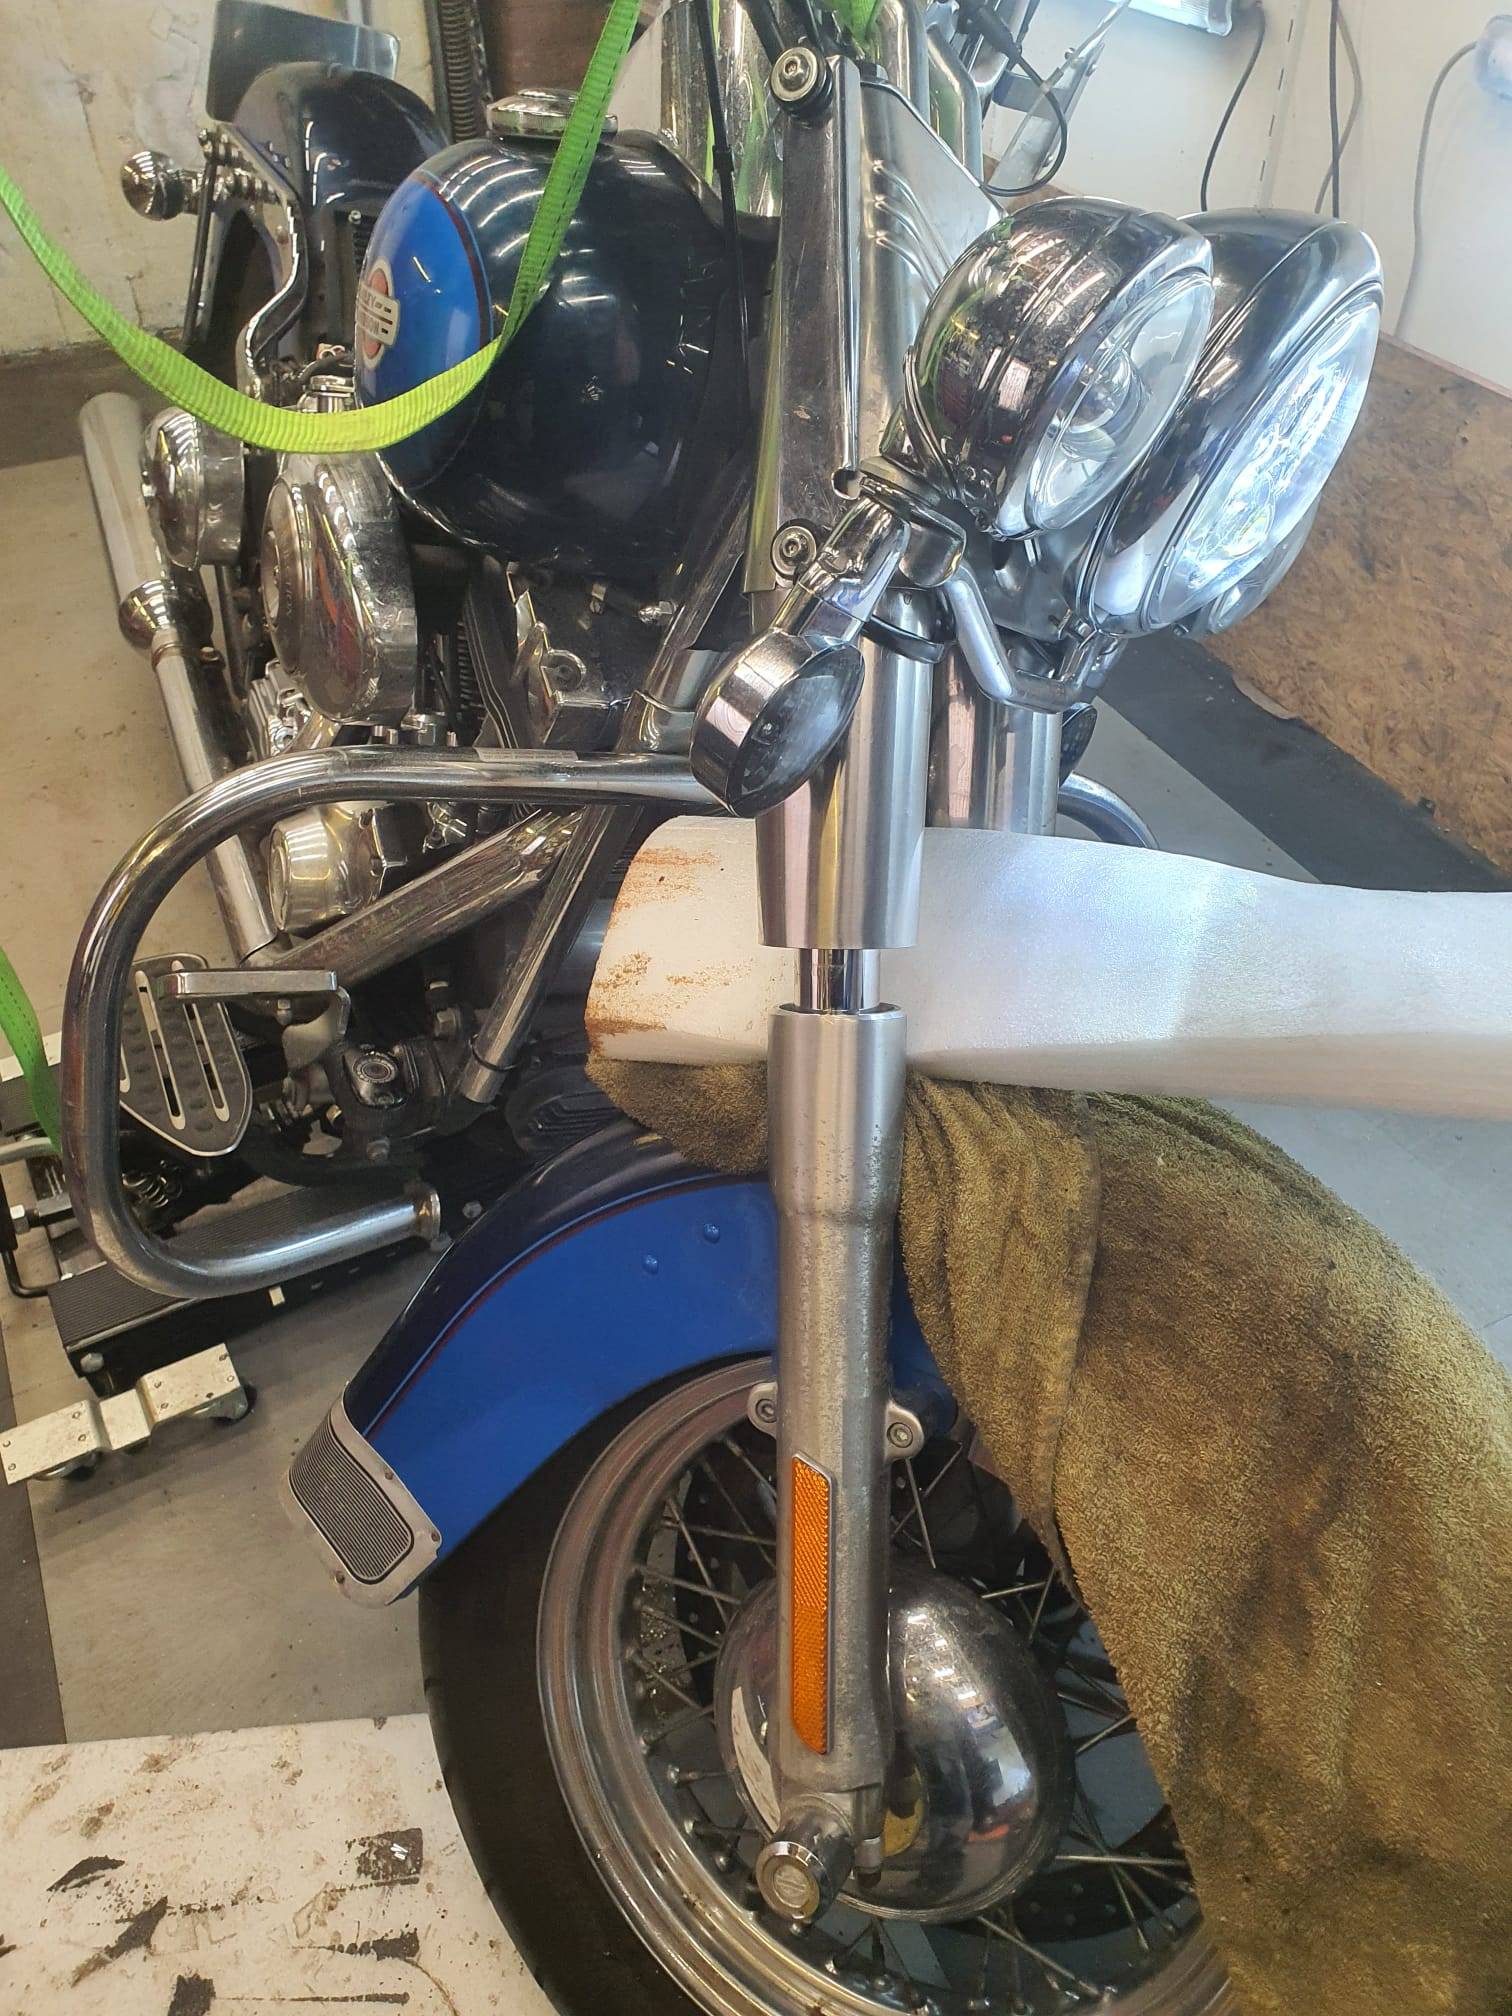
Secure the bolts in the foeks on both sides, push the forks up OR lower the lift and wiggle a bit until the bolt’s topsides are in the upper steering plate’s holes.
Then, put the endbolts with new rubber rings in and mount everything back, Don’t forget the front brake’s line! I refilled with new brake fluid, Dot 5.
So- I was searching for new 2 inch overstock shrouds but could not get them anywhere nearby. Eventually, I ordered a new set with 4 inch overstock. If it is too long, I will machine them down to 2 inch overstock on the lathe. But that will be another post.
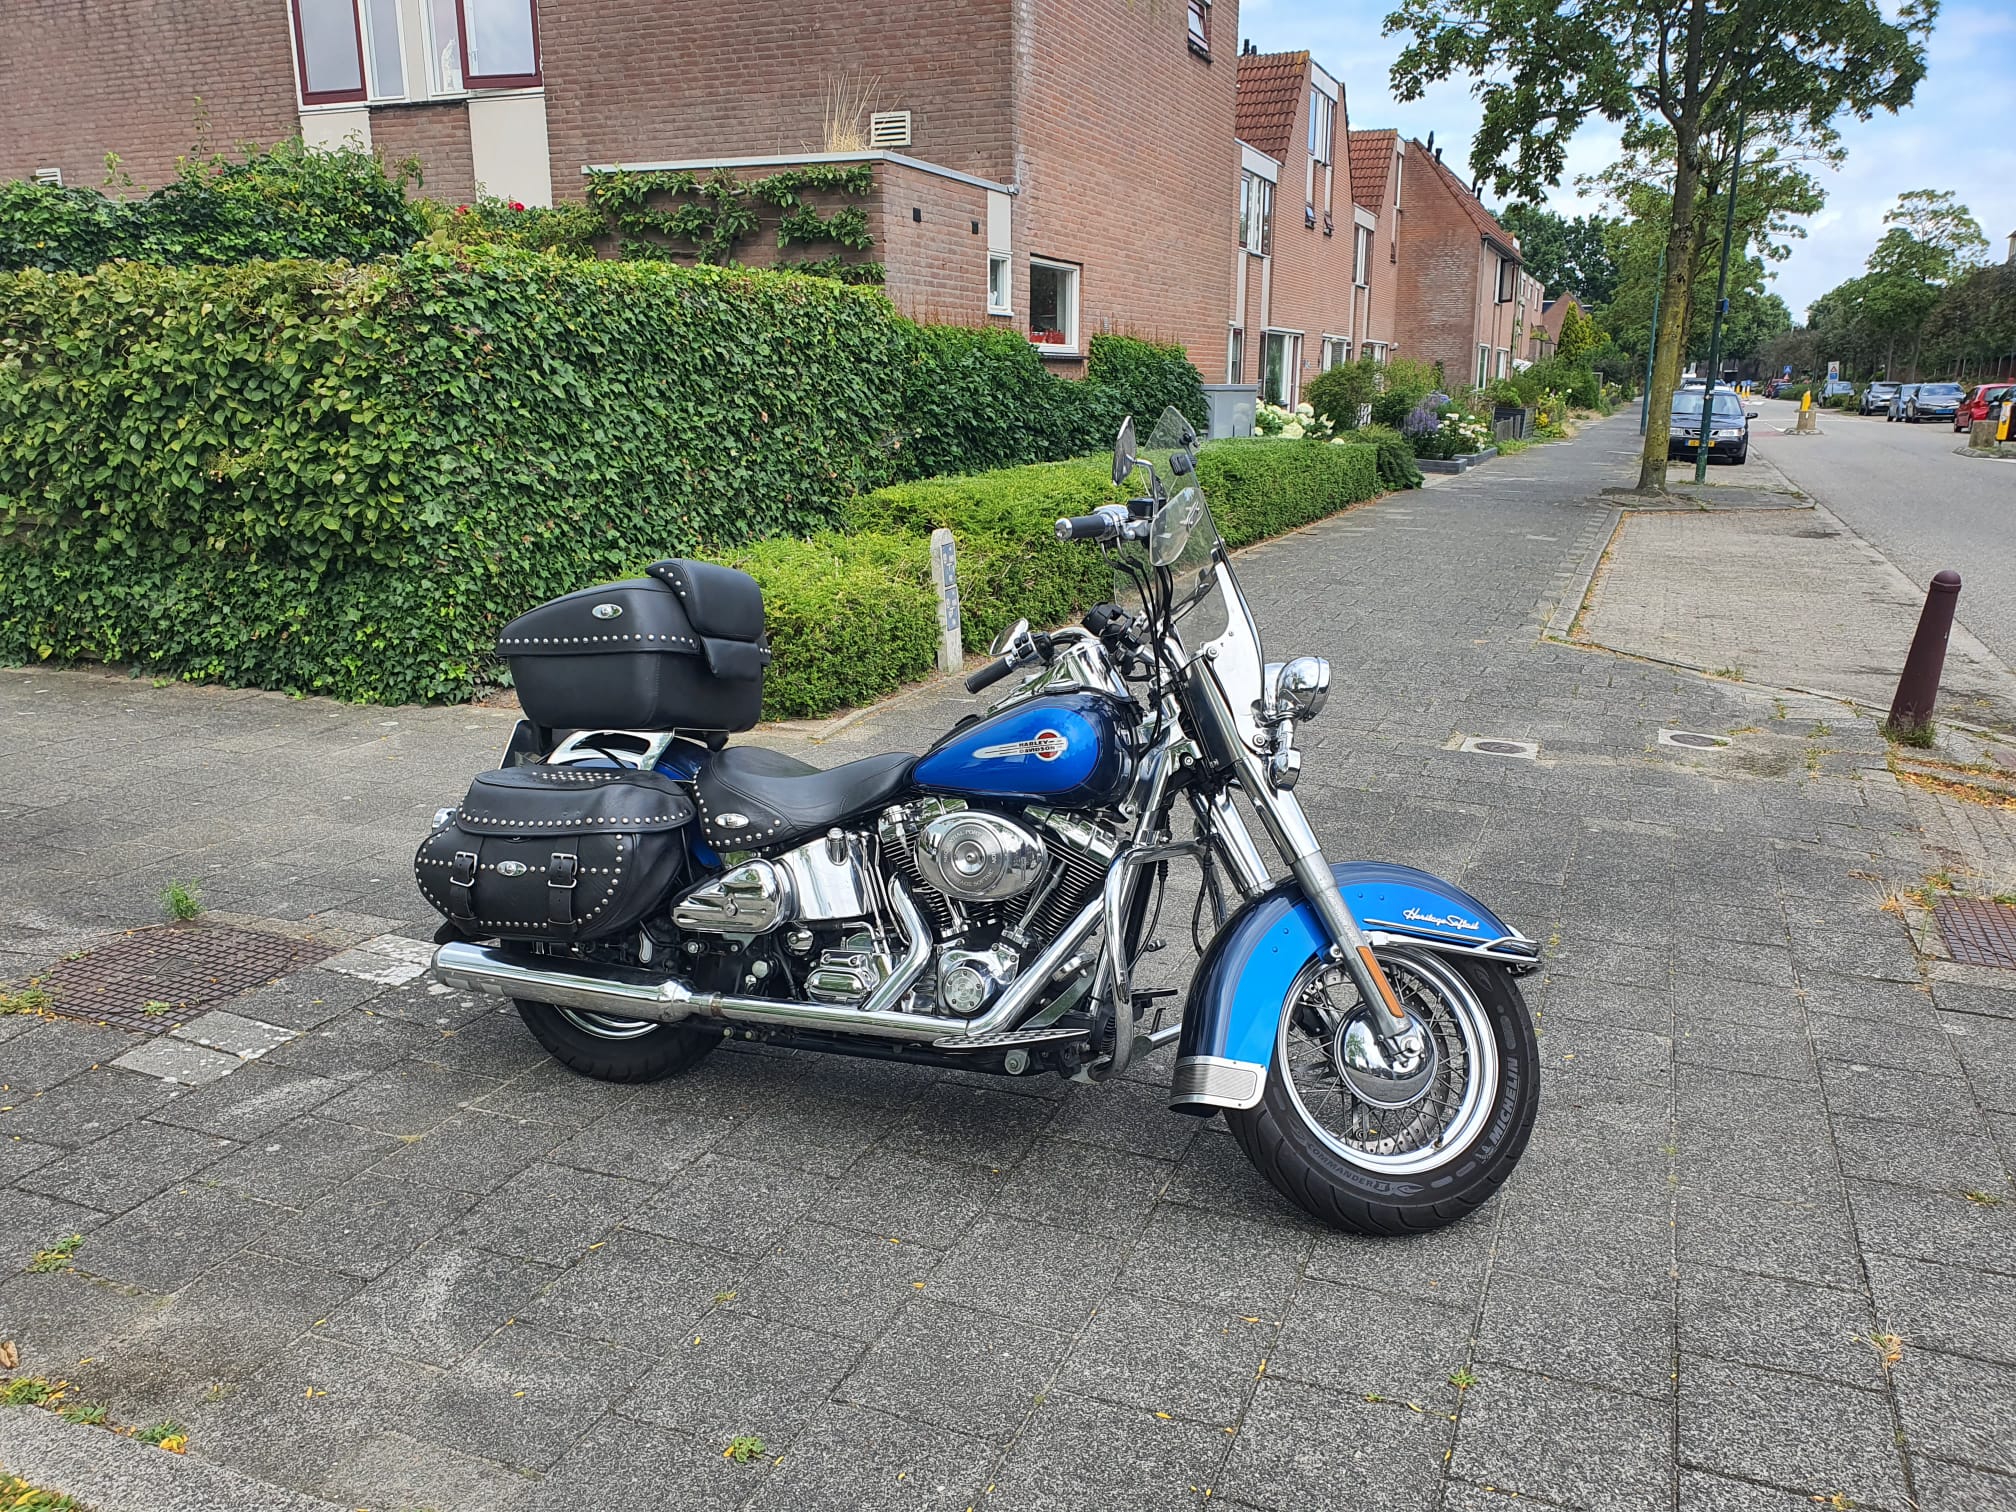
This is how it looks in real life:
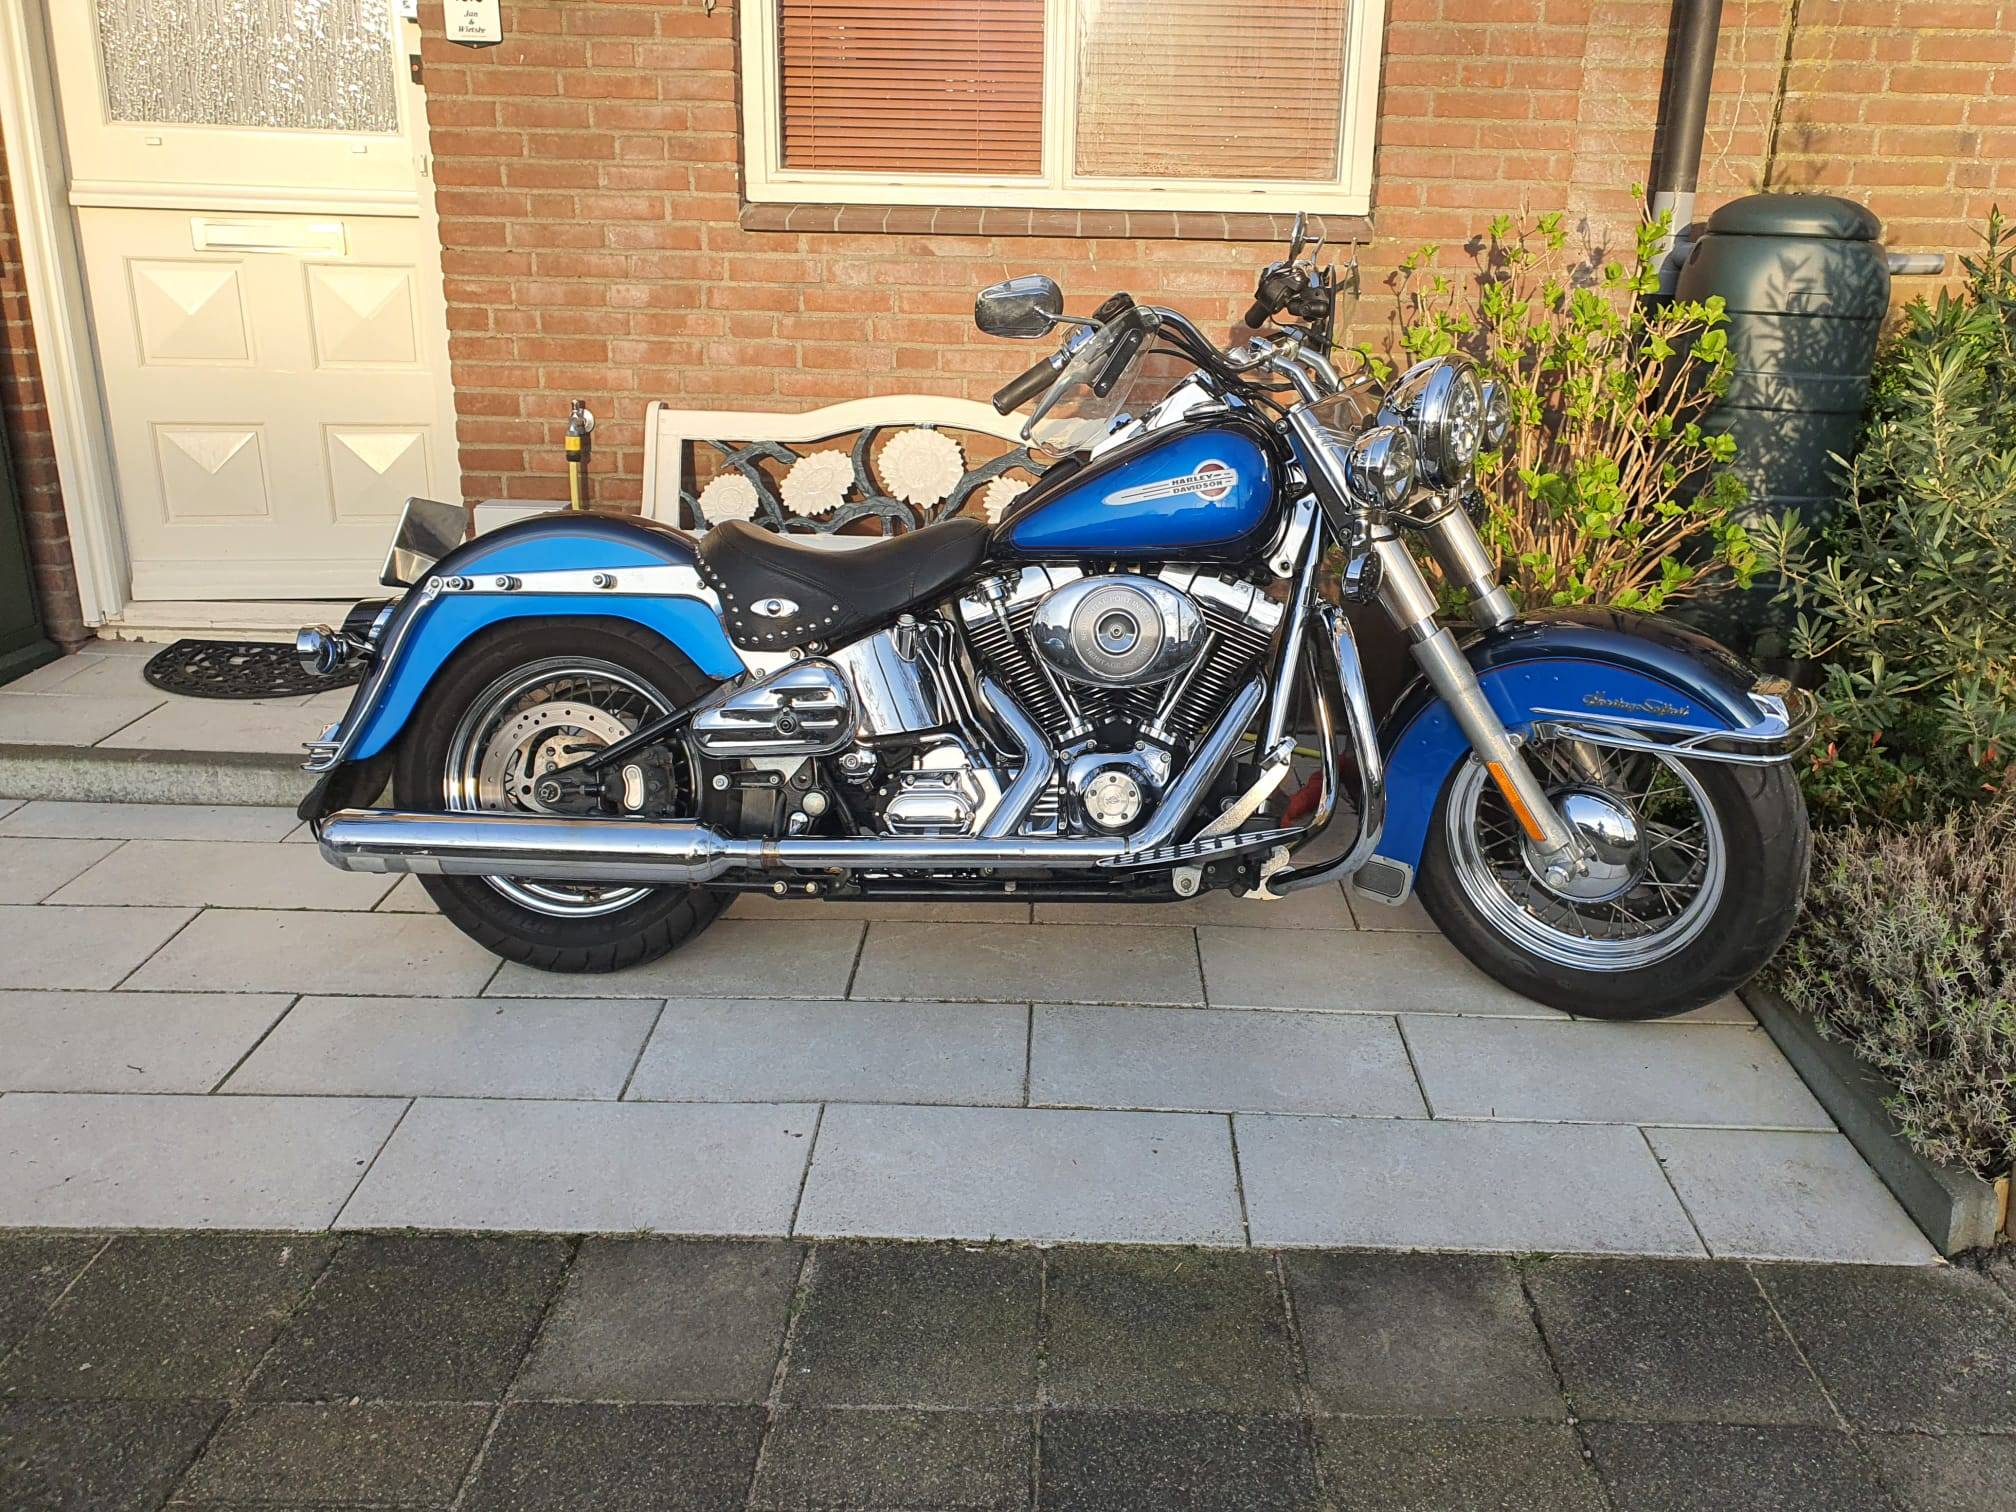
And with the full package installed:
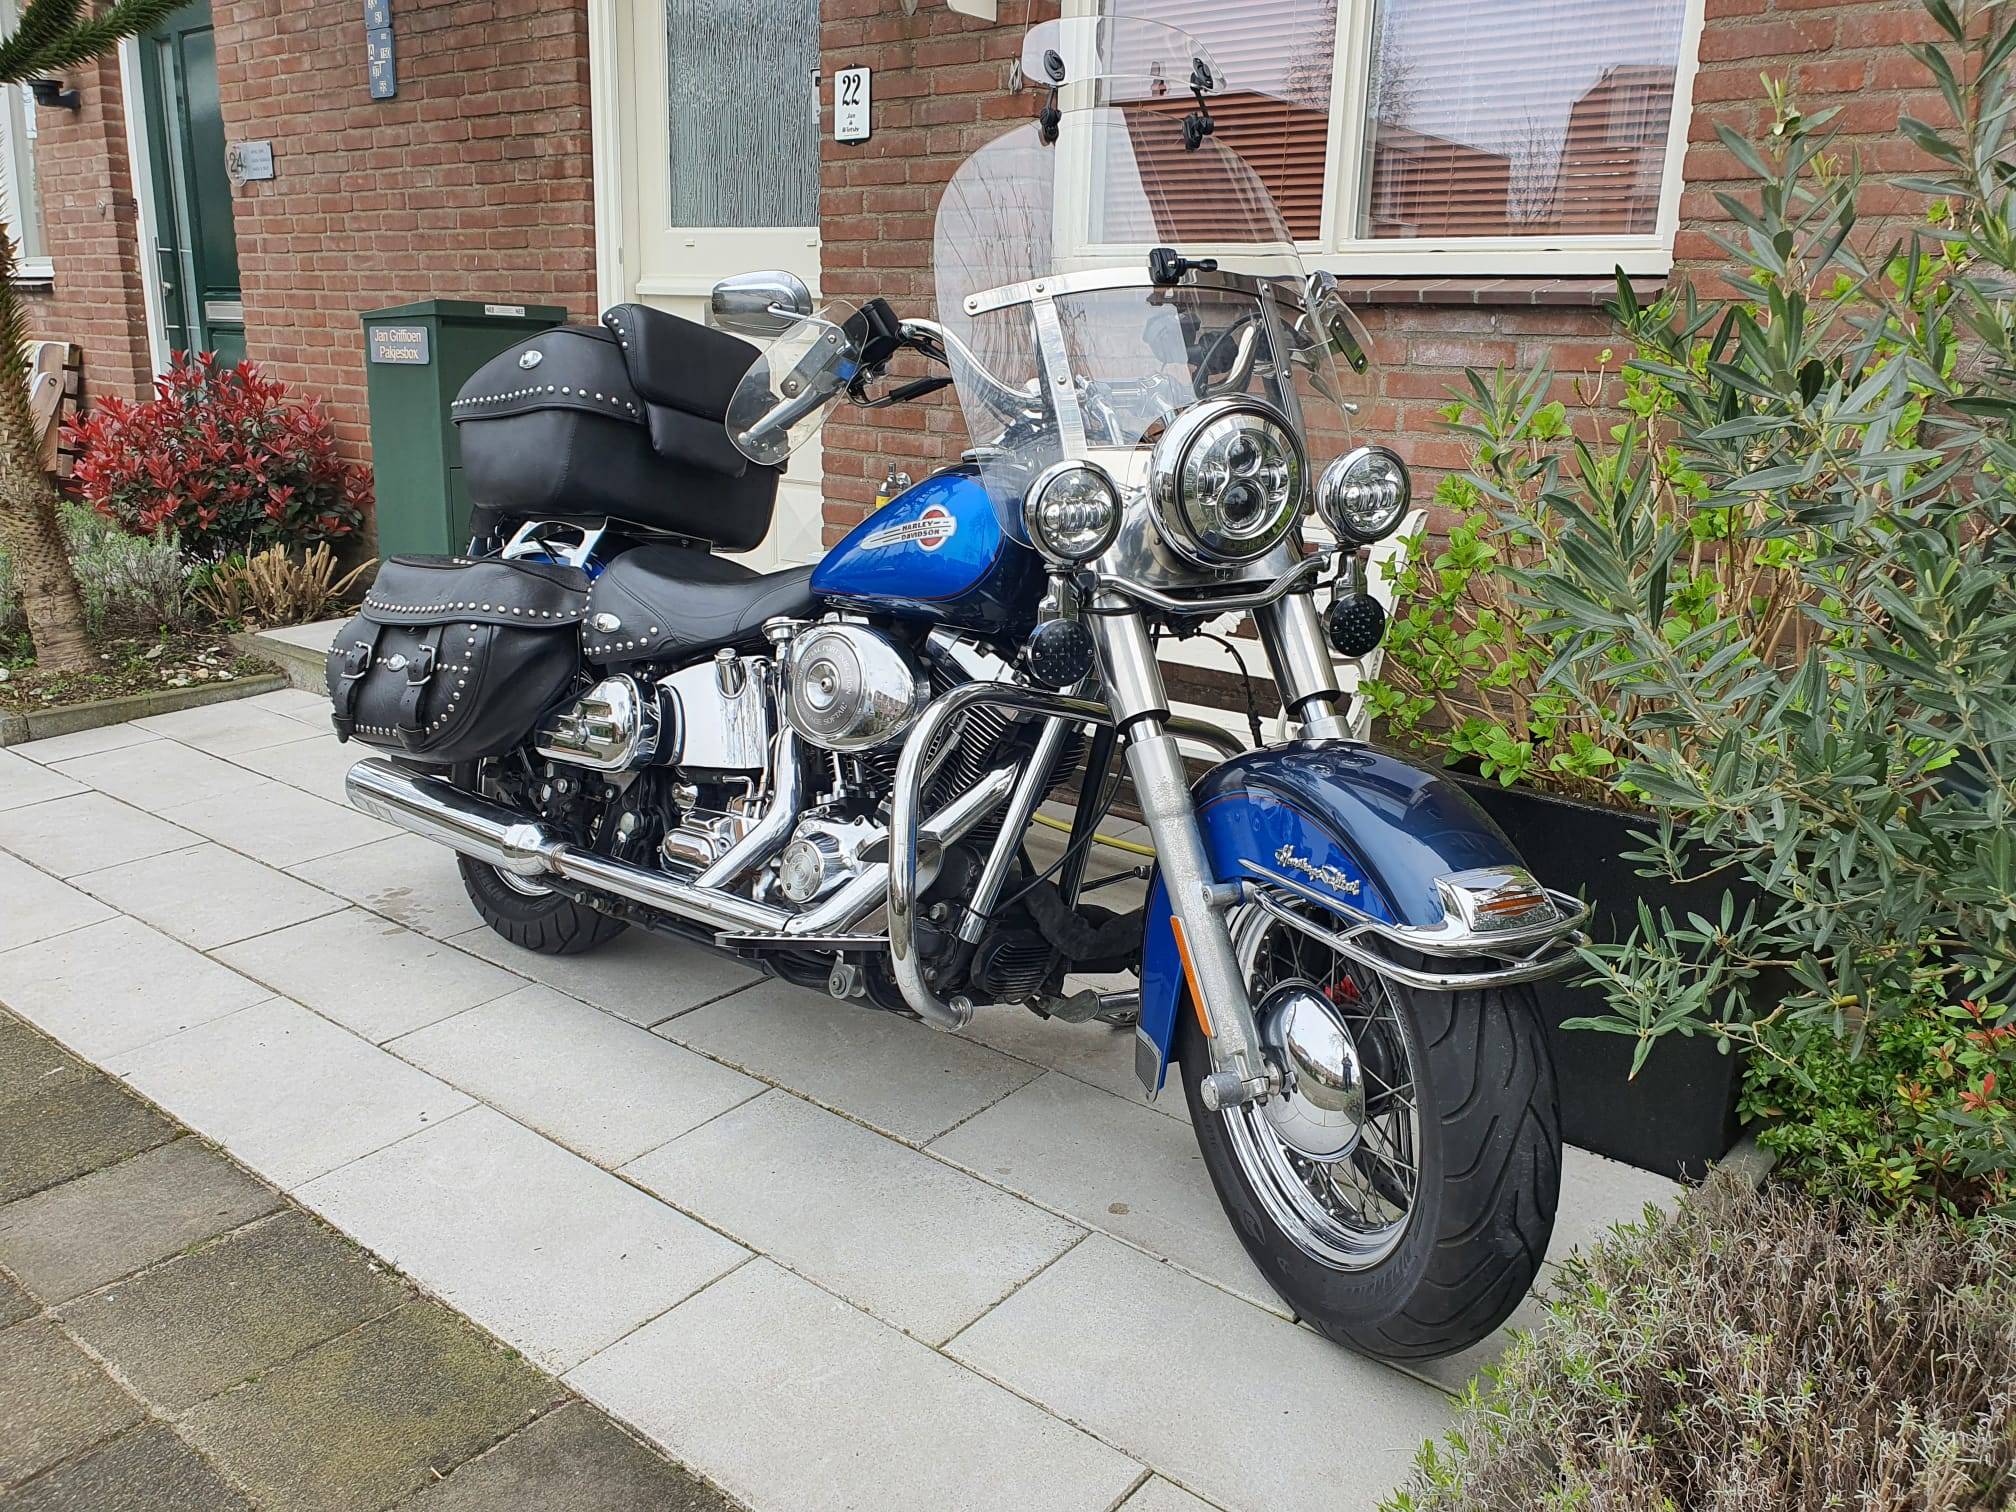
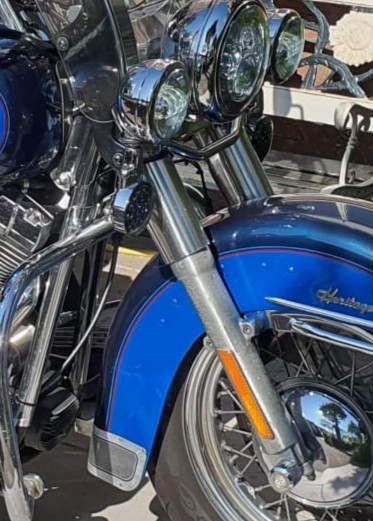
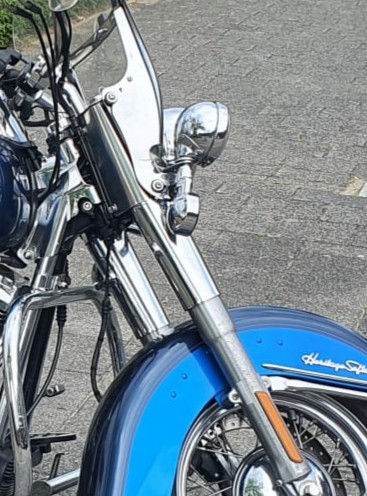
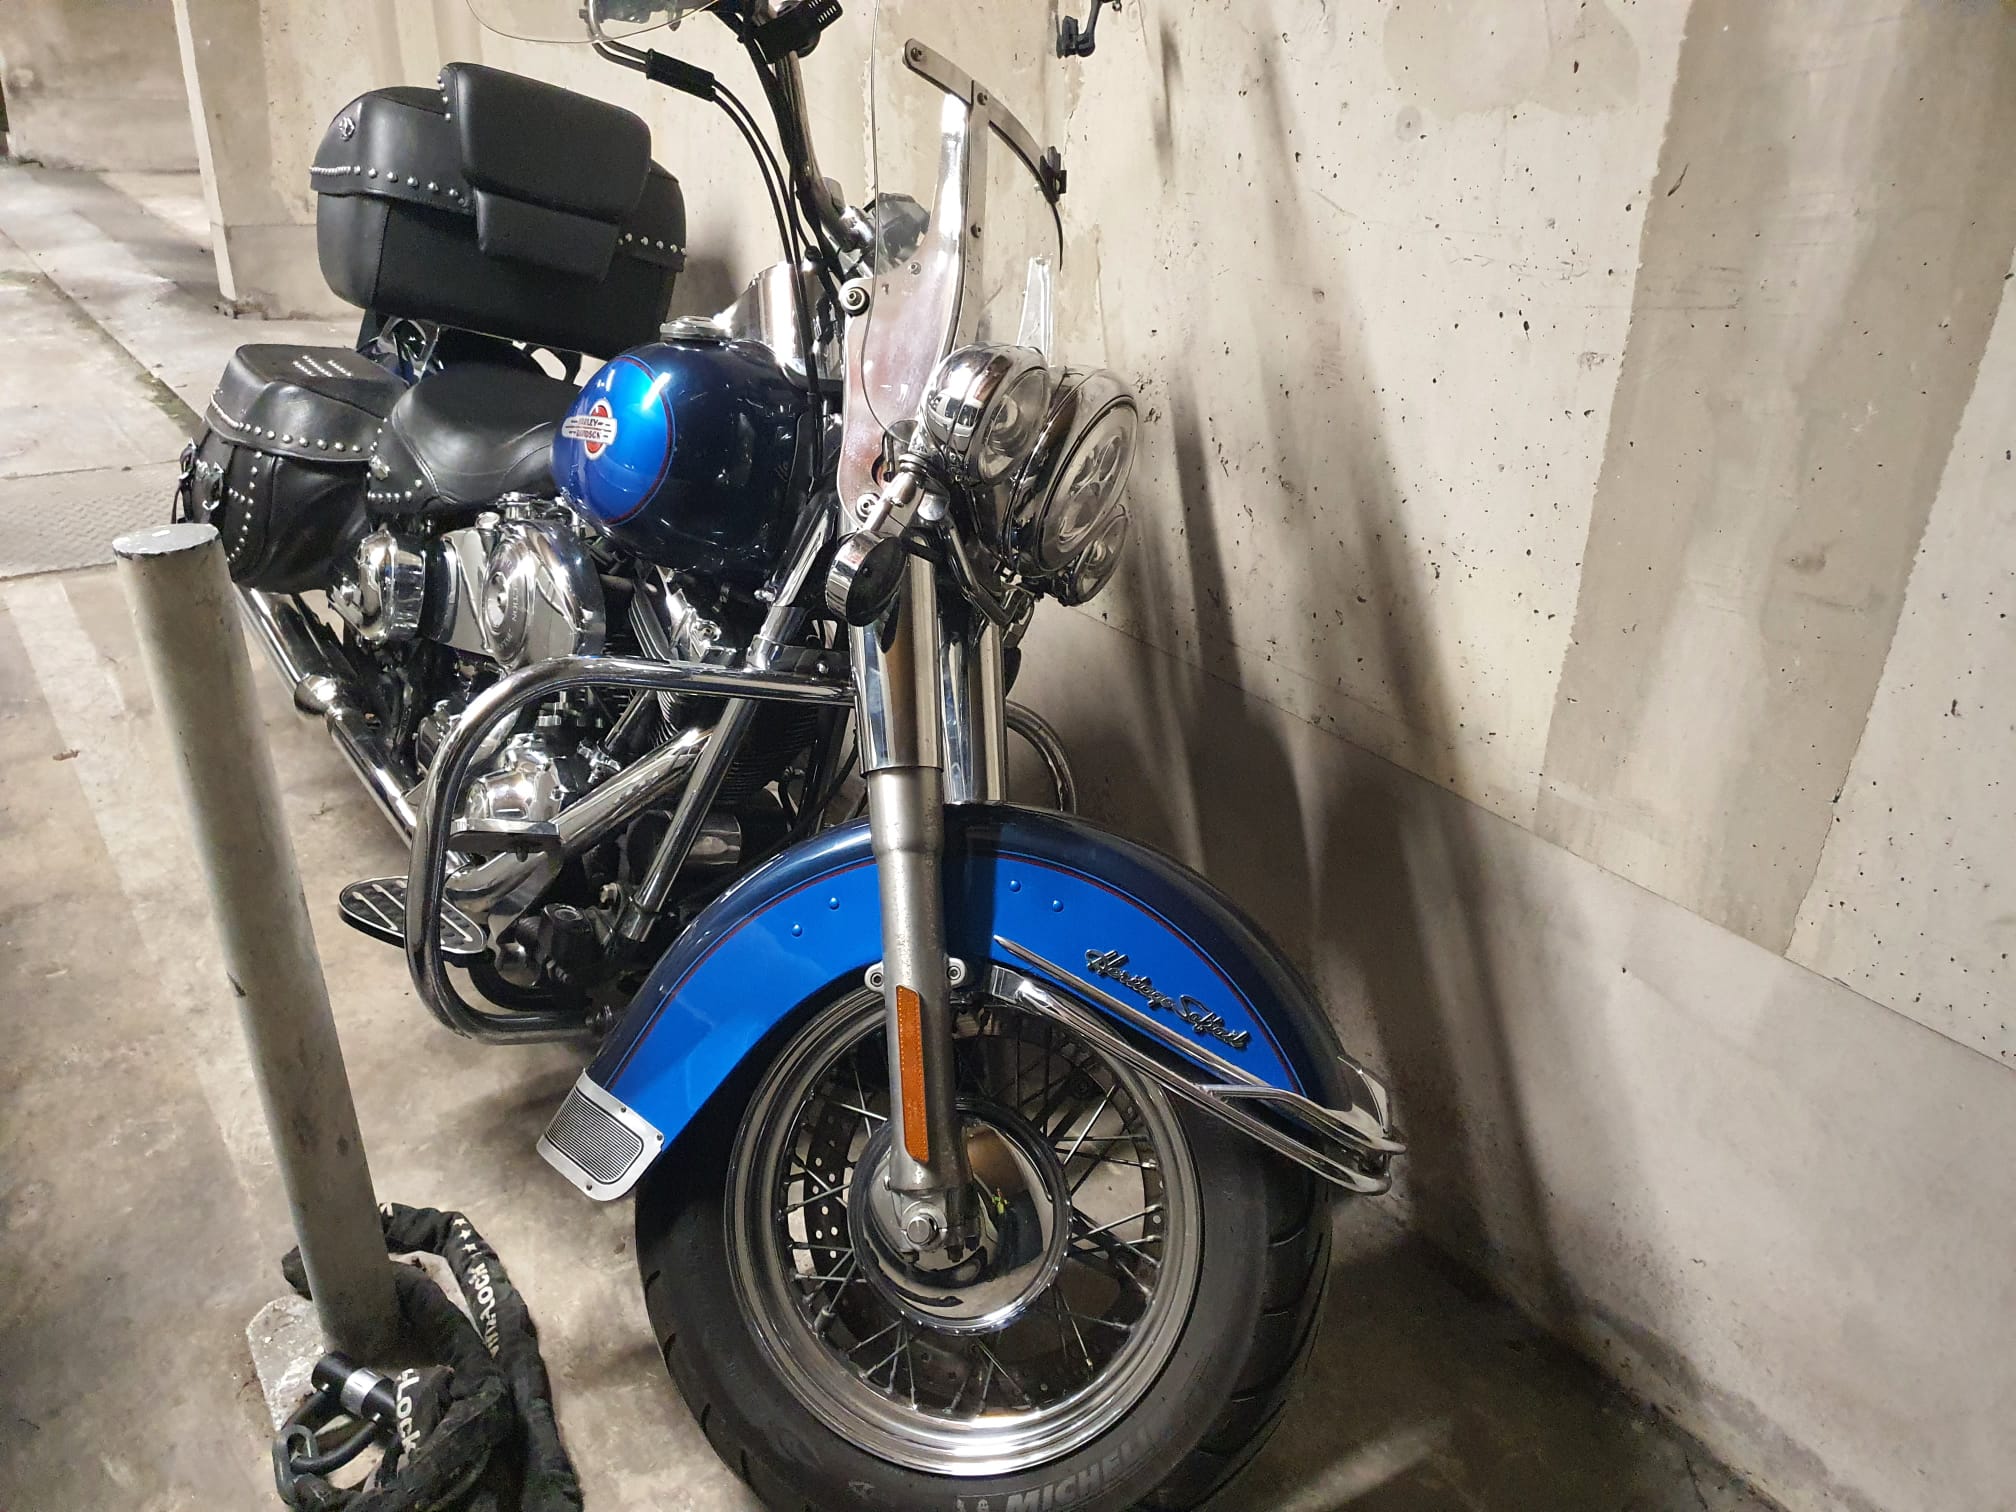
And- 2 months later: with the new overstock shrouds mounted:
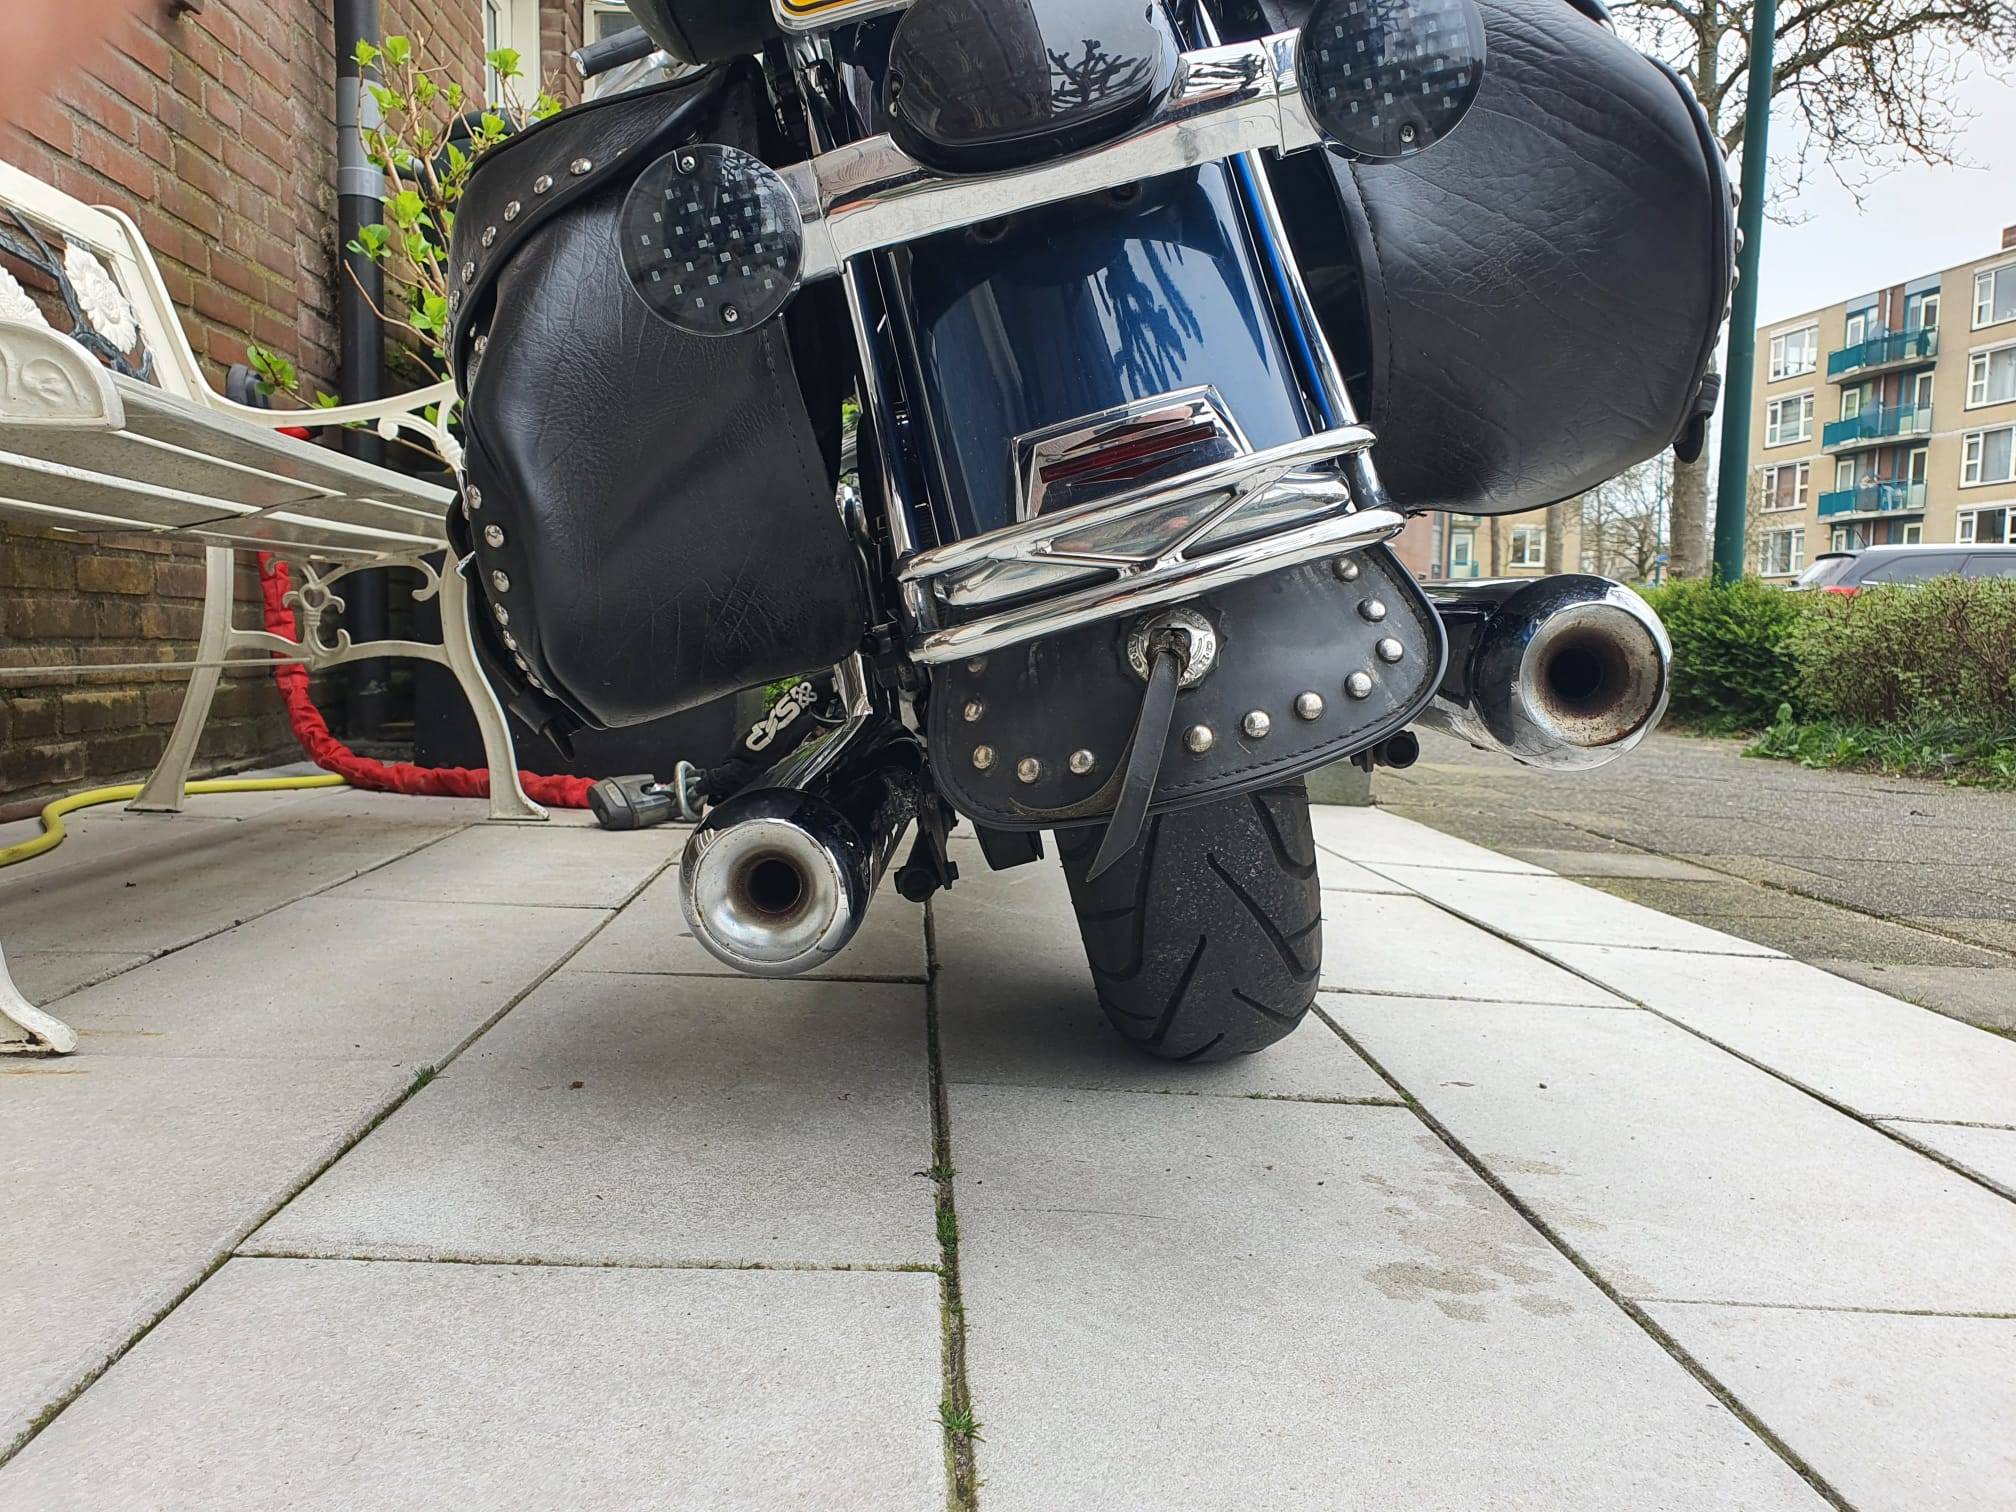
Before and after the 2 inch extension: