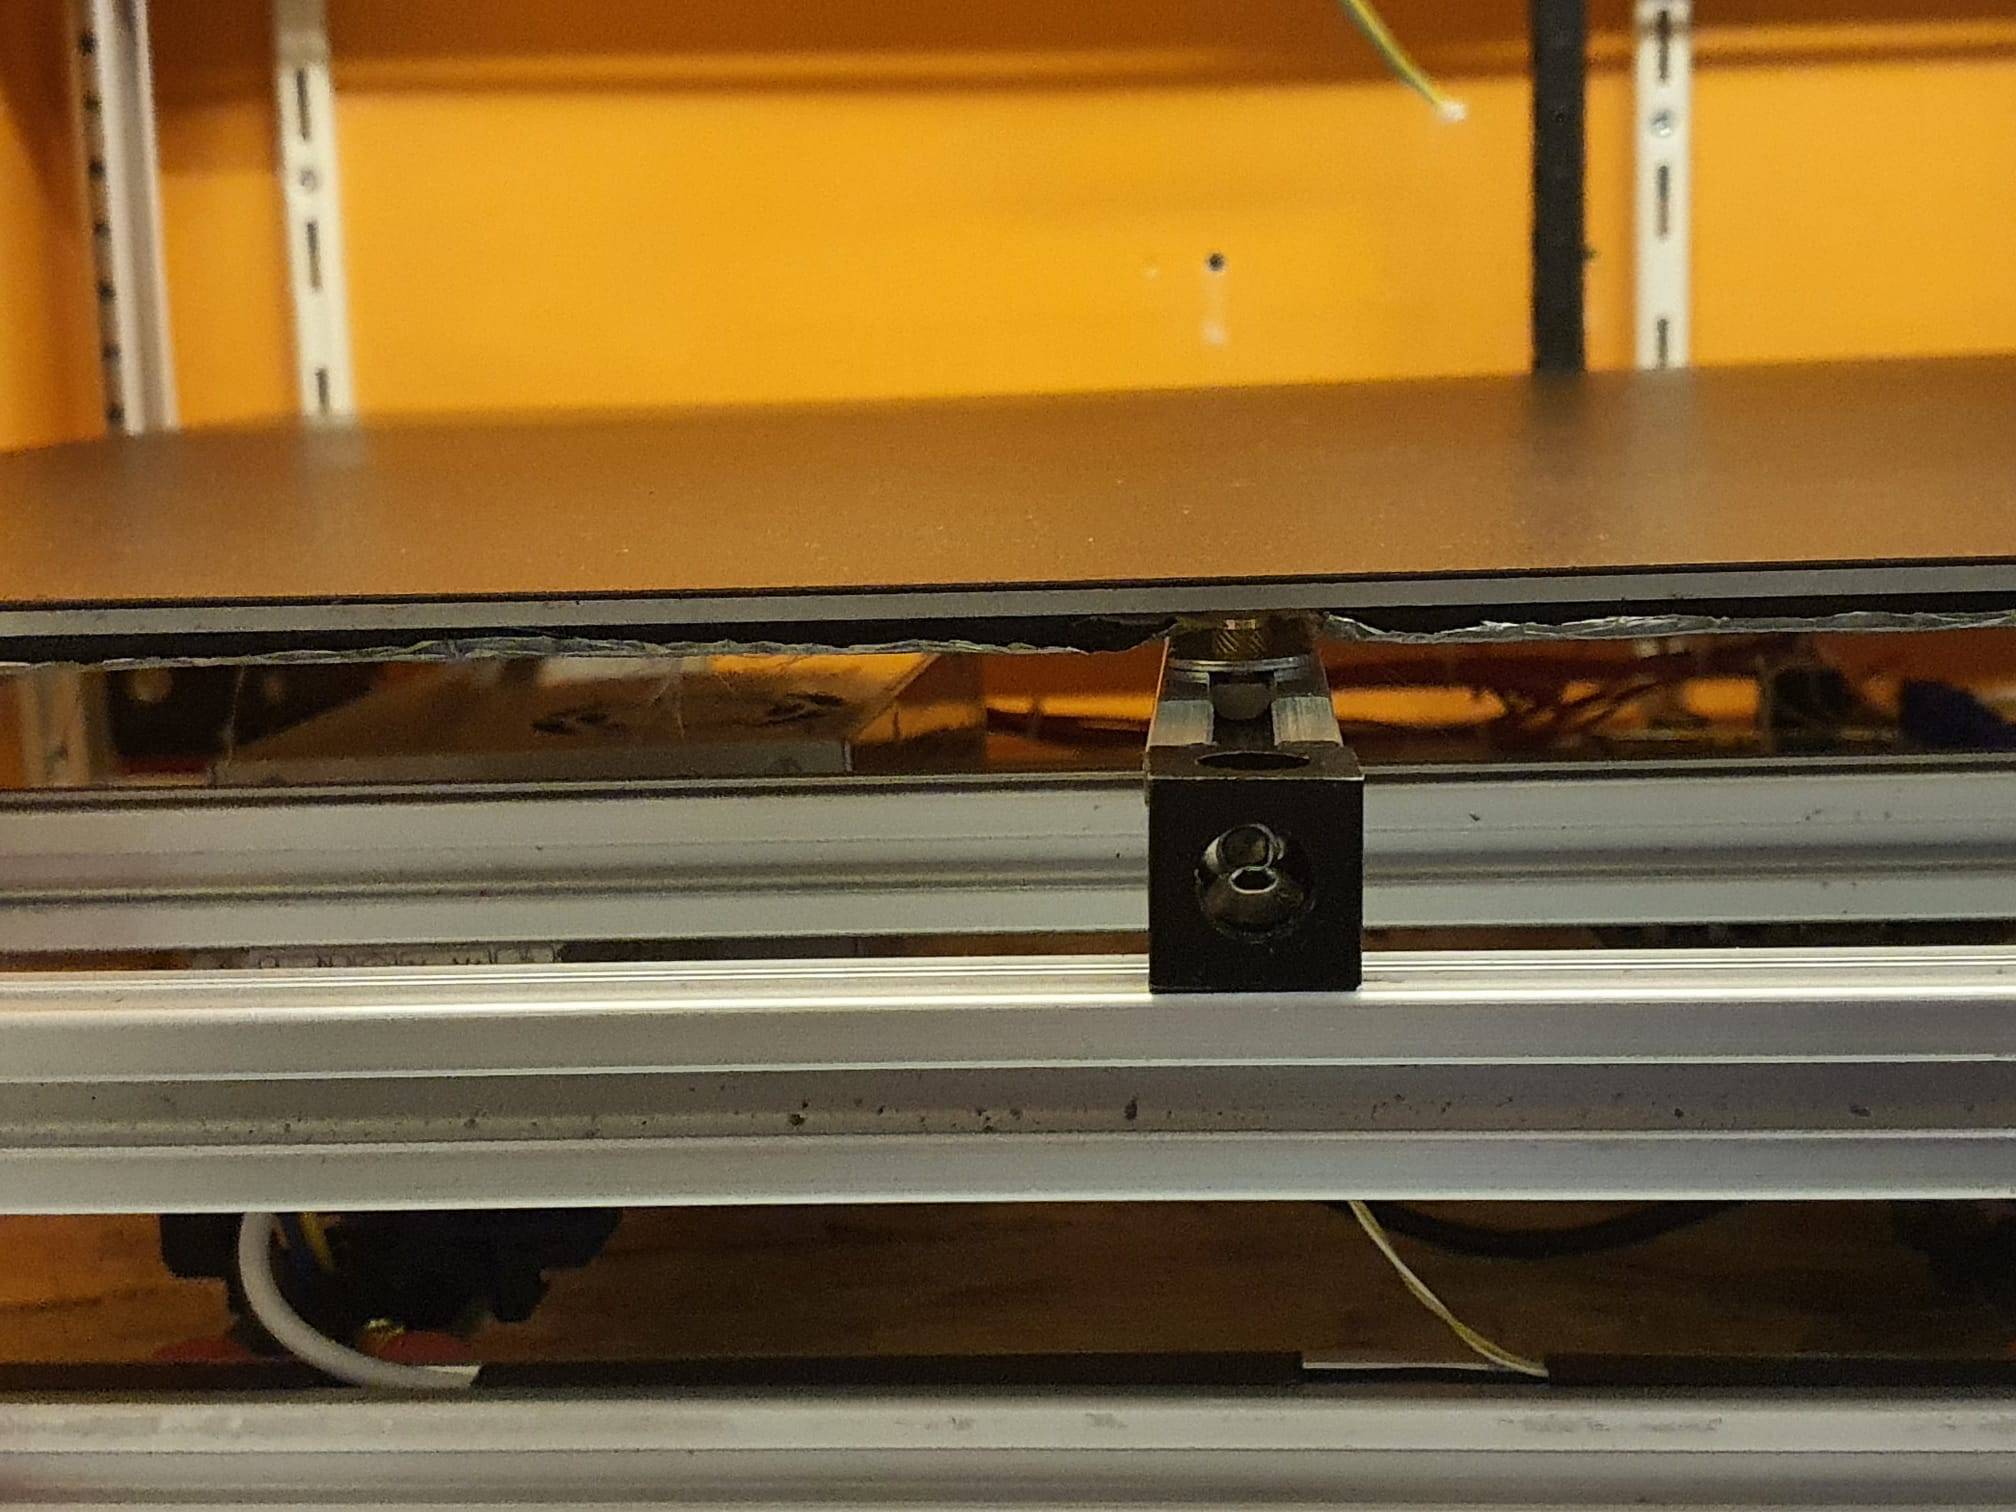
To mount my Voren 2.4 R2 600x600mm heated bed solidly on the 3 pieces of 2020 aluminium rails, I used an alternative way, instead of the ,ethod that is usually done.
The reason is that I am using TAP as Z-probe and I want the bed to be mounted as sturdy as possible.
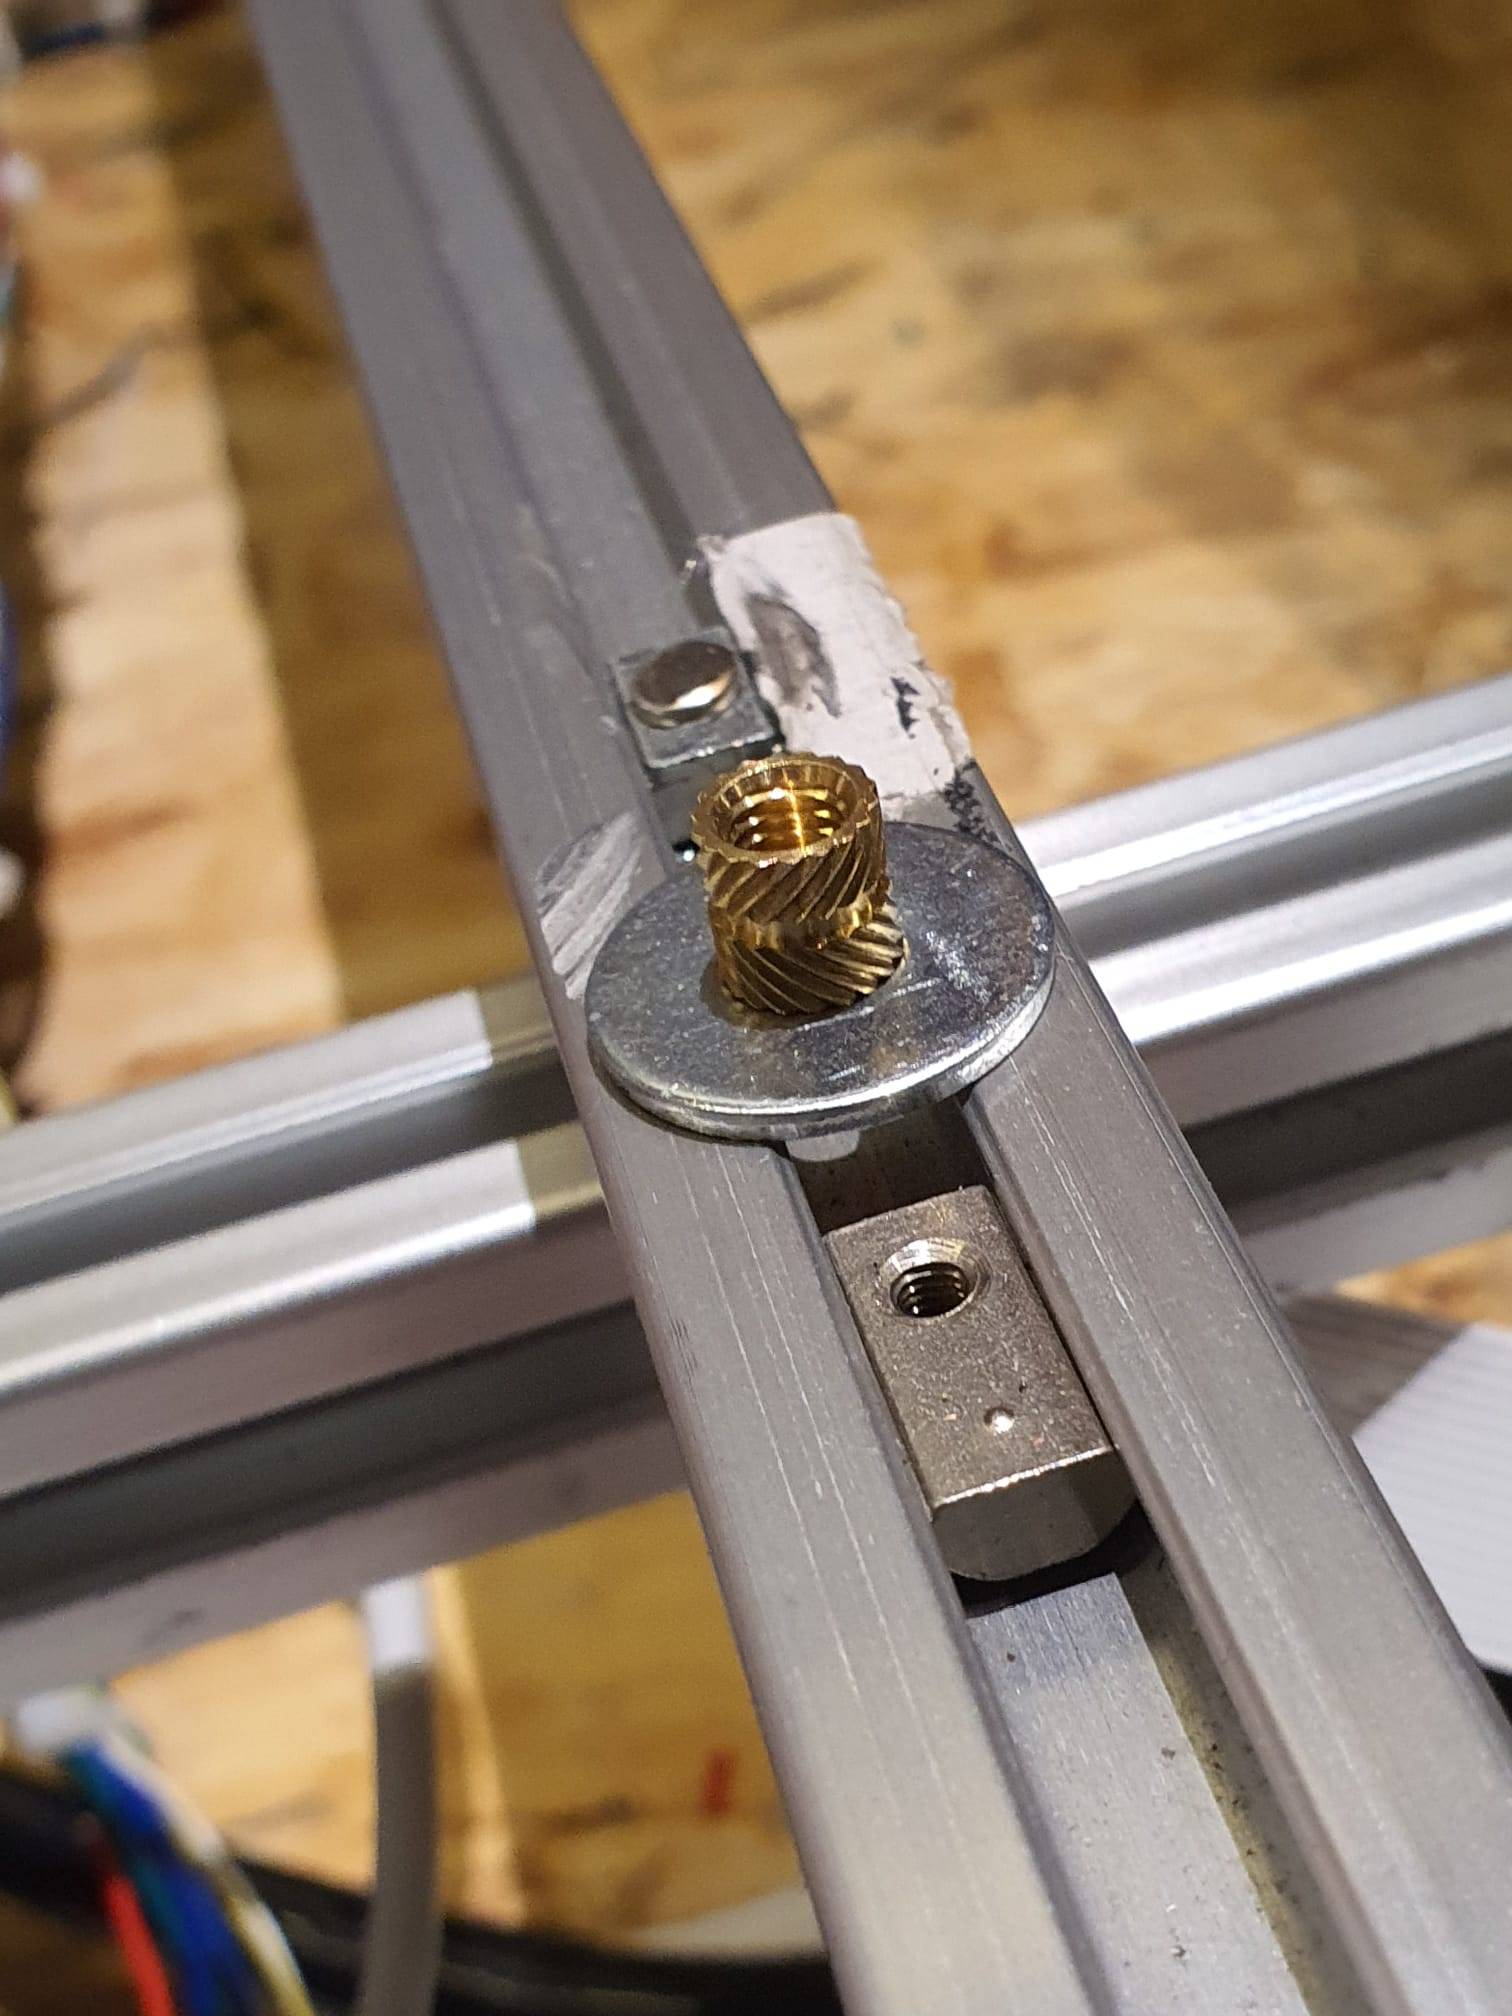
To do this, I used M3 nuts in the rails under the heated bed, then a M6 washer and a copper M5 round threaded insert in which the M3 bolt can be mounted.
But- first I placed the heated bed on the 2020 rails and made small marks where the M3 nut needs to be placed EXACTLY! Then, take the heated bed off and proceed.
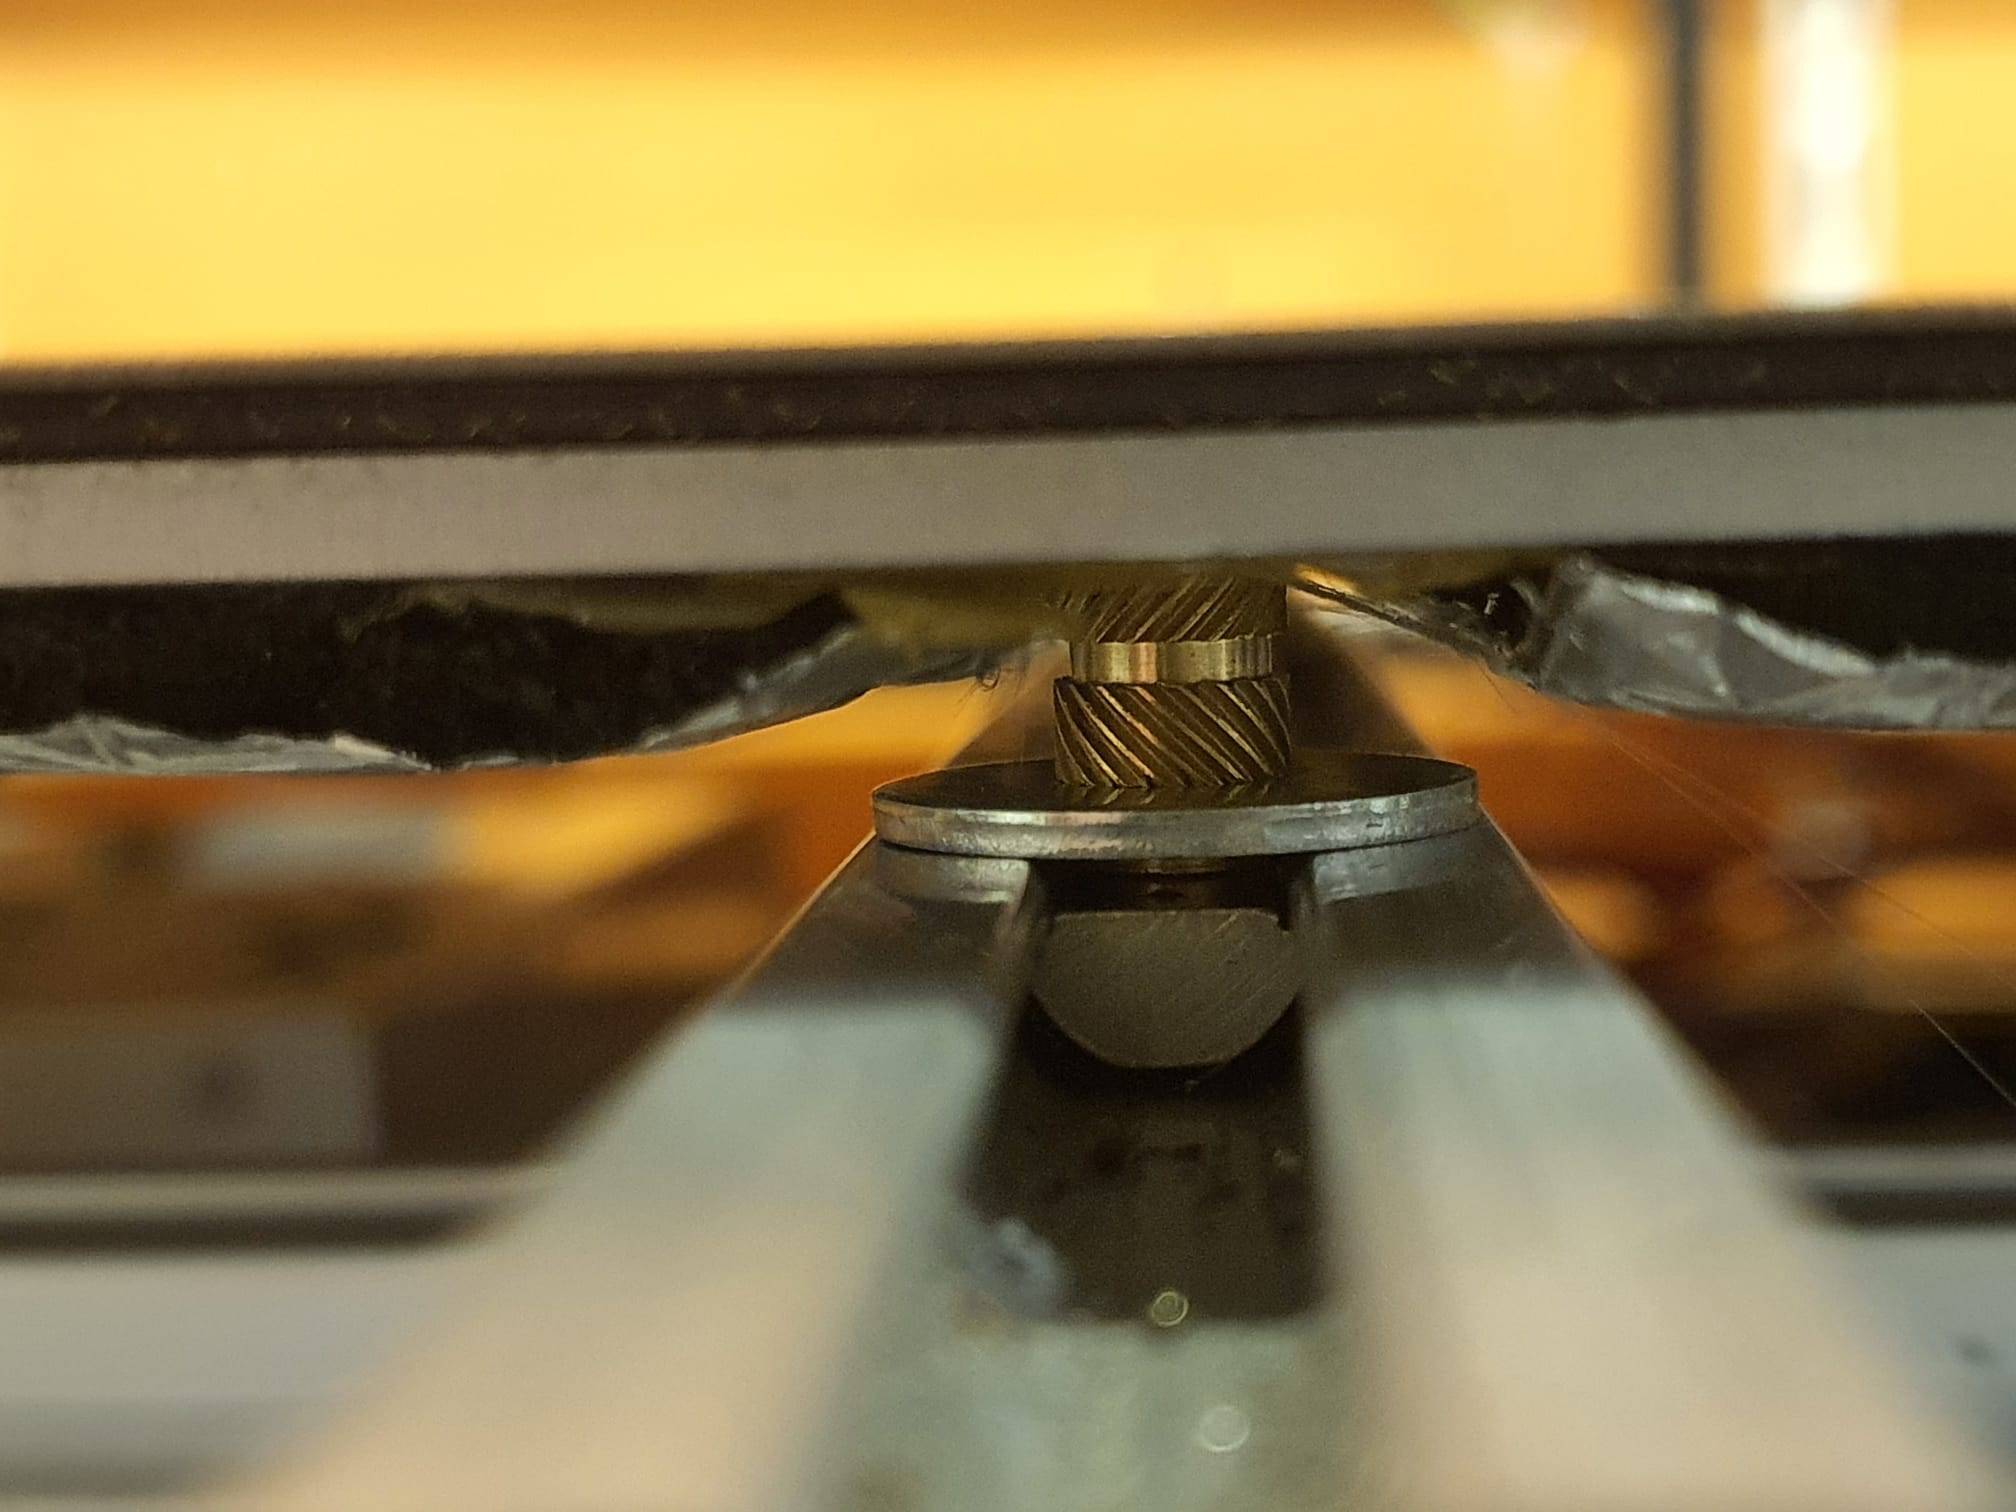
The M5 threaded insert has a small cutaway ledge that just fits in the M6 washer, as is shown below:
This keeps the M5 copper threaded insert in place in the M6 washer.
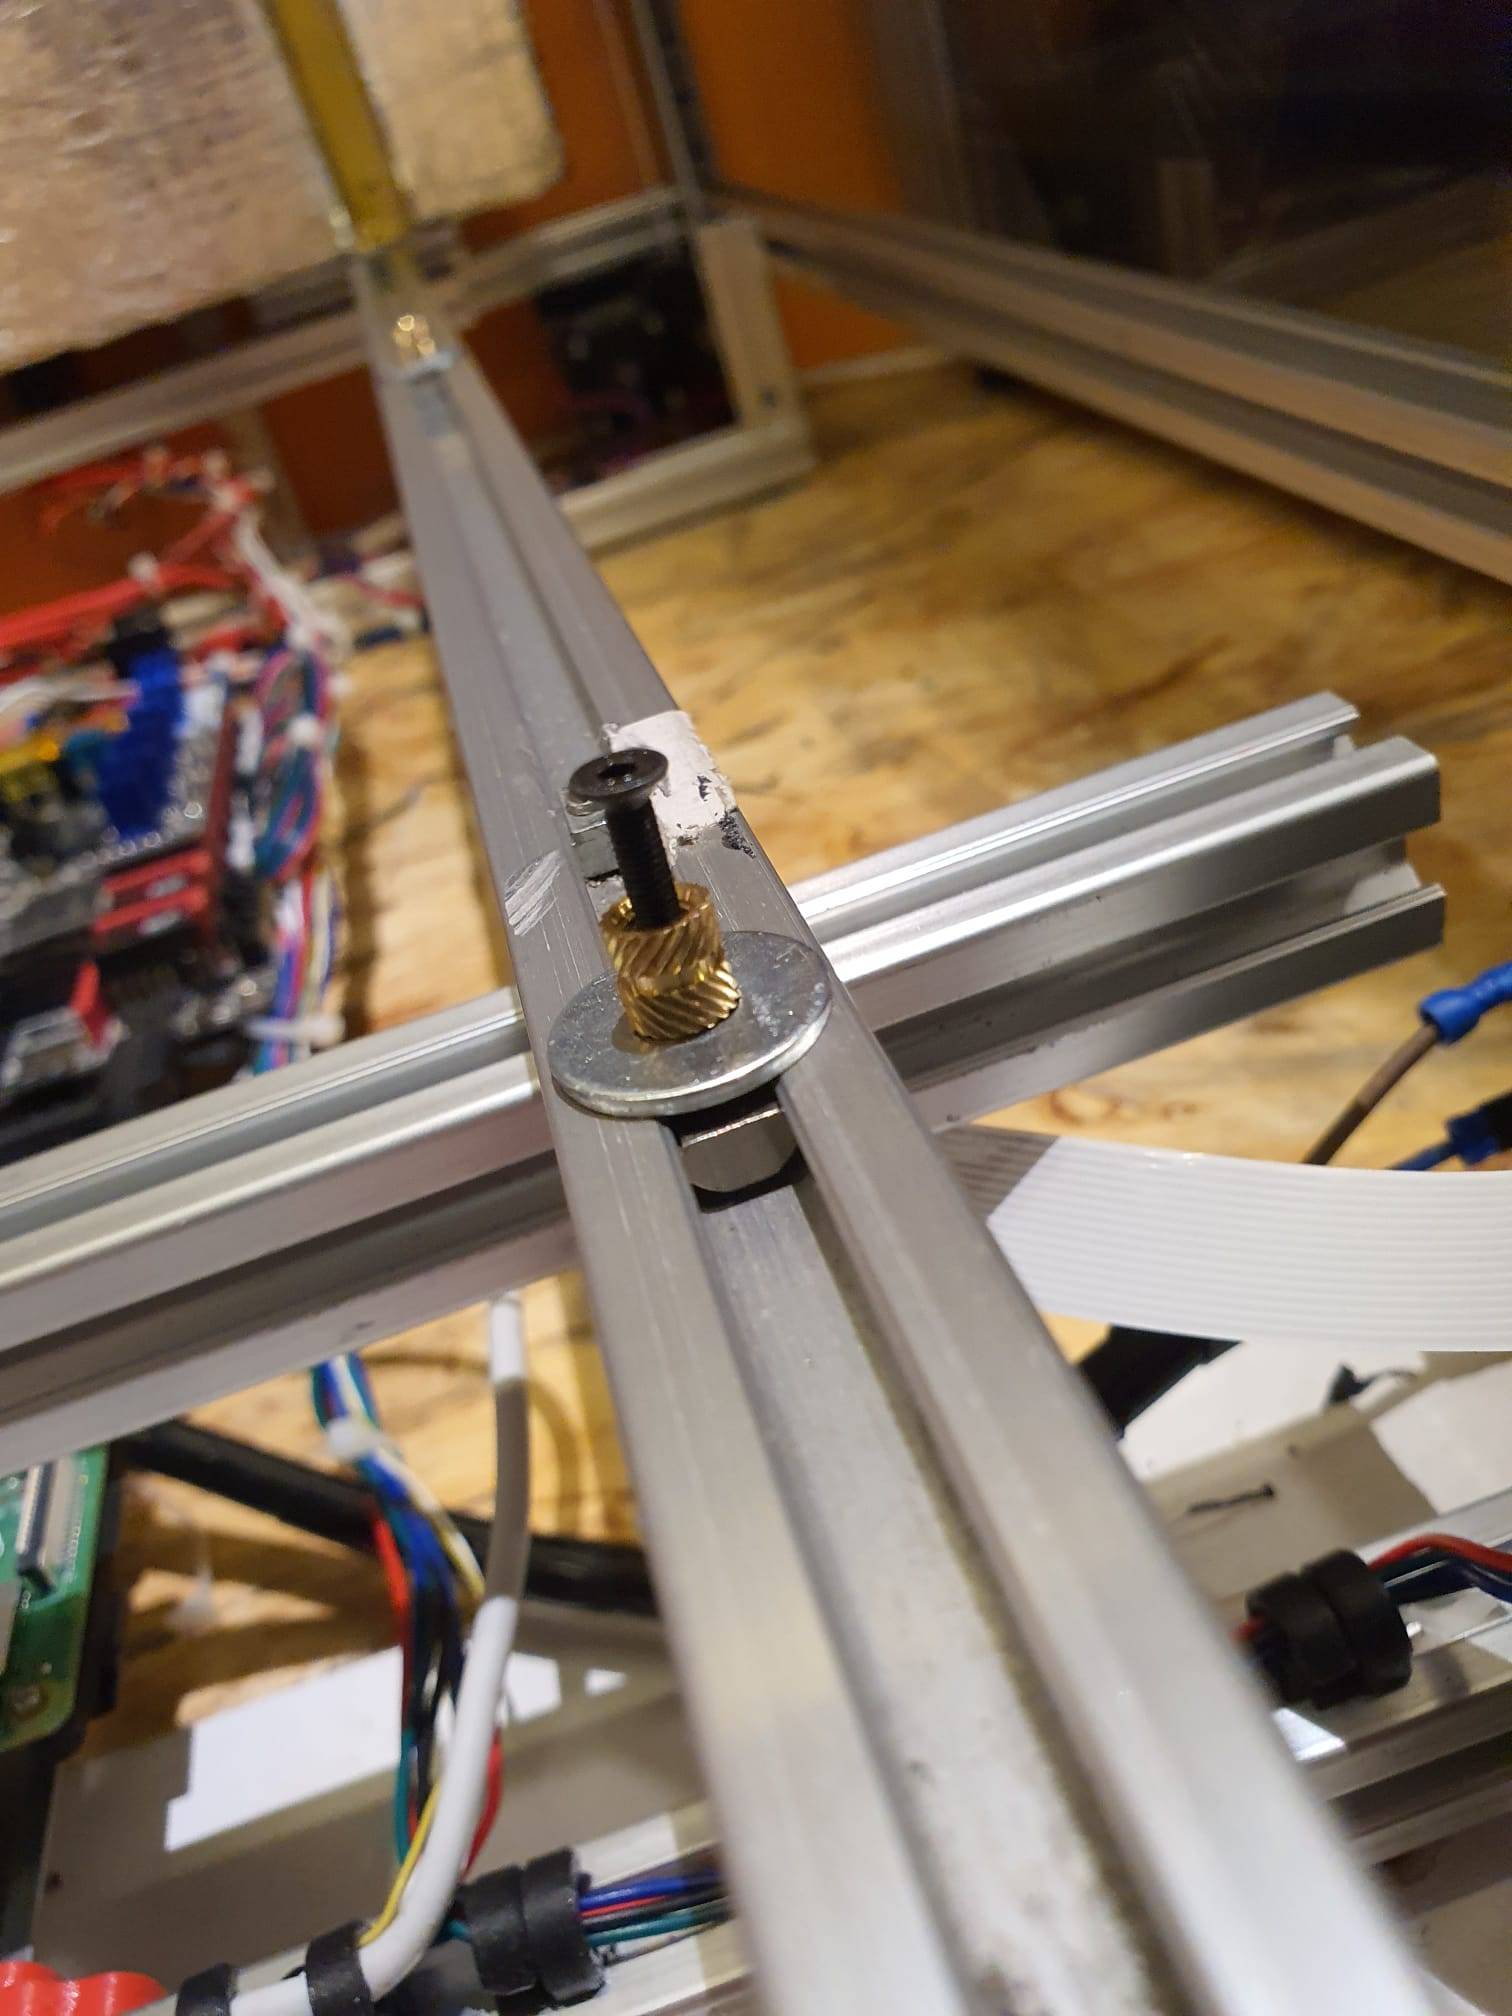
Then, the M3 16mm long bolt threads in the nut that is placed in the 2020 aluminium rail.
After all these have been fitted, remove the M3 bolts, place the heated bed on the threaded inserts and put the M3 bolts loosely in, thread one by one a bit in, place all af the M3 bolts.
Position the heated bed square in the frame and tighten the M3 bolts. You’re done!