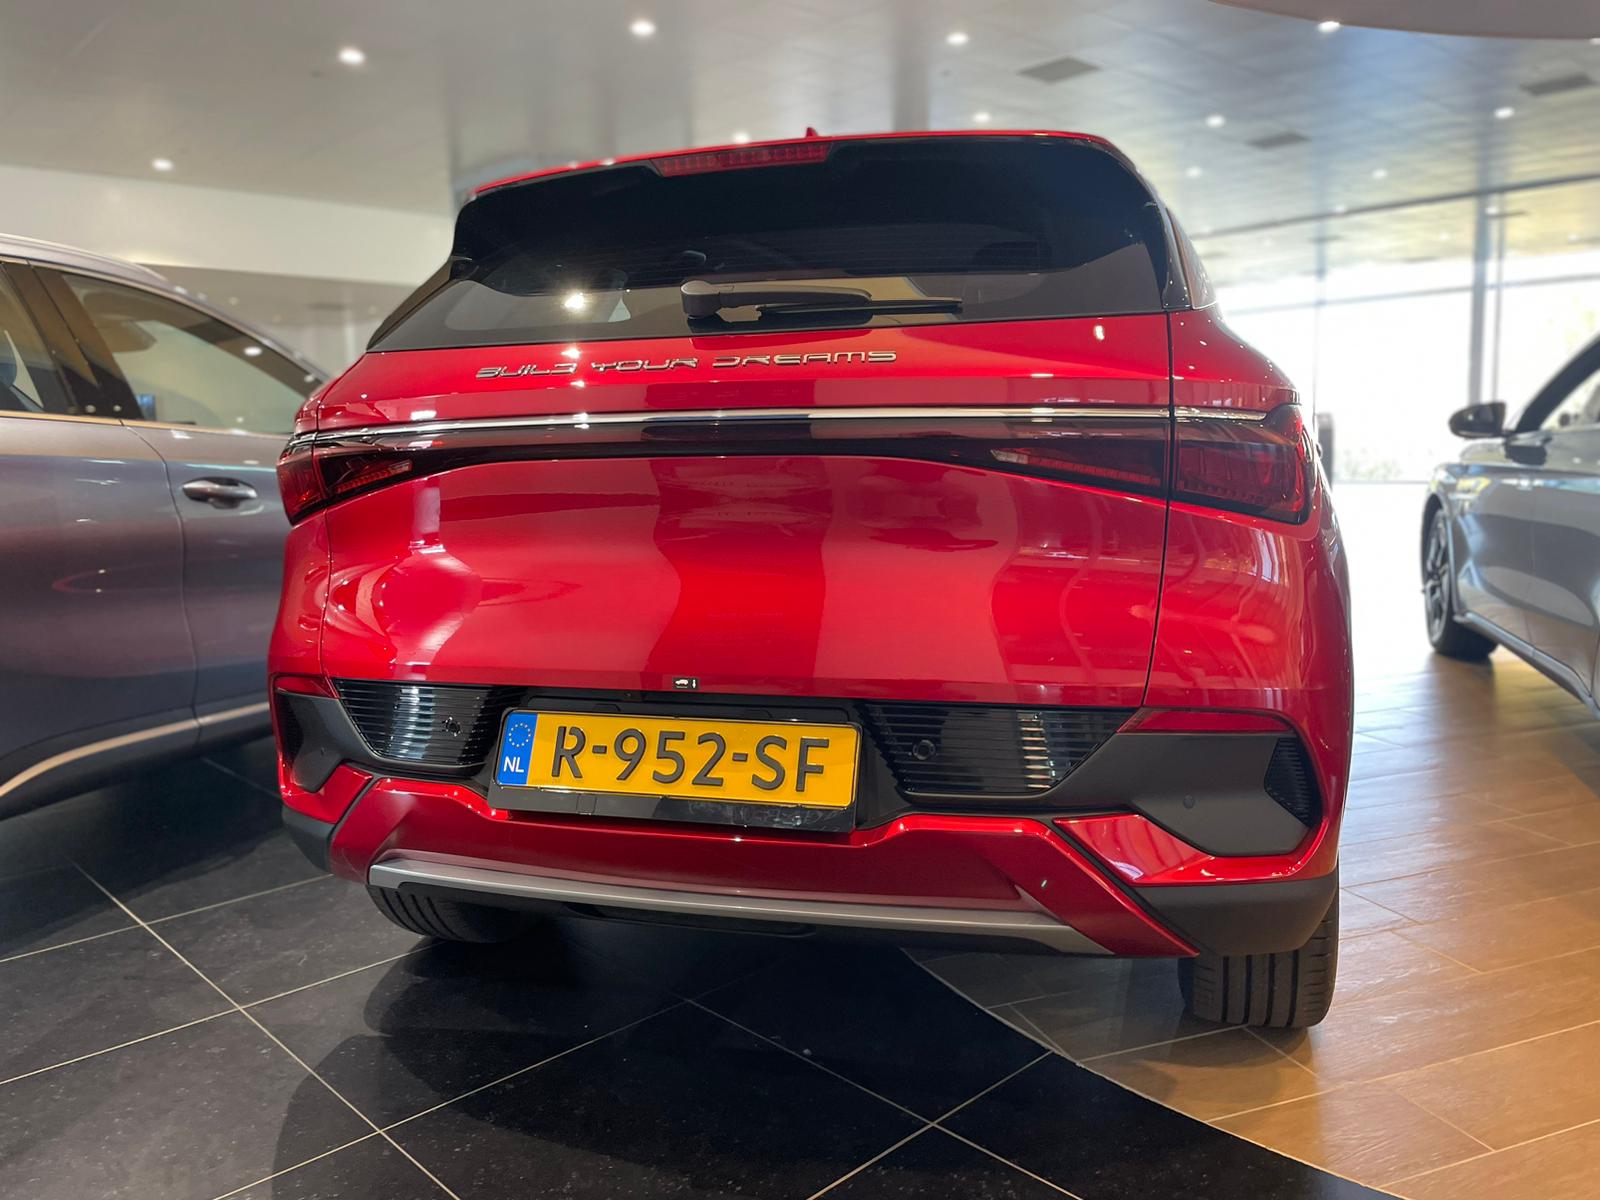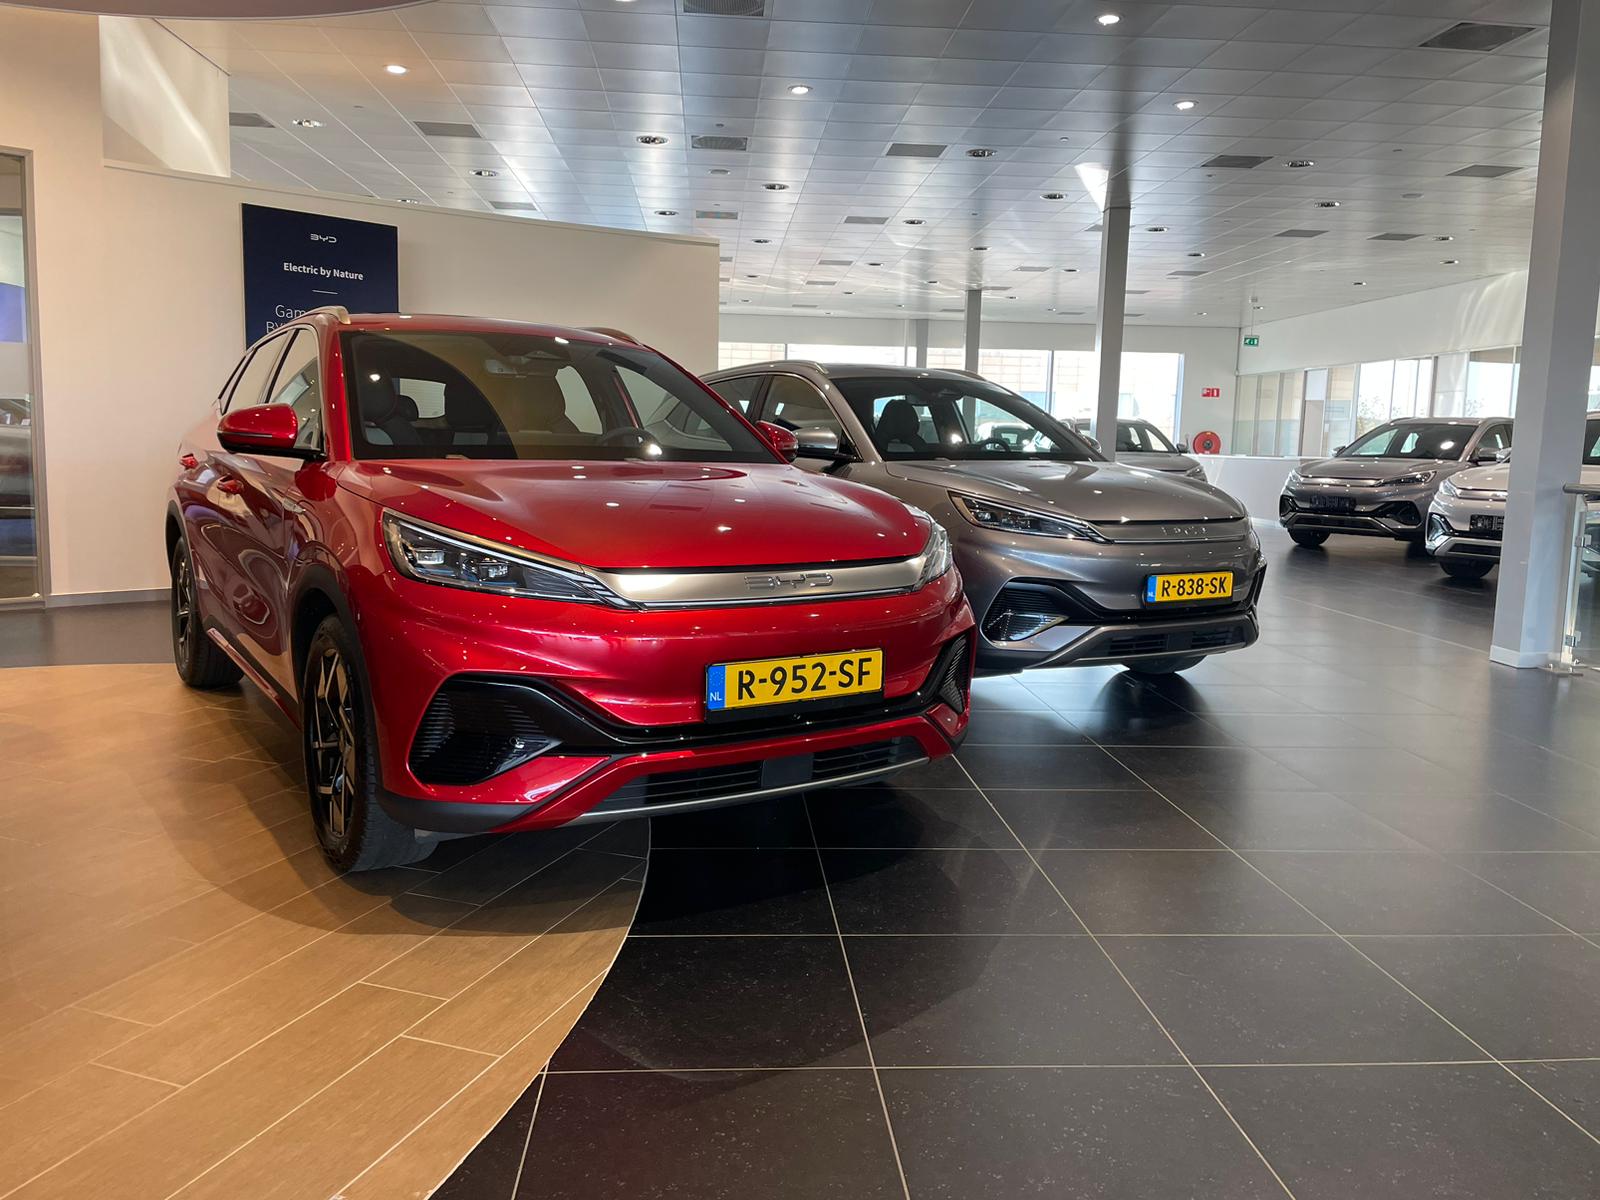
BYD Atto3 upgraded black C-pillar covers
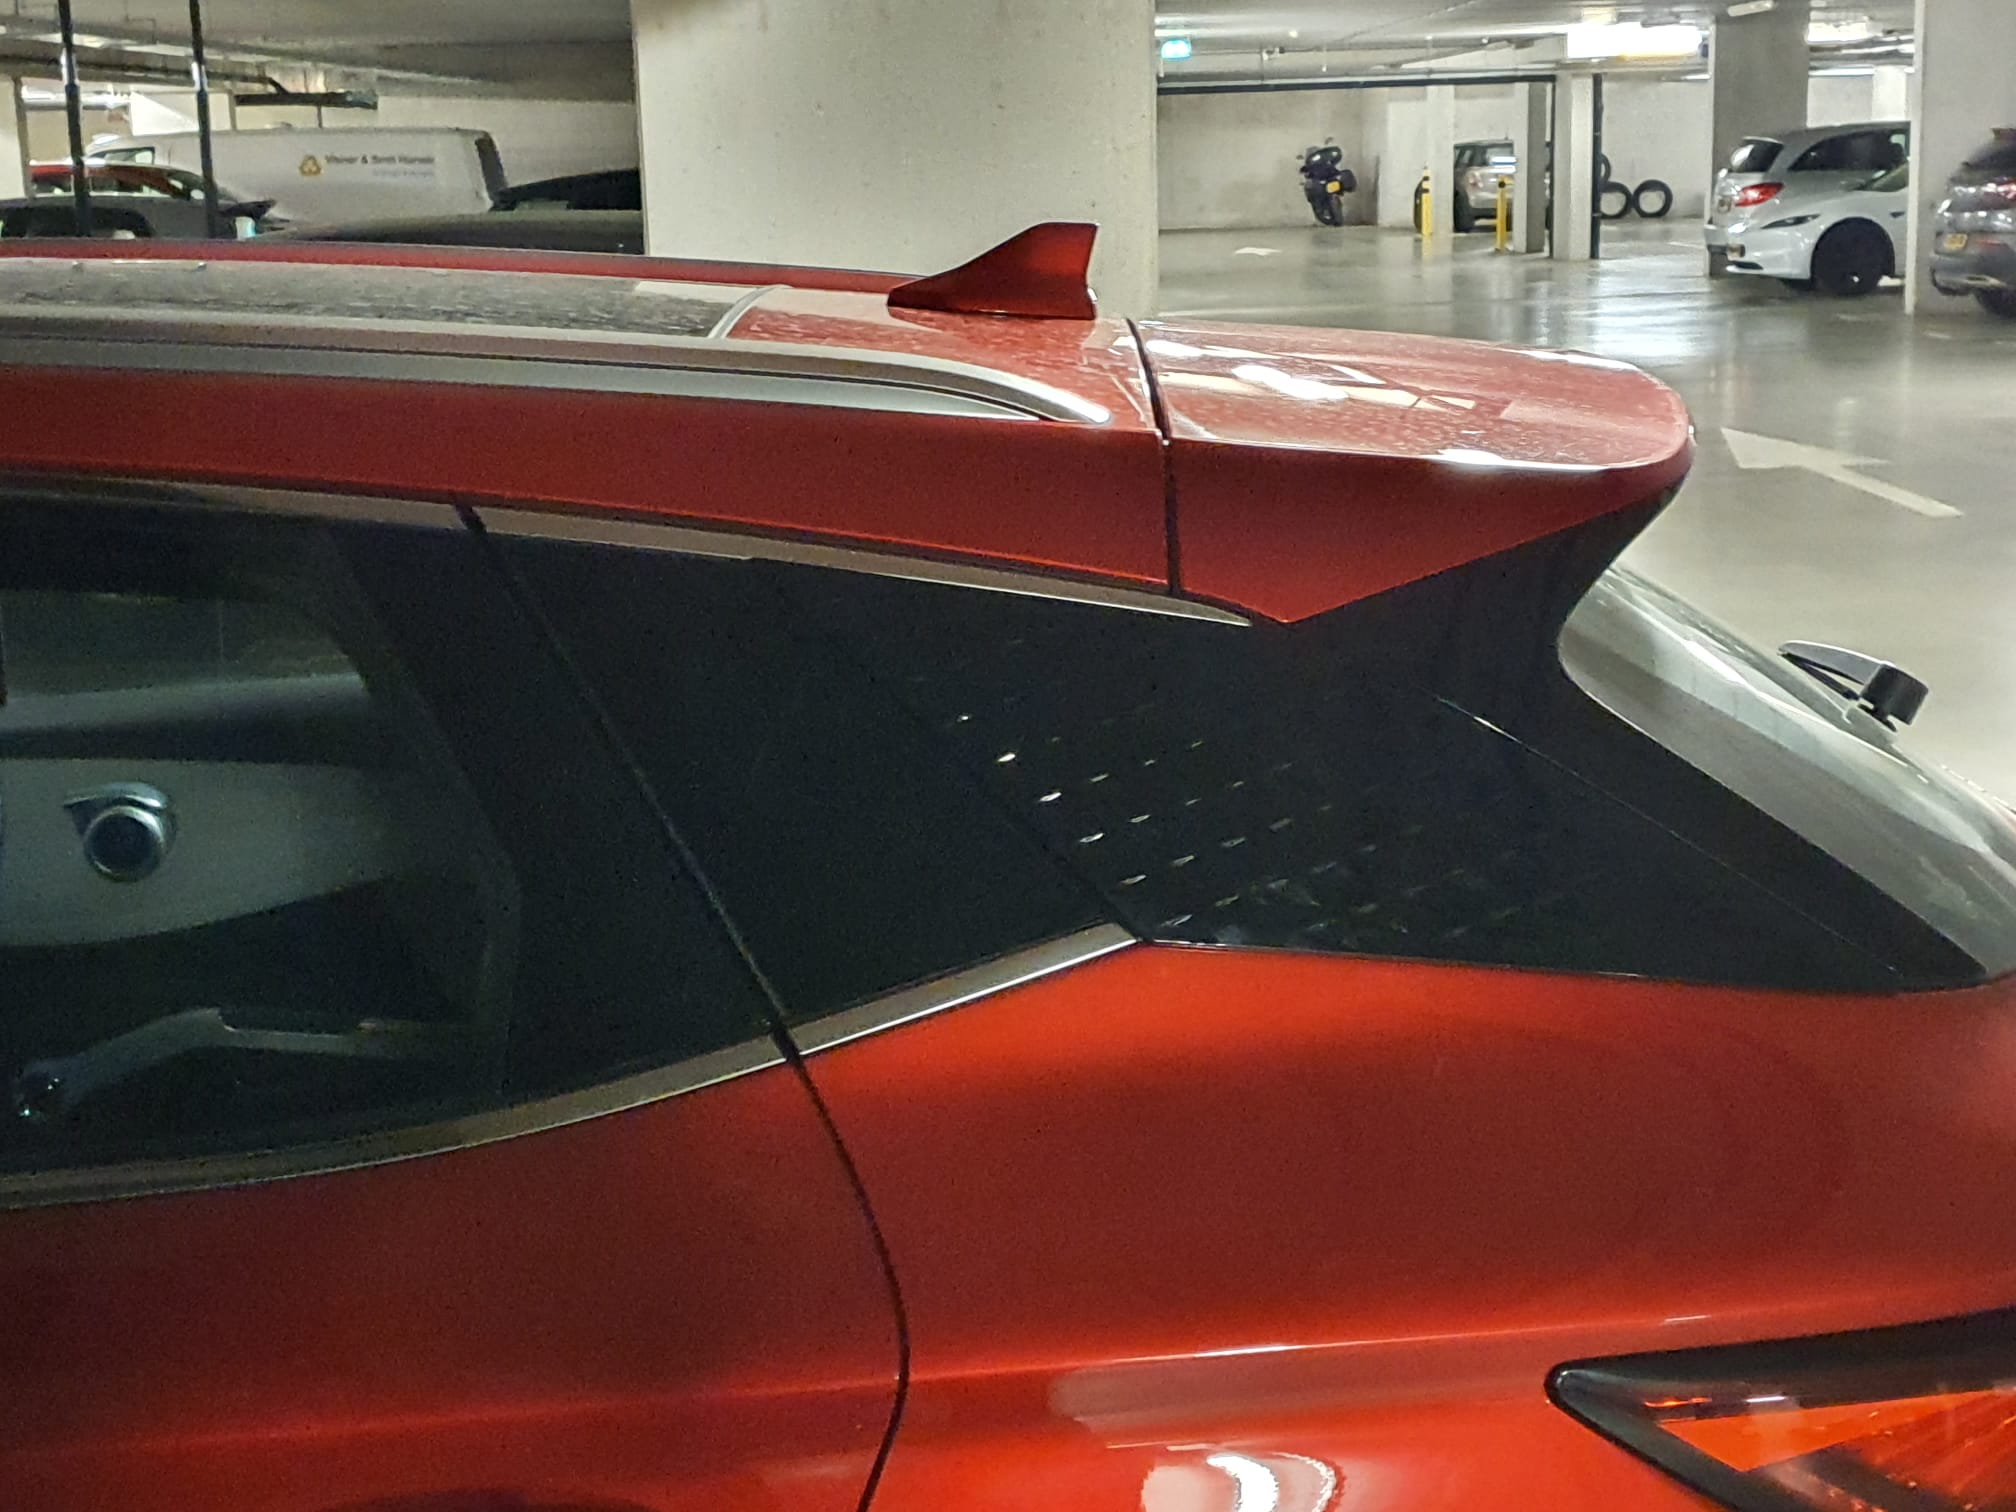
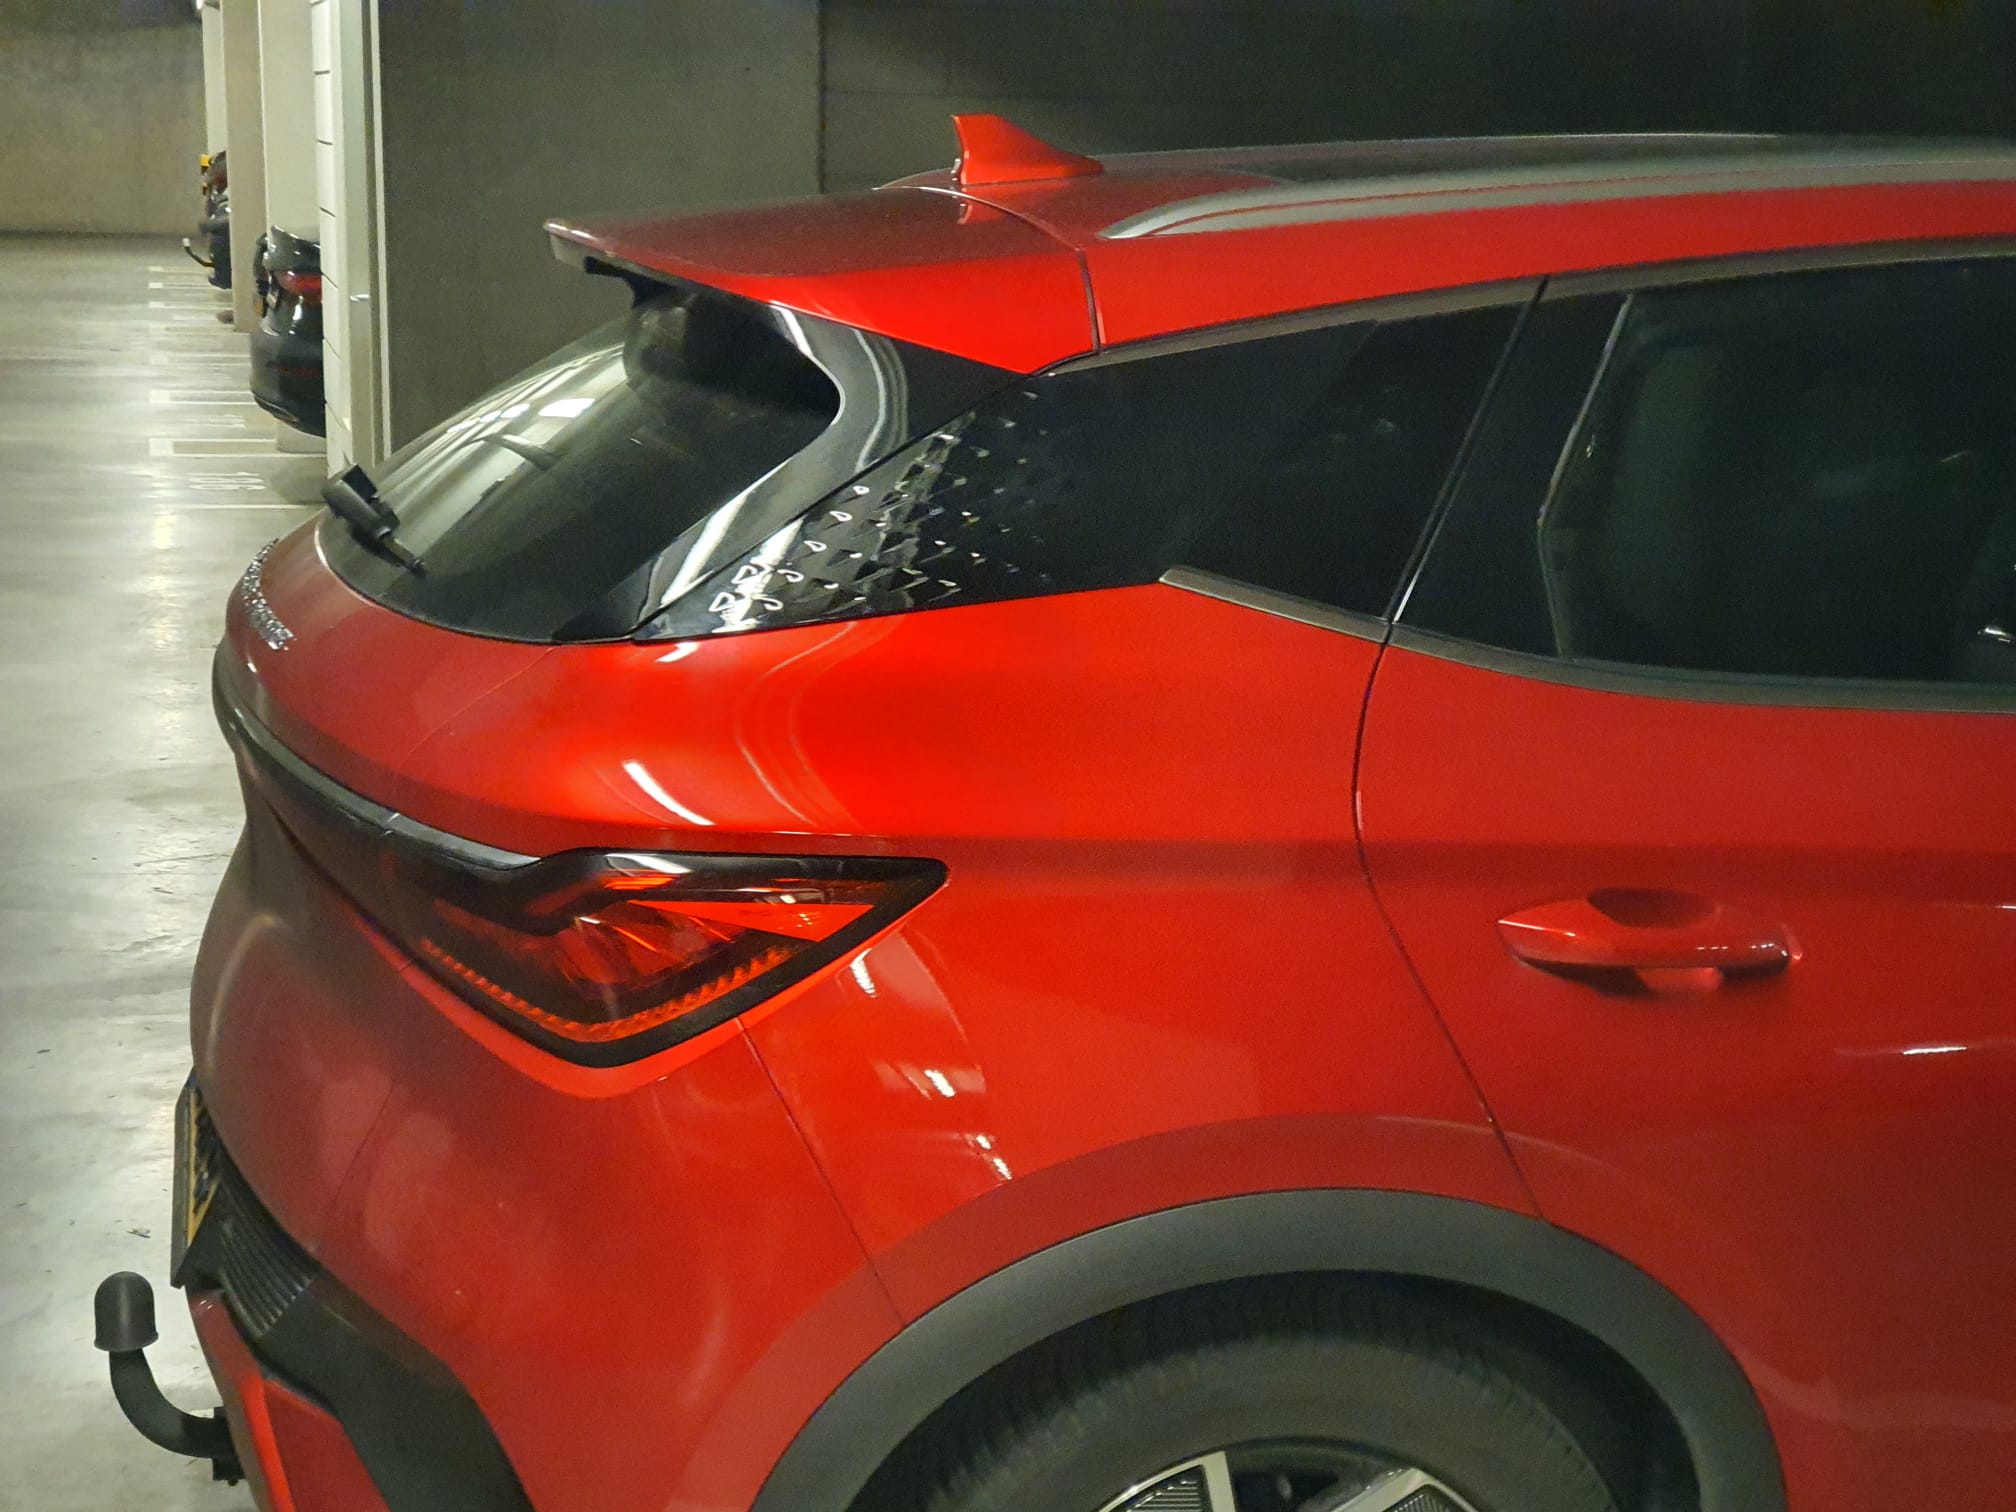
My Atto3 originally had silver colored C-pillar covers. I ordered a set of black covers that can be mounted on top of the existing ones. The result is shown in the added pictures. Mounting these covers is very easy because along the inside’s edges a strip of 2-sided tape is plcaed. . Just remove the cover tape a bit, plac ethe cover where it fits, and carefully tear the cover strip entirely off the inside. Press on and you’re done!
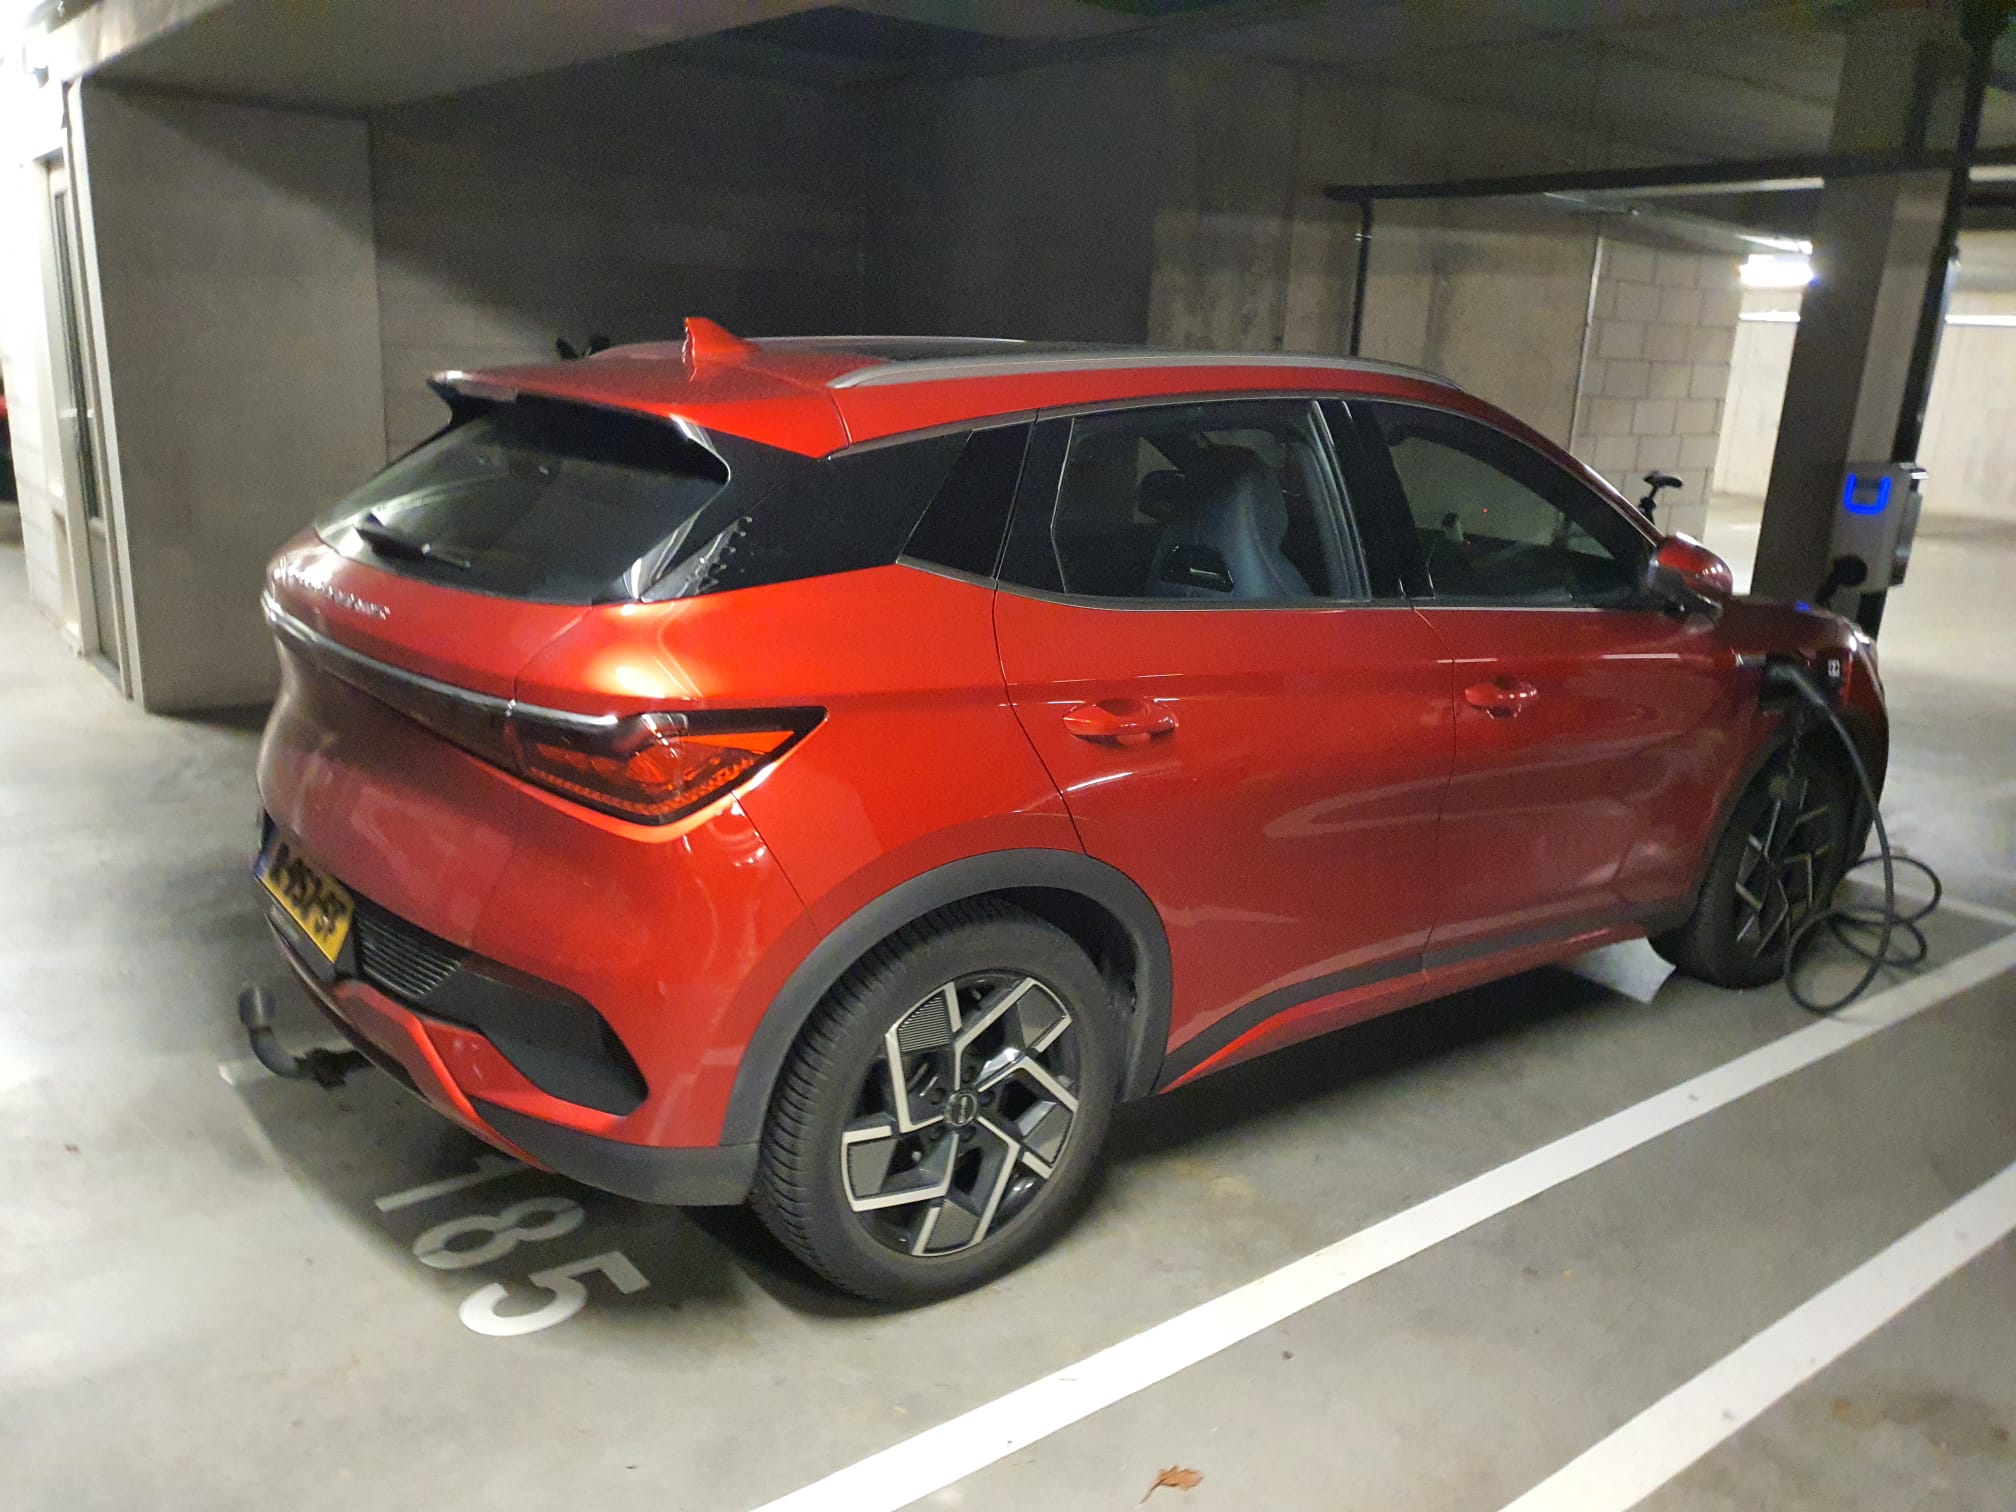
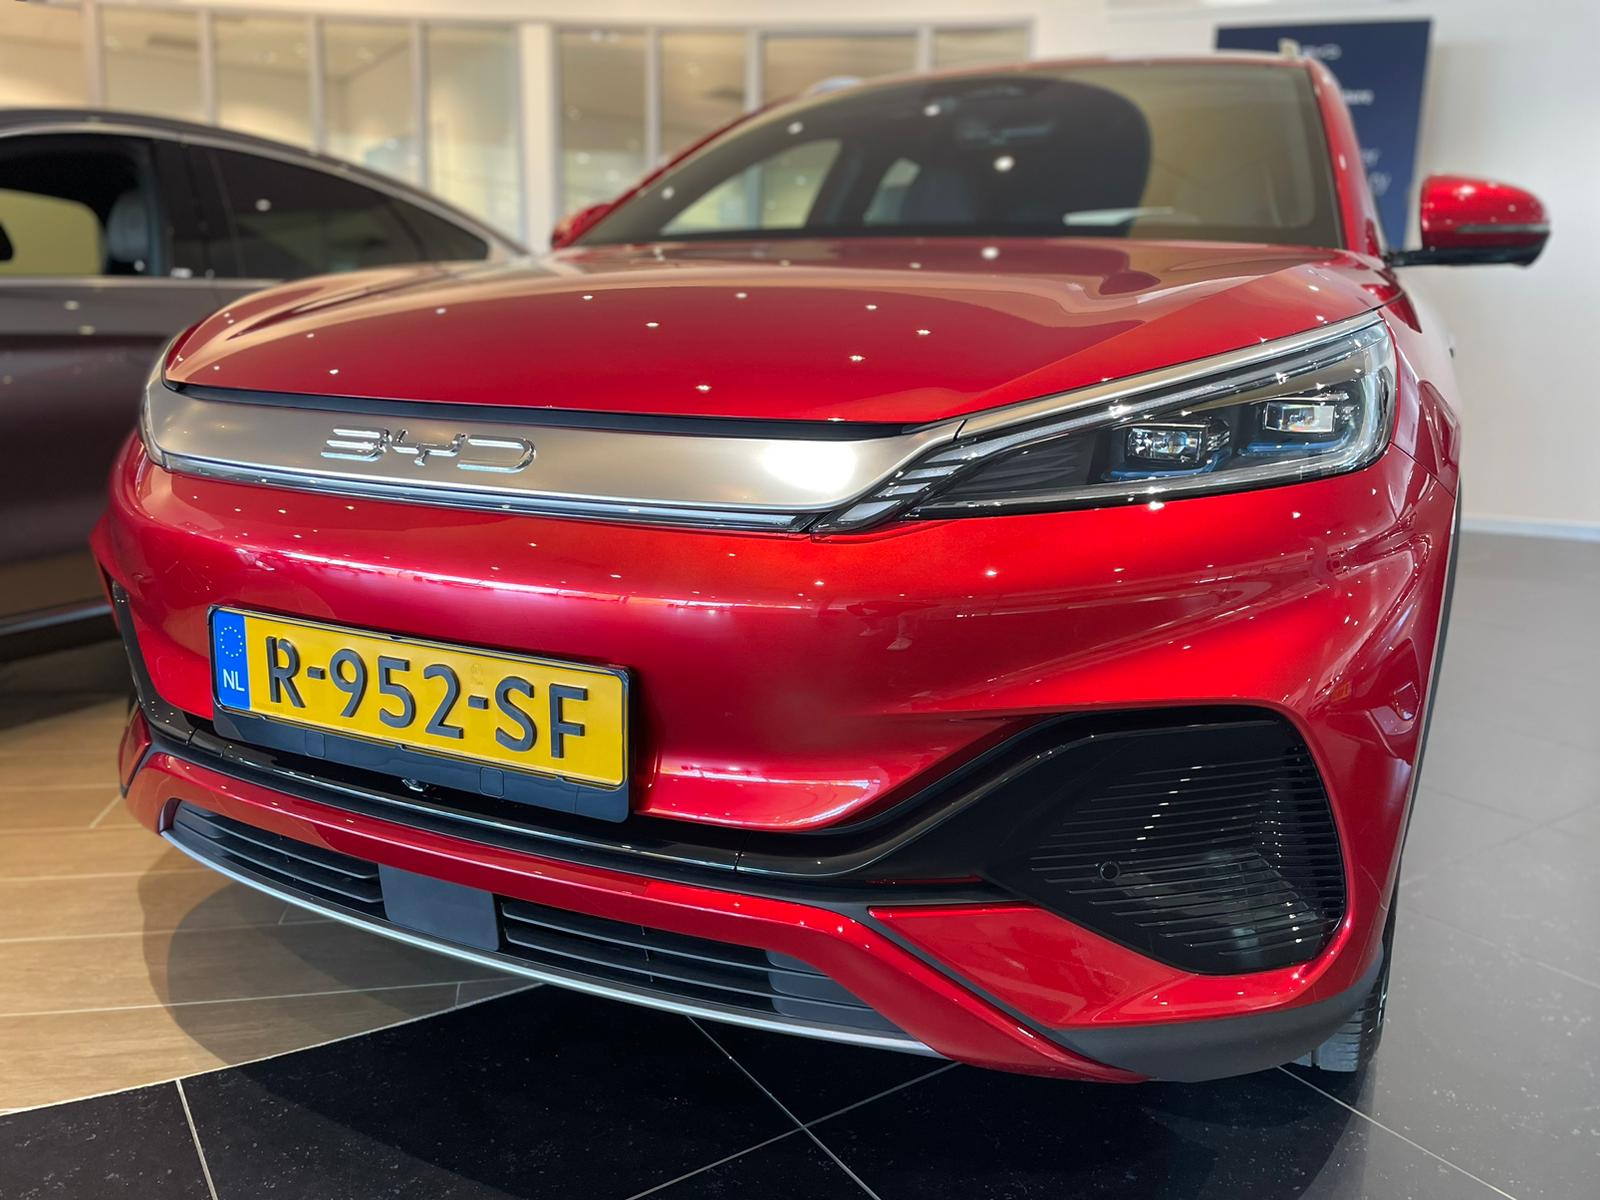
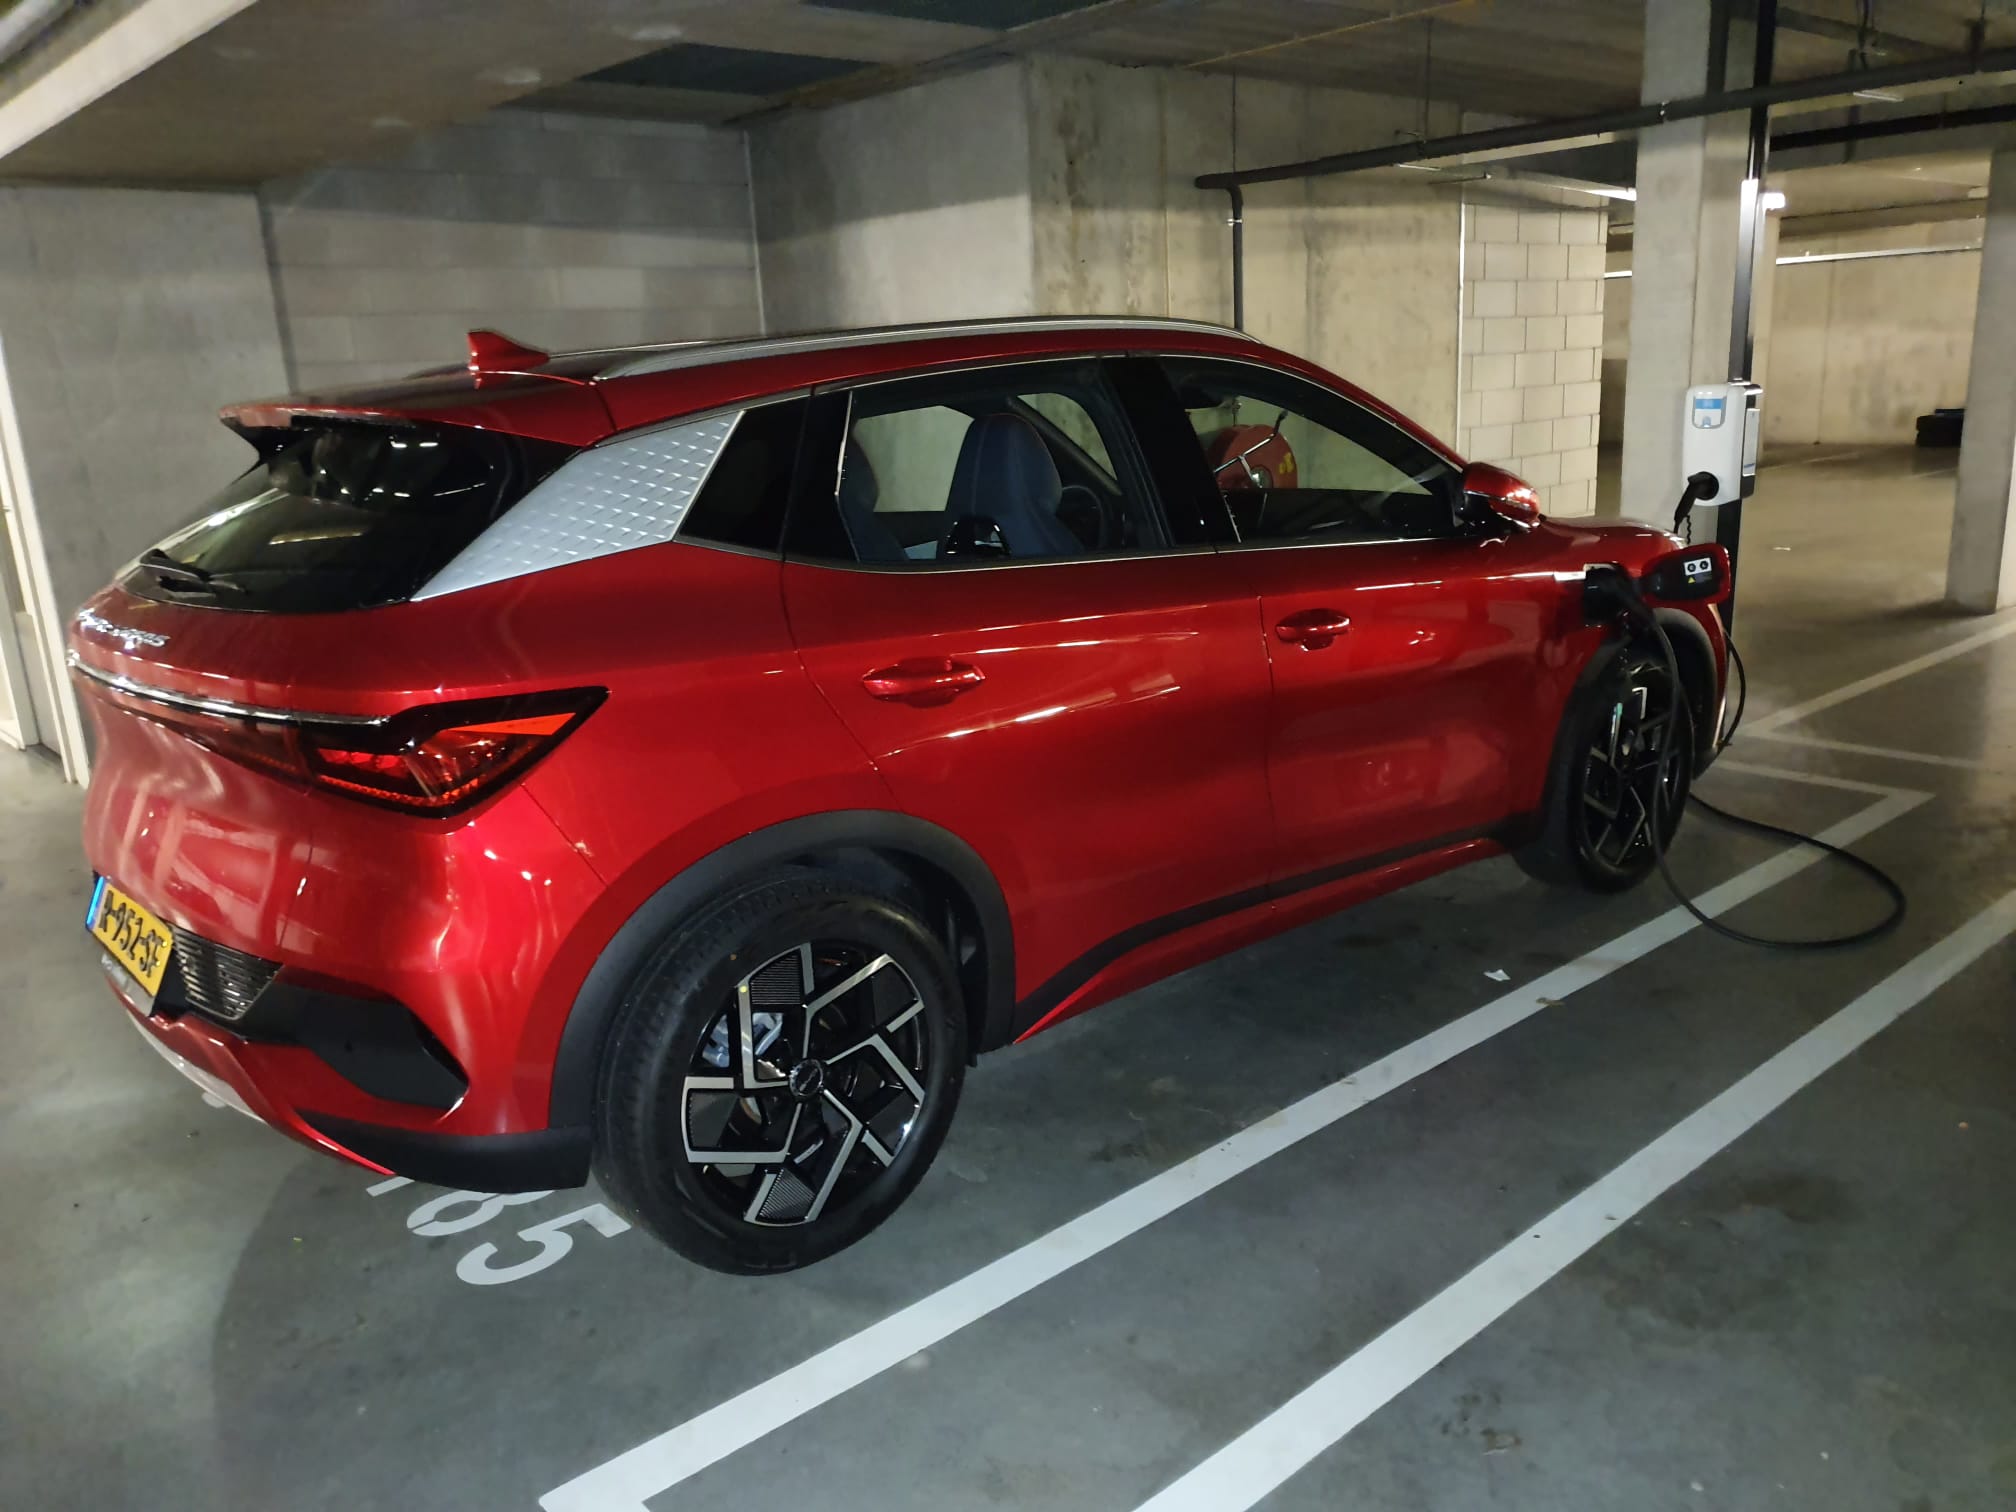
For reference, the car as delivered:
BYD Atto 3: Mounting an original BYD dashcam DIY
I have driven my BYD Atto 3 from its purchase in November 2022 with a Garmin mini dashcam mounted in it, on the windshield just above right next to the interior mirror. That works fine, except you have a cable running that you have to get rid of and you have to use your phone app to view the footage.
According to the BYD dealer, it is not possible to retrofit the original BYD dashcam.
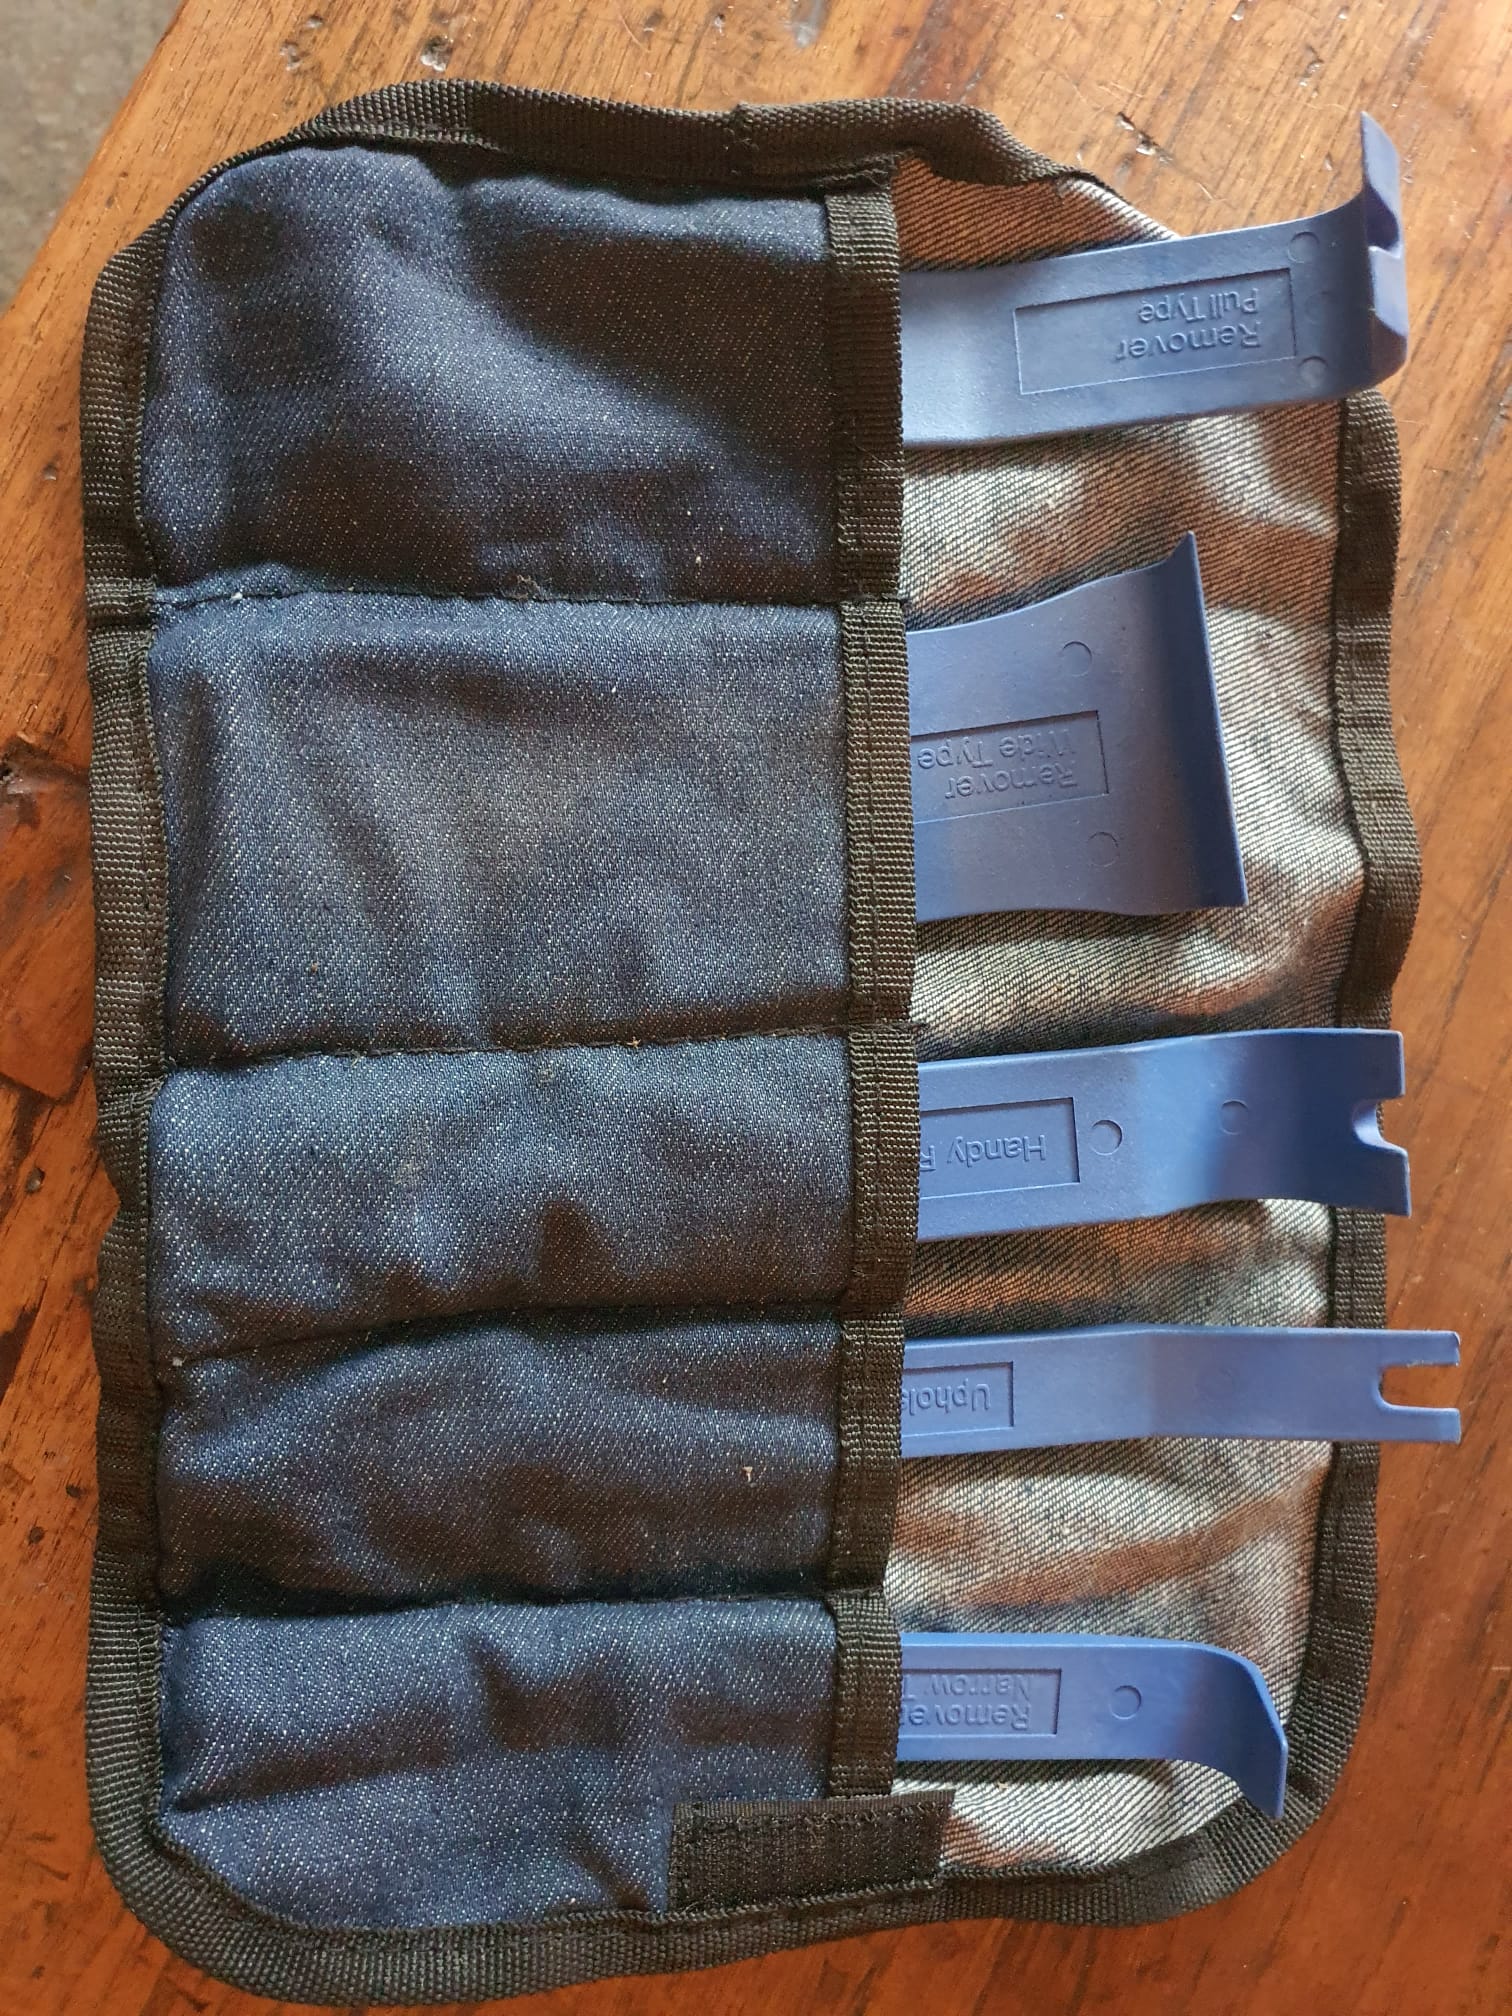
I removed the protective cover where the dashcam should go in, using appropriate tools for this purpose so as not to damage the plastic snap brackets.
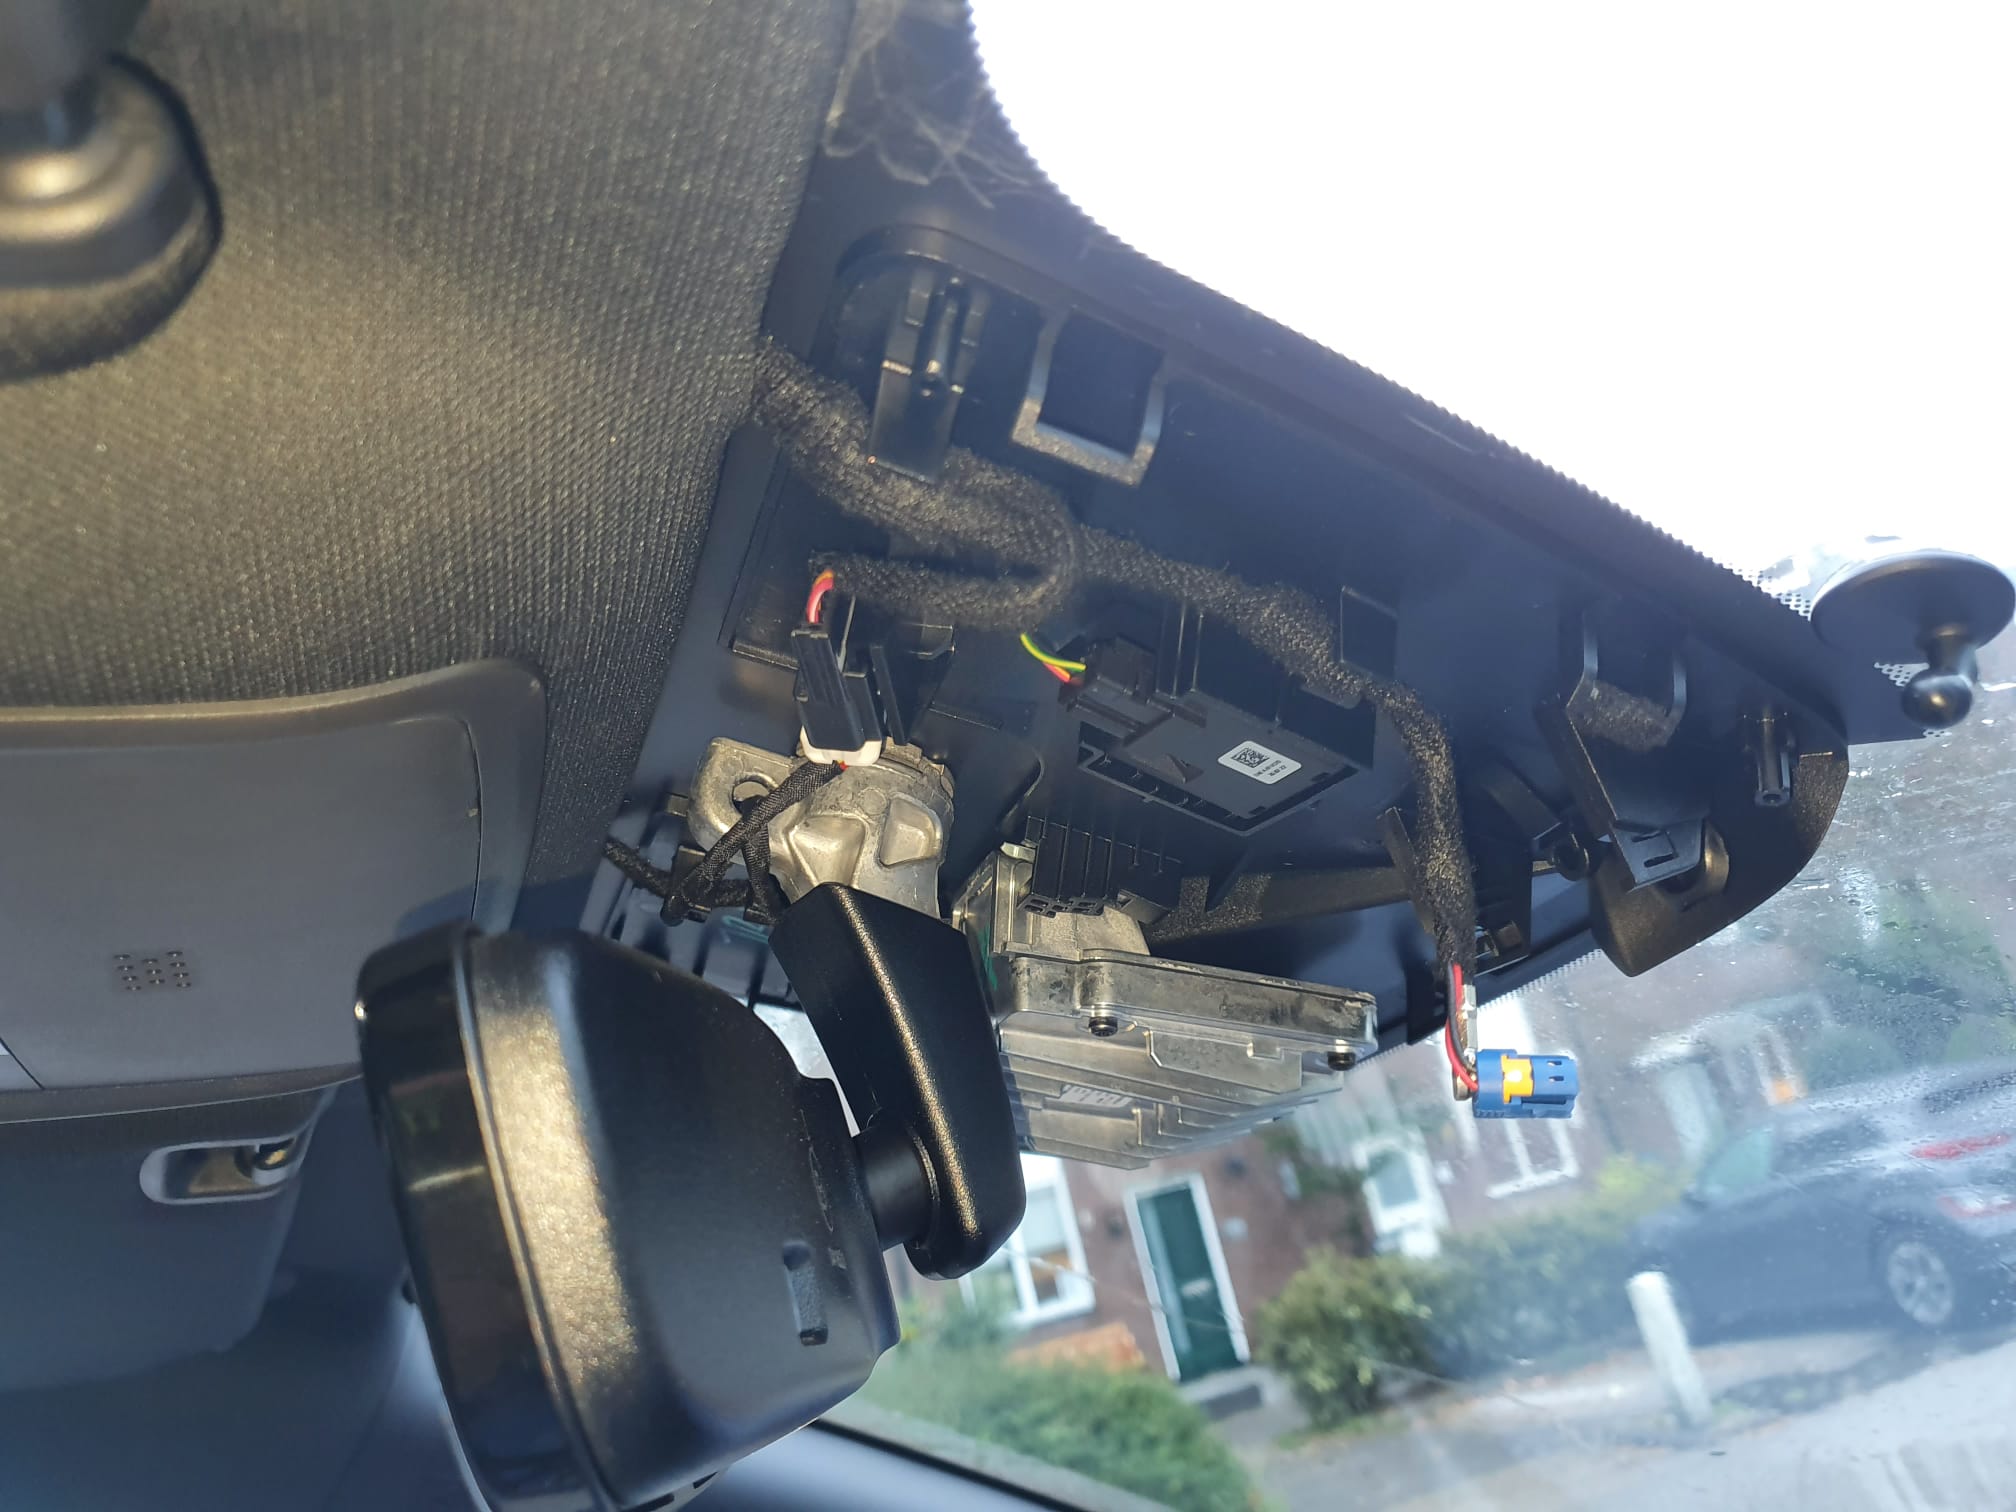
It then turned out that the cable for the dashcam is just neatly mounted there. On the right side of the picture below, you can just see the mounting foot of the Garmin mini dashcam. The blue loose connector with yellow area is the connector for the original BYD dashcam. Obviously, this is for a left-steered version but for a right-steered version the situation is just mirrored.
On Aliexpress I just came across the original BYD dashcam as a separate replacement unit, for about 83 Euro. So ordered it 2 weeks back and mounted it this morning.

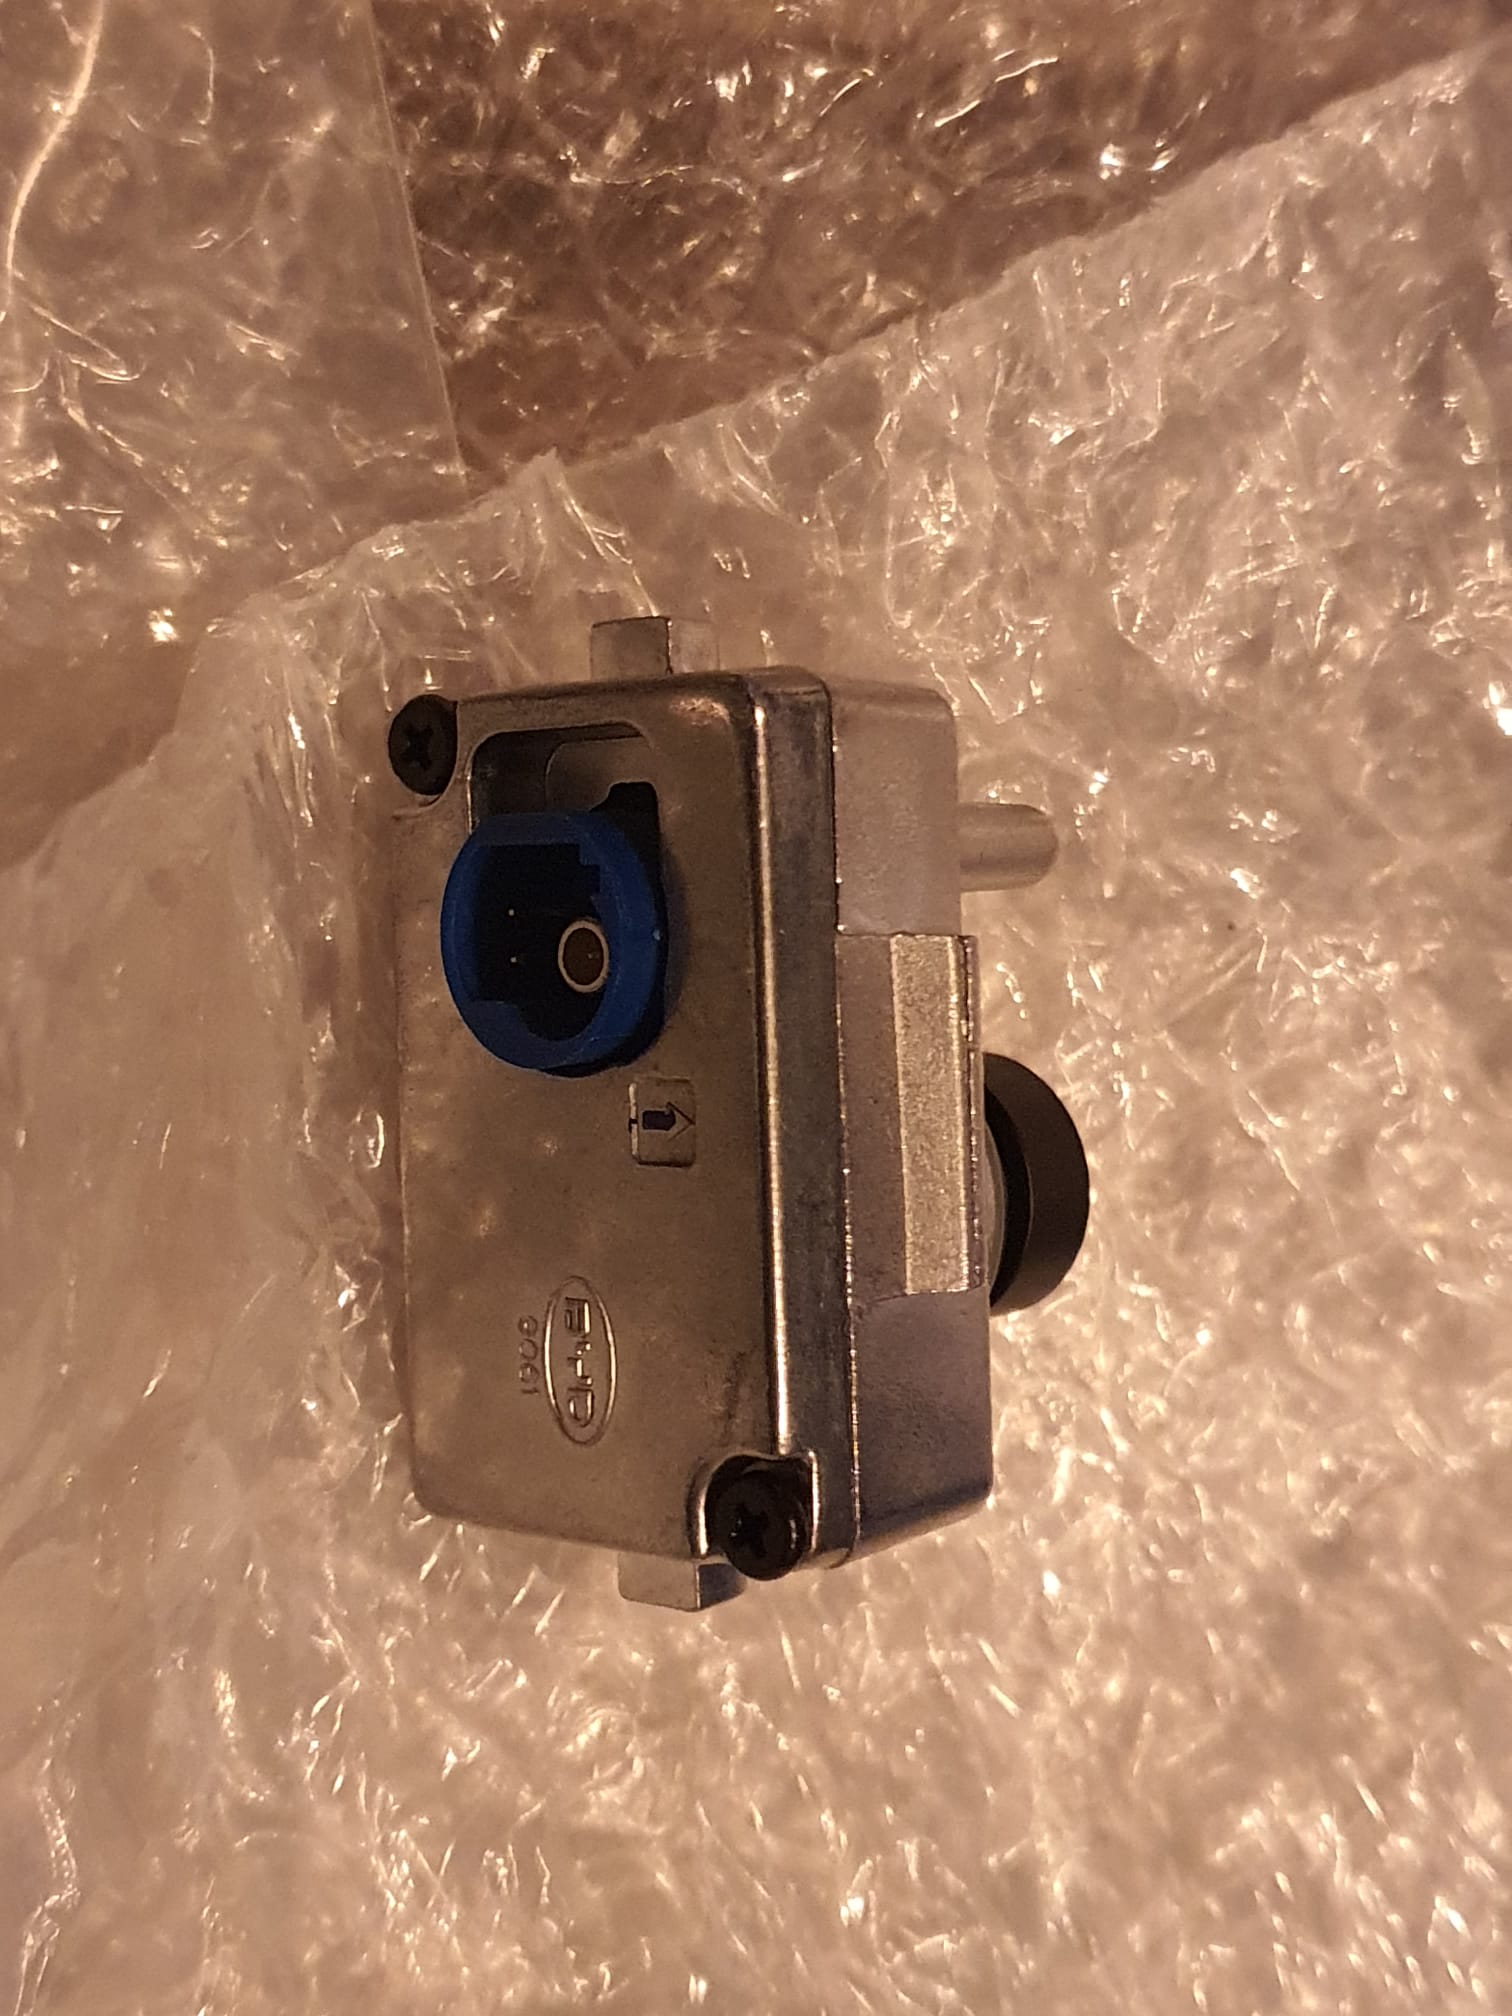
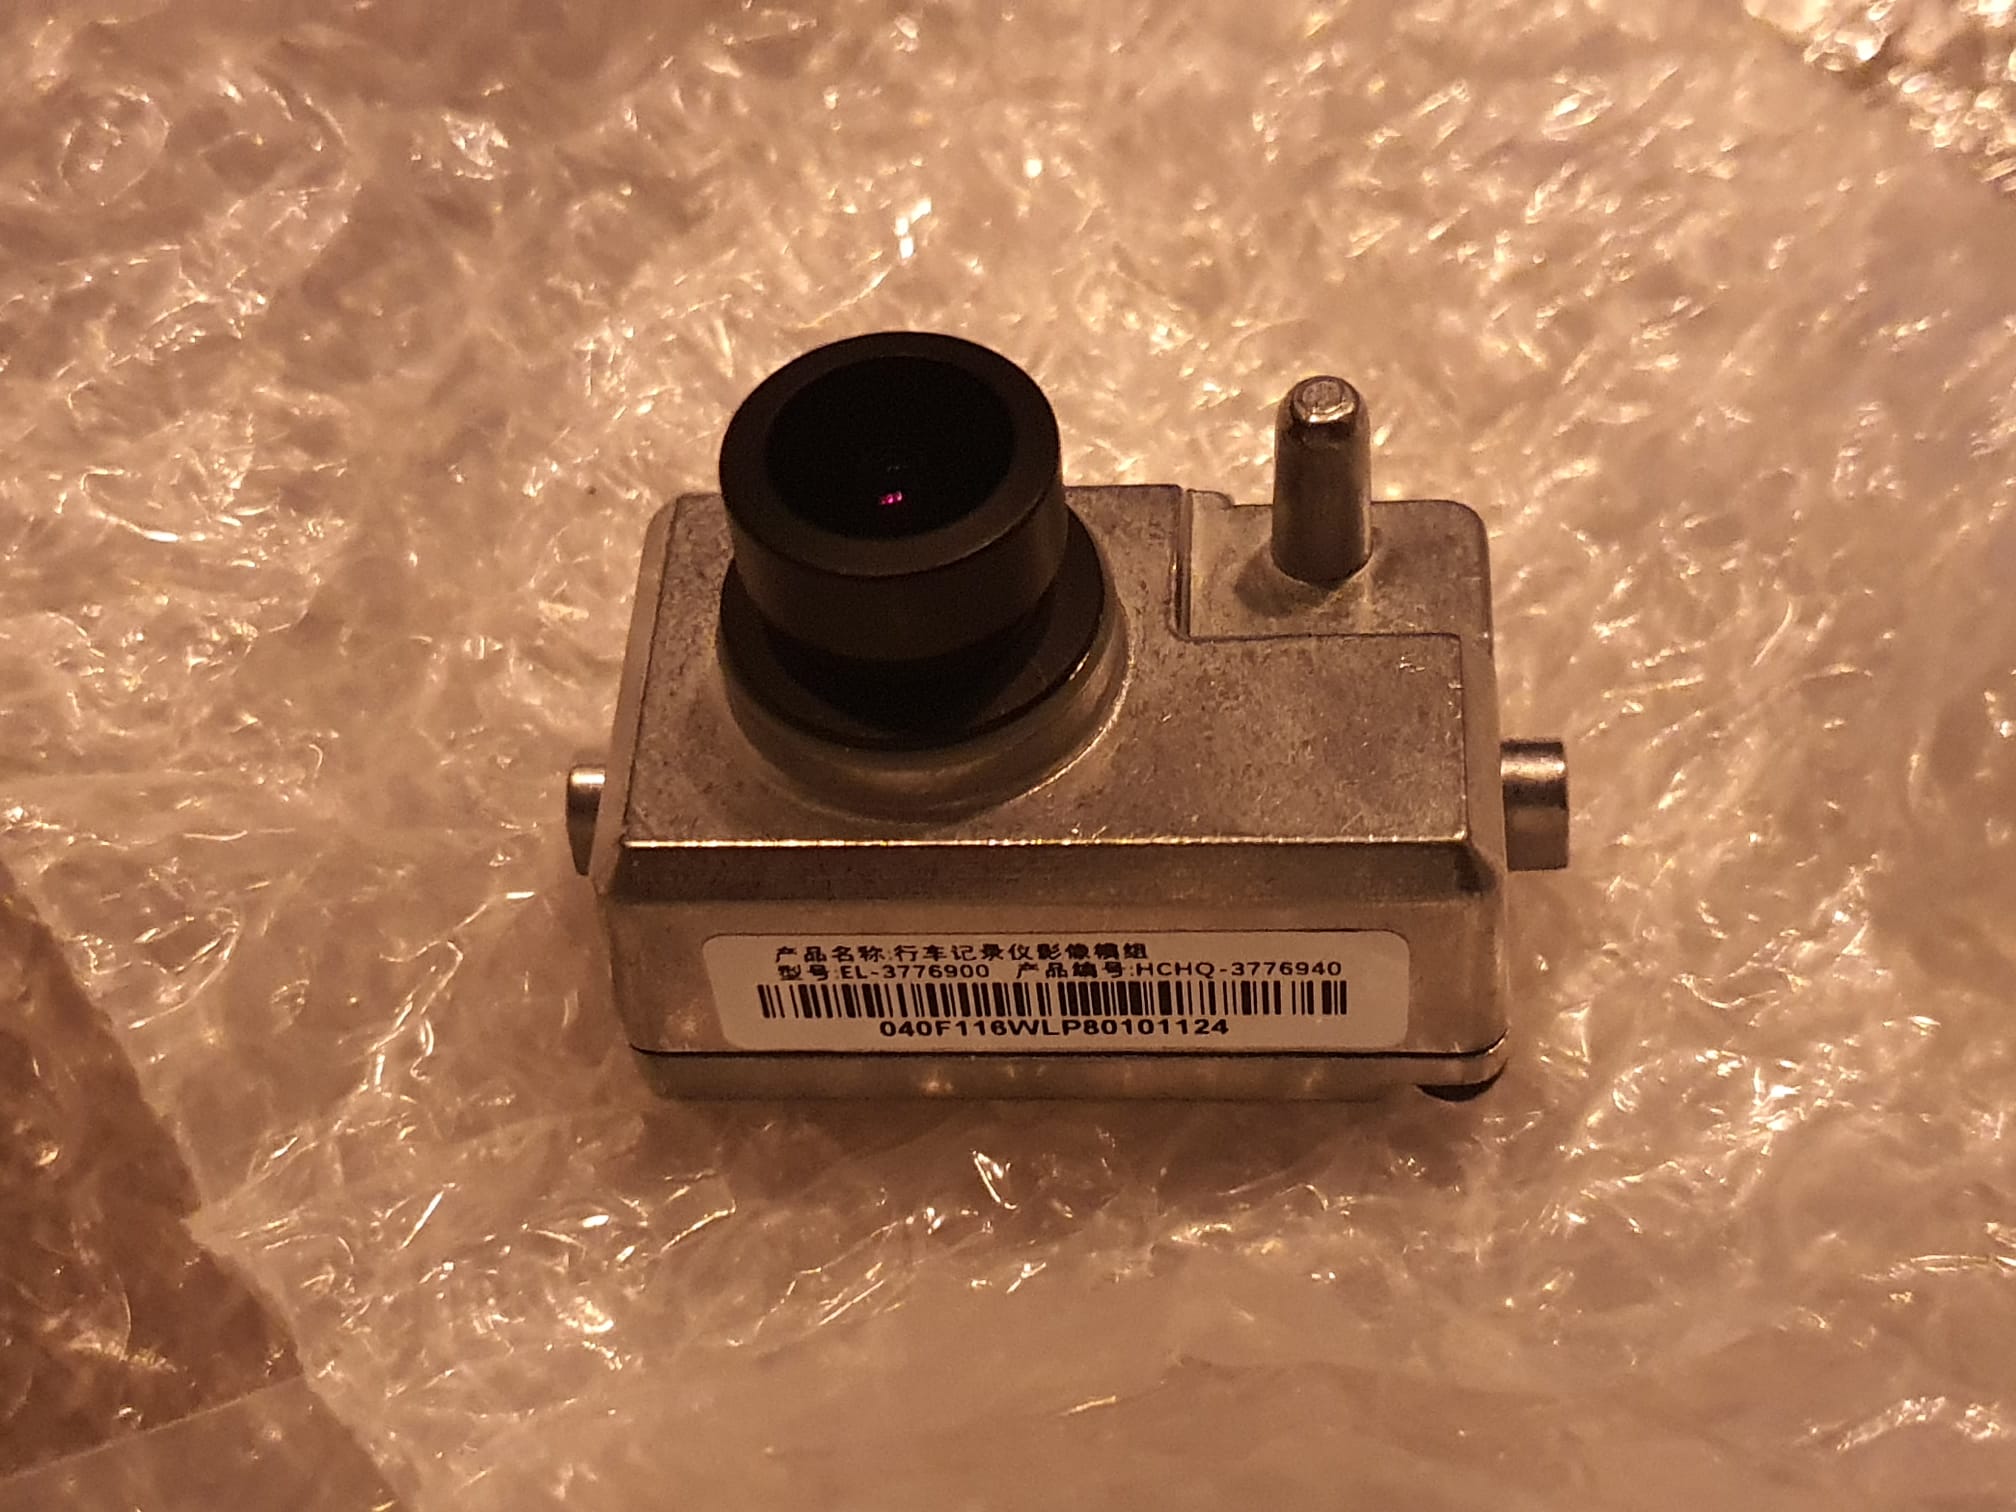
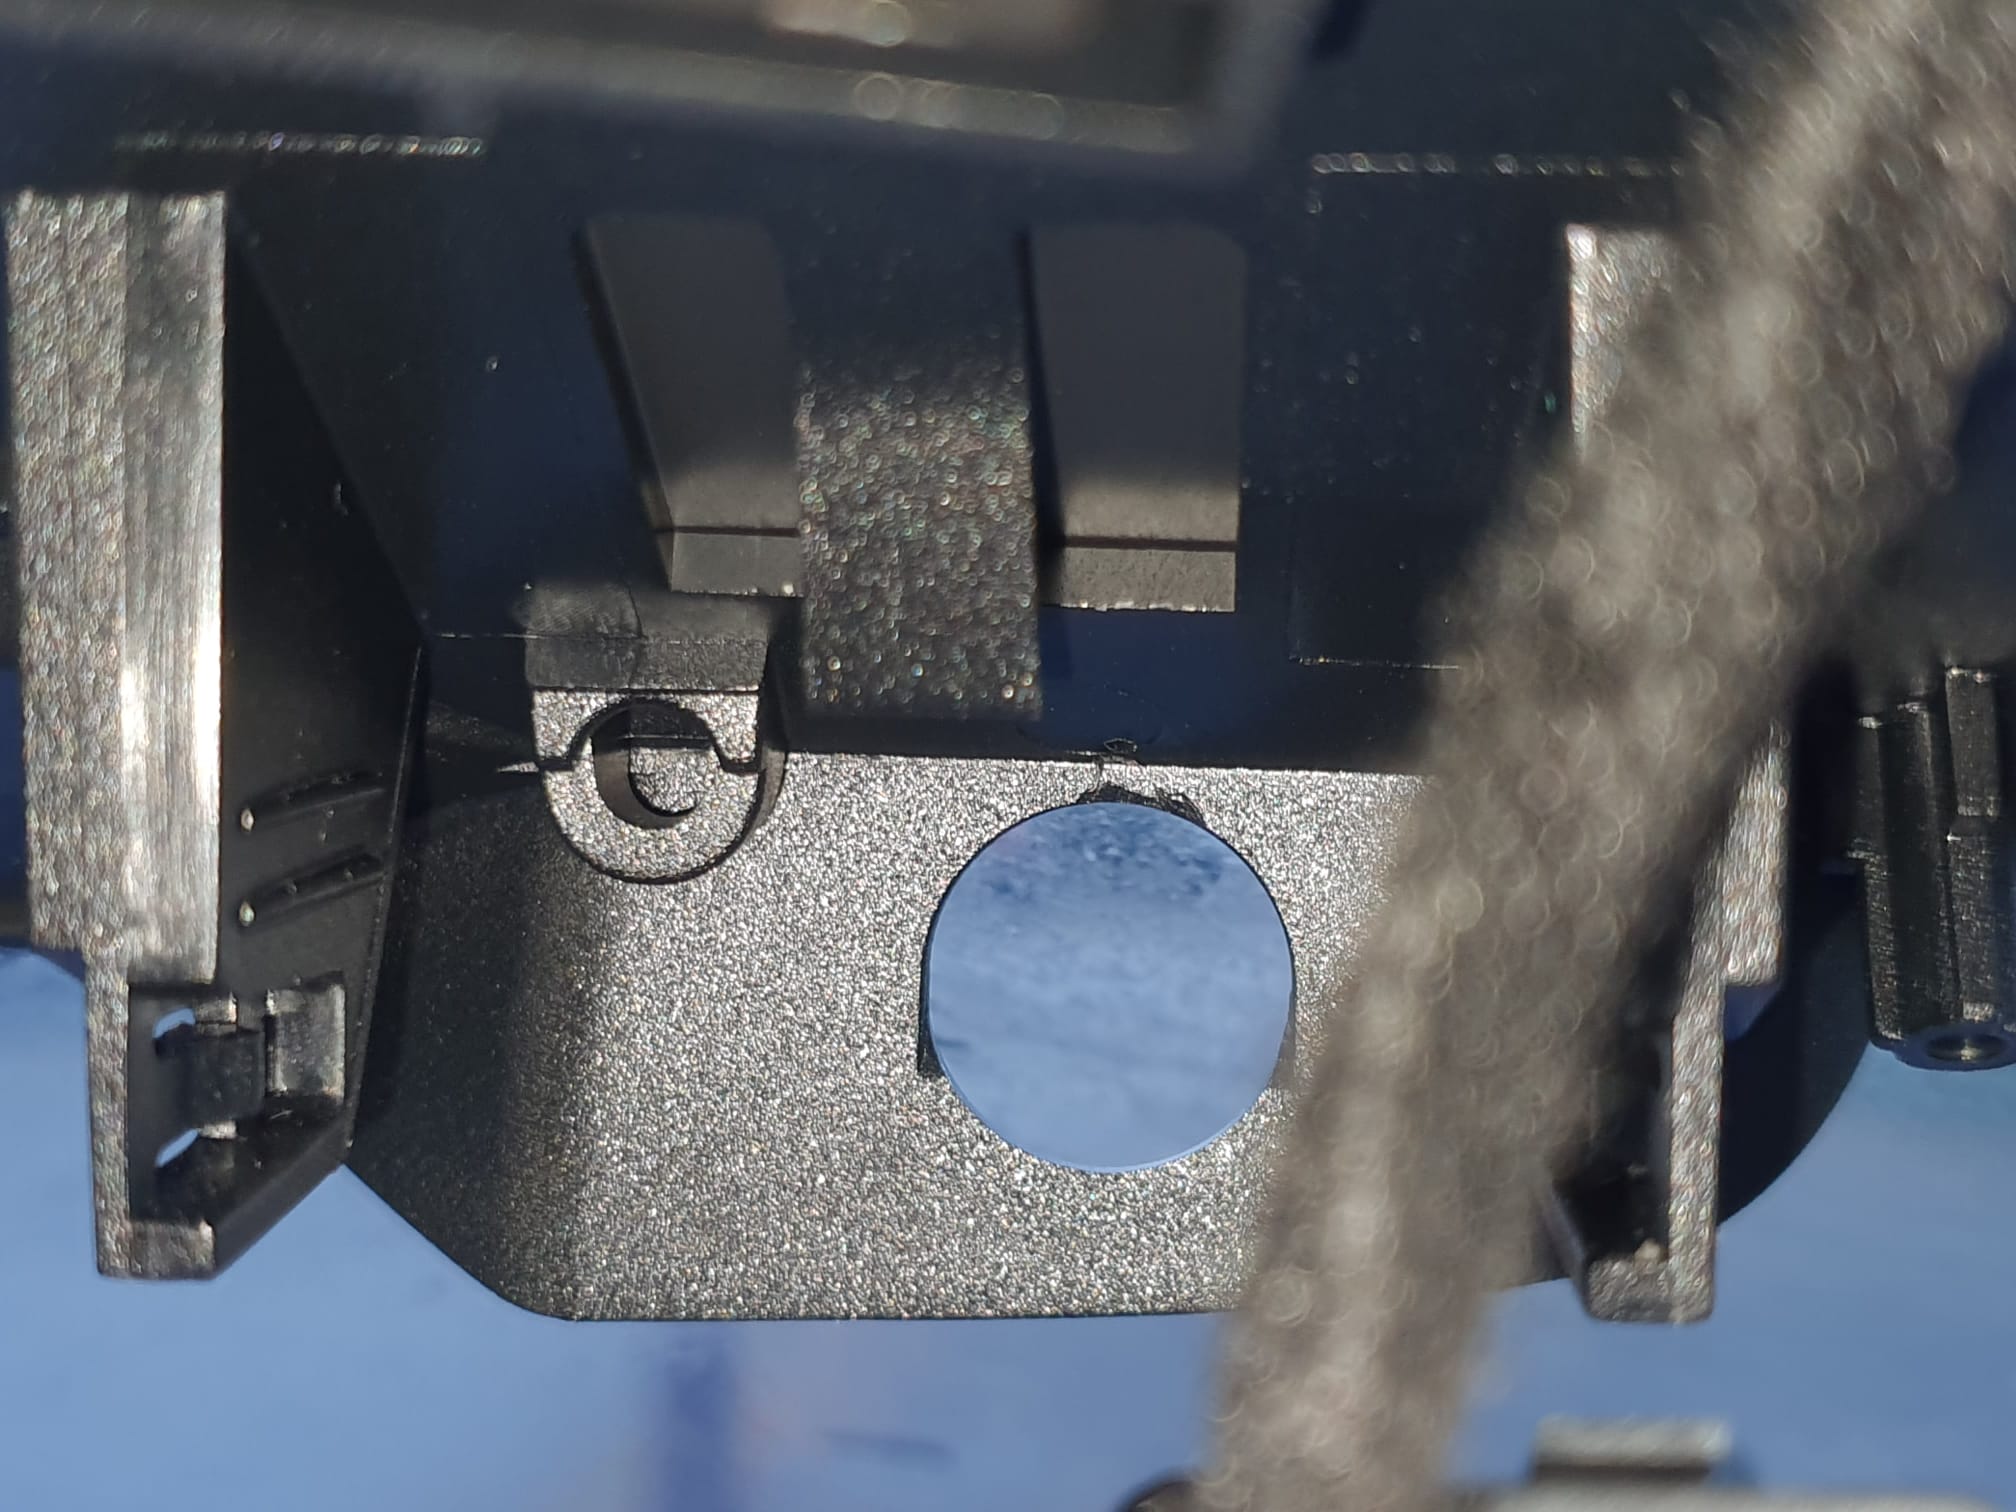
Mounting is very simple: First remove the rubber where the lens of the dashcam should come through .
Then click the cable into the camera, it is automatically secured. Look very carefully how to insert this plug! It is a combined plug with 2 contacts for the power supply and a coax video connector attached to each other so it only fits one way!
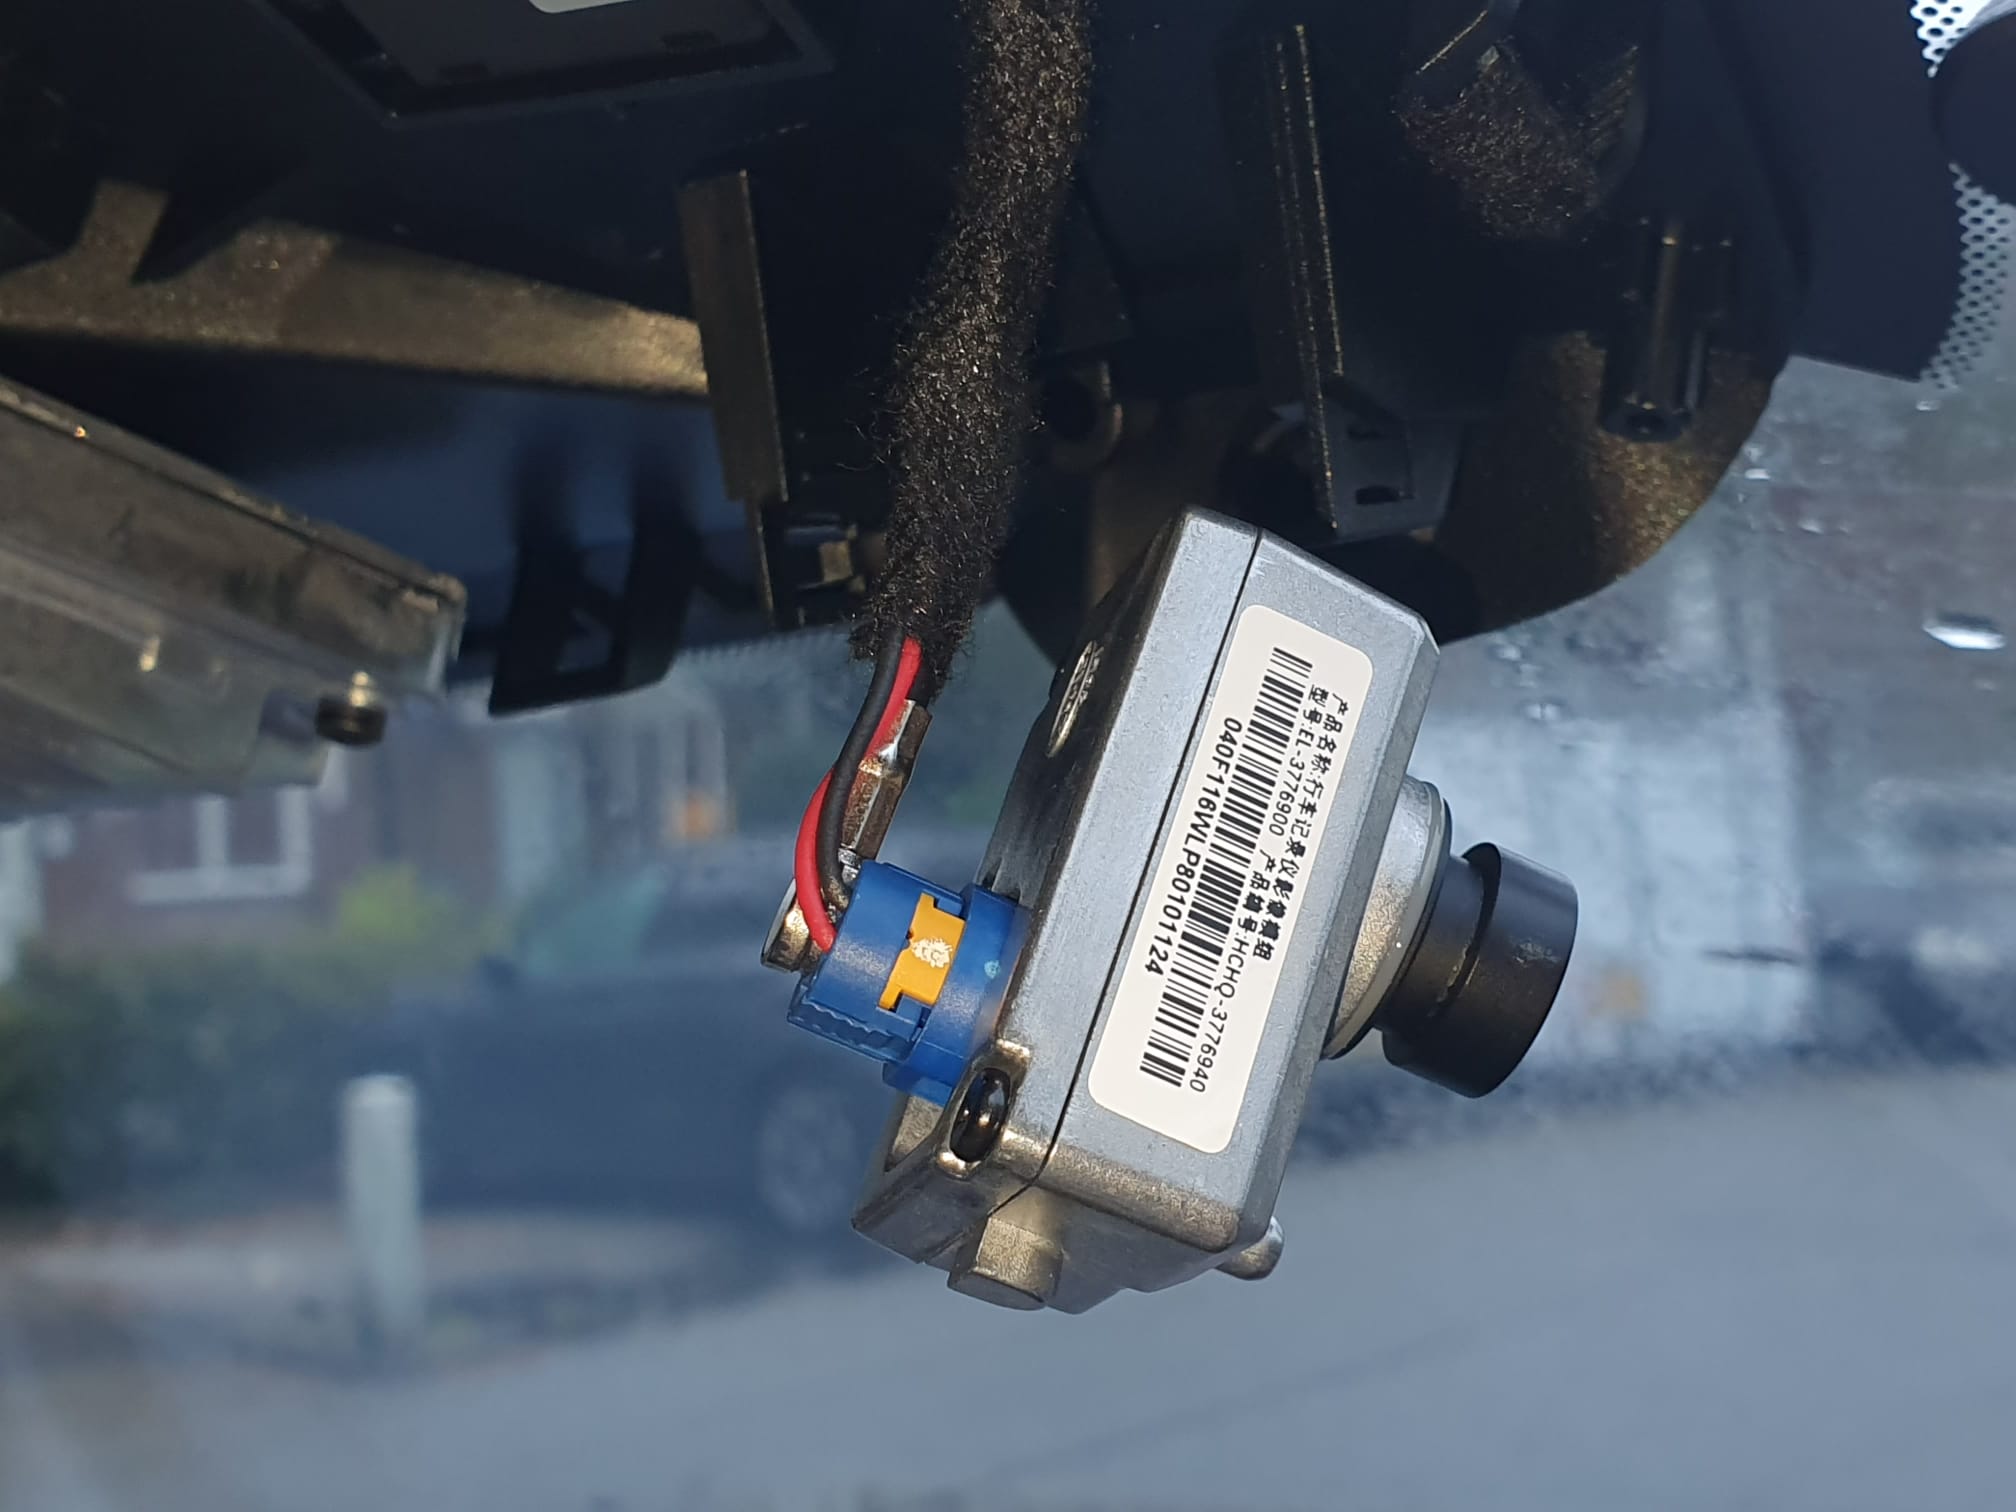
And click the camera in the right place in the holder.
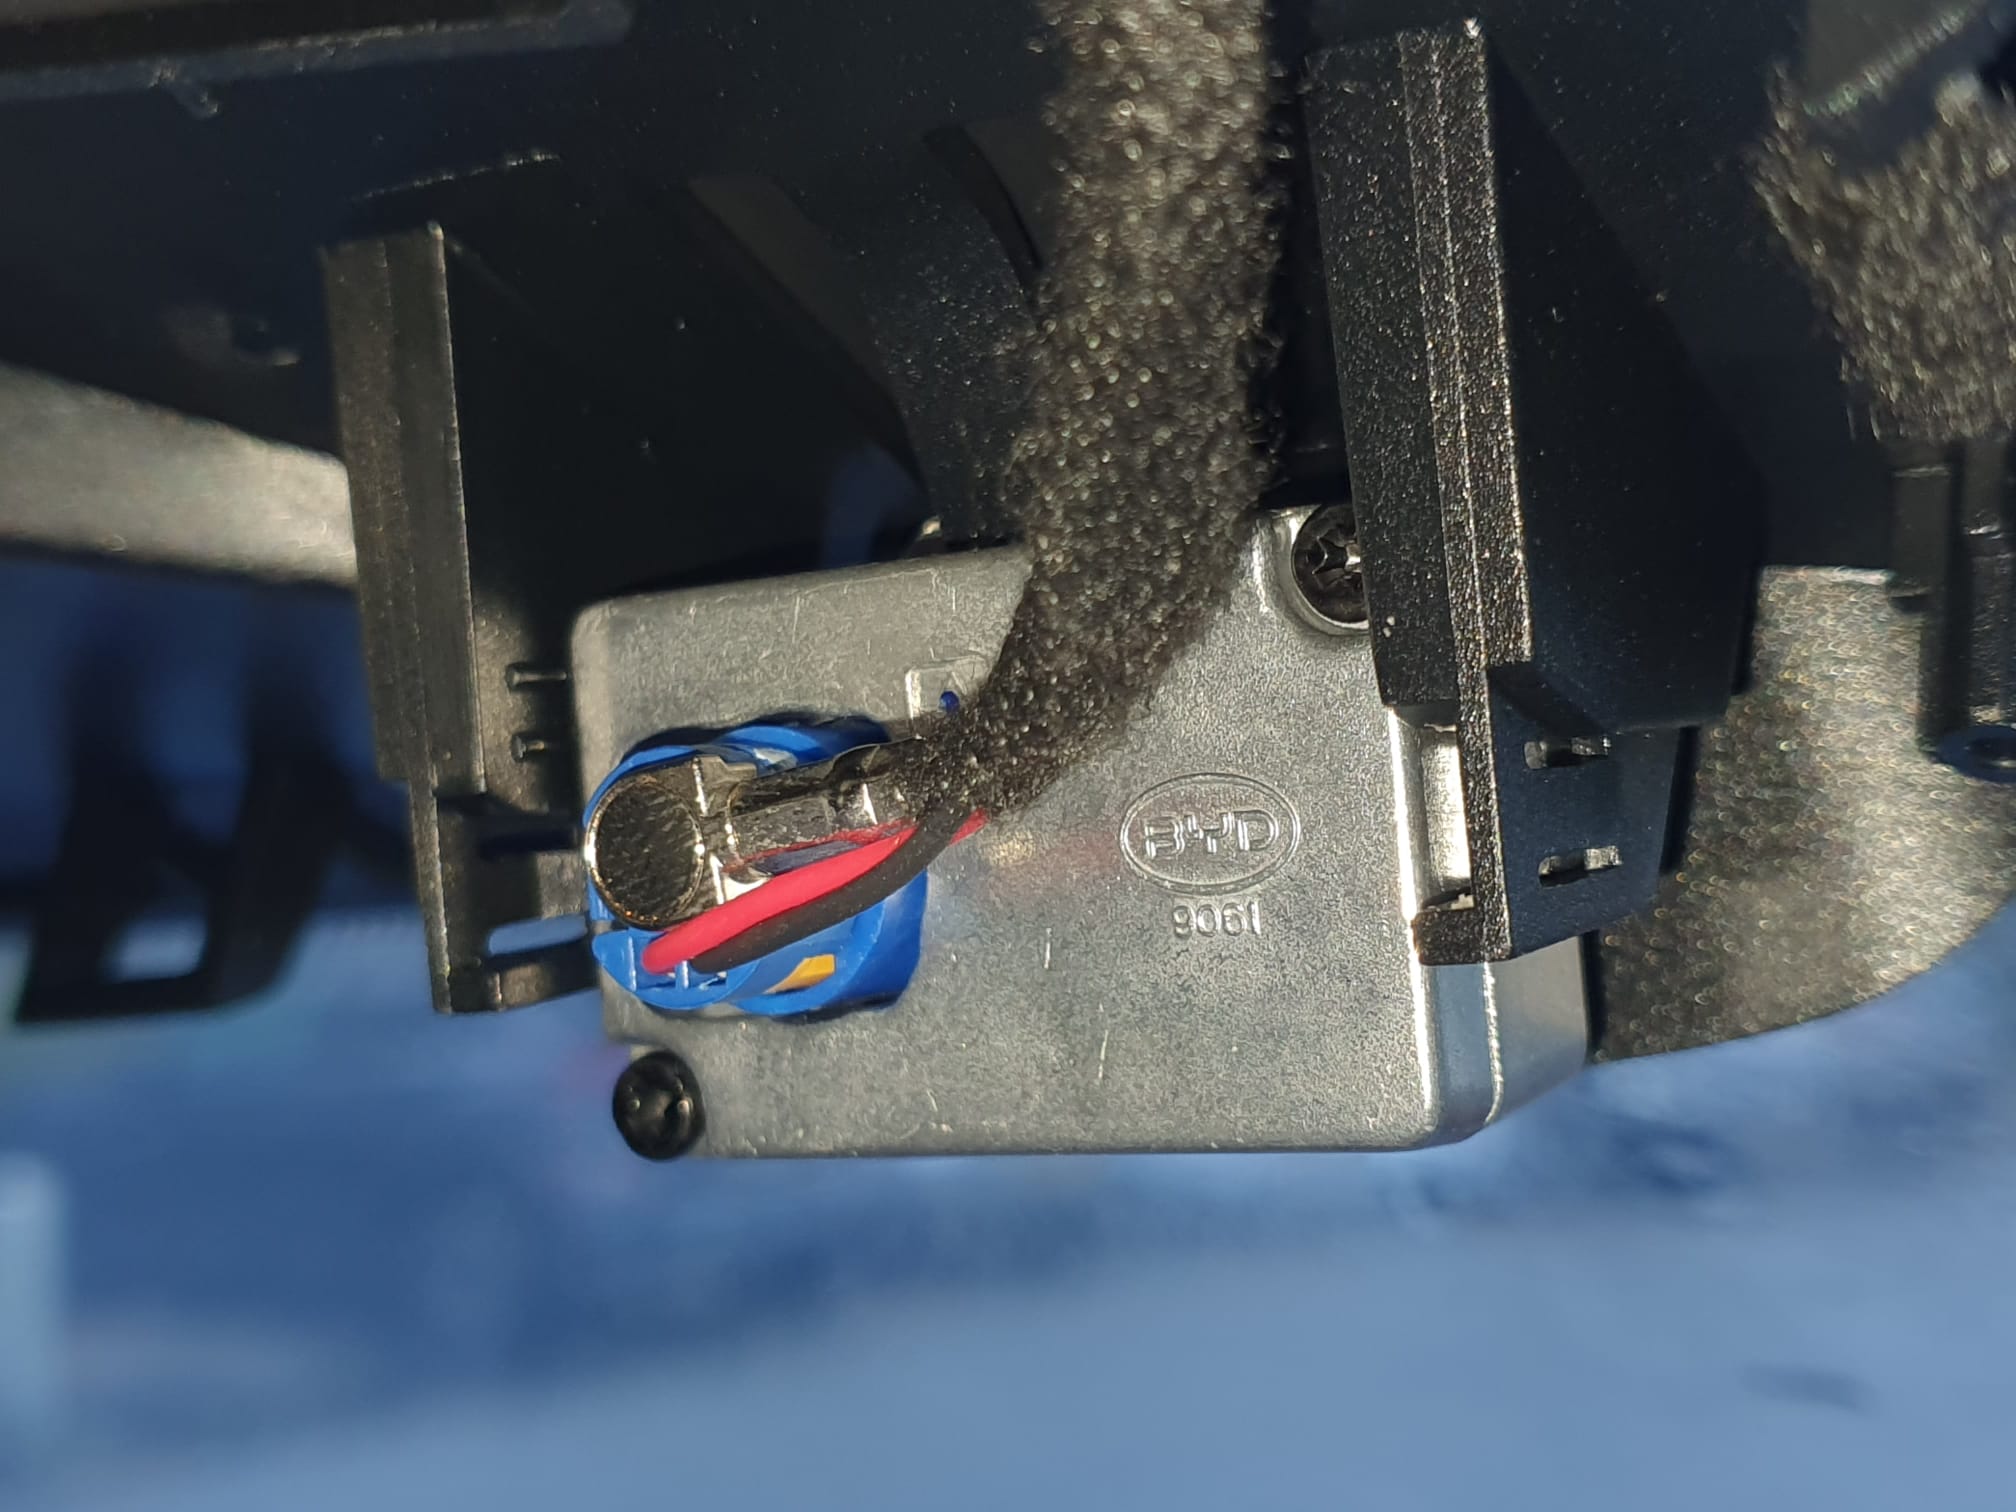
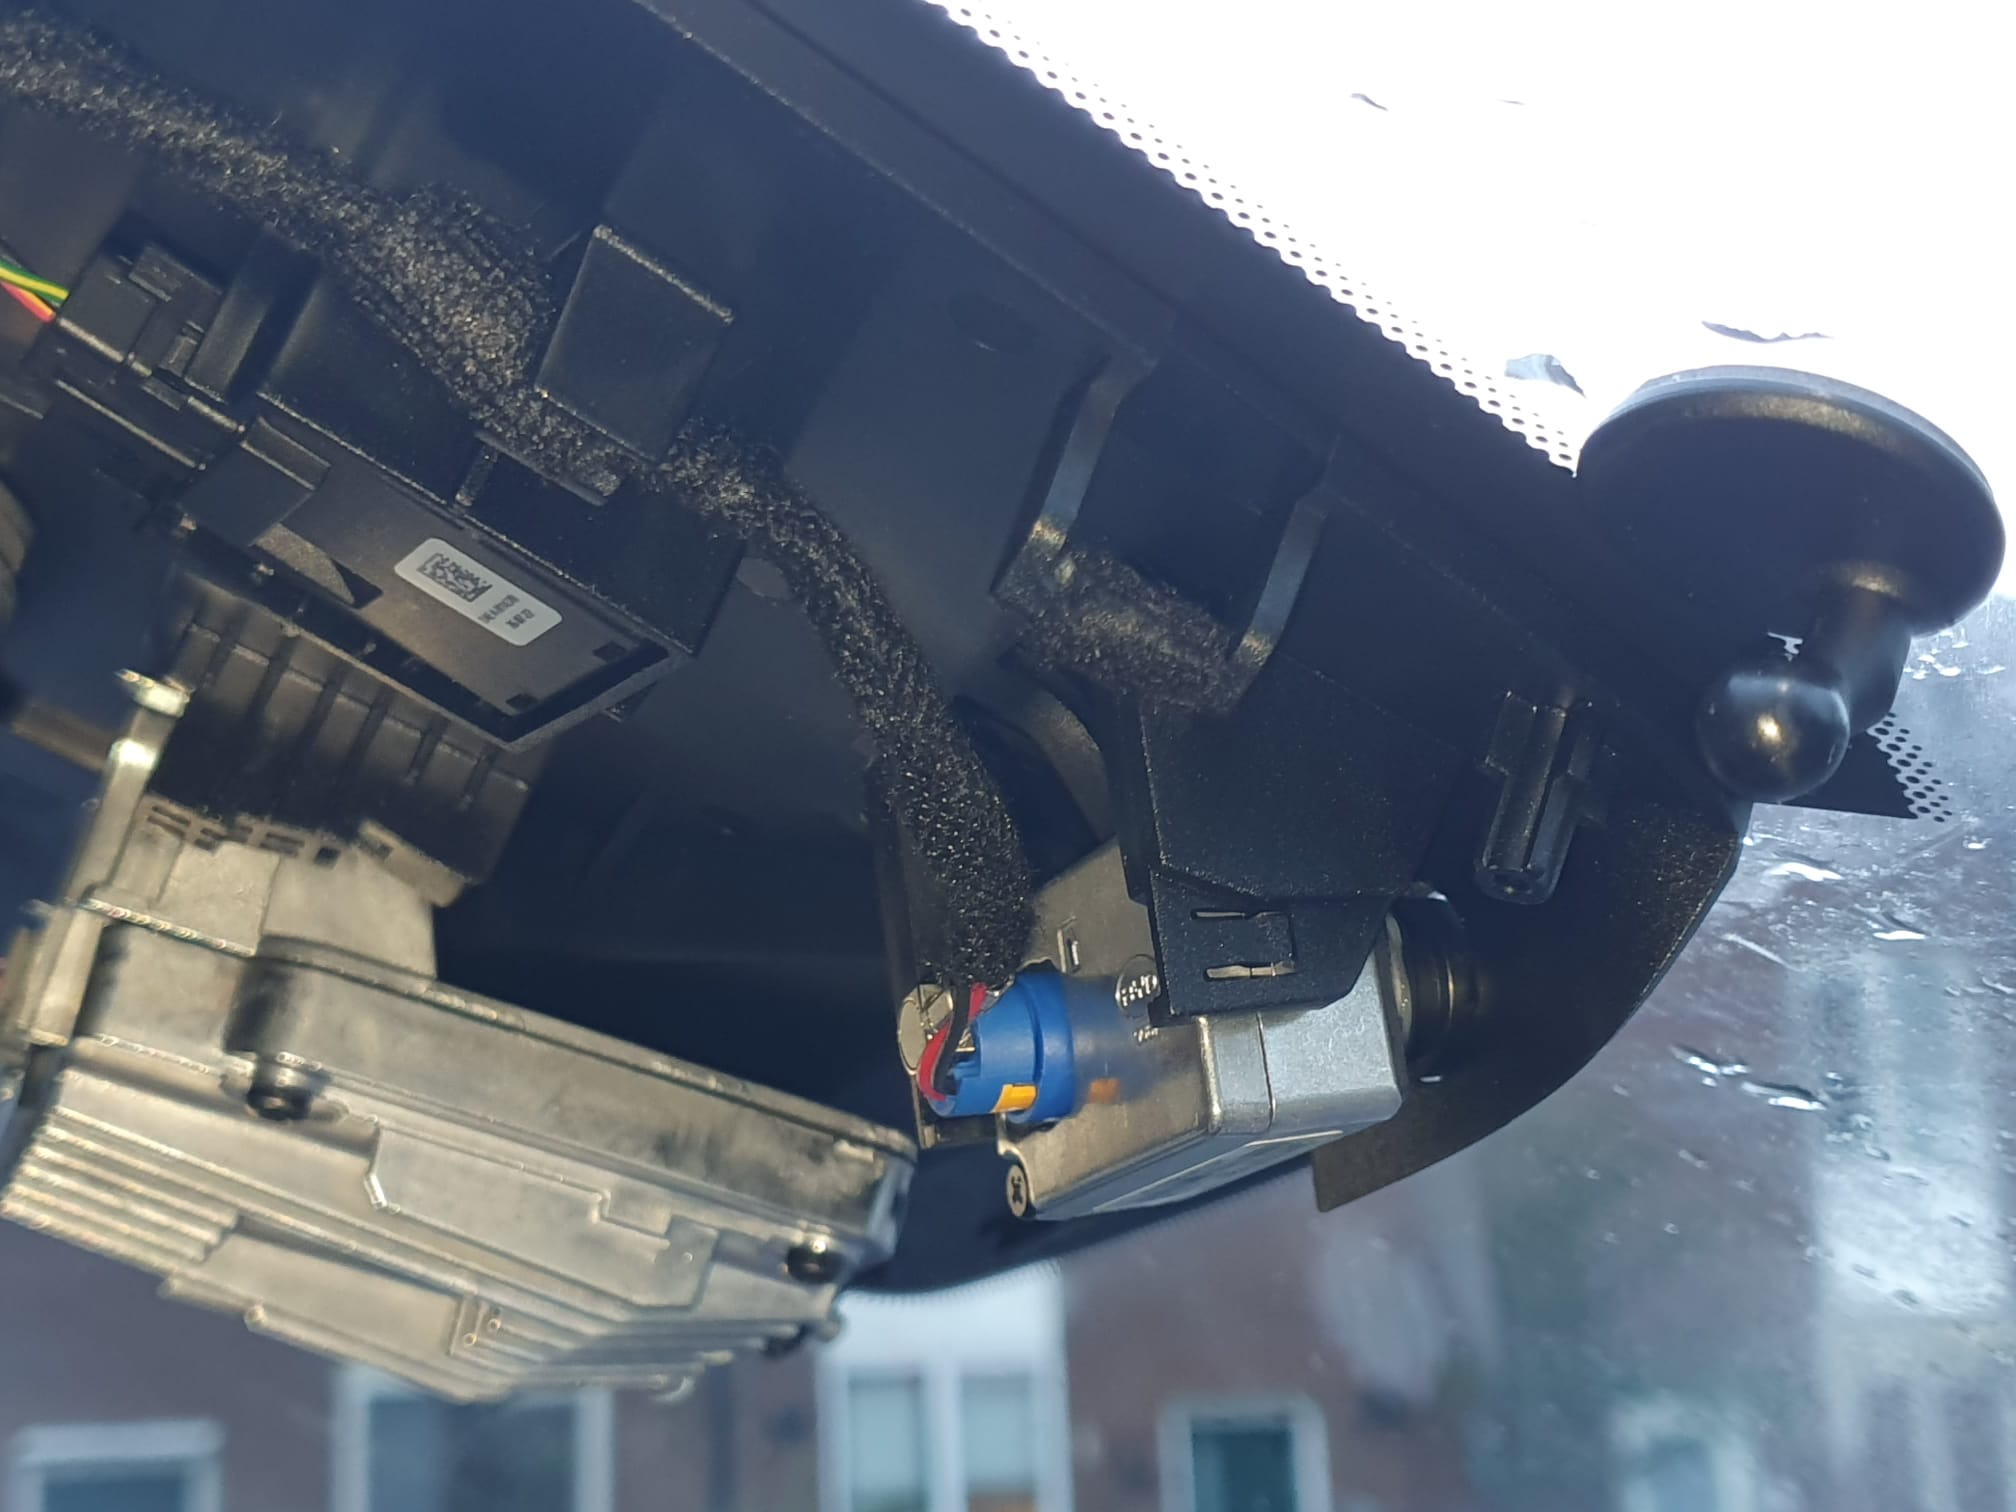
And…guess what? It just works. I also simultaneously had the update of the car to V 1.4 underway, and after booting up, the car detected that a dashcam was present. And the app was activated right away, so the camera now functions integrated into the car!
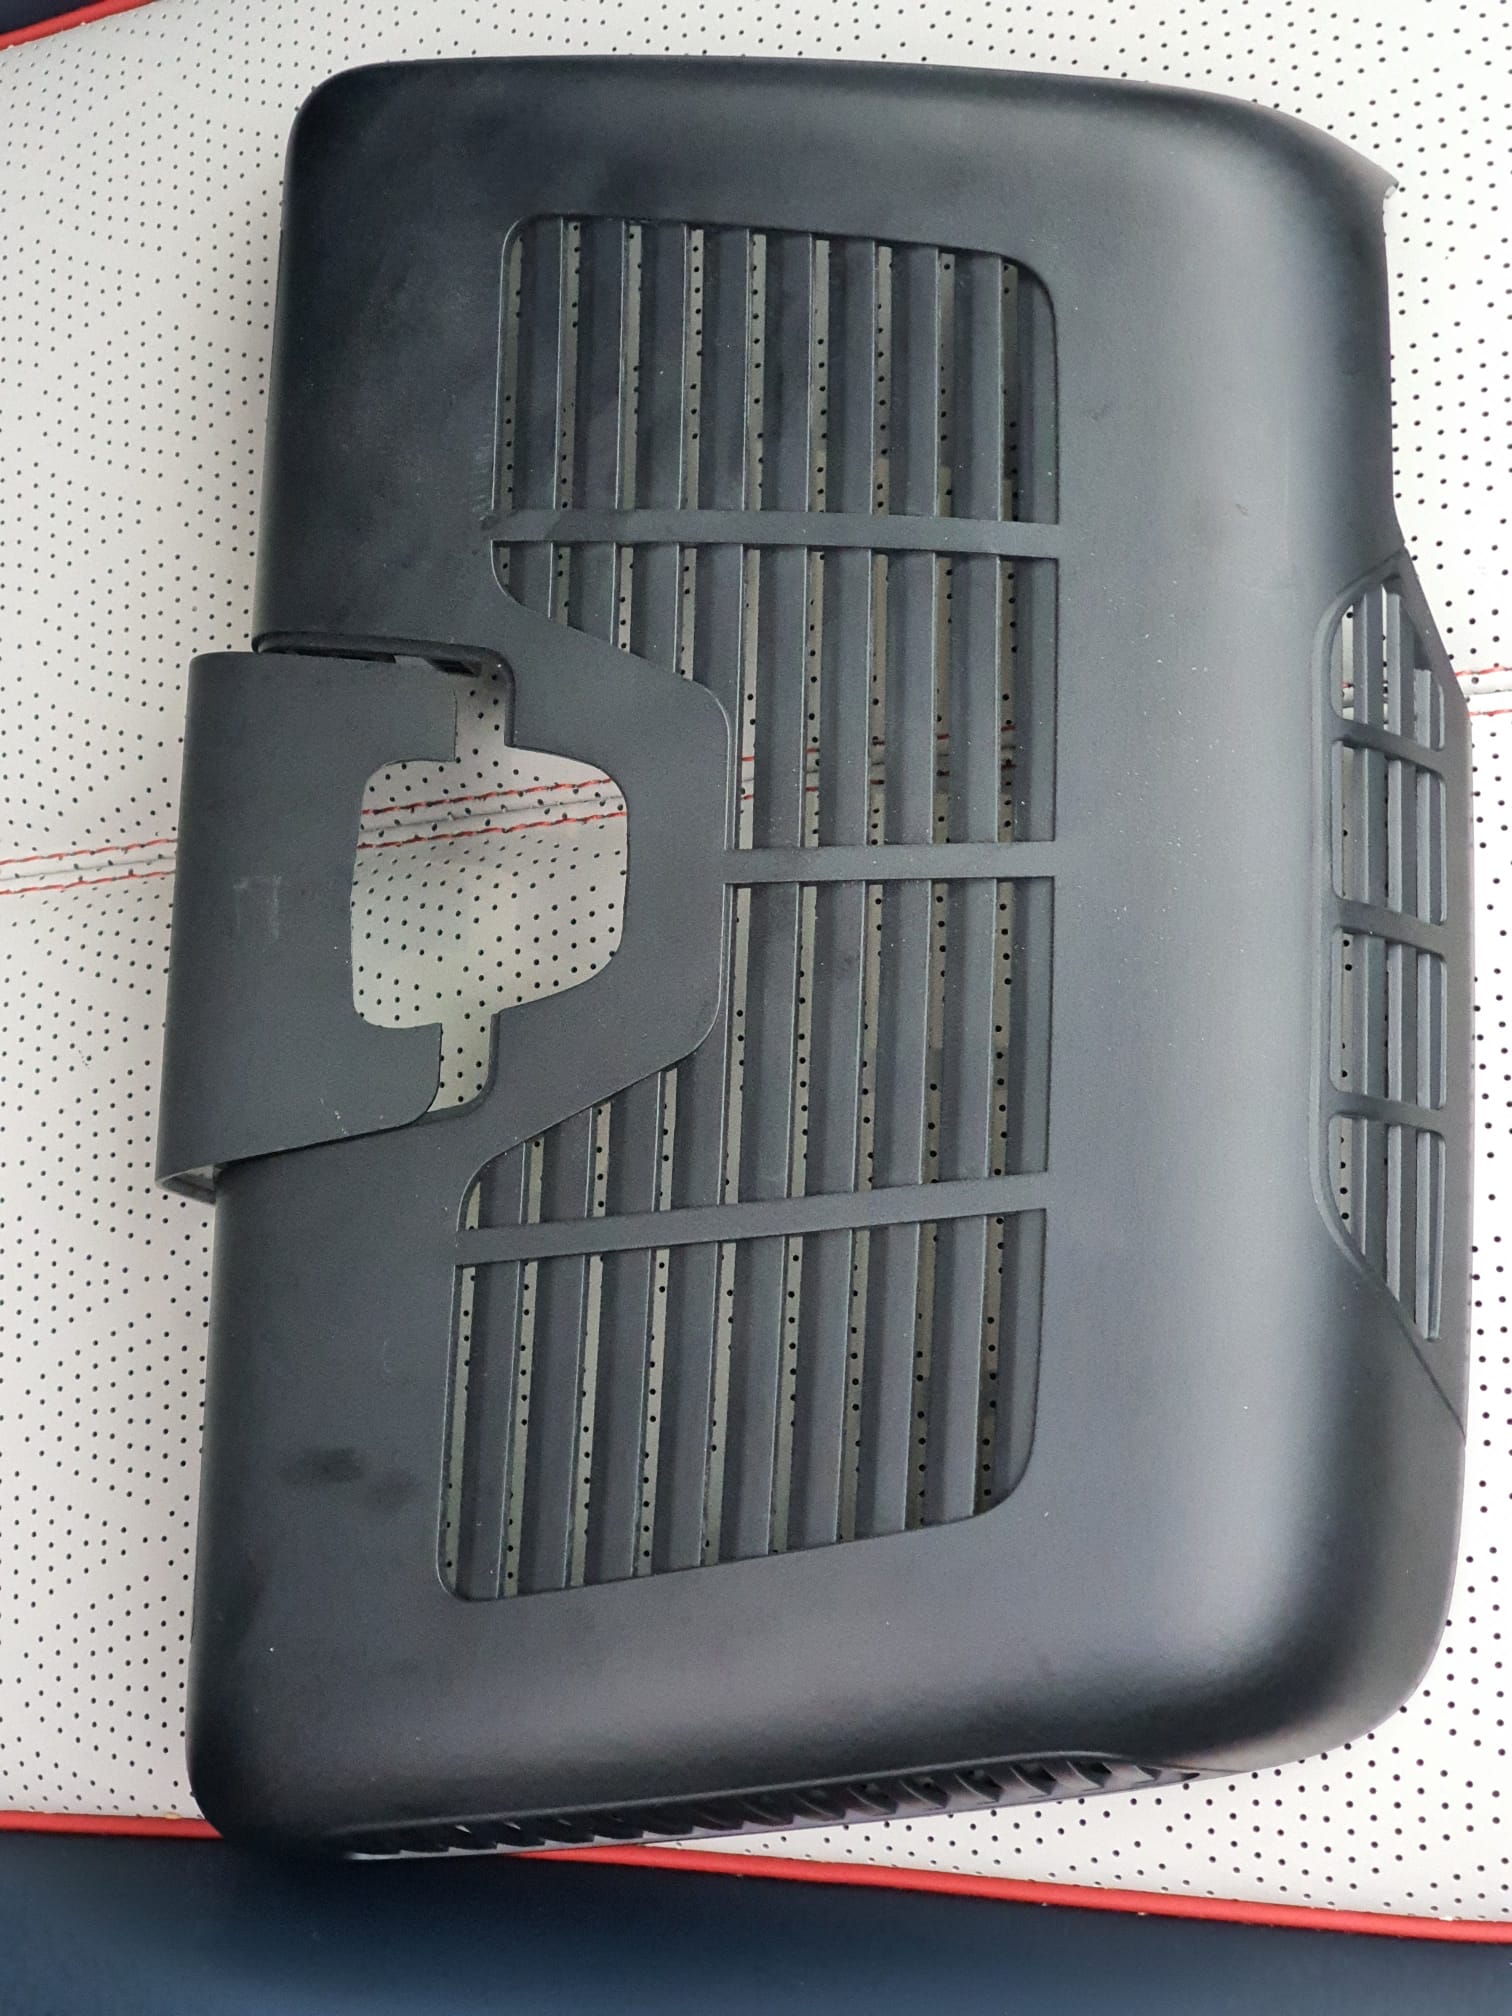
I then mounted the protective cover and neatly removed the Garmin dashcam mounting sticker and cleaned the windshield. When reinstalling the protective cover, I placed the large part first. Then turned the mirror down under and inserted the small part into the large part. That took some very careful work…
.
The software is self-explanatory: you do need to insert a MicroSD card under the dash. I have a 128Gb MicroSD card in there and I formatted it to FAT32 via the car software’s camera app.
What you find after using the camera is a number of directories on the microSDcard. your files are in the DCIM folder, arranged by video and photo.
The app allows you to change a number of settings including the recording time per recorded clip. I always set that to the longest possible time, here it is 5 minutes. just like the Garmin.
You can watch live and then also take pictures. I have programmed a quick button on the steering wheel to allow the dashcam to take recordings when I feel it is important. Of course, the app always makes recordings anyway, which are kept for a short time because of the size of the storage on the MicroSDCard. when the card is full, the oldest recordings go off. But when you initiate a recording yourself then this recording is always saved on the MicroSDCard.
Programming the camera power button for protected (non-erasable) recordings) goes like this: You use the screen rotation button on the steering wheel for this purpose. Press this button for 5 seconds until the large LCD screen gives you the choice of what you want to connect to this button. So I chose video recording for this.
If you want to copy recordings, the easiest way is to copy them to a USB drive via the file manager app of the BYD software. just copy from MicroSDCard/DCIM/…. to USB/… paste like on your phone.
That’s it! Have fun with your dashcam in the BYD Atto 3.
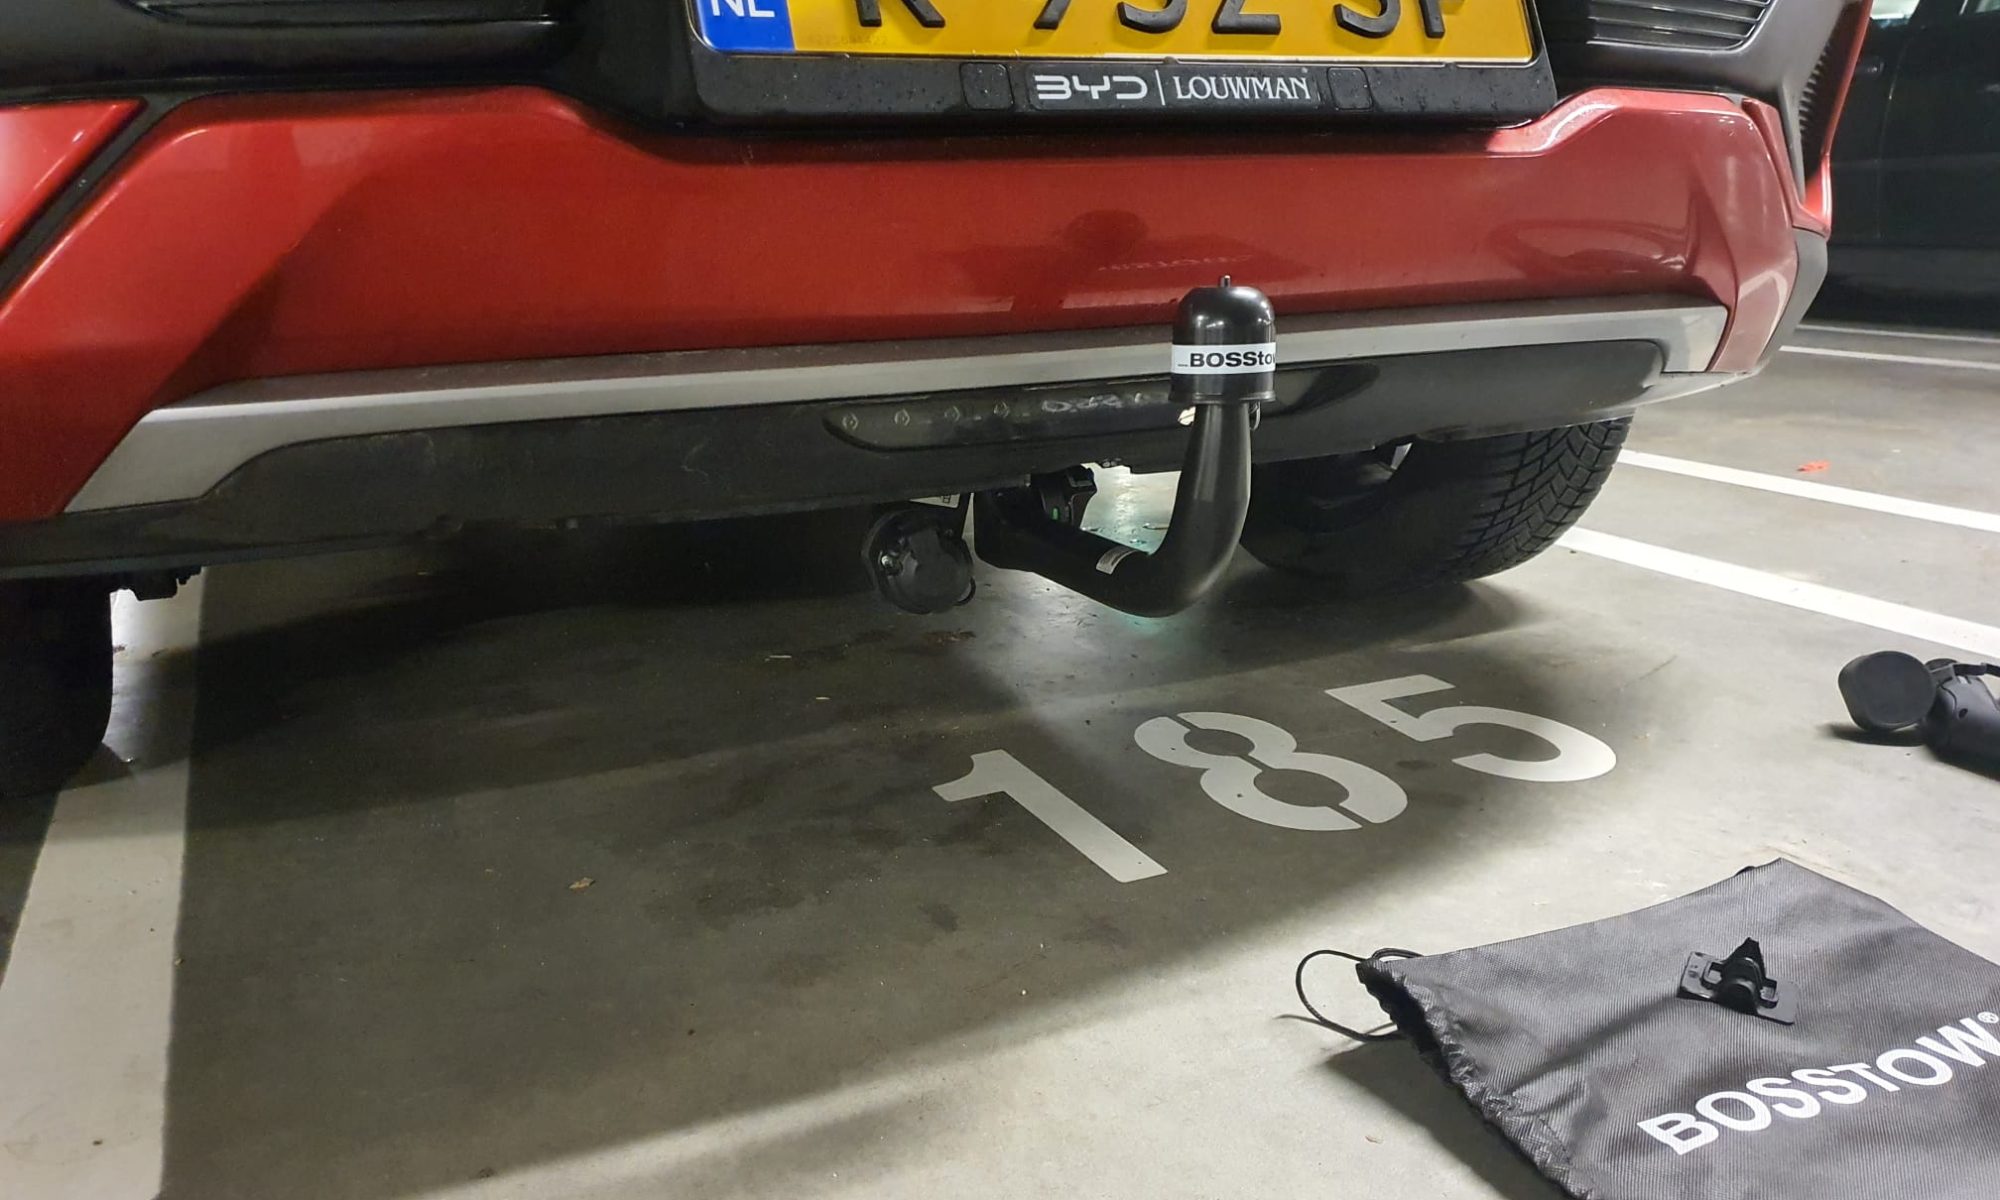
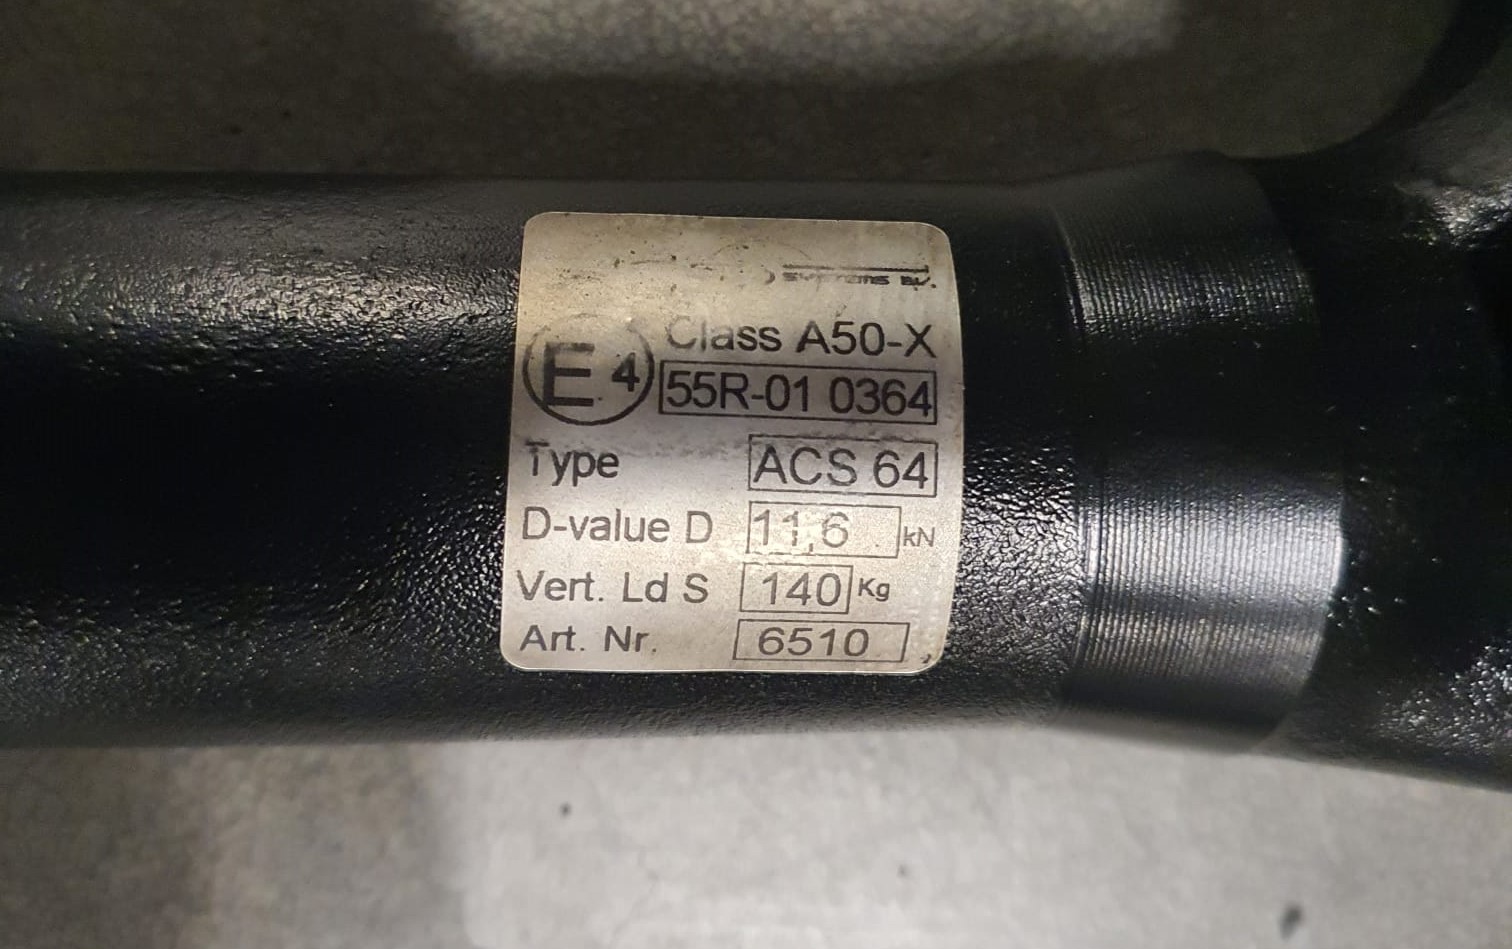
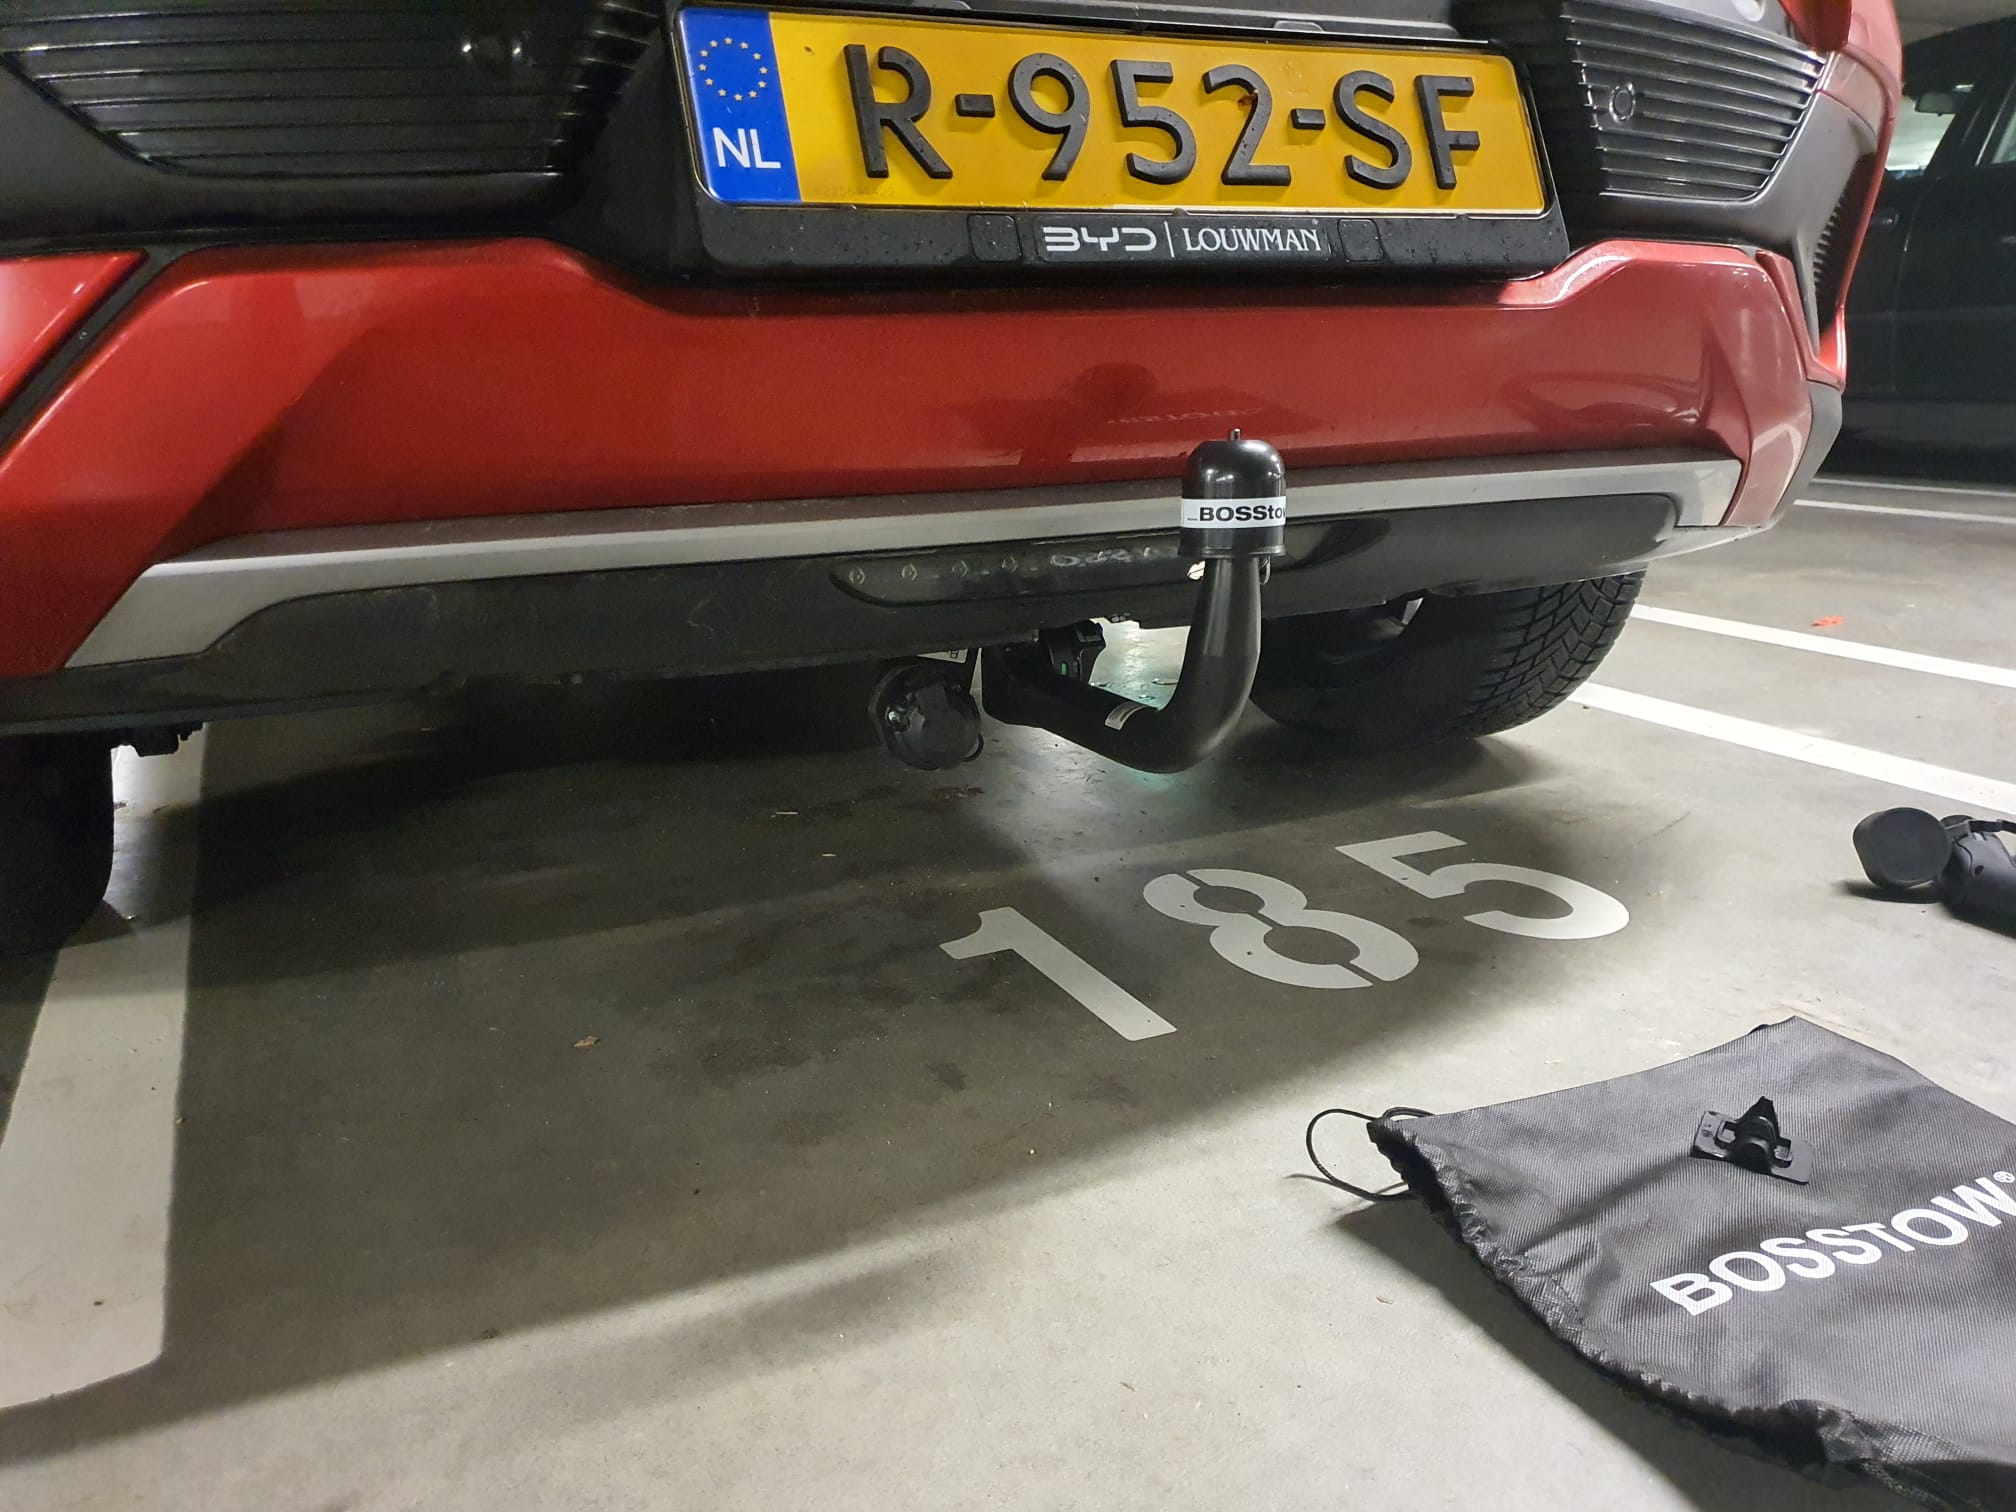
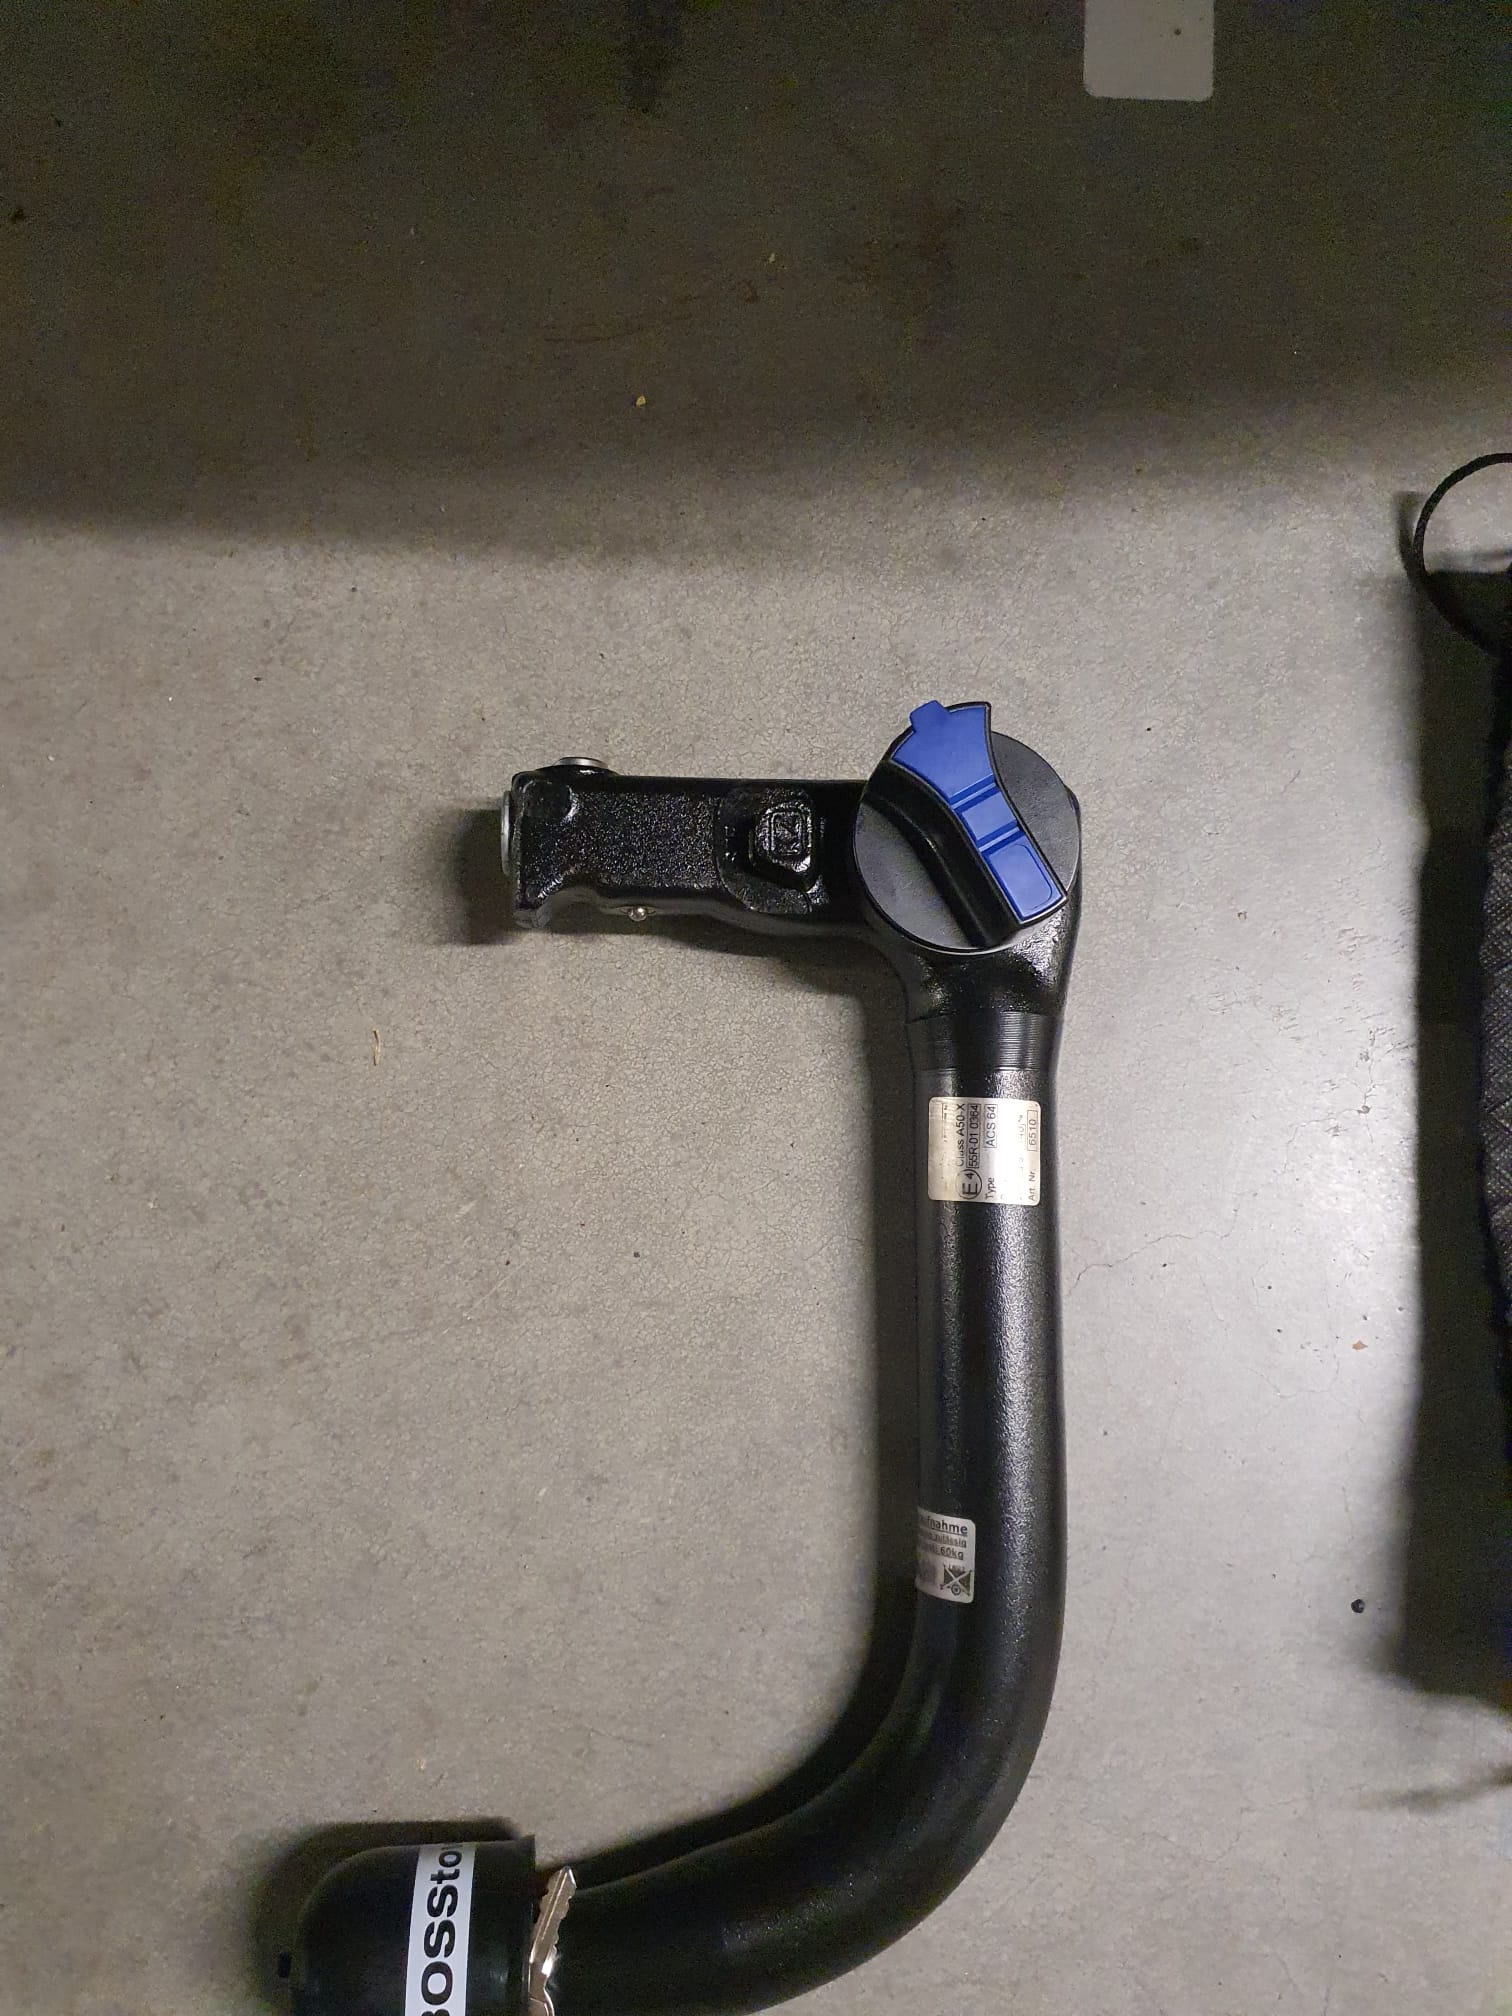
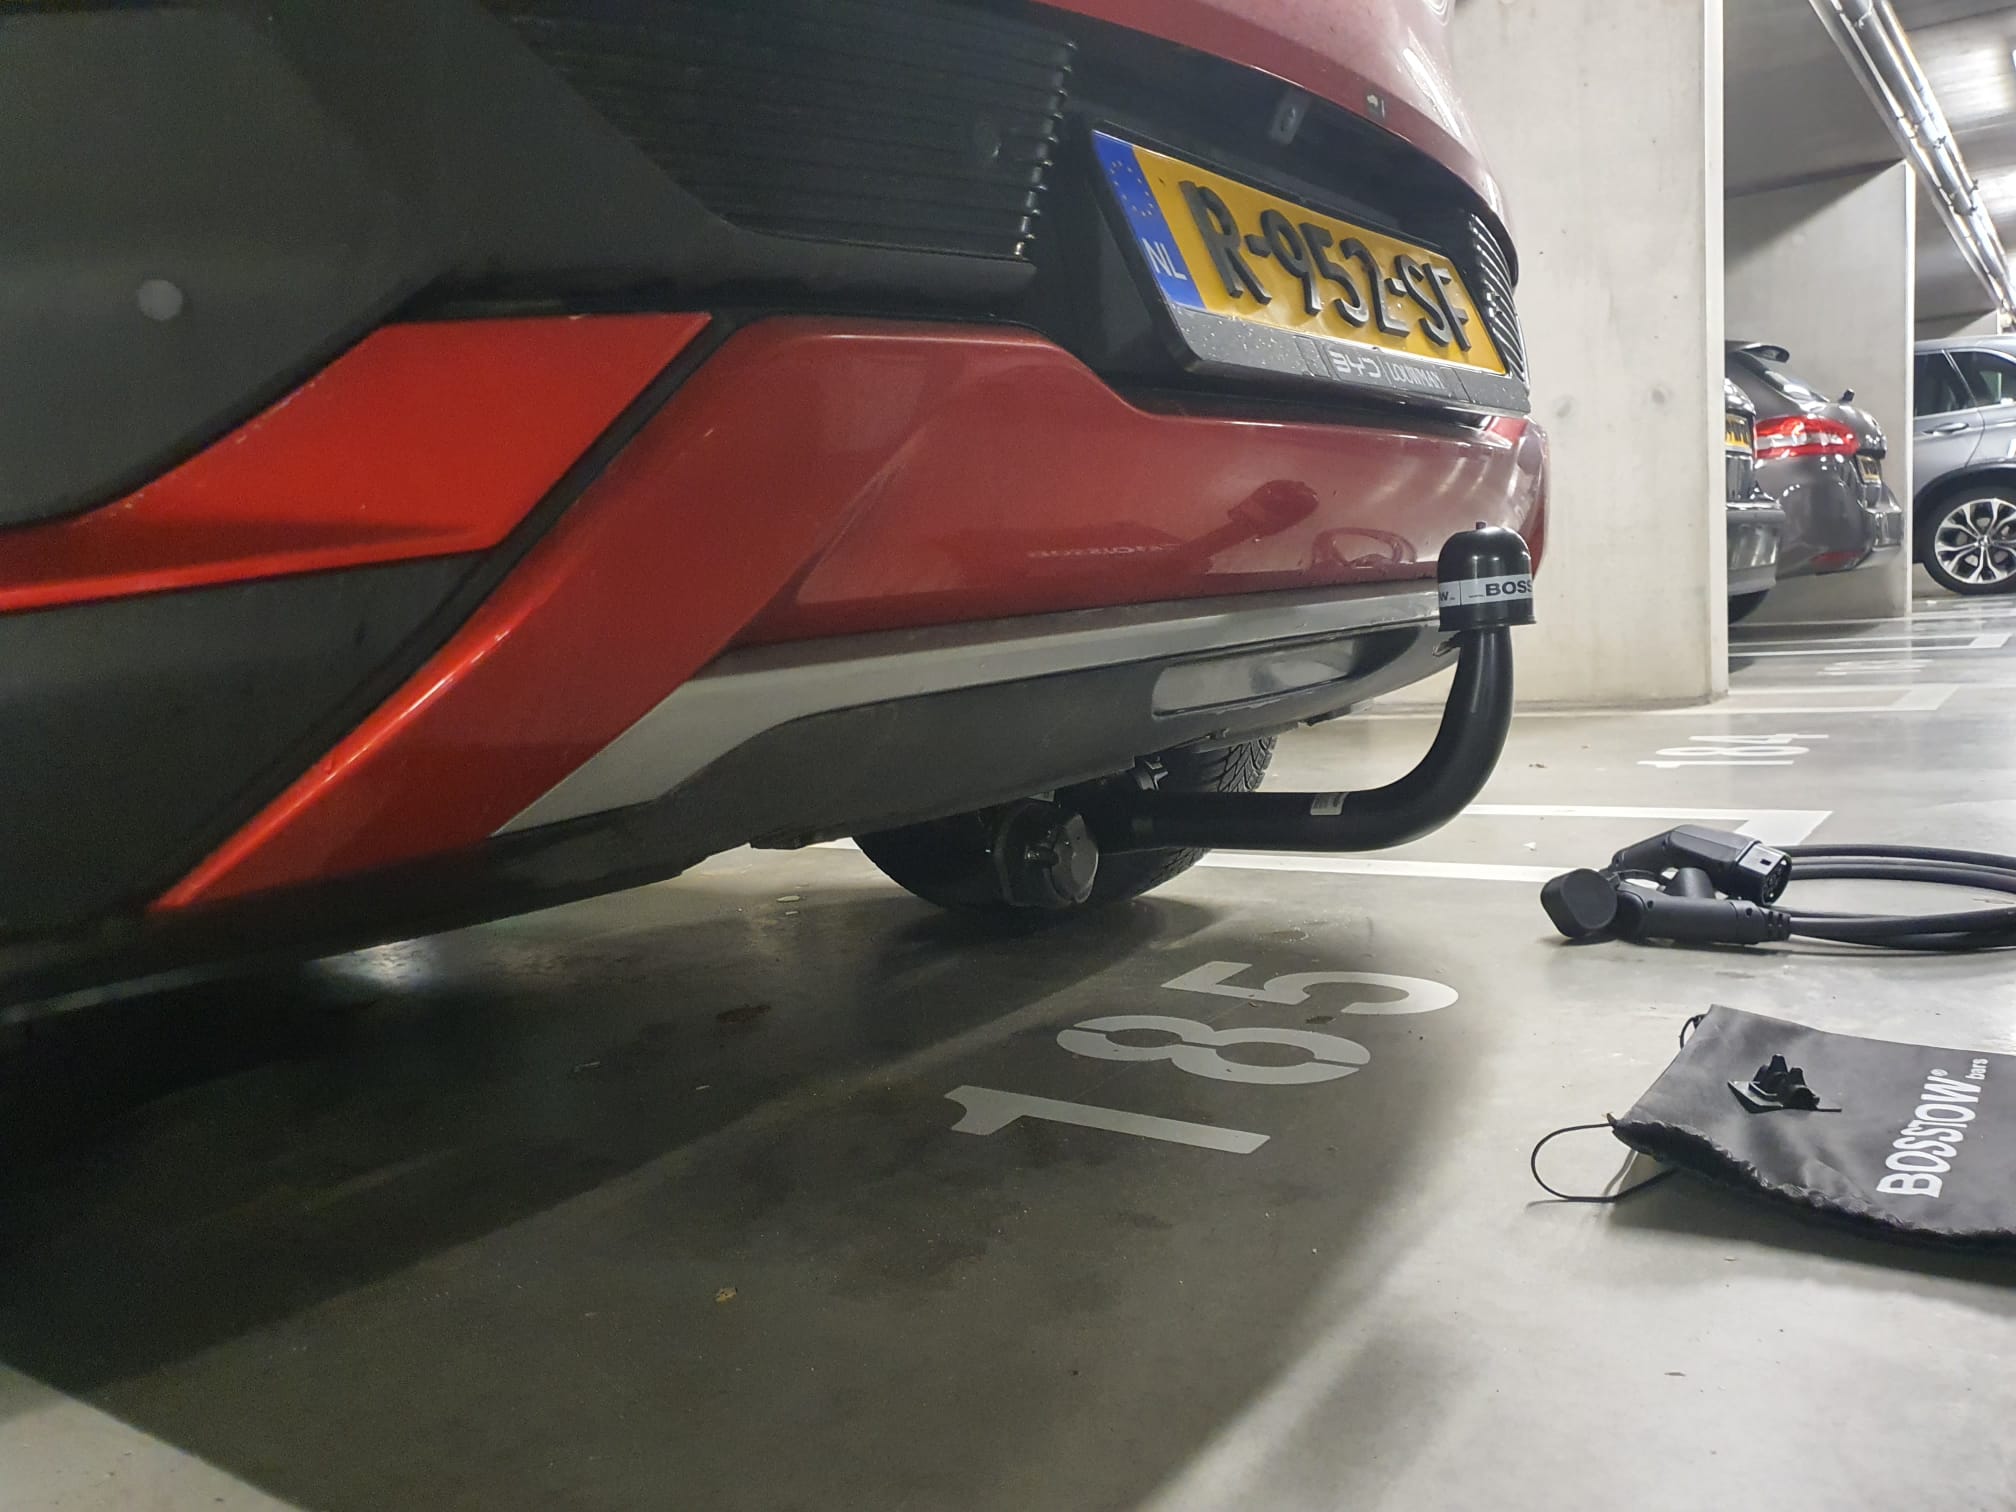
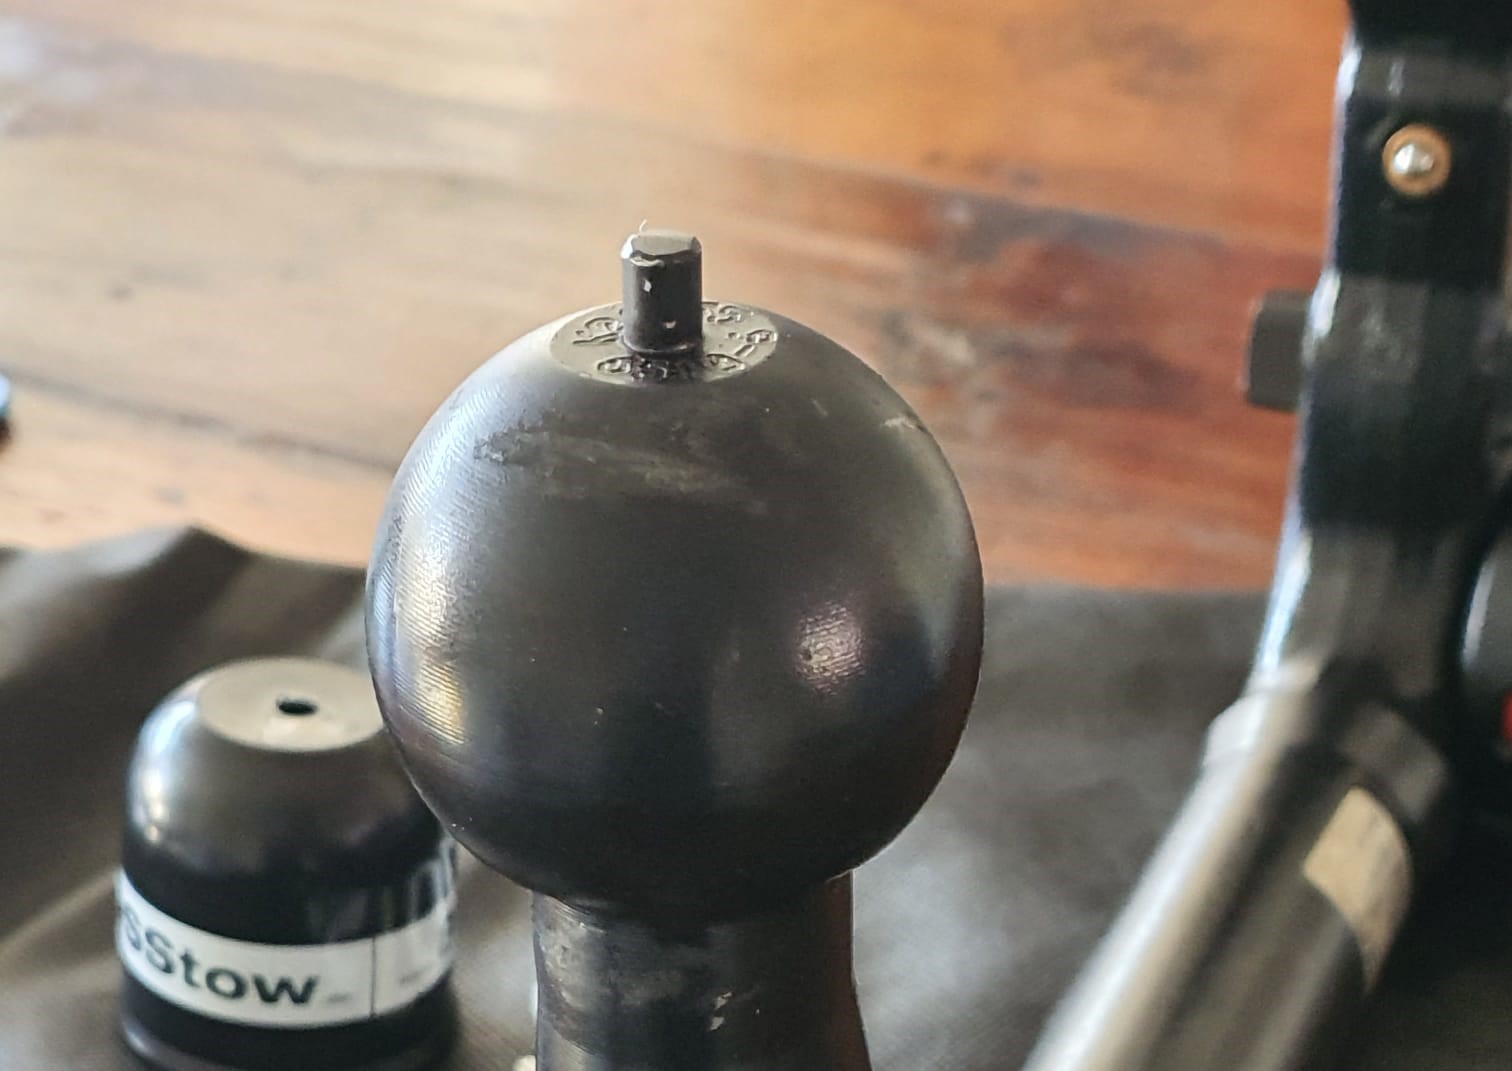
BYD Atto 3 tow bar
BYD Atto3 -Spare tire in the trunk
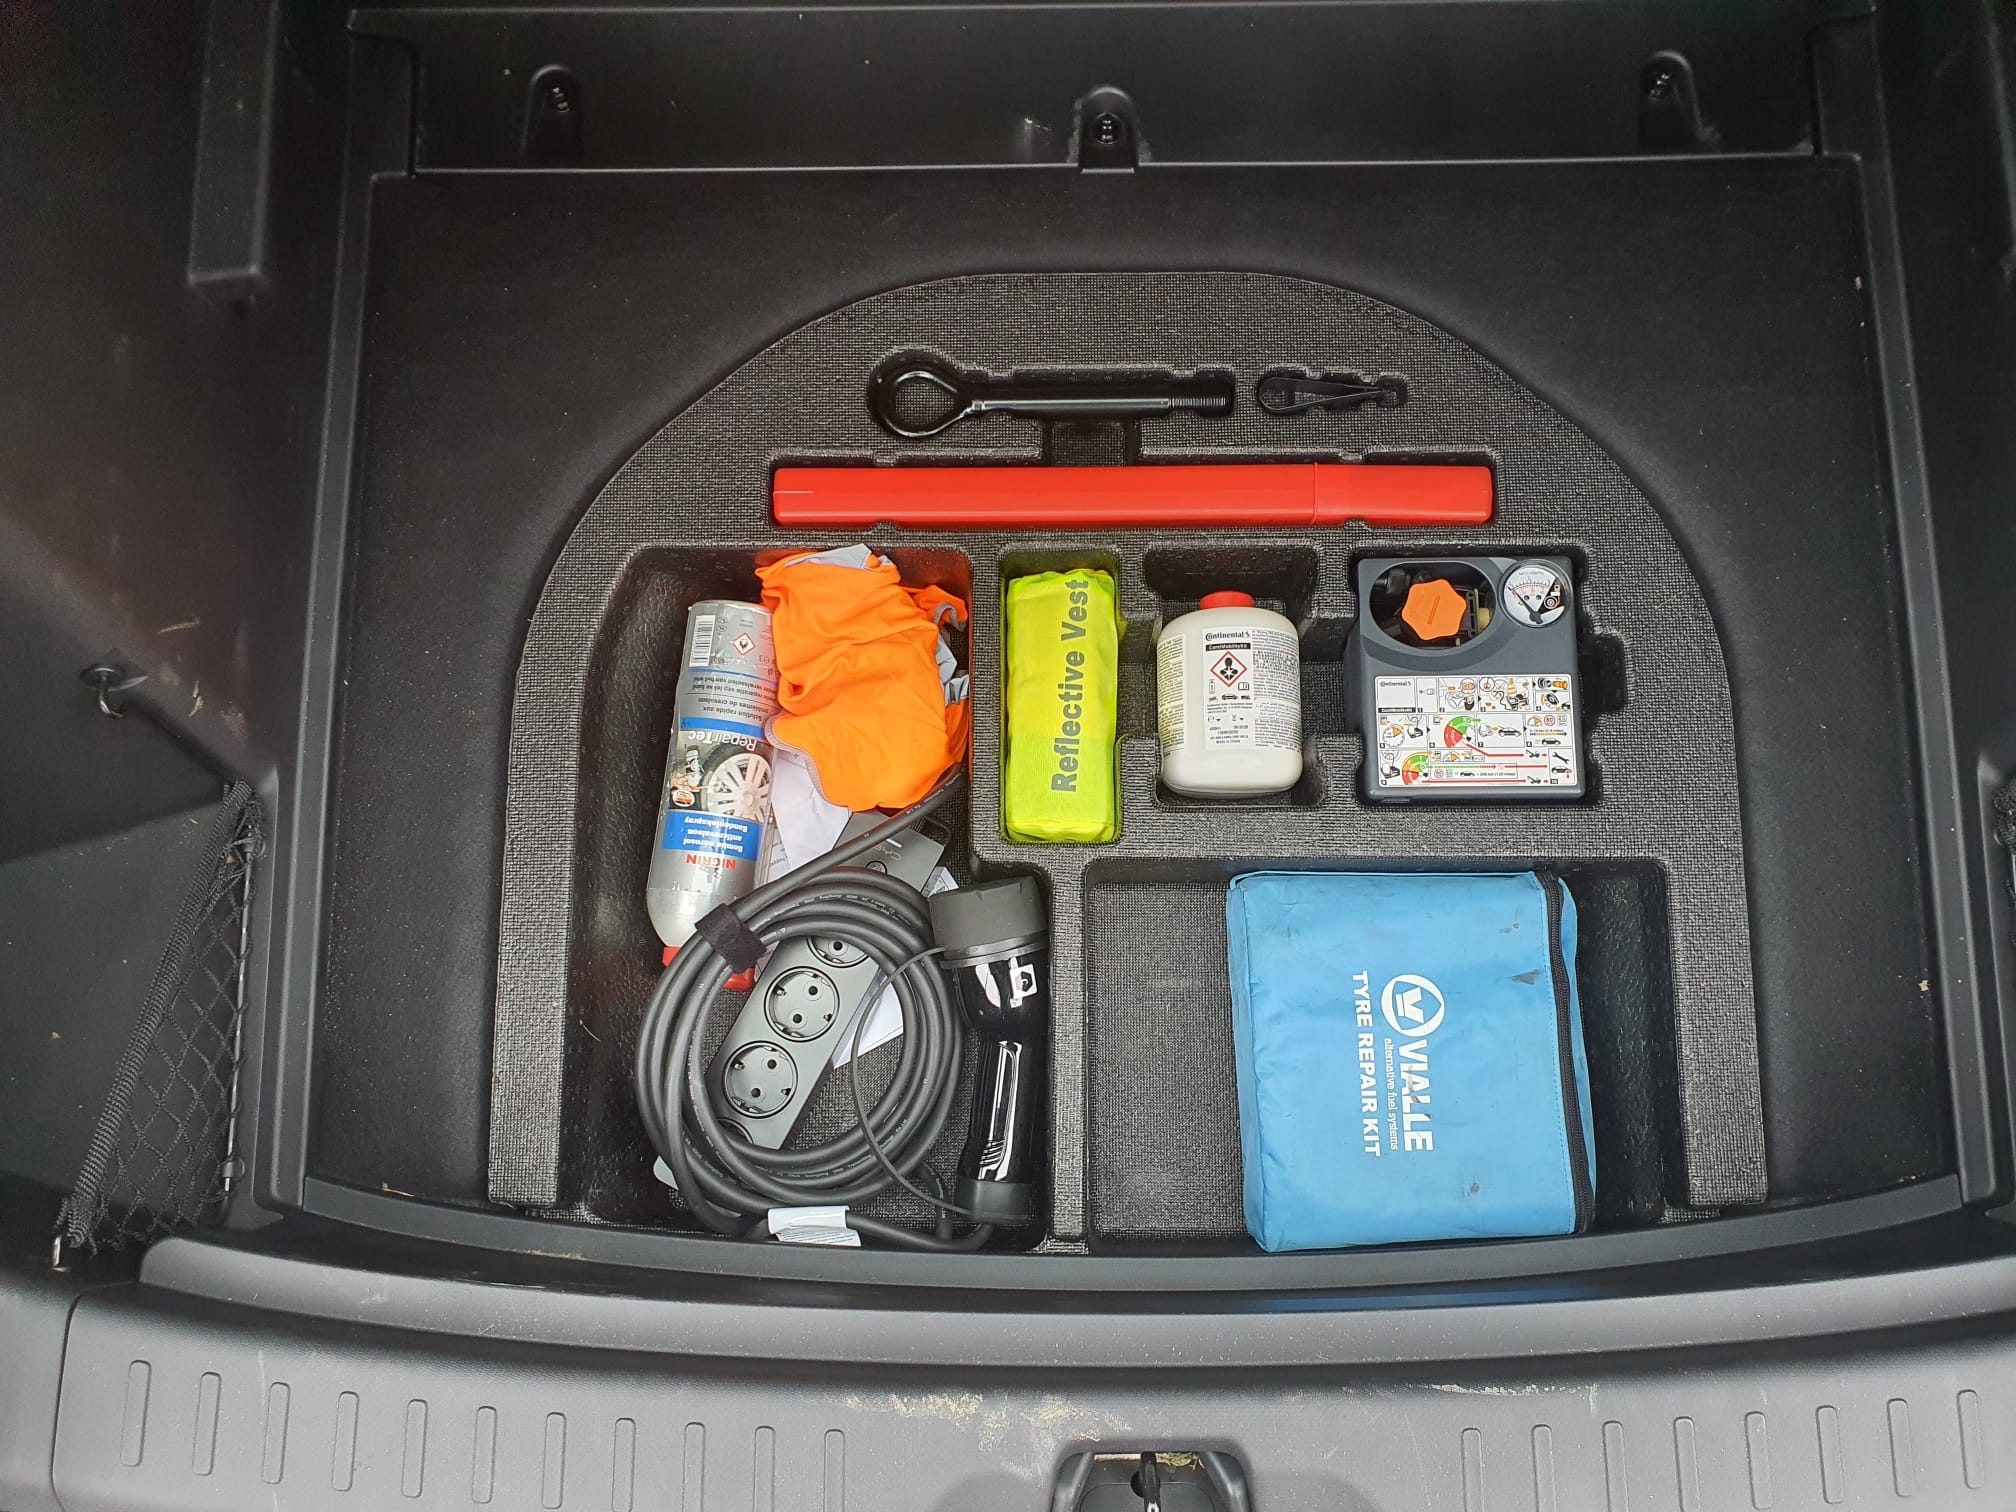
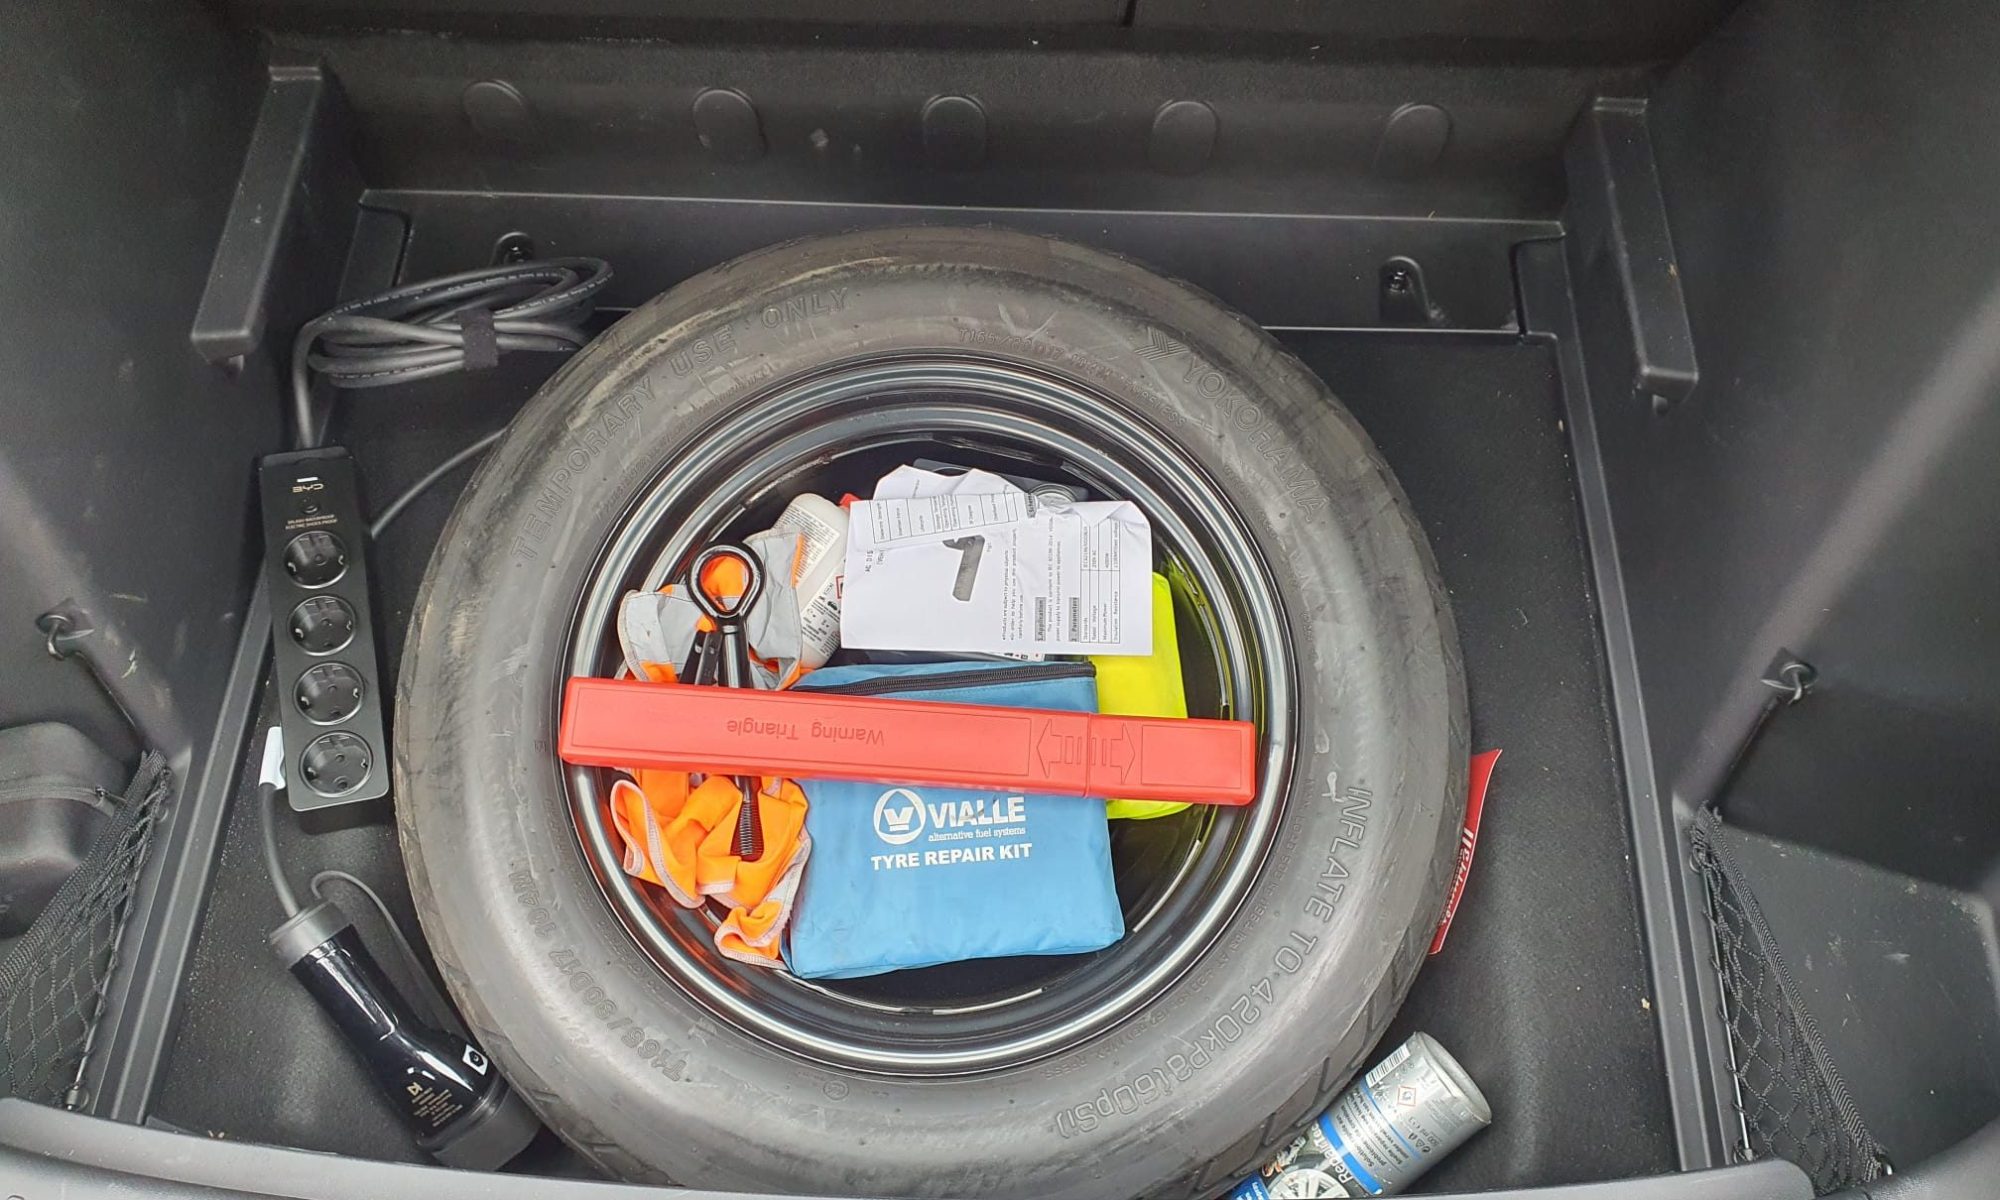
Above the original filling of the space at the bottom of the trunk of the Atto3 is shown, with a.o. the tire ‘repair kit’.
I like to drive around with a spare tire because I drive on construction sites quite often, and so far I have had 2x tire damage because of that. And such a damage is not always fixable with a fluid repair kit.
My new spare is a home-bringer also used on a Toyota RAV4 : R17 165/80/17 tire and a 5X114.3X60.1 rim with the same circumference, pitch and center hole as the BYD Atto3. The RAV4 weighs a bit more than the Atto3, so it should be fine.
At the bottom of the trunk the available space for a home-bringer is only 57 centimeters in diameter for a spare tire.
This means that the spare tire will be slightly higher mounted, on a mounting bracket. Under the spare tire there is then room for the jack and the likes.
The trunk cover had 2 positions, and this shelf at the bottom of the trunk therefore only comes to one possible mounting depth, i.e. in the highest position.
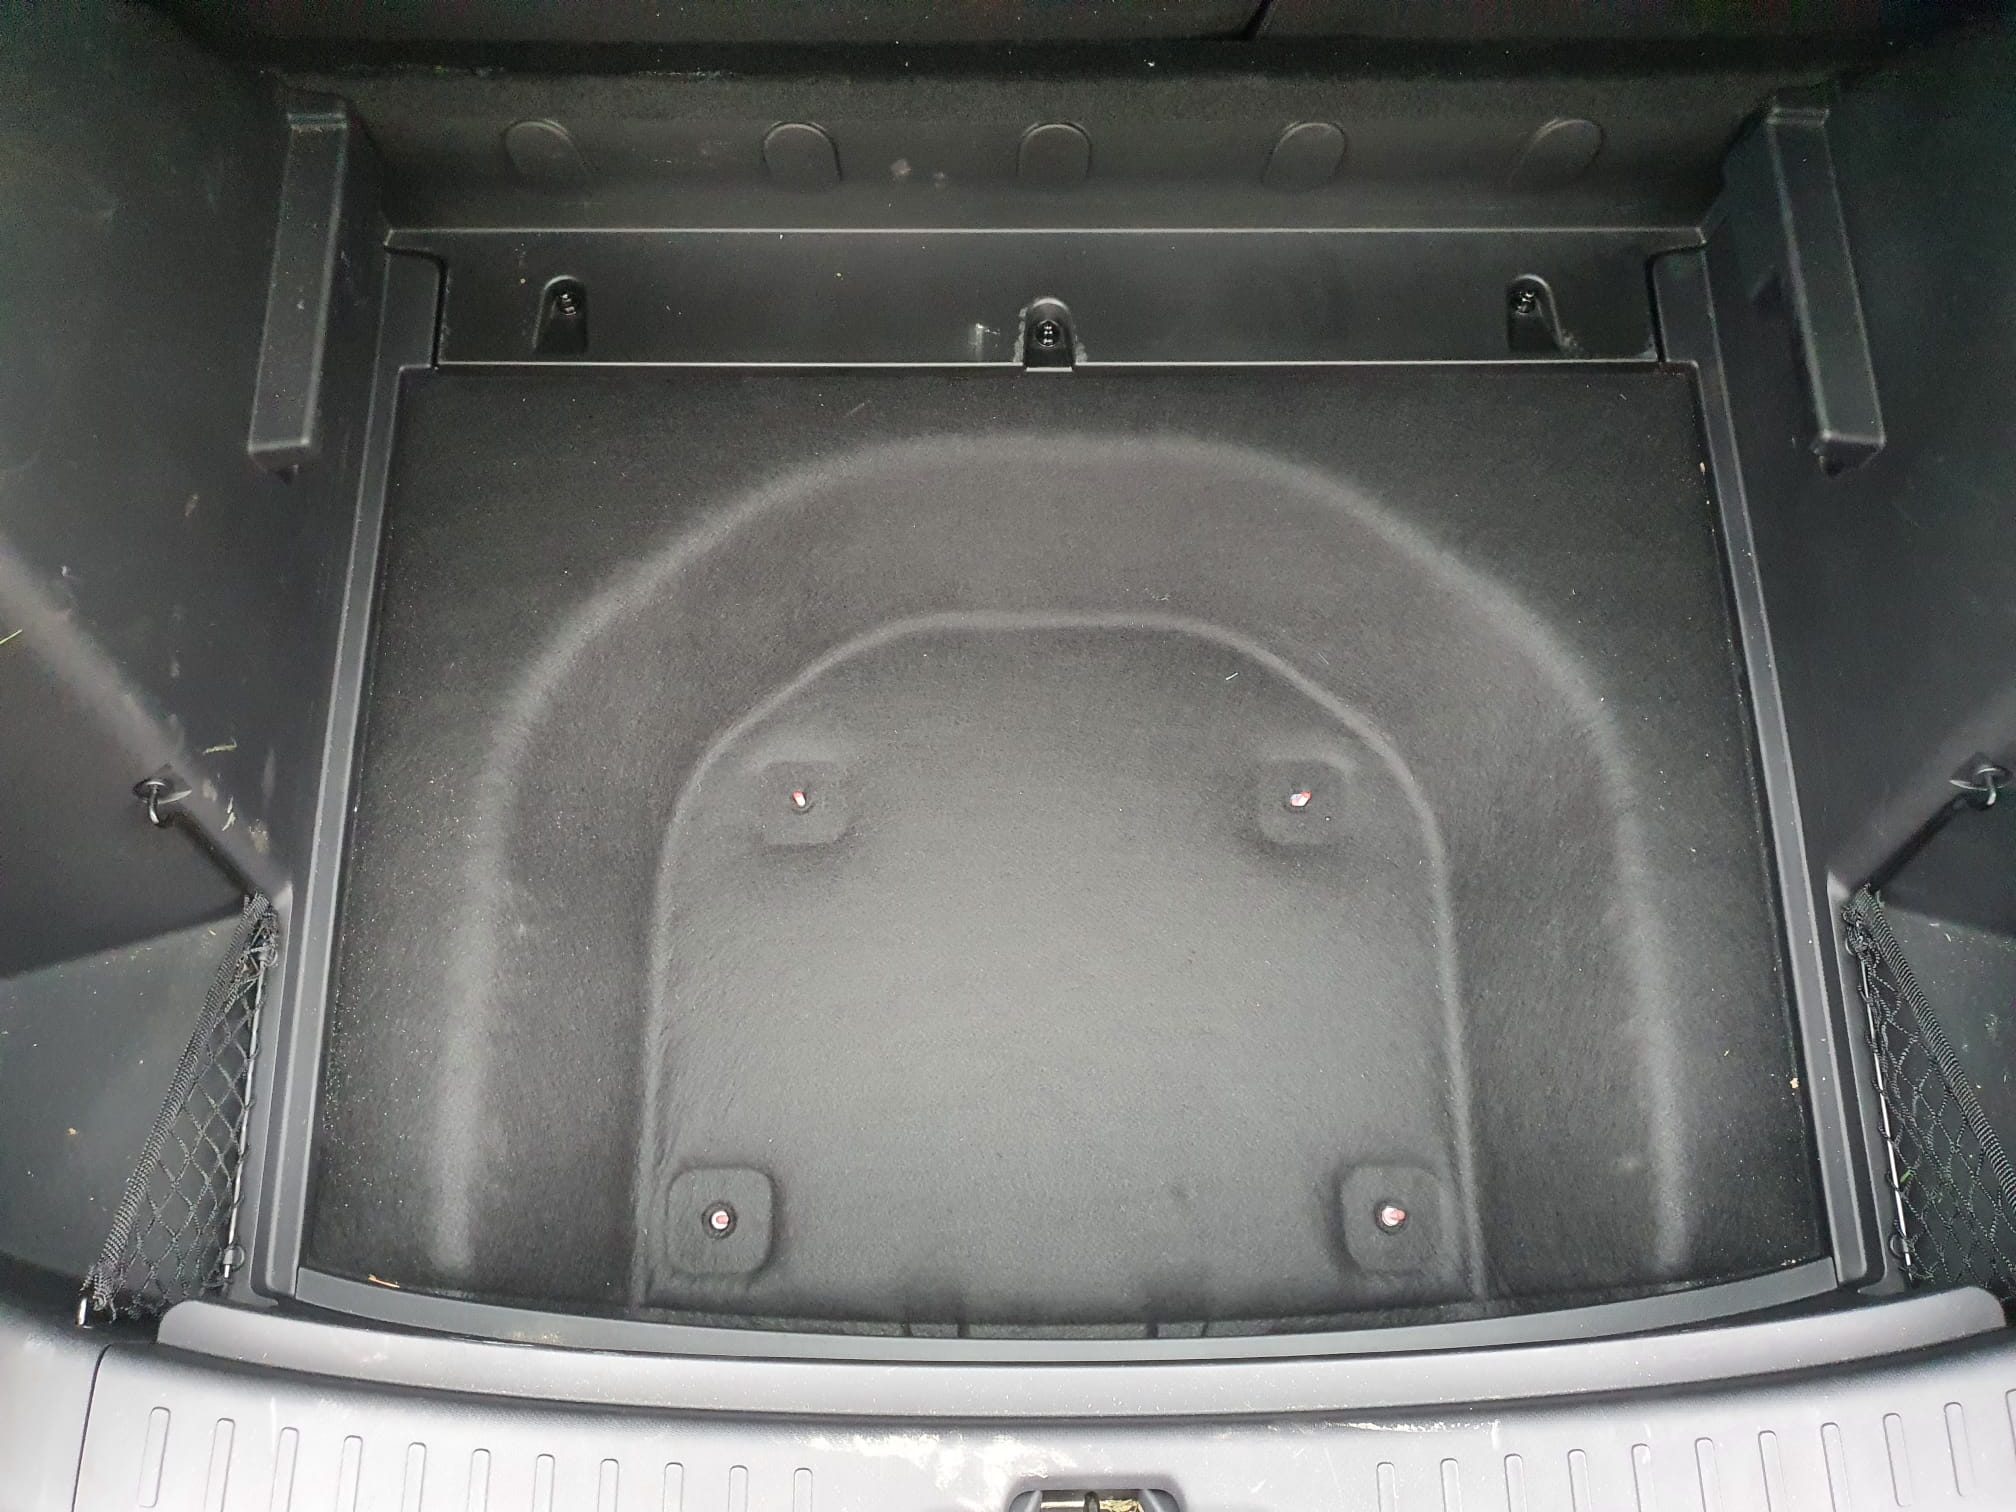
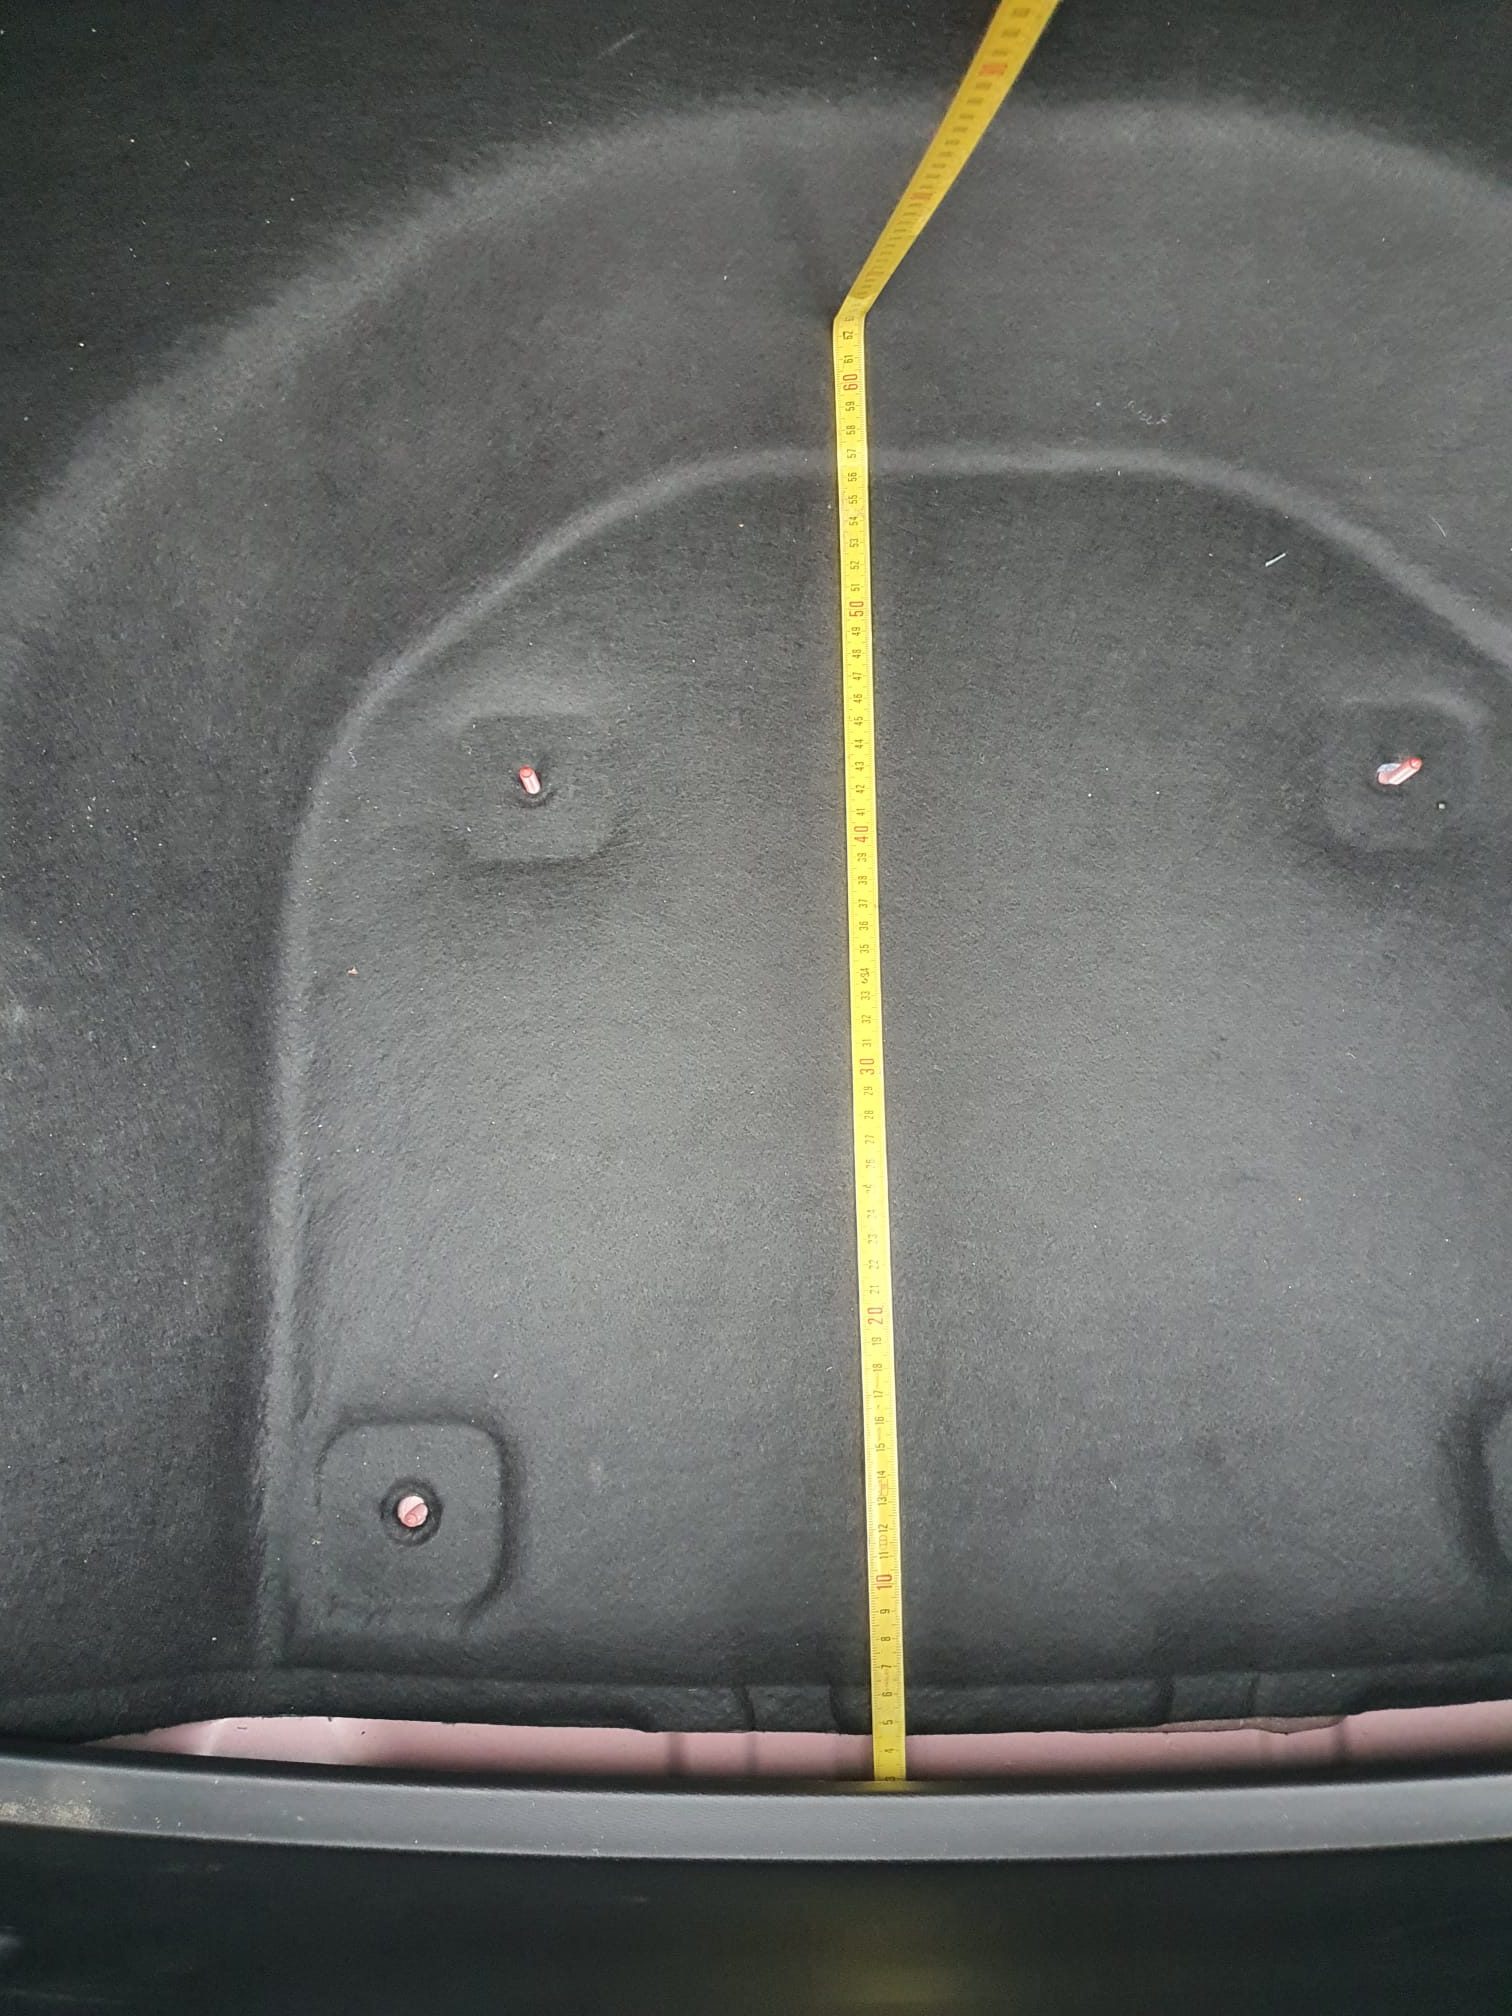
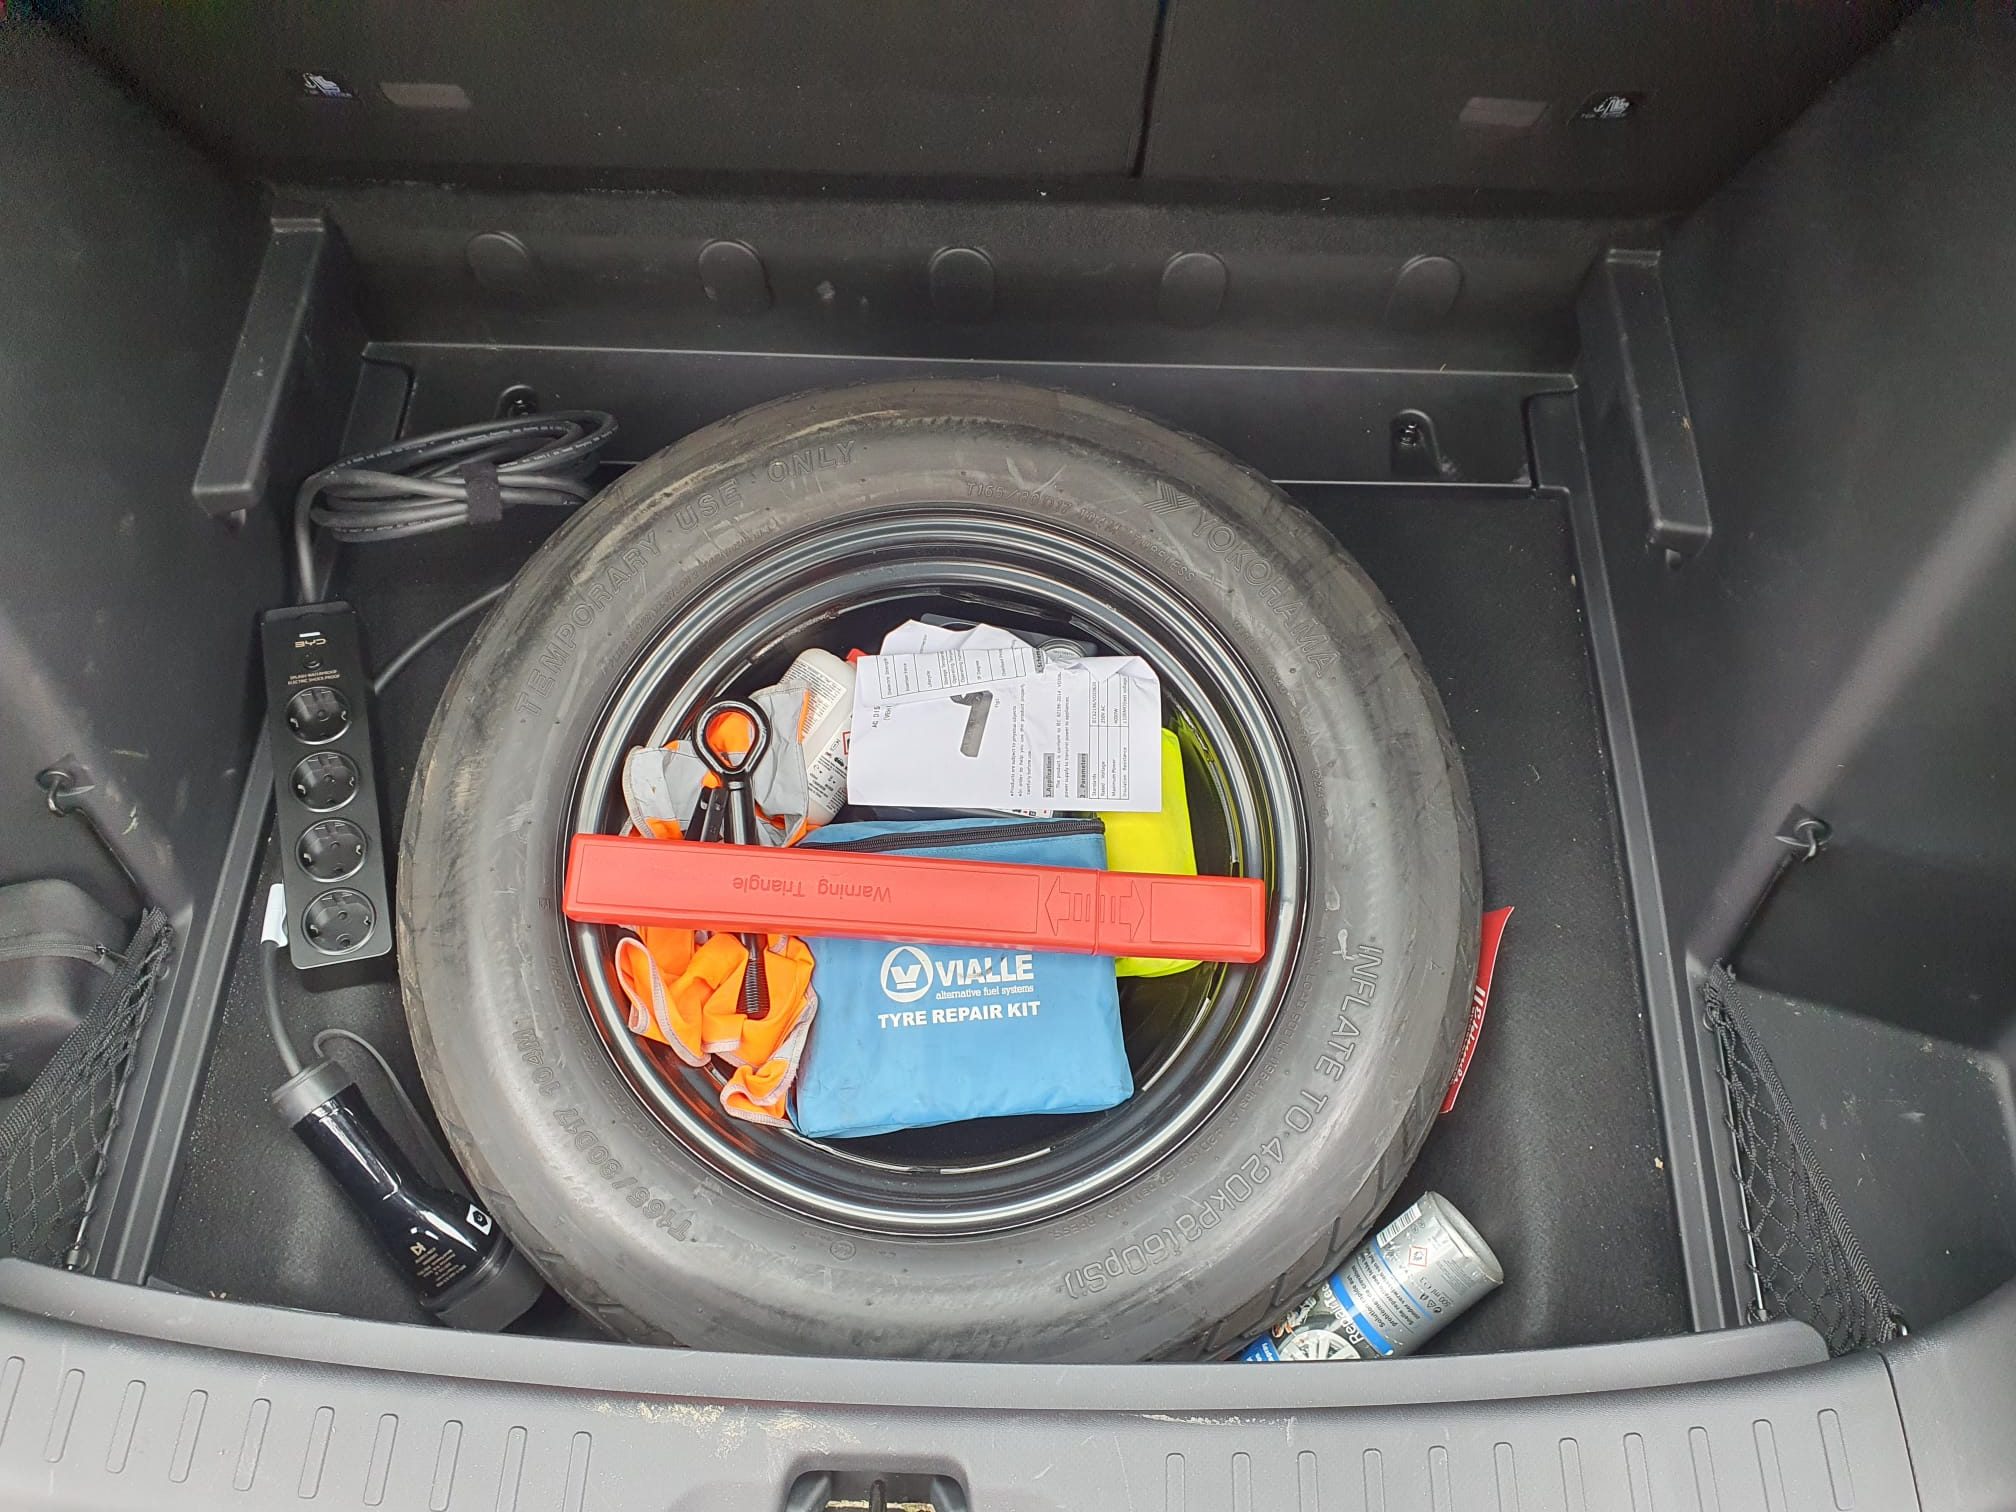
So- that’s how I positioned the spare tyre (from a Toyota RAV4, 17 inch) in the boot of the car. Not the nicest way but it works OK. The shelf that comes with the car can be positioned in the upper position no problem. I added a hydraulic mini jack and a wheel bolt wrench, since this was not part of the car’s accessories.
To hold the tire down, I made a mounting bracket from square iron tubing 20-20-2mm with 3 holes: 2 to tie it with M6 nuts to 2 of the 4 already available threaded M6 bolts and 1 hole in the center of the square stock to carry an M10 bolt going UP with a washer and a wing nut. The M10 bolt goes through 1 of the boltholes of the rim. I welded the M10 bolt in the center of the square steel and made the rear part almost flush with the square steel. Then, I mounted the bracket down on the floor of the boot with 6mm tubed M6 IKEA nuts that I had lying around from an old double children’s bed. These nuts are about 15mm in length with a large flathead on top and an Inbus insert in the top. This is ideal, because the M6 steel bolt-ends that stick up from the boot are only around 18mm in length and don’t stick through the 20mm square stock.
BTW: I shortened the 2 not-used standing M6 bolts to the height that they just carry one M6 nut each, might be useful in the future.
After the spare tire was mounted and secured with the washer and M10 wing nut on the bracket I used the bag that came with the removable part of the pulling rod to store all loose components like the puller for the plastic boltcovers that are mounte in the wheels and o on. This is placed in the inner part of the spare tire.
Unfortunately, I forgot to take some pictures of the setup of the spare tire mounting bracket, will do that when I can and present this here, later!
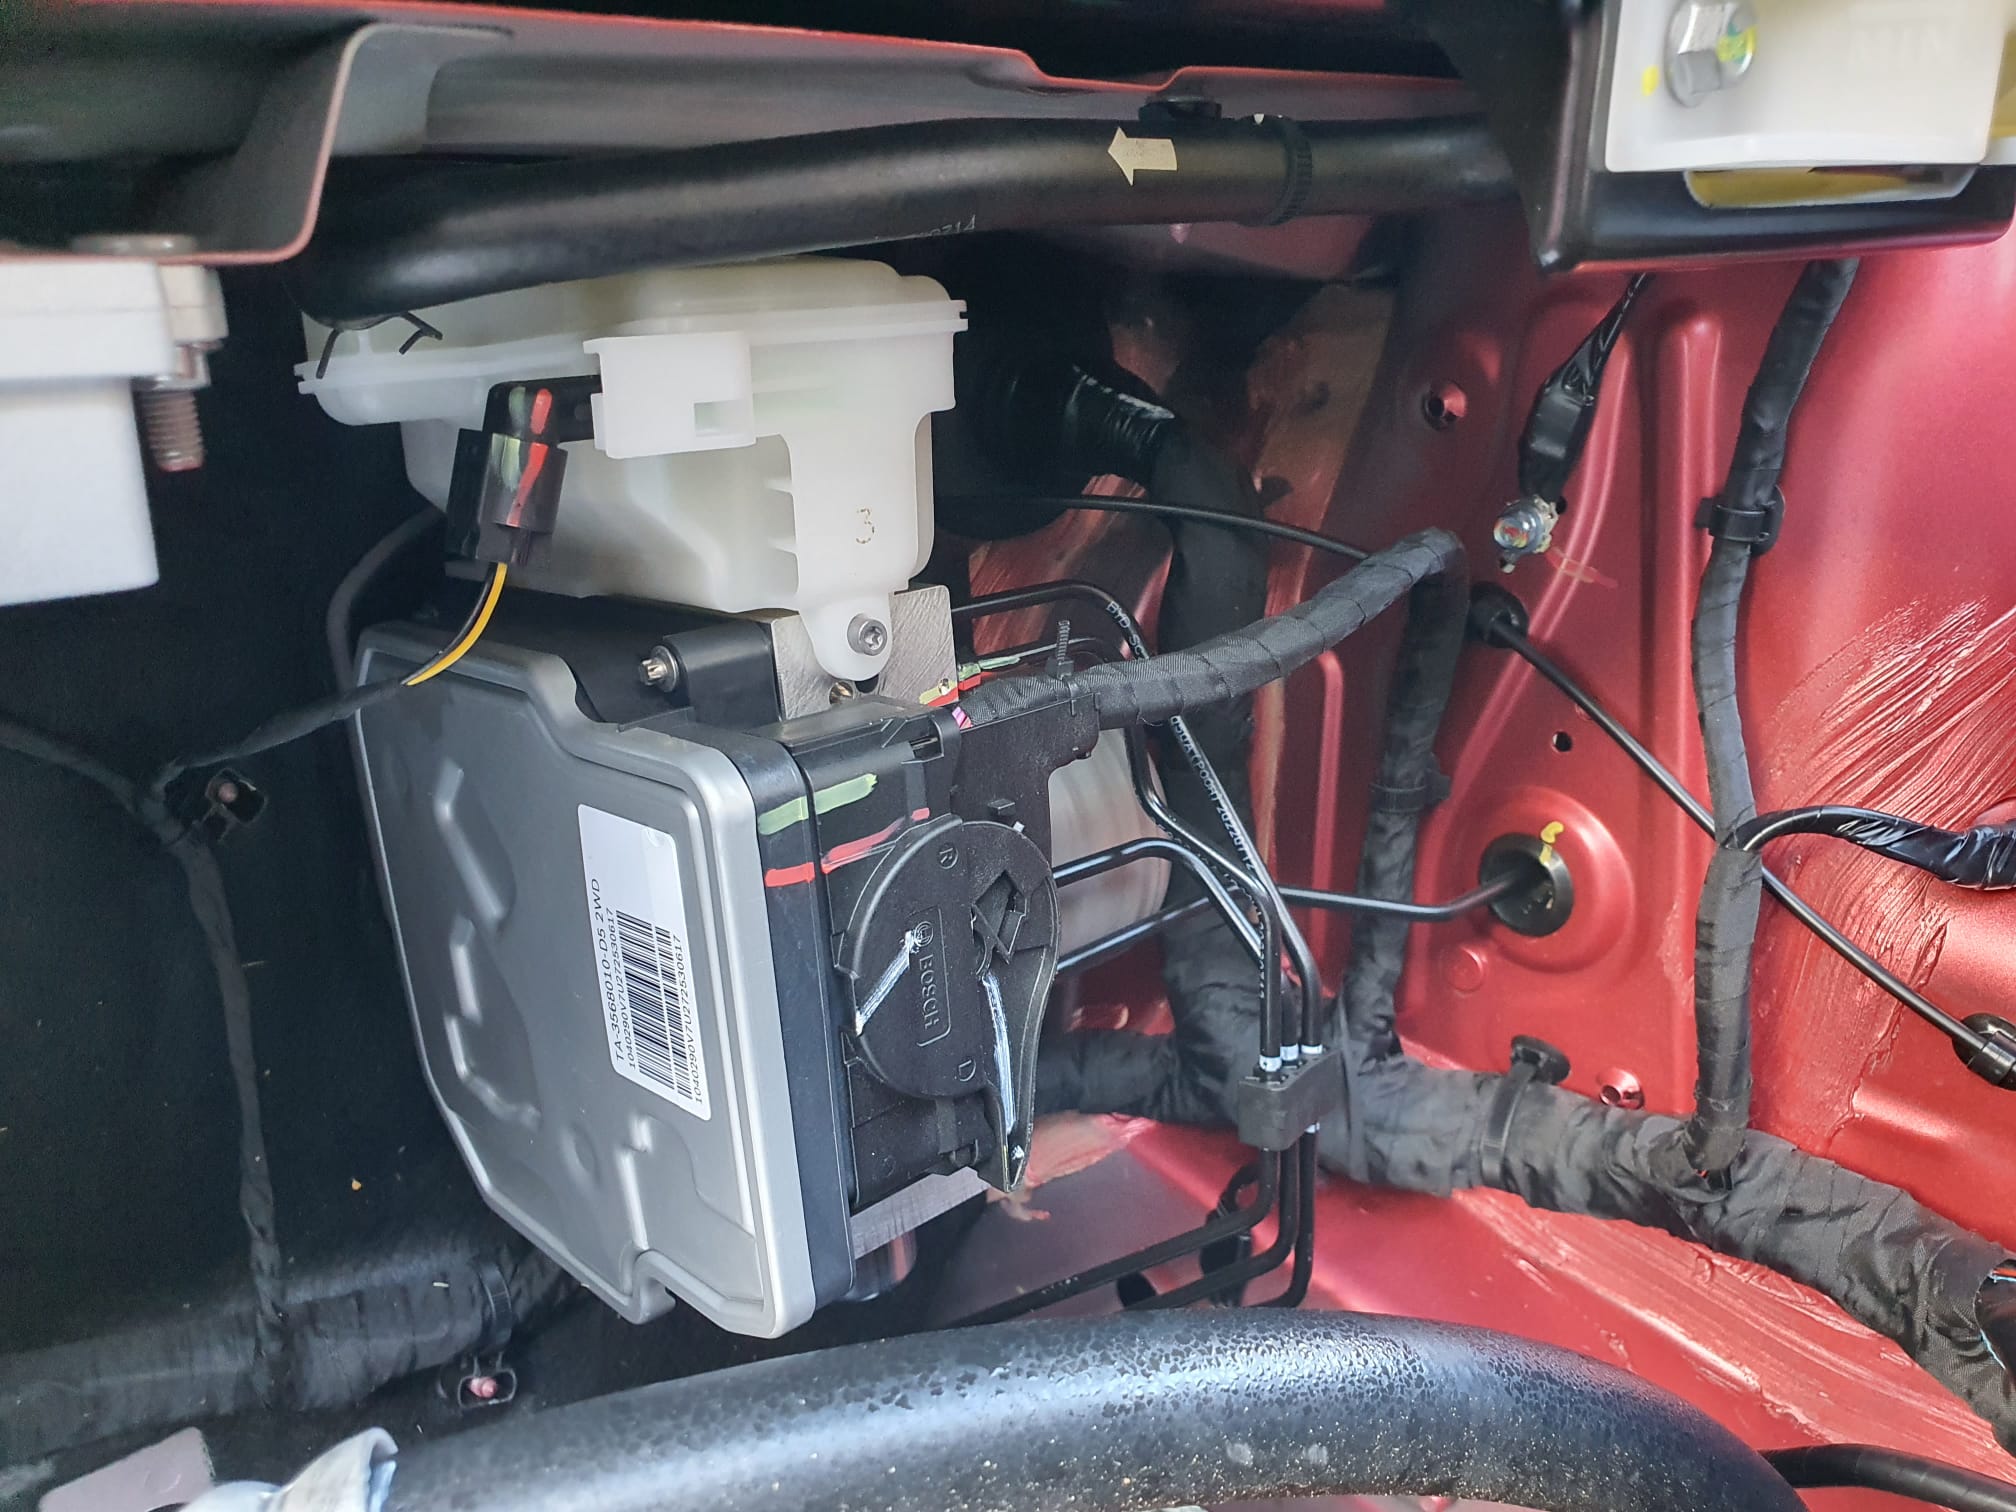
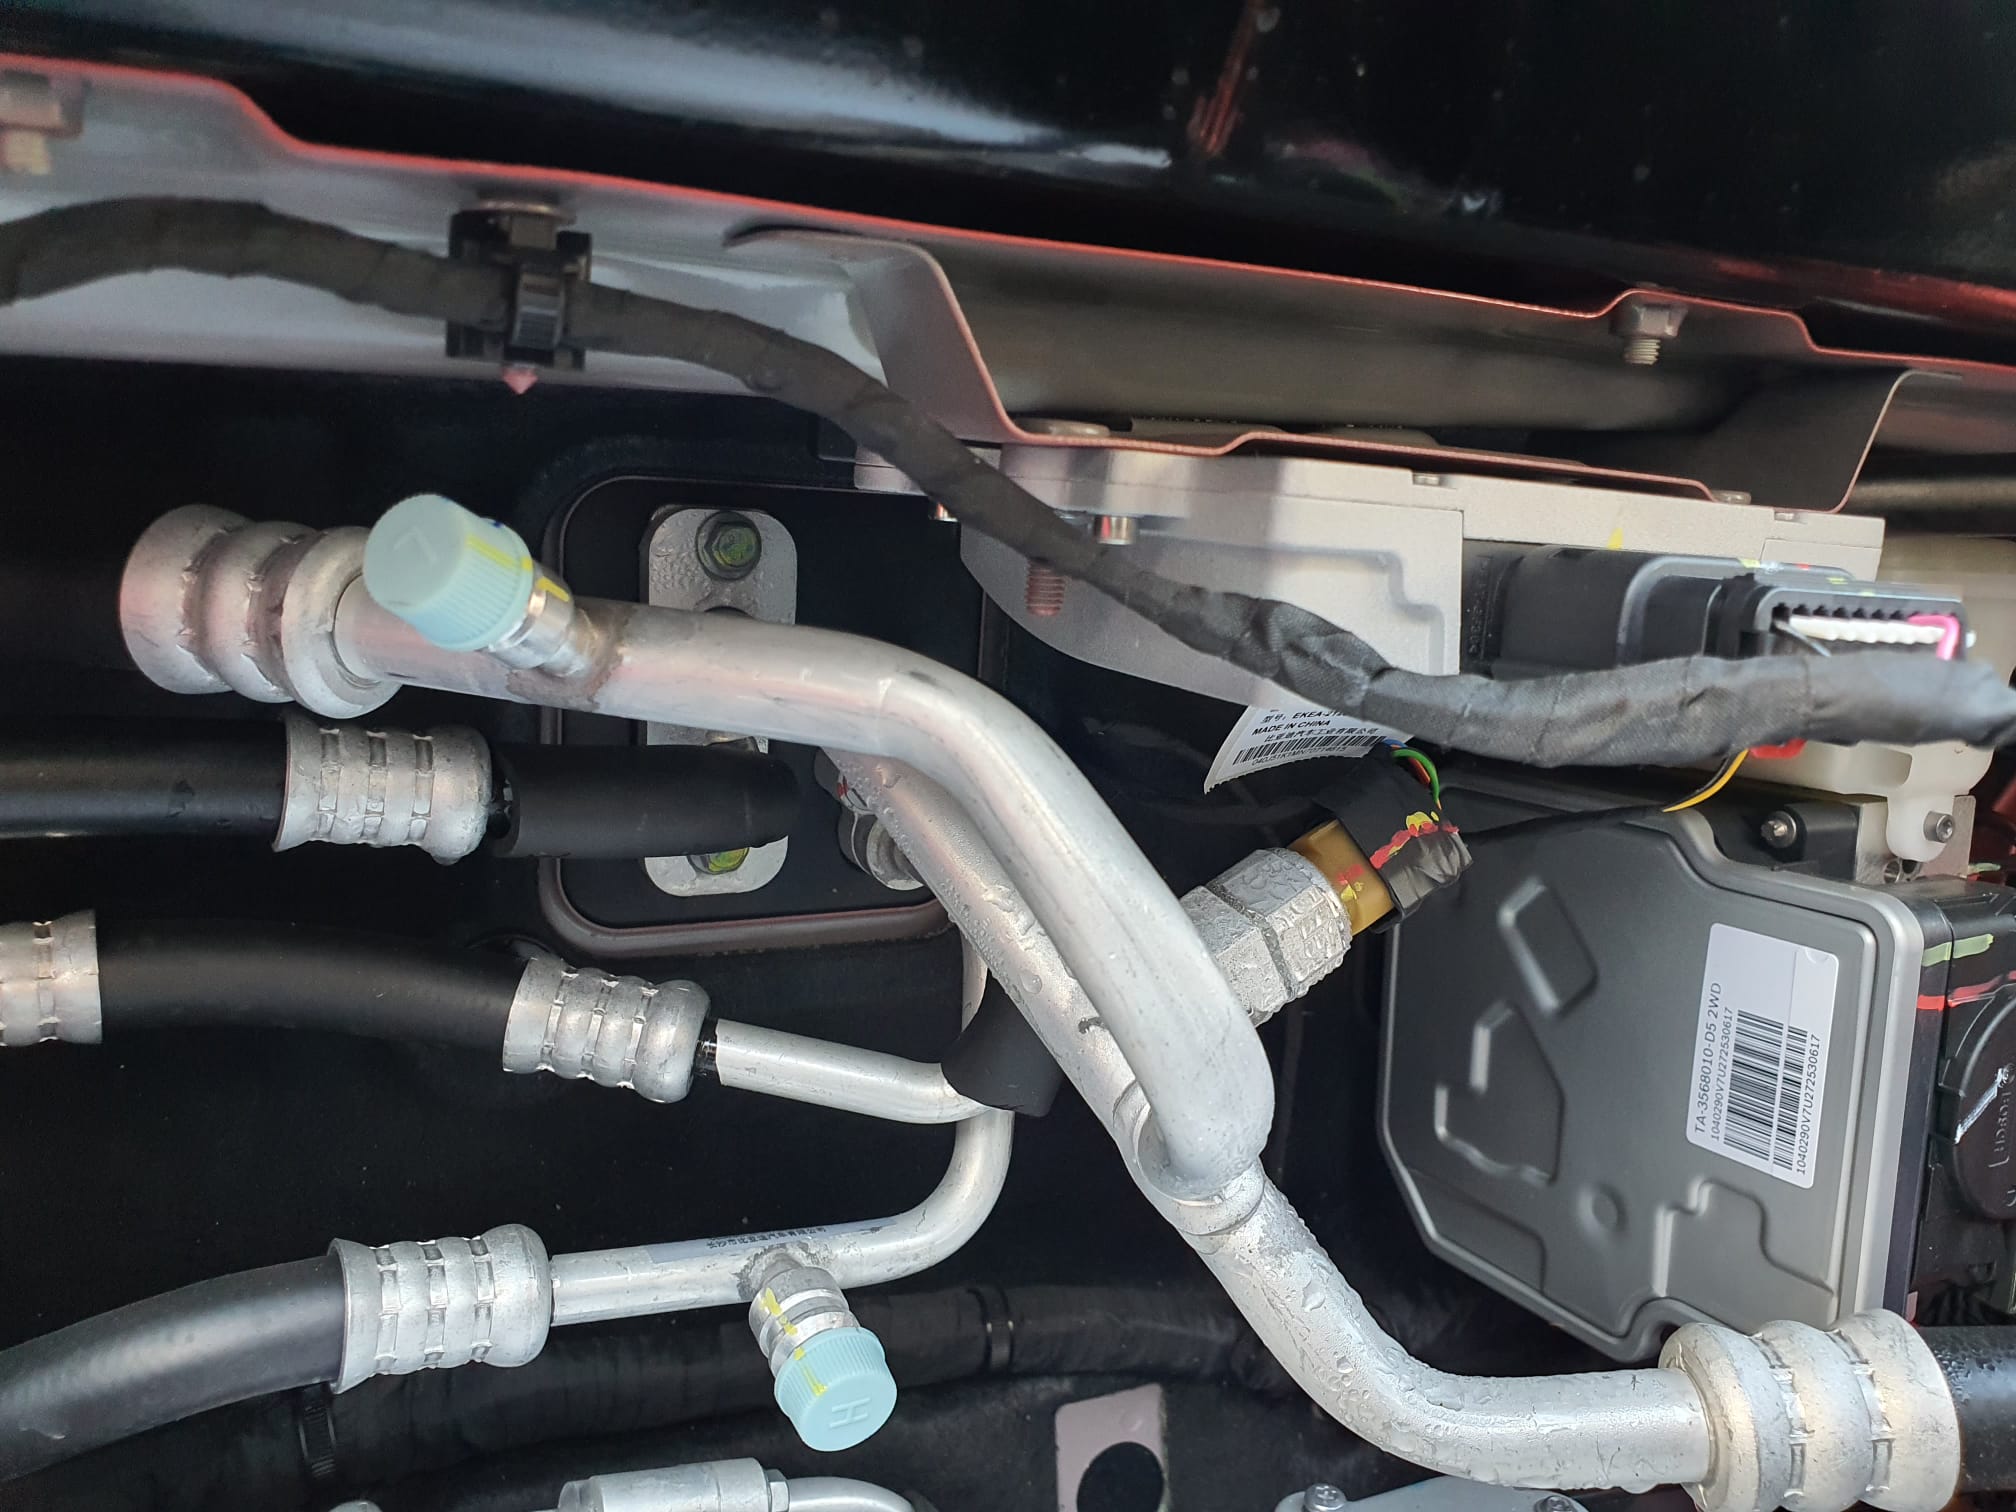
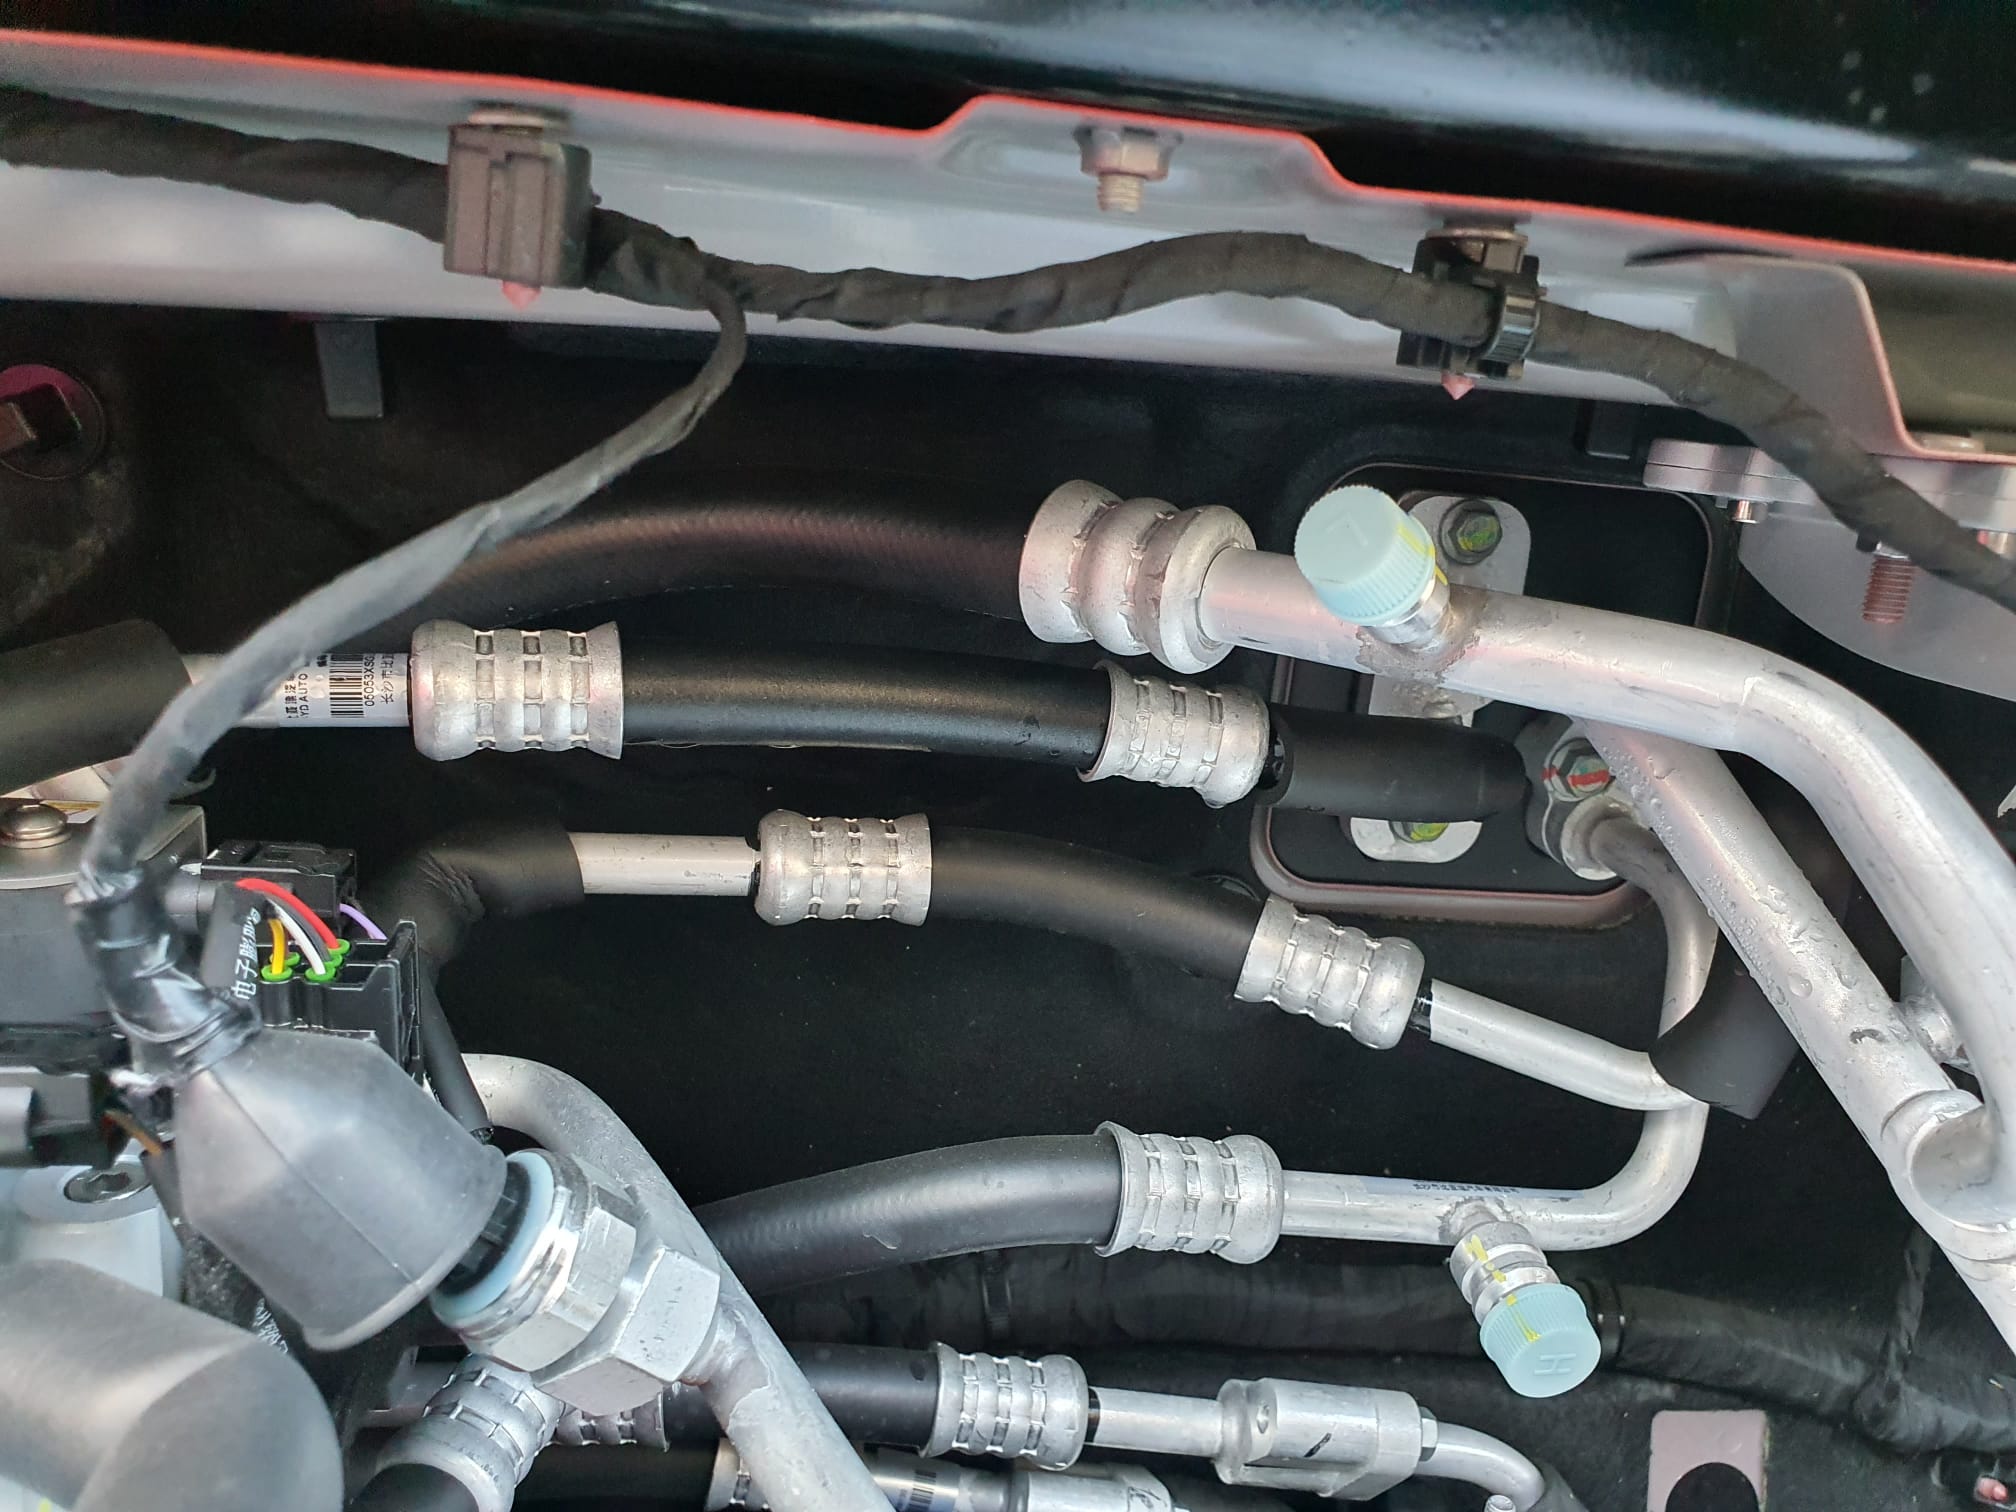
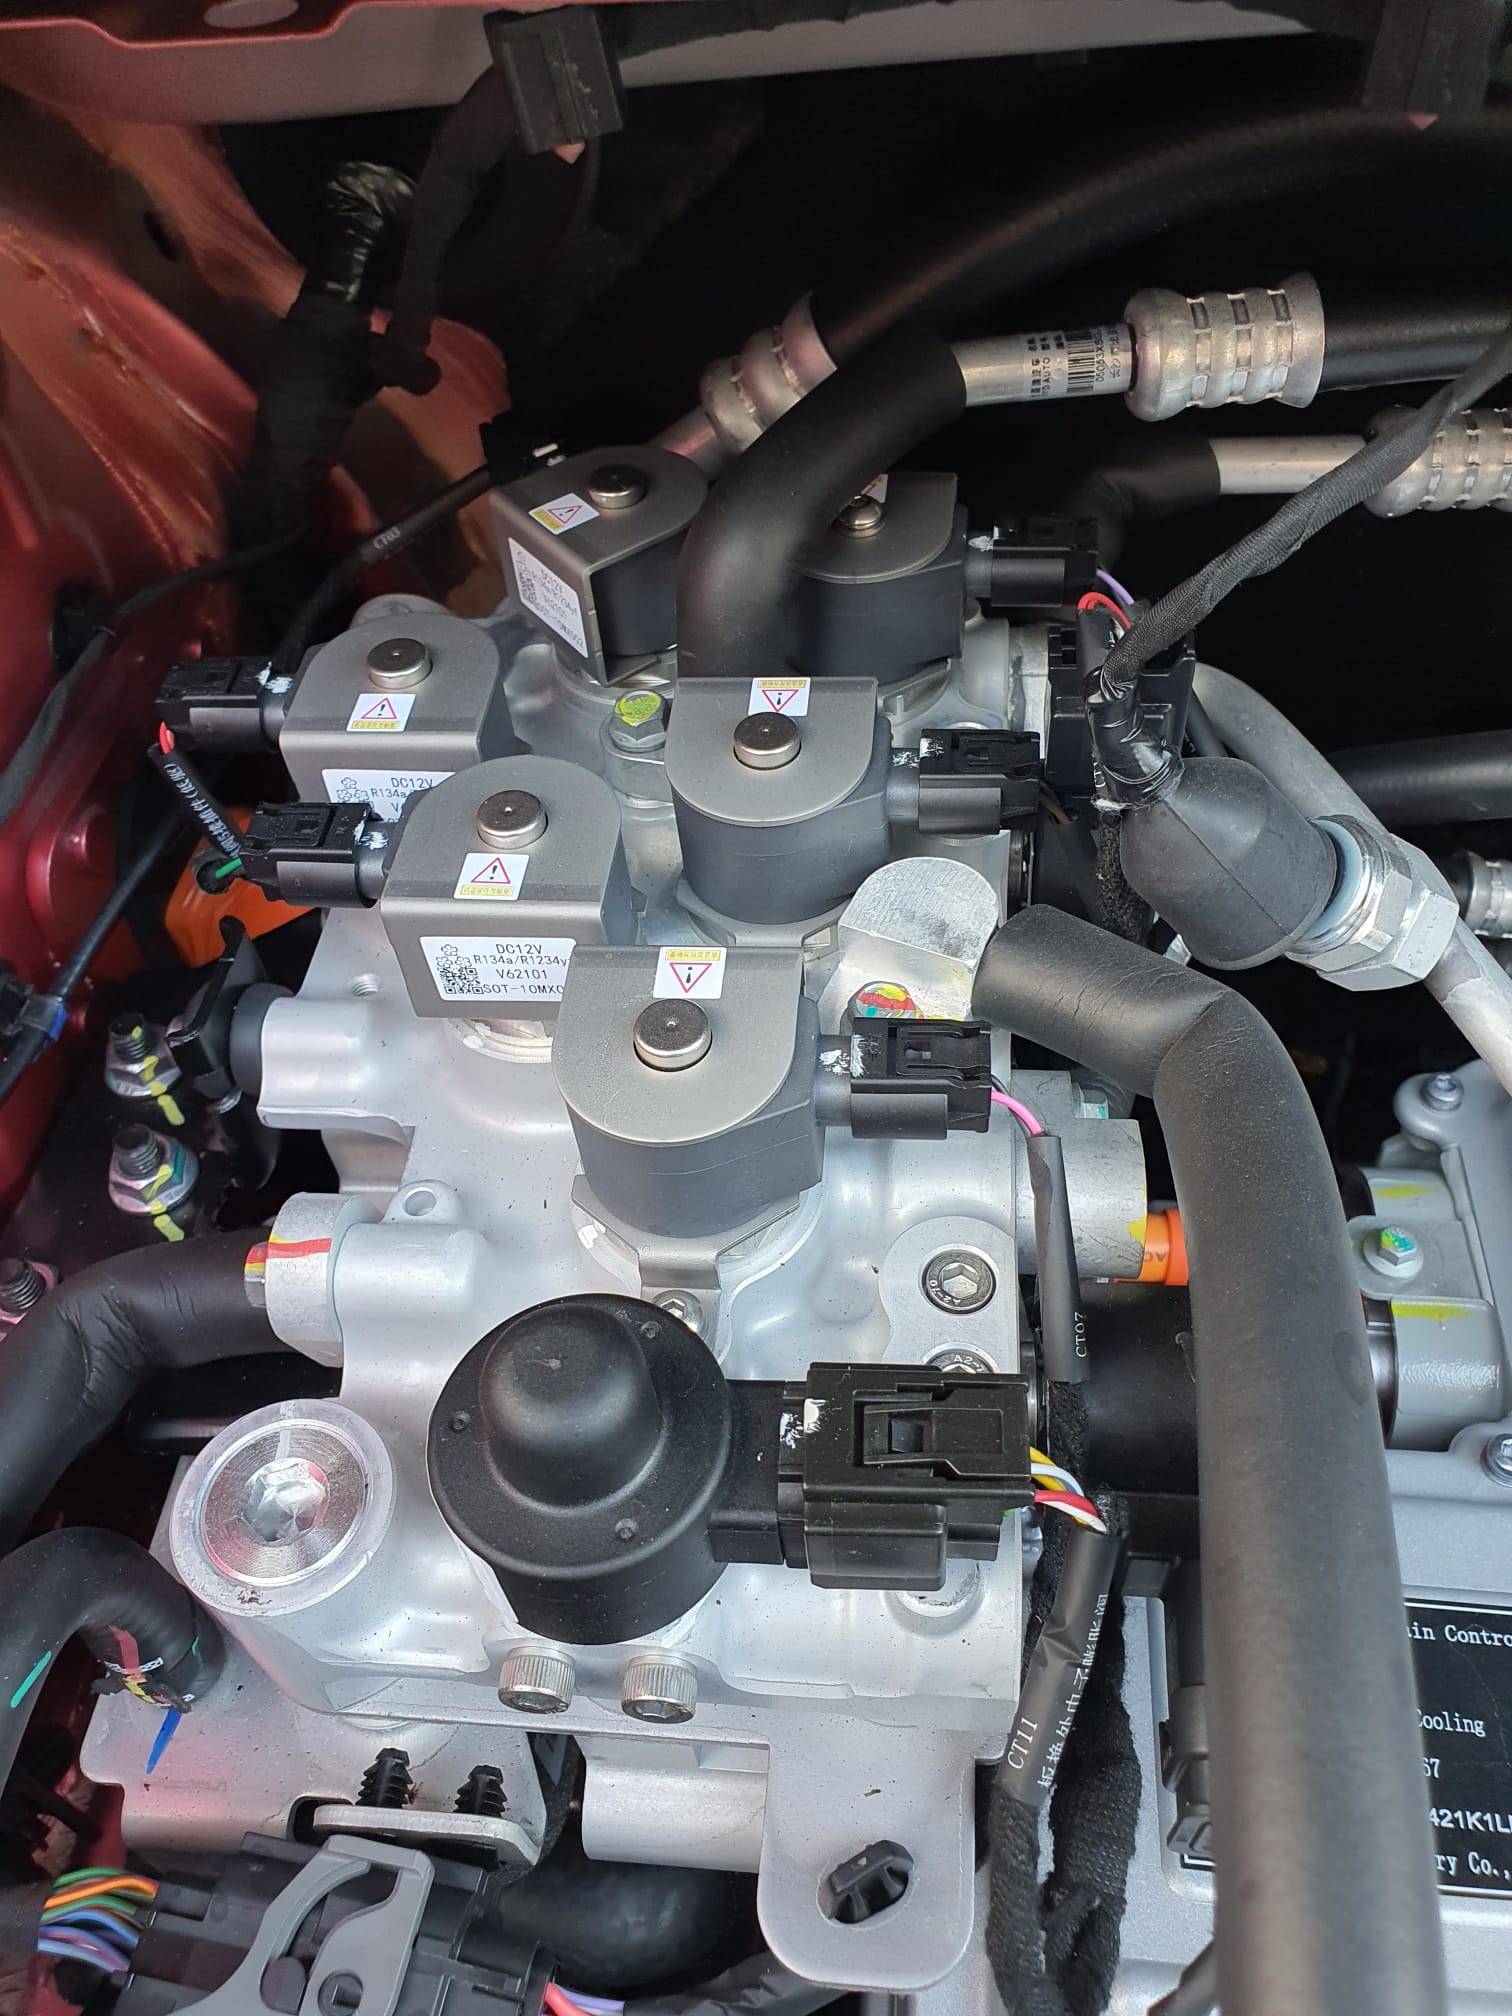
BYD Atto 3- under the bonnet
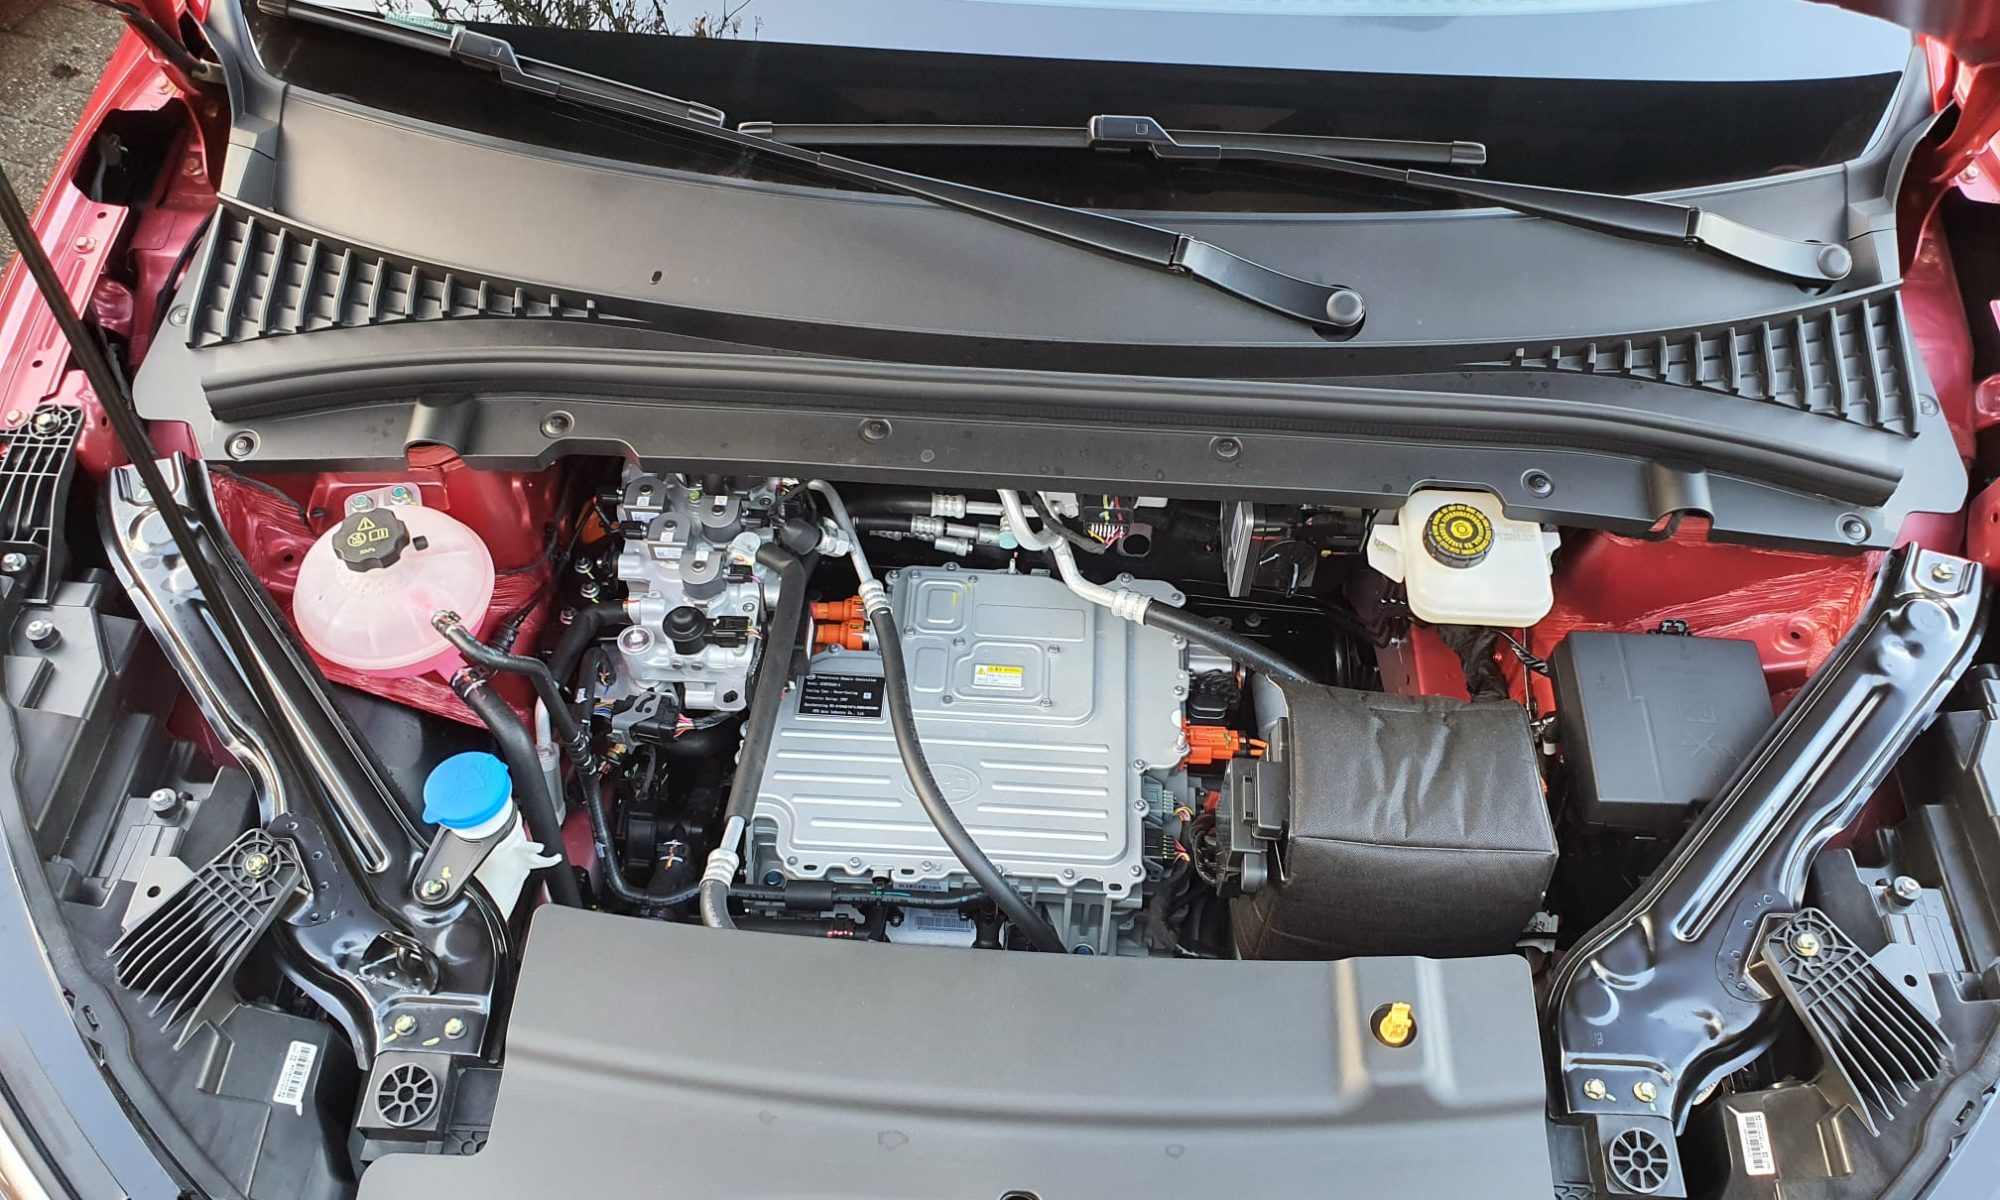
My BYD Atto 3 has been delivered on November 14th 2022, and I took some pictures today under the bonnet:
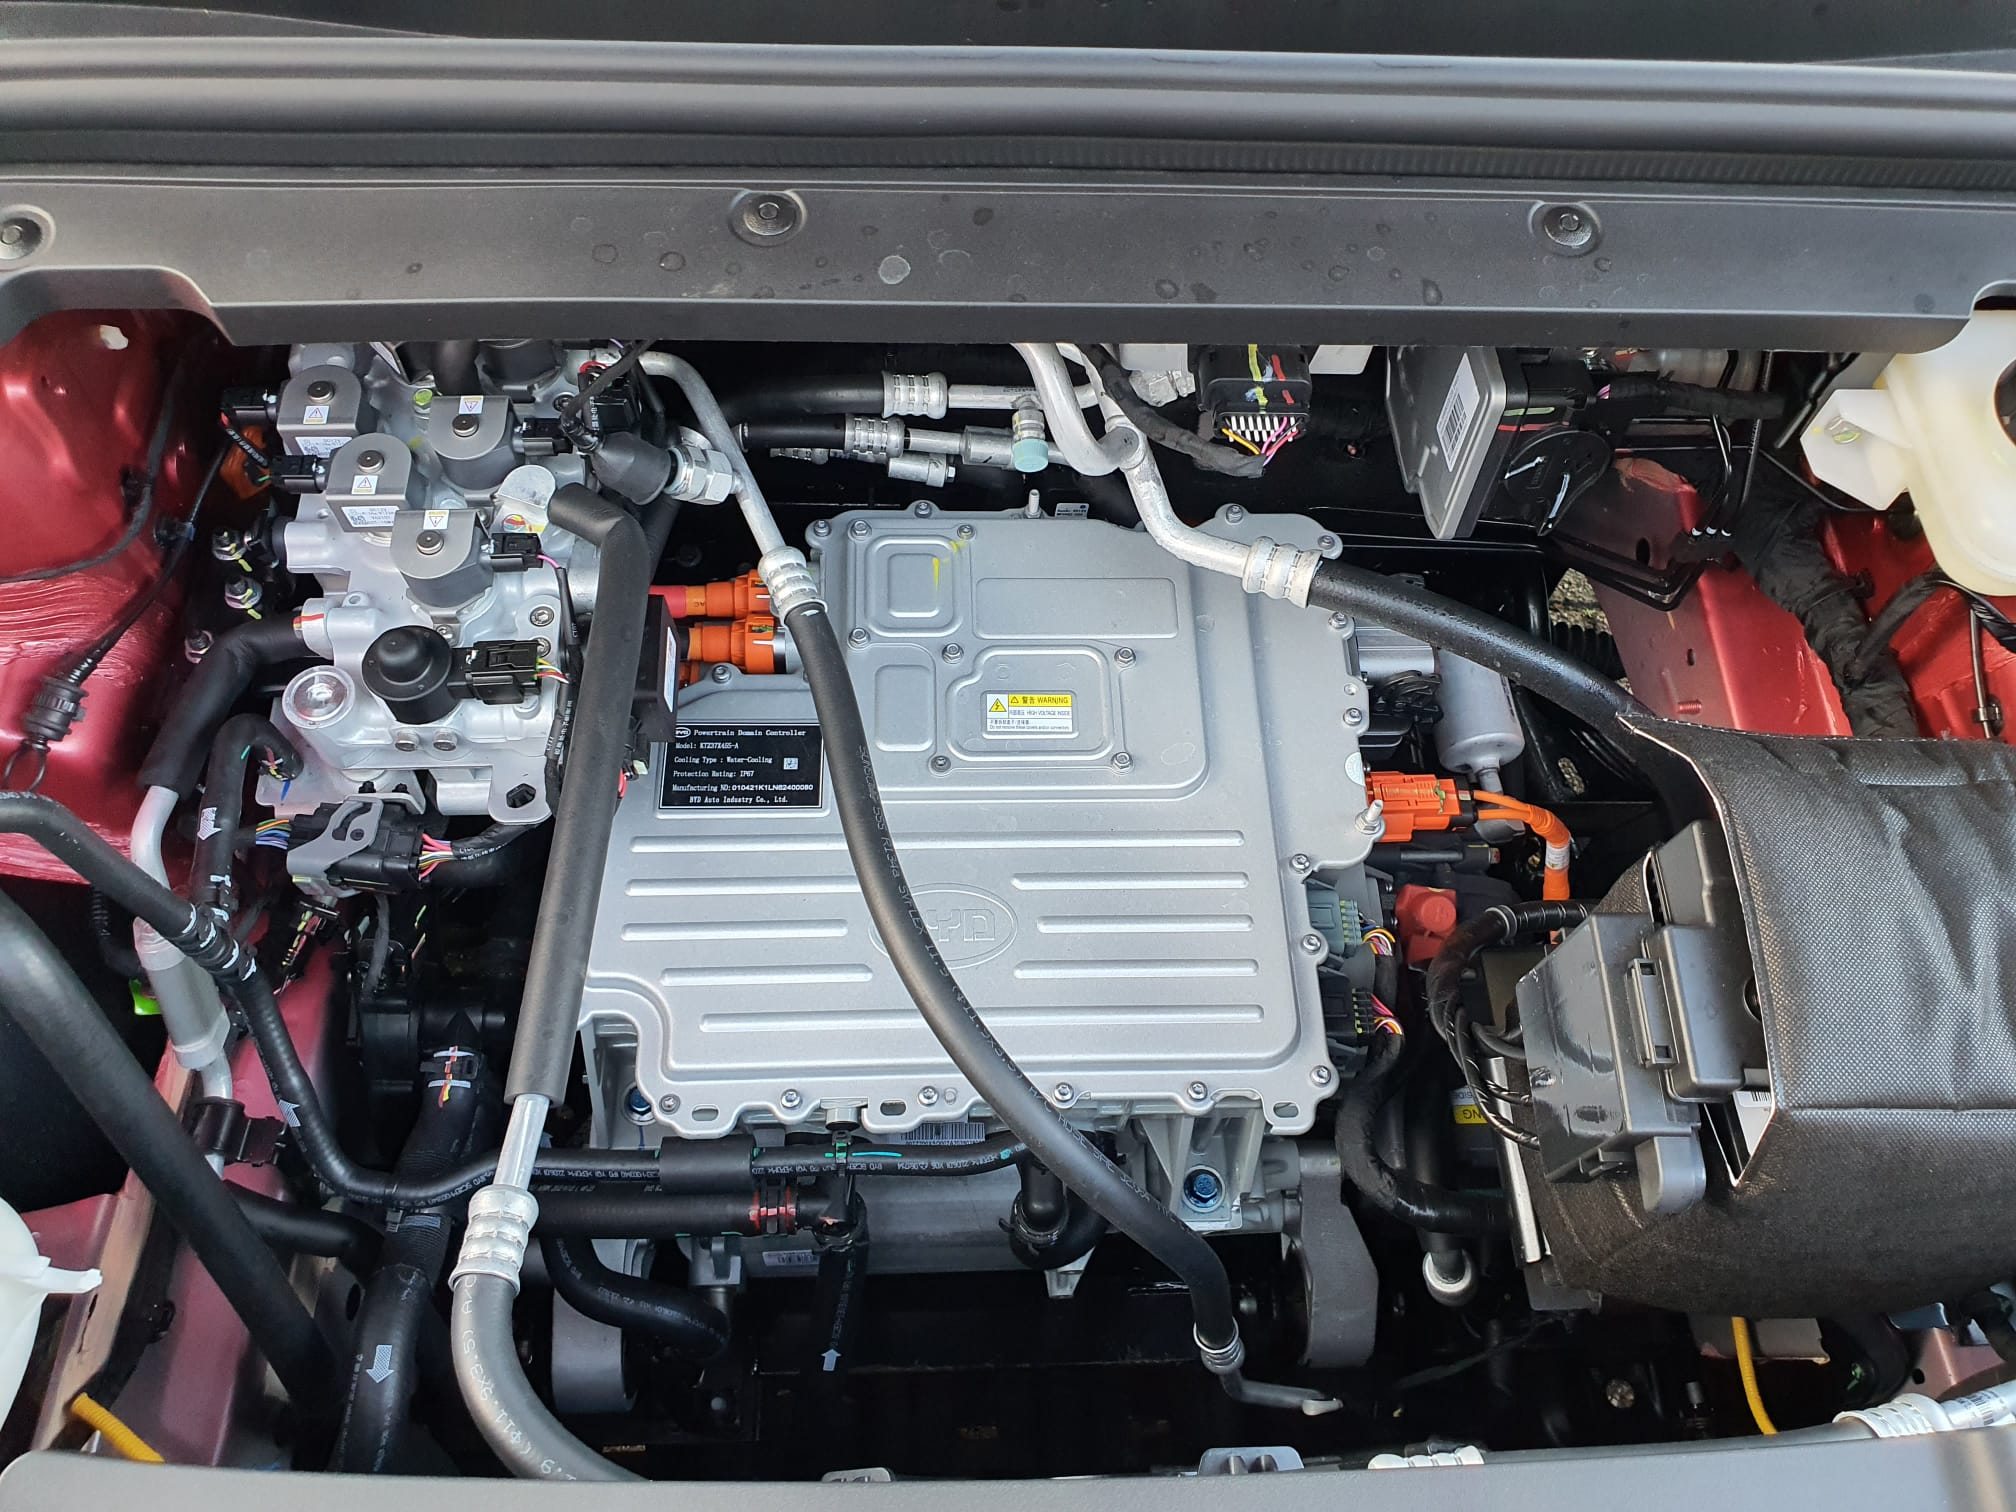
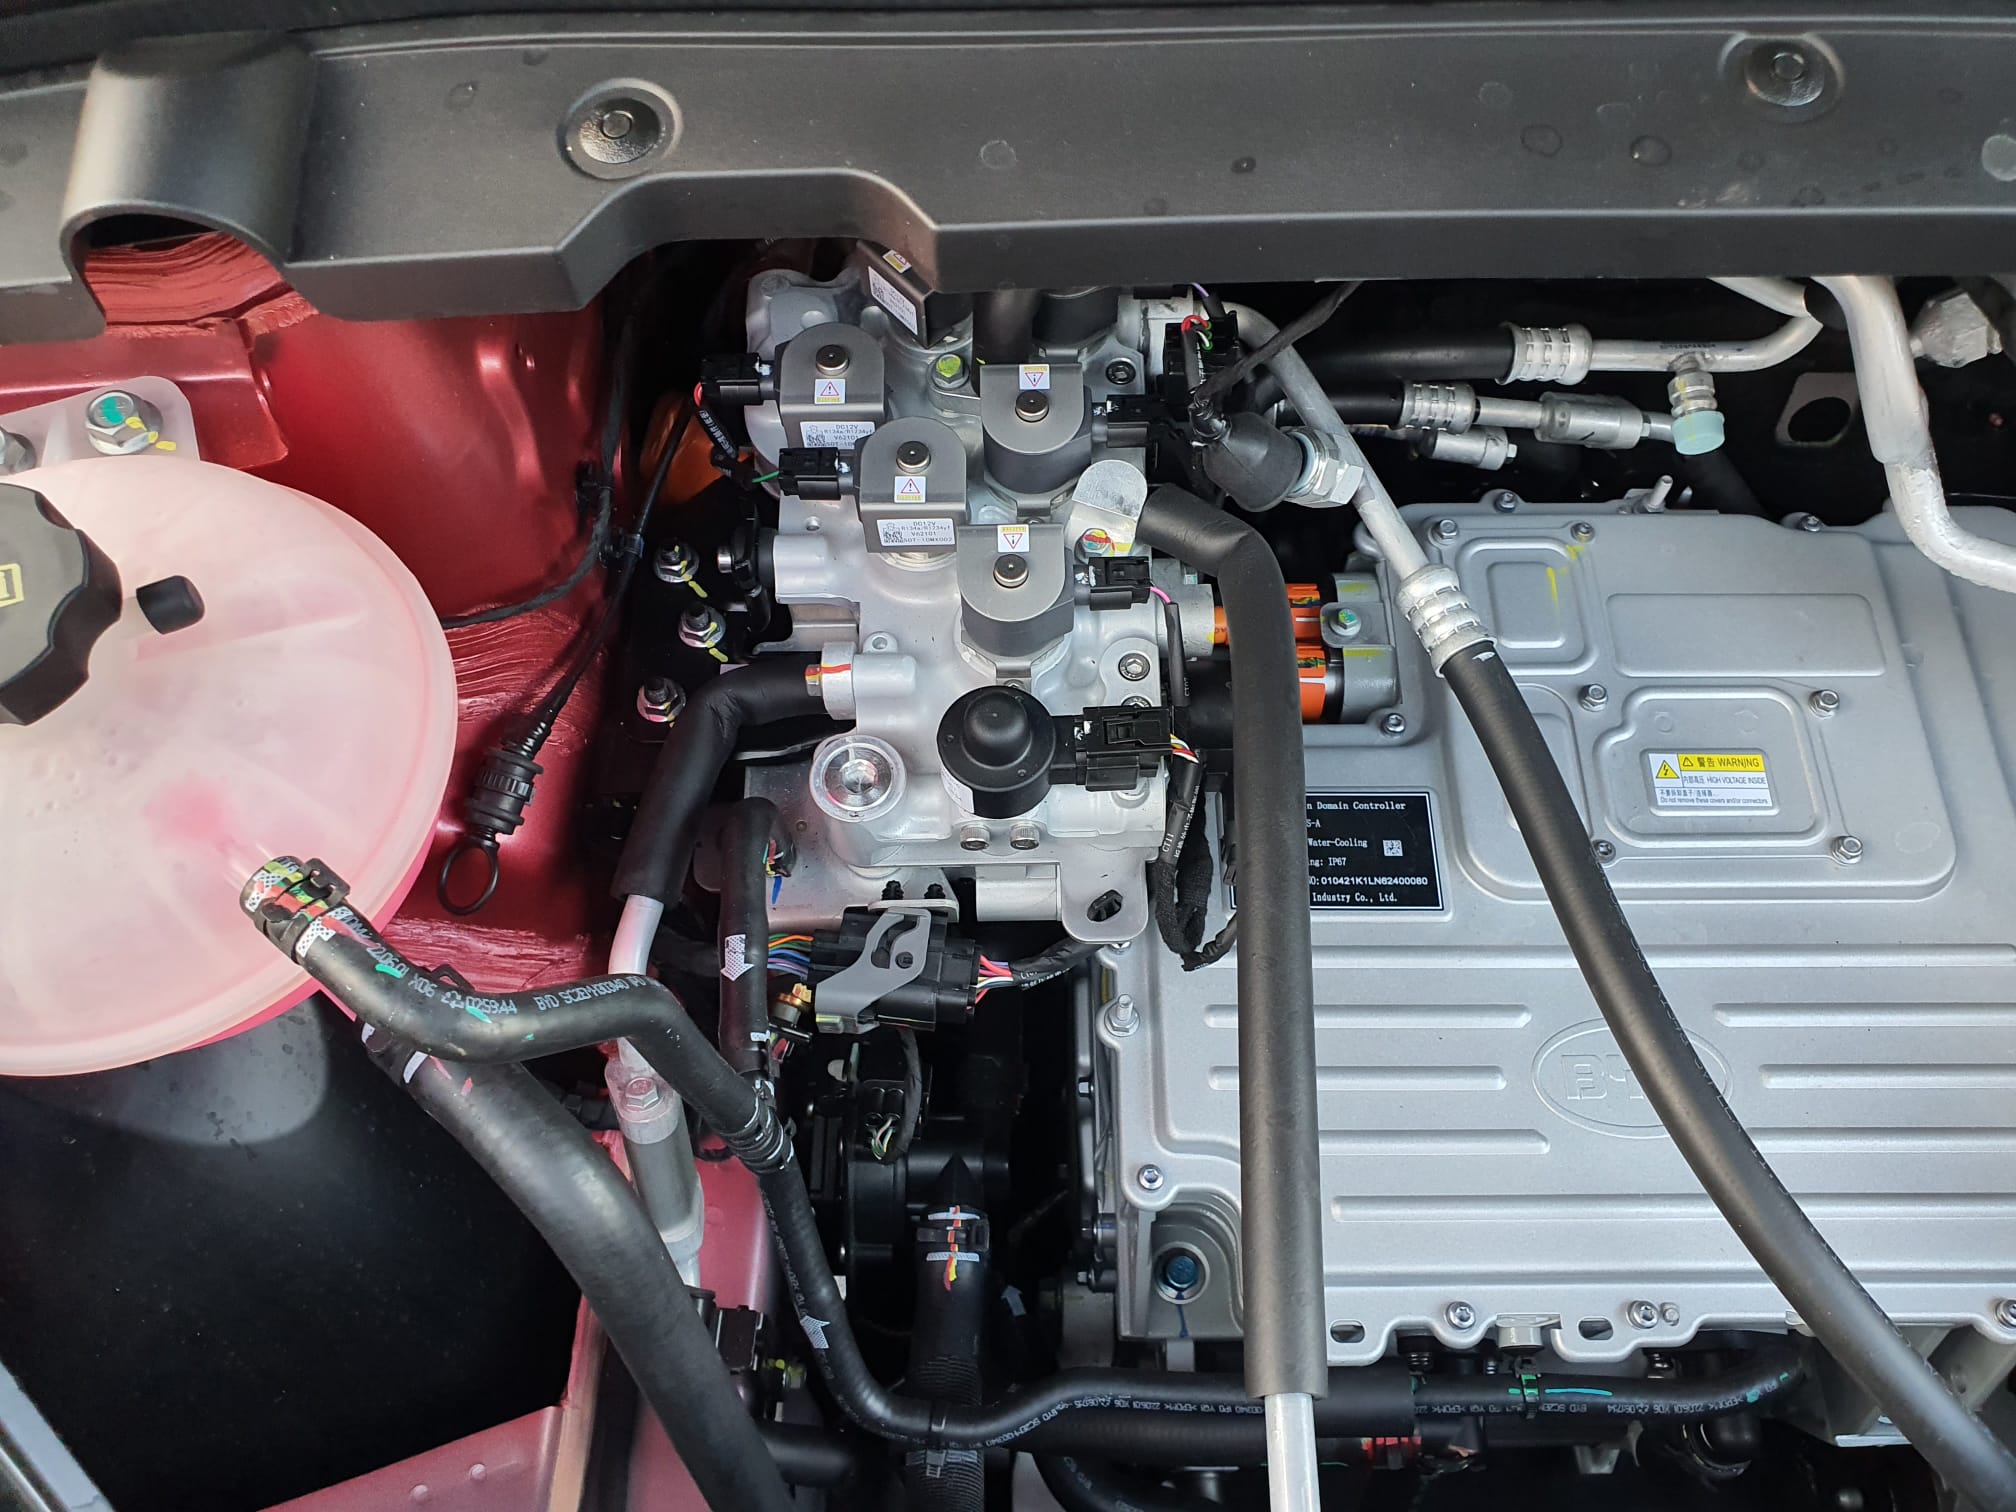
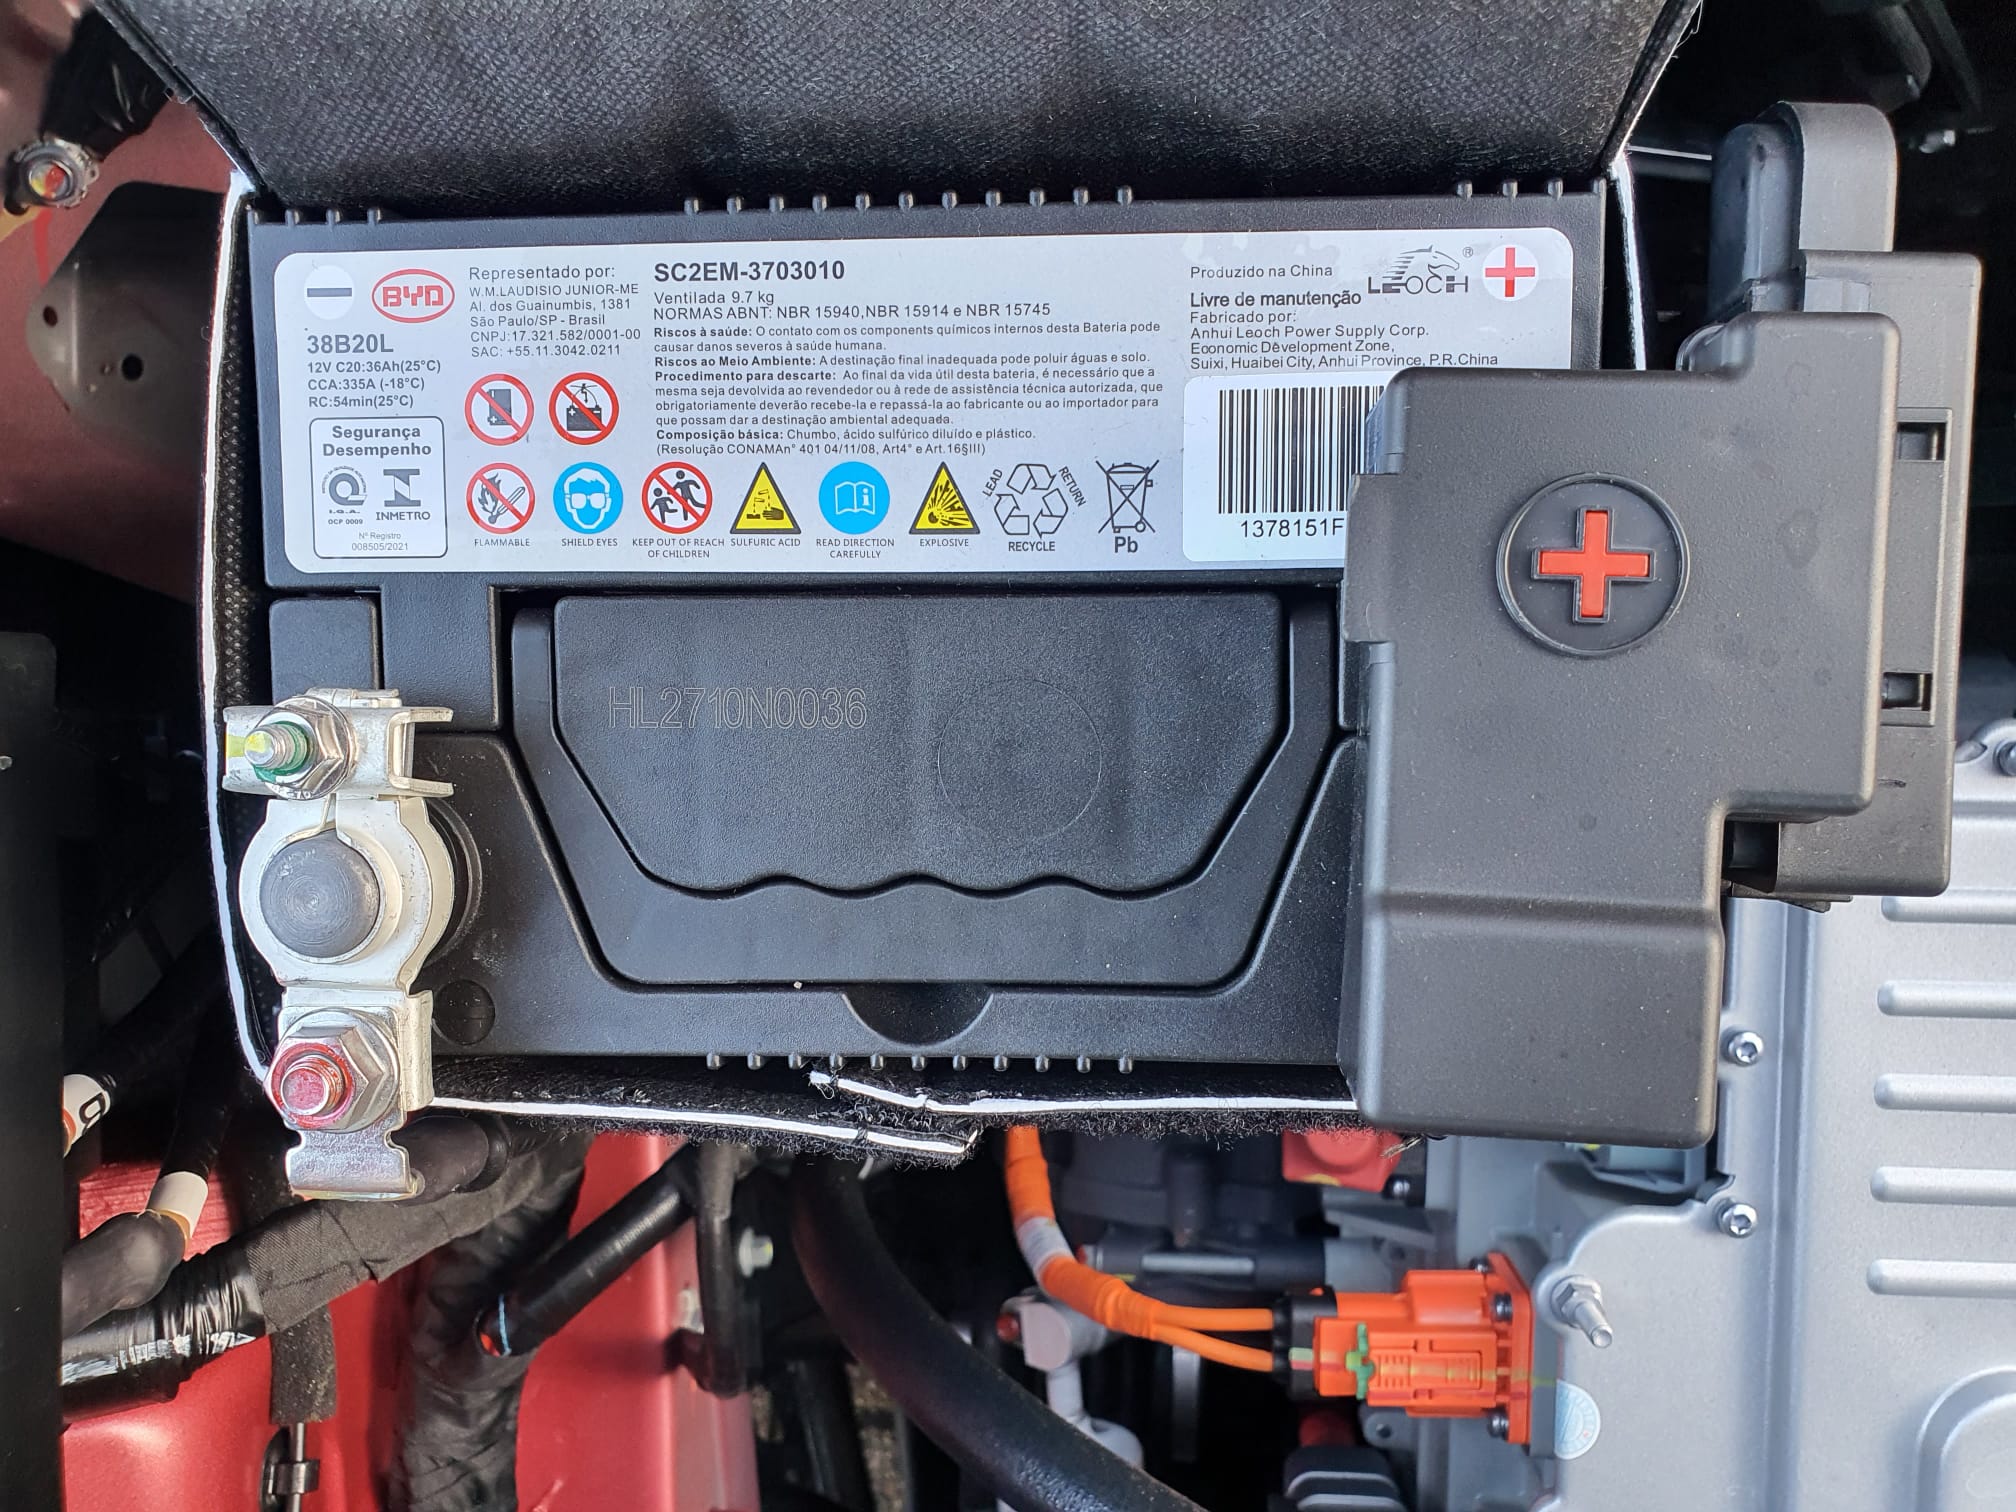
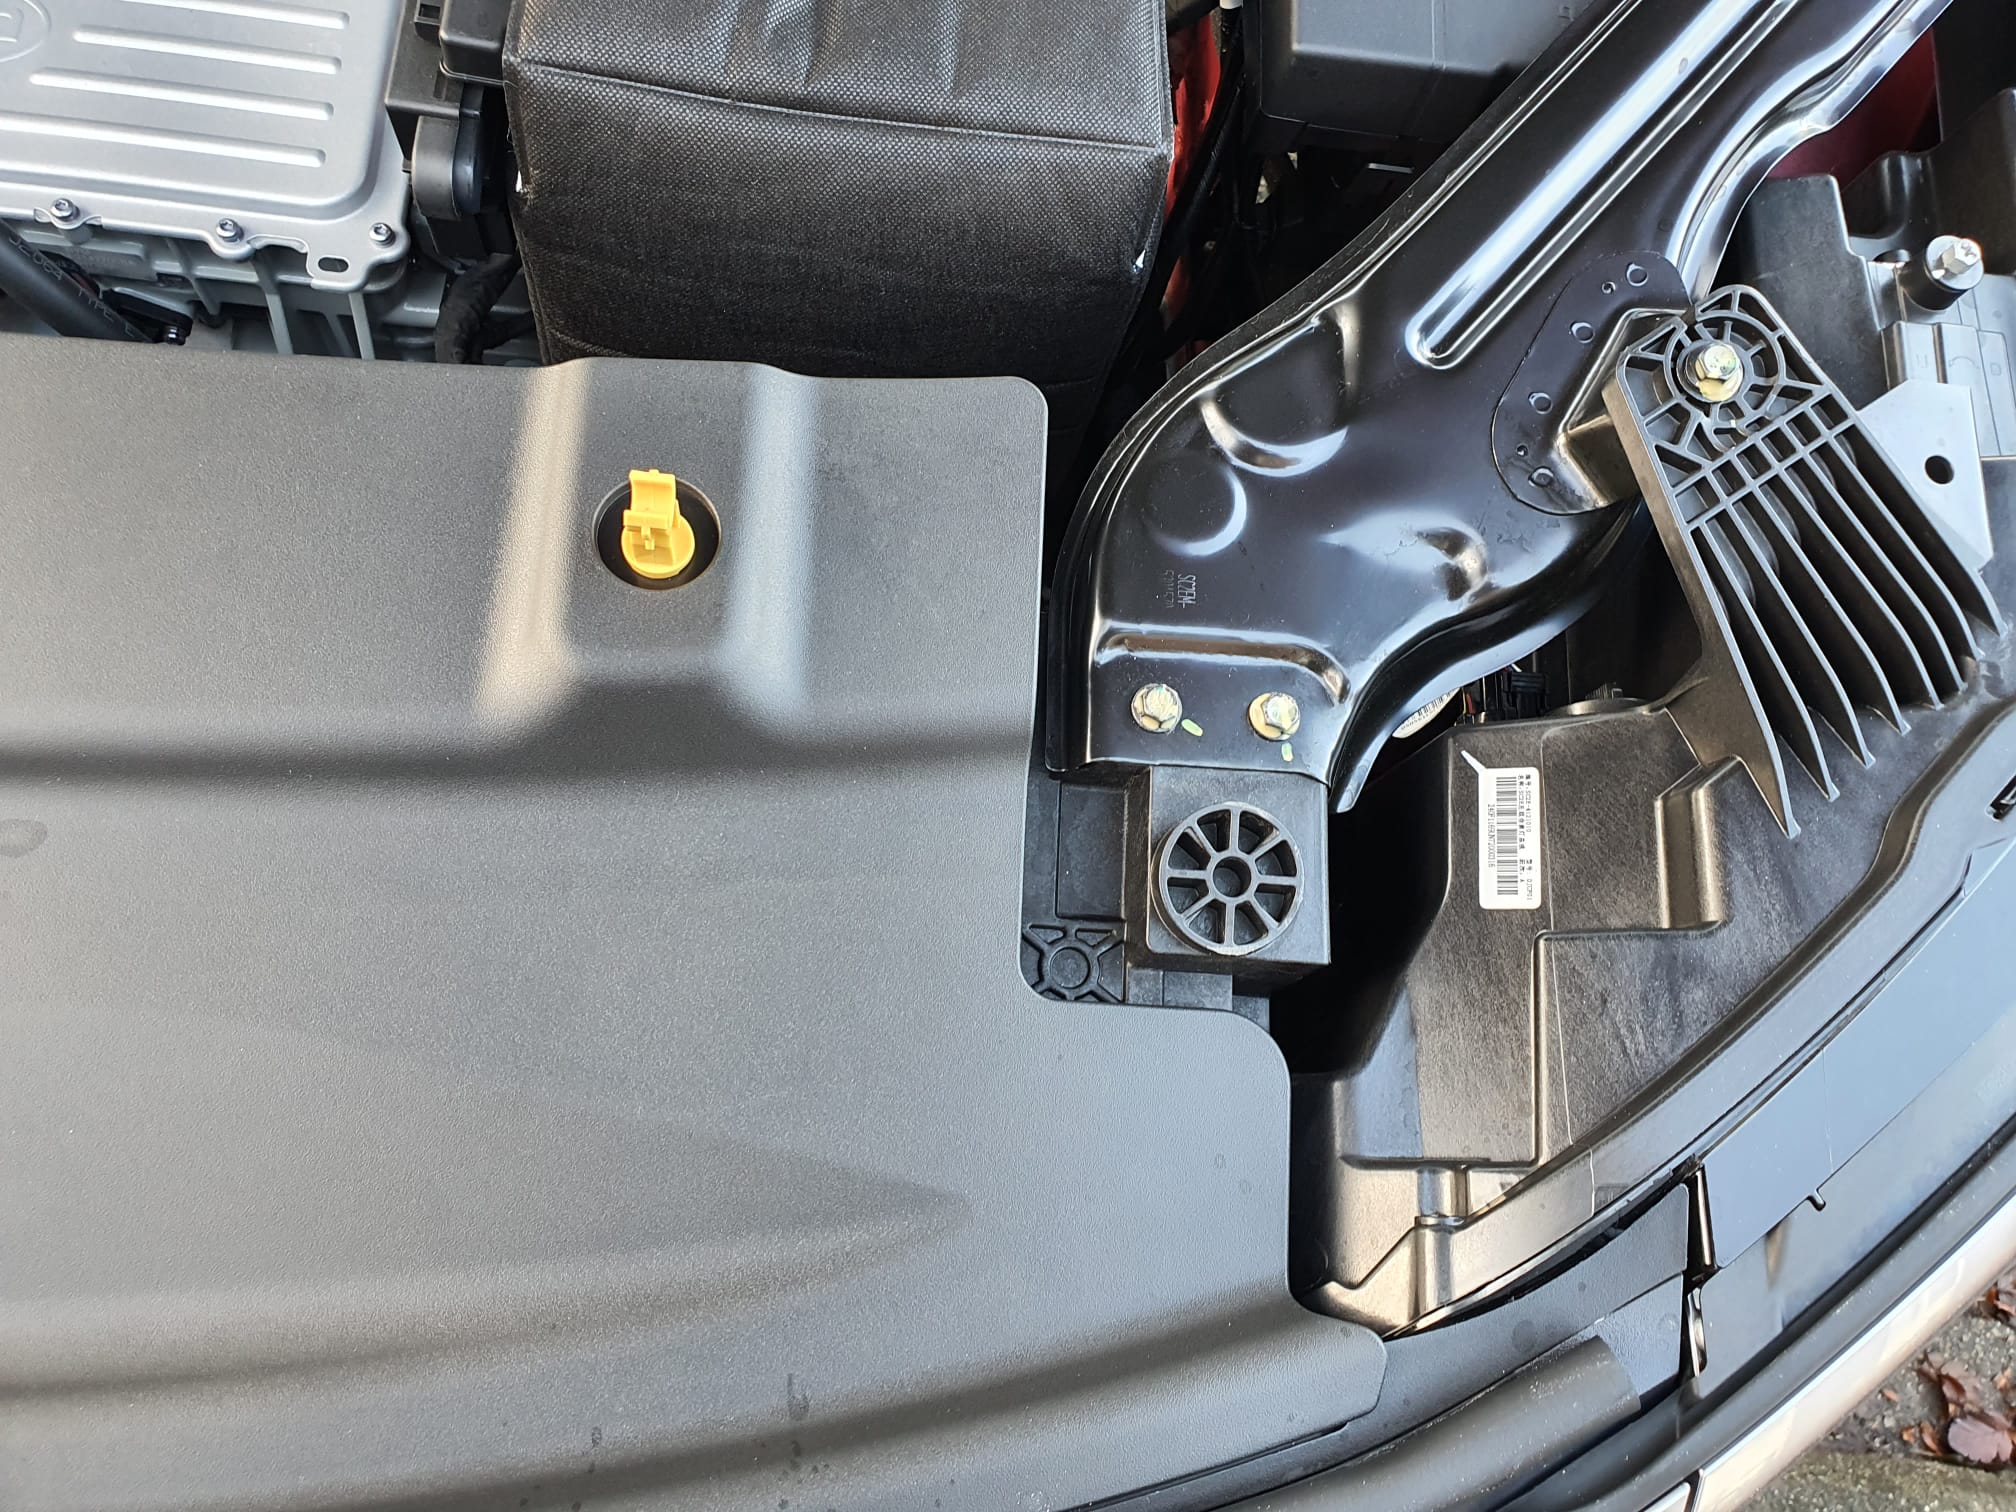
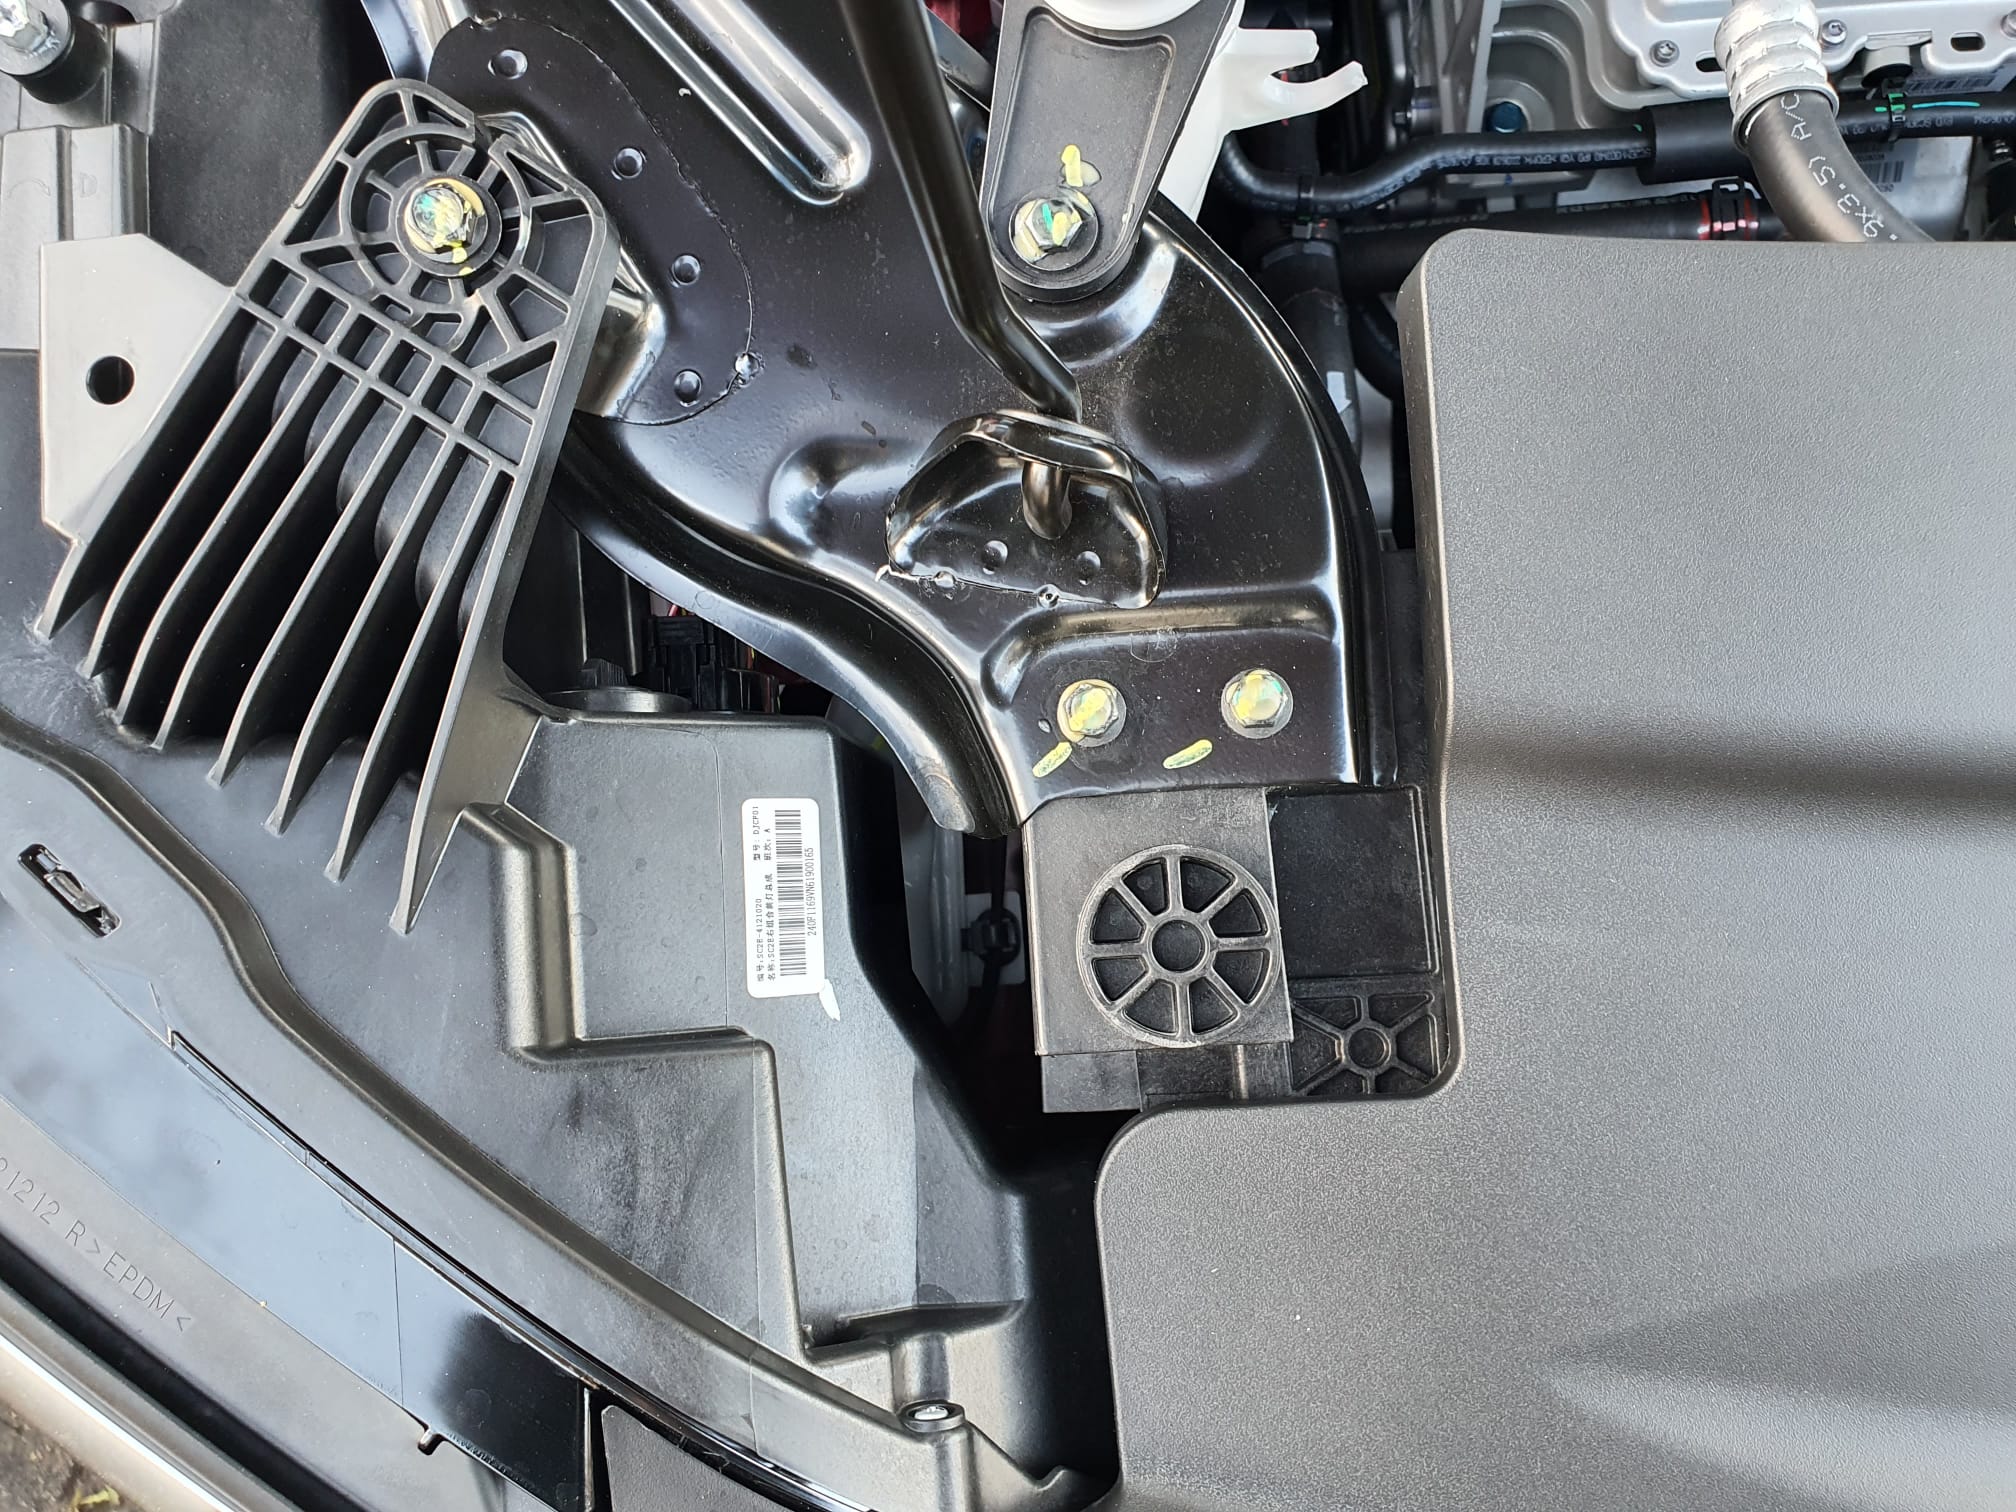
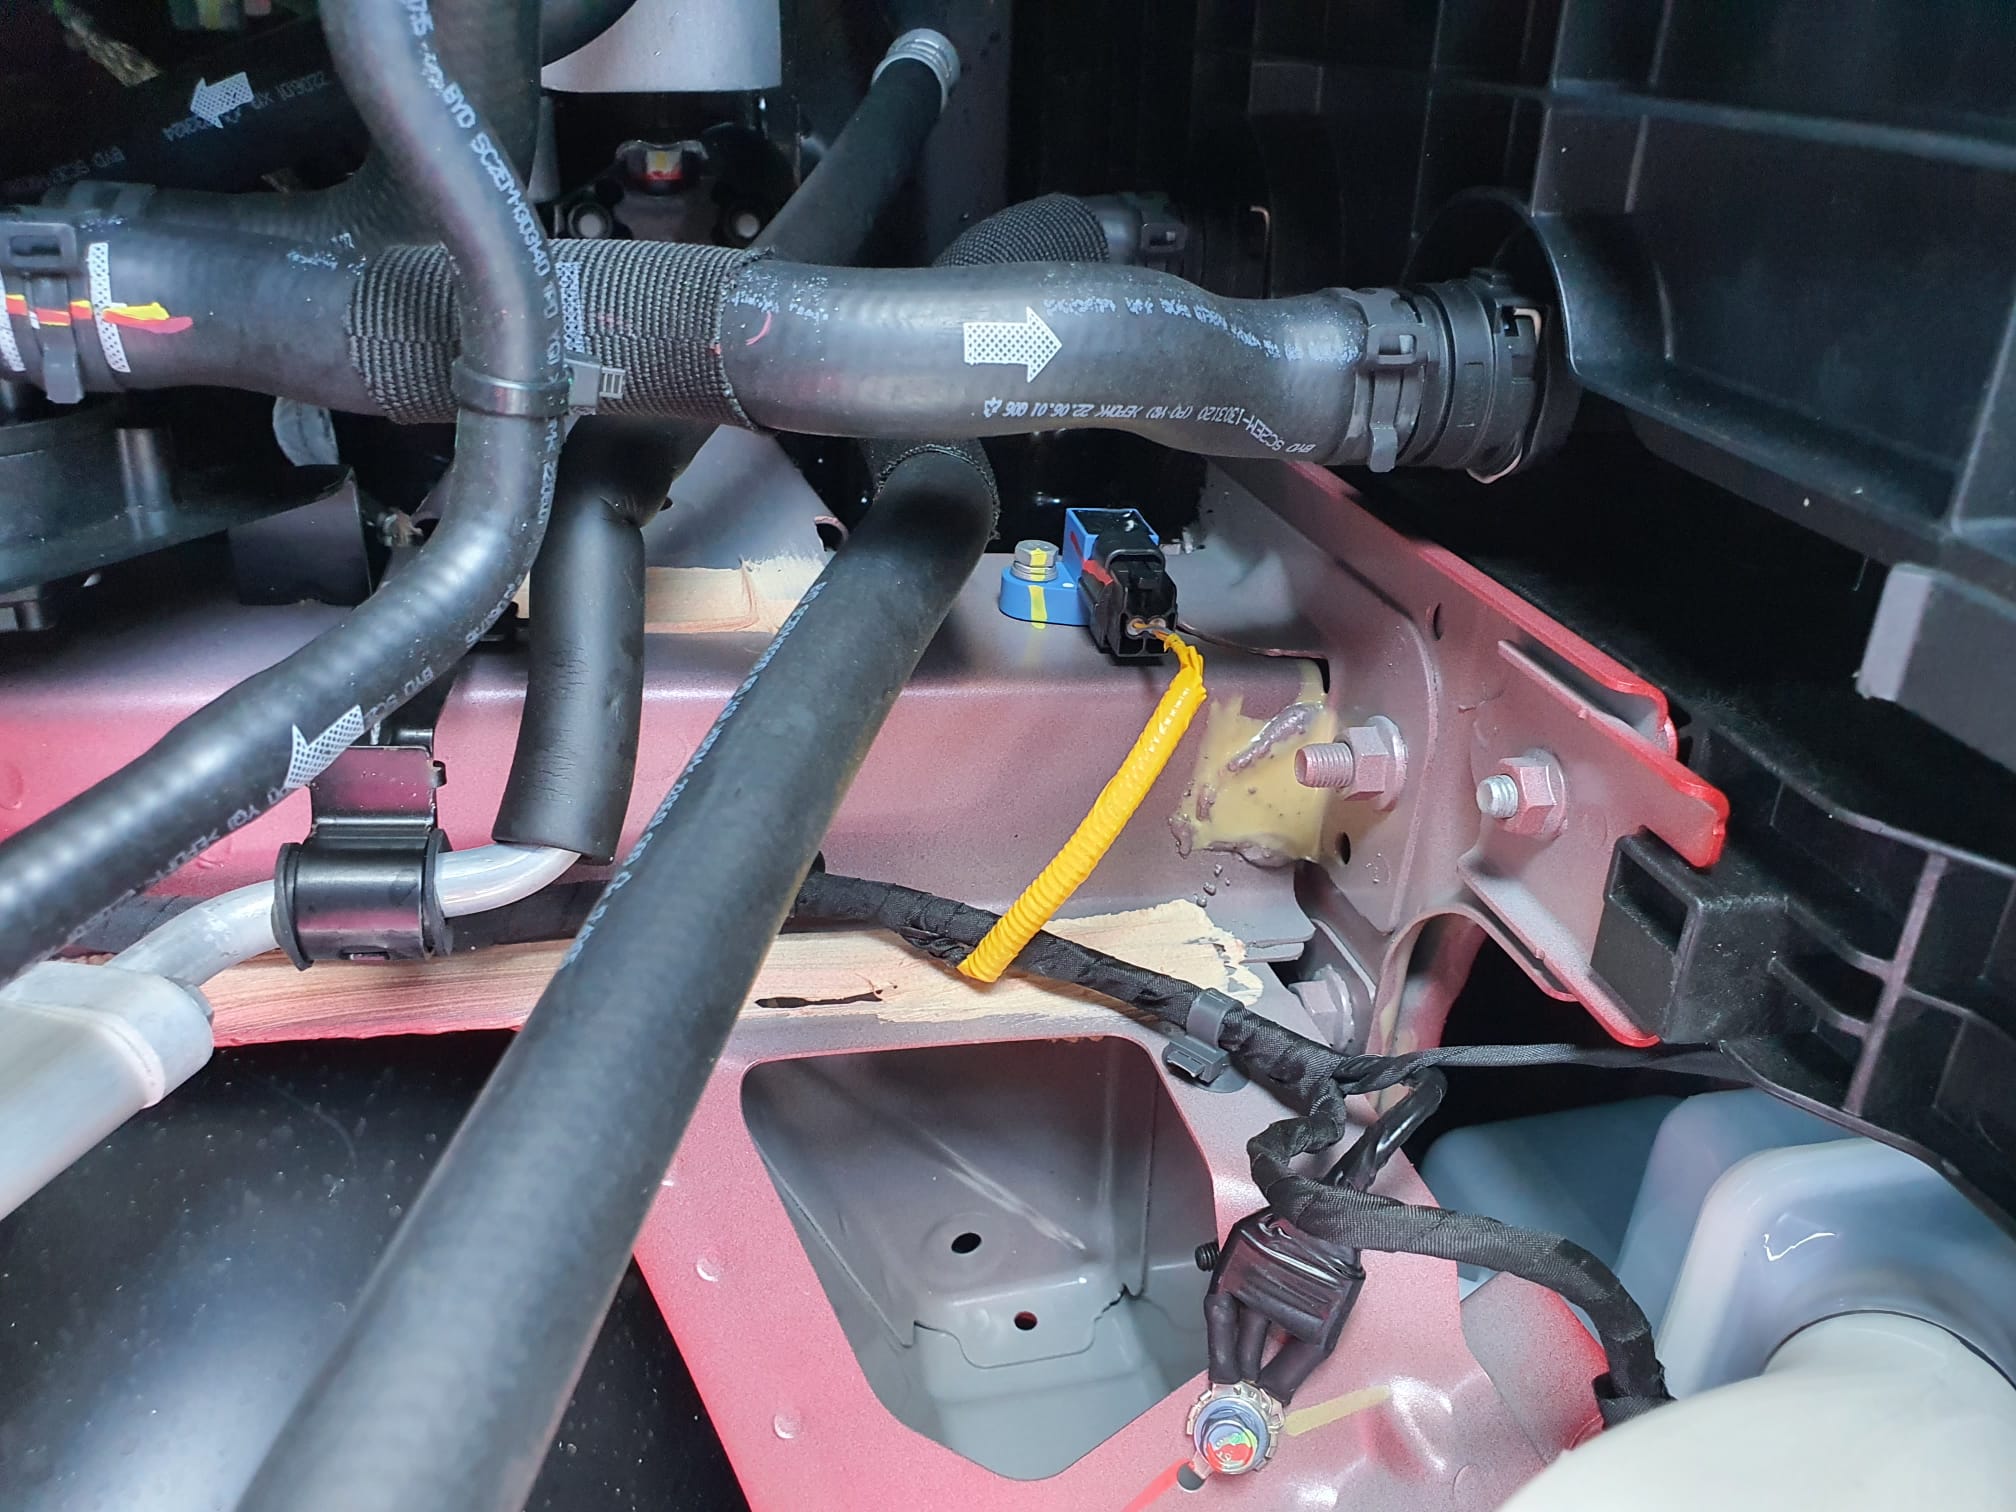
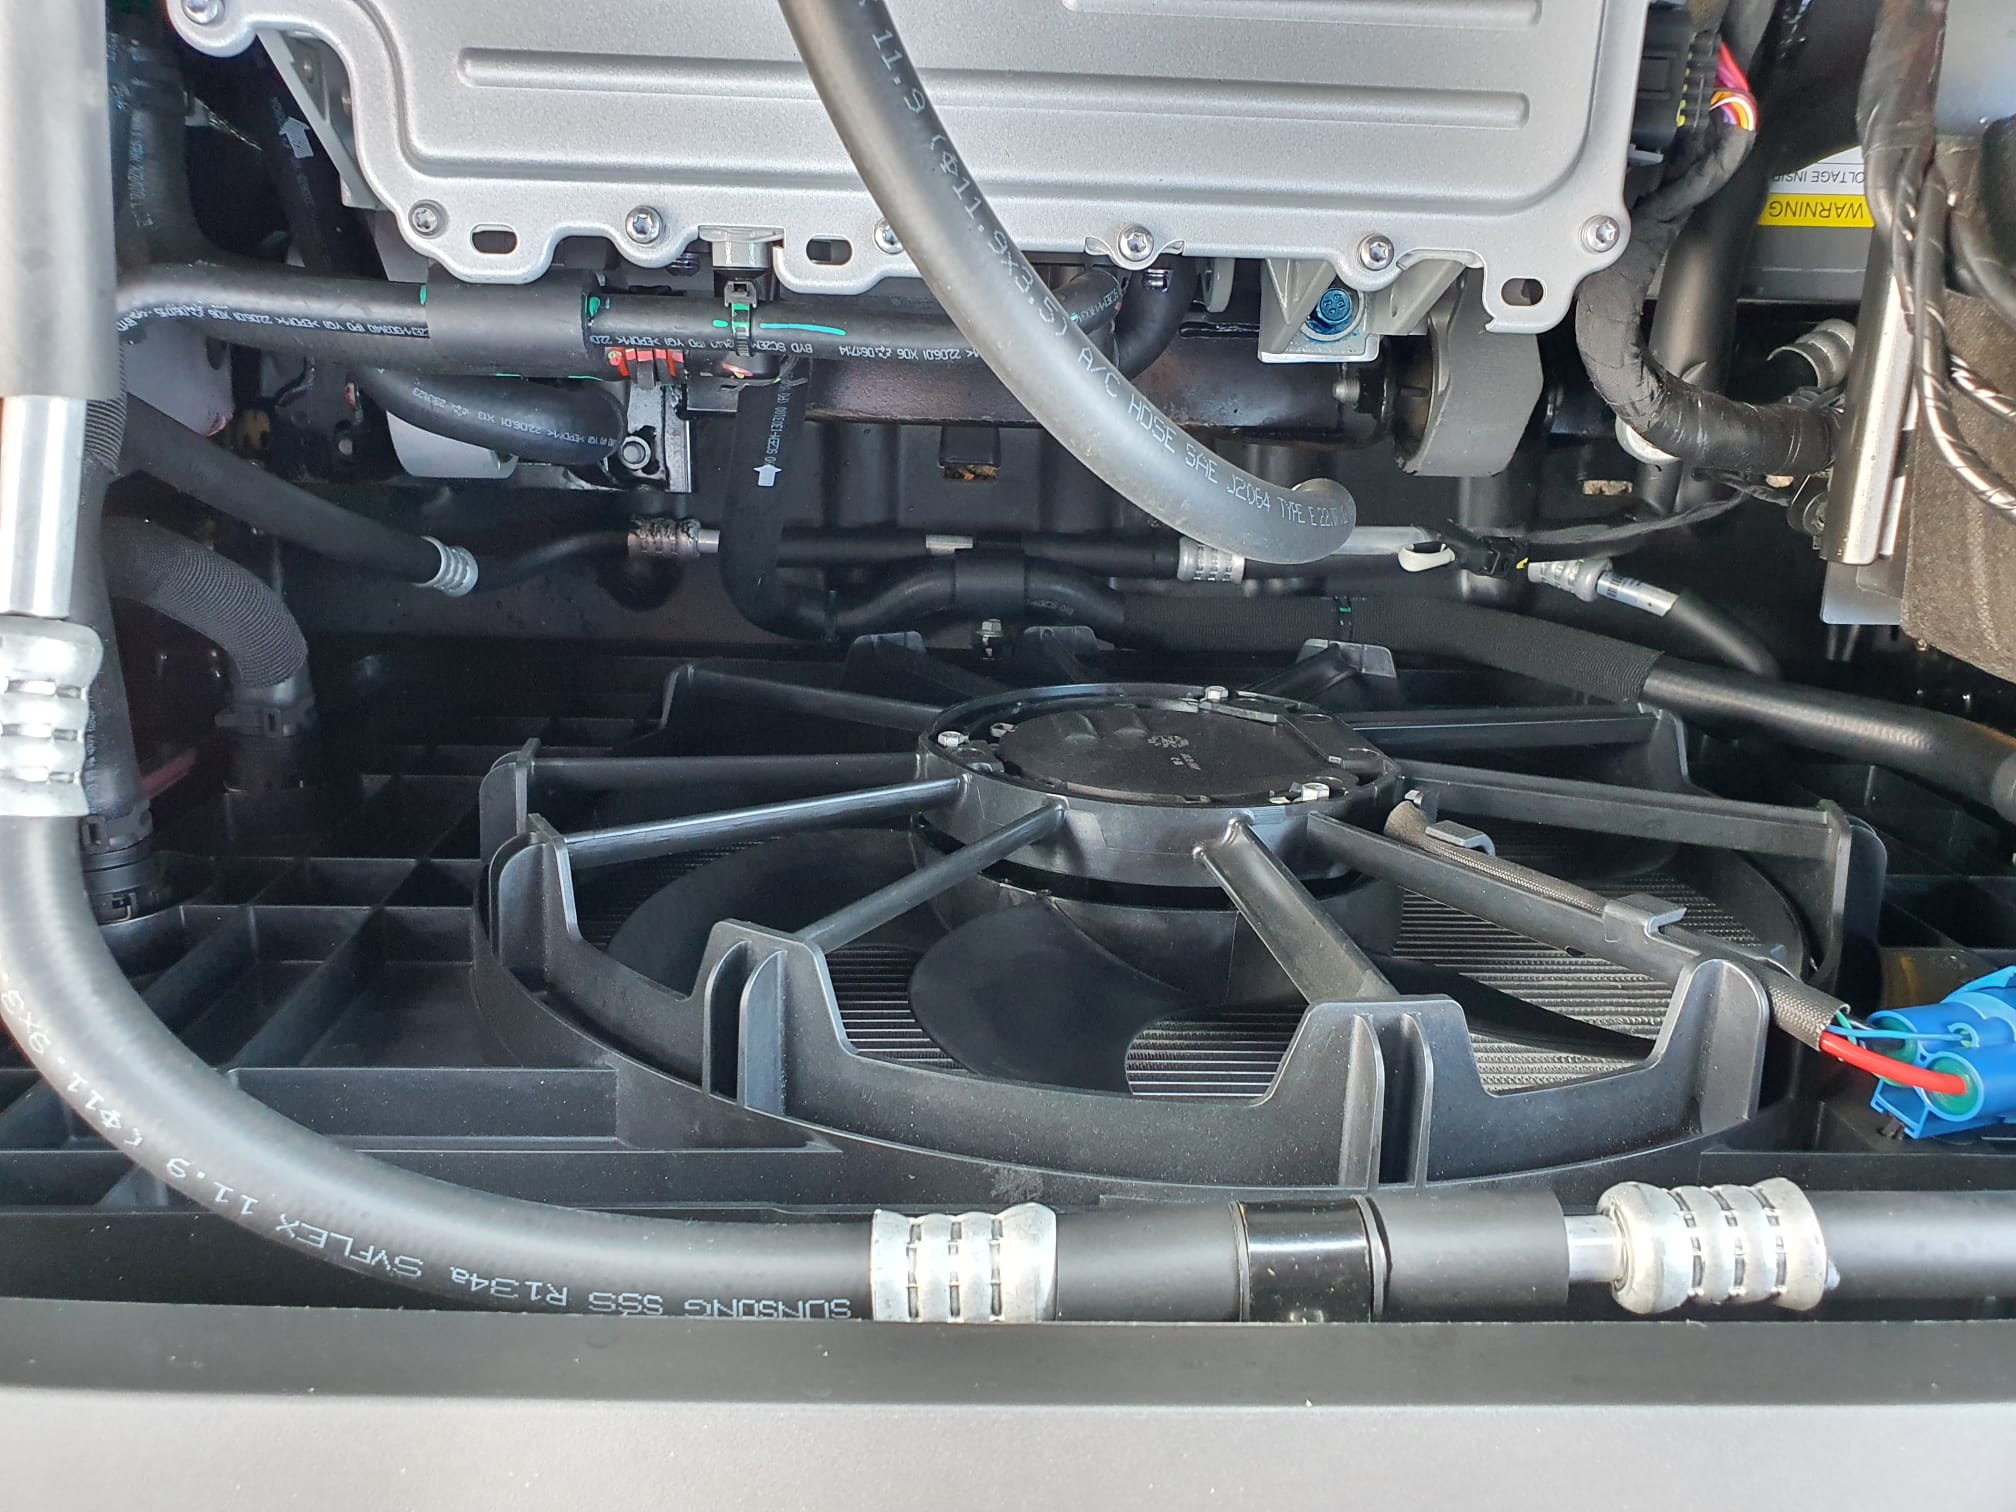
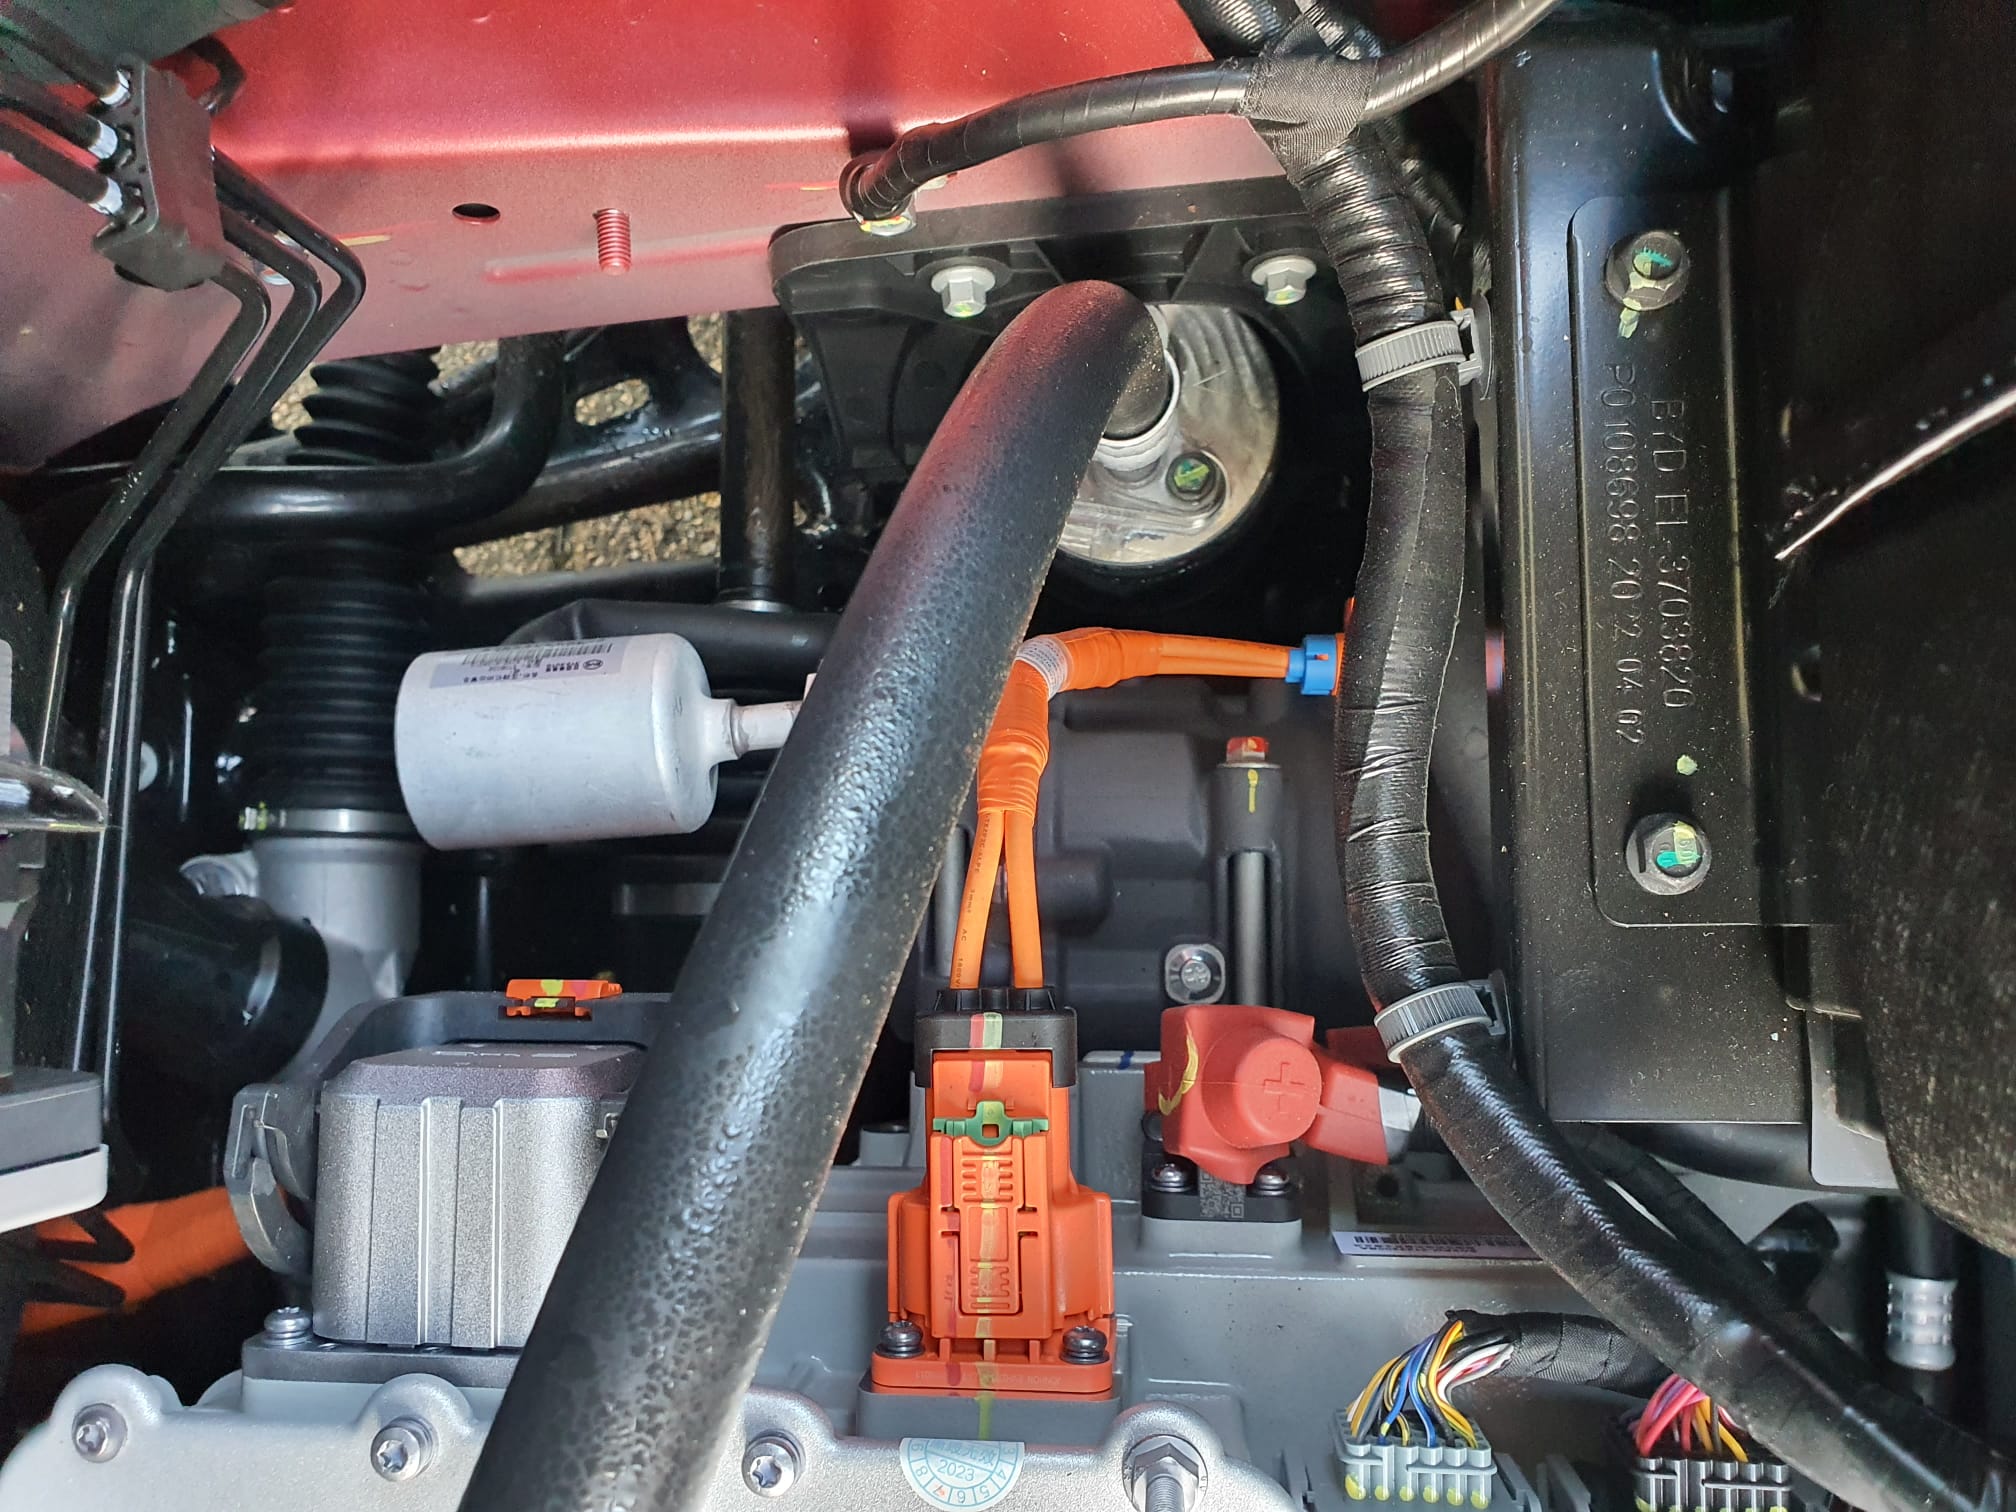
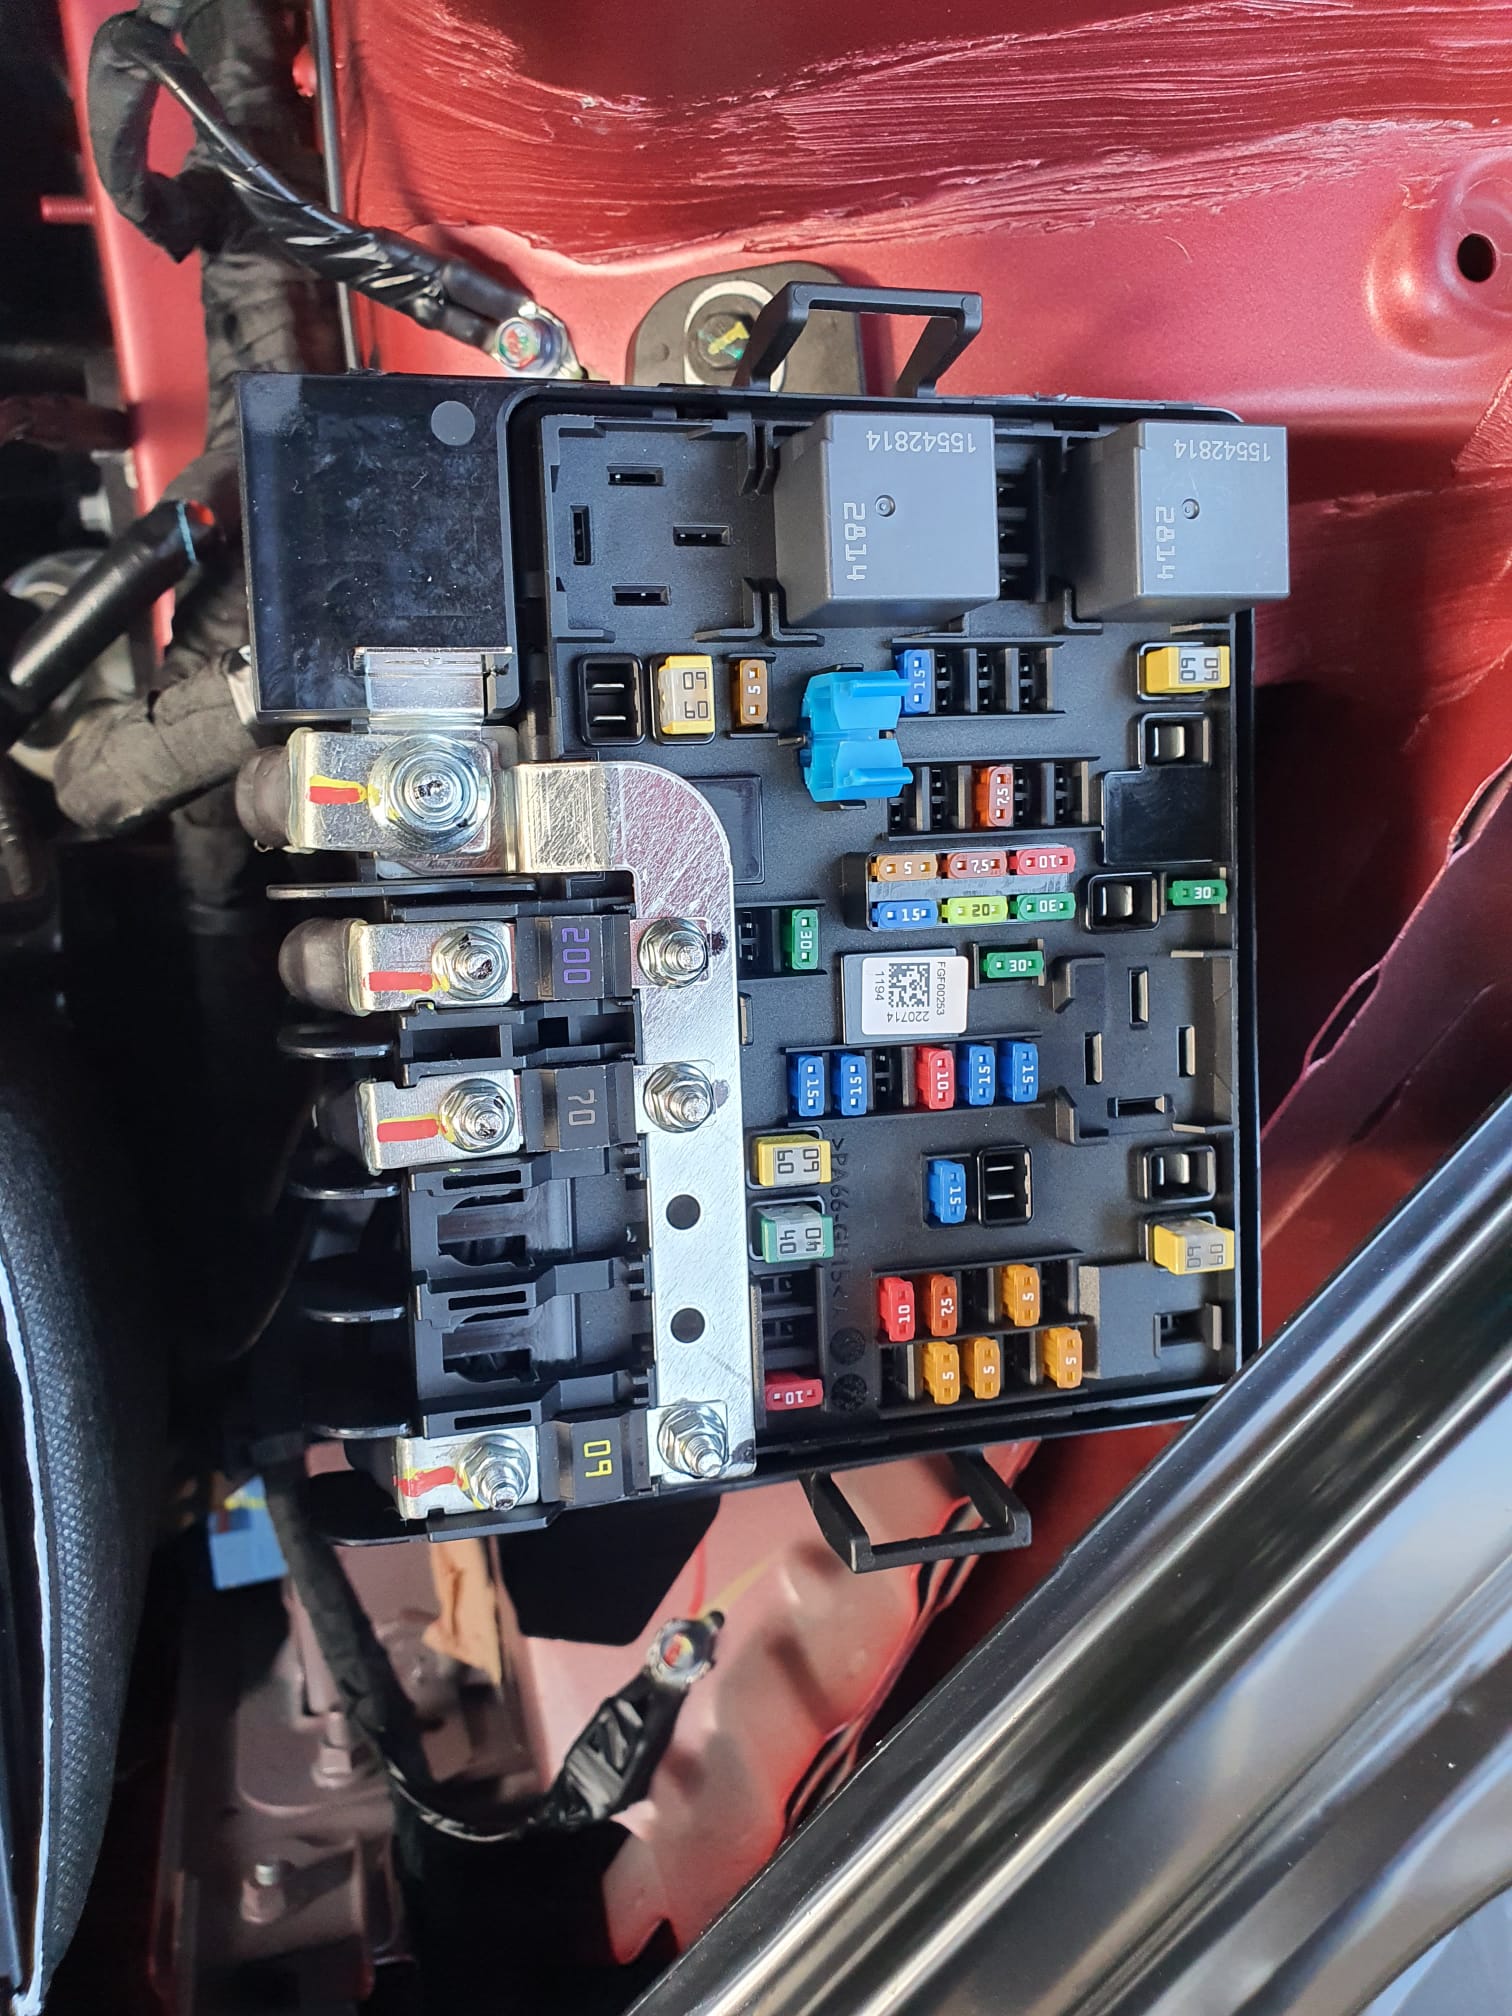
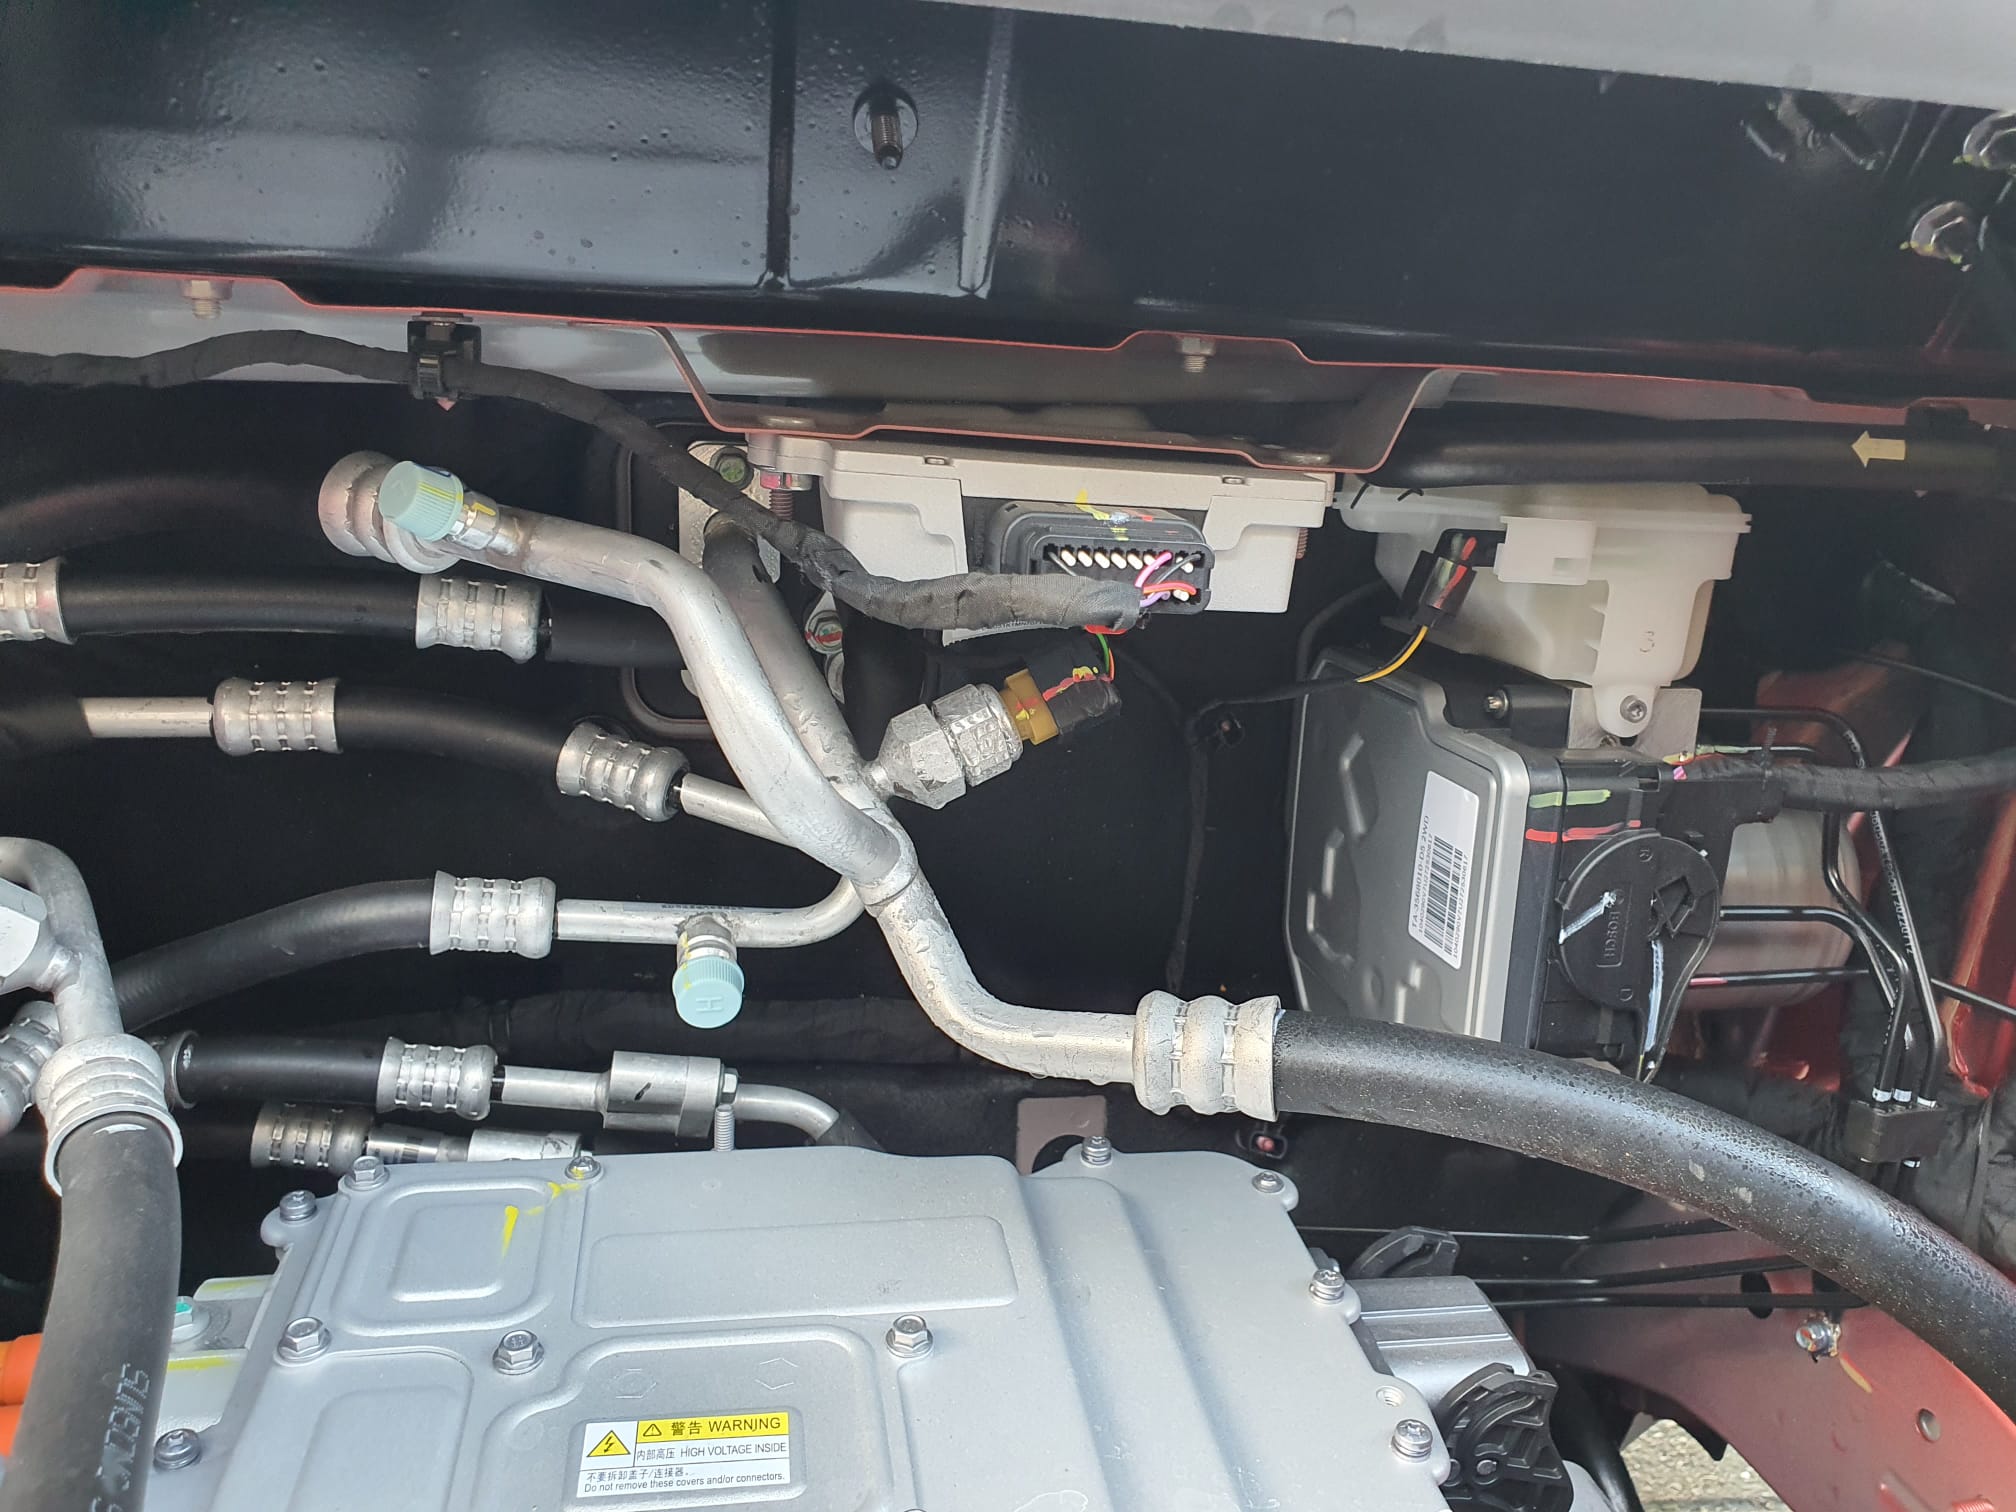
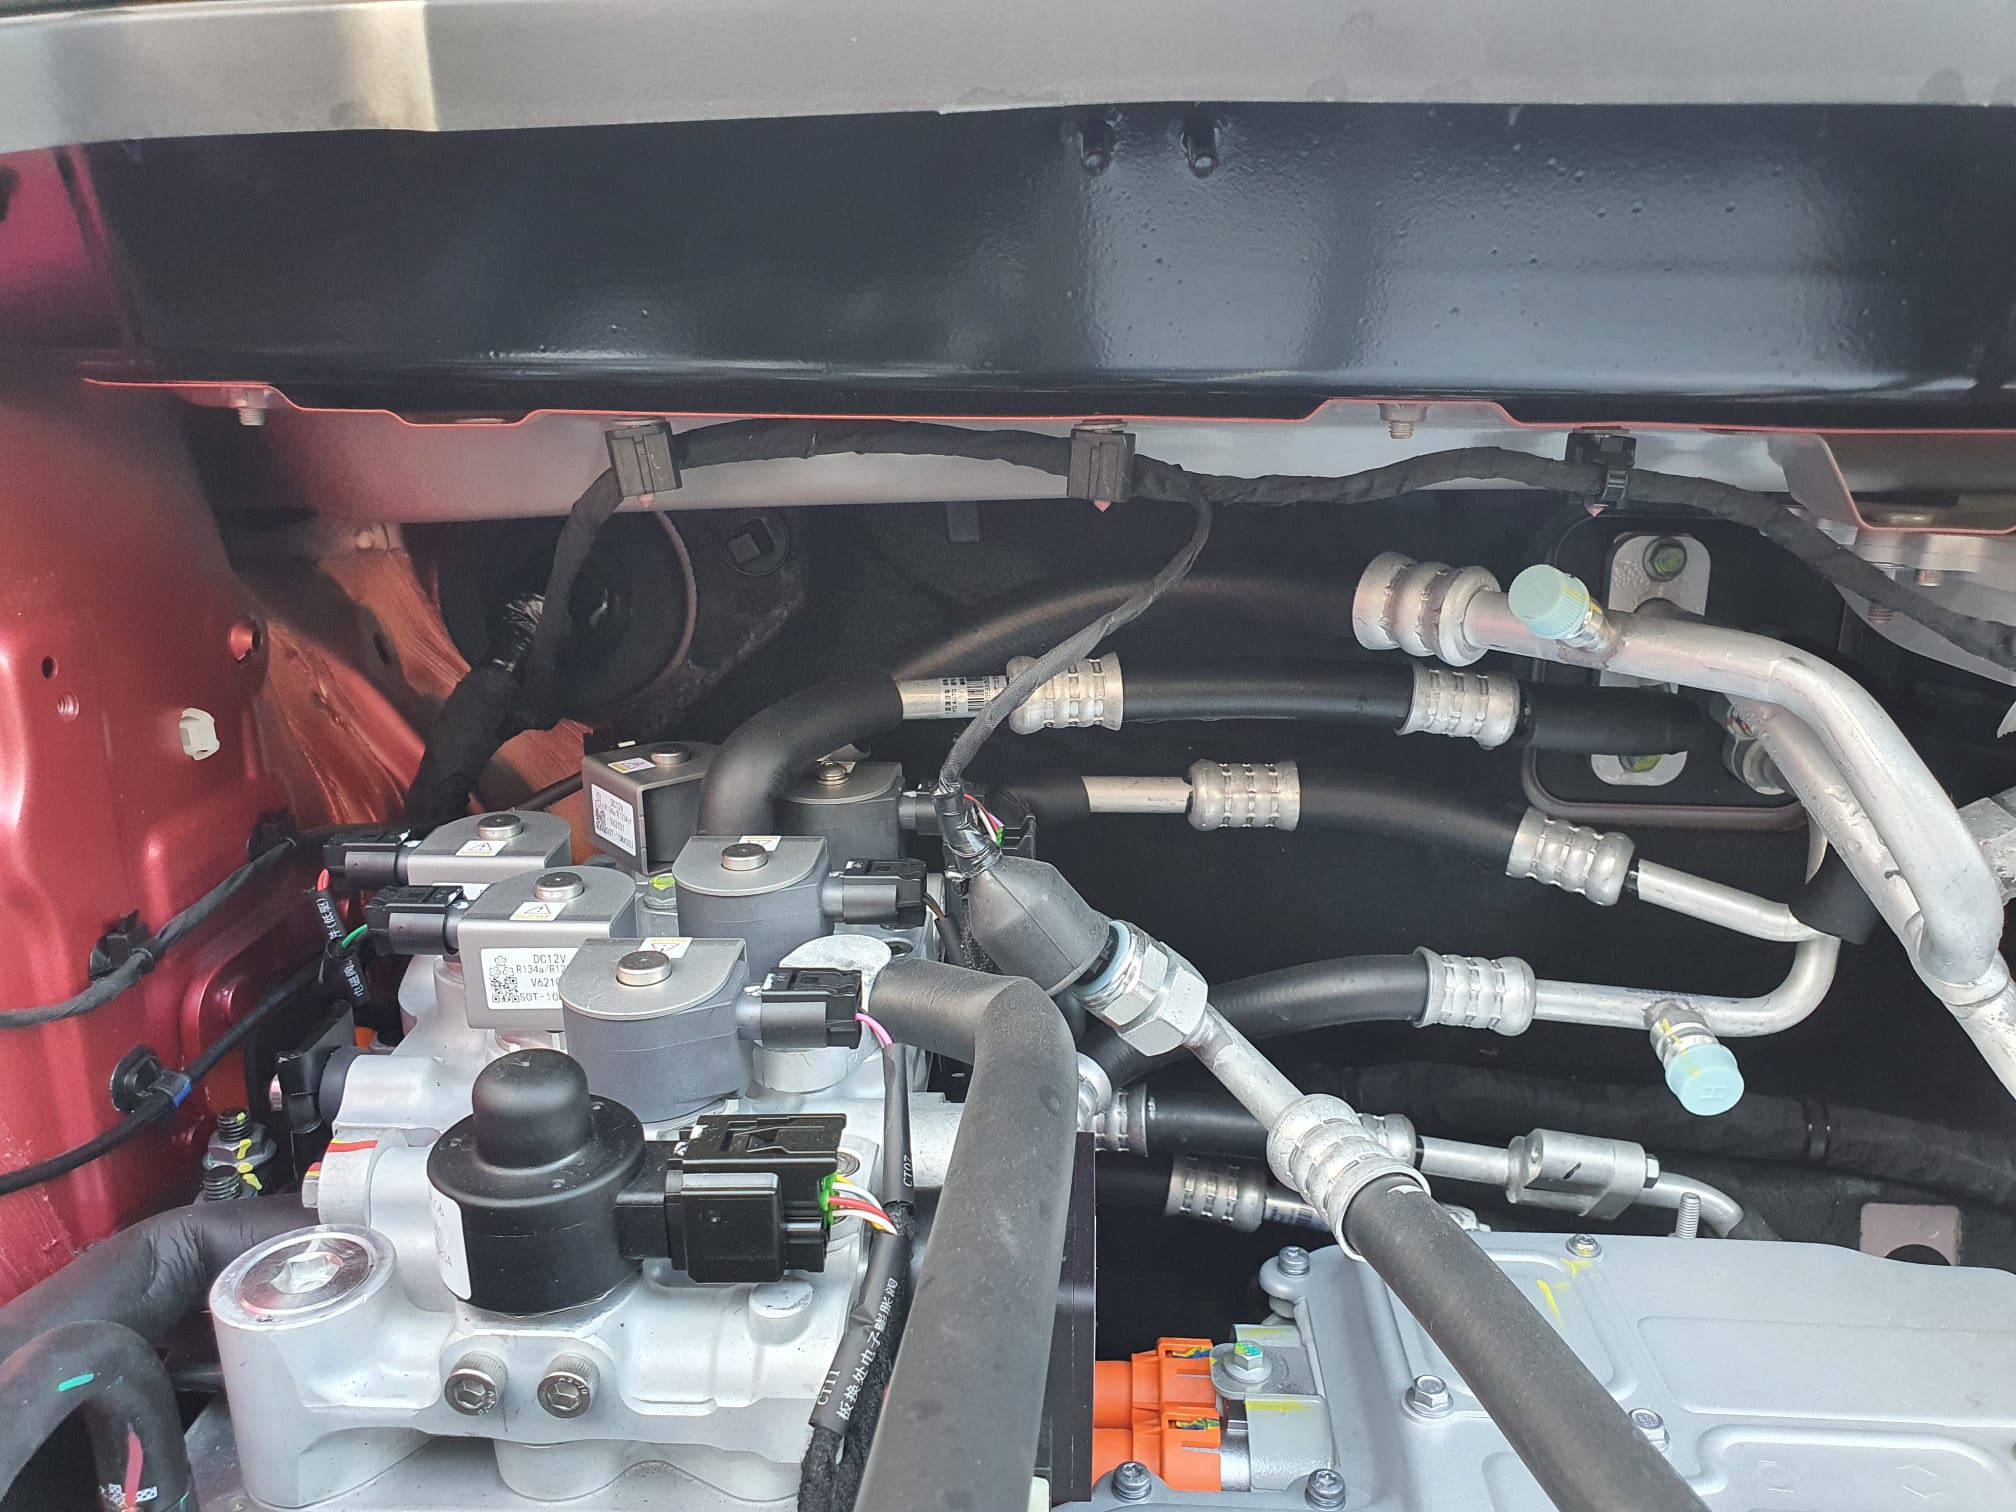
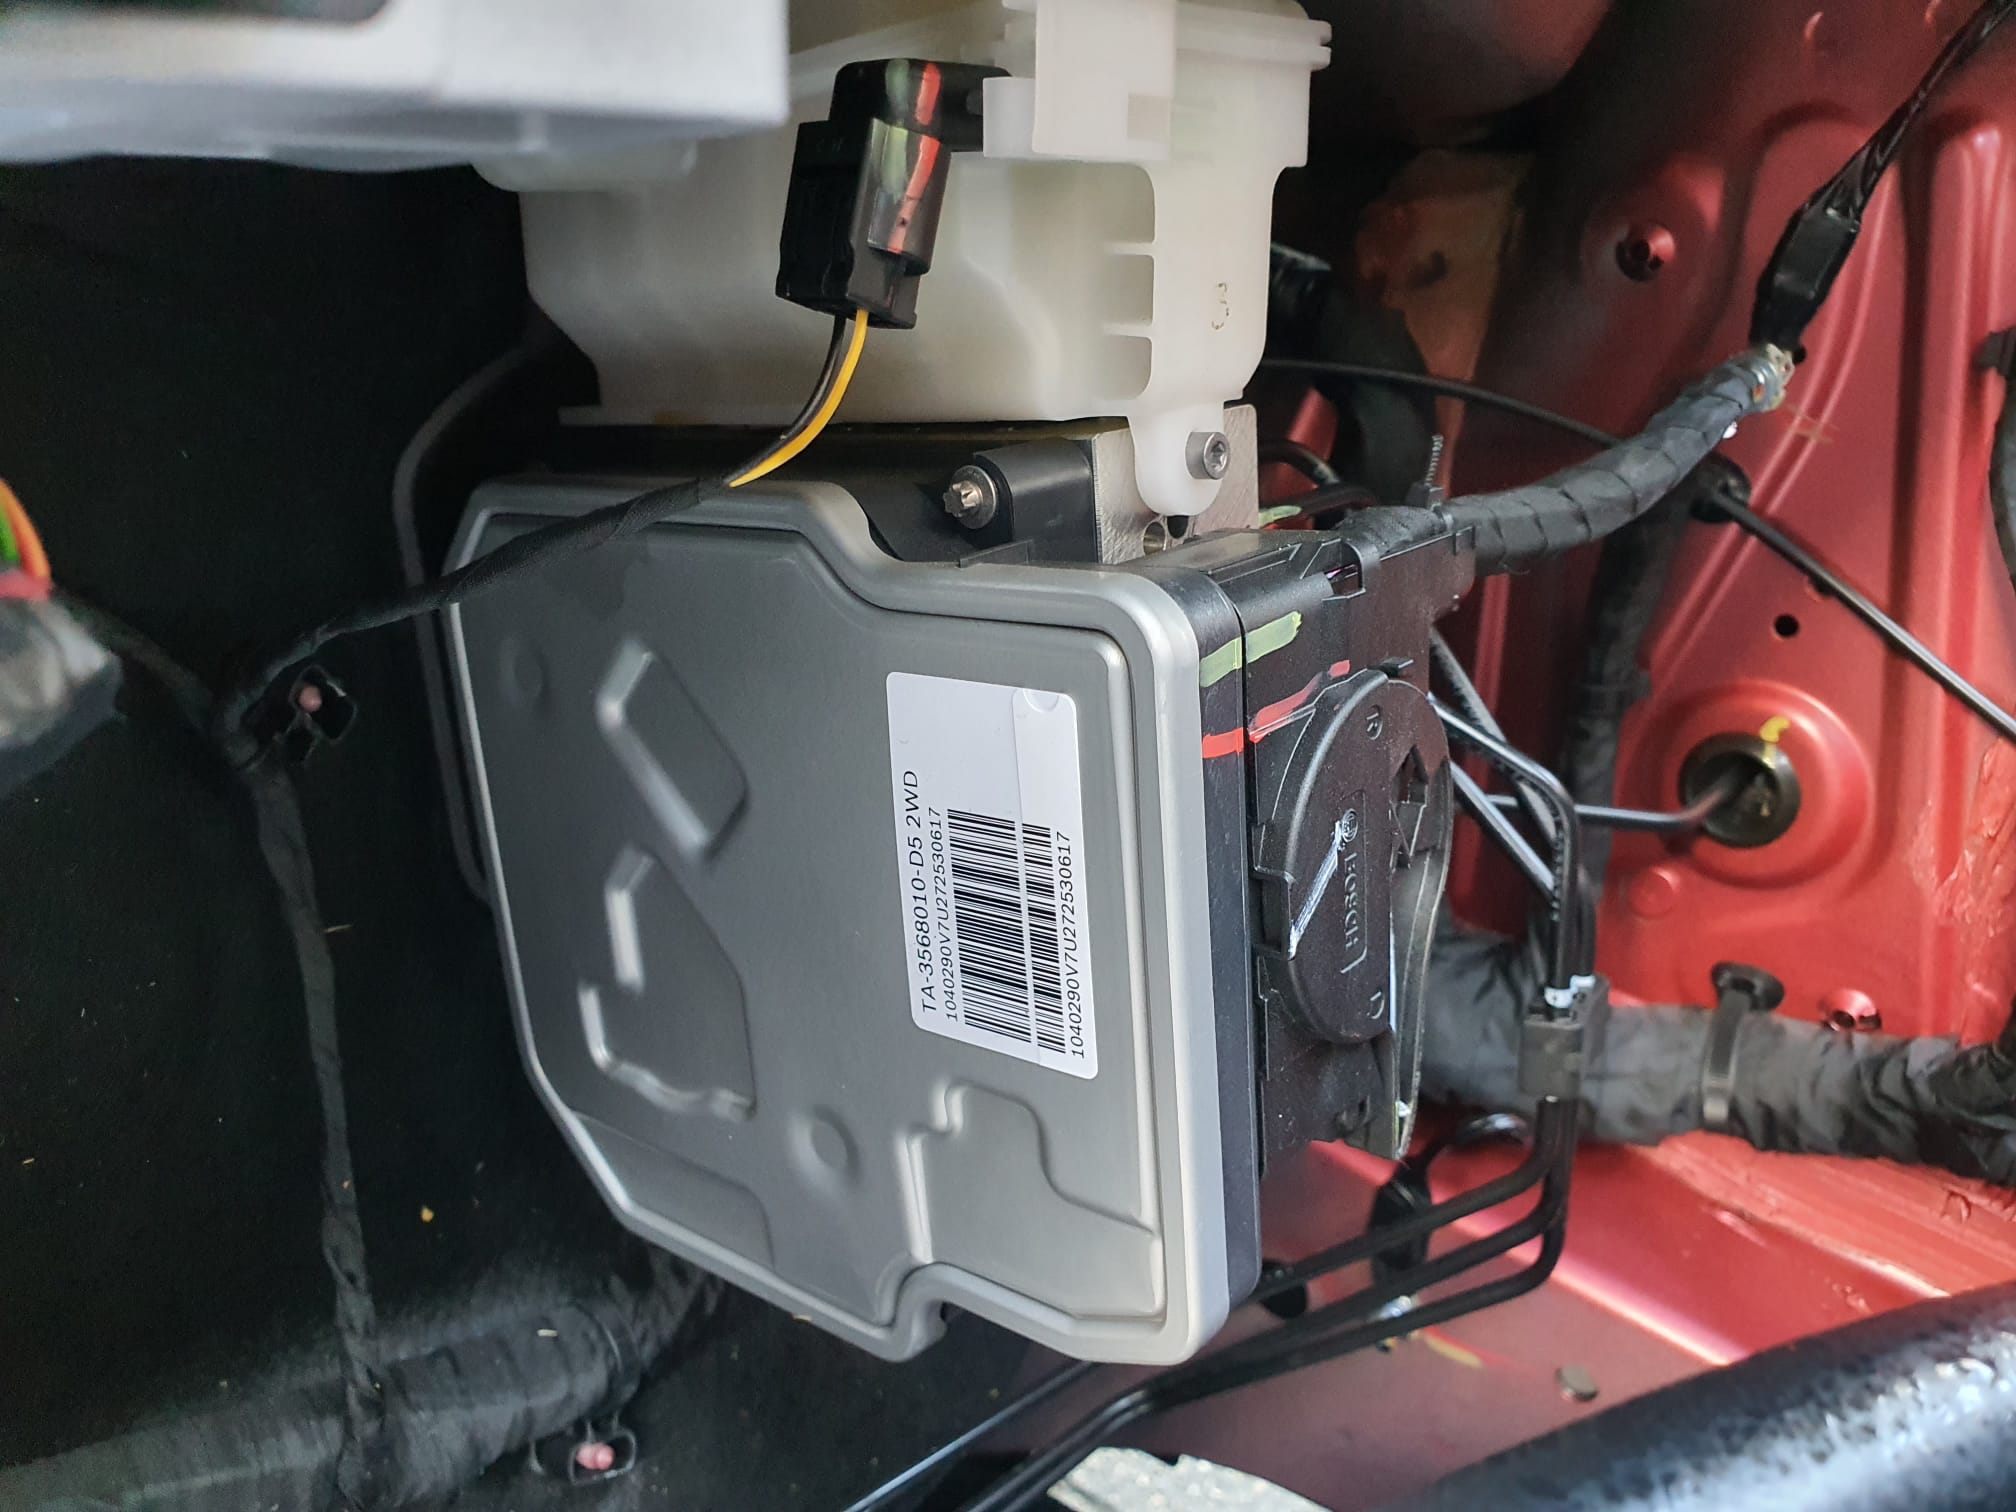
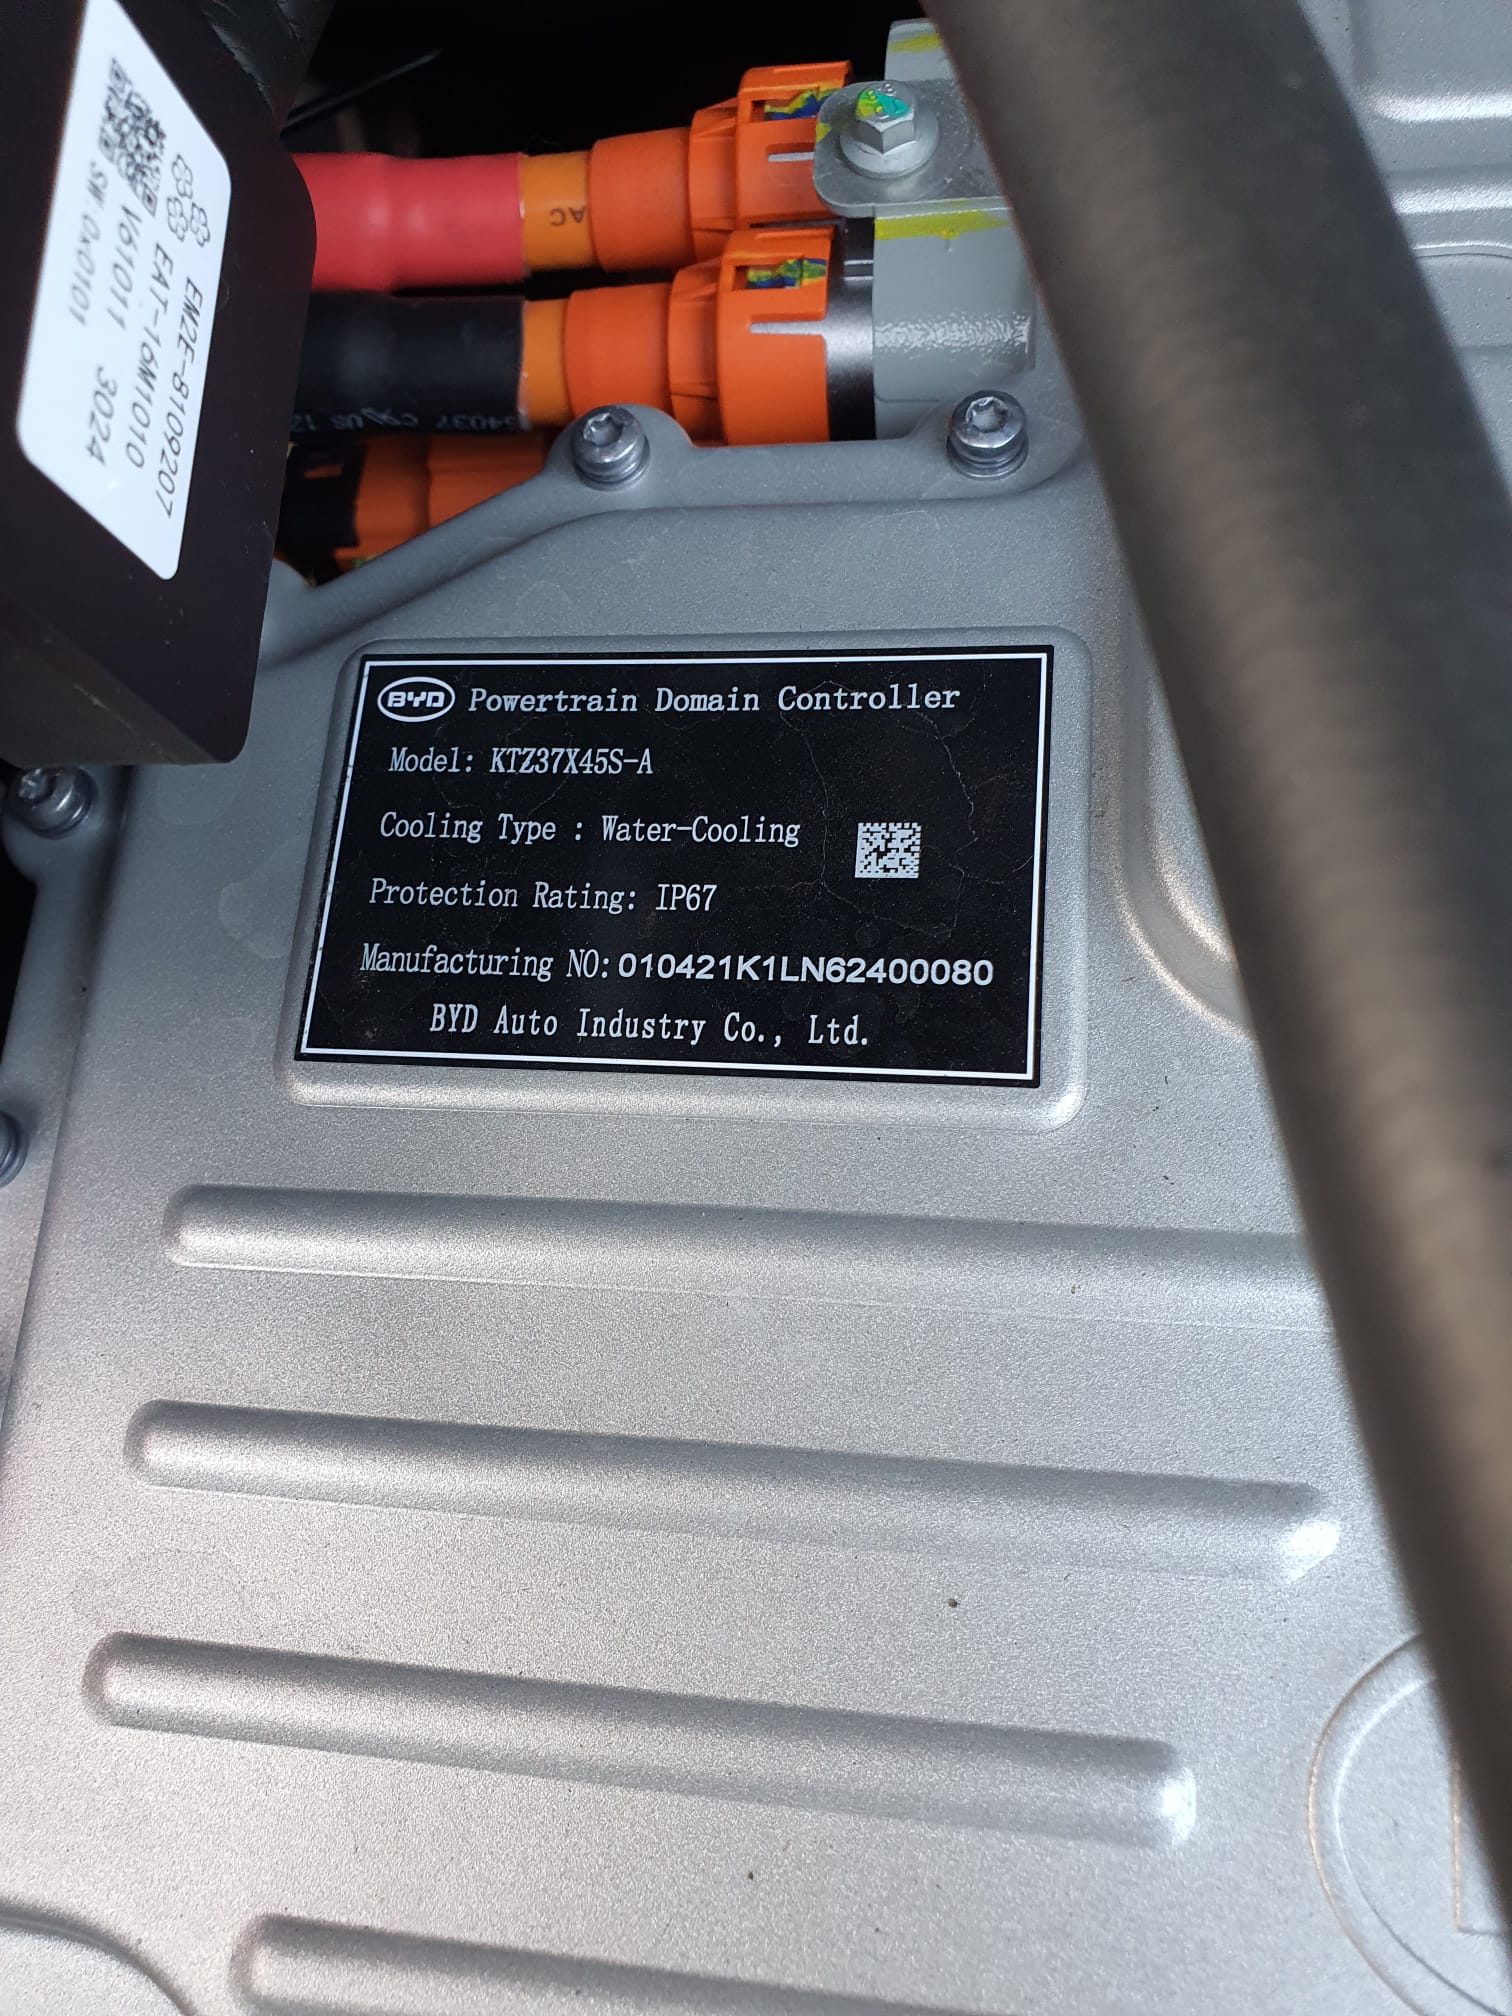
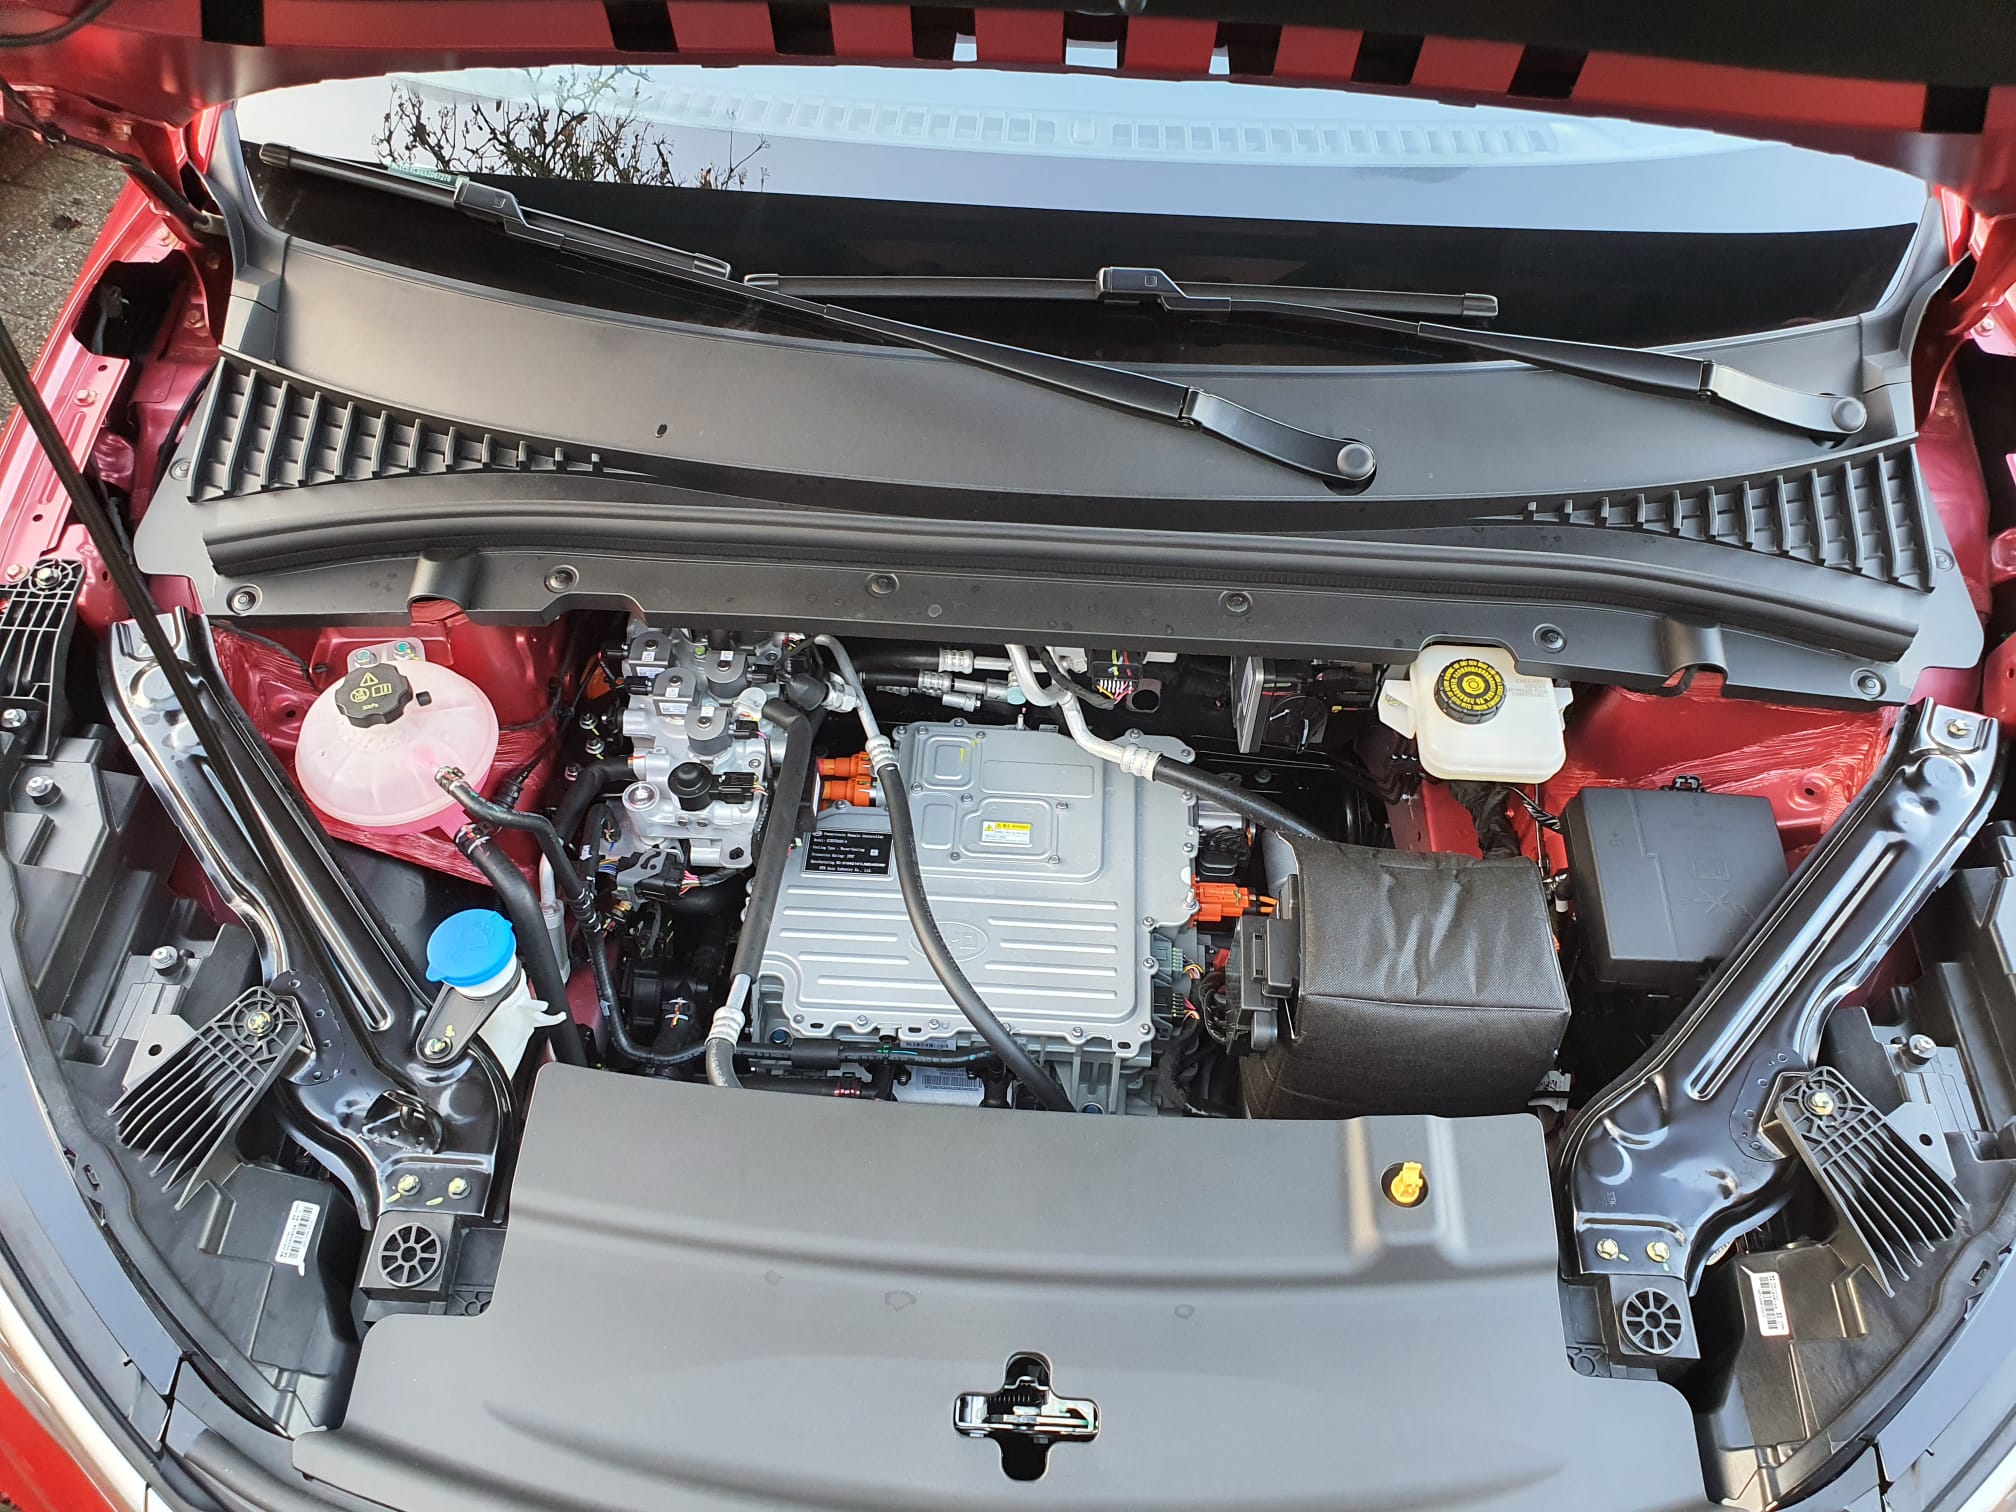
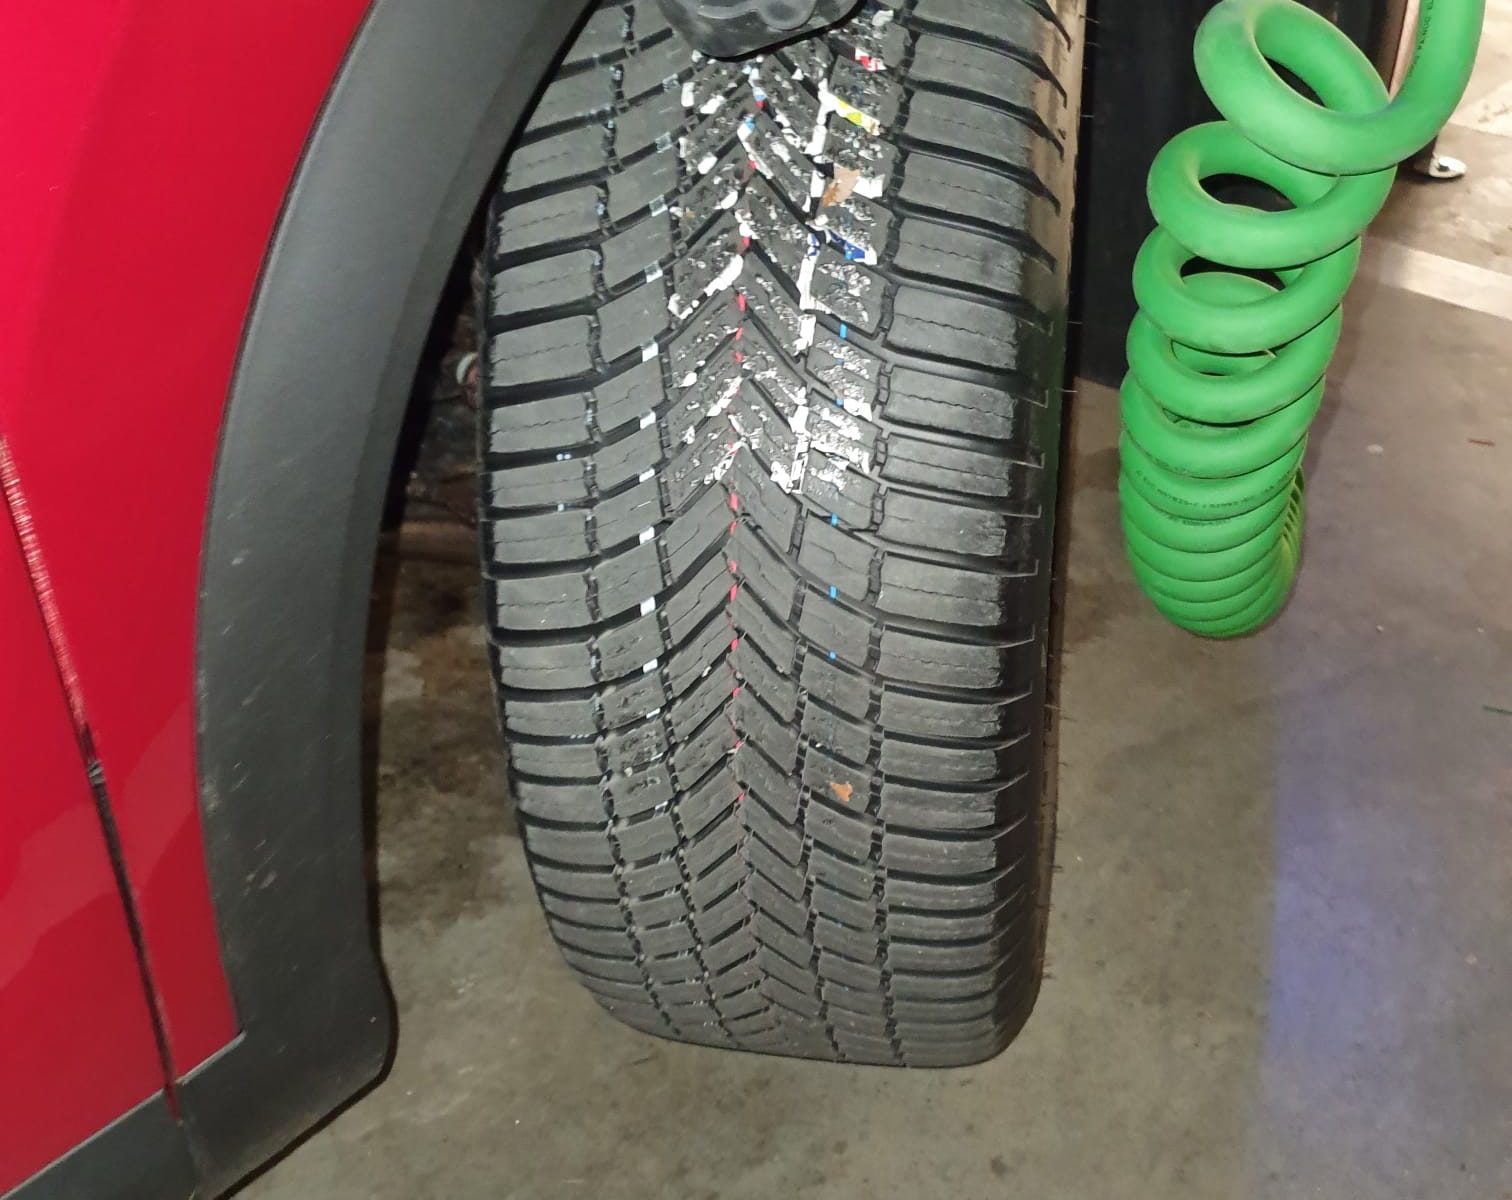
BYD Atto3 on all-weather tires Bridgestone 235/50 R18 101H XL (GAN) Weather Control A005
Suddenly it is snowing in the Netherlands, barely a week after my BYD Atto 3 was delivered on 2022-11-14th. The car came with fine Continental summer tires:
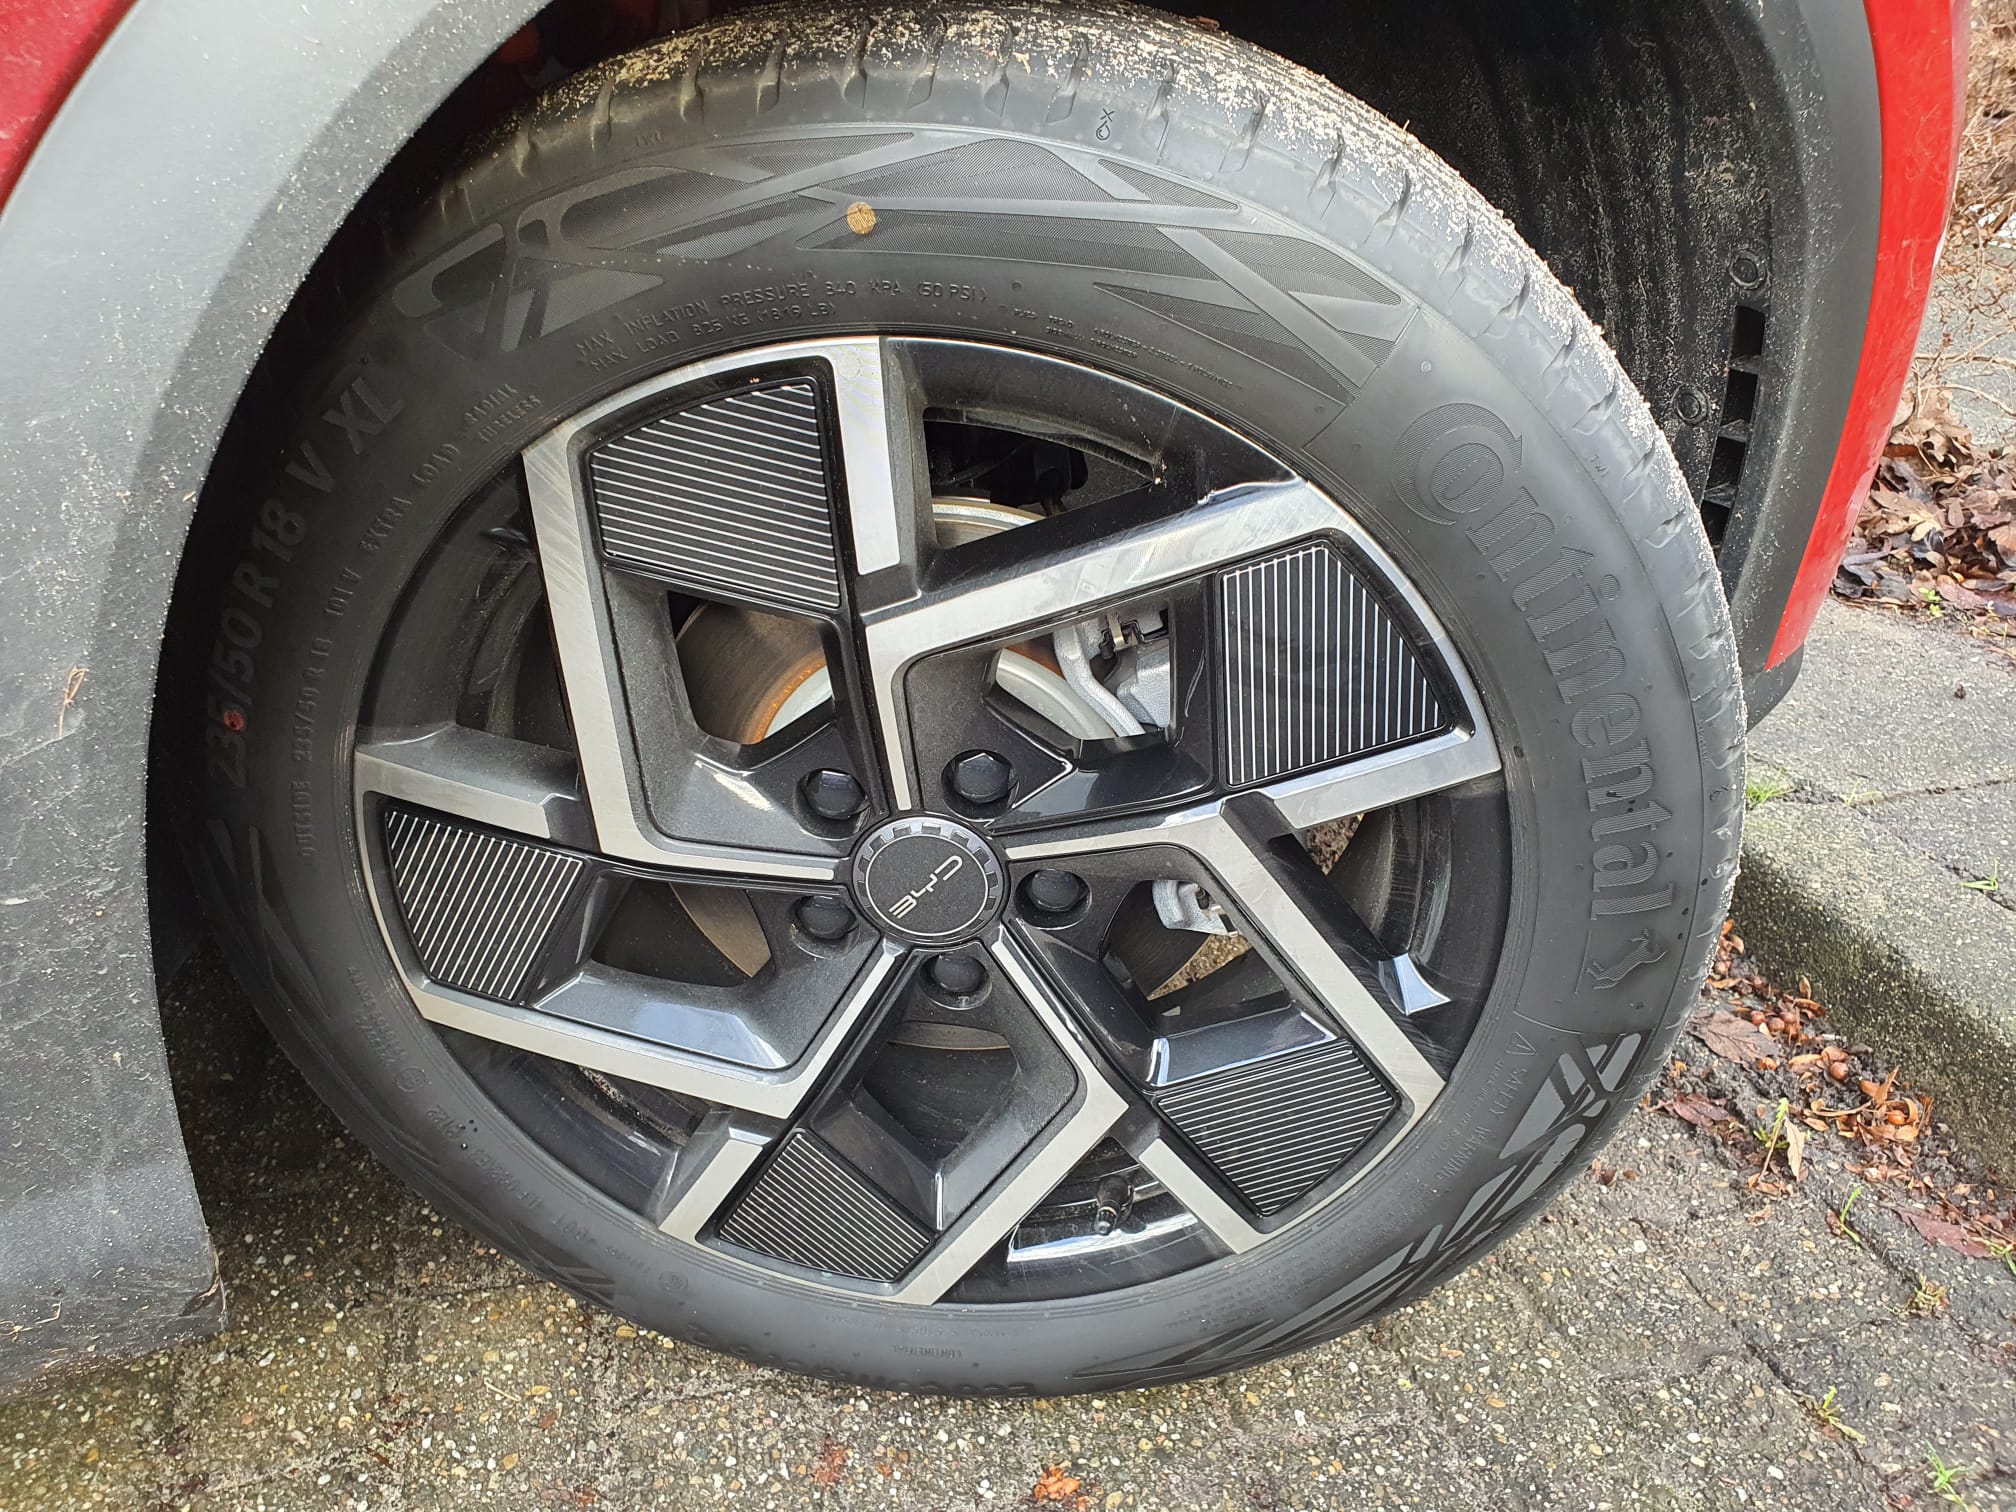
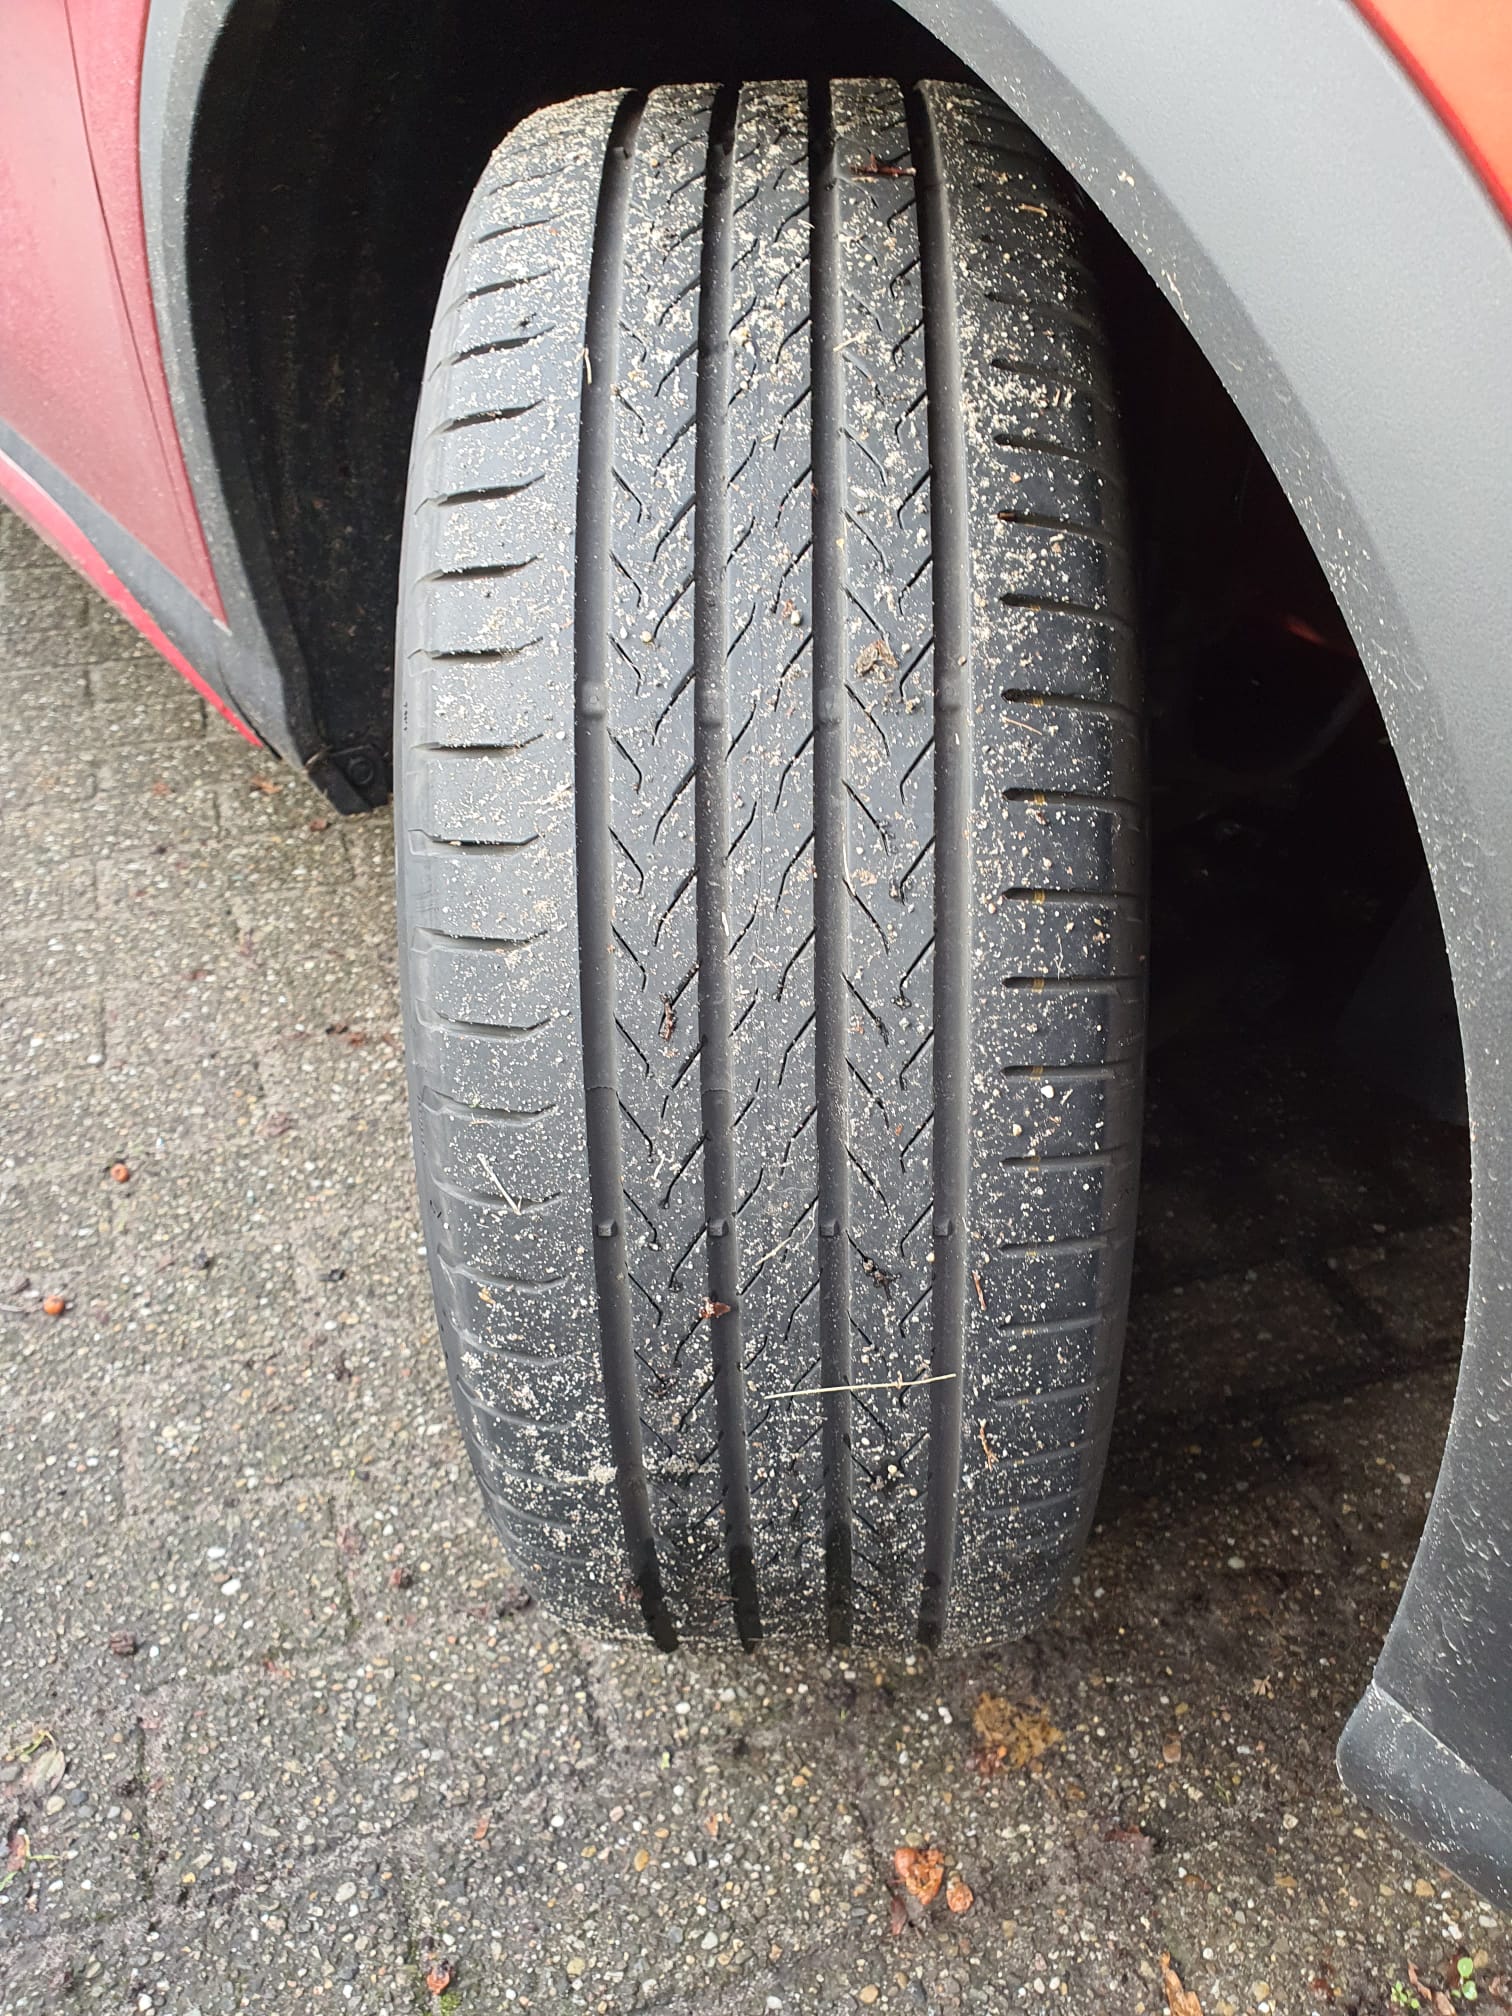
But I don’t feel like changing tires twice a year so it will be all-weather tires to match the car.
After some research I chose all-weather tires with the same size as the summer tires the Atto3 came with: 235/50/18.
Because of the weight of the car (1725 kg), solid tires are needed, not so much because of the maximum speed of 160 km/h.
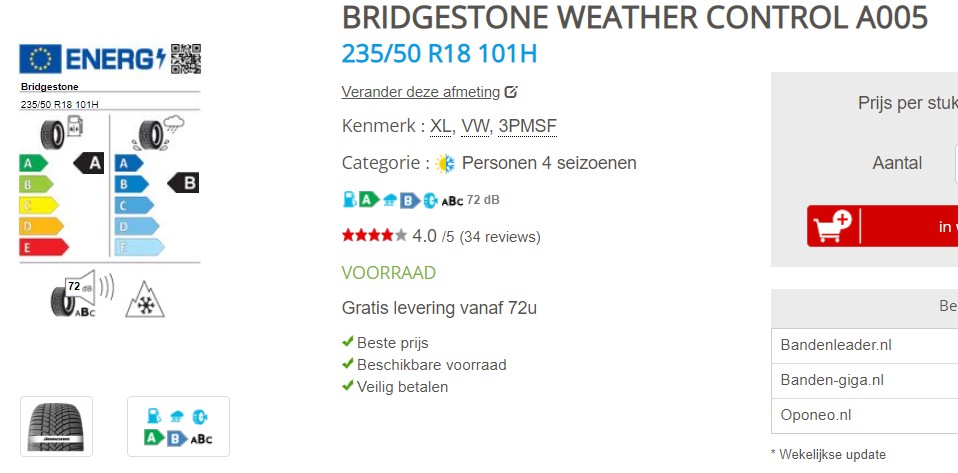
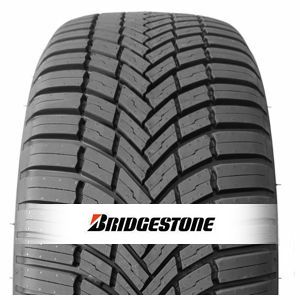
So it became these all-seasons tires: Bridgestone 235/50 R18 101H XL (GAN) Weather Control A005. The new tires will come on the original rims and the Continental summer tires will go into storage for the time being.
The energy rating of the Bridgestone all-weathers comes to class A, rain and snow resistance comes to B and noise comes to 72dB.
These tires have a snowflake as a mark on the tire so at least you can also drive them in Germany in winter.
After the installation (2022-12-13th) our experiences are:
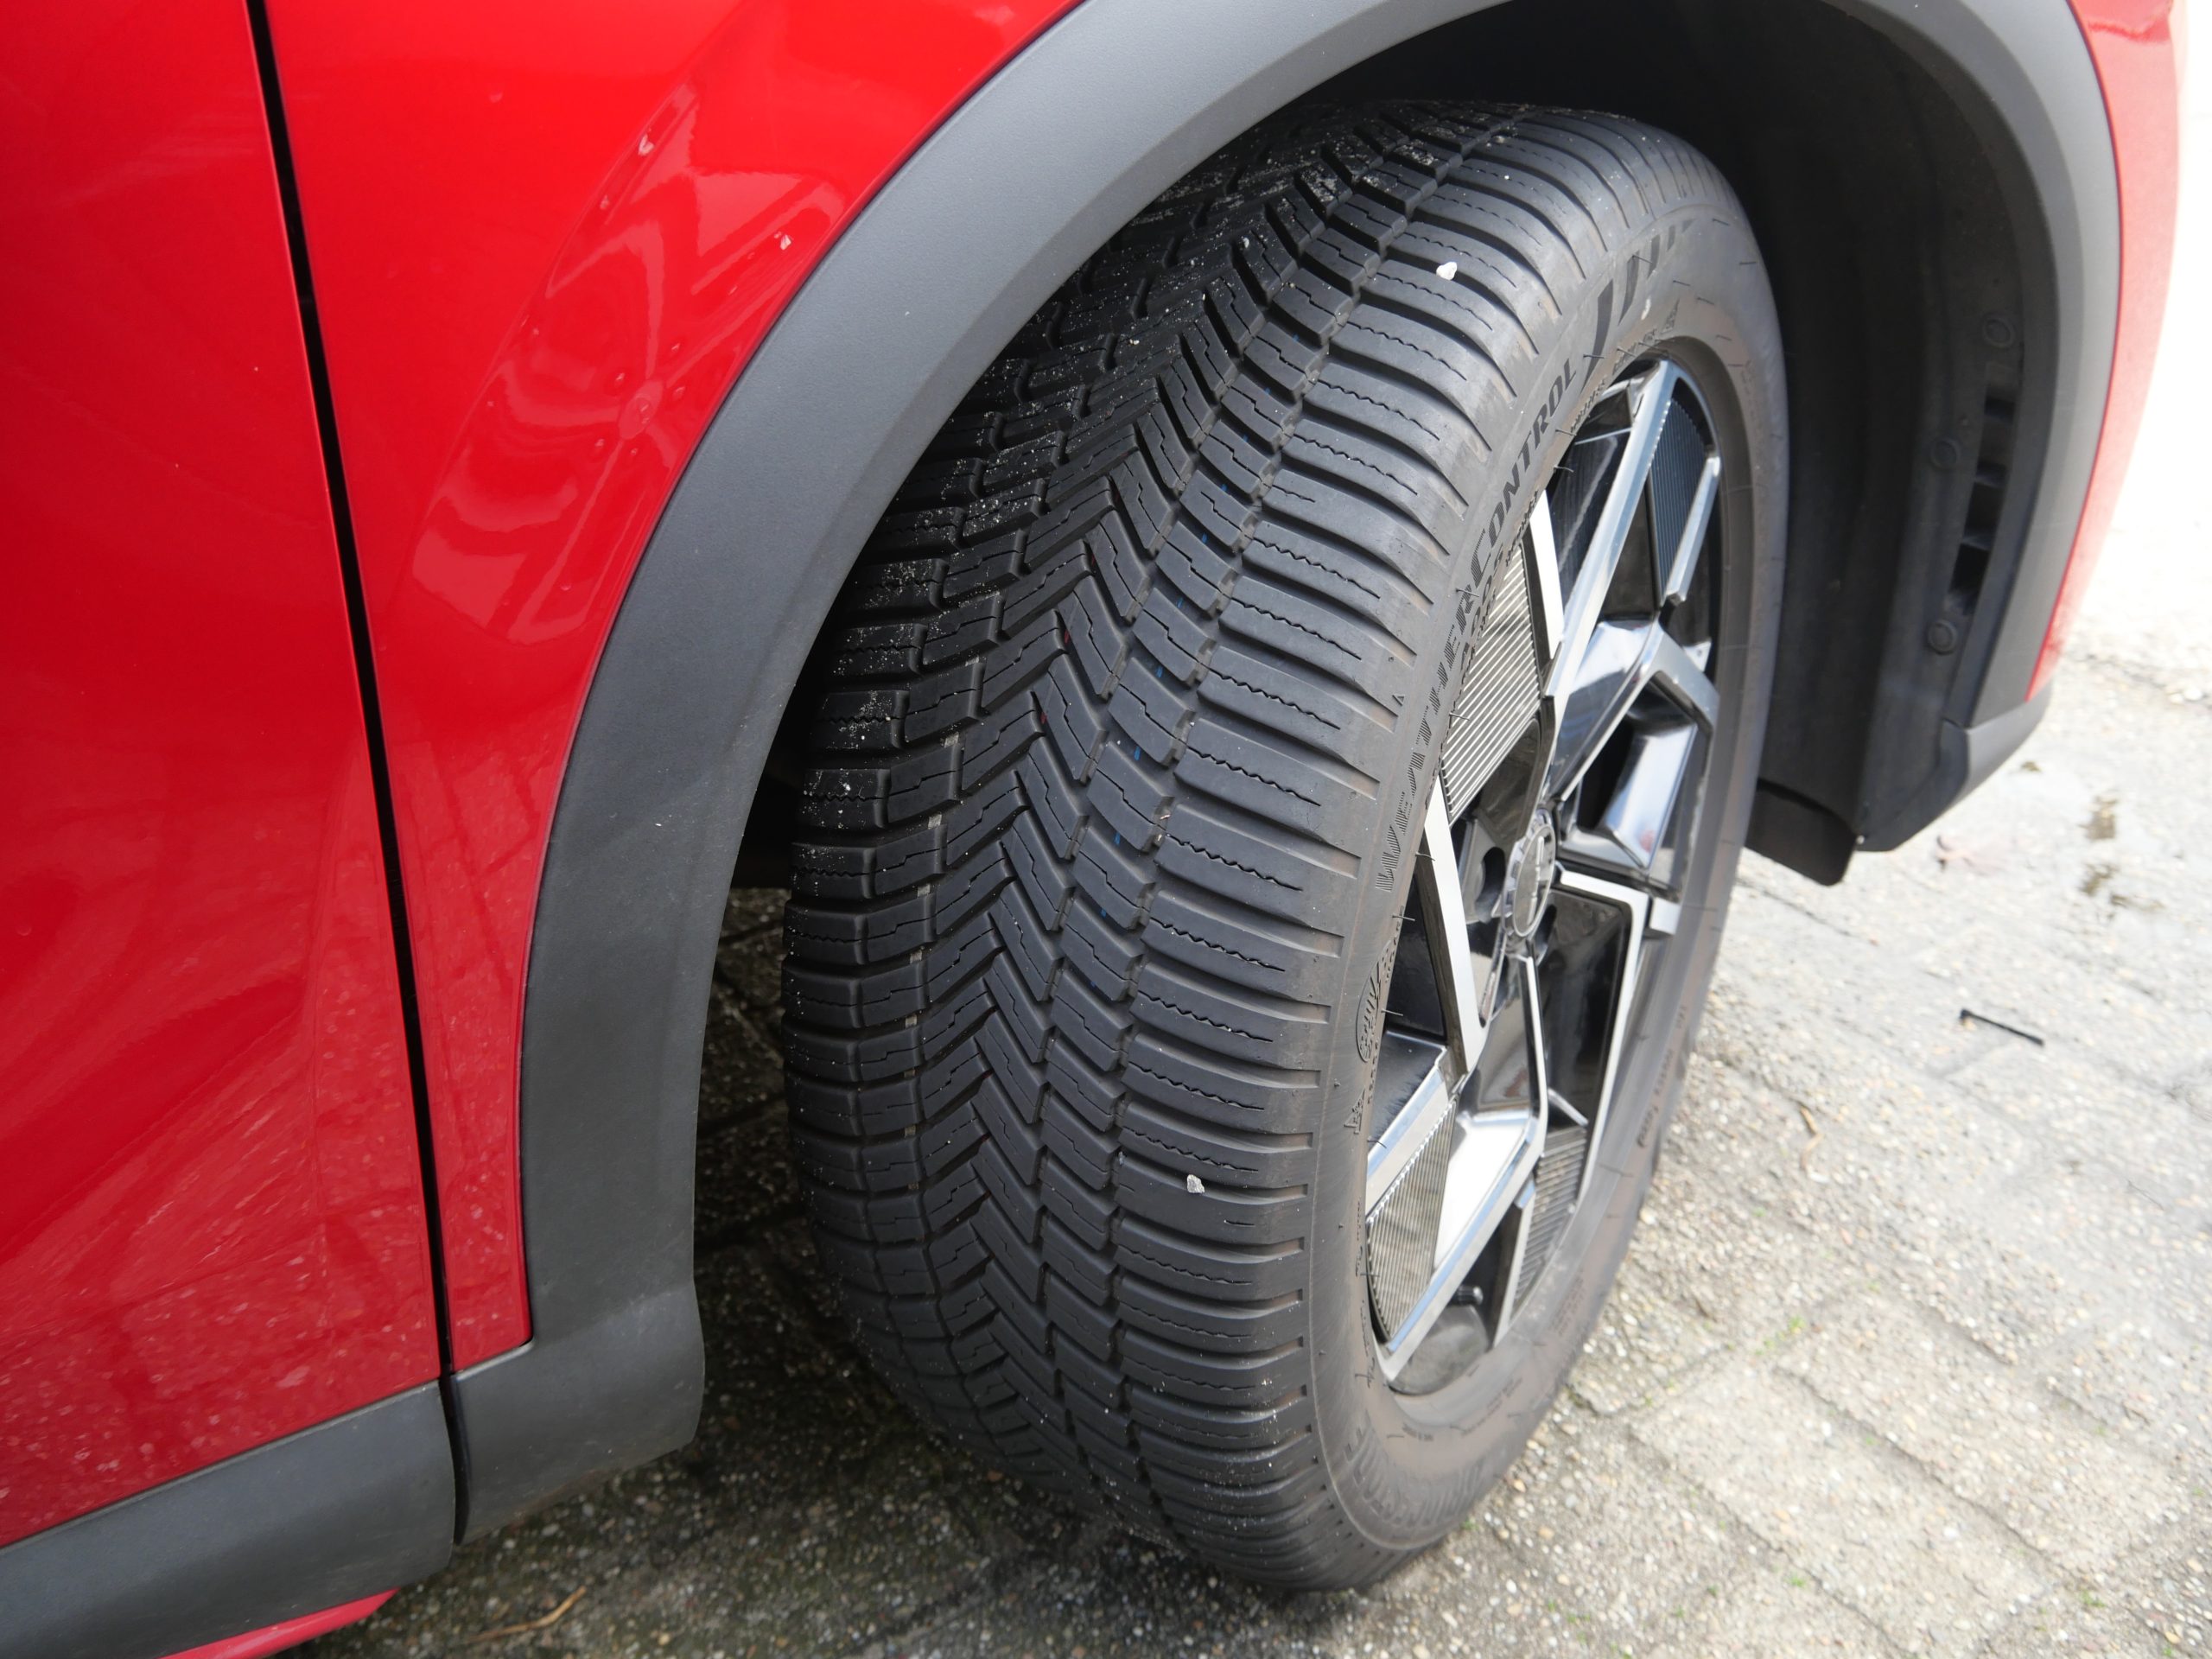
Well, the handling of the car improved a lot on icy roads, as was to be expected.
These all-weather tires are behaving a lot like the original tires, prime quality as well with the f=difference of good grip under below-zero degrees (C) temperatures on wet or iced roads.
Also, under such conditions it makes a great difference when accelerating a bit more than niormal, then the true difference can be experienced.
All in all, I am very pleased with the Bridgestone 235/50 R18 101H XL (GAN) tires, also because I could not detect any change in average power usage after the switching of the tires.
BYD Atto 3 delivered 2022-11-14th!
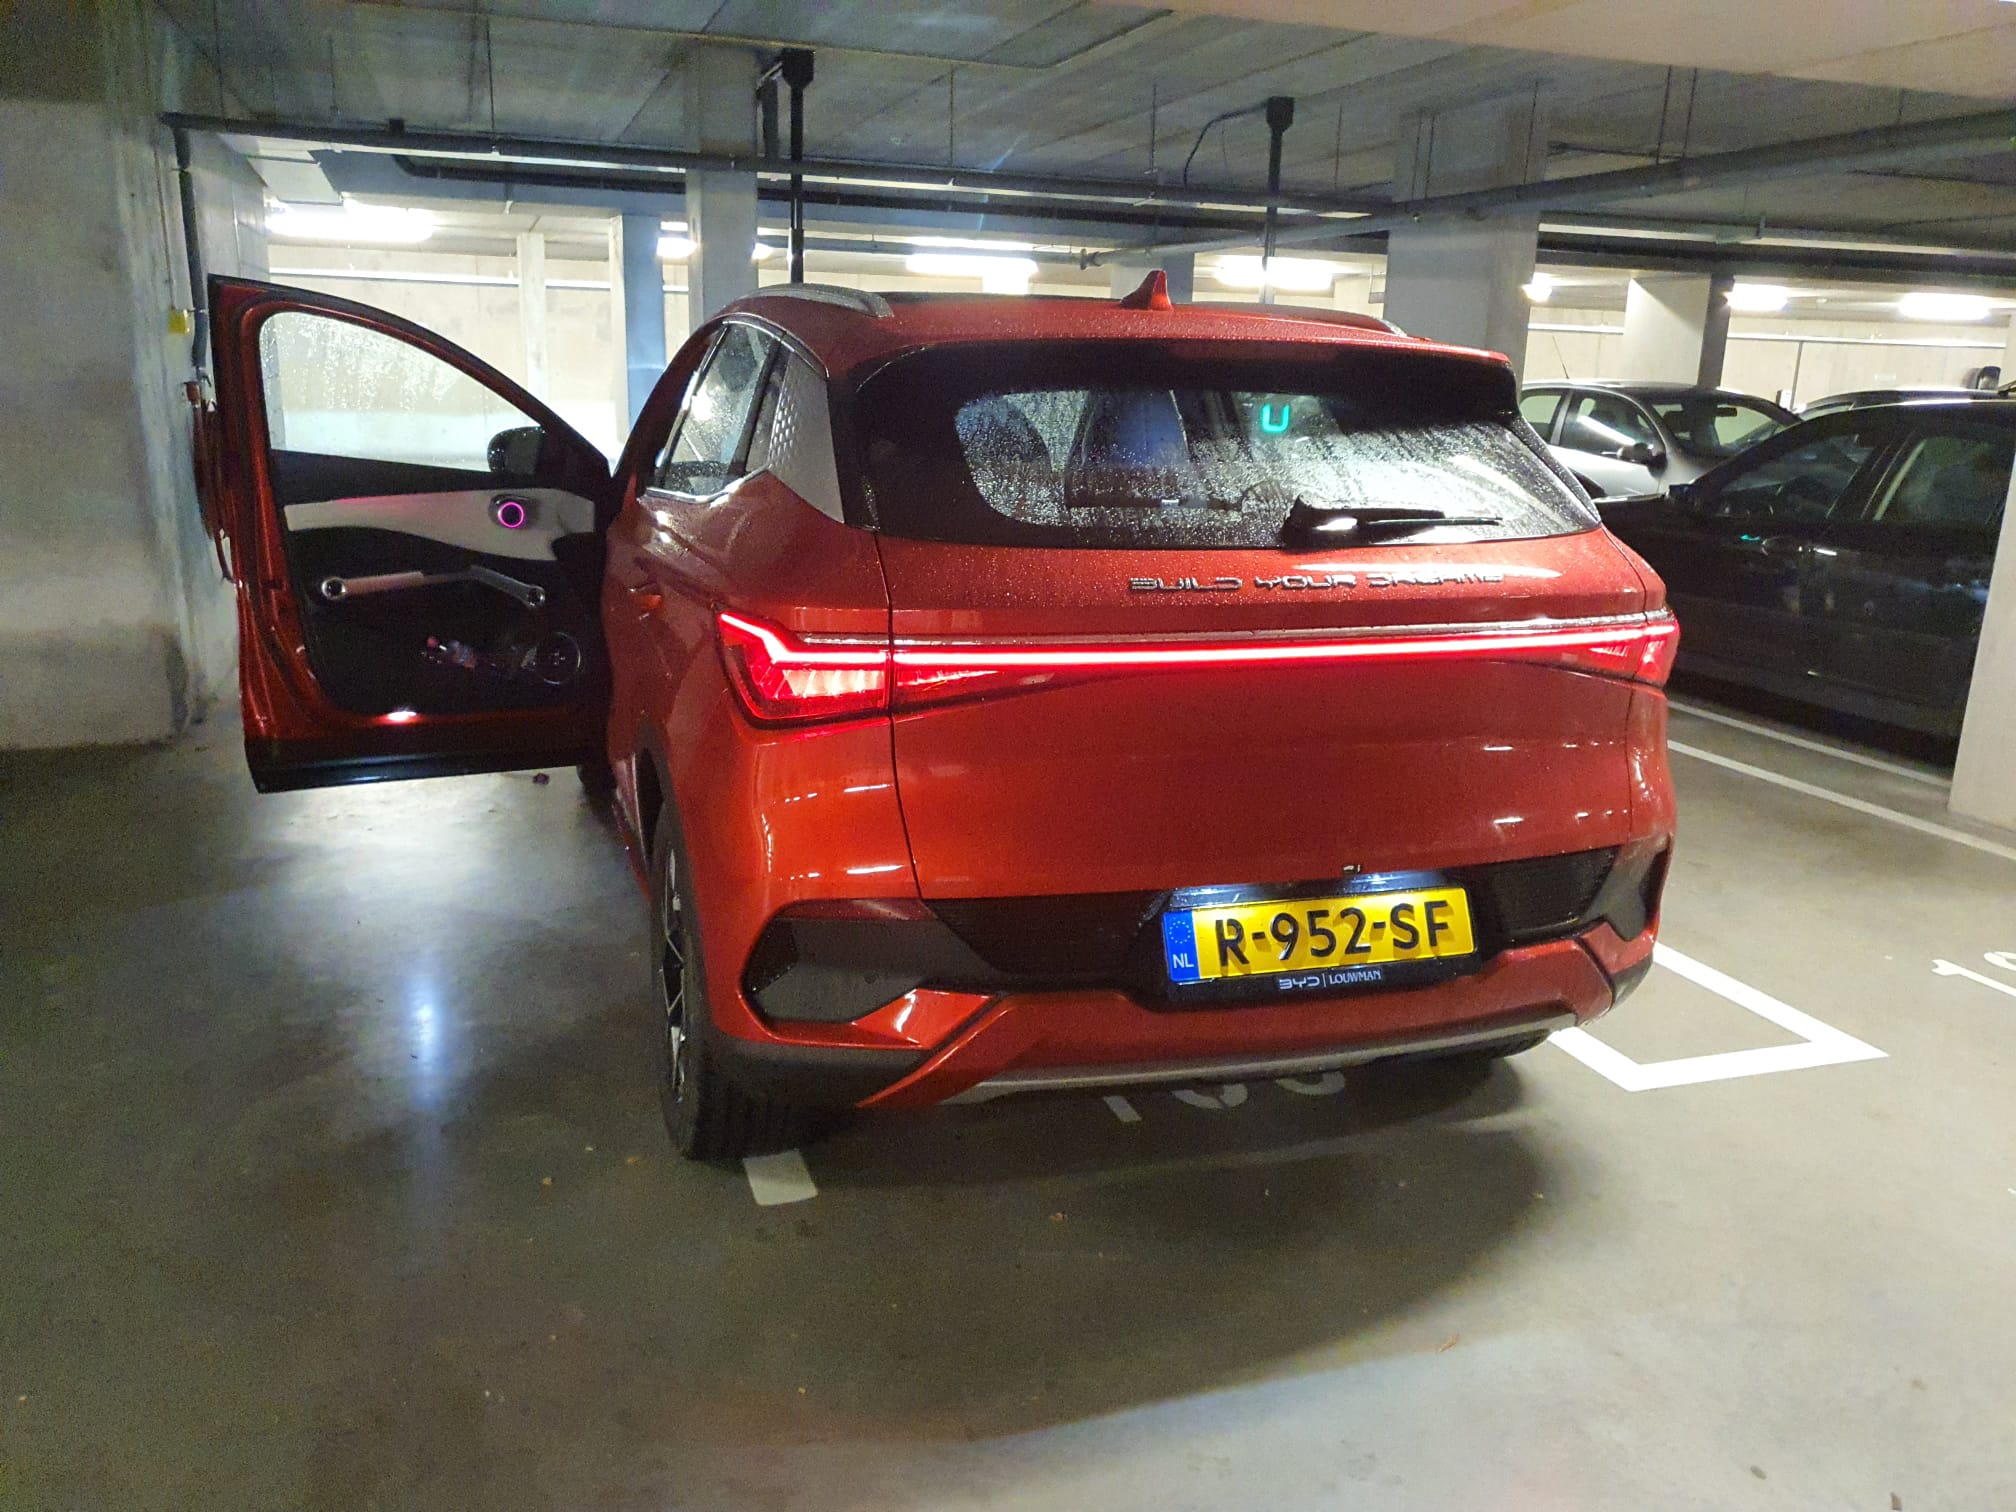
I am very happy with the Atto3 from BYD, that came delivered 2022-11-14 within 1 month after ordering!
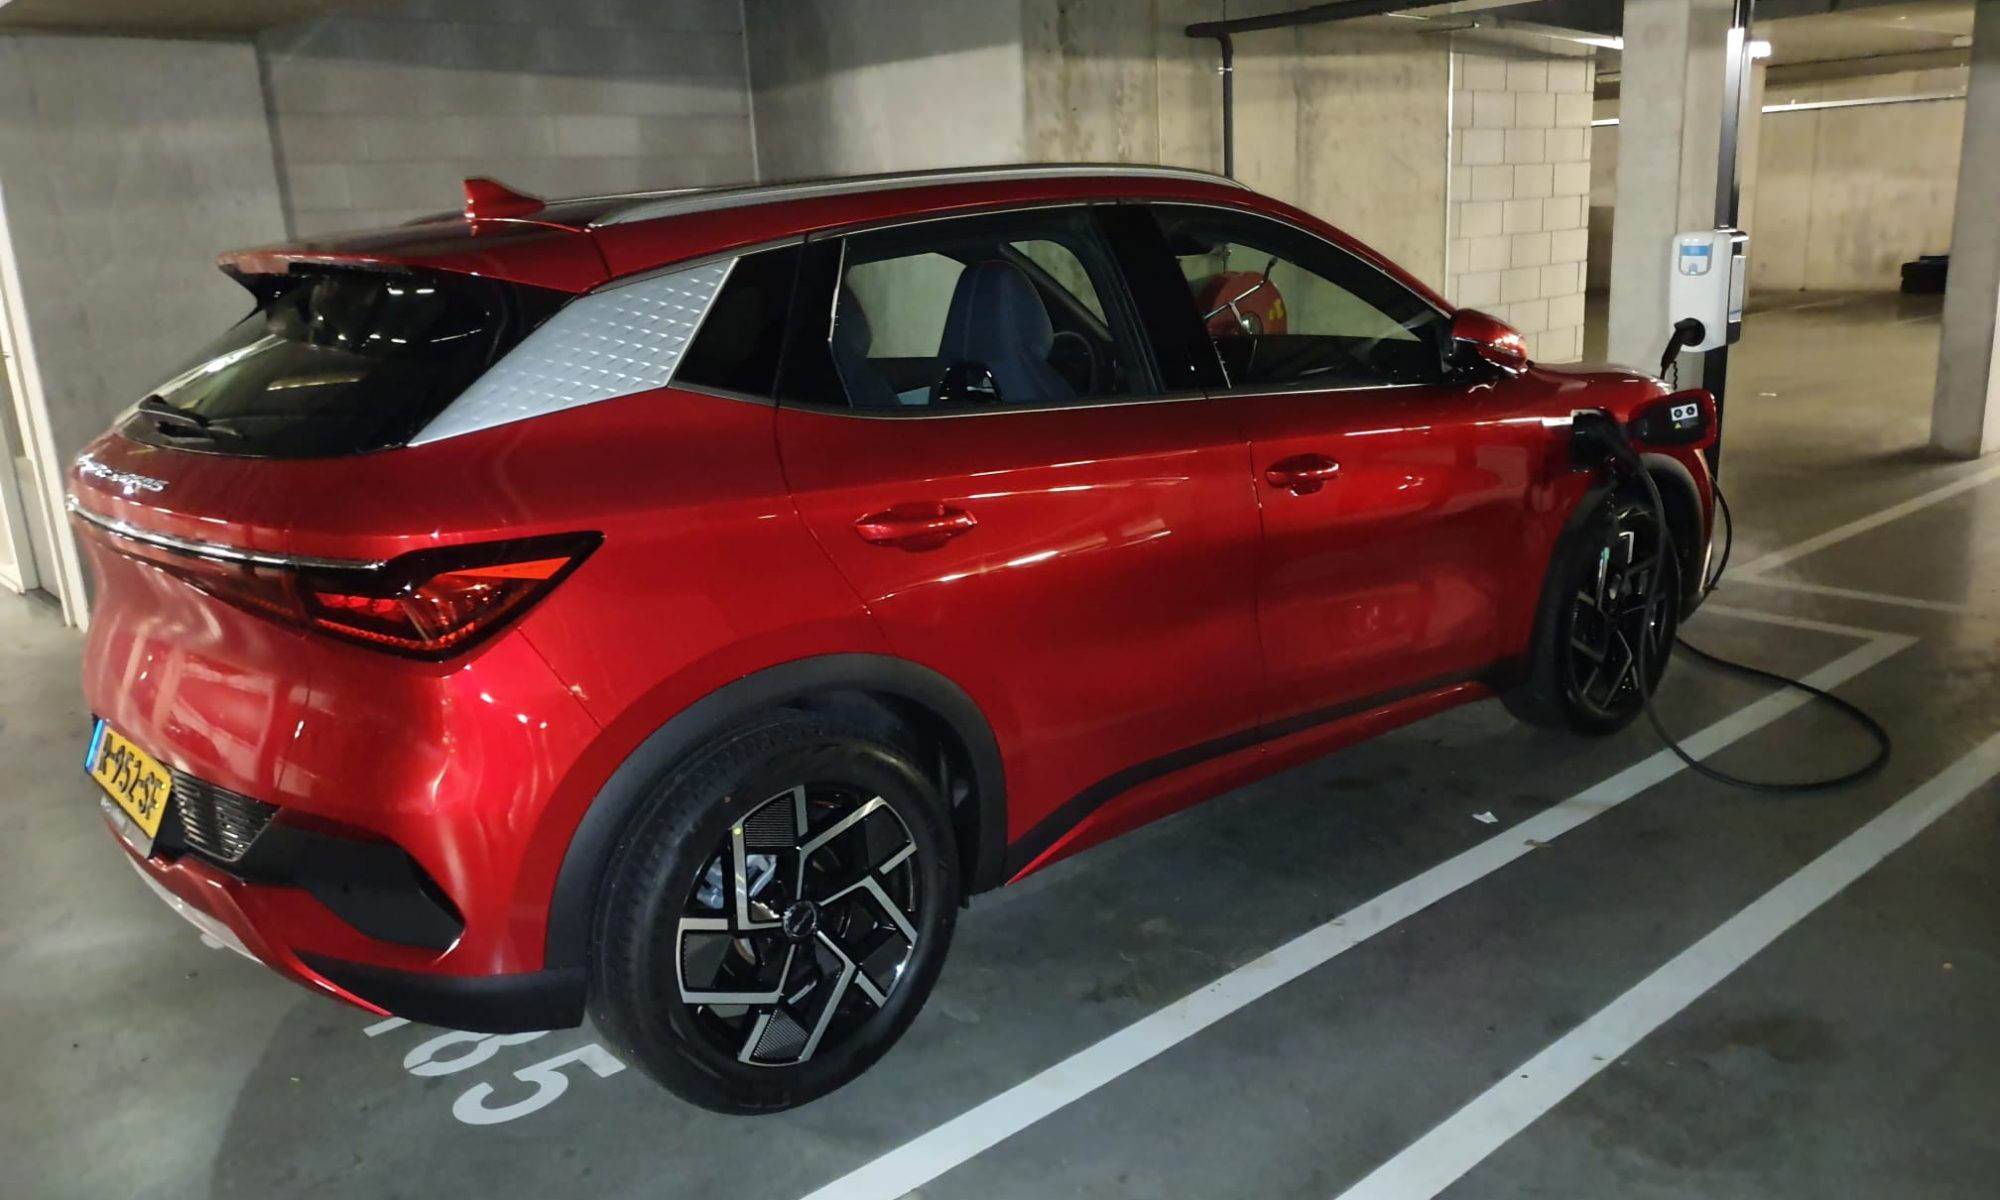
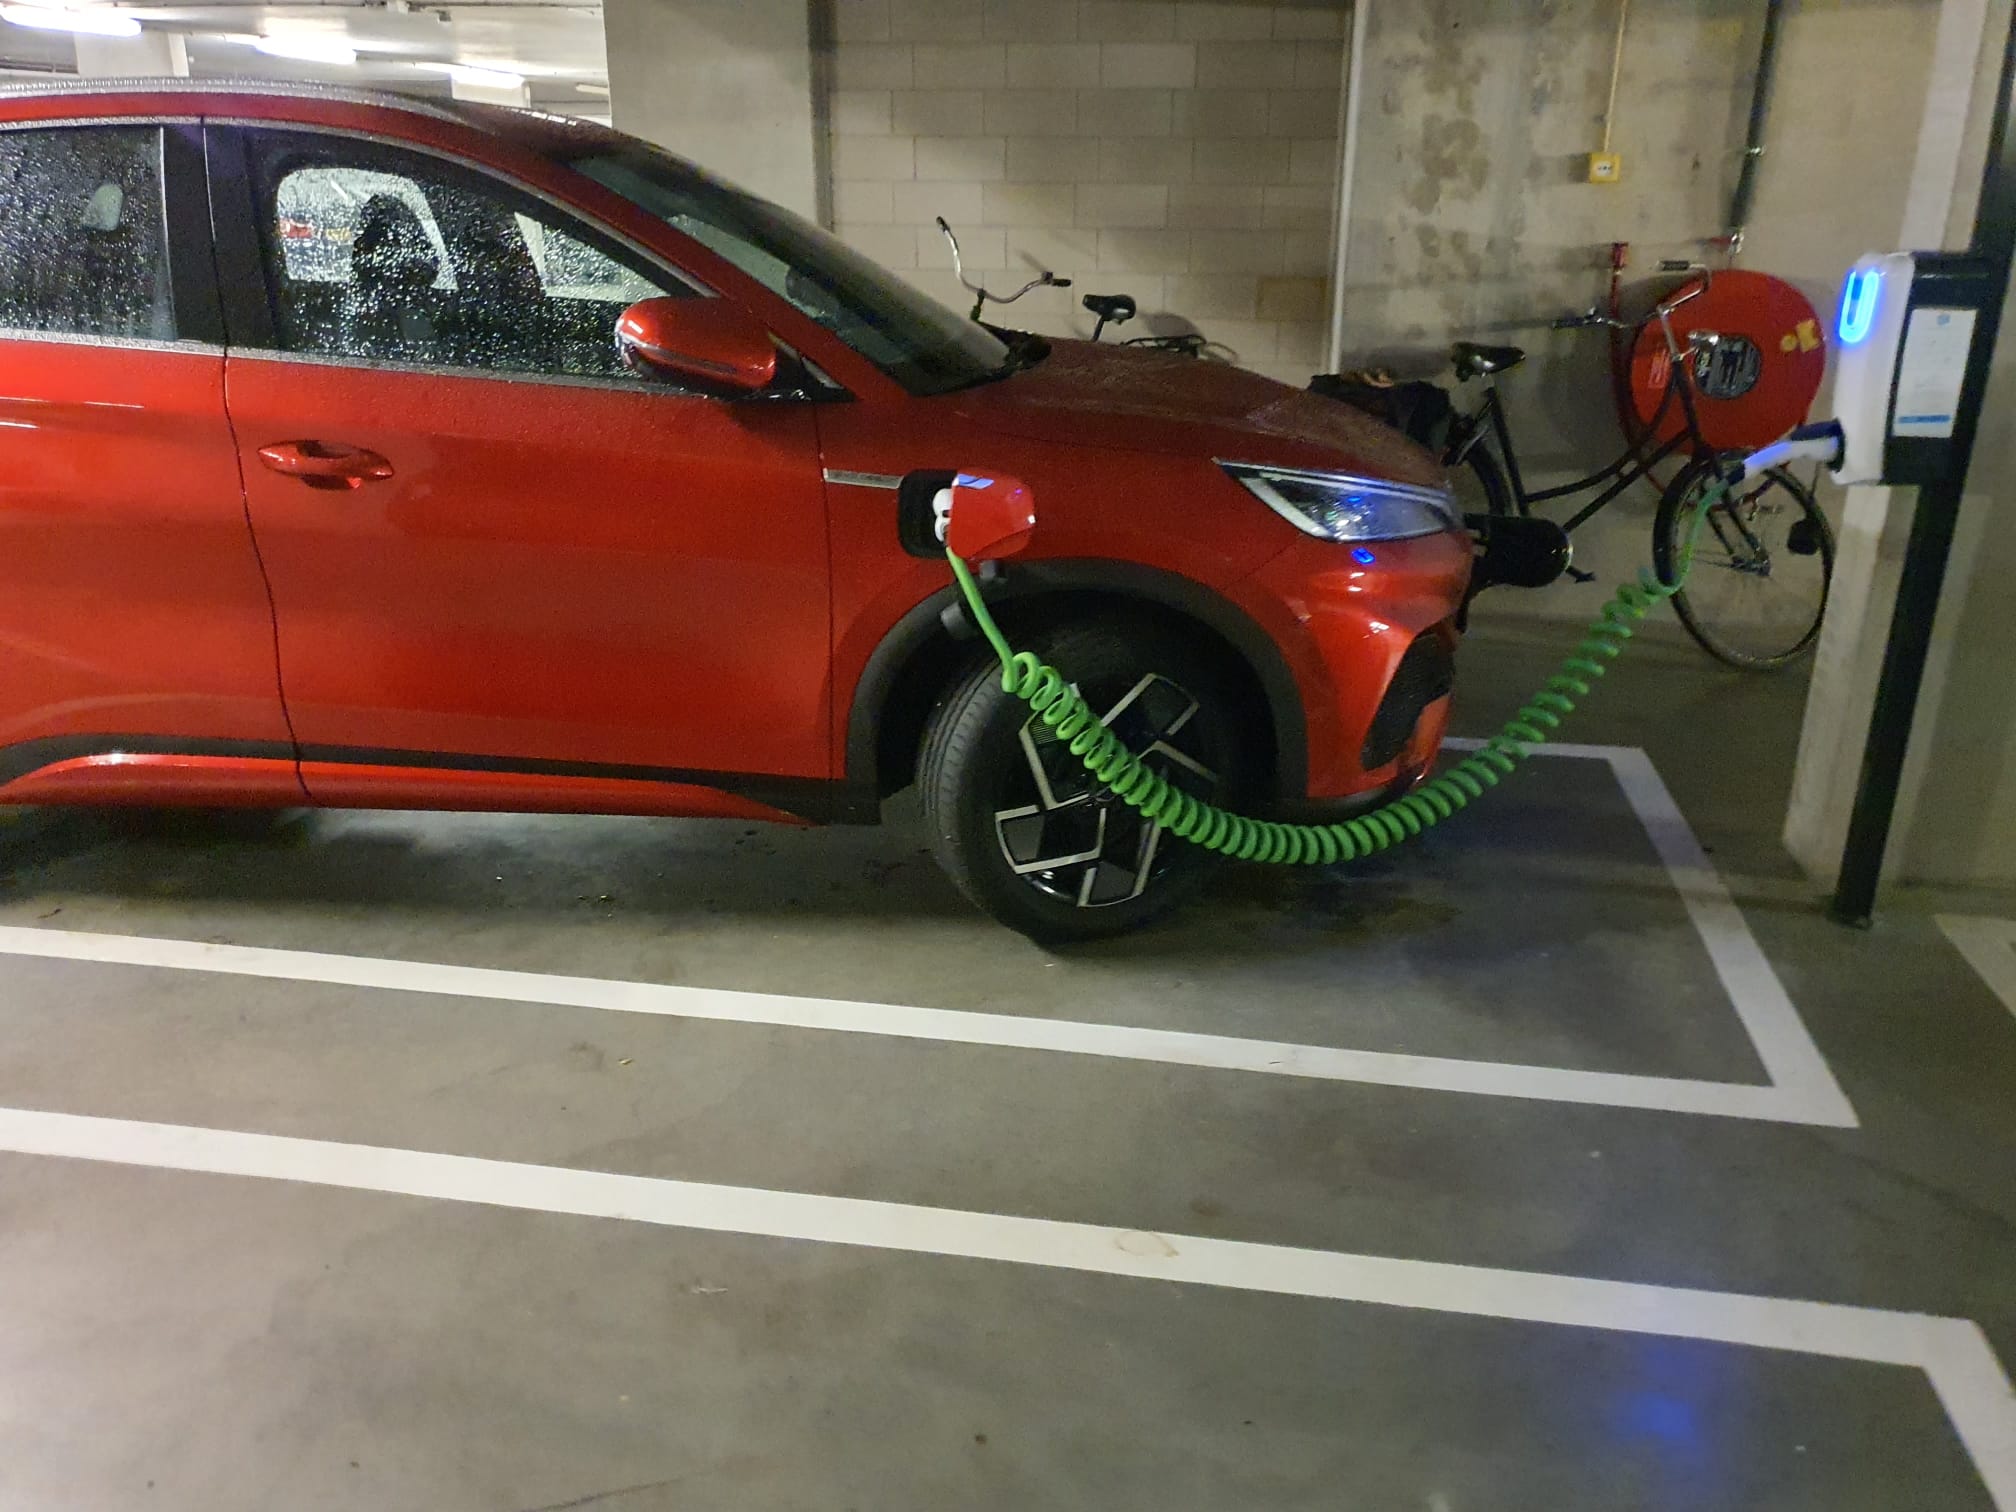
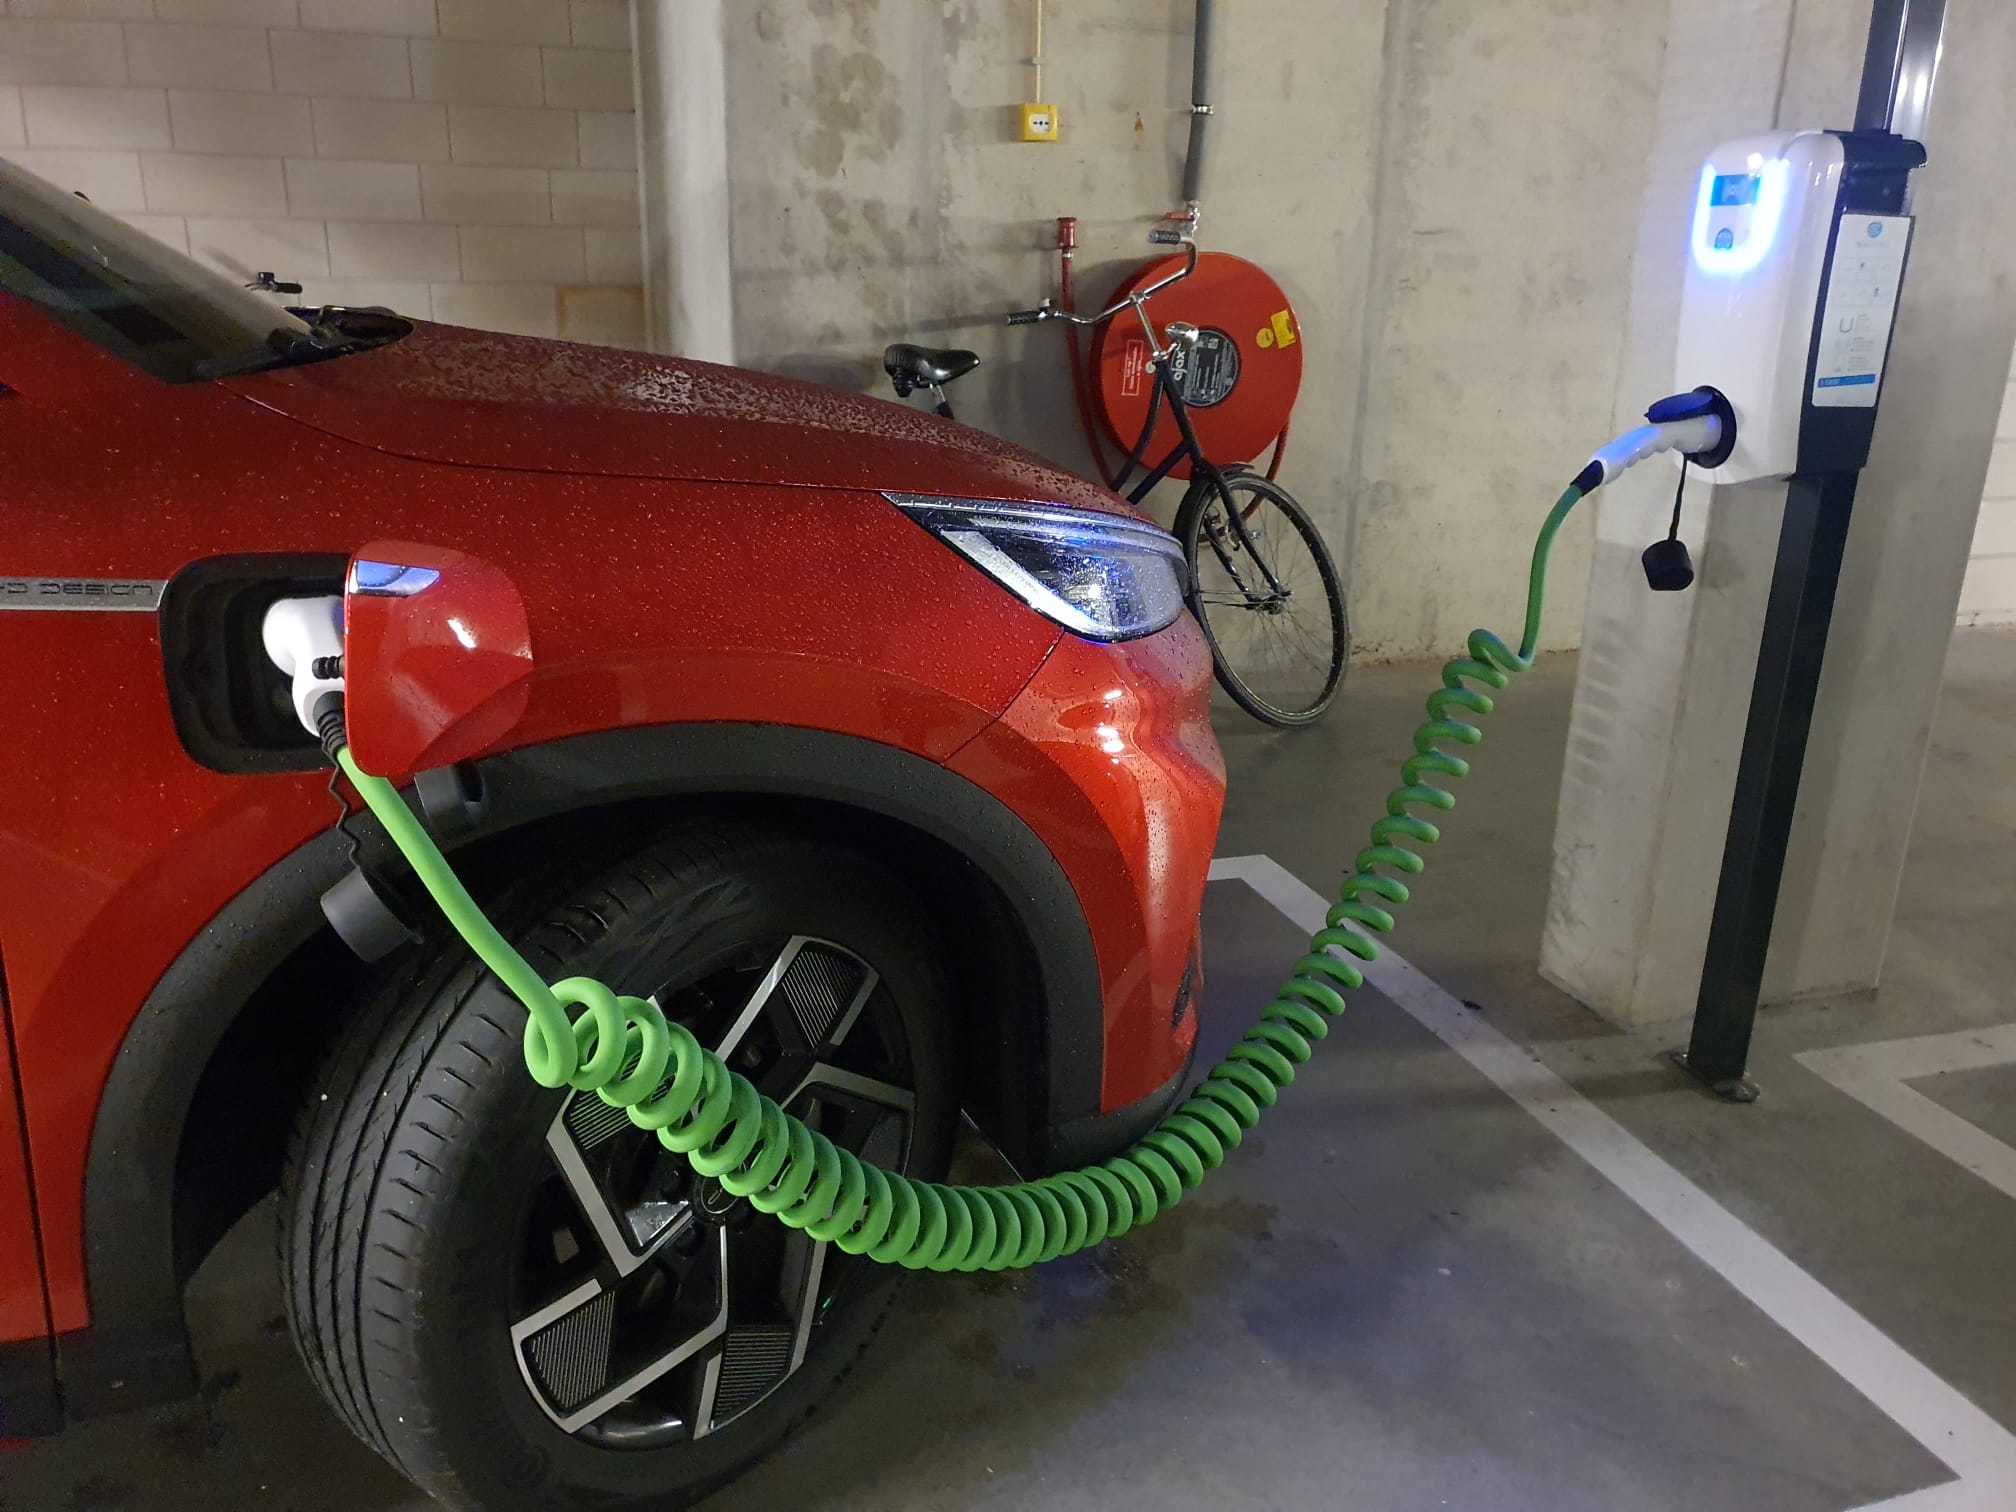
Most pictures are taken in the parking garage where I have my own charging connection, from Blue Current.
This allows me to top the car off daily, and every morning I start fresh with 420 km range!
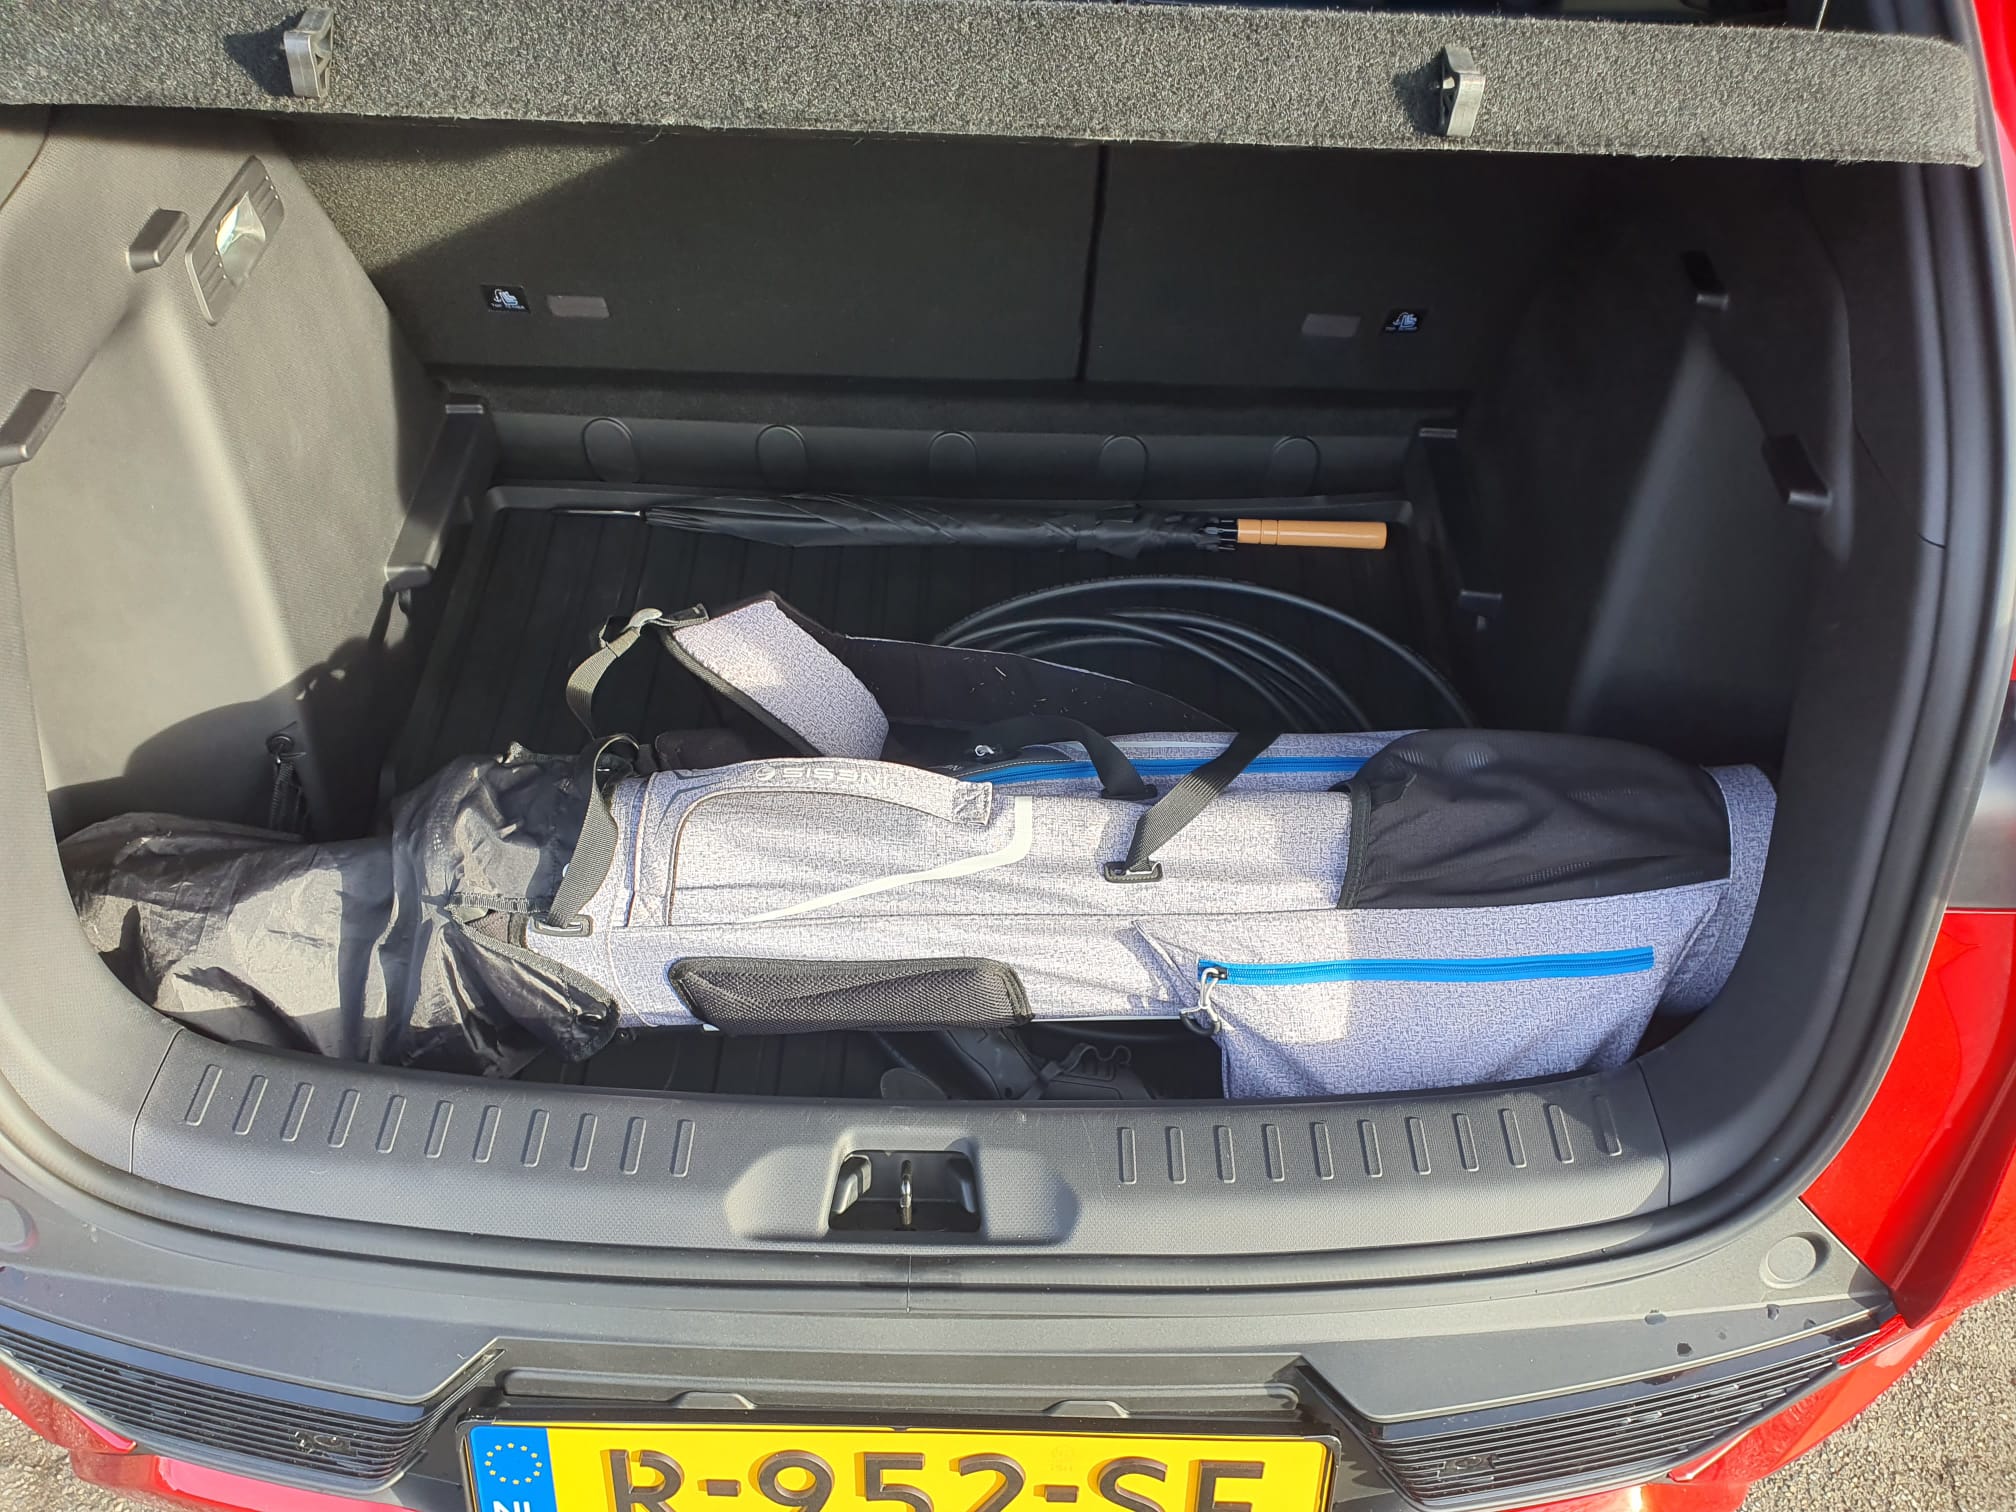

Charge connection via extension cable and connection box to wallbox copper
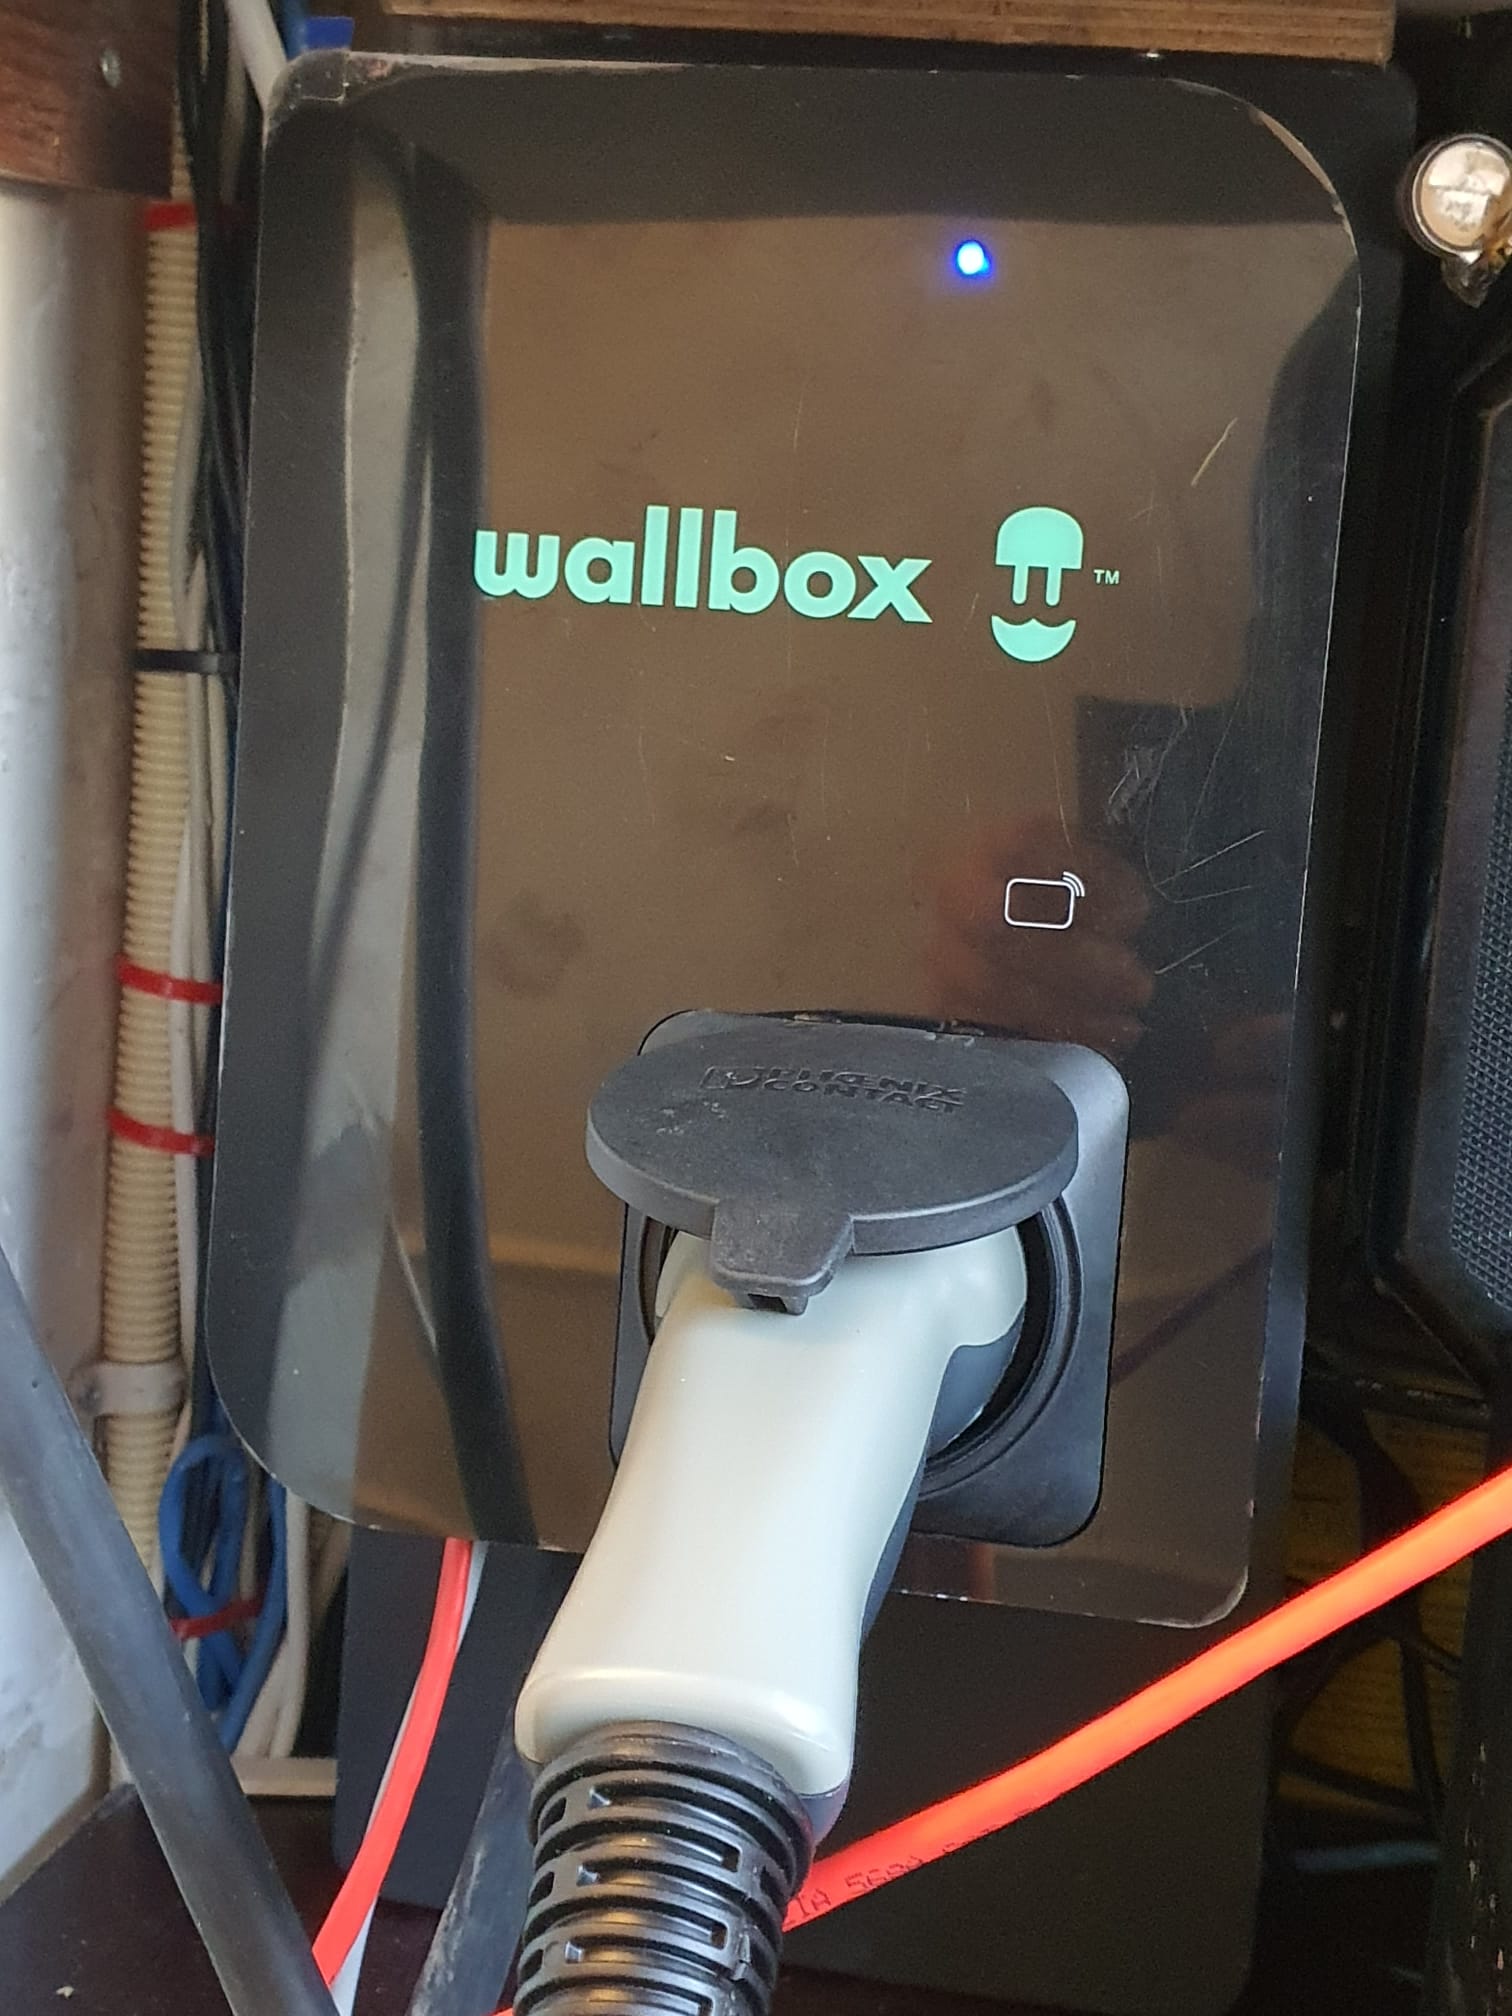
I have a wallbox copper charging station for an electric car with load balancer that I use both in the garage and at the front of the house with 11kW charging via power.
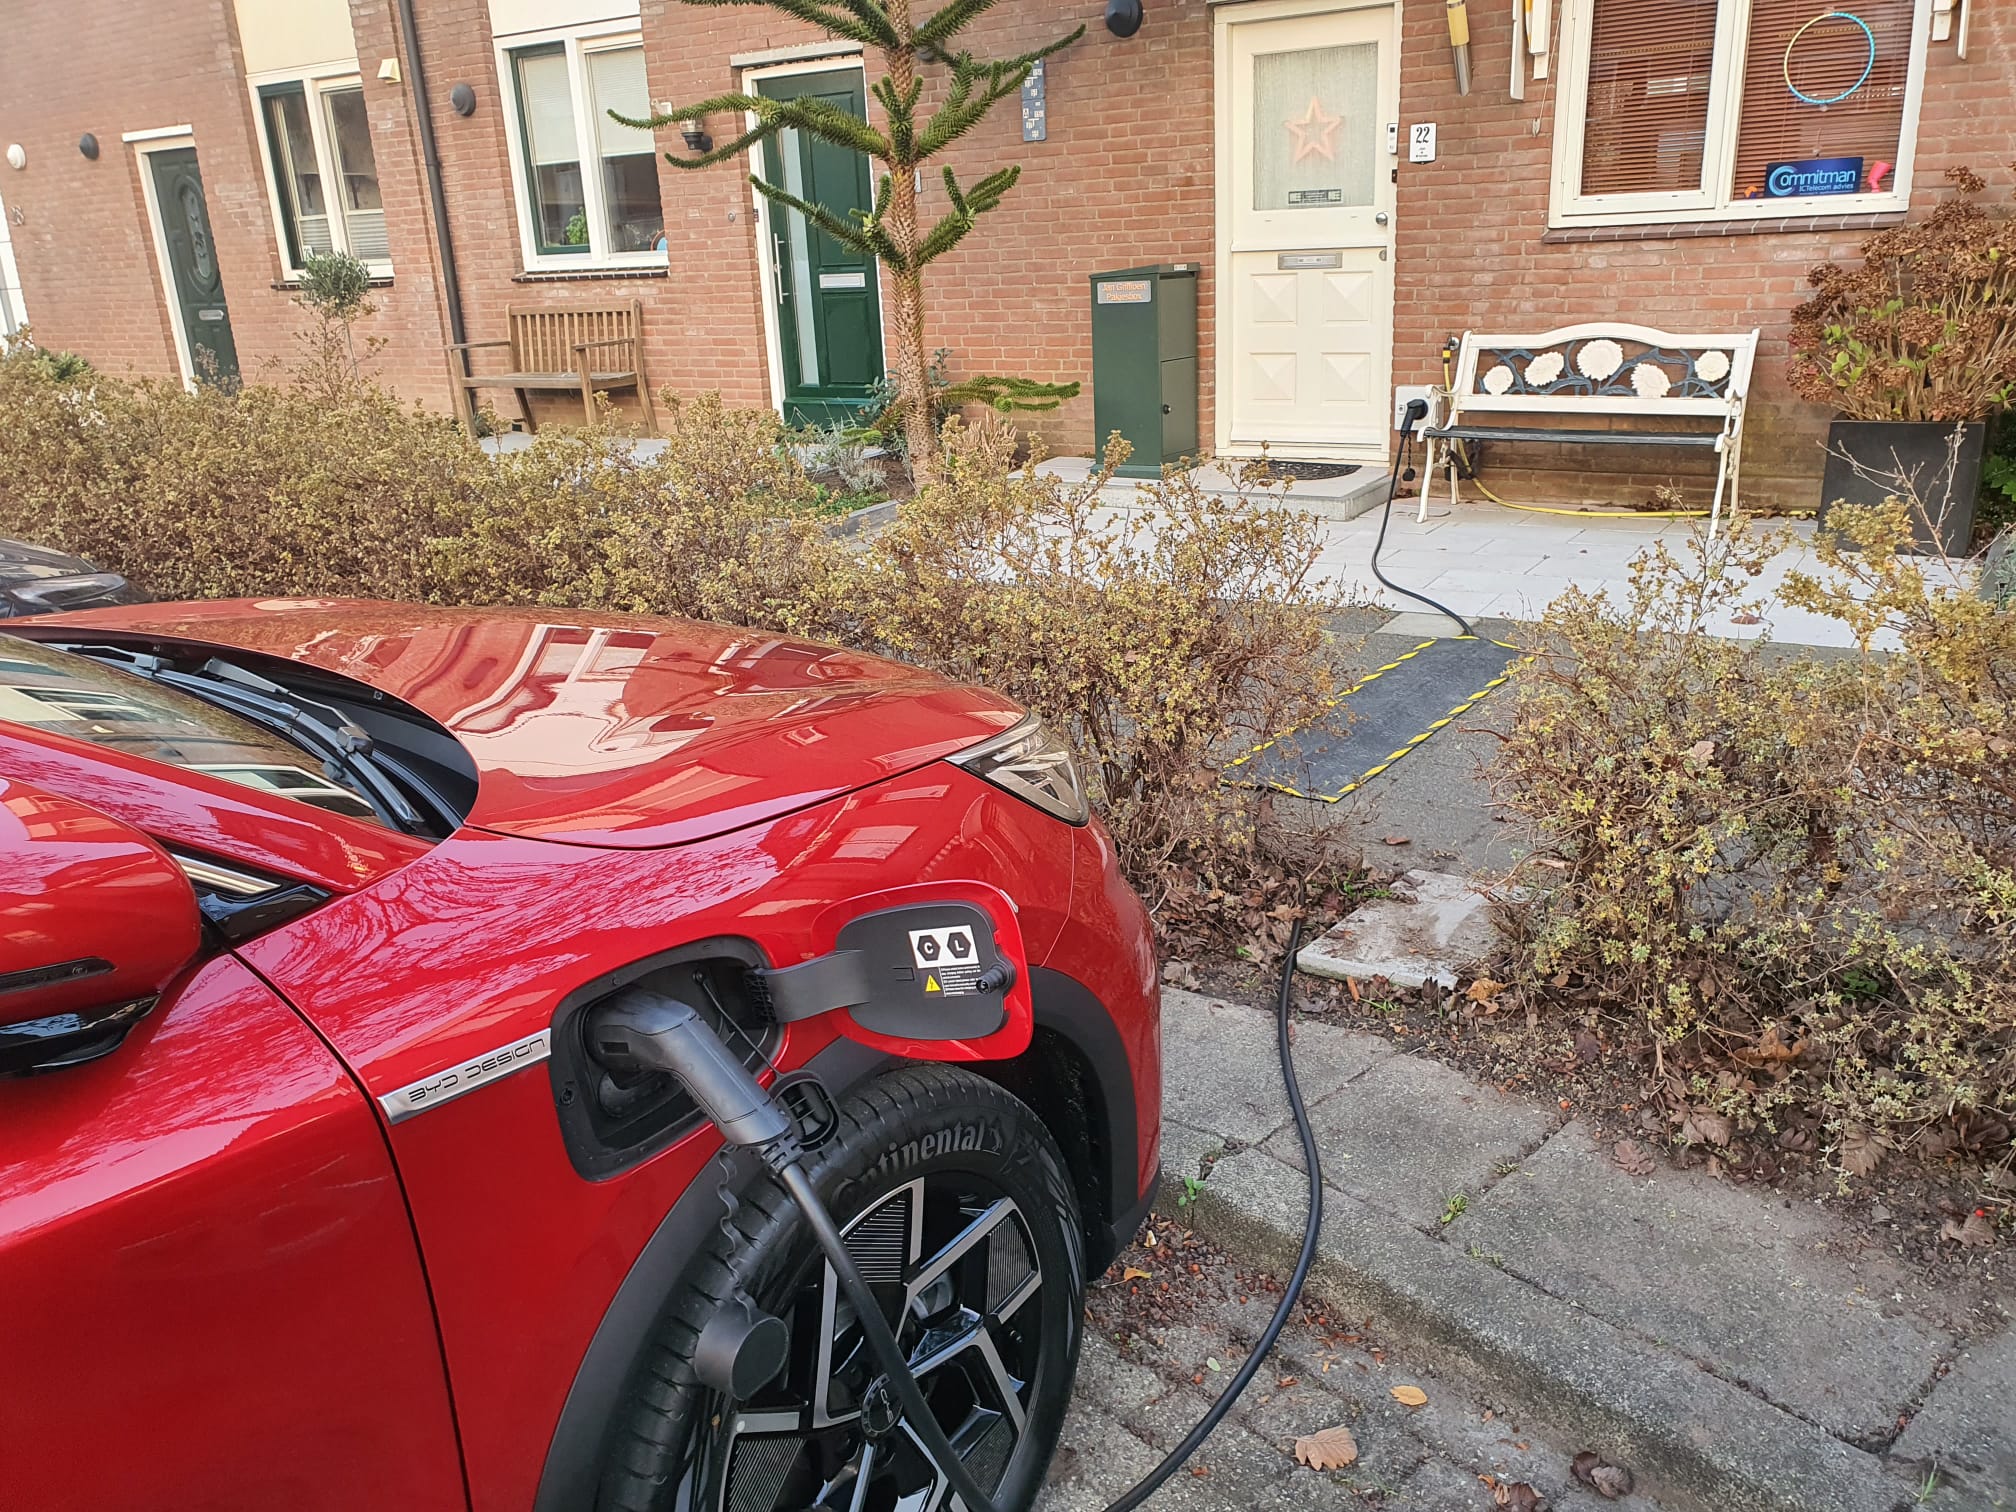
At the front of the house is a public sidewalk and parking is available to all. Usually there is no place to park the car out front when I get home.
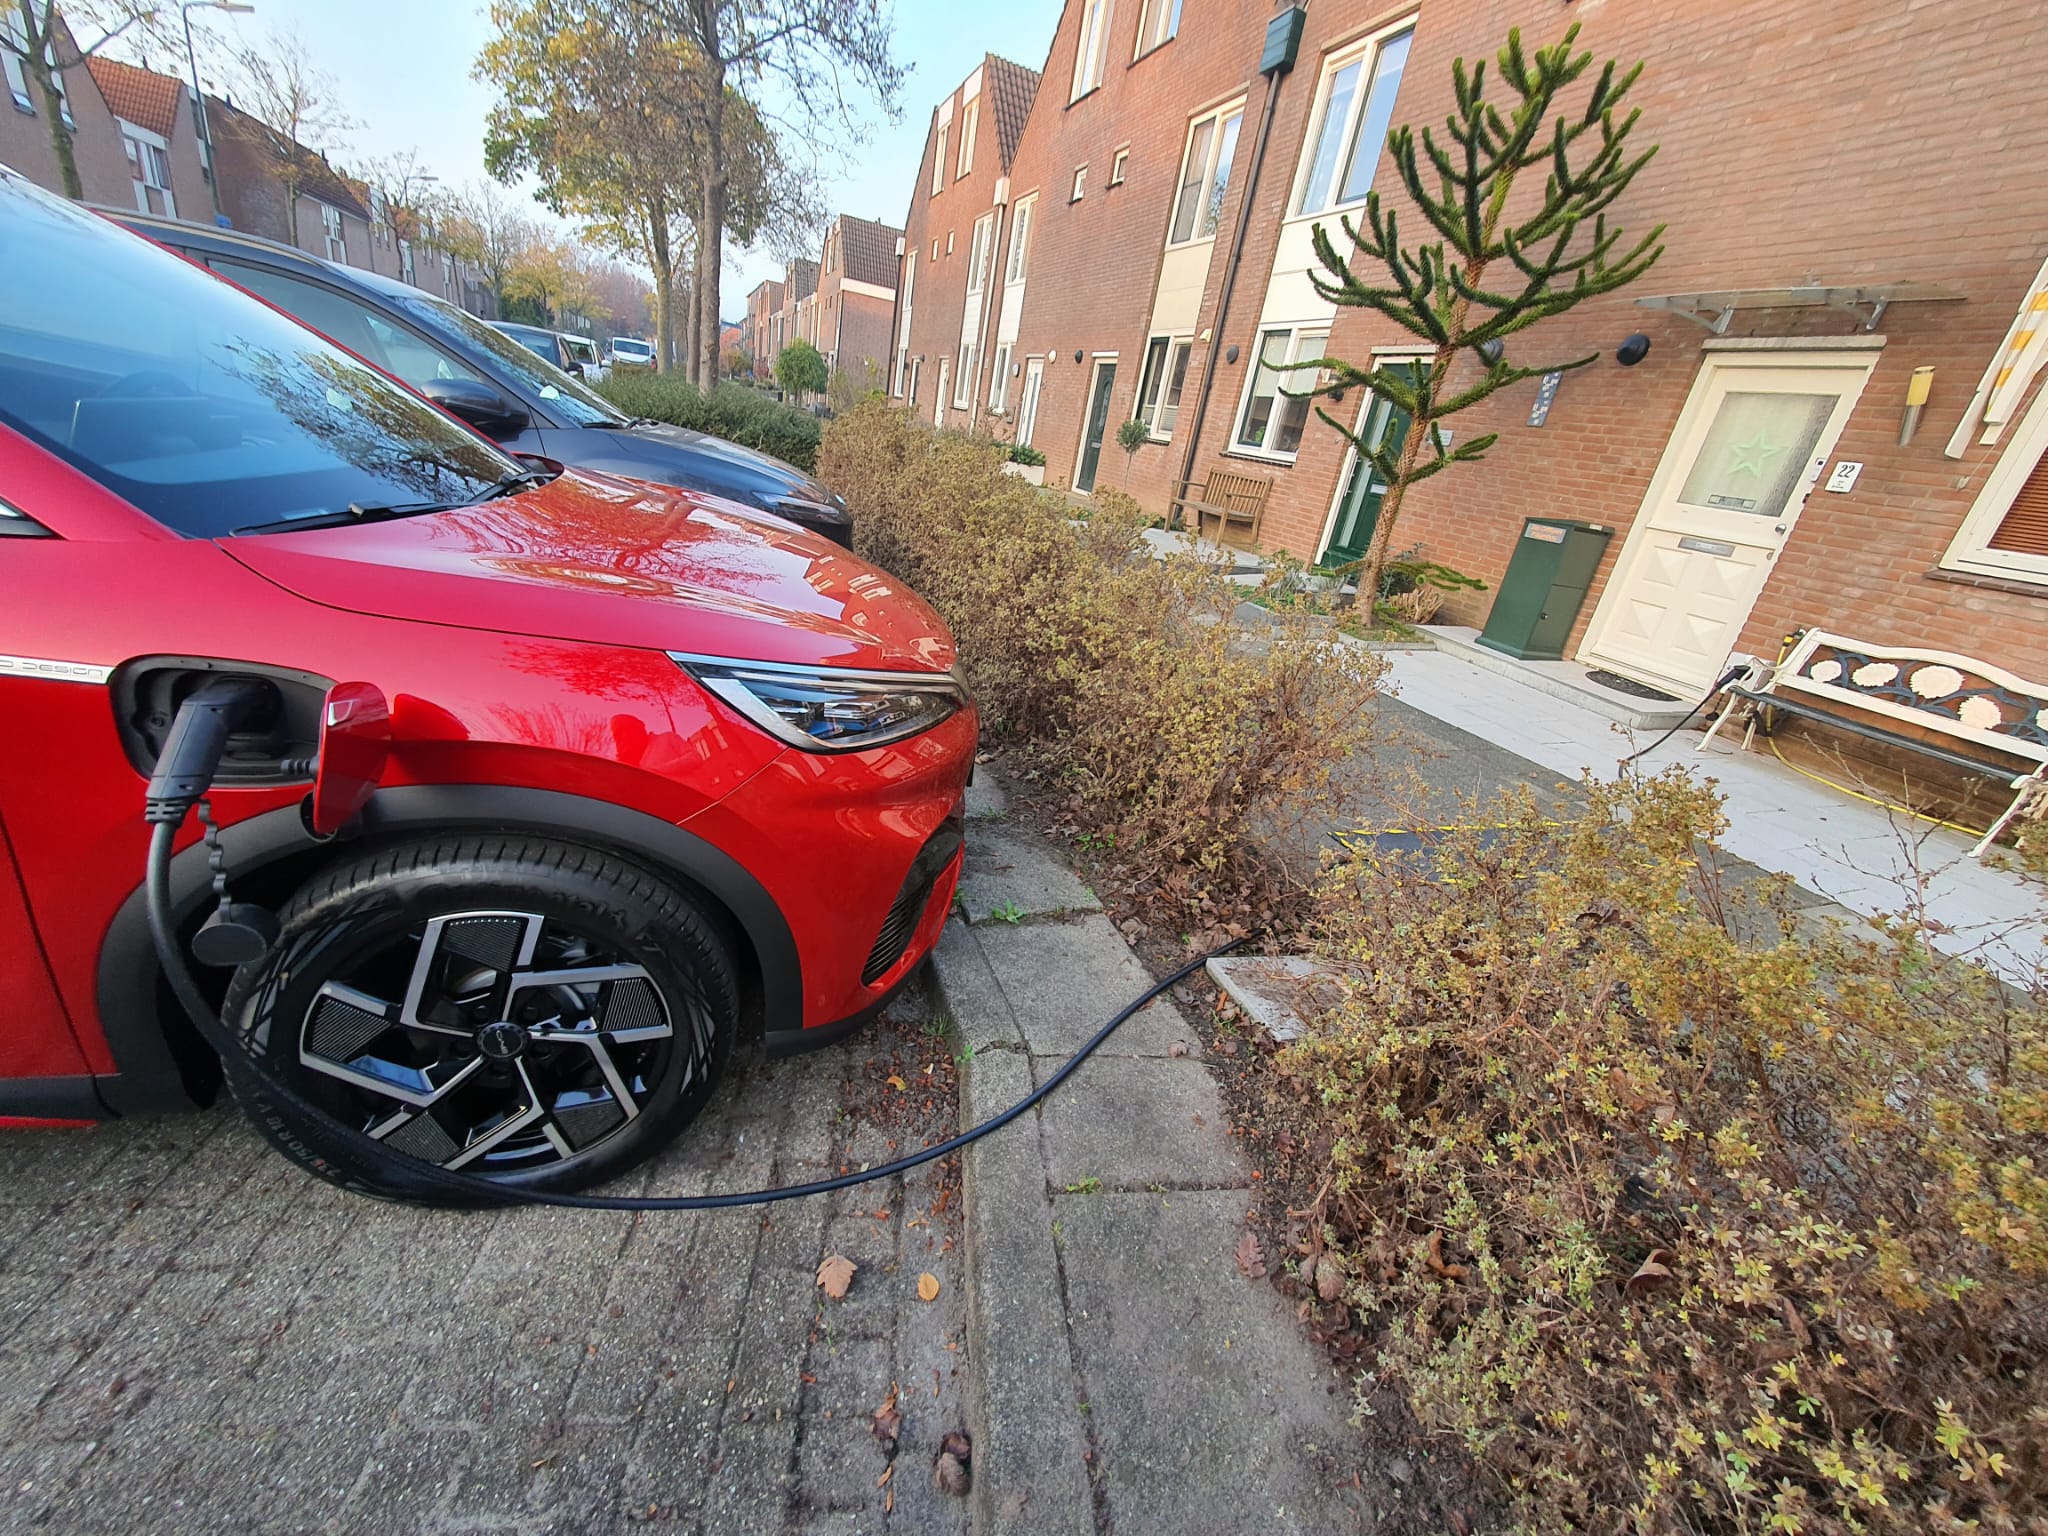
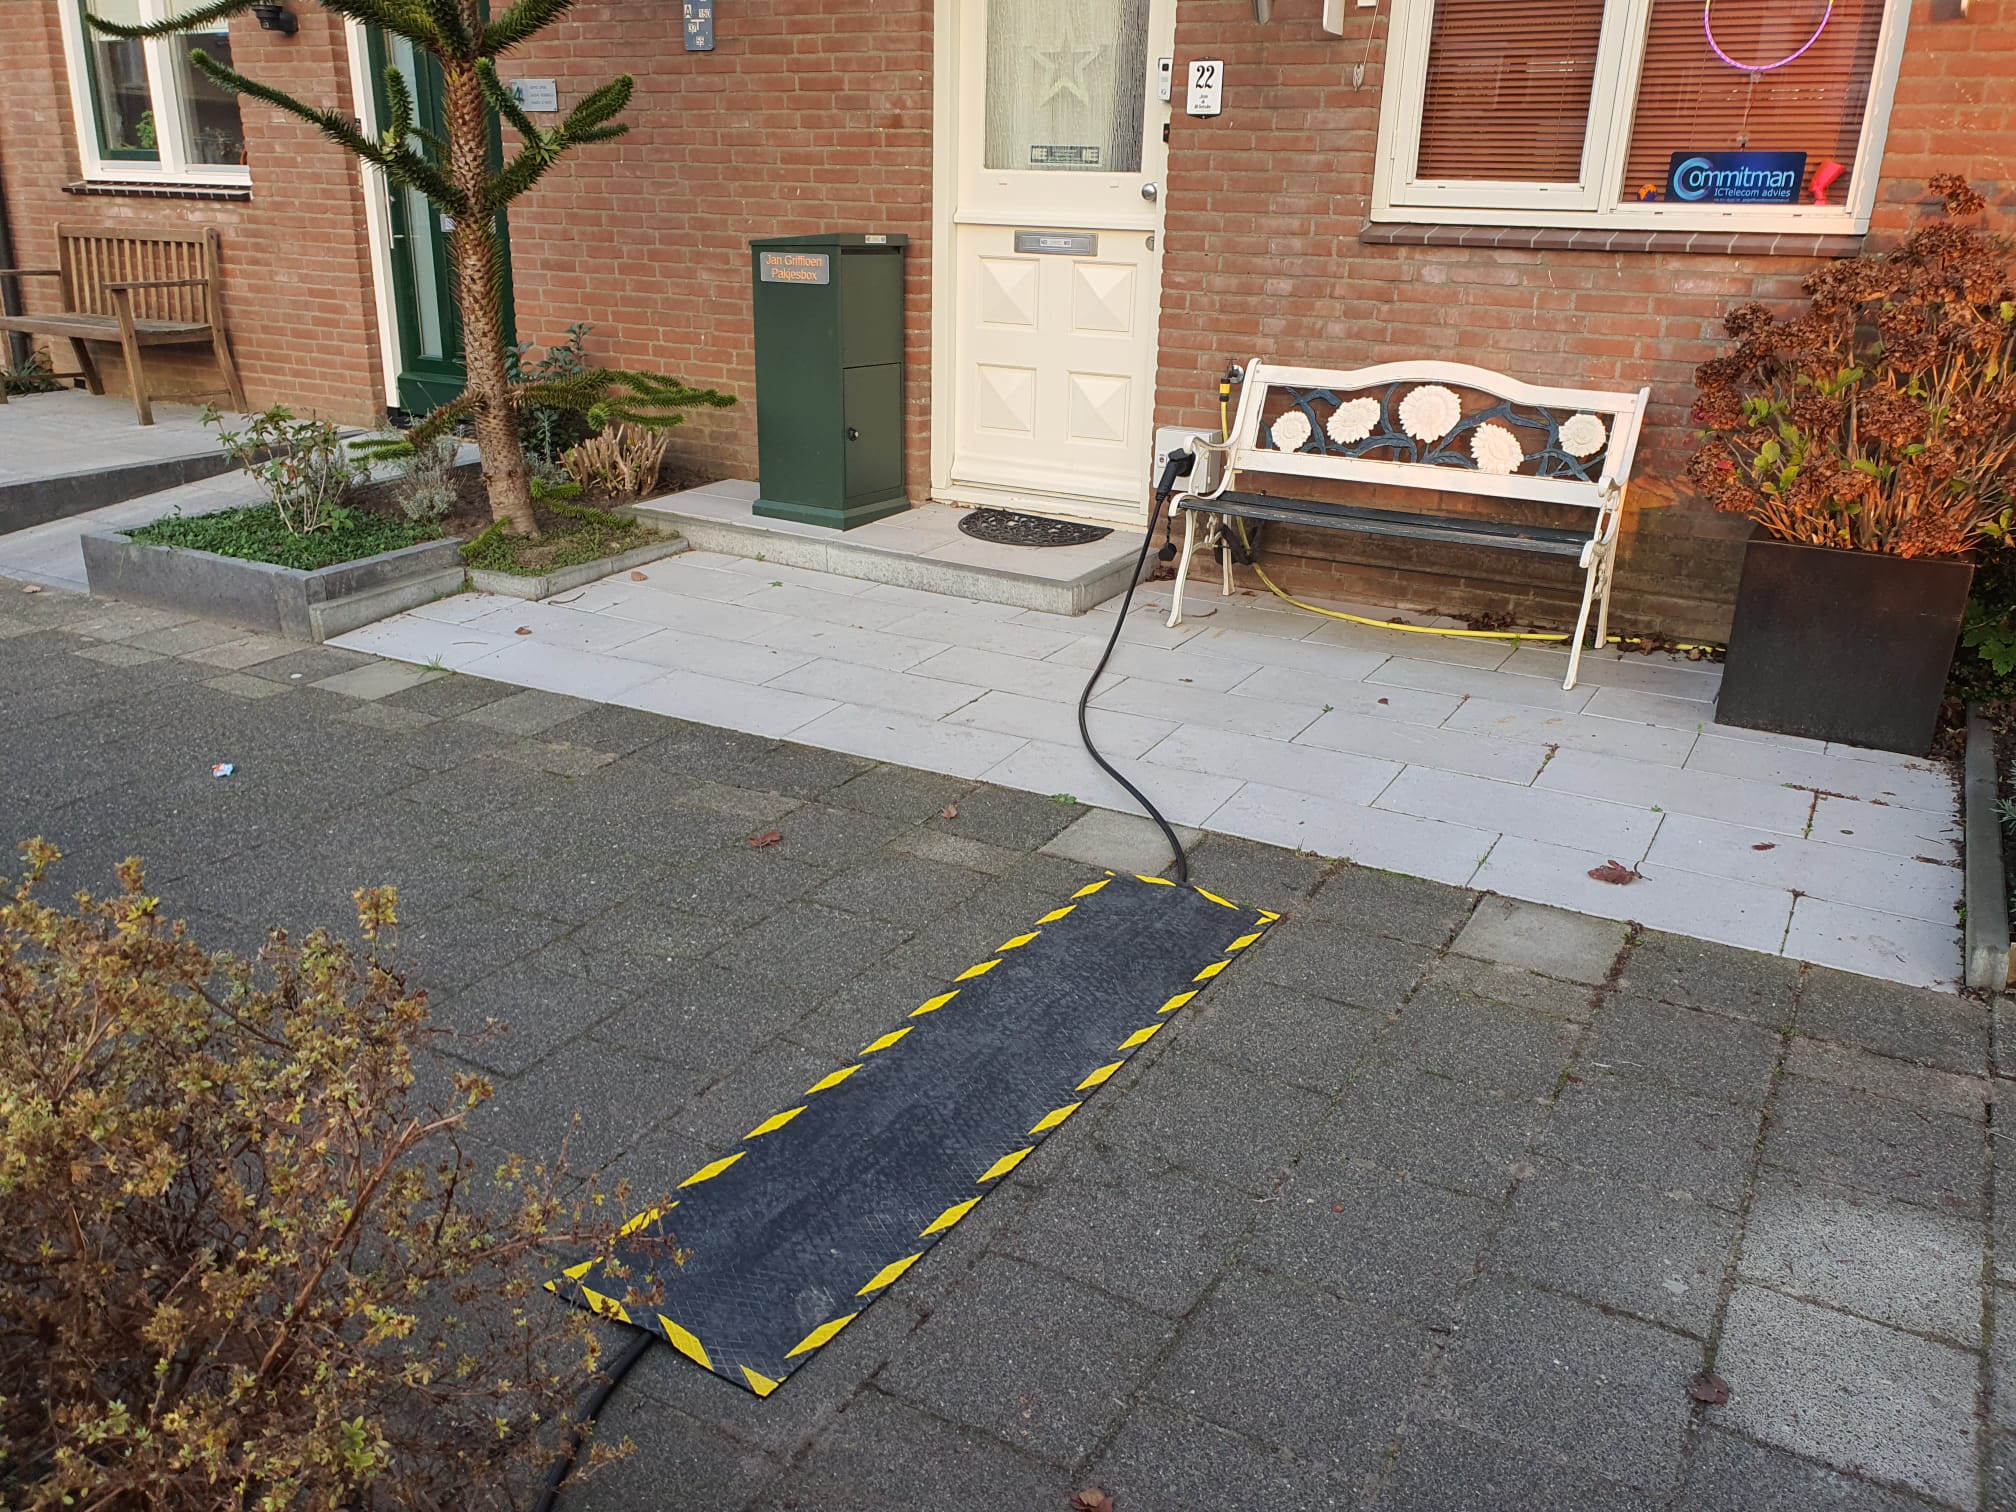
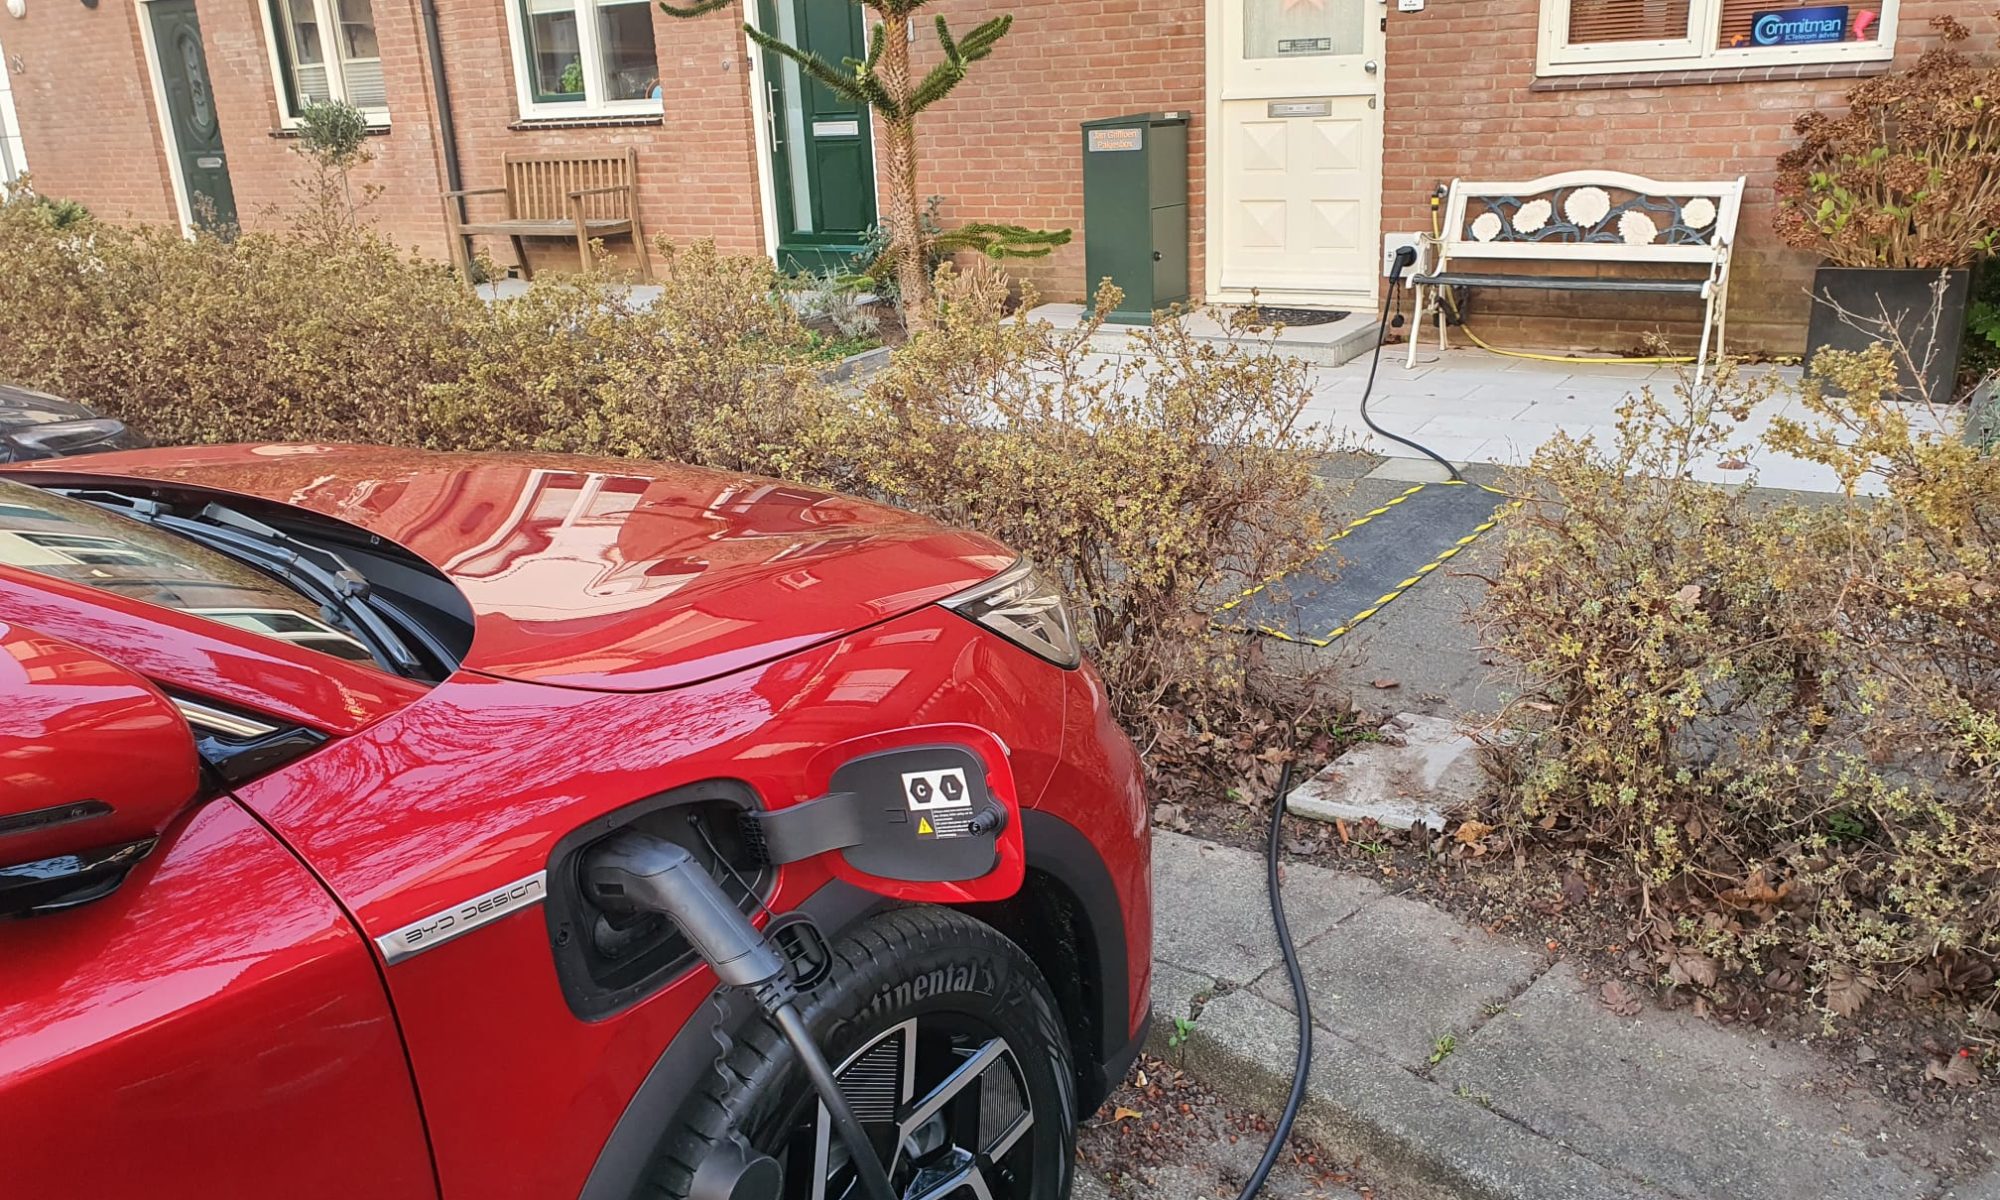
If I want to charge in the garage I have to park the old car outside first so the EV can get in to charge. Because I always work from home during the day I can always park the car in front of the door at those times to charge. But the municipality of Woerden has included in its existing 2017 decision on its charging policy, among other things, that it is not allowed to lay a charging cable over the sidewalk. Other options for home charging such as a charging chute in the tiles or other solutions are also not allowed (yet). The starting point of municipal policy is public charging from user-driven applications. I have done that through an application to the party chosen by the municipality, and after 9 months it has still led to nothing. There are all kinds of reasons such as the full power grid and going through objection procedures that make building public charging points not very fast. but at my home it was settled with Stedin within 2 weeks. Now I can just charge at home with 11kW. But municipal policy does not allow that on public roads.
So I charge publicly when I can or in the garage. I hope the municipality, under pressure from its residents, will eventually allow alternatives to use charging cables safely over the public sidewalk. There is quite a bit of political pressure to move on this. The existing charging policy of the municipality of Woerden predates the time when EVs are available in growing numbers, so it is time to change this in terms of vision anyway.
As is now clear from user experiences, the purchase of EVs will be significantly stimulated when home charging solutions become available including solutions for connecting your EV to your home charger via public space. This is already in place in a growing number of municipalities, albeit mostly on a temporary trial basis.
In order to charge the EV at home, I have already implemented the following:
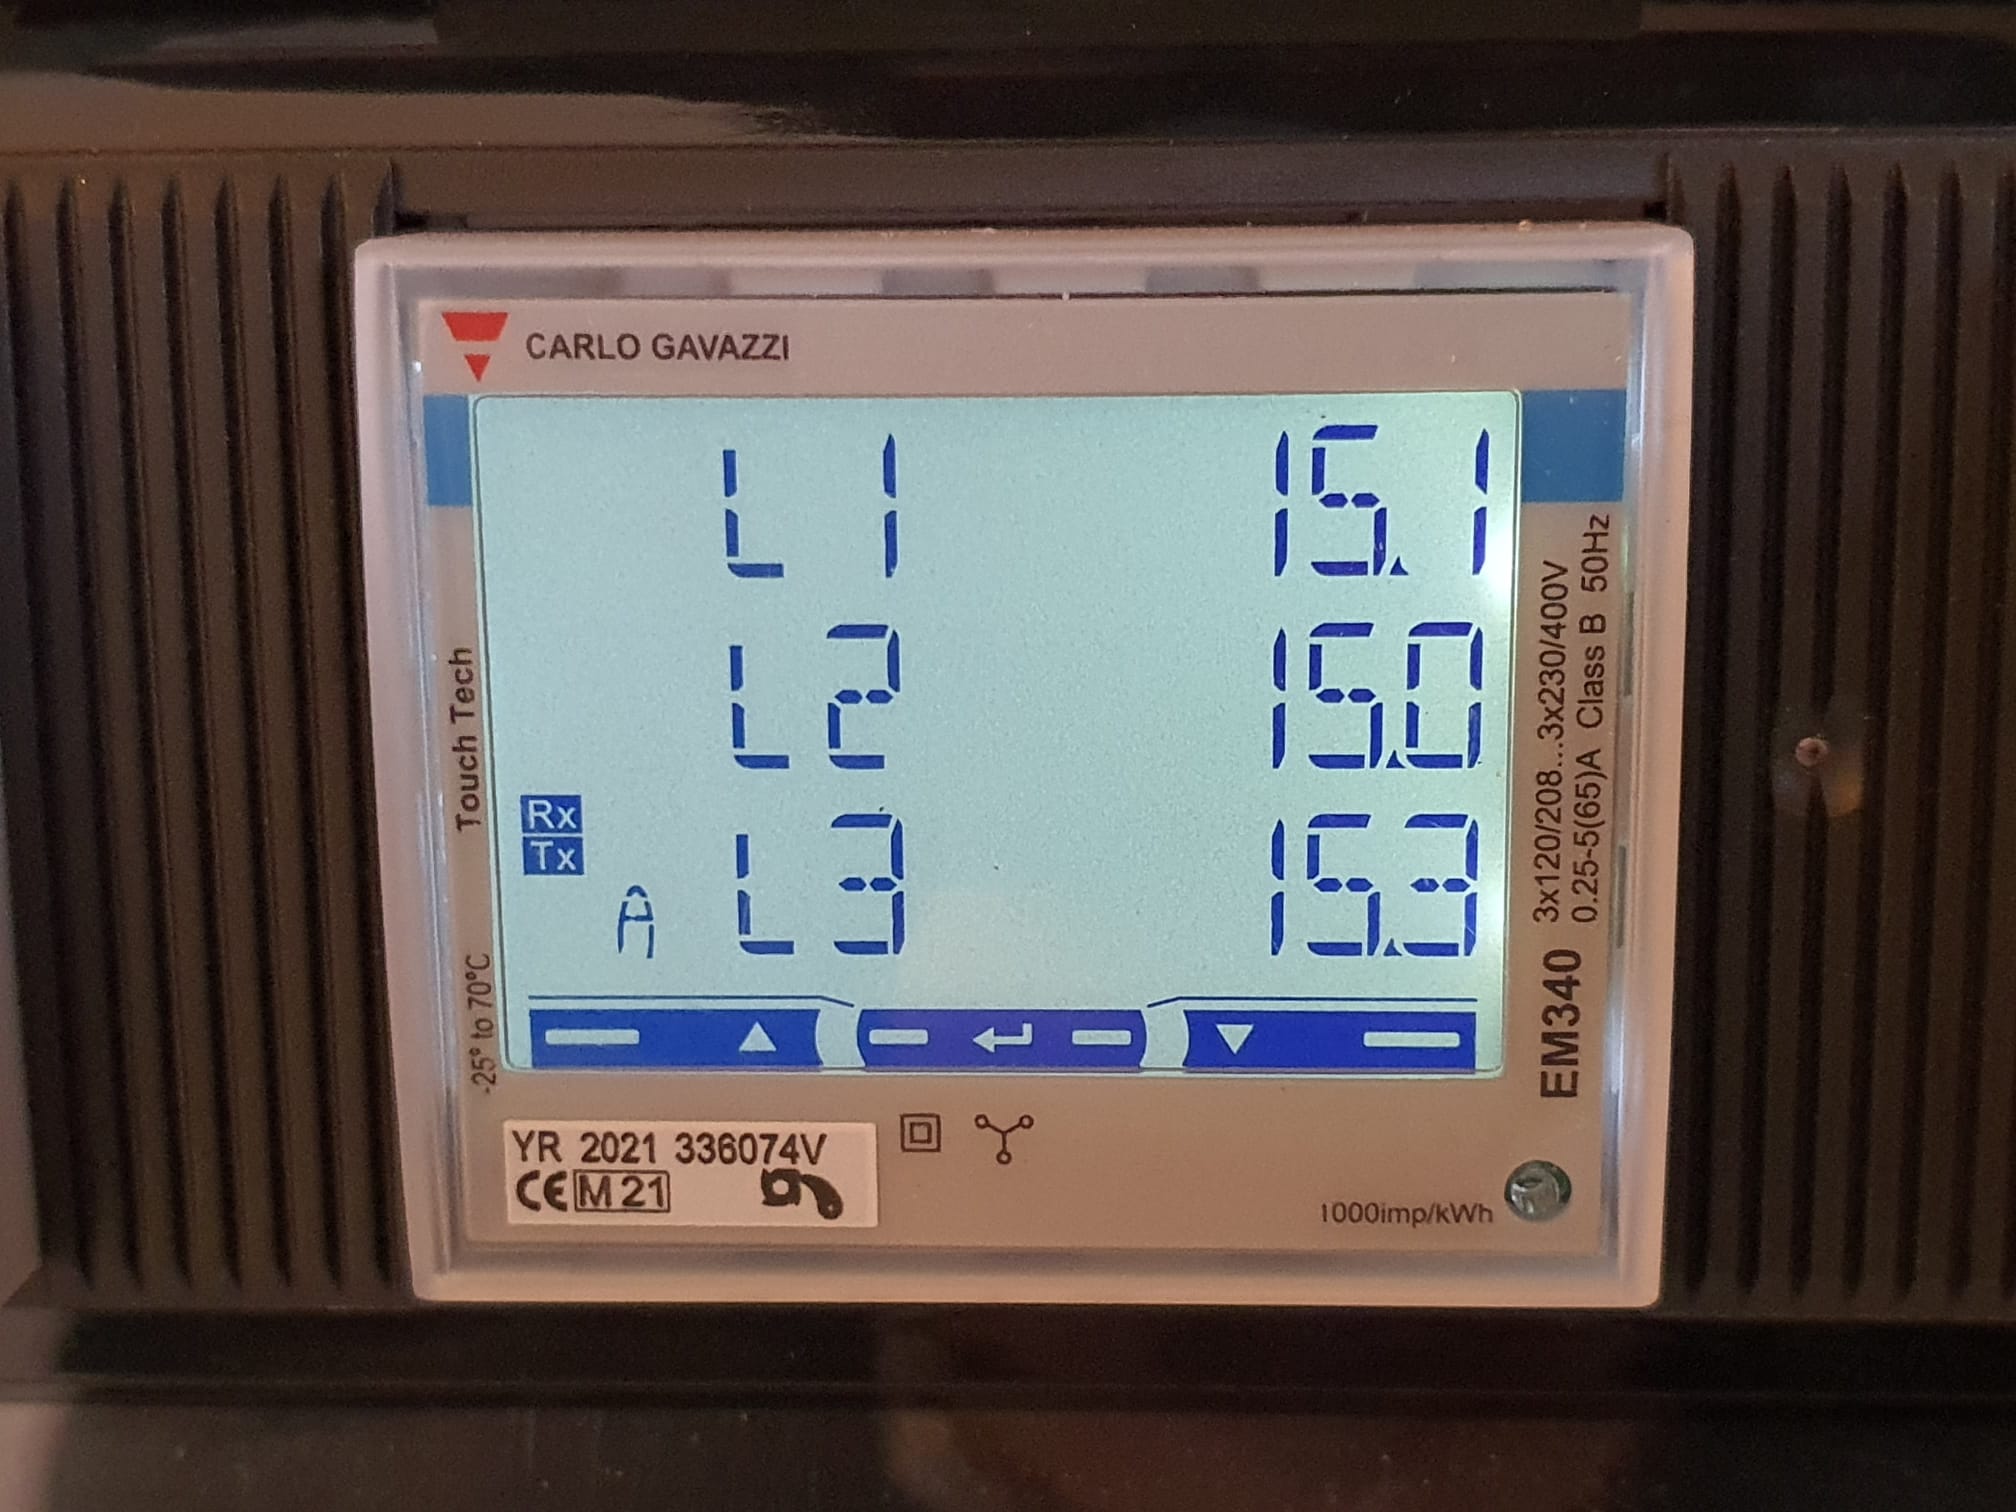
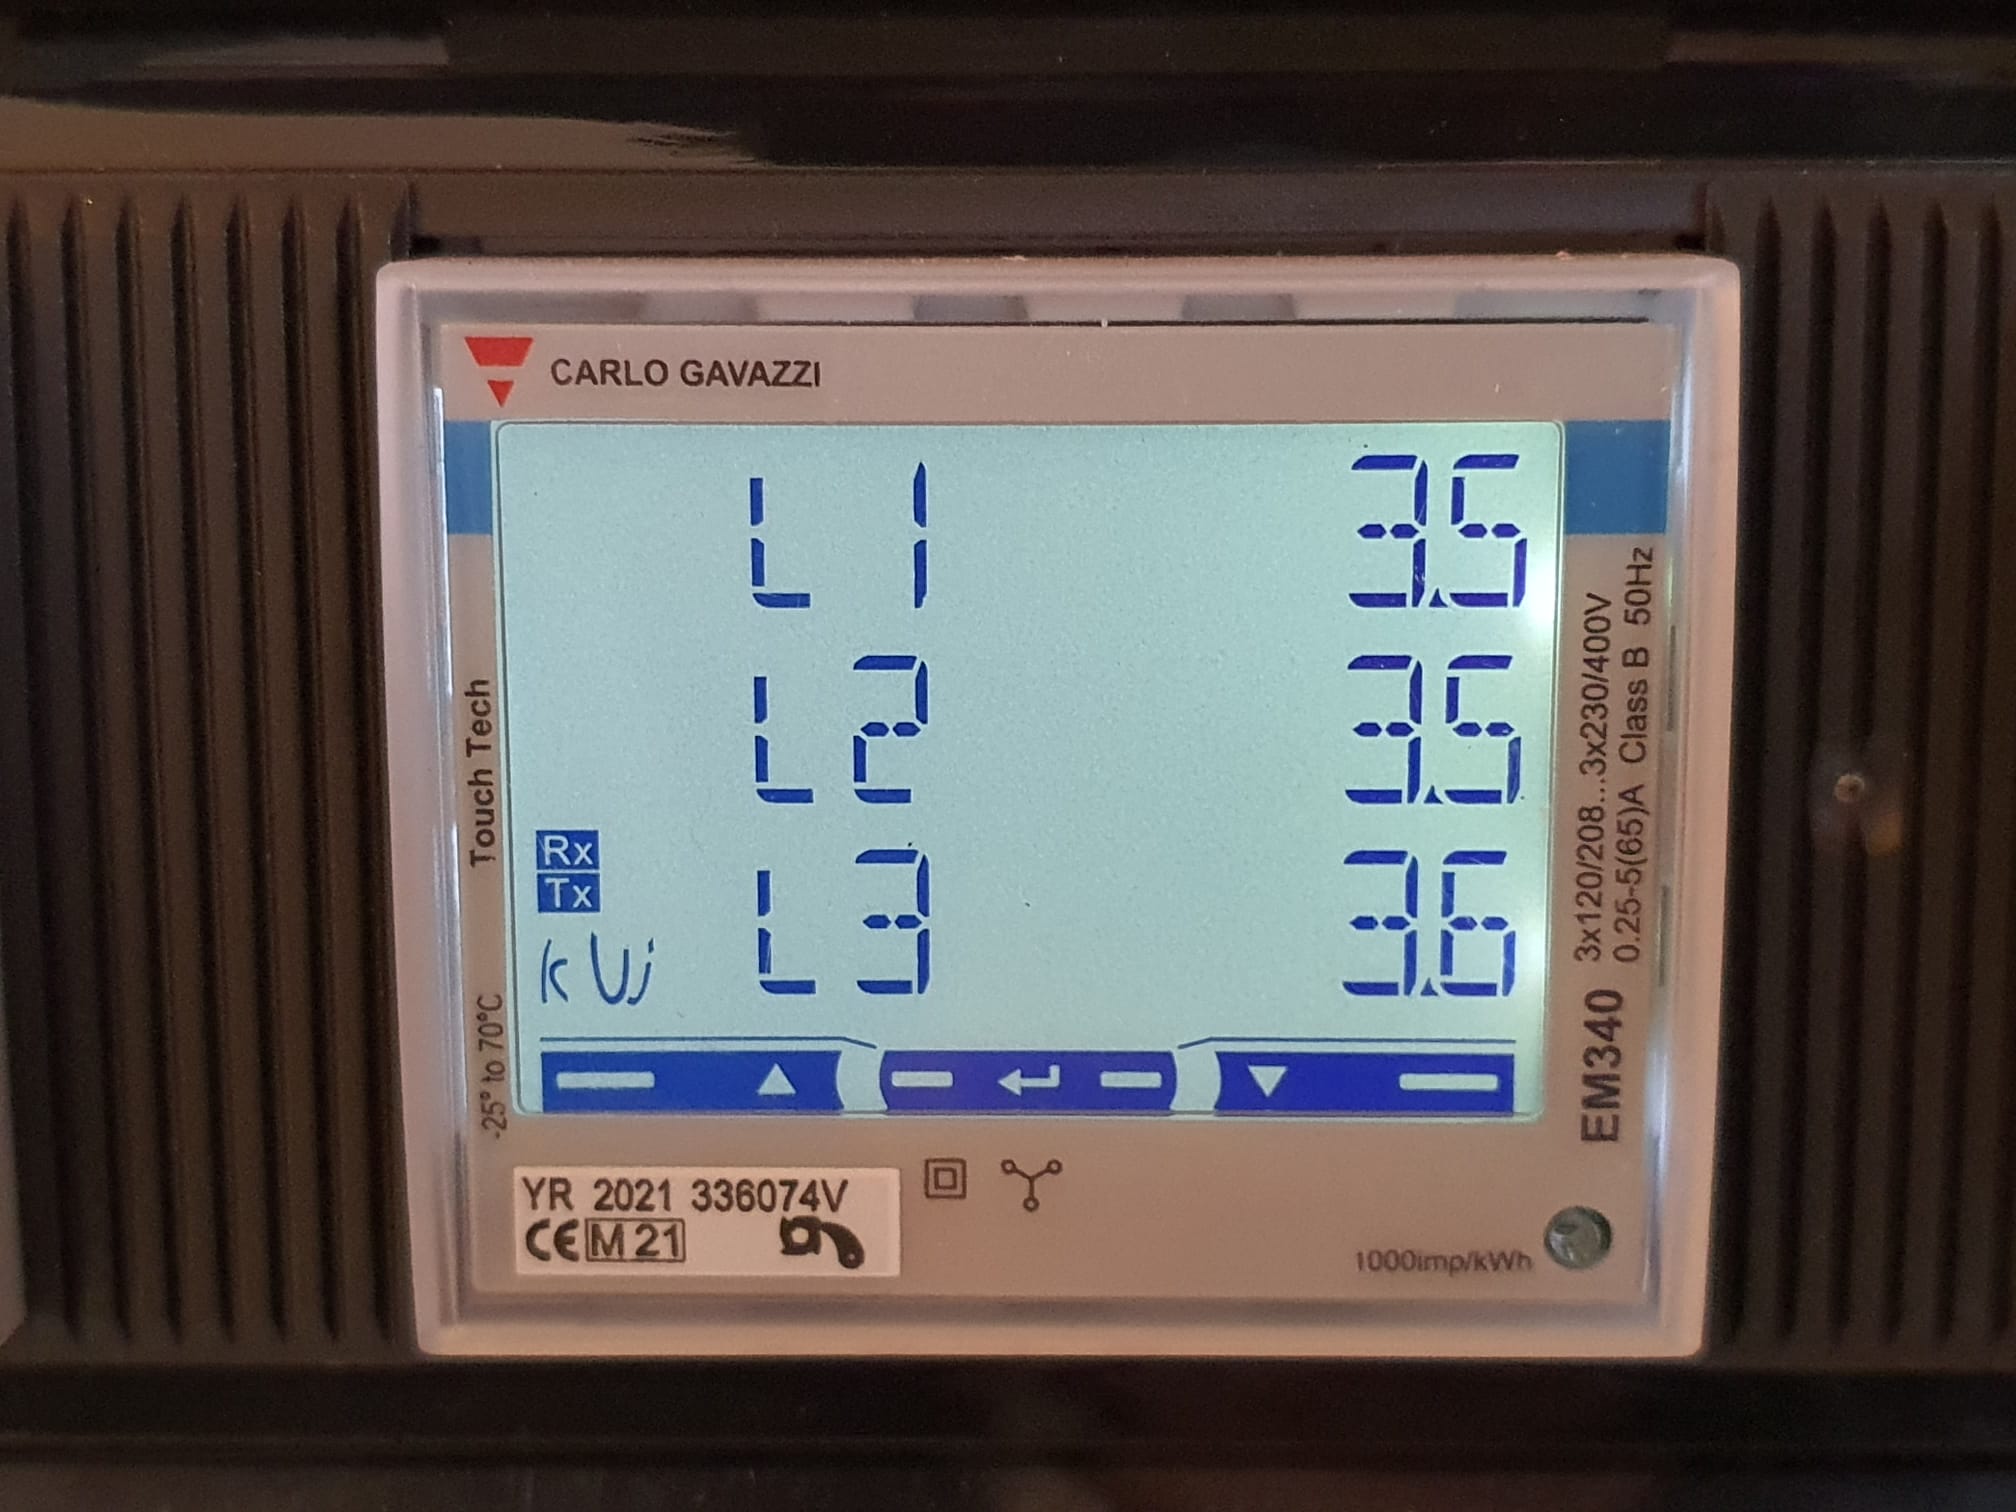
First, I replaced the meter box with a 3-phase meter box with circuit breakers.
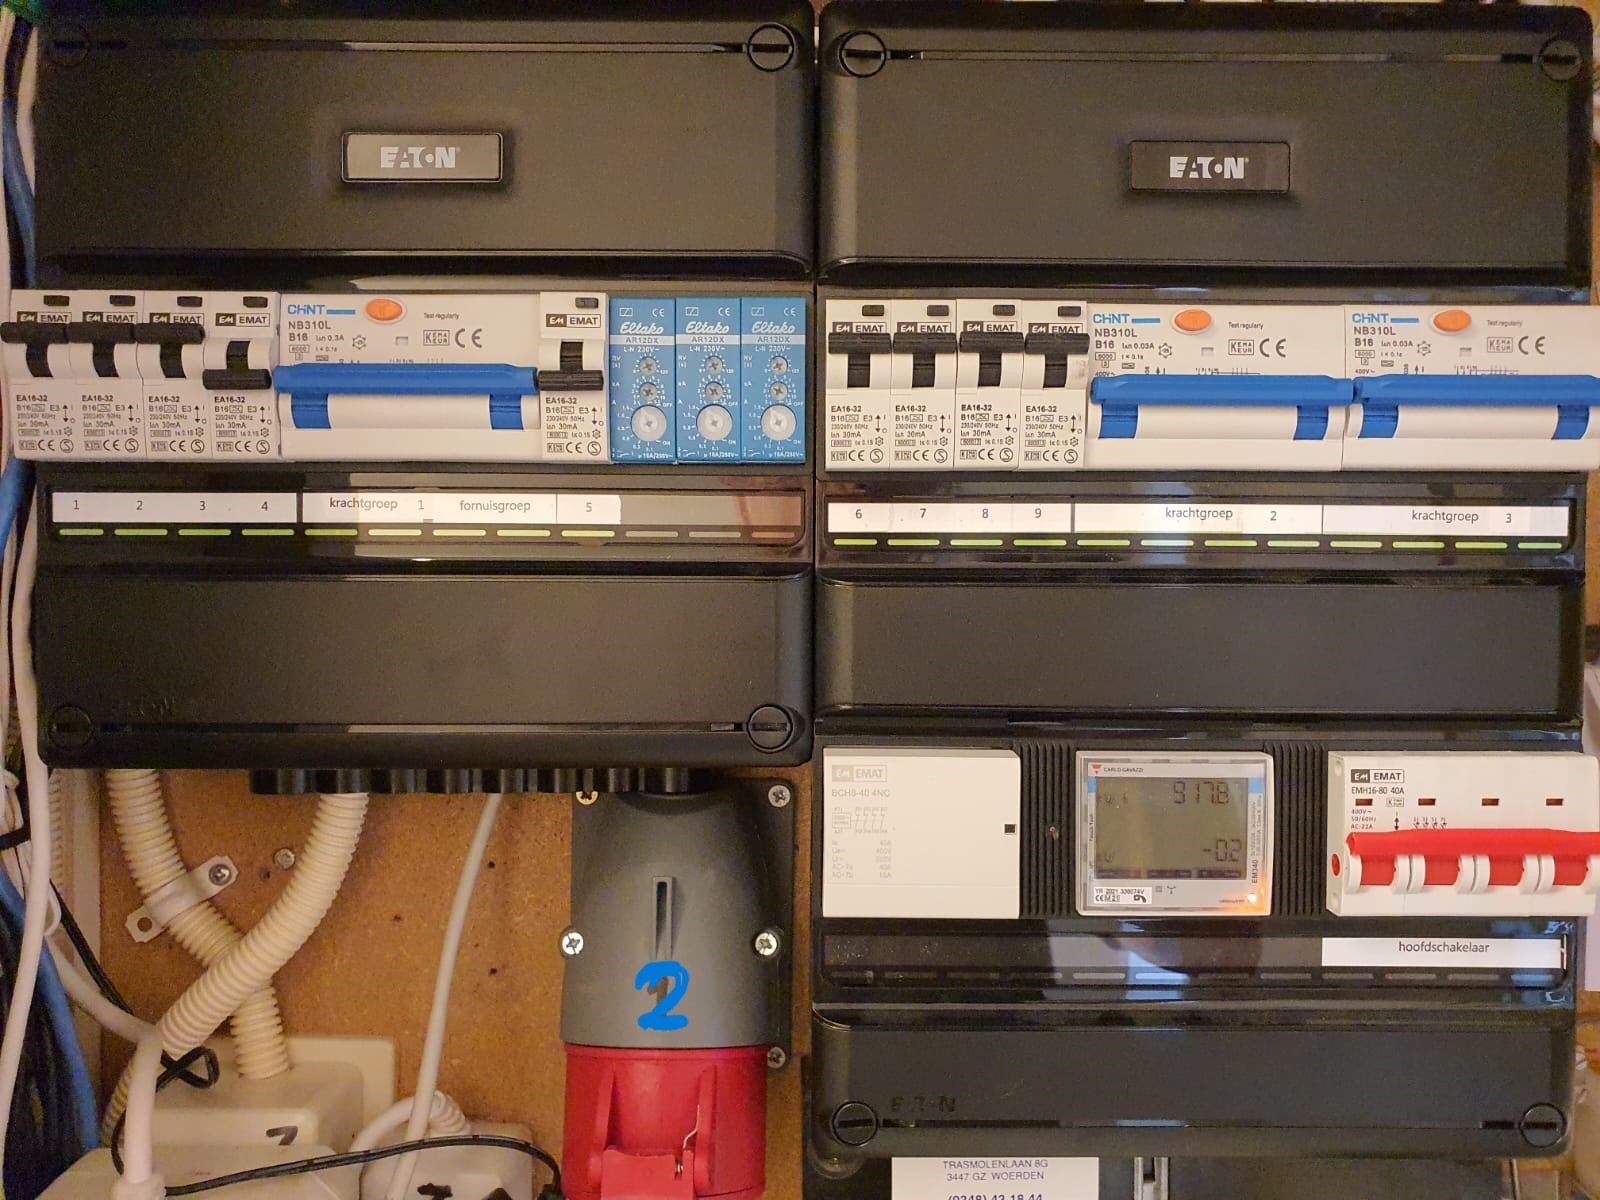
Then I also laid a power cable to the garage, including the connection between wallbox copper on the one hand and load balancer and internet on the other, both via their own CAT-6 cable.
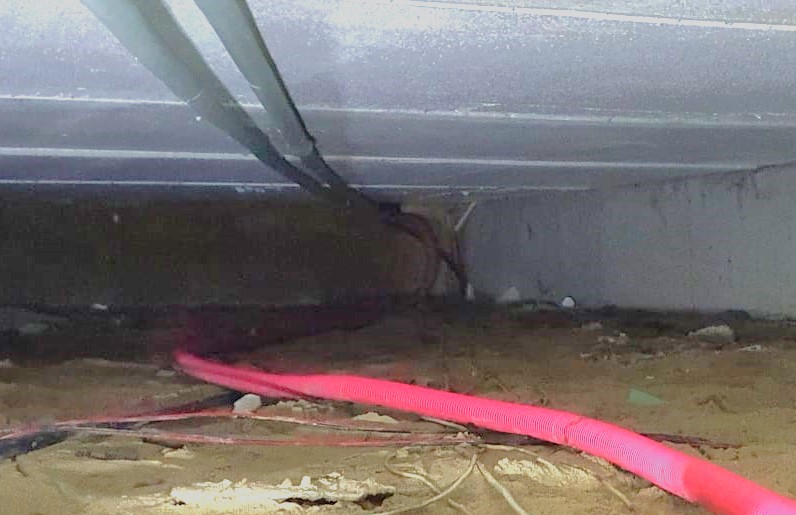
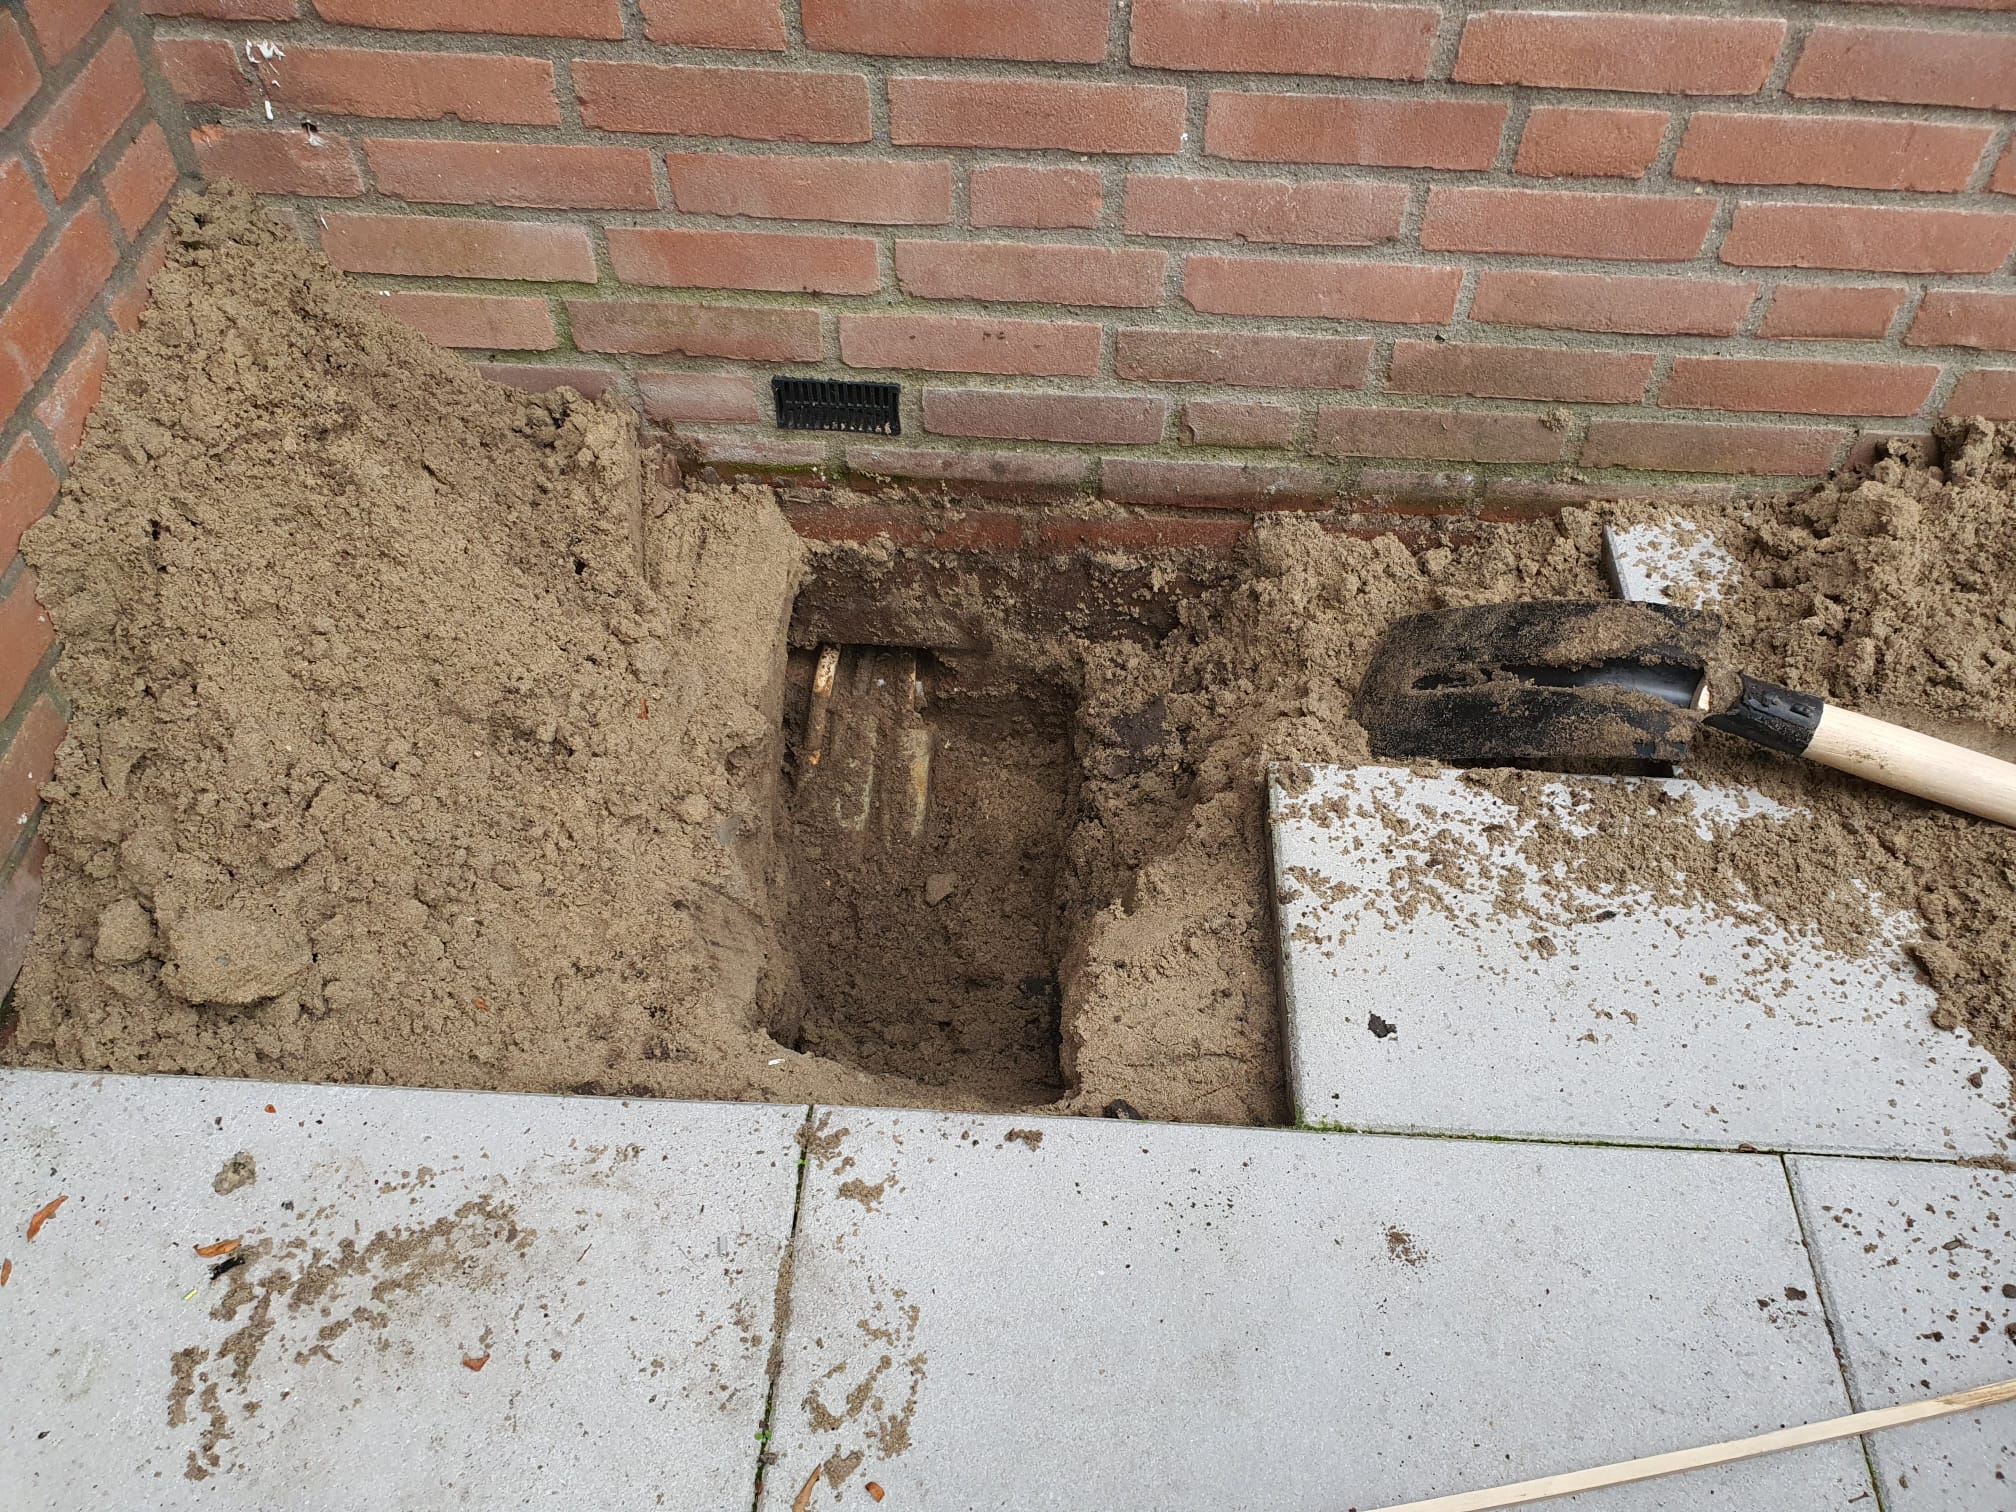
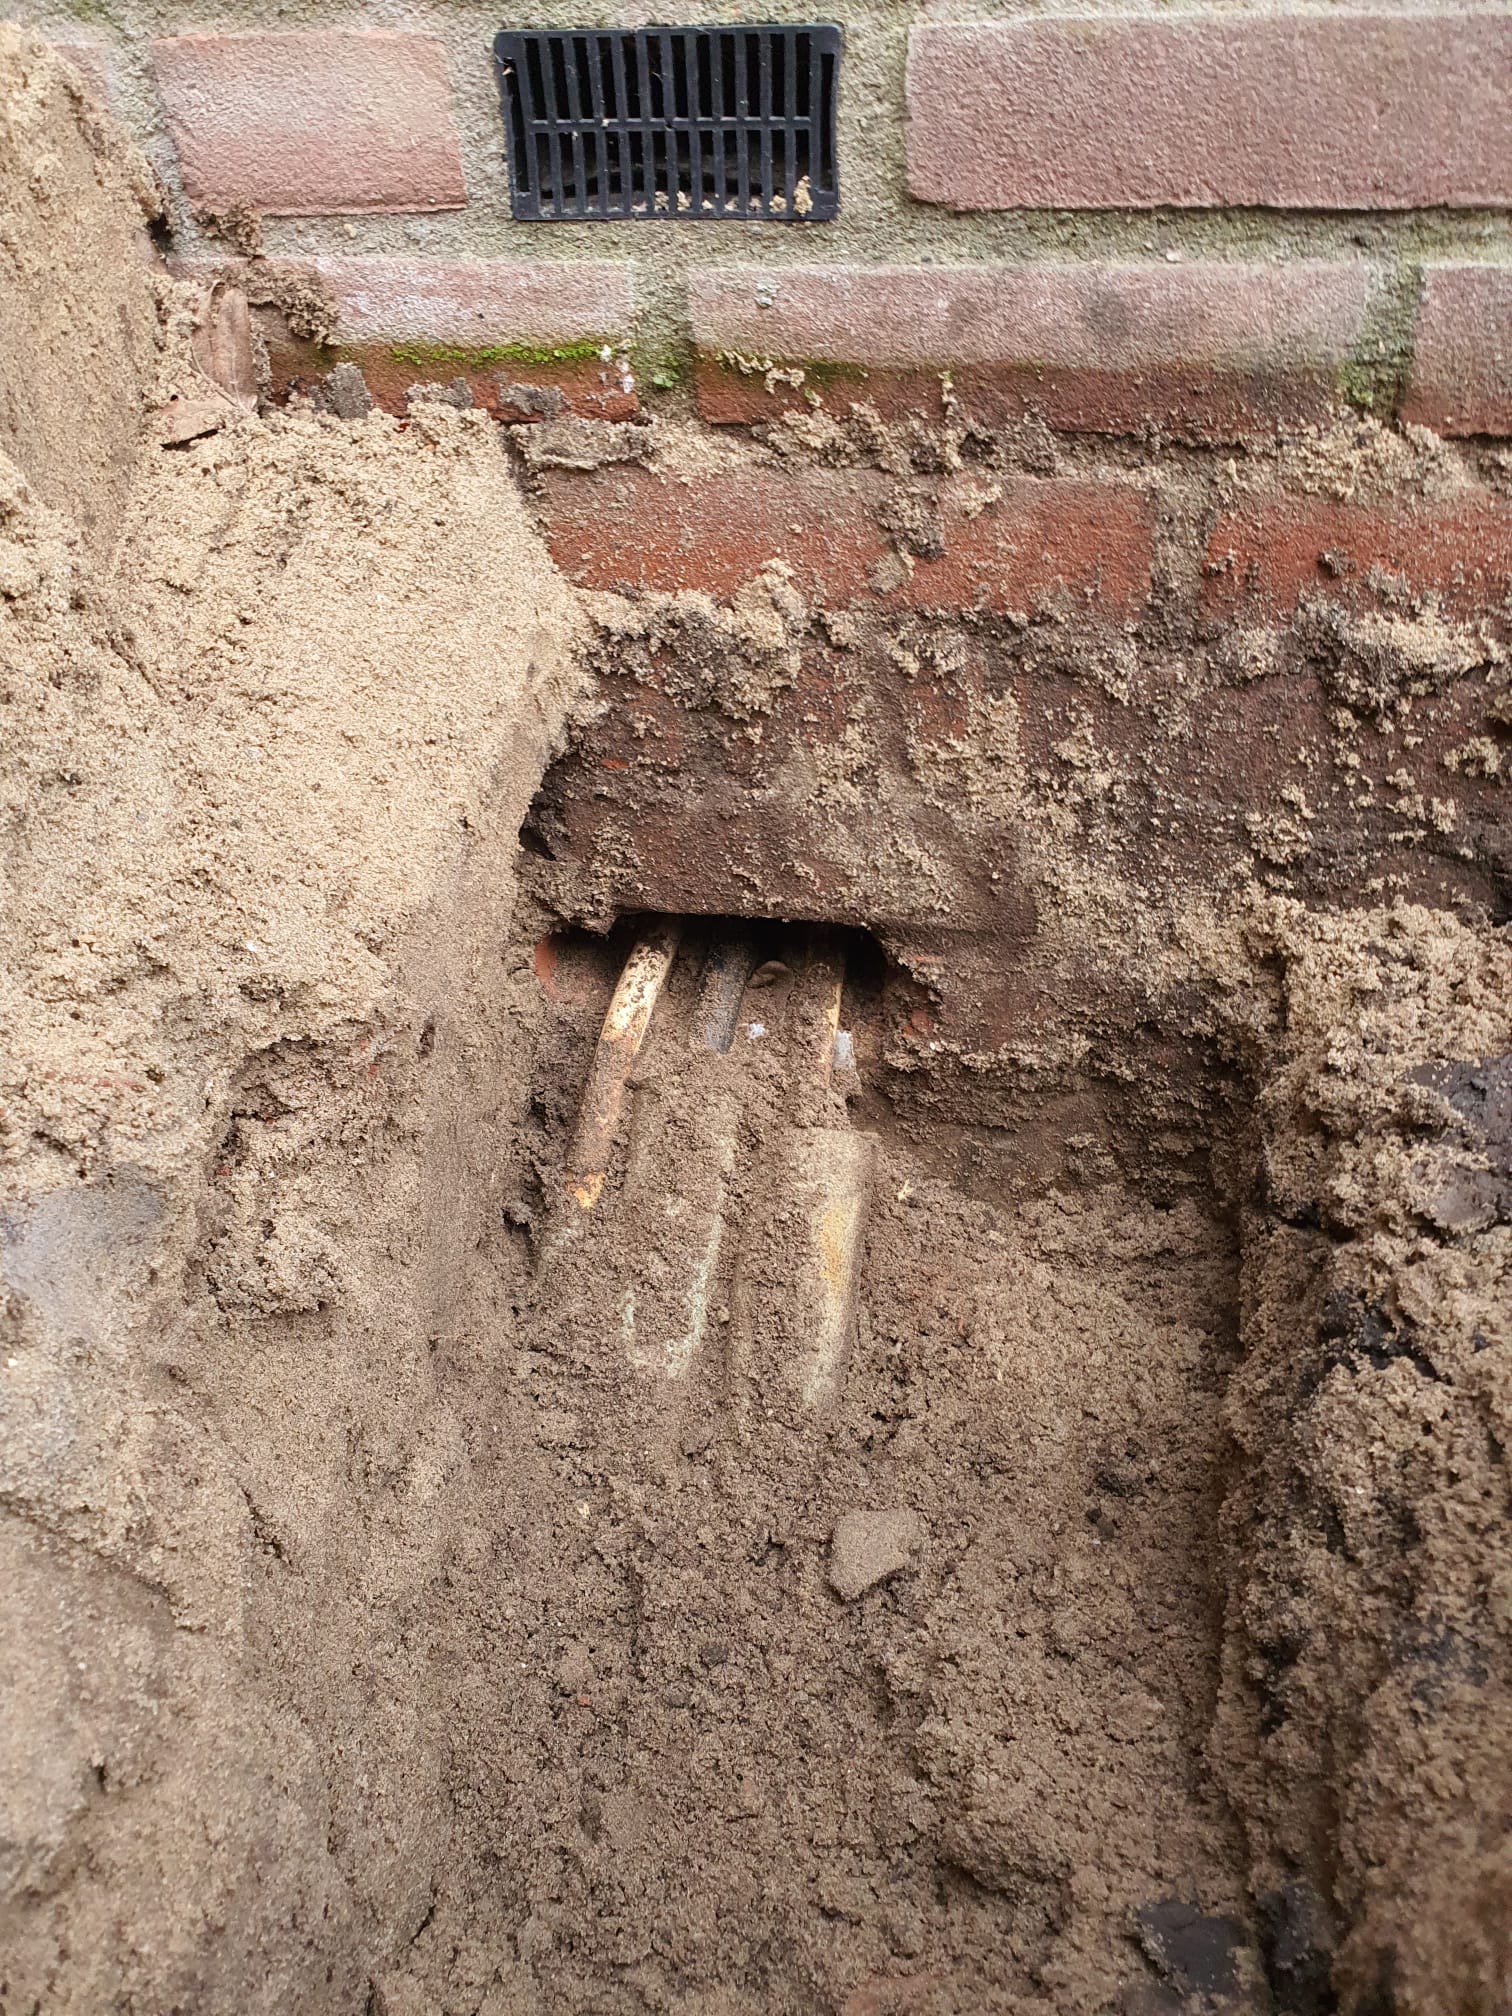
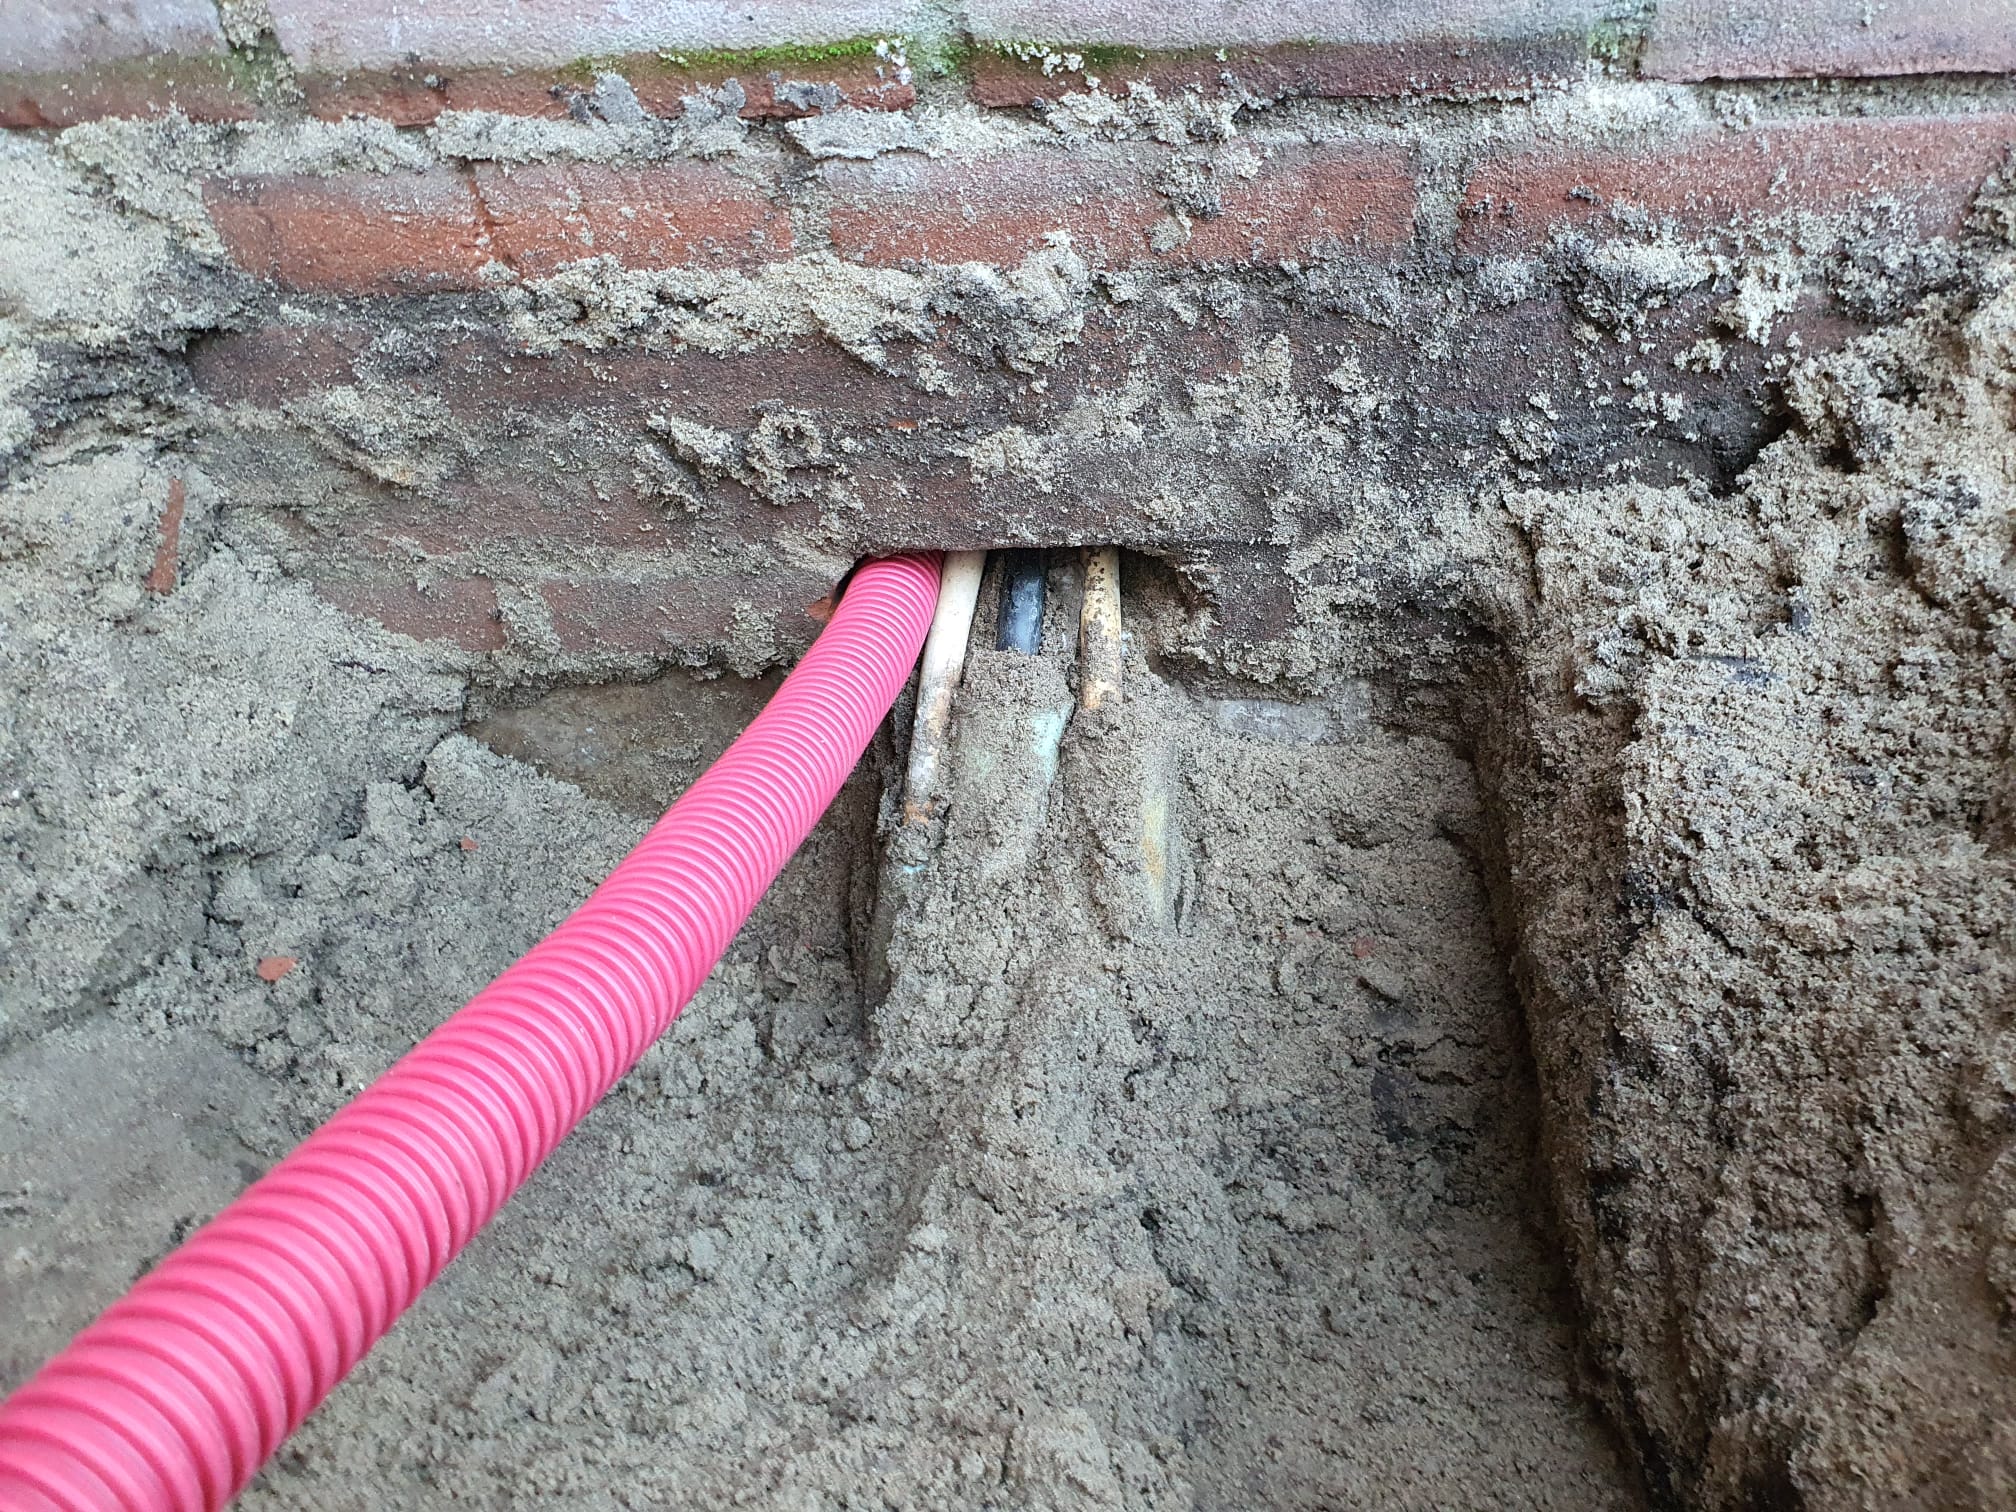
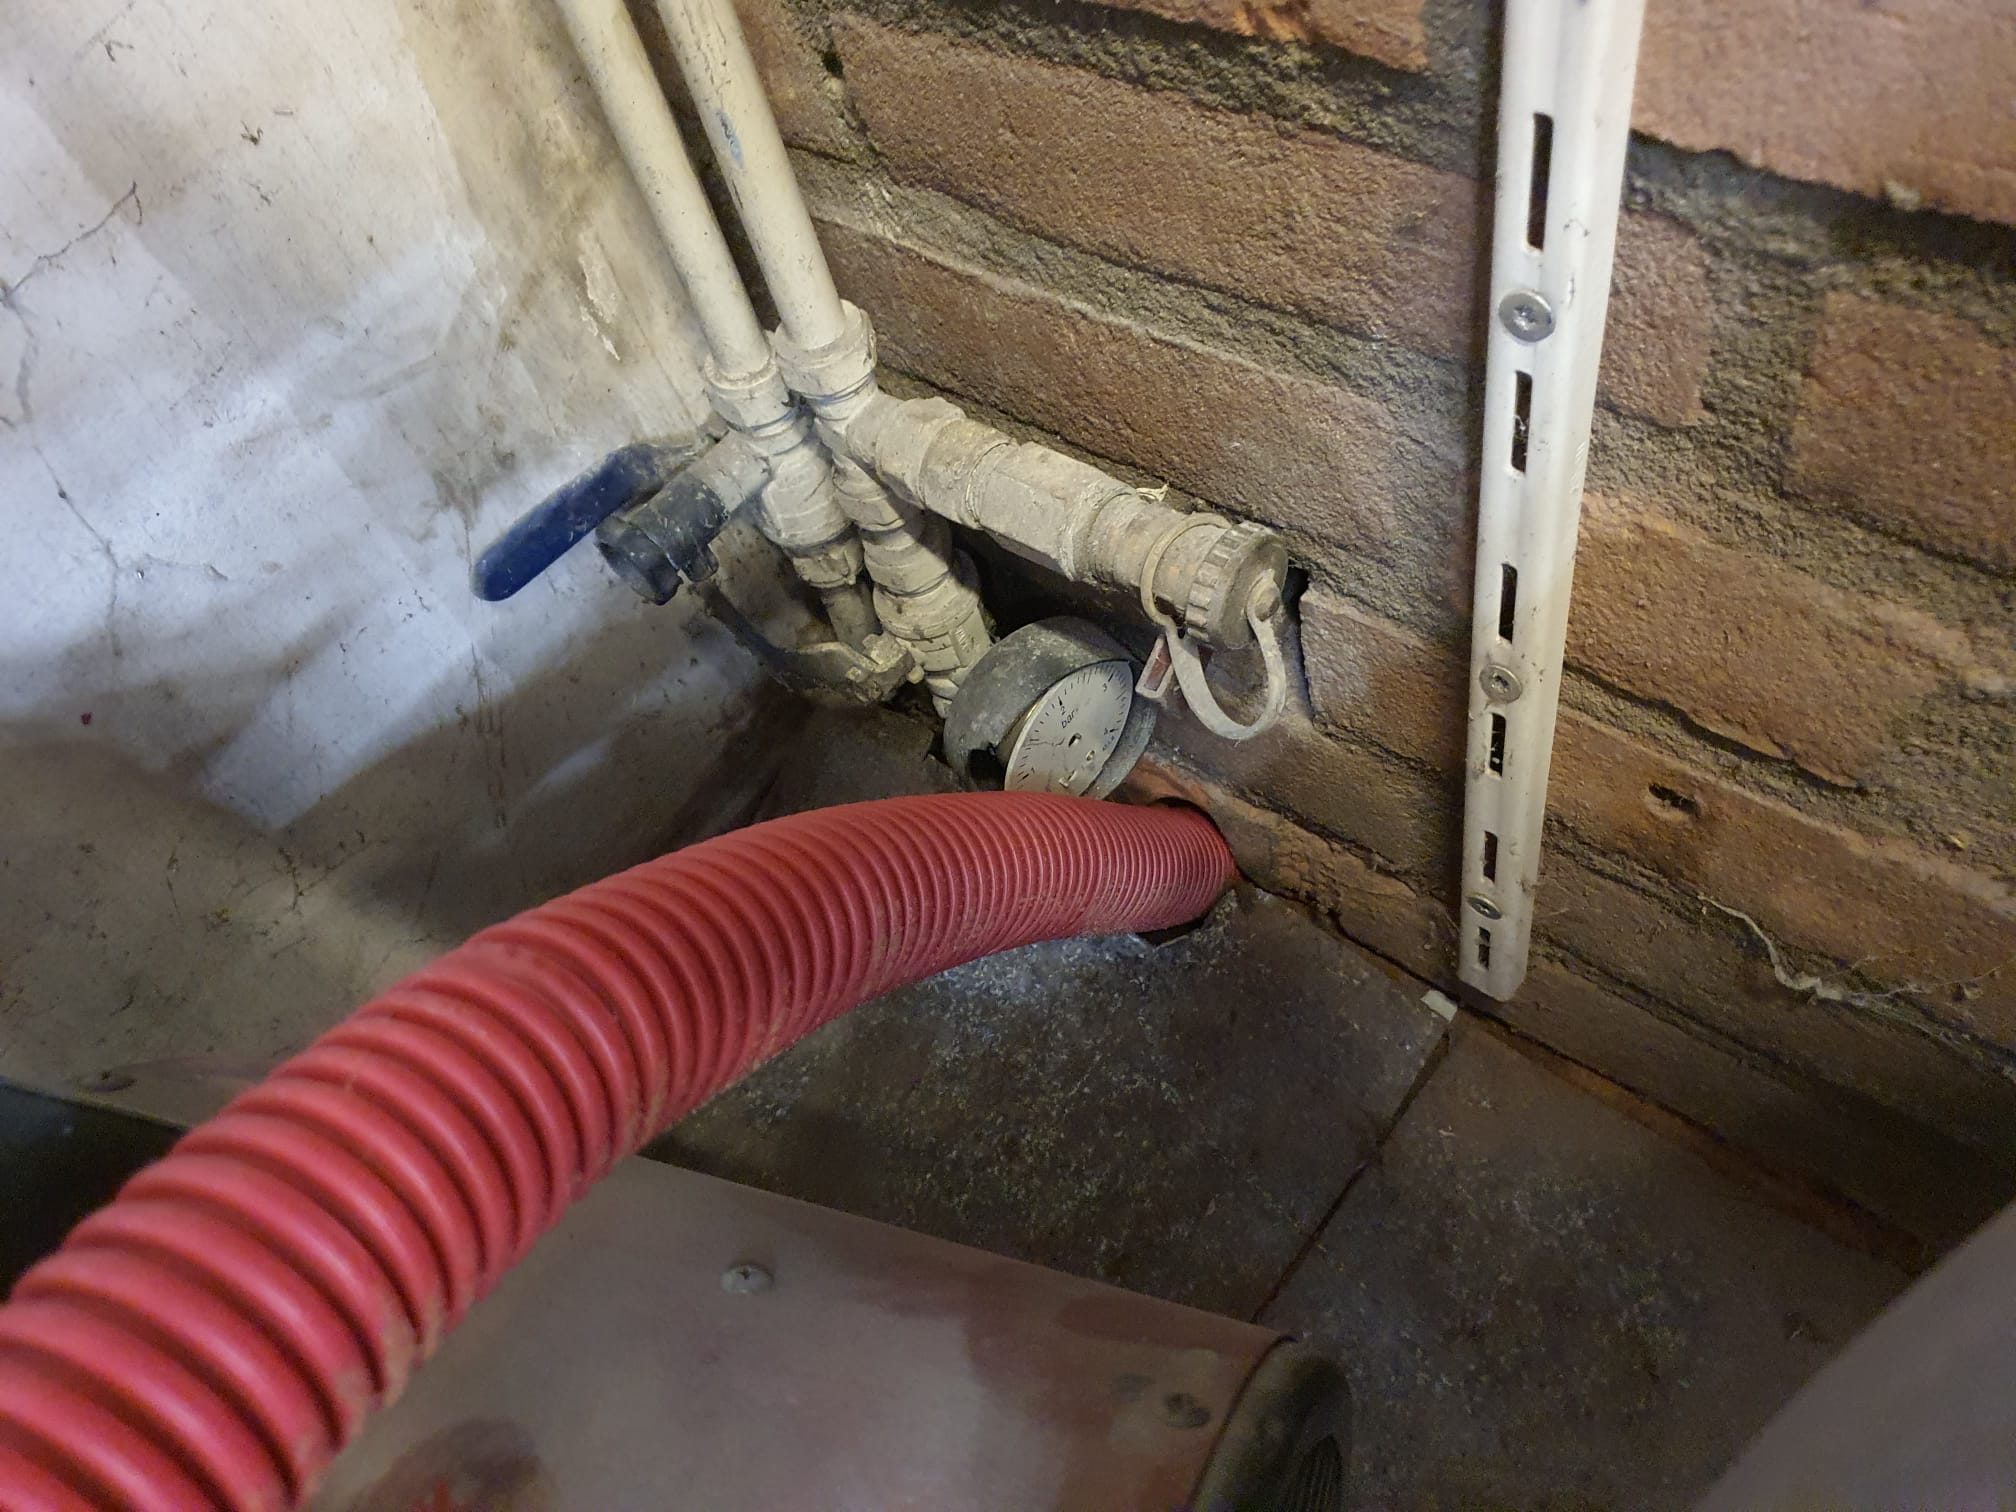
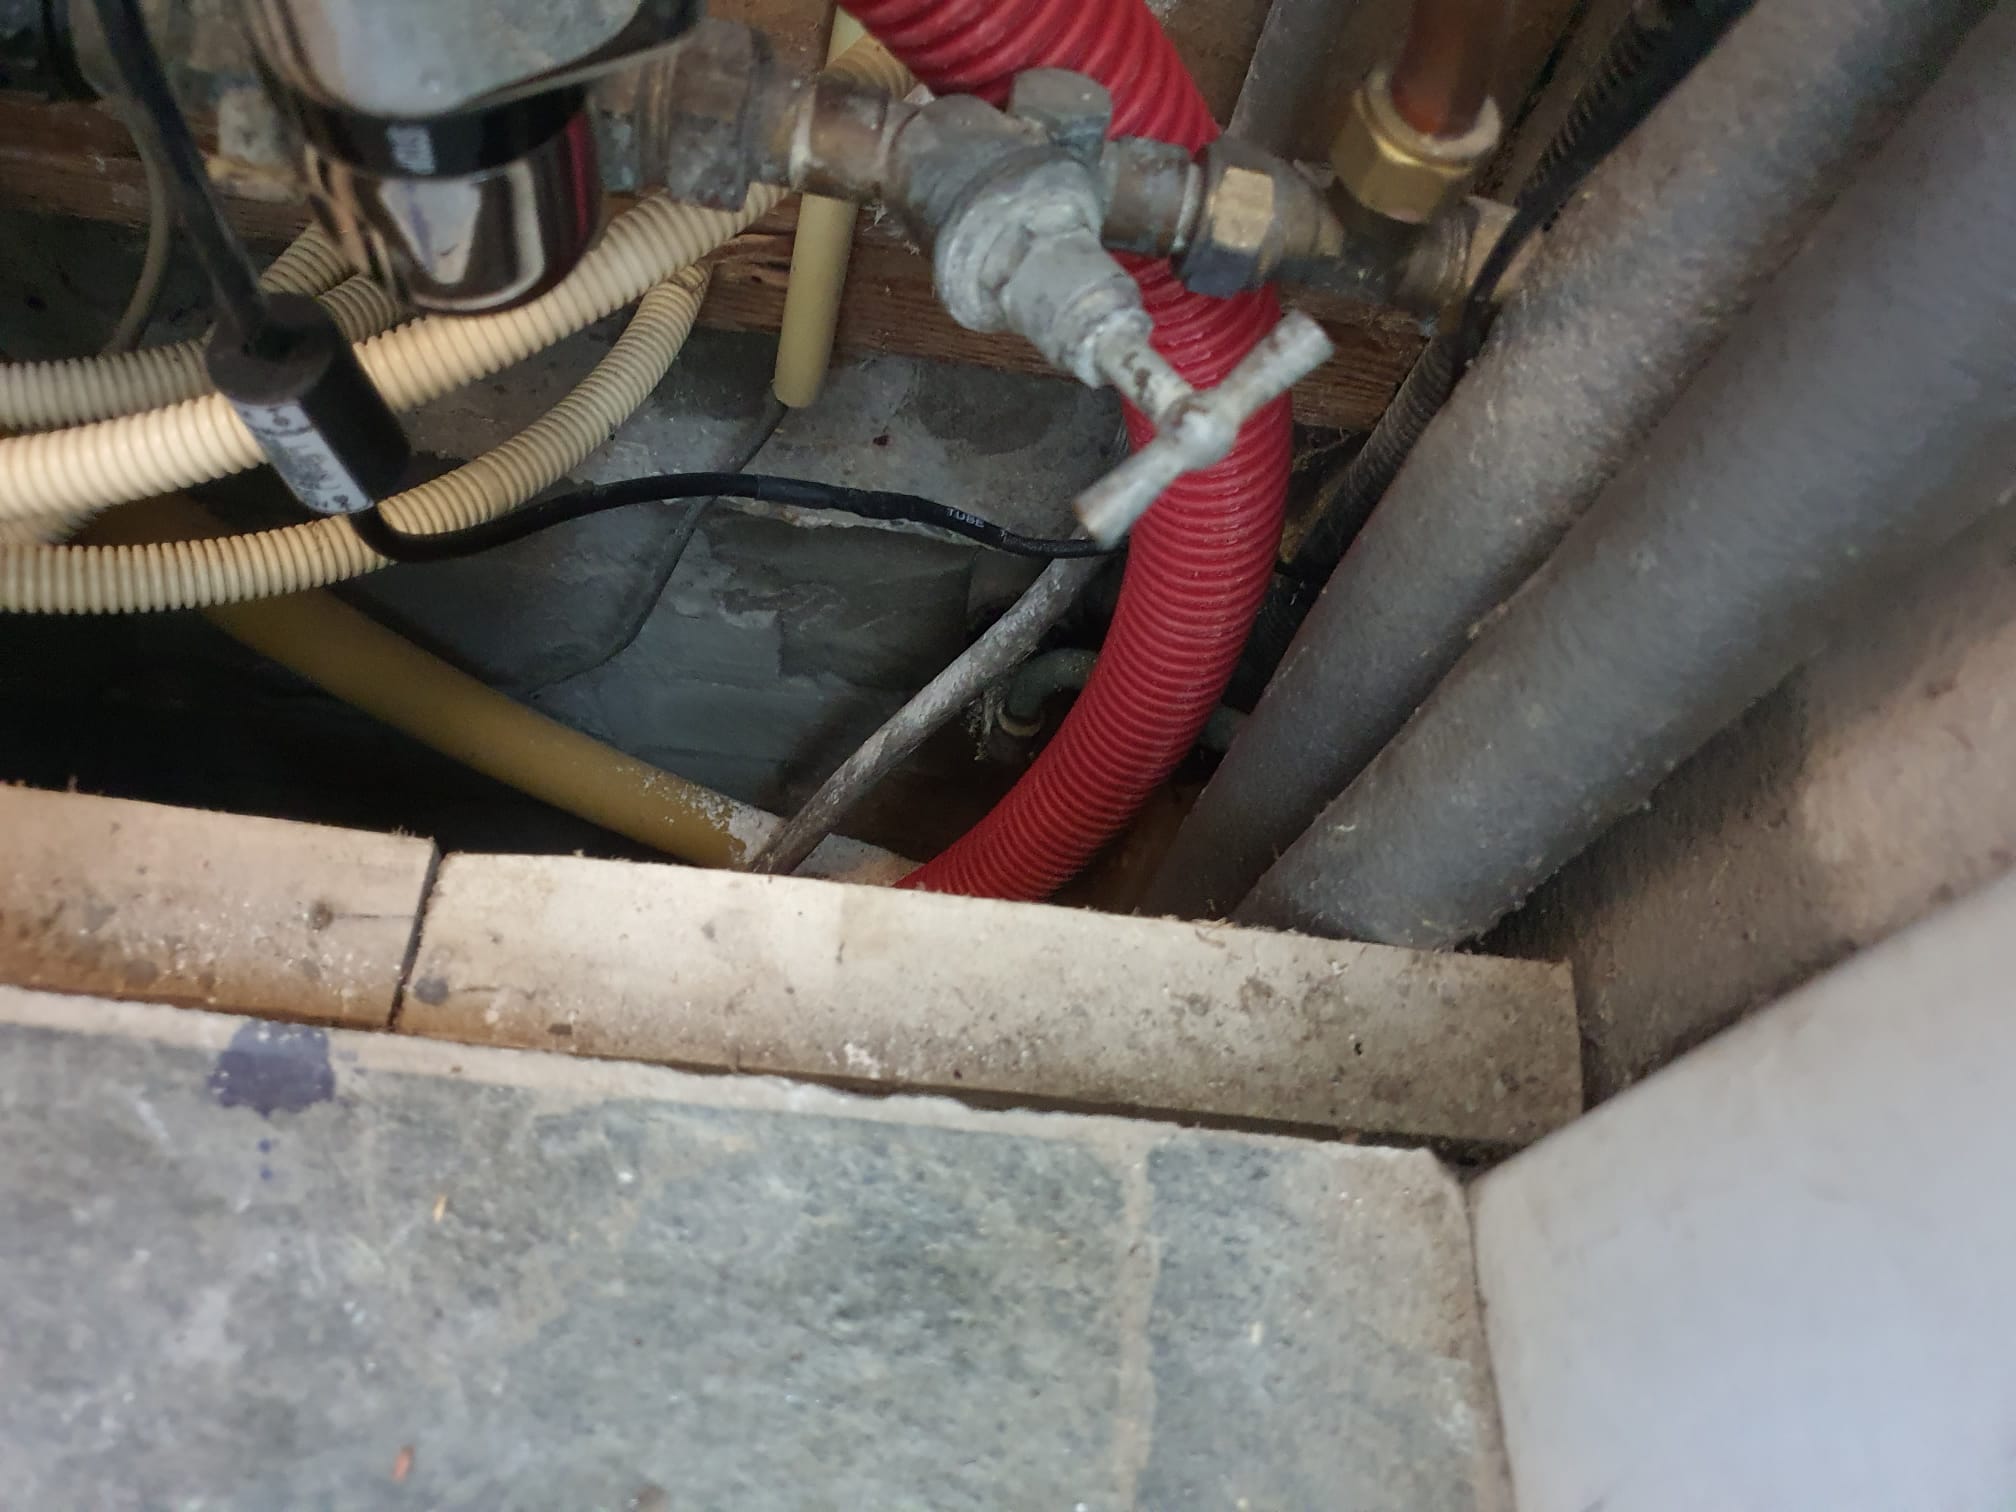
Then I made a box on the front wall with an extended wallbox copper connection point.
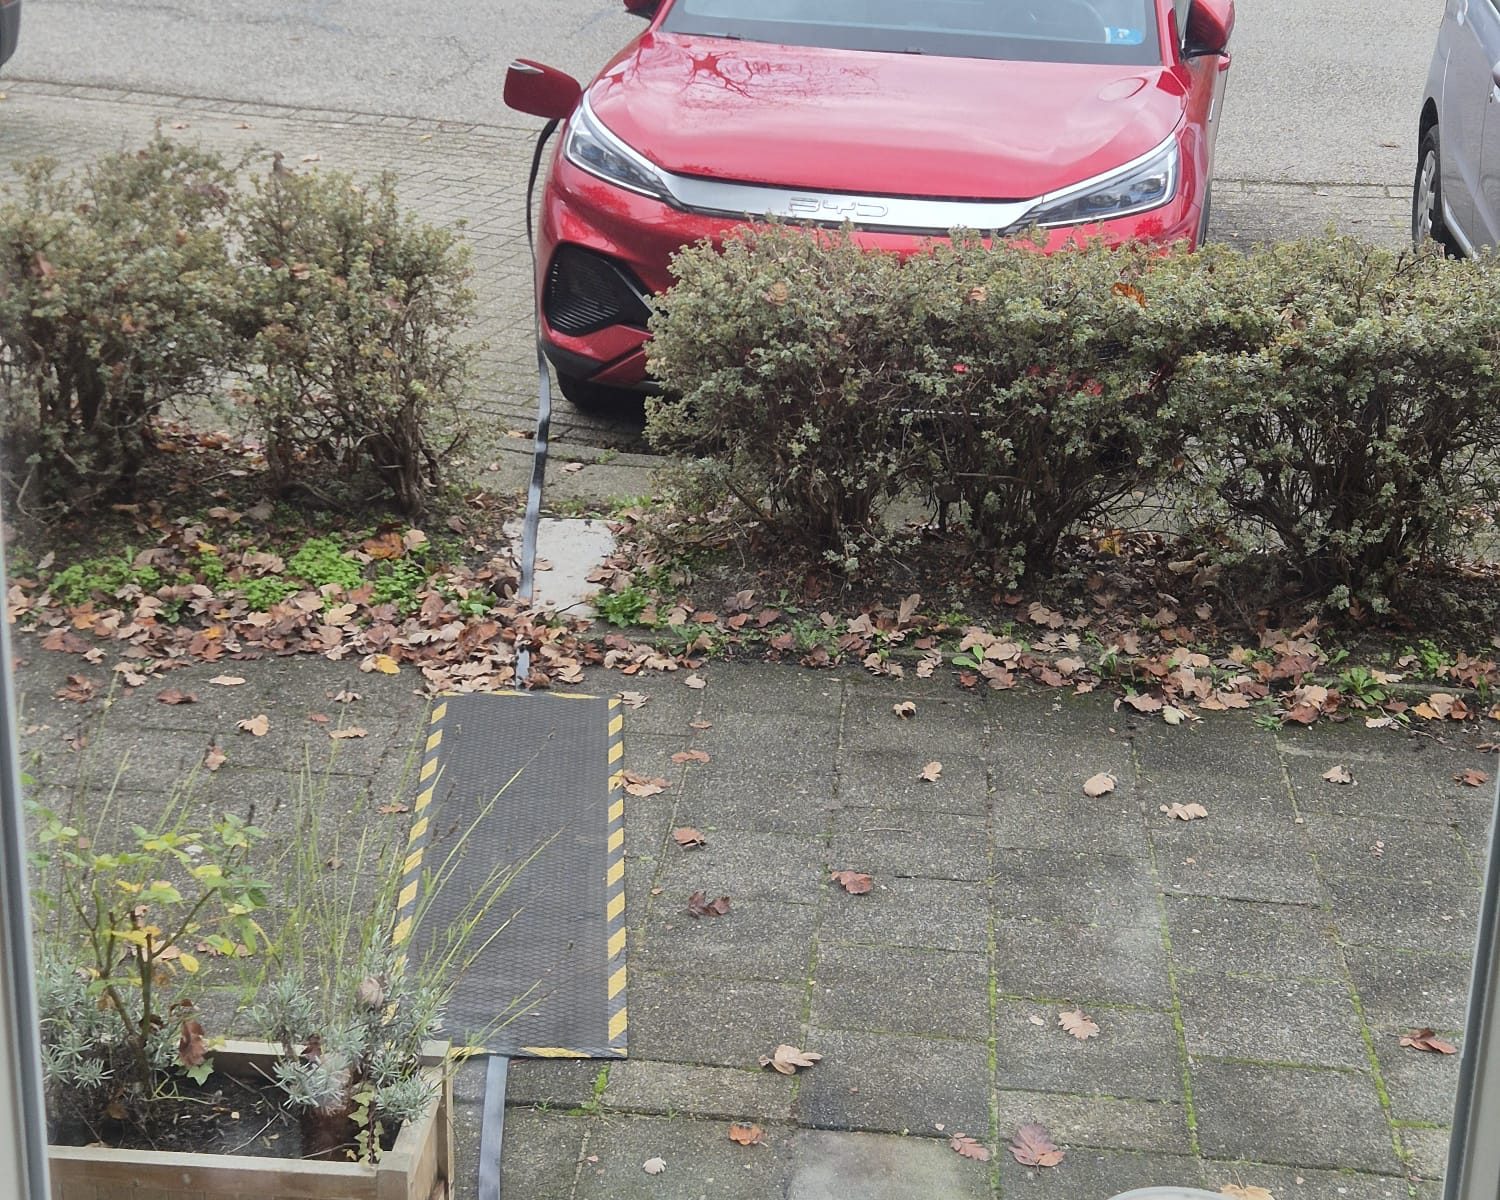
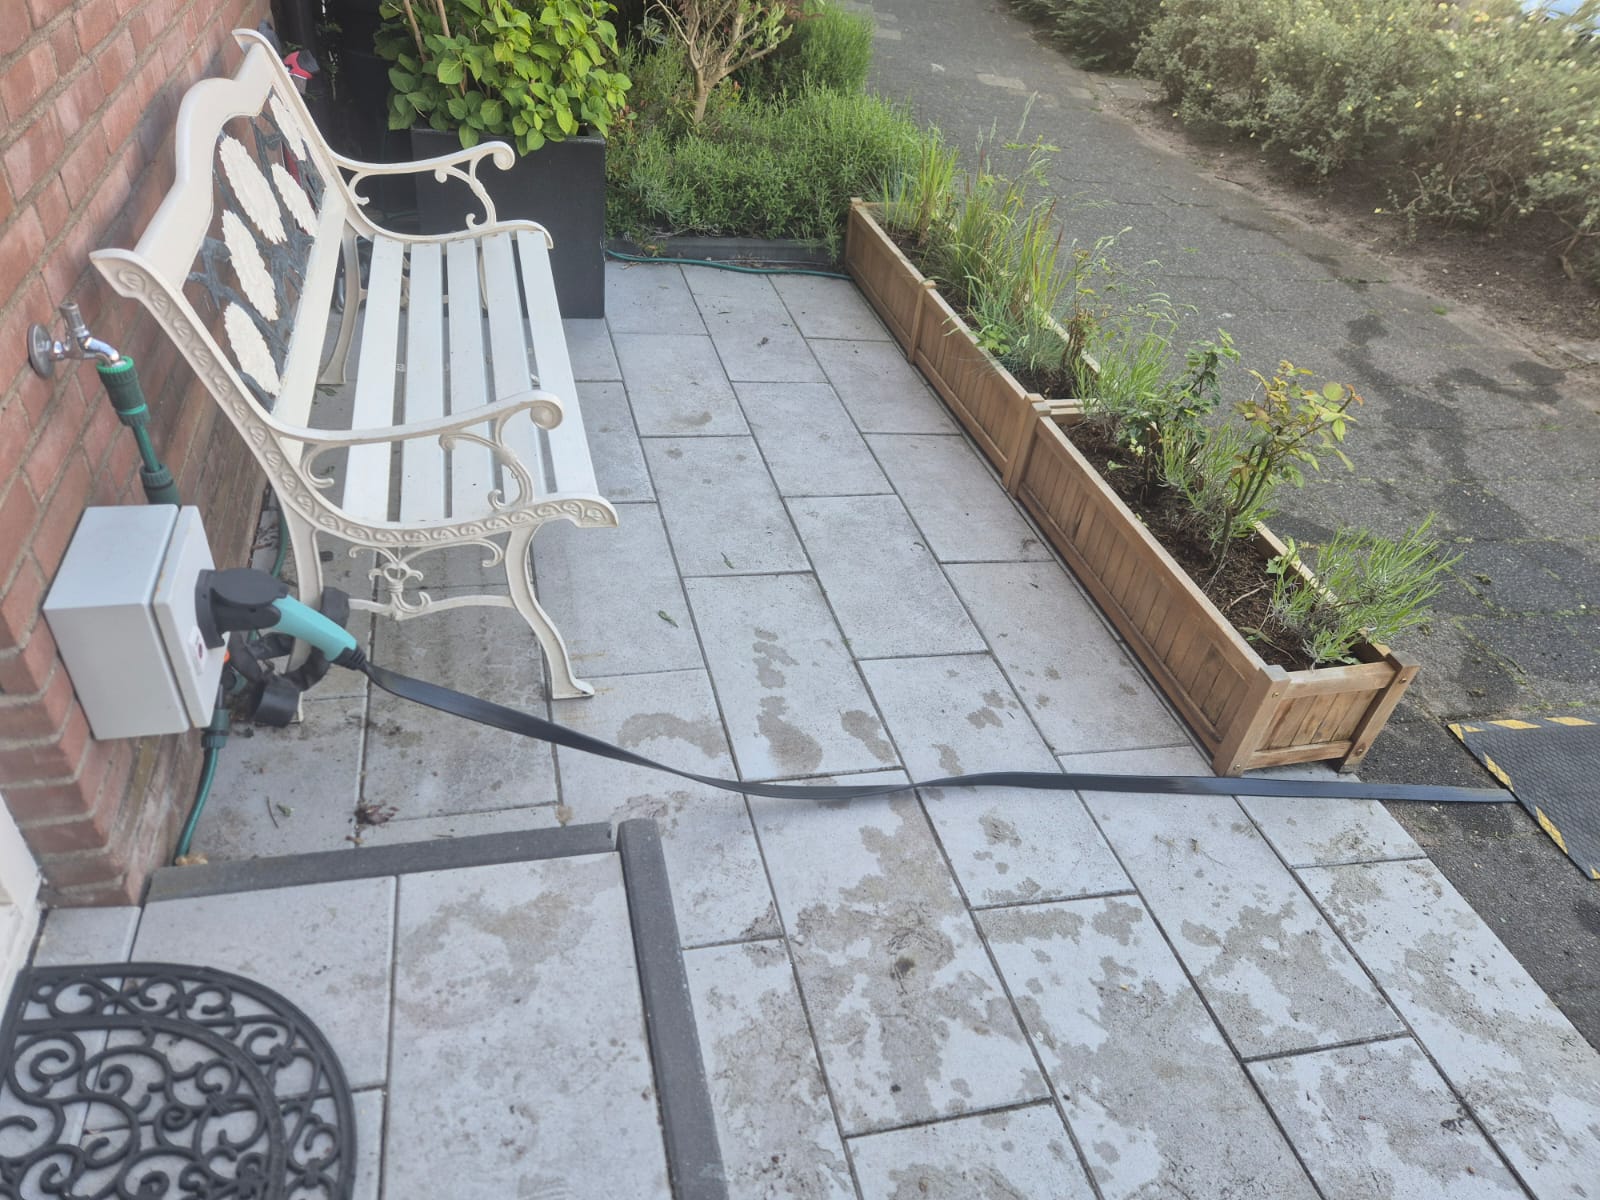
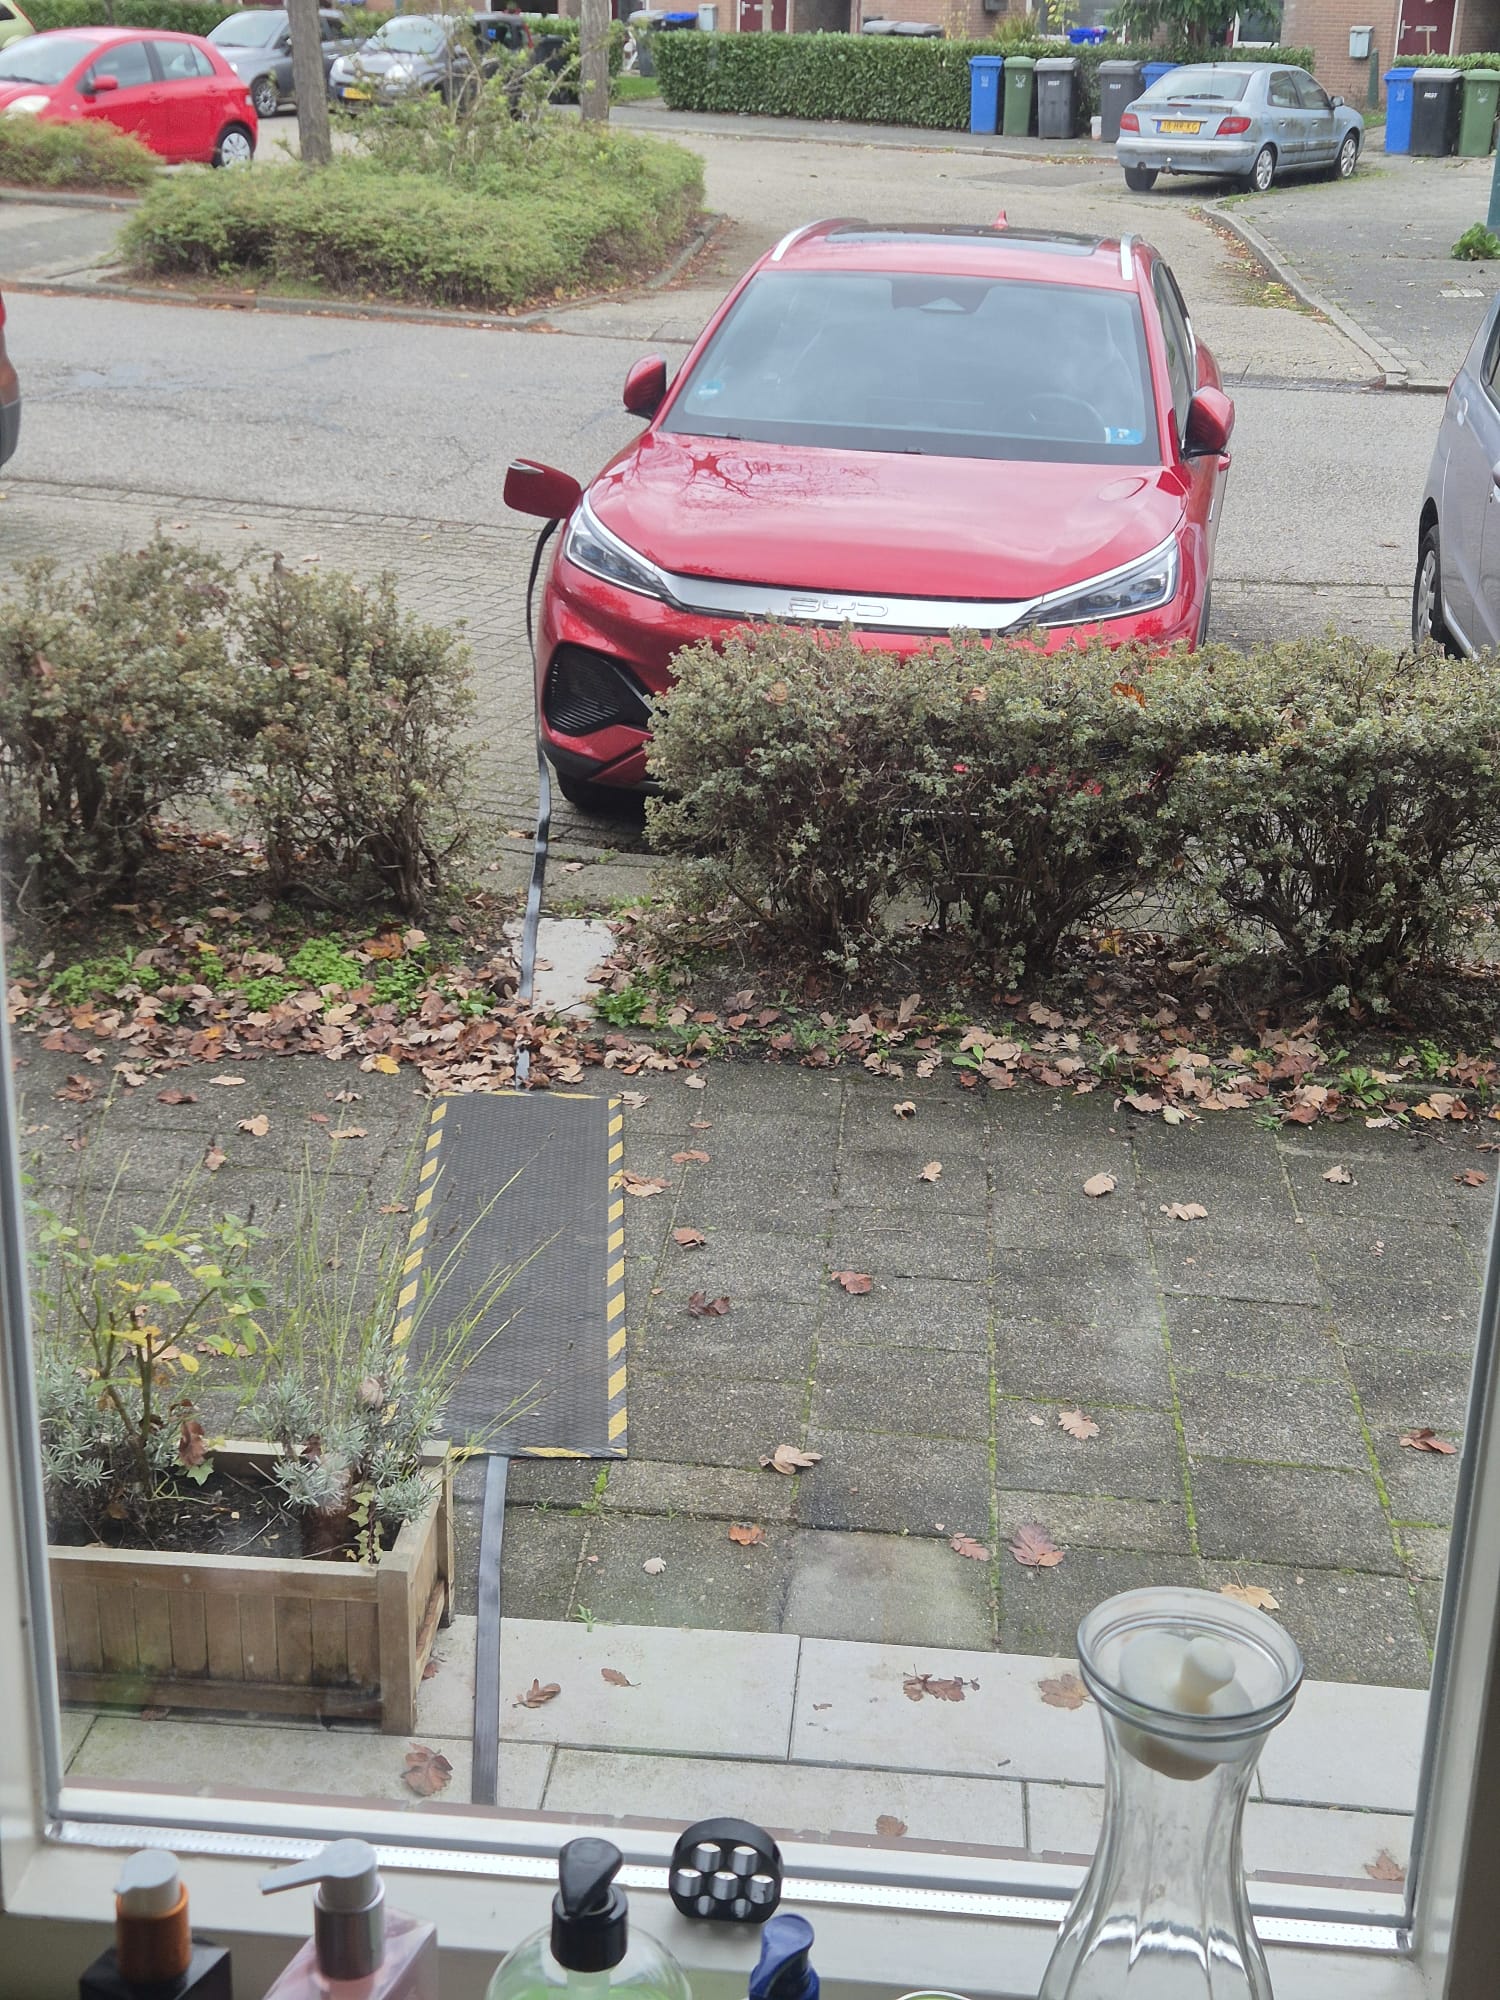
From the connection box the cable can be laid to the car. The cable mat below will be laid over the cable. The mat has a hollow space in the middle, lengthwise so the cable can lie neatly under it.
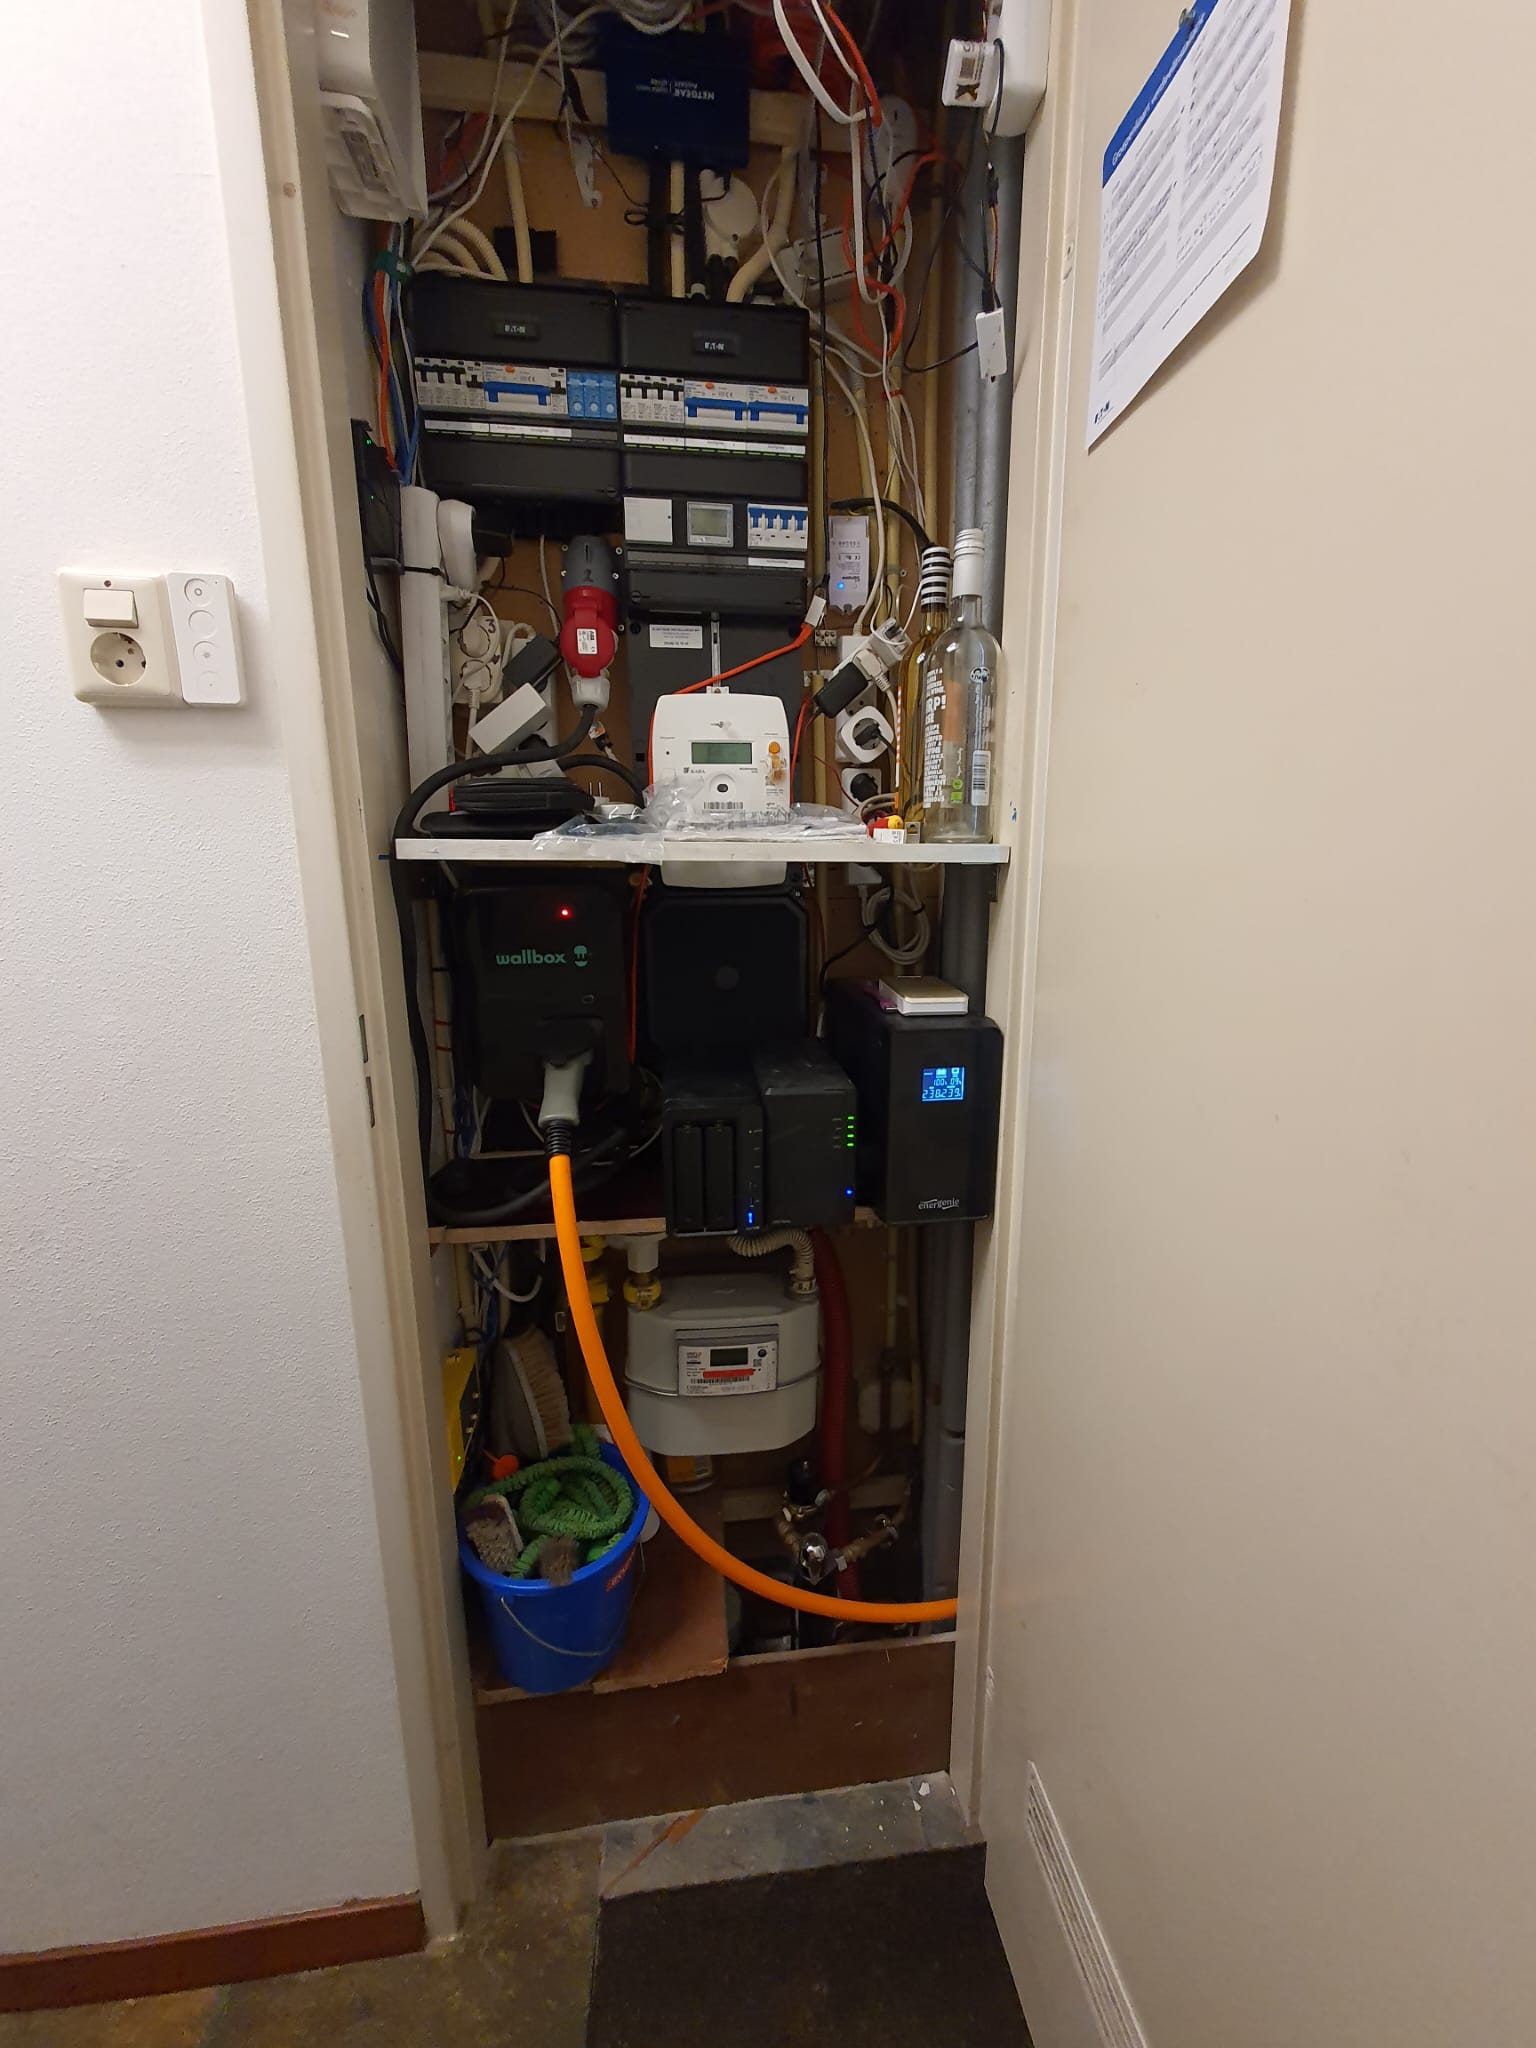
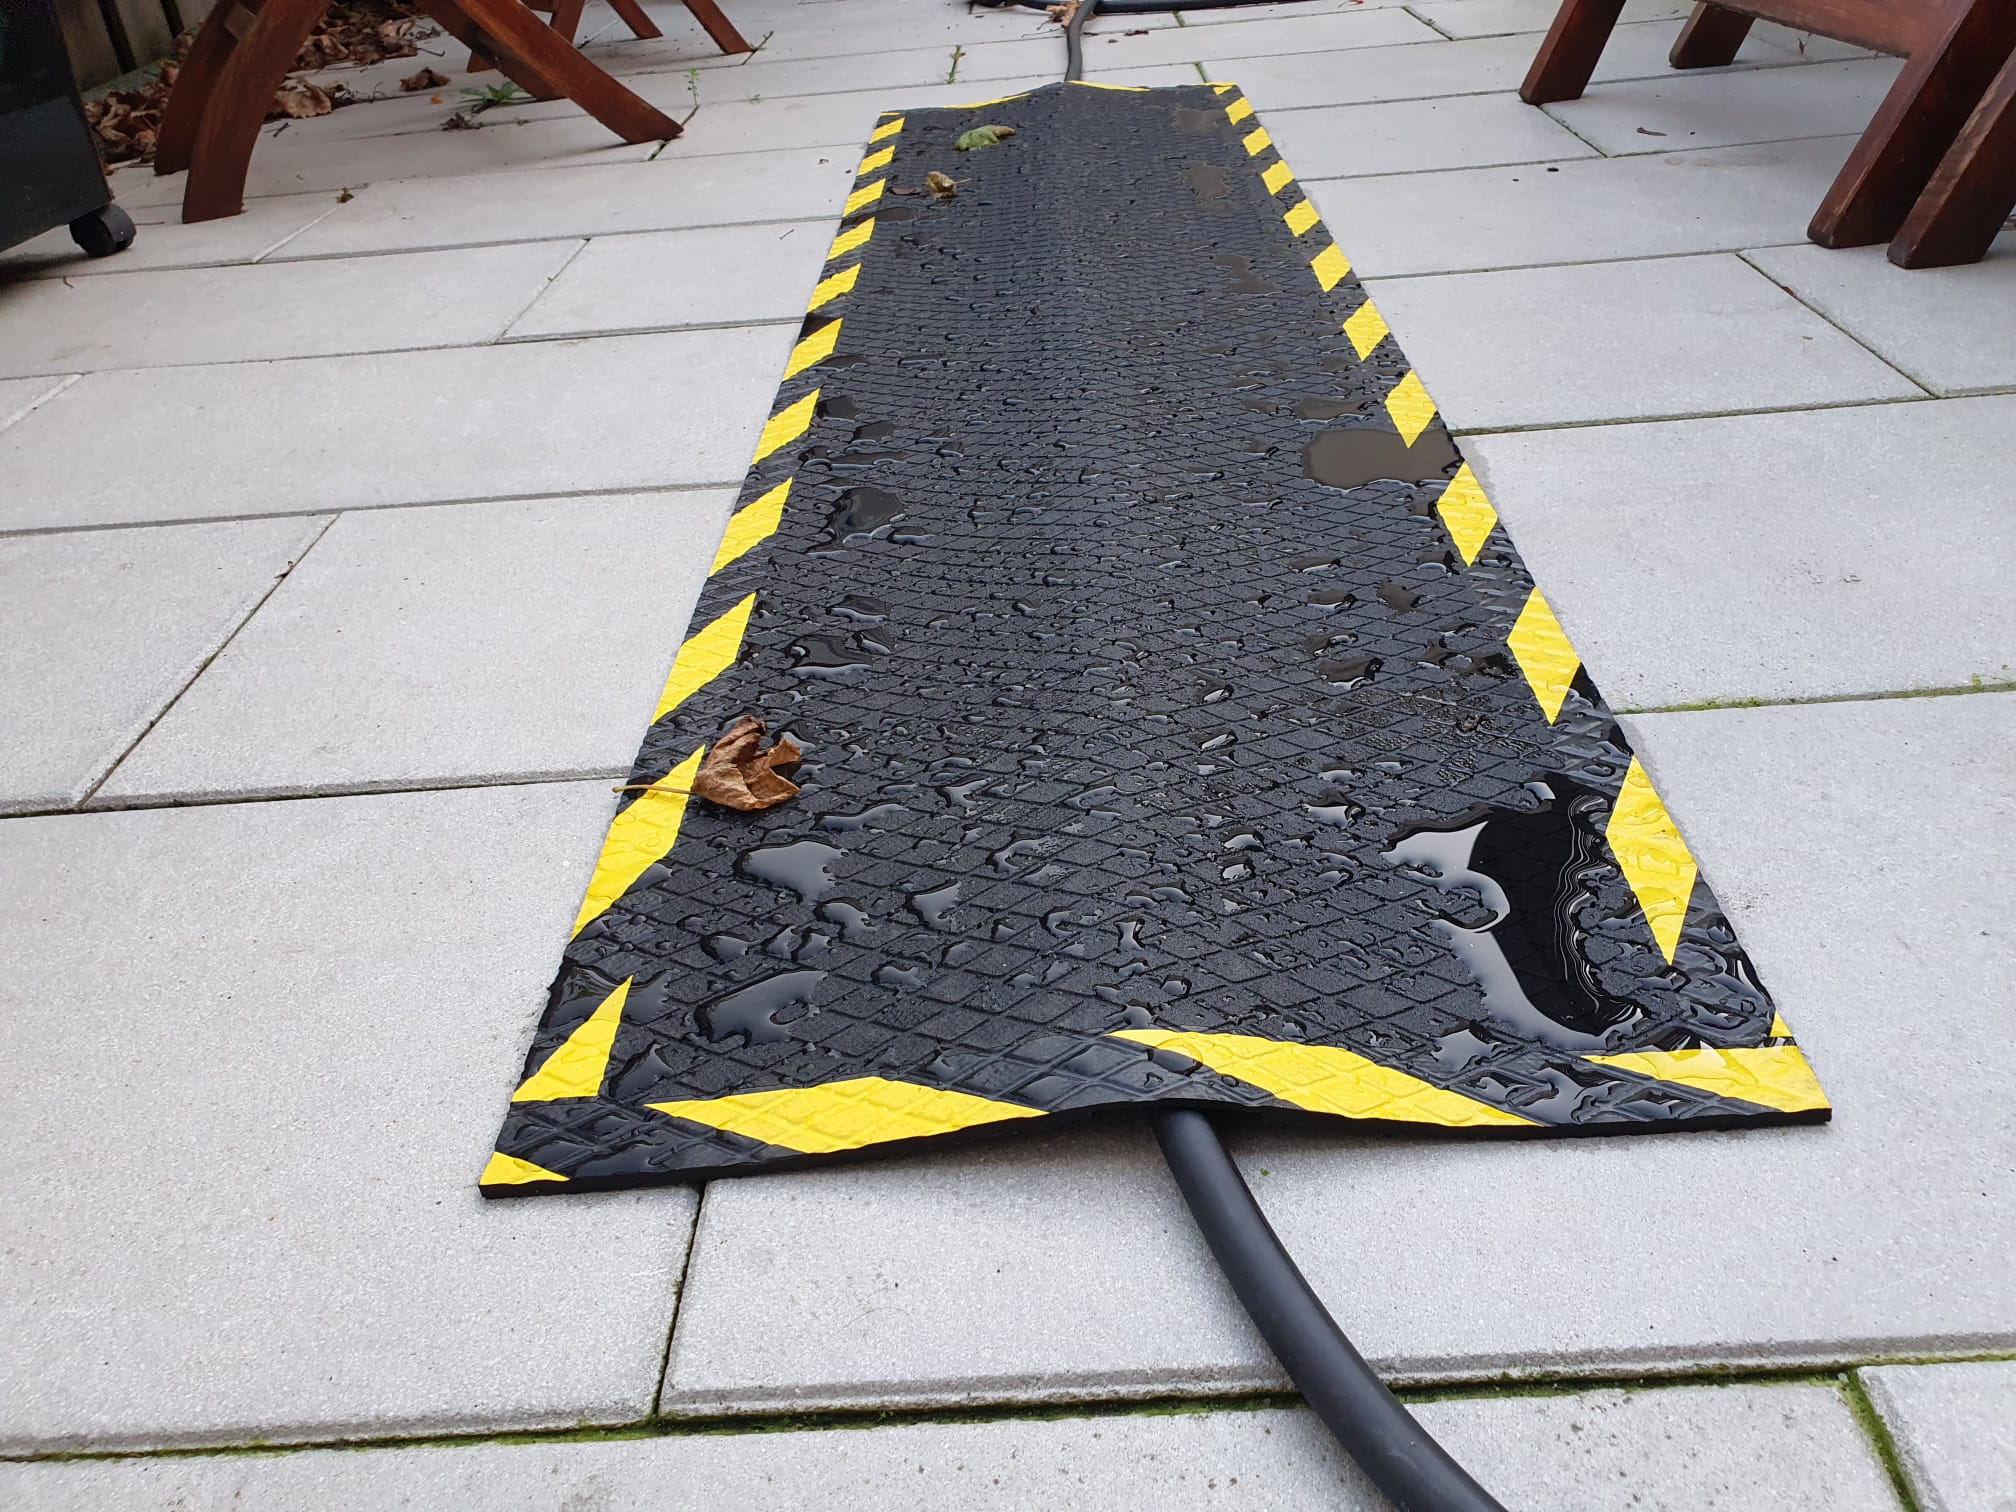
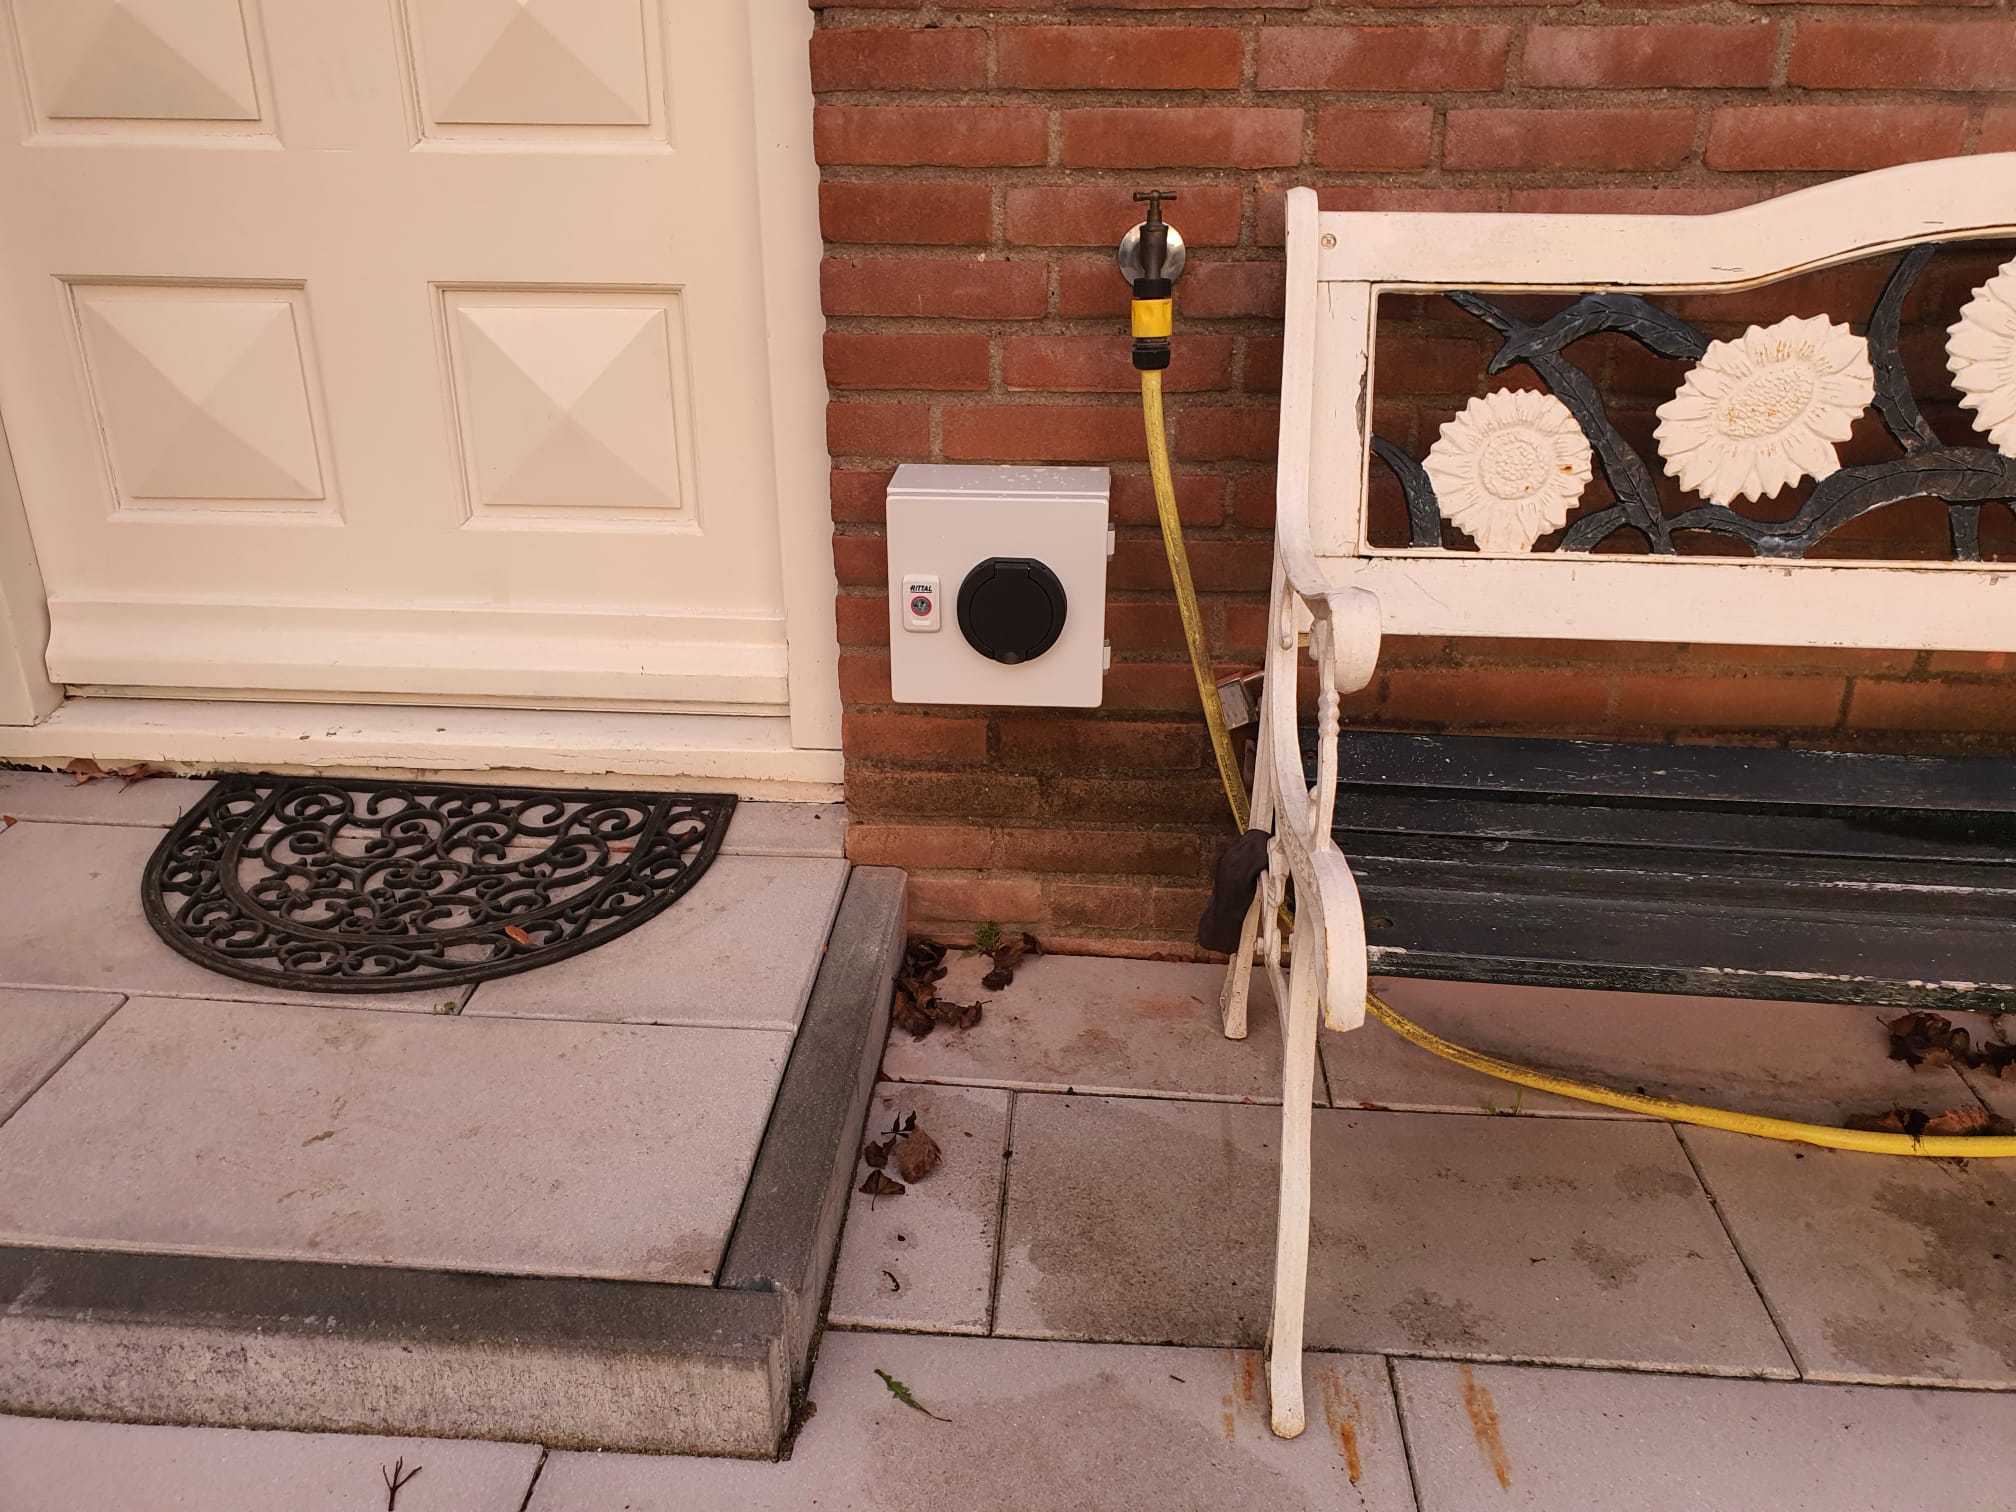
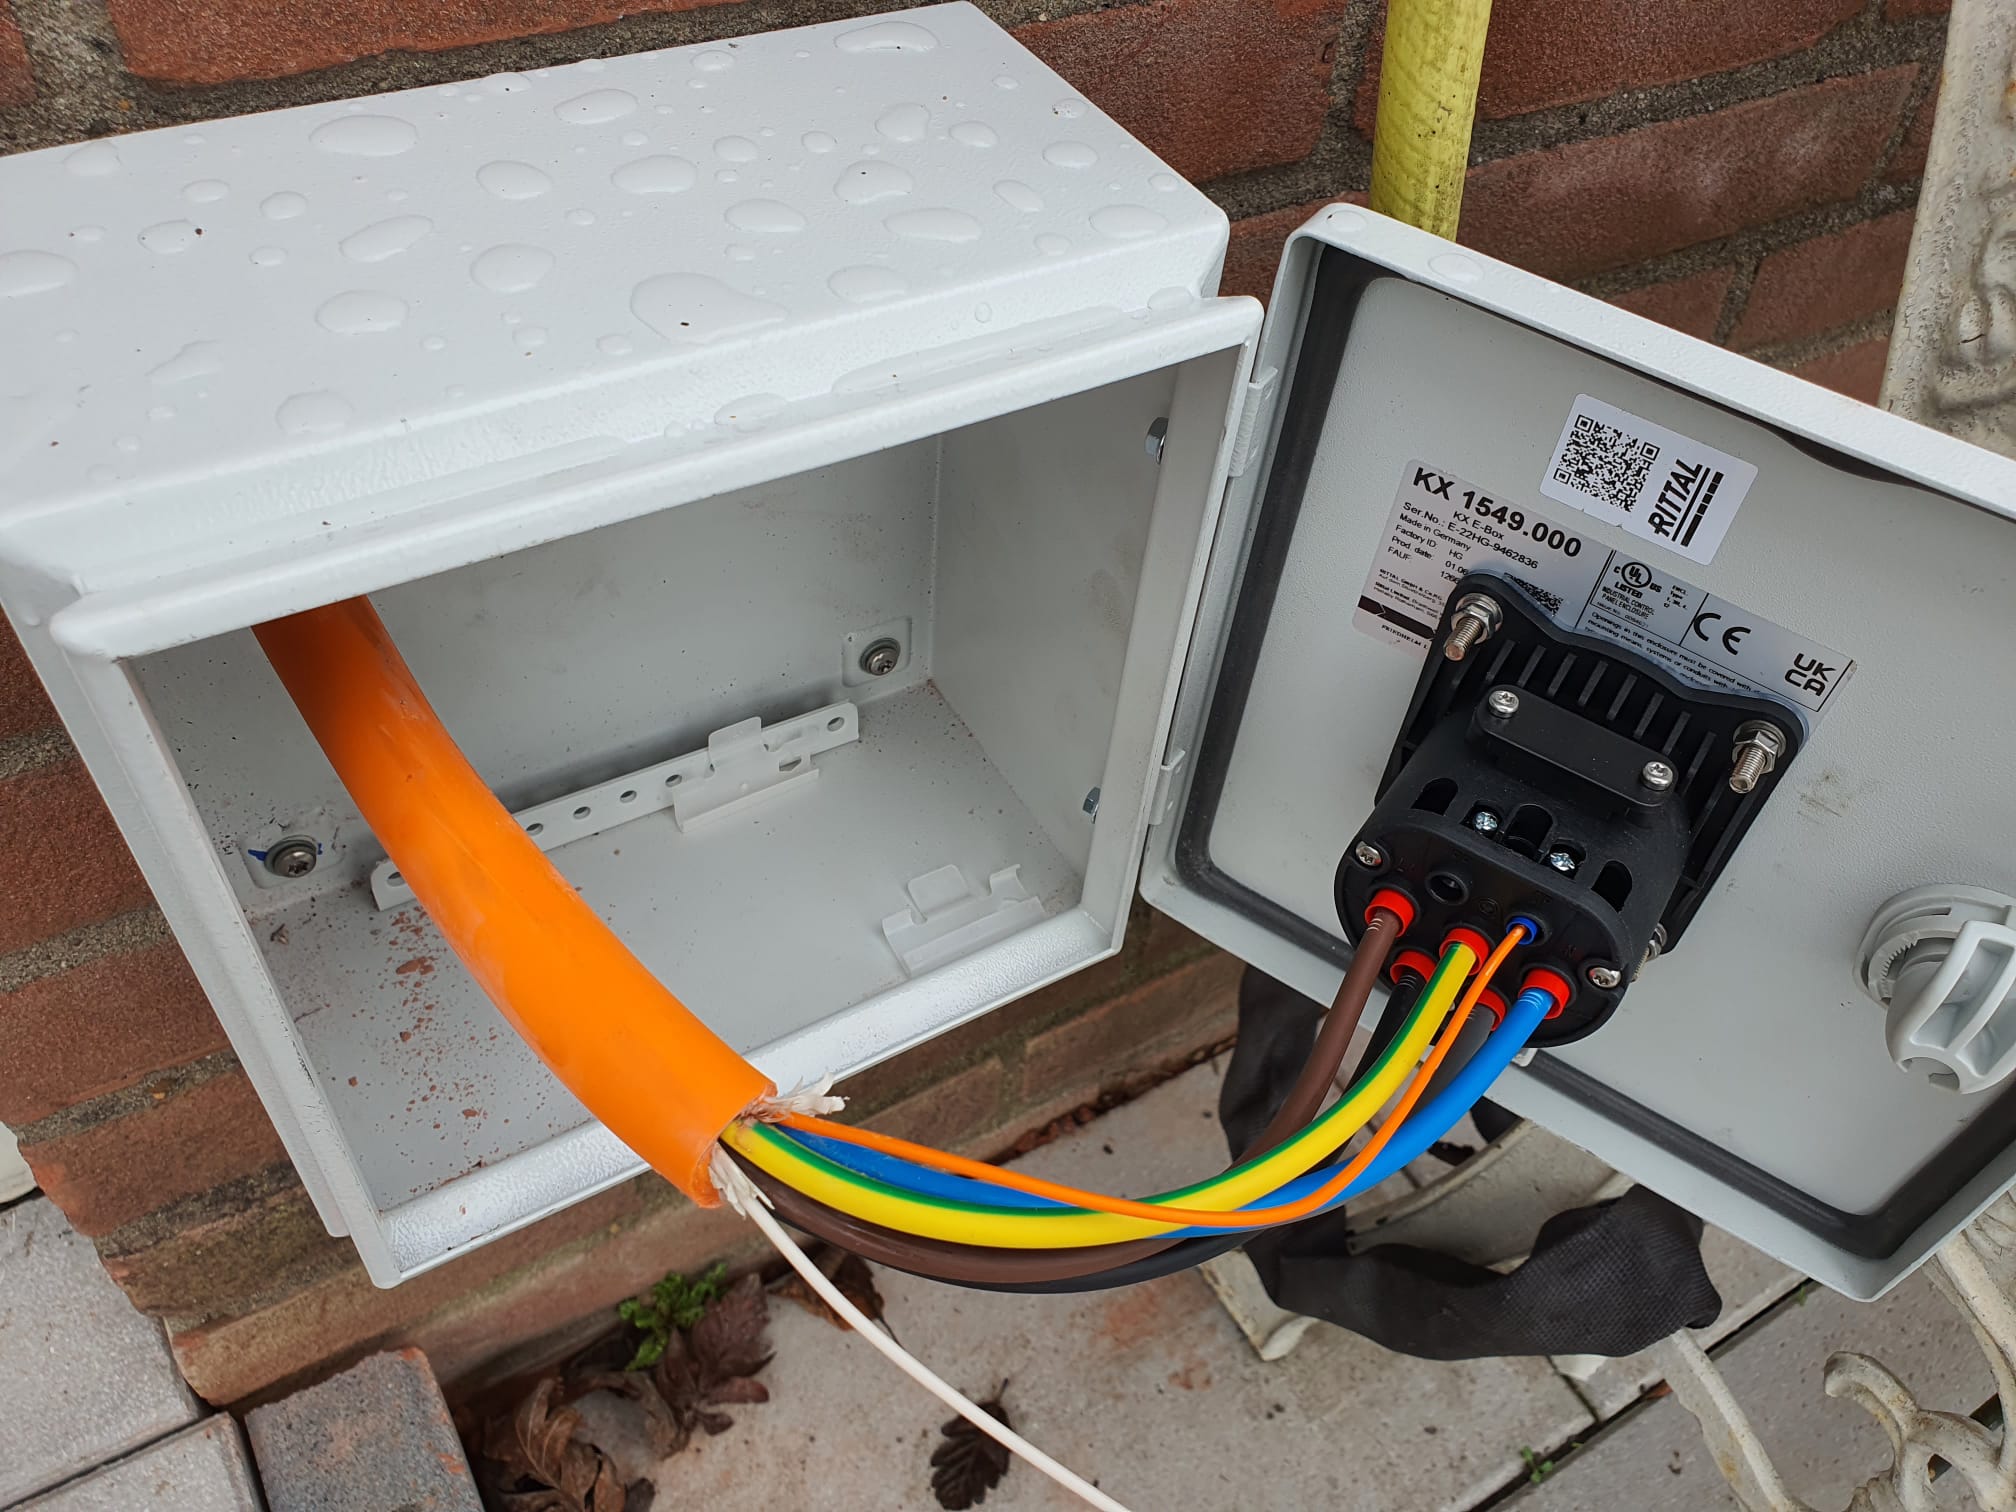
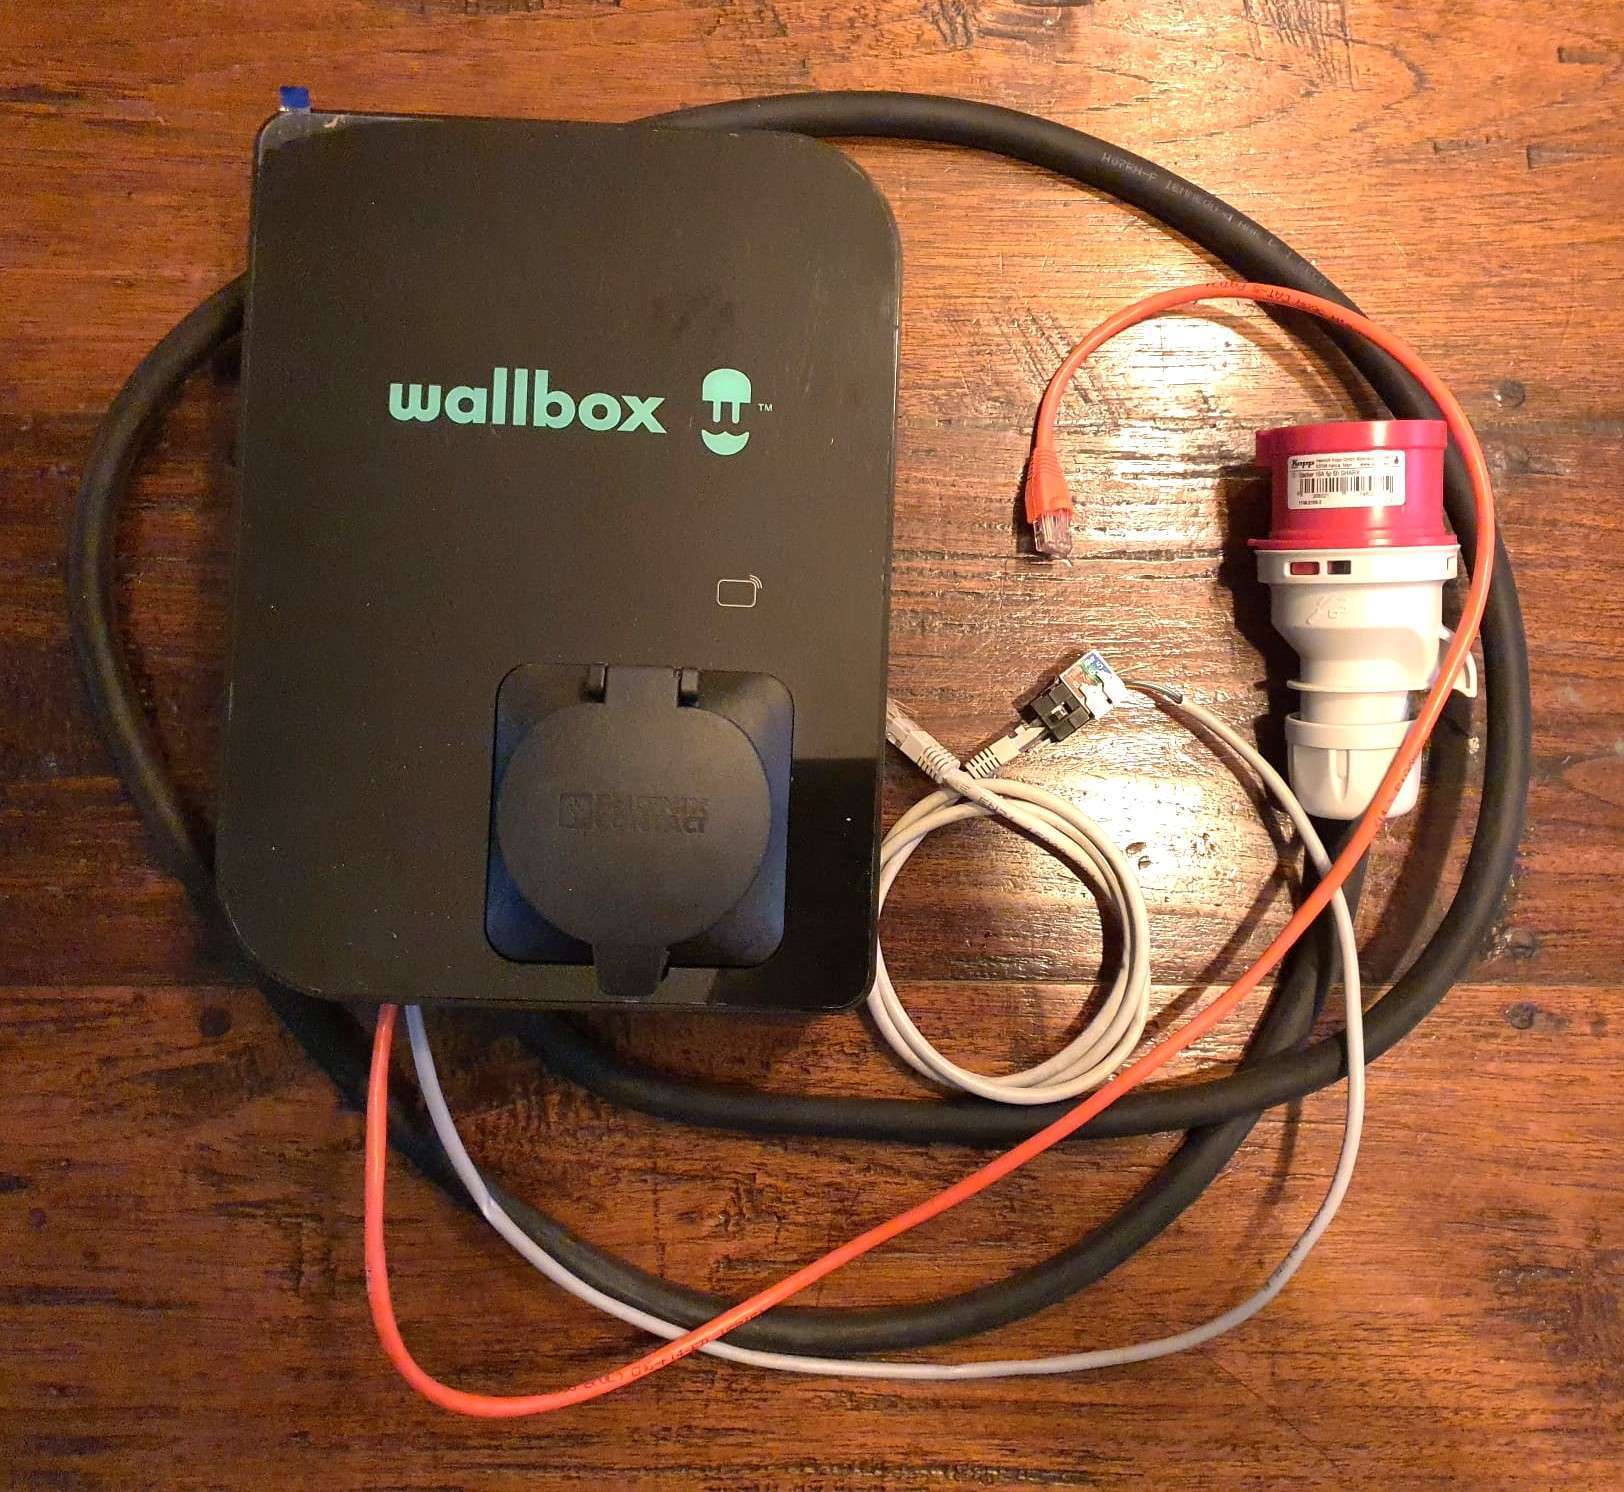
And so the above wallbox copper I can now mount::
1) OR in the meter box when the car is in front,
2) OR in the garage when the car can load on “own ground” in the garage.
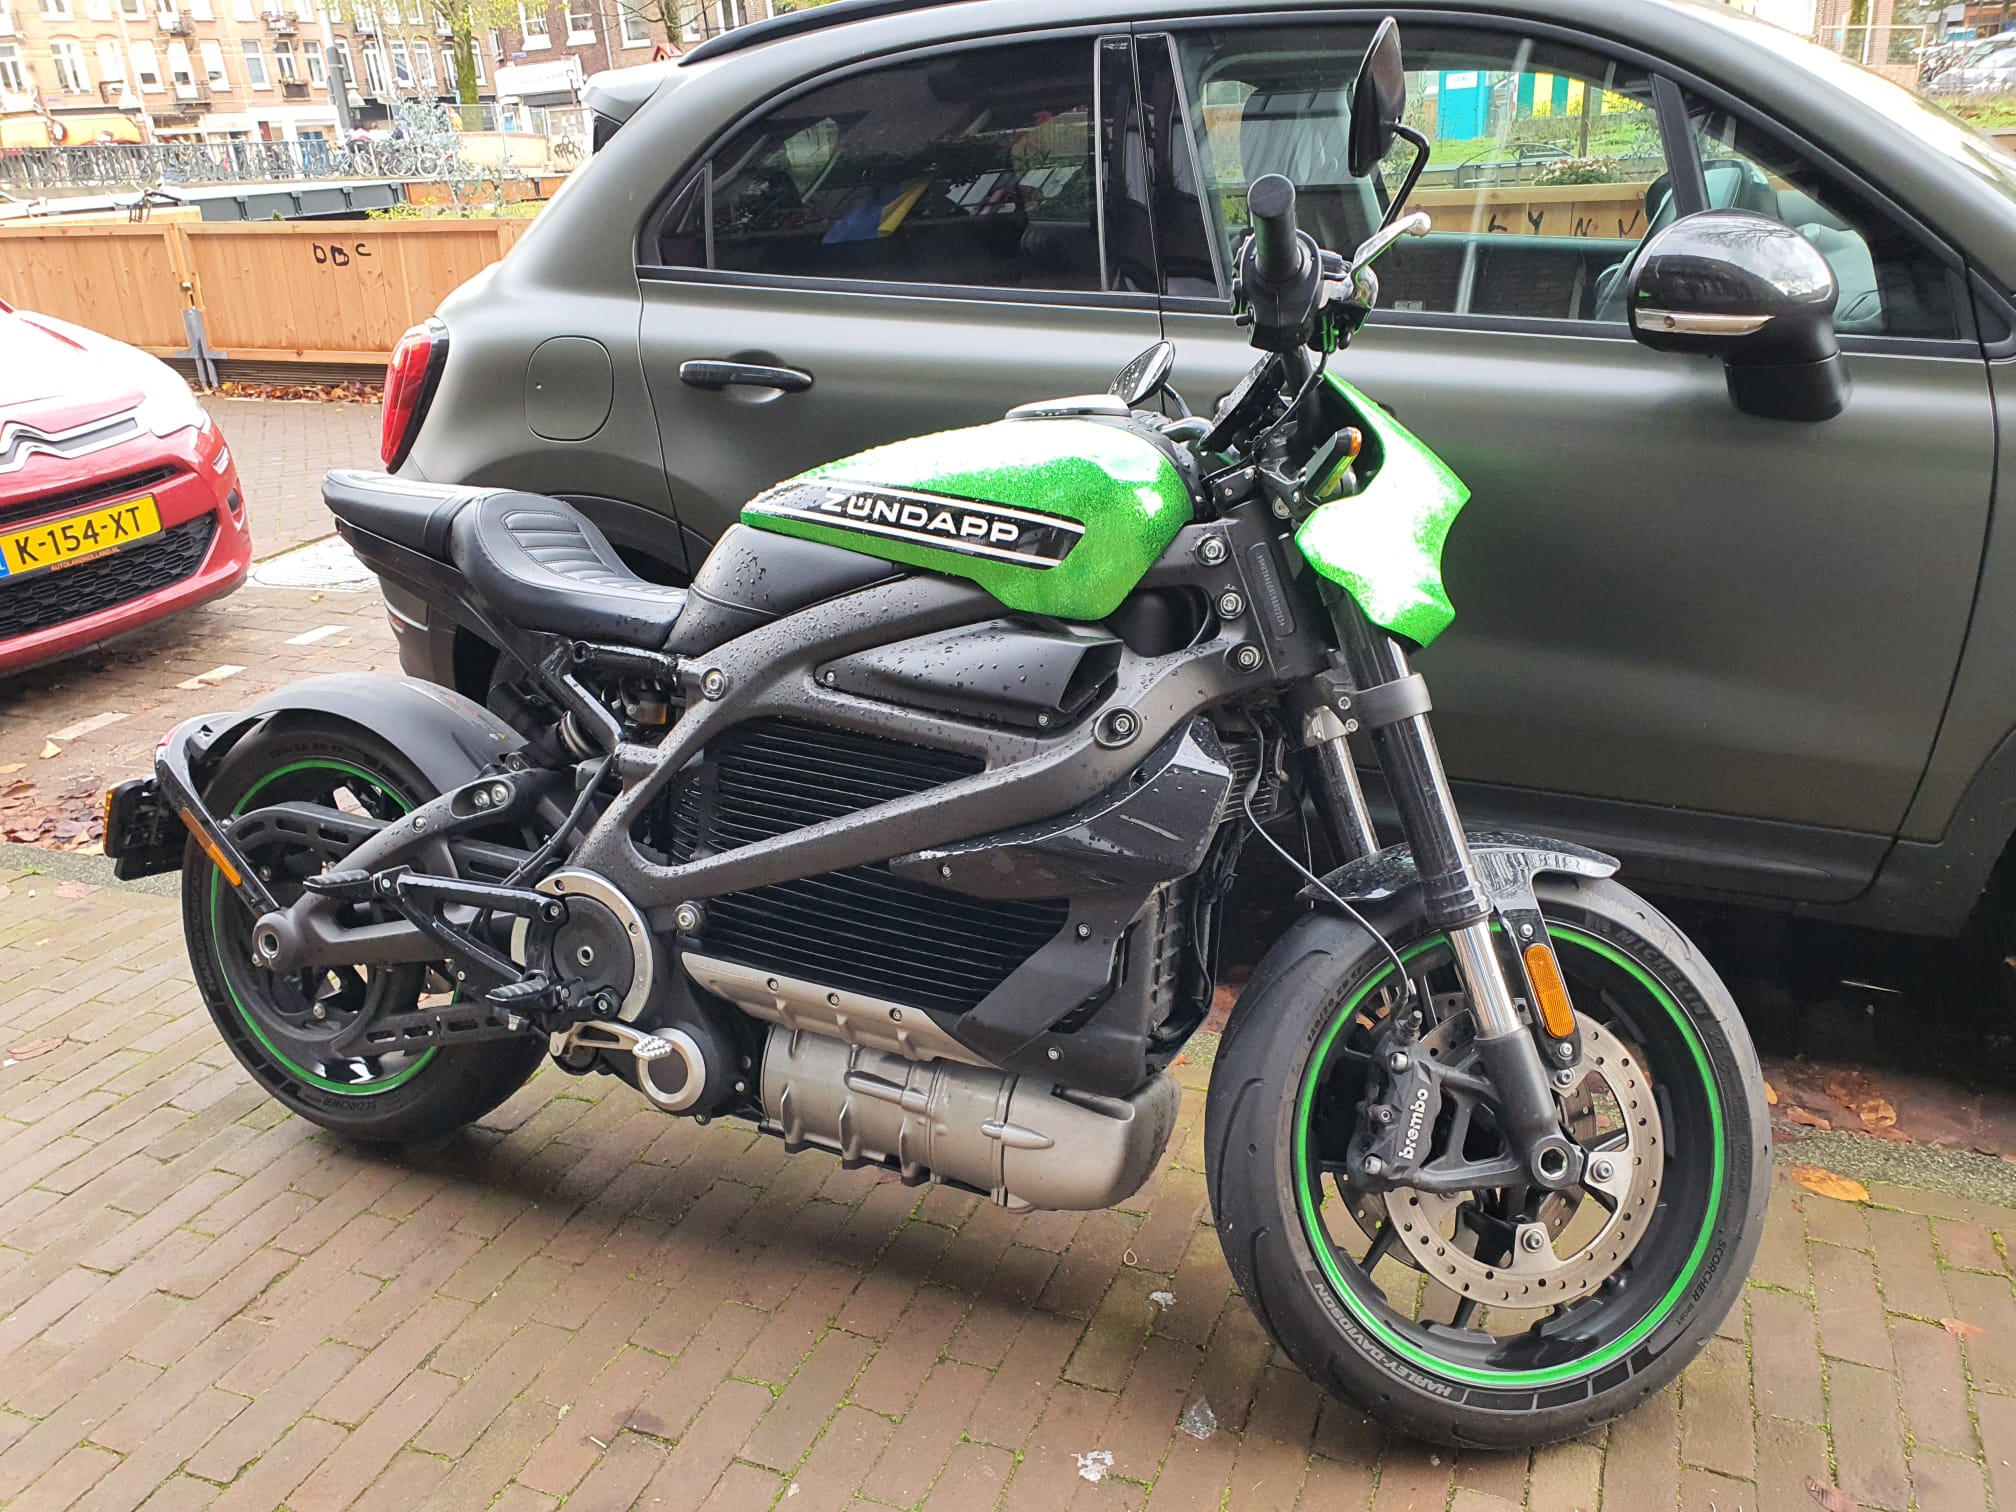
Harley-Davidson-livewire-electric-motorcycle-spotted in Amsterdam as a Zündapp ??, 2022-11-05
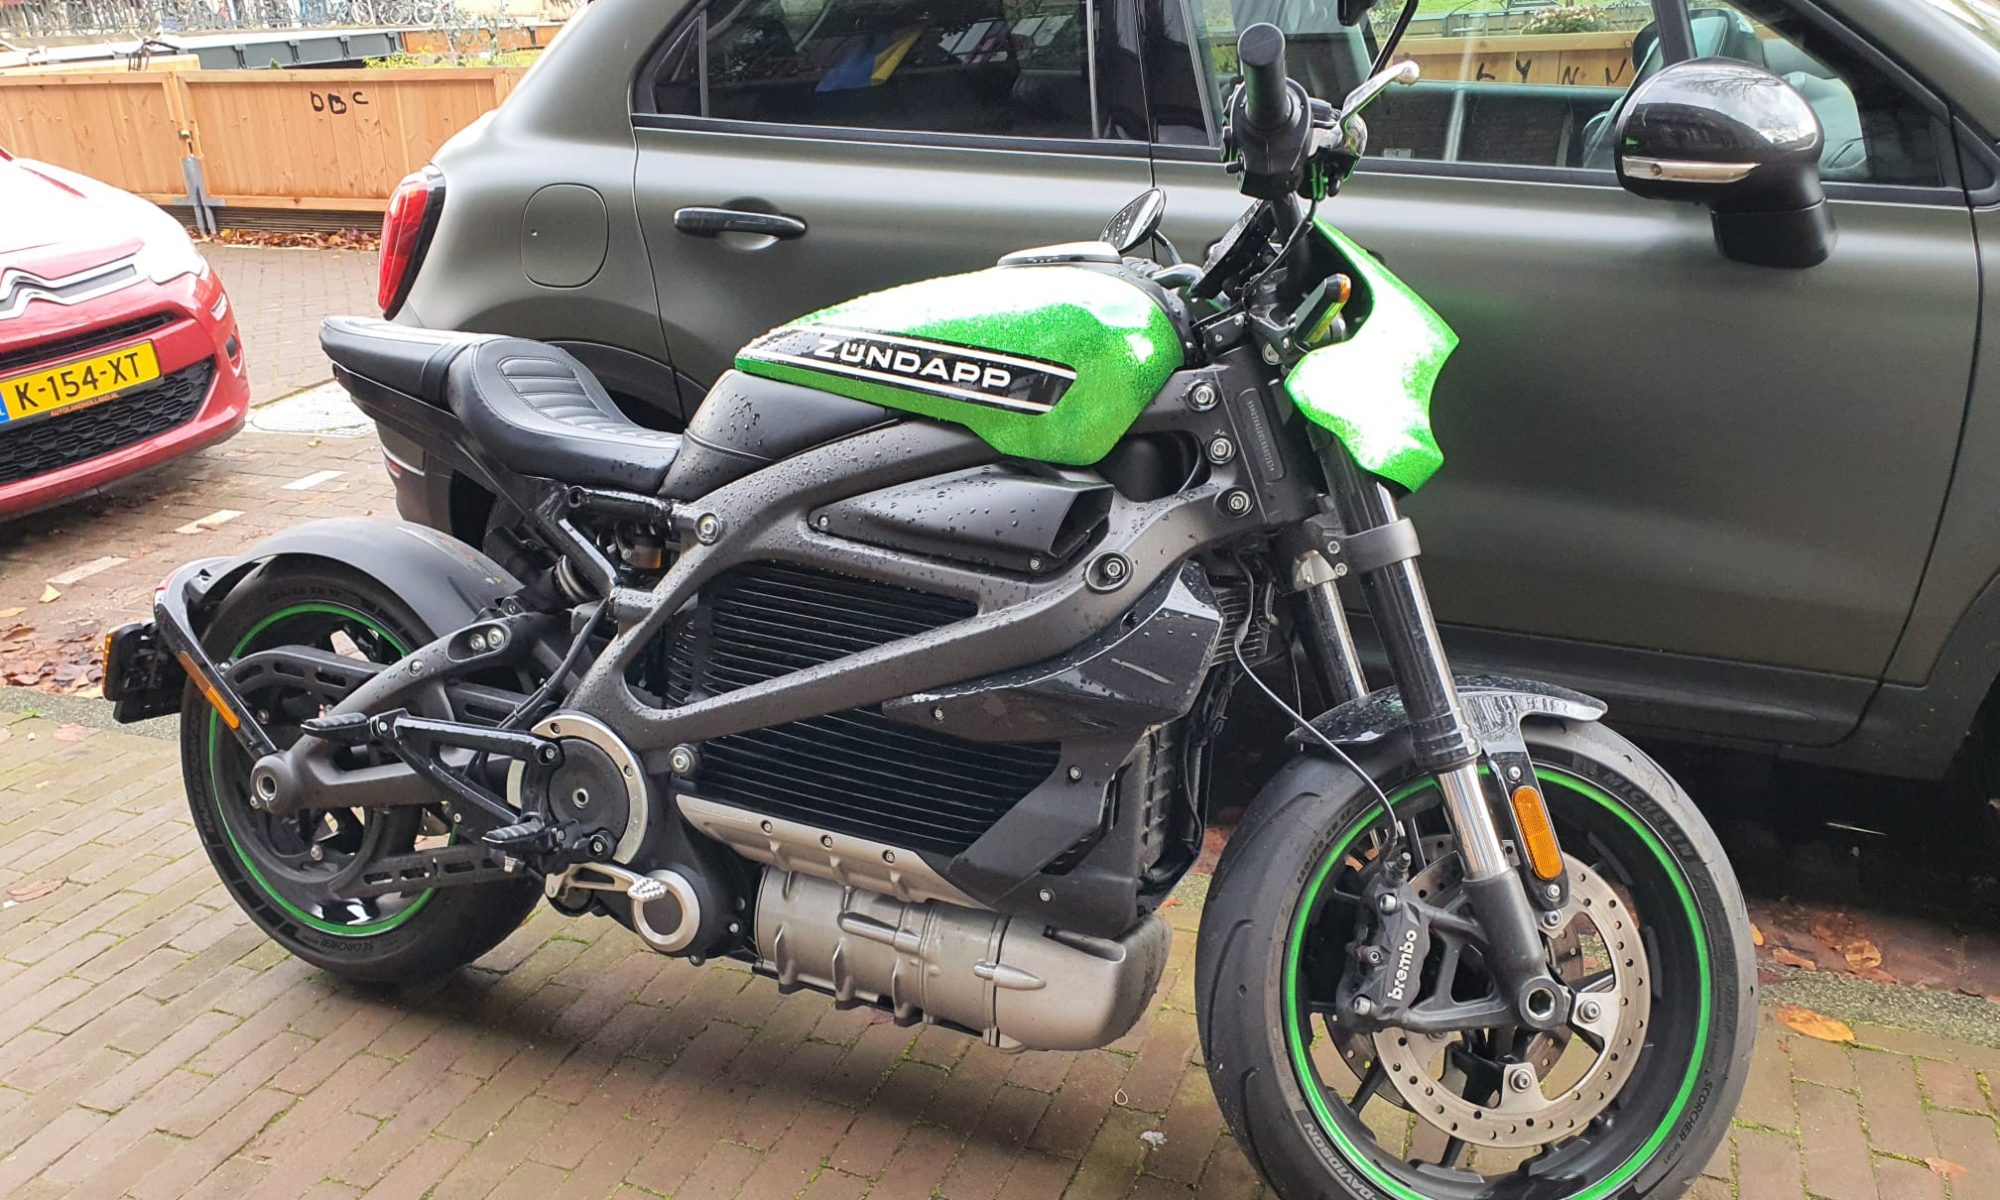
Yesterday I spotted a Harley Davidson electric bike, covered by a Zündapp sticker!
It was parked next to a canal in Amsterdam-Old West.
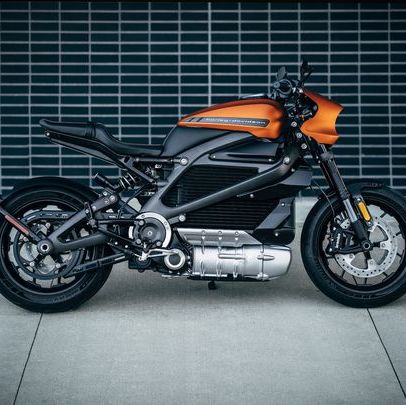
Above is the original version shown of an HD livewire!
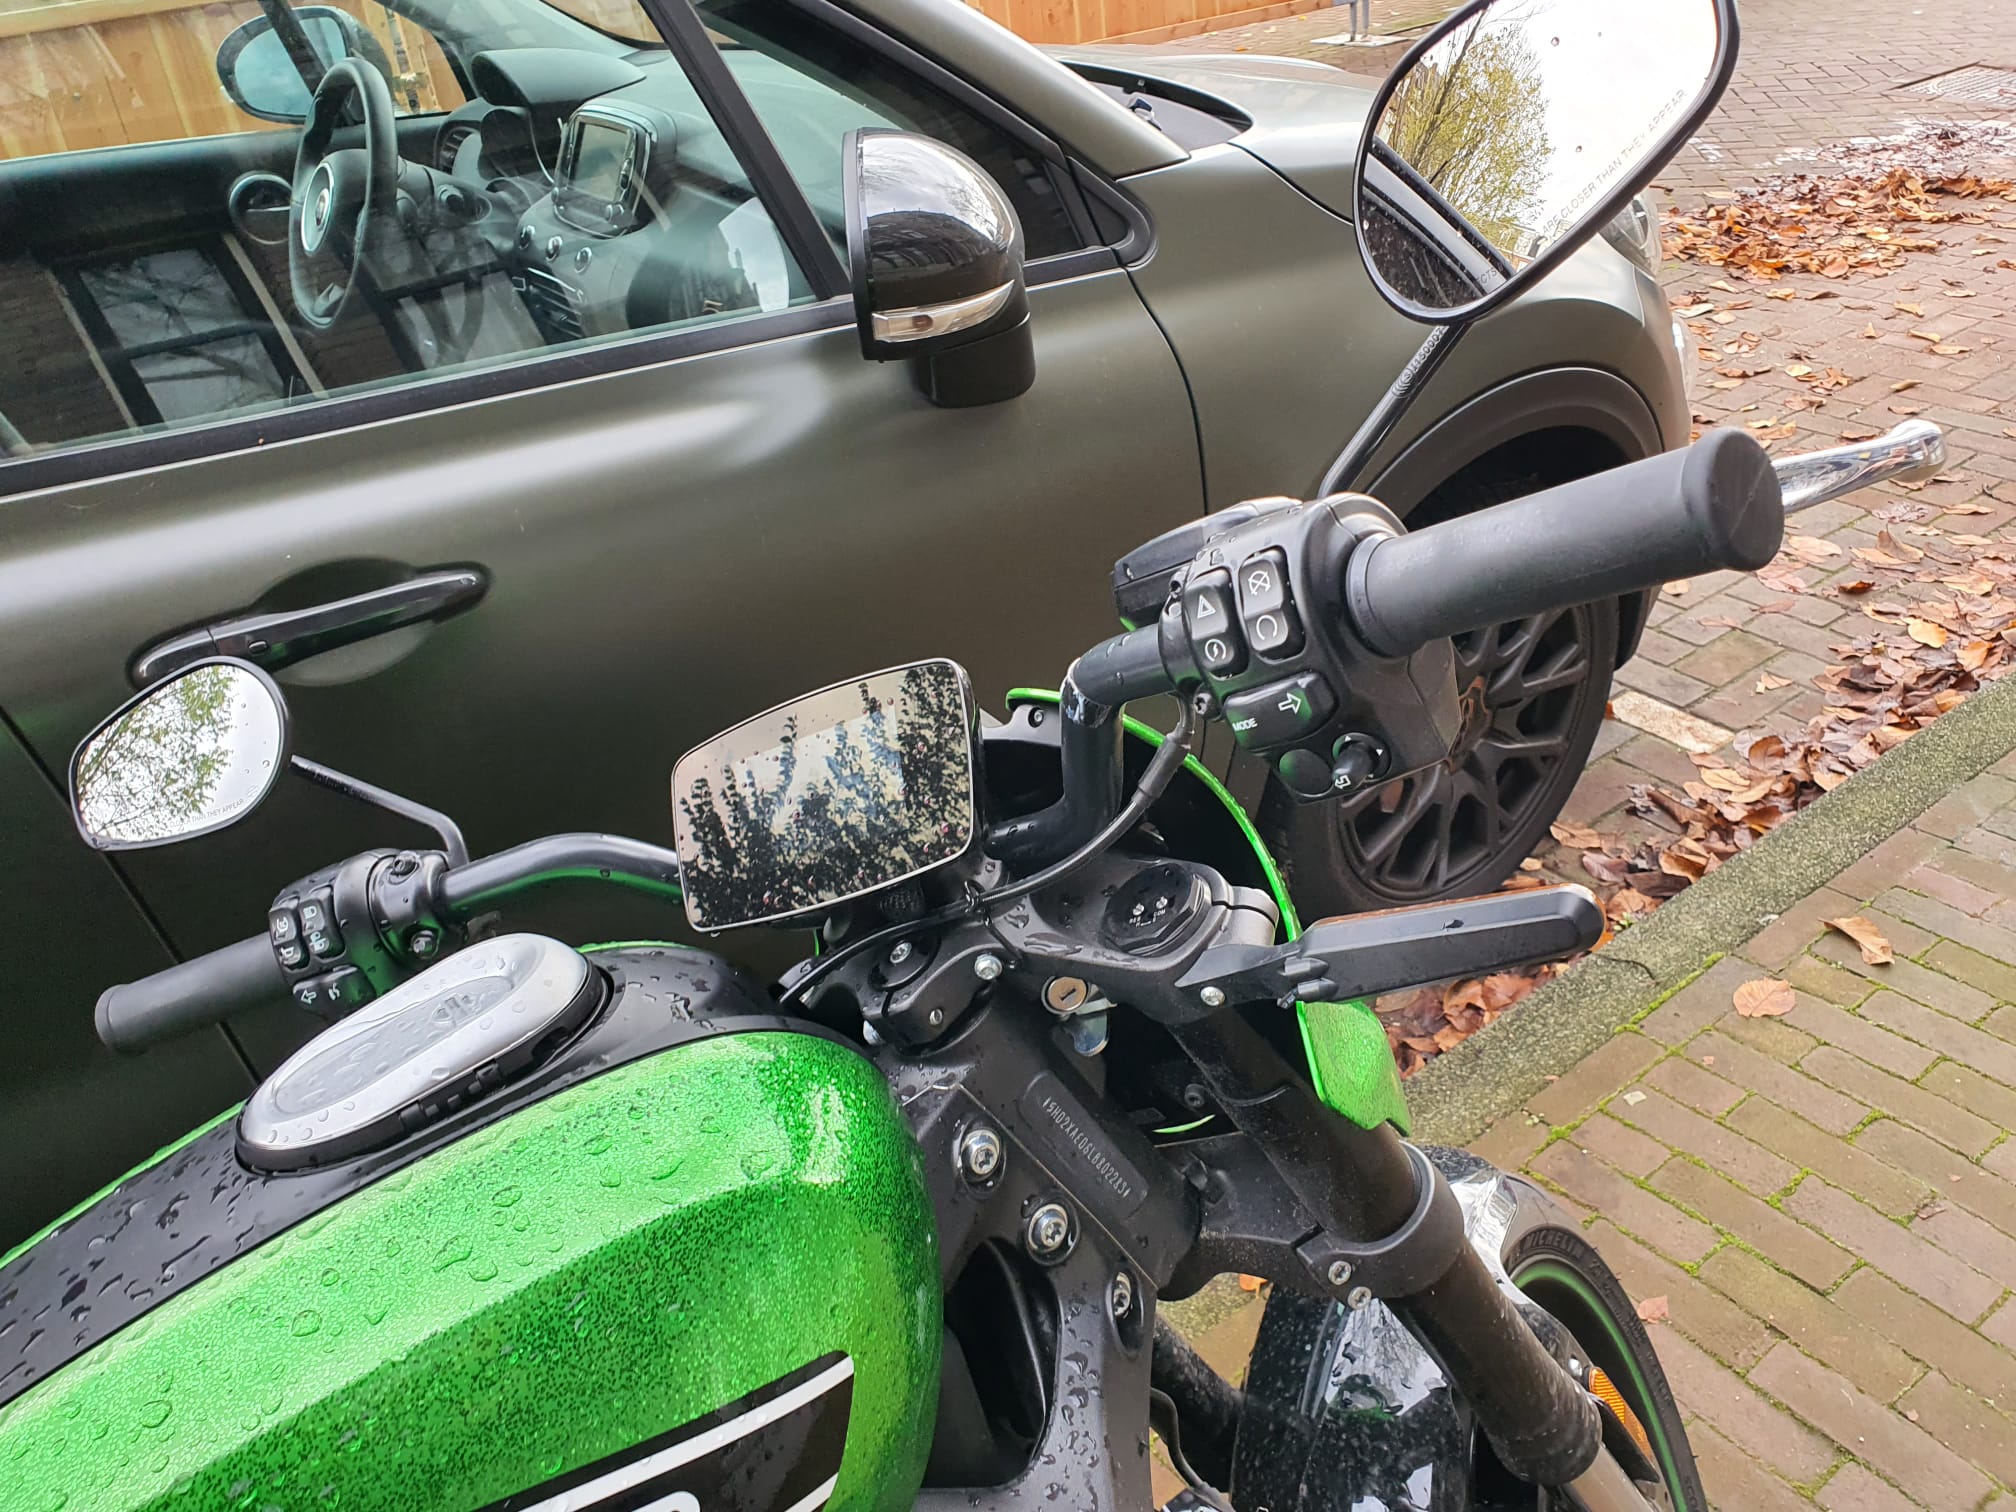
I took some pictures of the Zündapp and they are shown below:
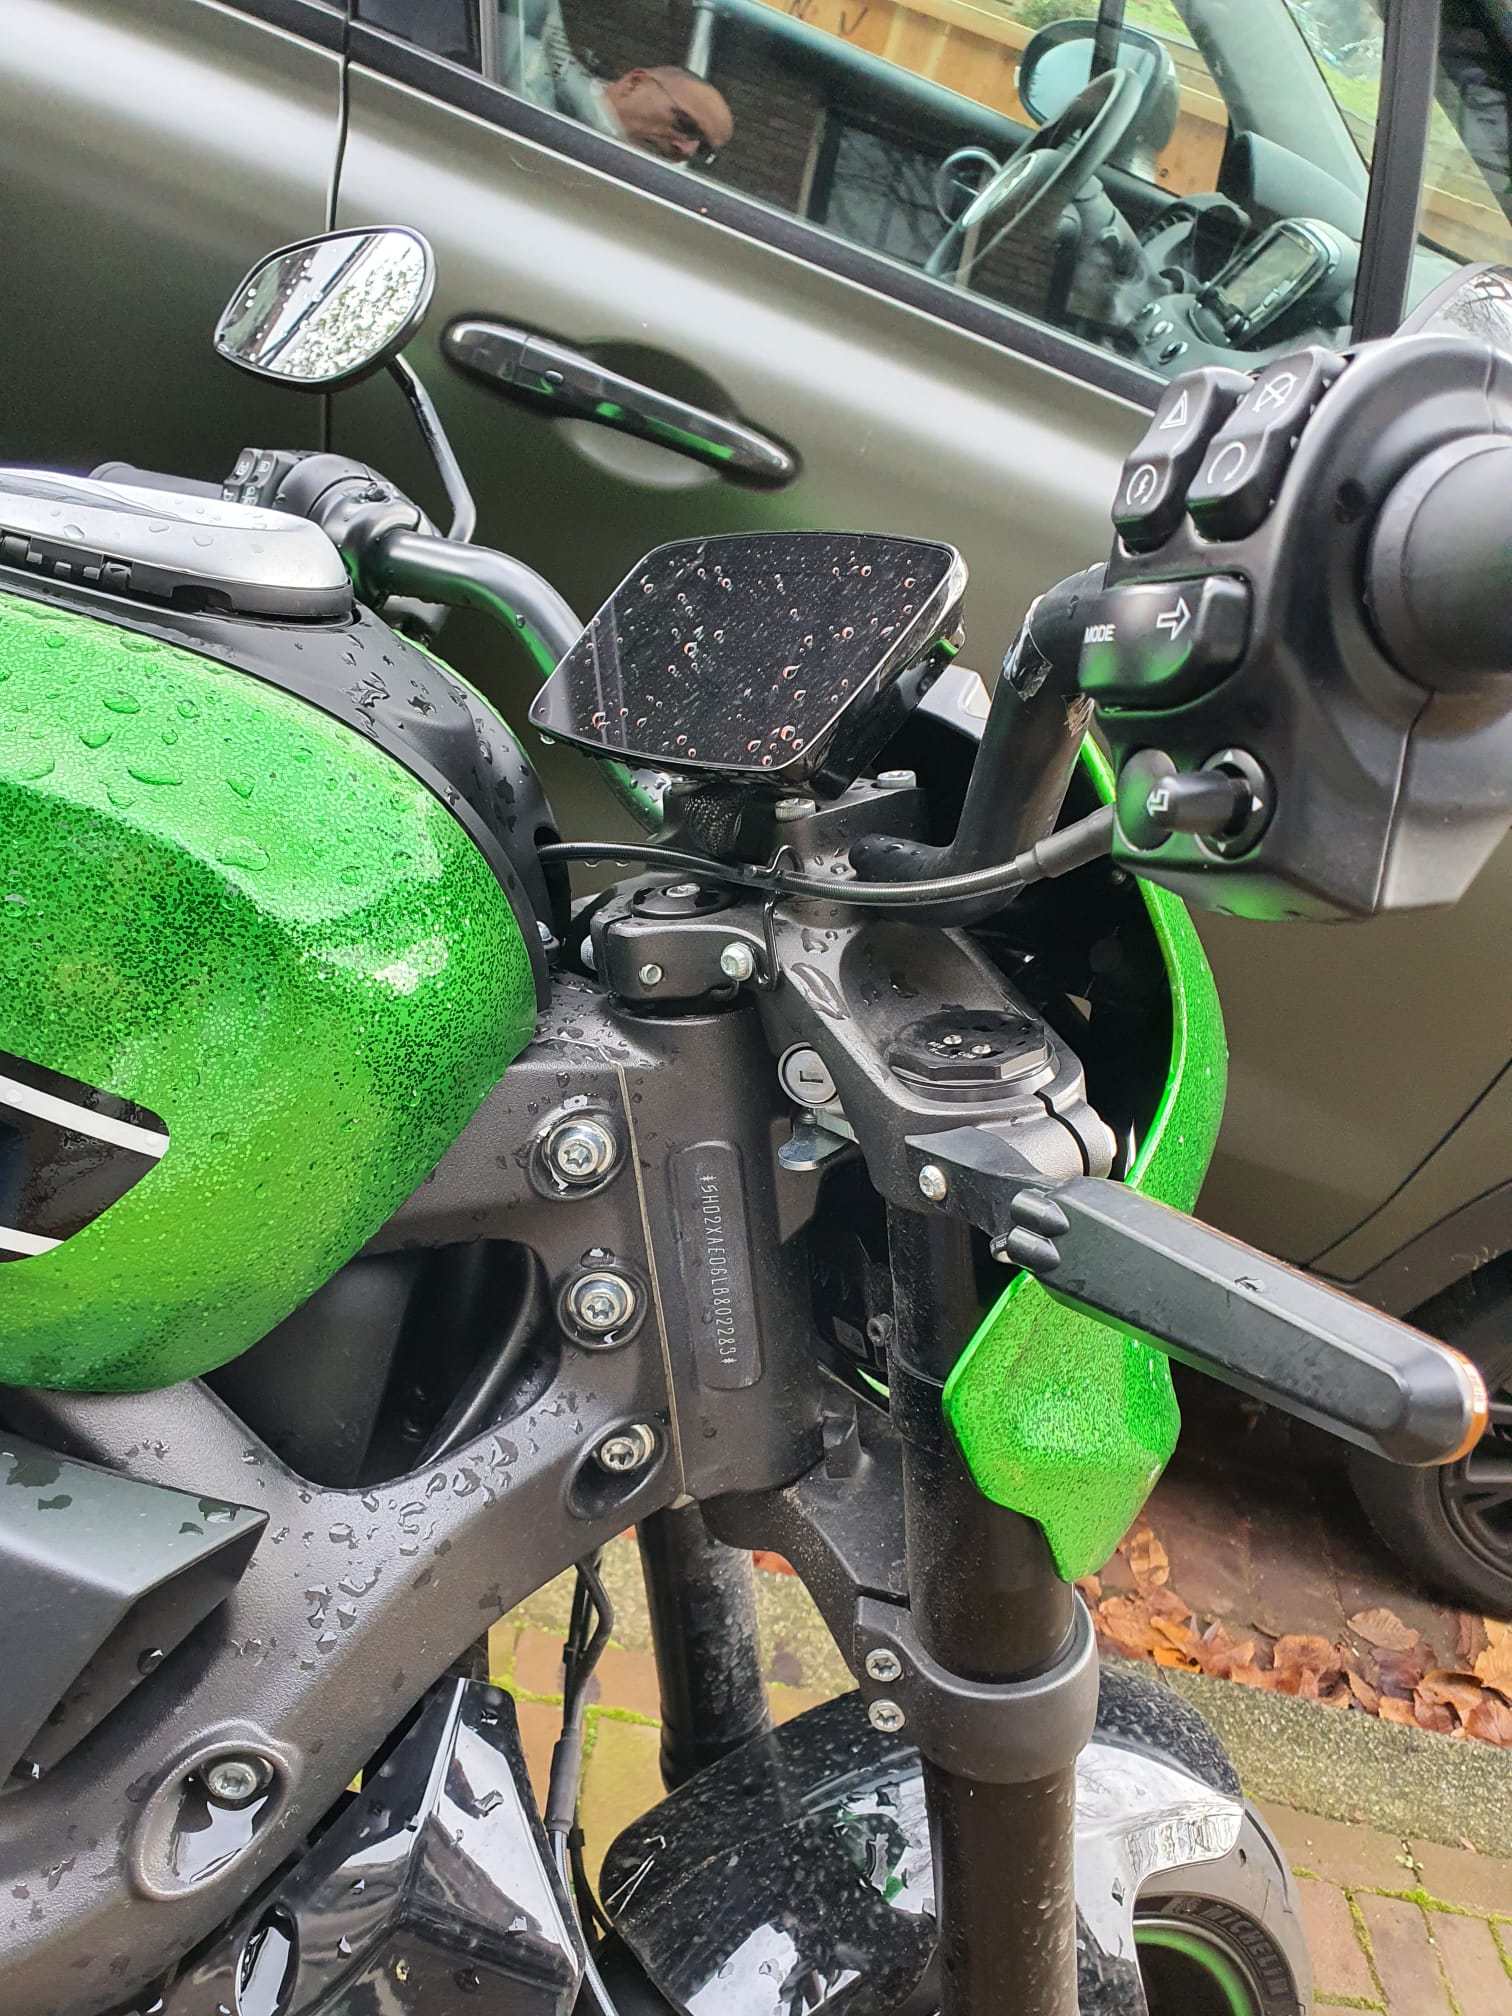
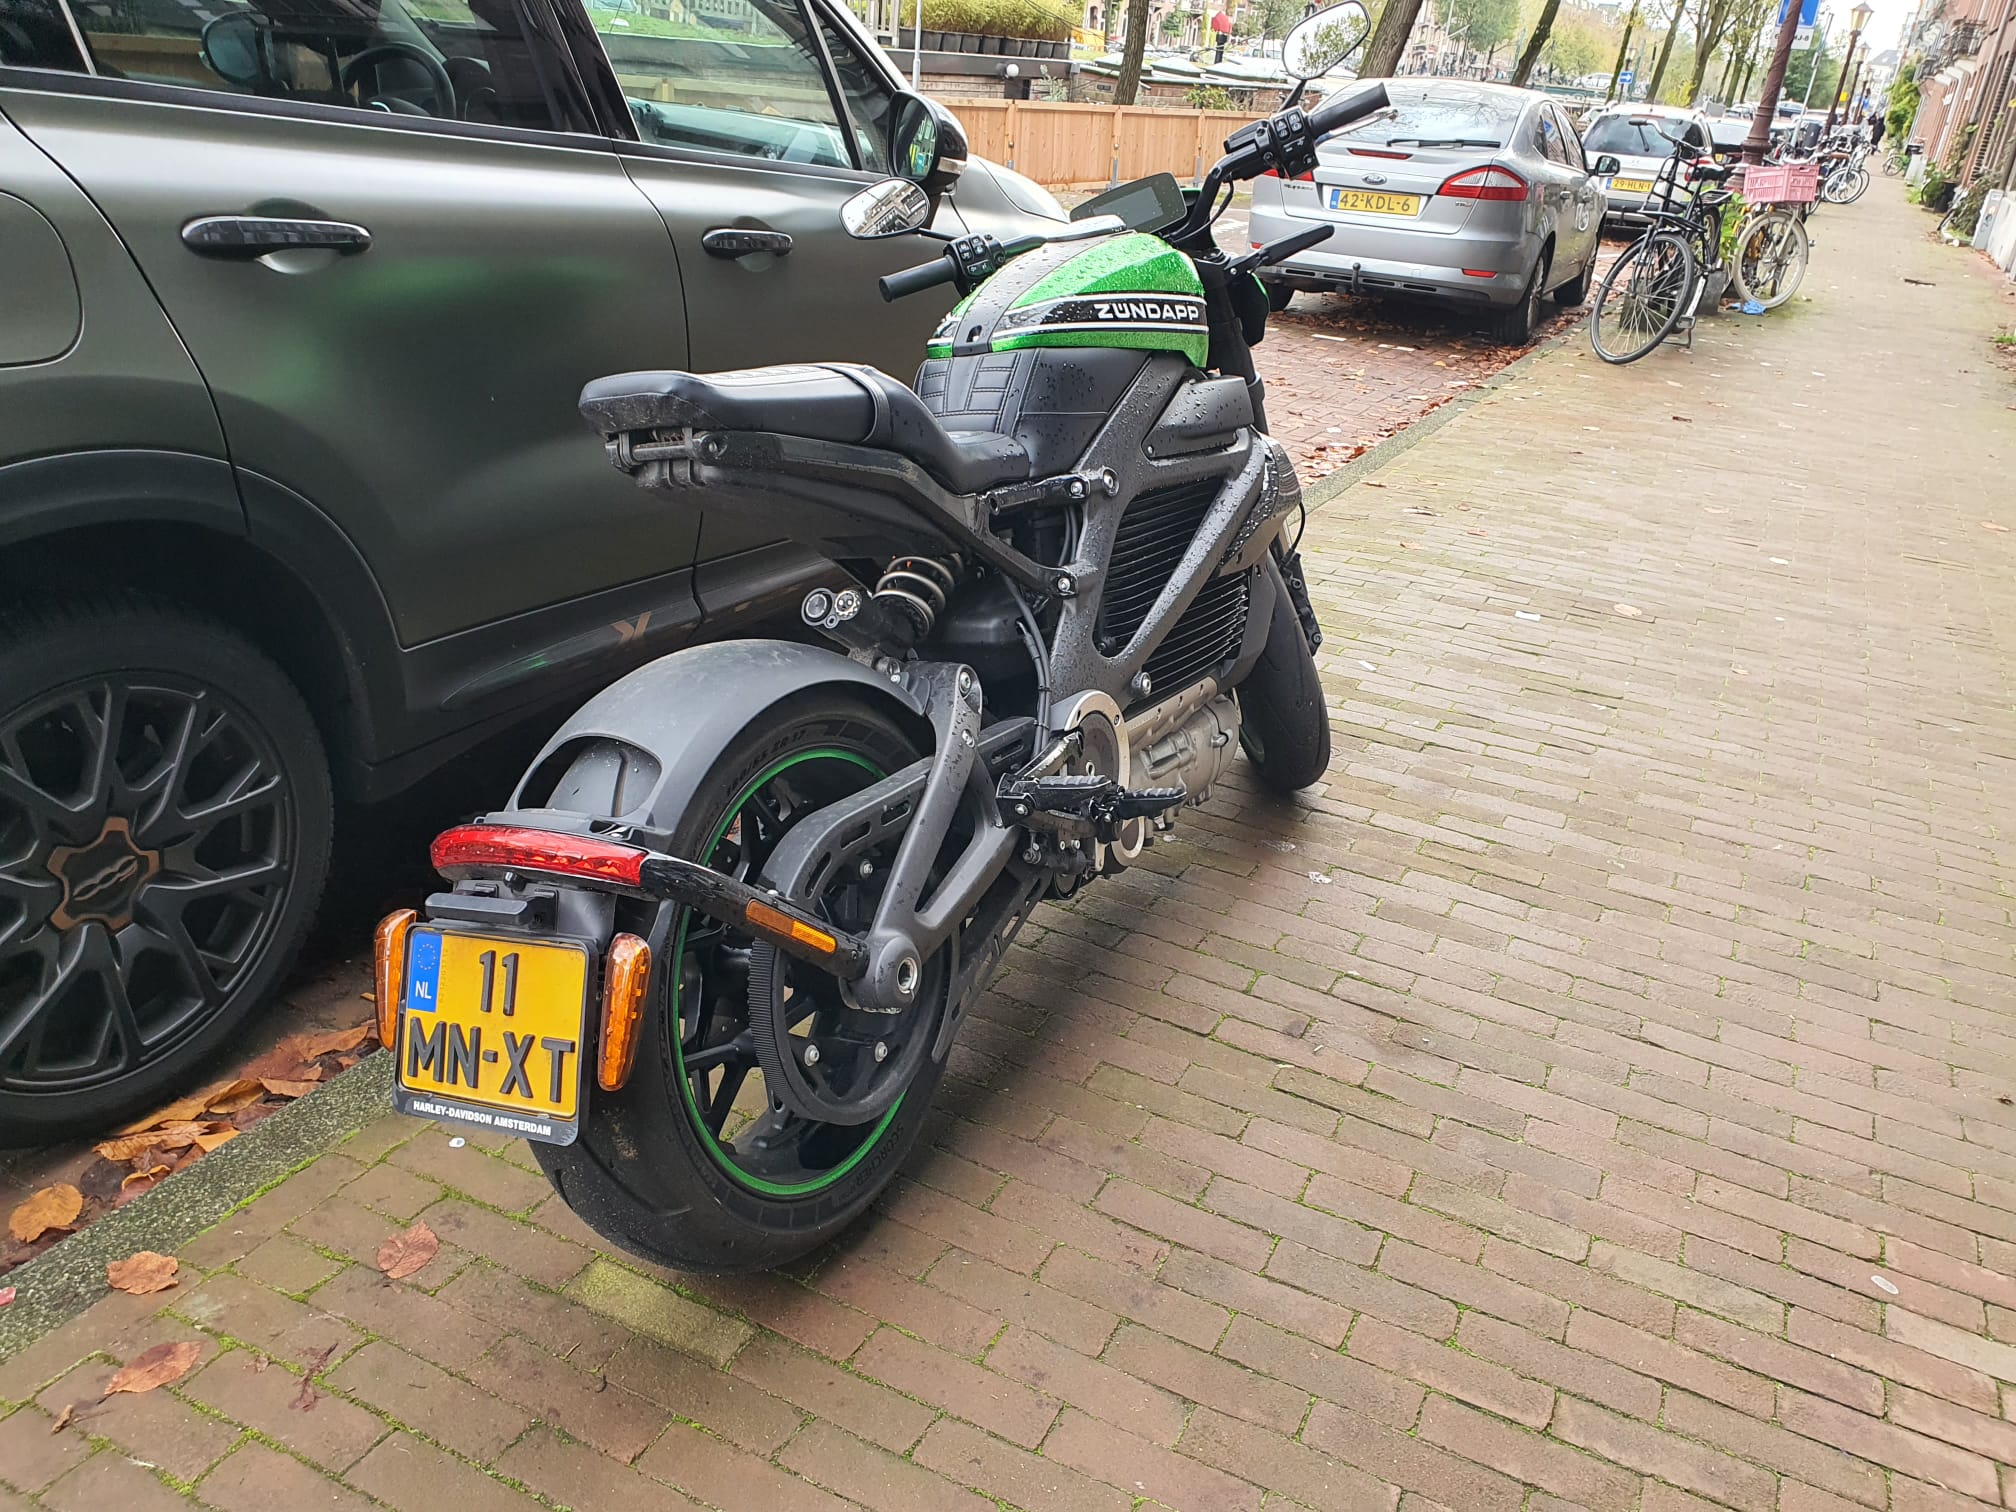
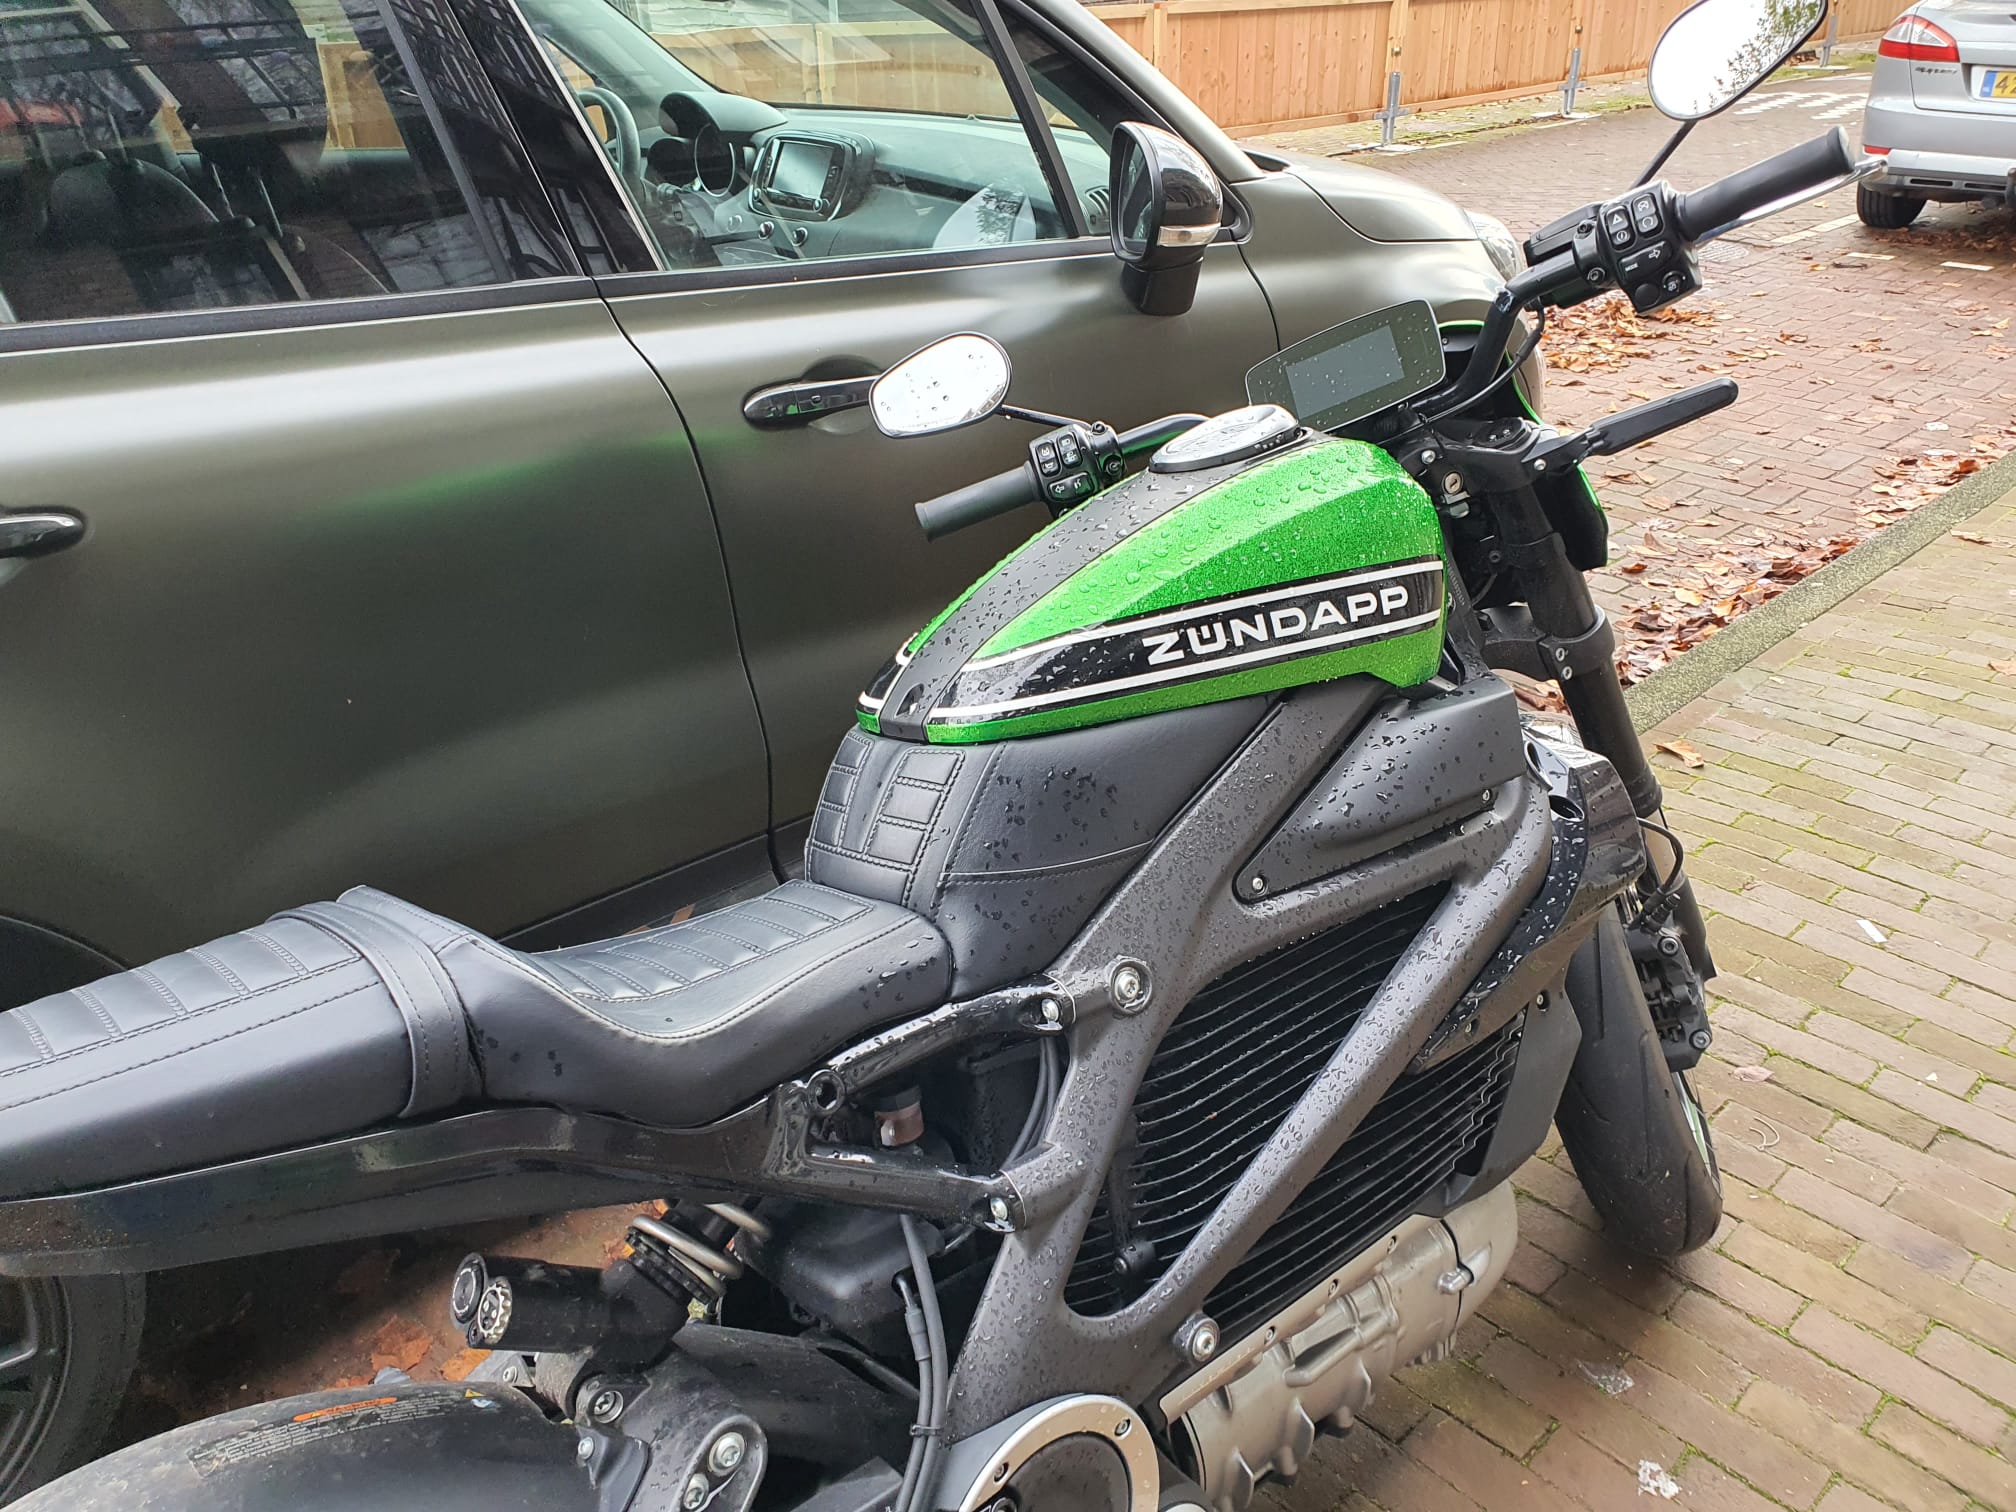
The bike is registered as an HD Livewire in the Netherlands, from 2021-05-14th at 0.42 kW/kg and at 60kW.
Weight is registerd at 143 kg drive ready.
Max speed as registered is 177 km/hr.
Catalogue price is registered at Eur 34.000.
