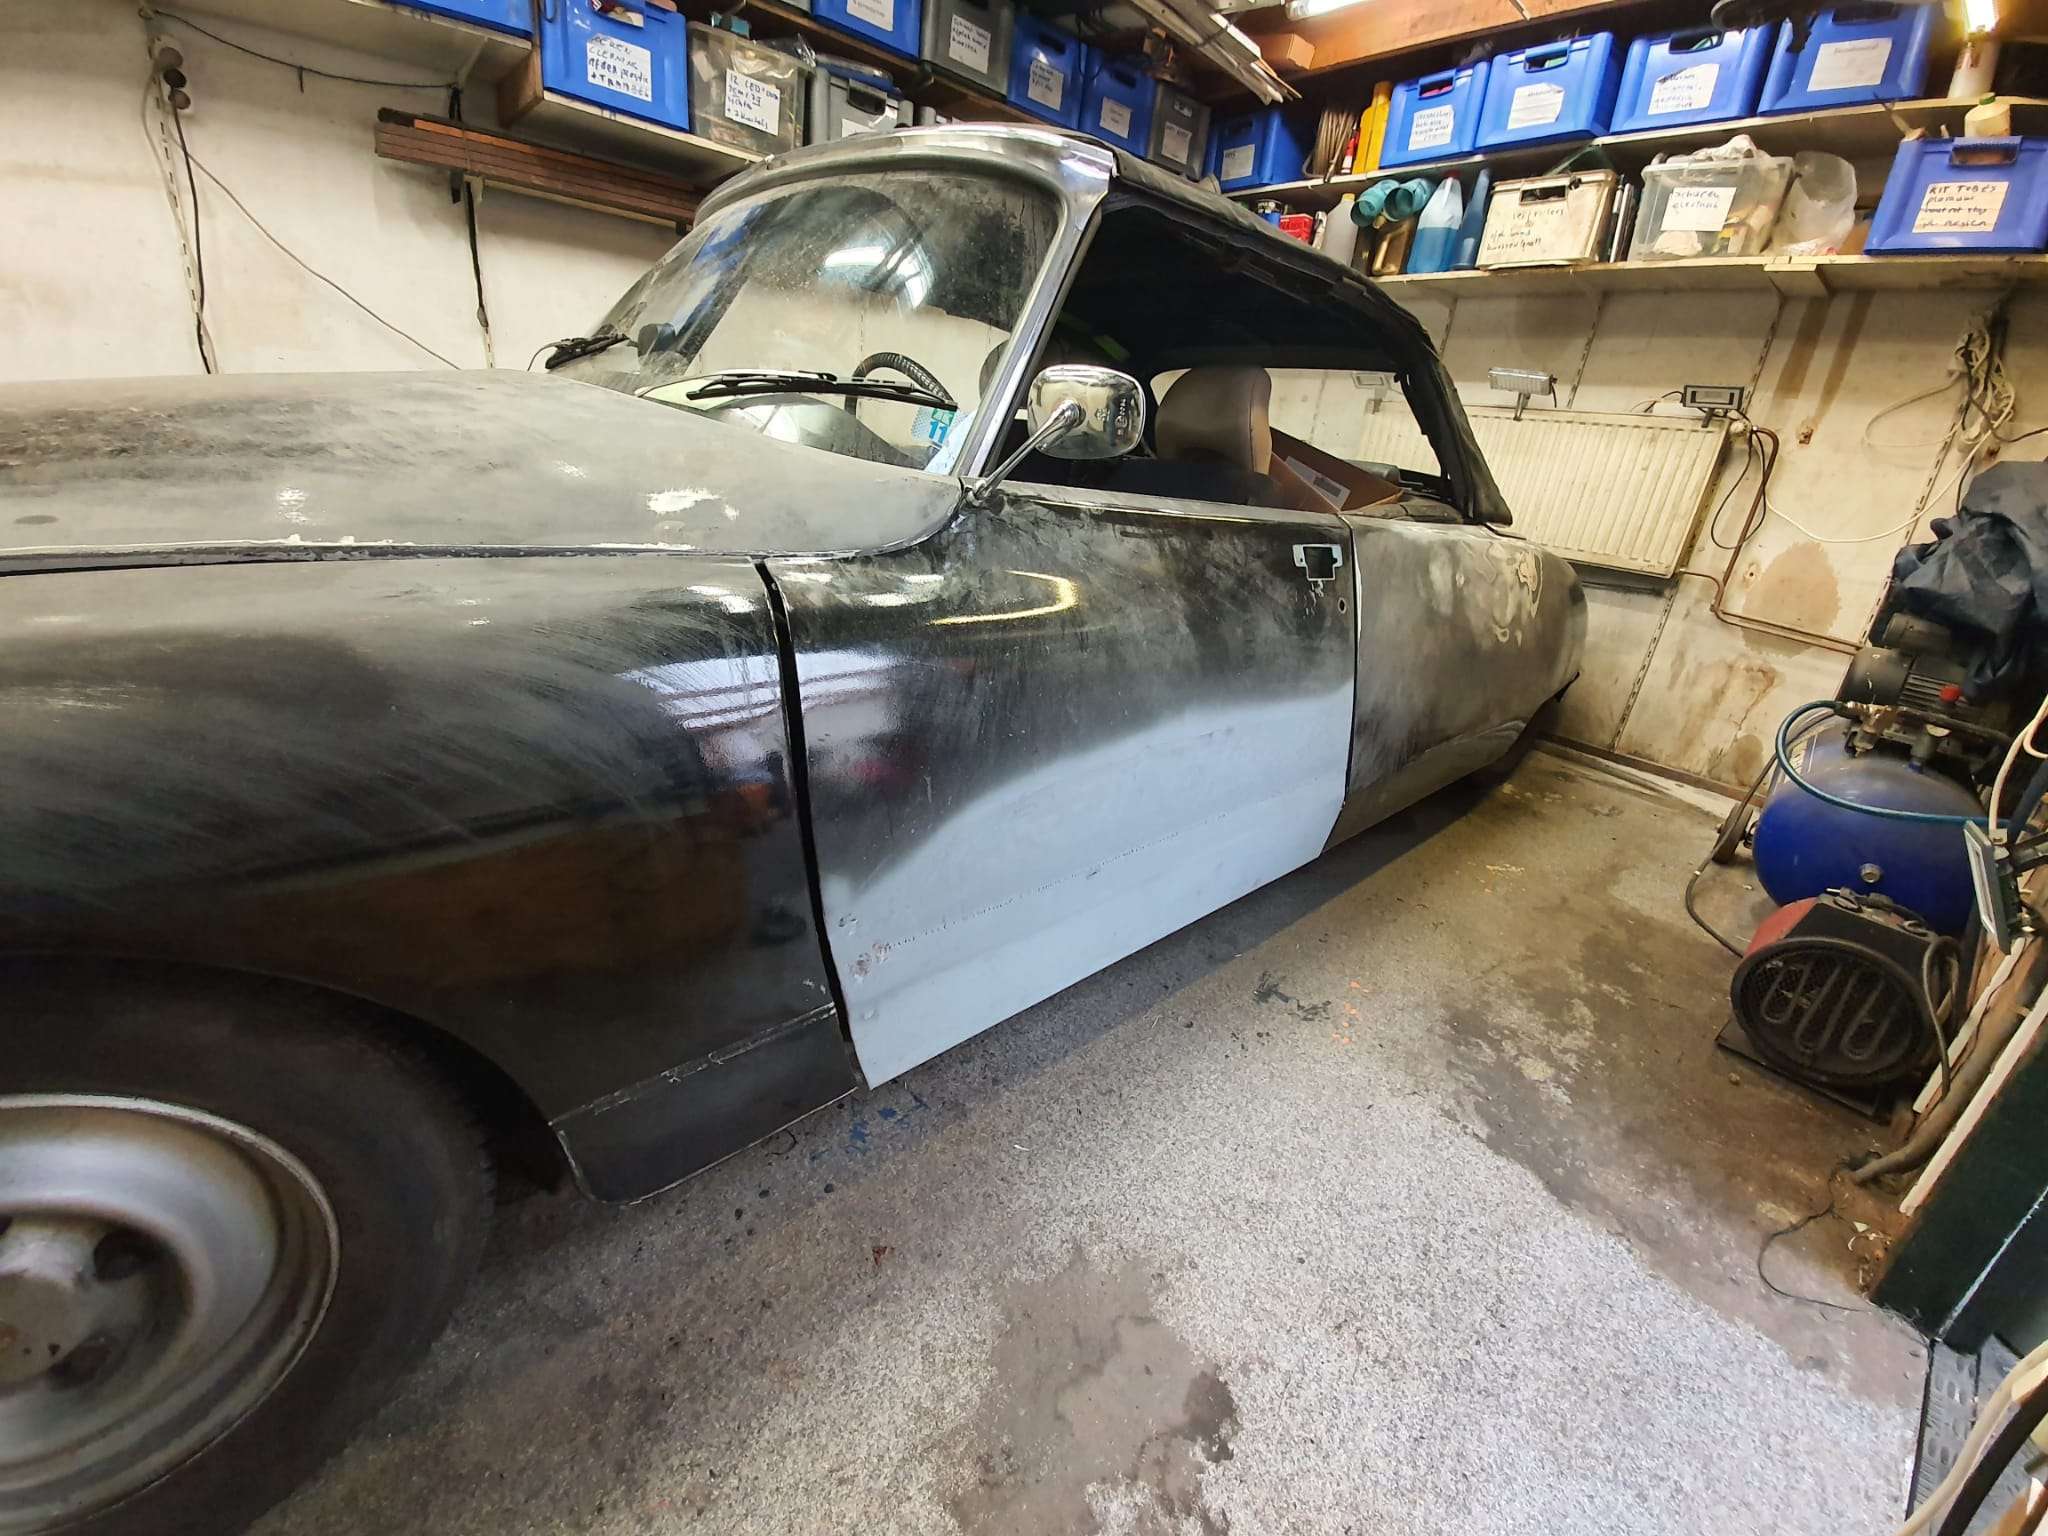
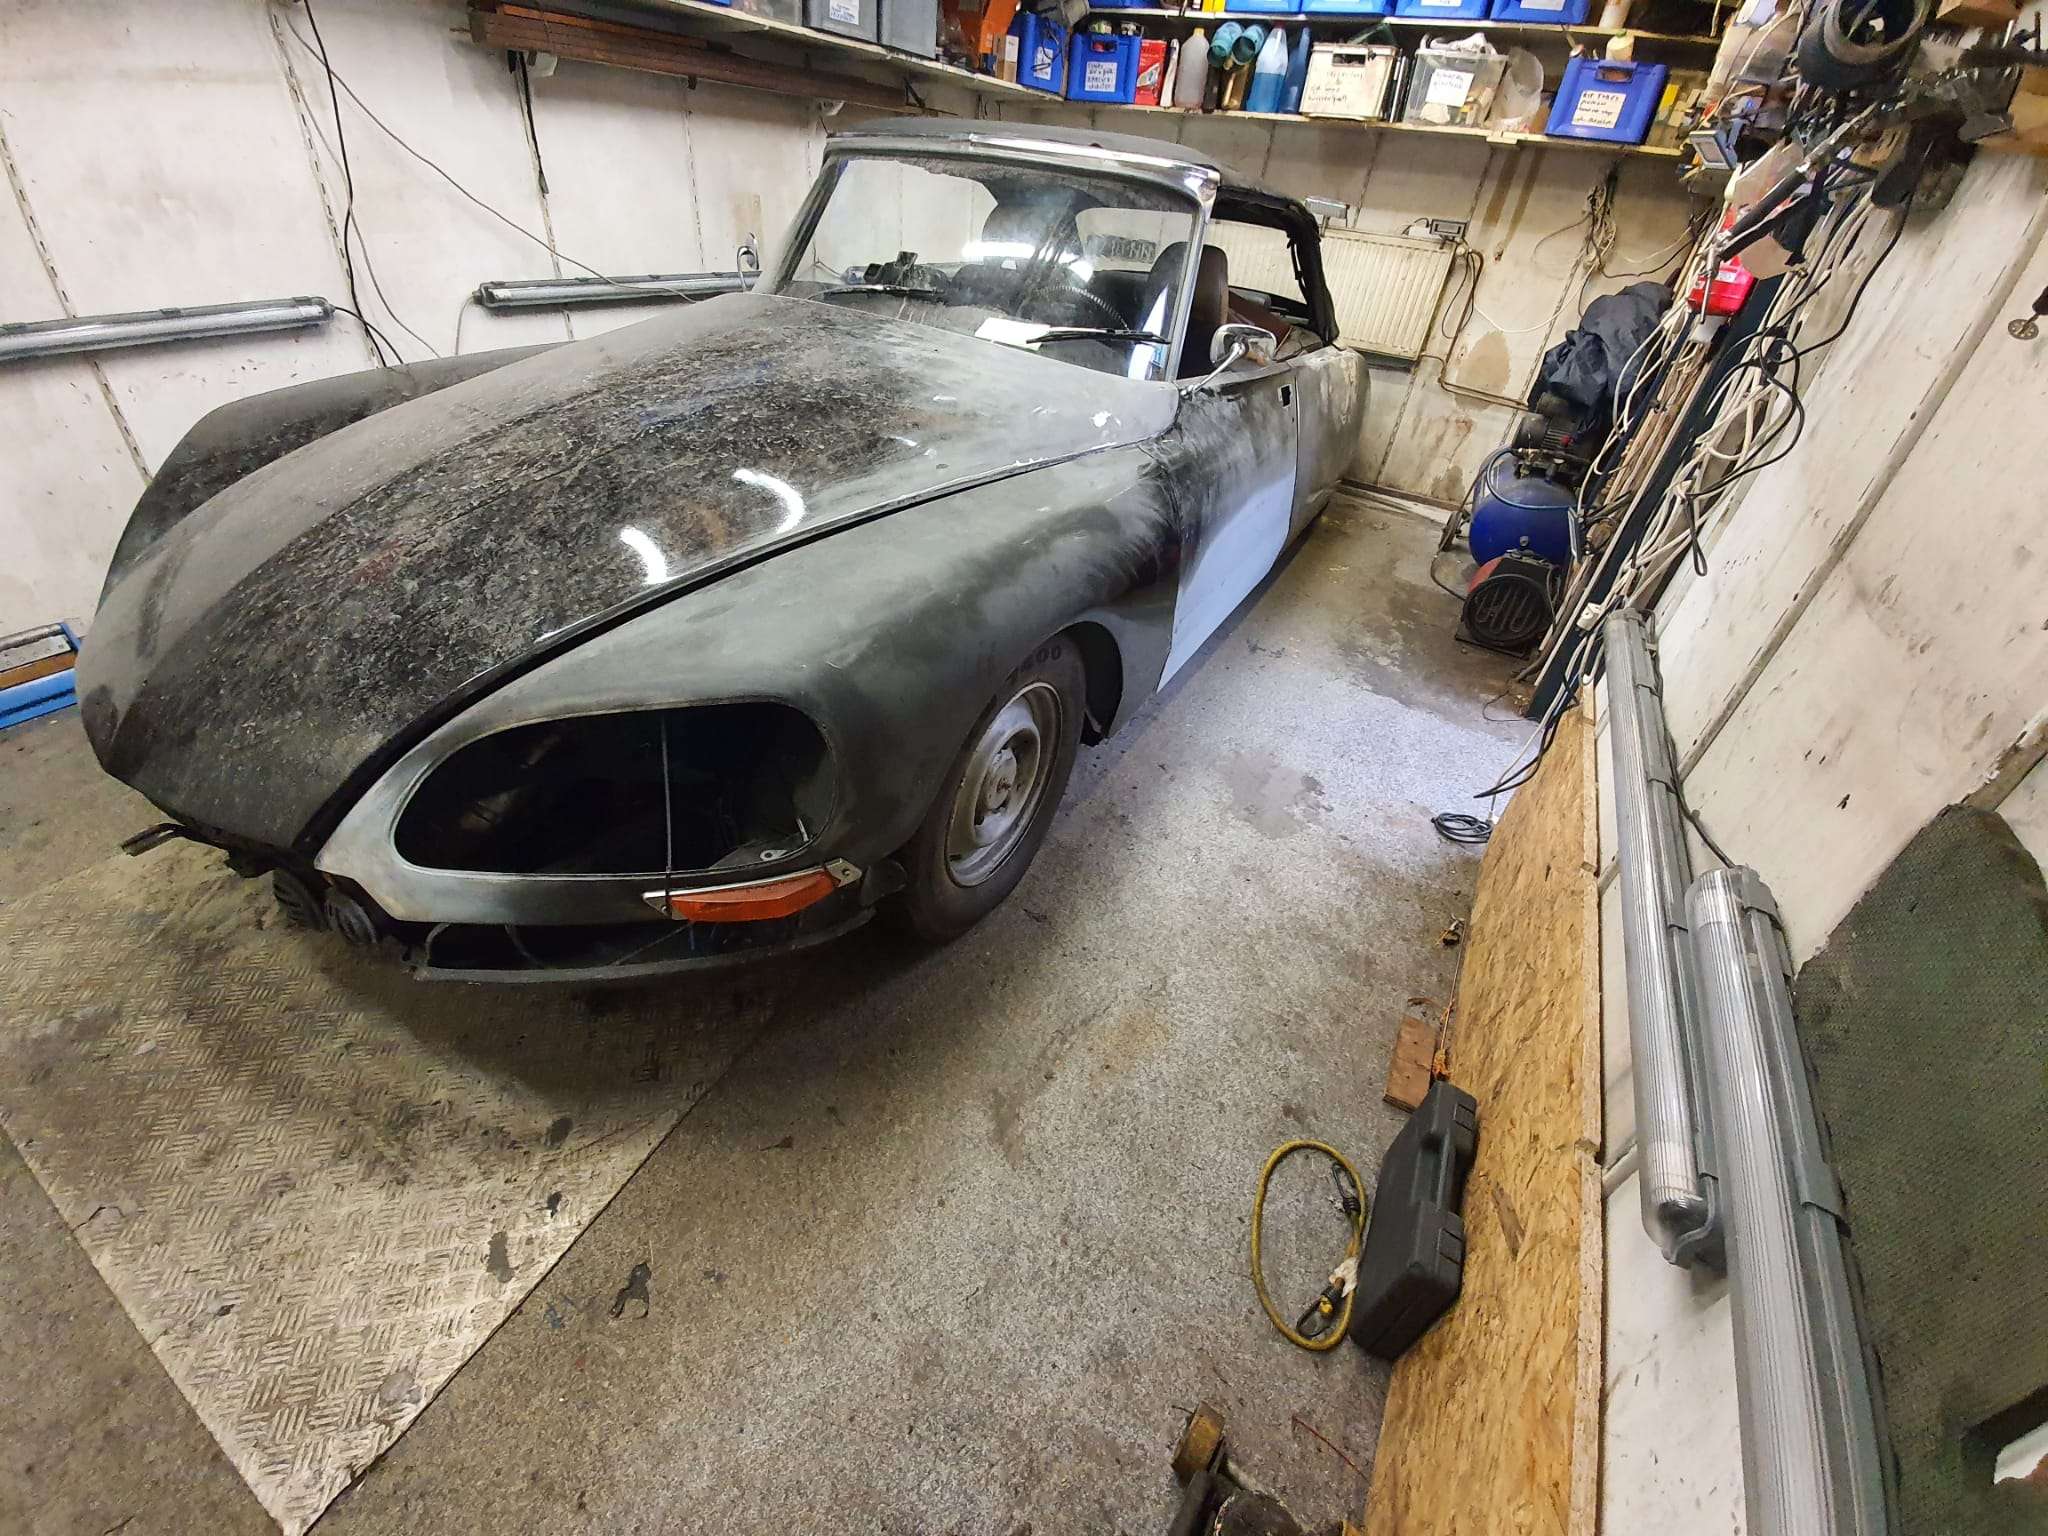
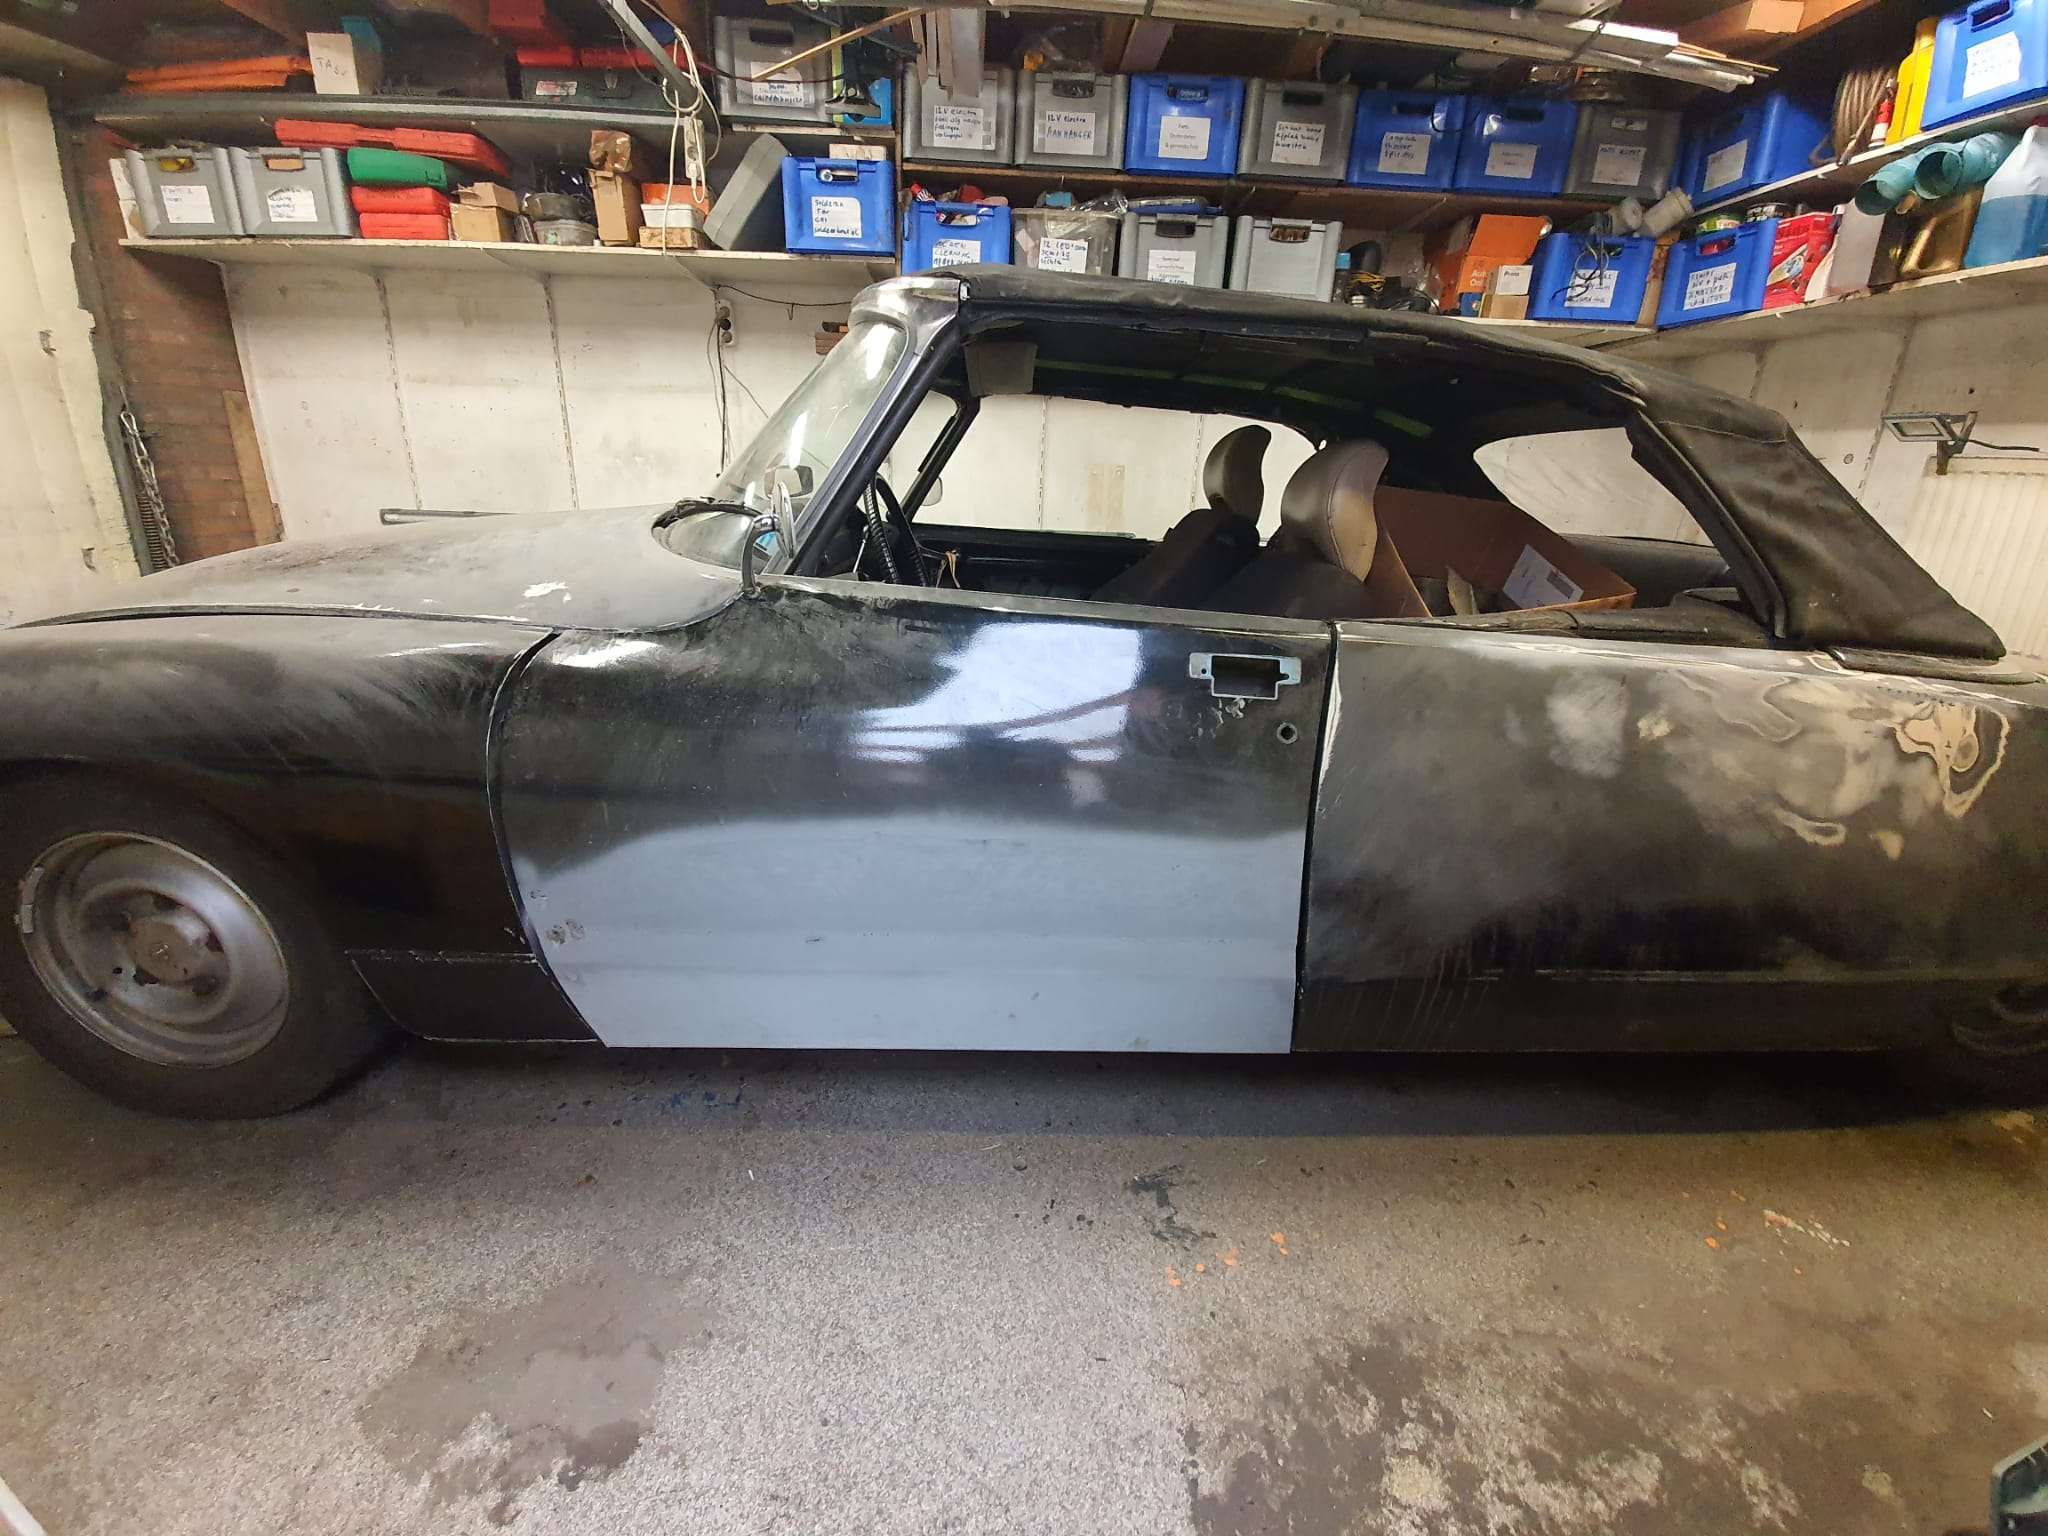
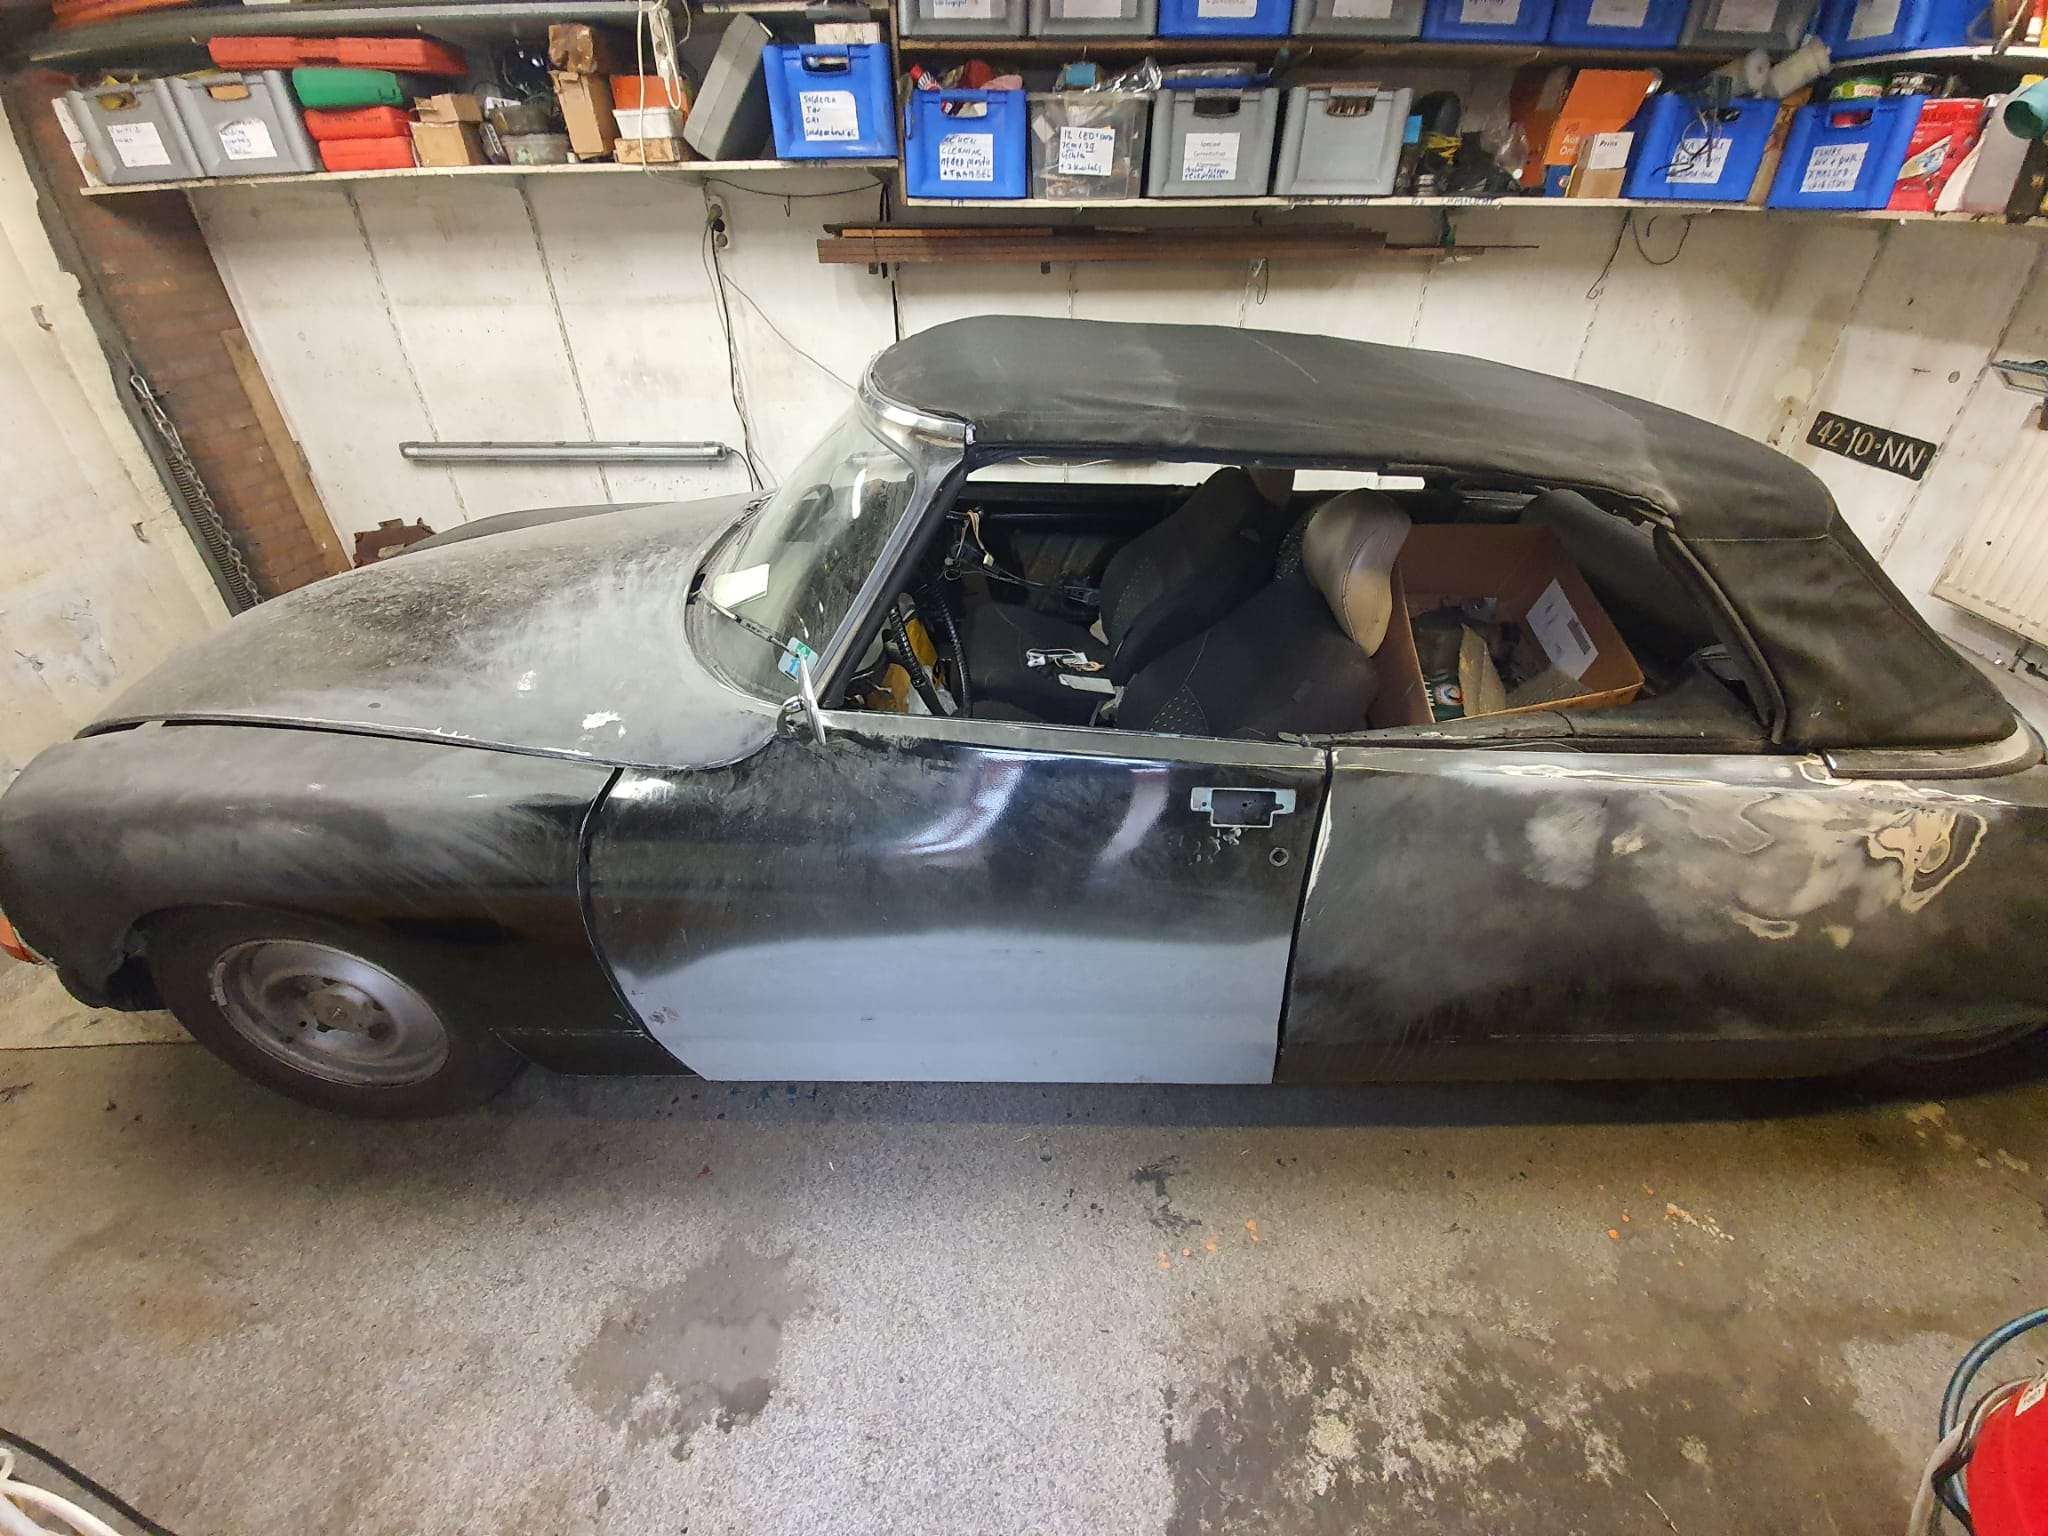
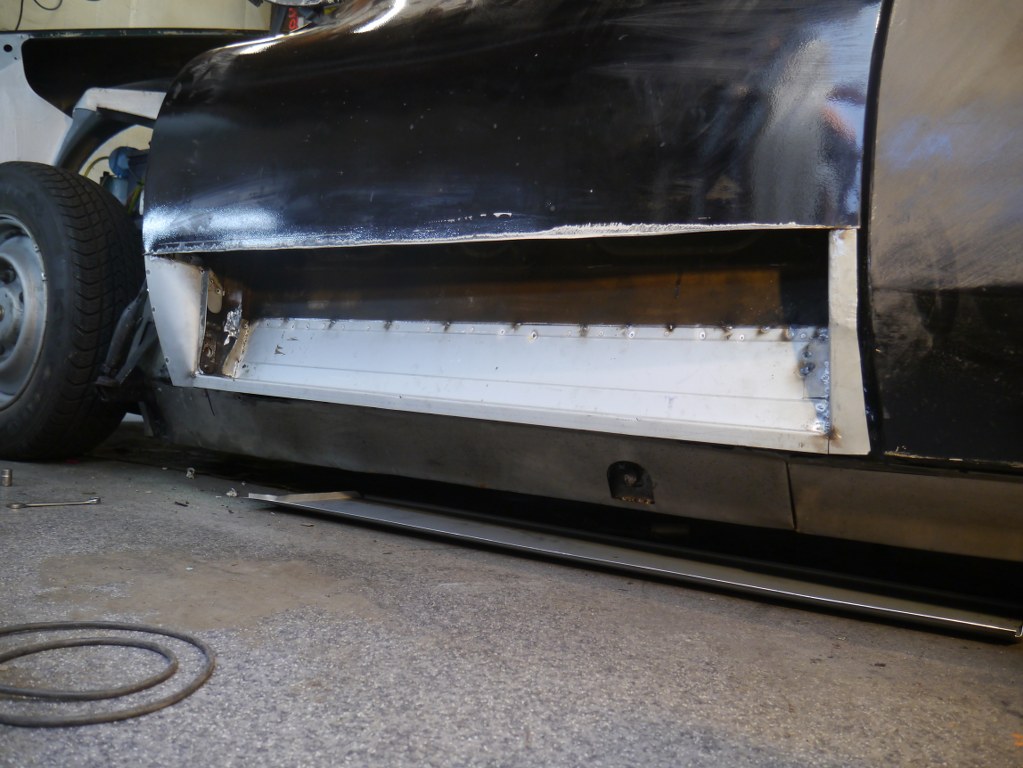
2021-09-24: This morning my new sheet metal ordered from Cit’art for the left door of my DIY Citroën ID/DS 1970 convertible was delivered: A half door plate and a 3-piece inner tray.
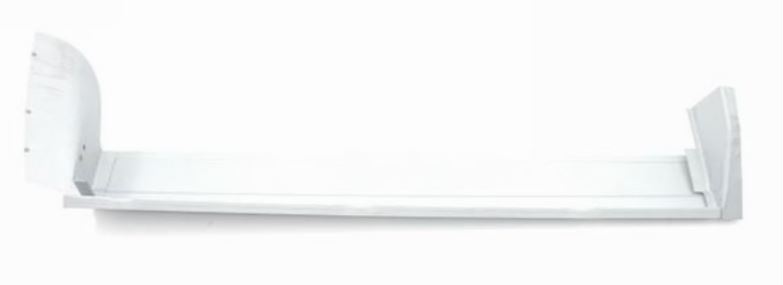

For my ID Berline, I’ve previously fitted doors with new half outer plates and door trays a few times so by now I know roughly how to go about this. Because the Citroën ID/DS has not been very dimensionally stable over the years (understatement!), there is one thing you should always remember: Always fit the tray and then the door plate AT THE CAR and don’t make it all pretty on the workbench only to find out later that the door doesn’t fit!
I might be going a bit far as most people assemble the door body on the workbench and then place the half door plate on the car, but I first align the door body properly using the removed plate as a jig and then weld the new door body in place with a few dots. Then fit it to the car, possibly aligning it with the hinge points attached to door and car so that the top and side top and middle are perfectly between front screen and rear door/ Perfect means here: In the same place as BEFORE this action.
If everything is as desired, also try it on with the door plate. If something doesn’t fit, measure the difference in height or depth and remove the door. On the workbench: Loosen the welds where necessary and correct what is needed. Place the door back in the car and repeat previous steps until everything fits perfectly.
Another important tip: The side pieces of the turret can be placed in different ways: On the intermediate plate, under the intermediate plate or partially under and over it. I now choose to make the side pieces fit exactly to the door and NOT weld any plate at these side pieces on top of each other. That means you won’t see a transition when you open the door. I like that better and it gives less chance of rotting in the future between the places where sheet overlaps. There’s always going to be moisture in between there. By the way, I did have the half door plate and the tray intermediate piece cross over where these plates are welded to the old door. This also has to do with sturdiness, but it is also almost impossible to finish neatly when you don’t want the overlap. Moreover, you can easily seal this overlap with special seam sealer.
The pictures speak for themselves!
UPDATE 1-2022:
I finally made time to complete the welding on the left door mid of January, 2022. First, I put the electric heaters in the garage on for a couple of hours, and then I welded the inside part of the new plating fully to the inside of the door. I also welded tags every 3 cm on the seem in the inner part of the door. After this, I grinded all down so it will later be invisible, at least on the inside of the door since this will not be covered by anything.
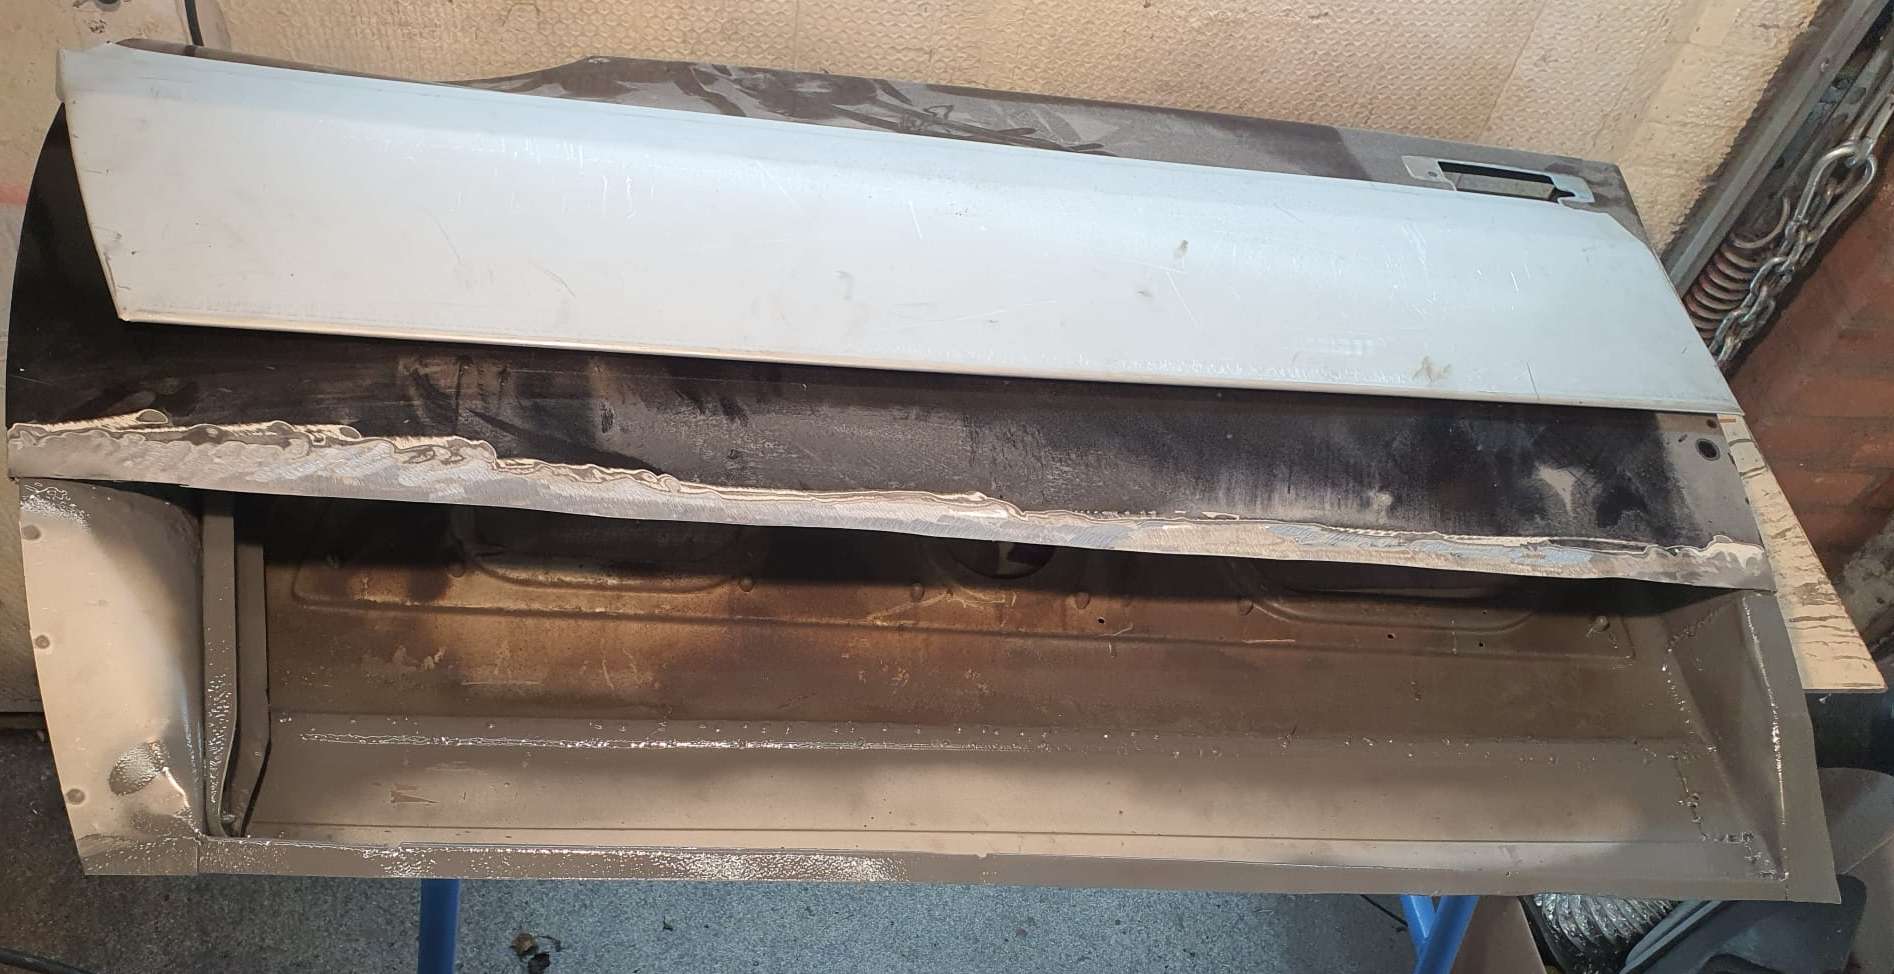
Then, I put the door back in the car, put a lock in and set the door at the correct height- and depth. Then, I fitted the outer plate on the door and adjusted the cutout and the inner angle of the plate I earlier welded on the inside. Also- the sides were adjusted and I ended up cutting some 4mm from the rear plate’s lower horizontal part. The outer parts was just too low for about 4mm. I also had to get 4mm off the cutout of the existing door plate.
I took all parts off that were in the way or made the new plate stick up. Then, I spotwelded the new plate at its final position. After this, I took the door with spotwelded plate out, put it on the welding table and used spotwelds every 5cm (2inch) at first, cooling the welded work with compressed air and moved on to slowly weld around until everything was closed. Then, I tapped the edges at the bottom, left end right around until it almost closed (used thin sheeting to prevent them from getting too tight). Grinded the weds nicely off, all aound and putthe sinc spray everywhere, including inside the door.
Remounted the door and it all fits beautifuly.
Some mudworks still to do, but that’s all for later!
Welding tip: I use a Gebora 160 MIG machine with 0.6mm wire and mixed gas. I use the following settings for spotwelding: wire speed to 6 and power is set at 2, that is the 2nd position of max 6. I found that spotwelding sheet metal when oe of the sheets is around 0.6-0.8 mm,, the setting of power 1 is just not enough to get a spotweld that sinks a bit in, I always get uplifted welds, also if I lessen the wire speed. But- at power 2, all goes well. Welding the Citroen’s plating can, however, NOT be done at position 2. That burns right through the thin plating.
Actually, that is the main reason I always use a bit thicker repair plate so I can at least make decent connecting welds. You do have to start the spotweld from the thick plate and then move gently just towards the thin palte and stop. There’s just no other way to do this, imho.
Now, the welding is done. I also welded the connecting hooks of the front fenders already with new connecting pieces for mounting onto the chassis and that also turned out OK. Next chapter will be the finishing towards 2K primer, sanding and hopefully also painting!
