After over six months of driving my Atto3, I still have 2 “residual” issues that bother me. (2023-05-12)
1) The climate control.
It is still not as I would like it to be. The temperature in the car still varies, despite a fixed temperature setting. But it thankfully no longer varies as much as it did when the car was delivered. I always have the car set at 19 degrees Celsius, and the interior temperature varies between 16 and 22 degrees with that. Interestingly, when driving at longer constant speeds, the temperature does stabilize after about 5 minutes at the set temperature. But when I leave the highway or get in a traffic jam, the temperature rises immediately and then it takes about 3 minutes before the temperature returns to the set temperature. If I then drive faster again for a few minutes or more, it gets about 3 degrees colder than the set temperature and only then does the temperature stabilize back to the set value.
After I figured out this “behavior” of the heat pump system, I never adjust the temperature again and learn to live with the increases and decreases because the temperature will eventually be readjusted. But the way this works is very annoying. It has been filed as a complaint with BYD Amsterdam, also because of the constant fogging on the inside of the car’s windows after parking at outside temperatures below 10 degrees Celsius.
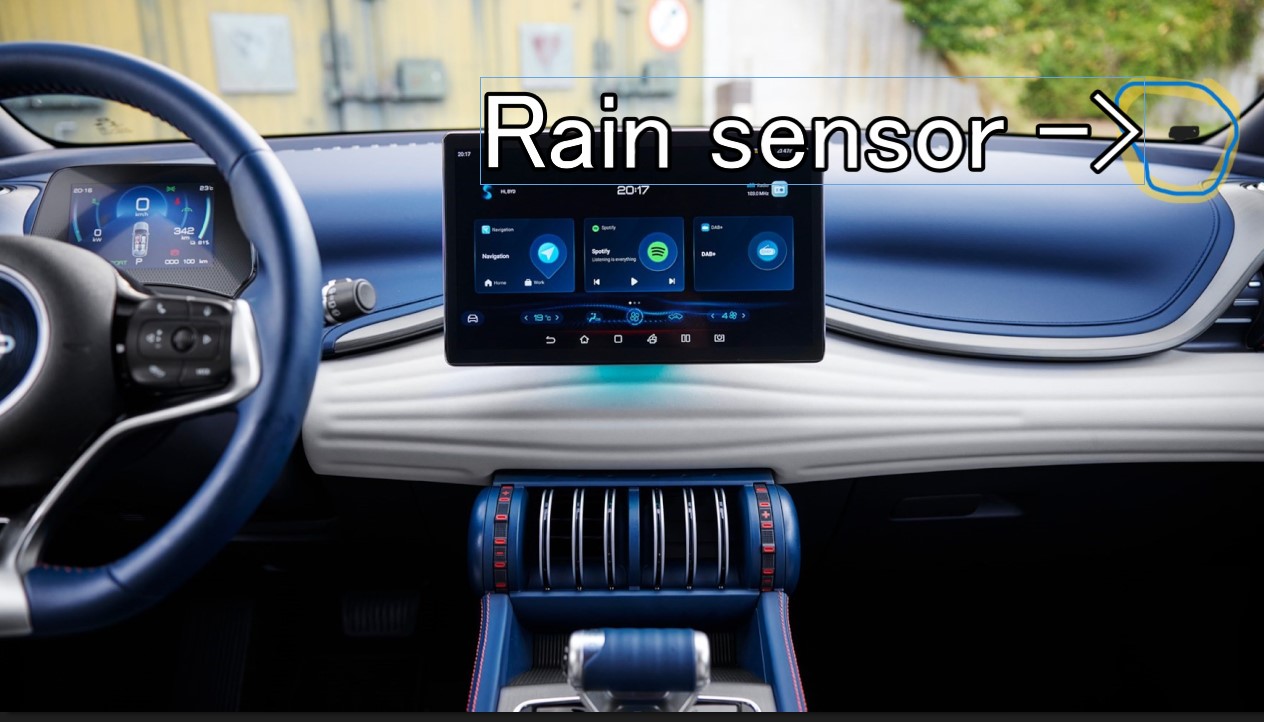
2. The lack of an automatic rain sensitive wiper controller.
Due to the lack of automatic wiper control, I am going to fix this myself. So far I have done that with my cars on which no sensor or control of the rain sensitive automatic wiper control was installed off-factory.
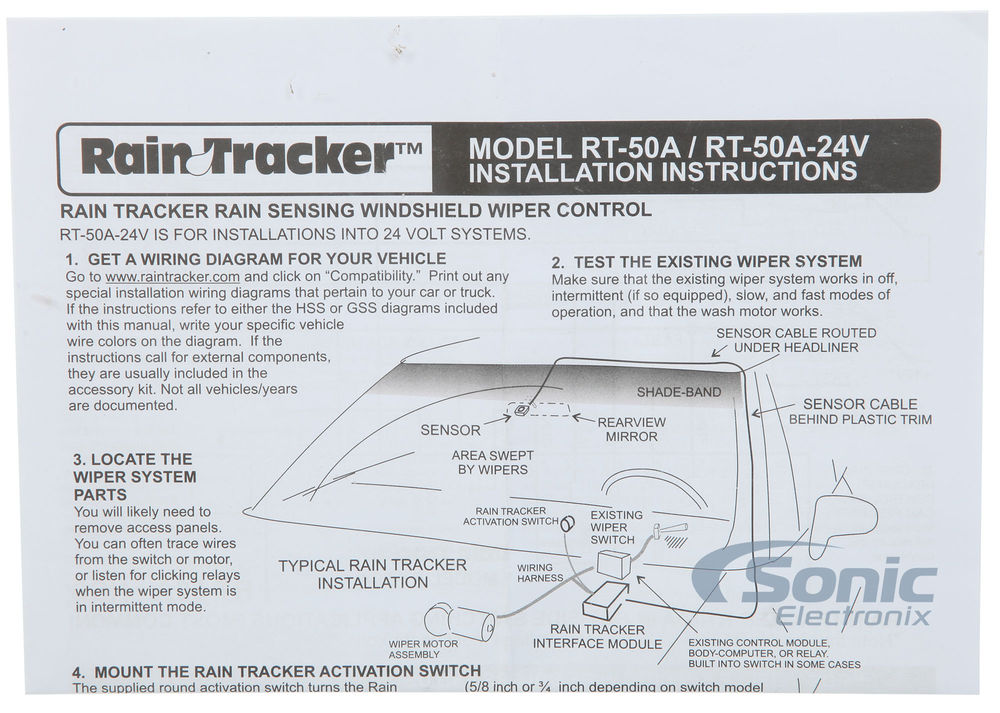
Previously I used the rain tracker RT-50A kit from Hydreon/Sonic for this purpose and since it is no longer available I use similar systems that are available in the market.
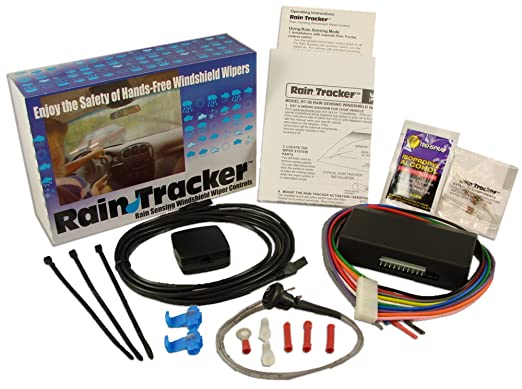
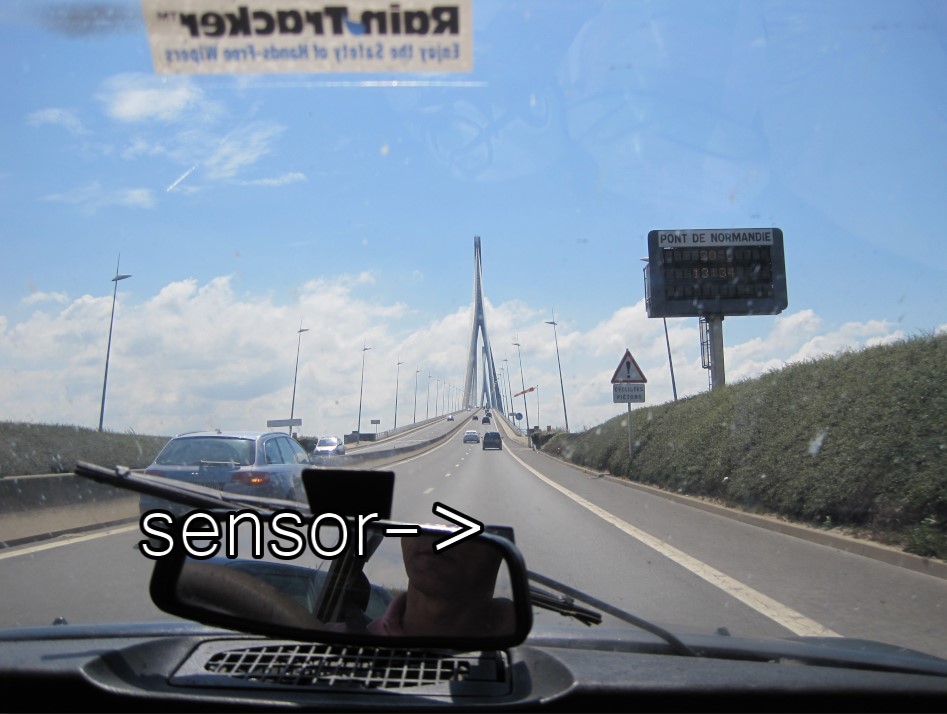
Vehicle-Specific Installation Notes RT50A
Actually, I would prefer to install an OBD2 system, but so far I have not been able to find an after market system for that. And building something like that all by myself will be too much work for me, also because I am not sure if the BYD Atto3’s wipers are indeed controlled with an addressable proprietary OBD2 control module.
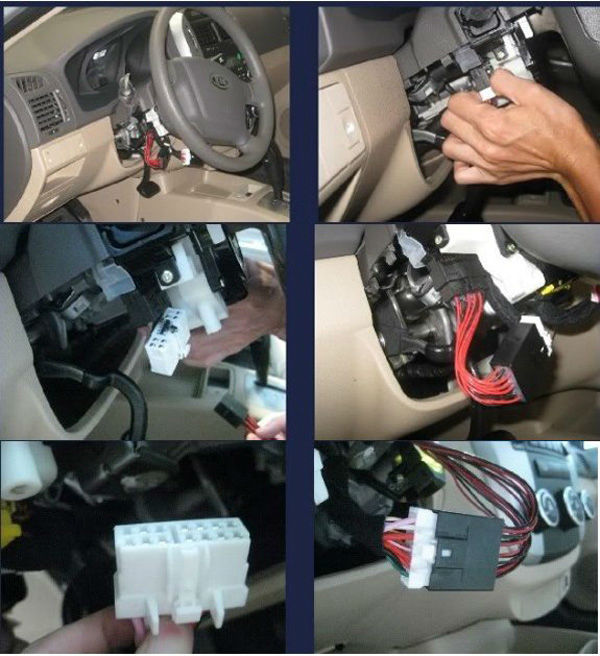
Therefore, I will go for the old school solution with standard wiring and an installation on the existing wiper switches. But then in the wiring harness under the dash. I know it’s not practical to “hack” such a drastic solution into the car in a relatively new auo but my irritation with the absence of this option is so high that at one point I seriously considered trading in the BYD Atto 3 for a Hyundai Kona or the like for this alone.
The standard wiring requires, in addition to the power supply from the switched 12V on-board voltage, an intervention in the connections between the wiper switches and the wiper motor. I am going for the simplest solution where I use the new module as an assistant for the existing installation. Then I can activate the new module with 1 extra switch that I neatly tuck away flat in the underside of the steering column. And then all the functions of the existing switches will remain intact. The new module then works in parallel with the original ‘single-wipe’ switch. So that means I will NOT have the ‘HIGH SPEED’ option automatically activated by the new module, and the new module will only use the default wipe speed for both single-wipe and continuous wipe.
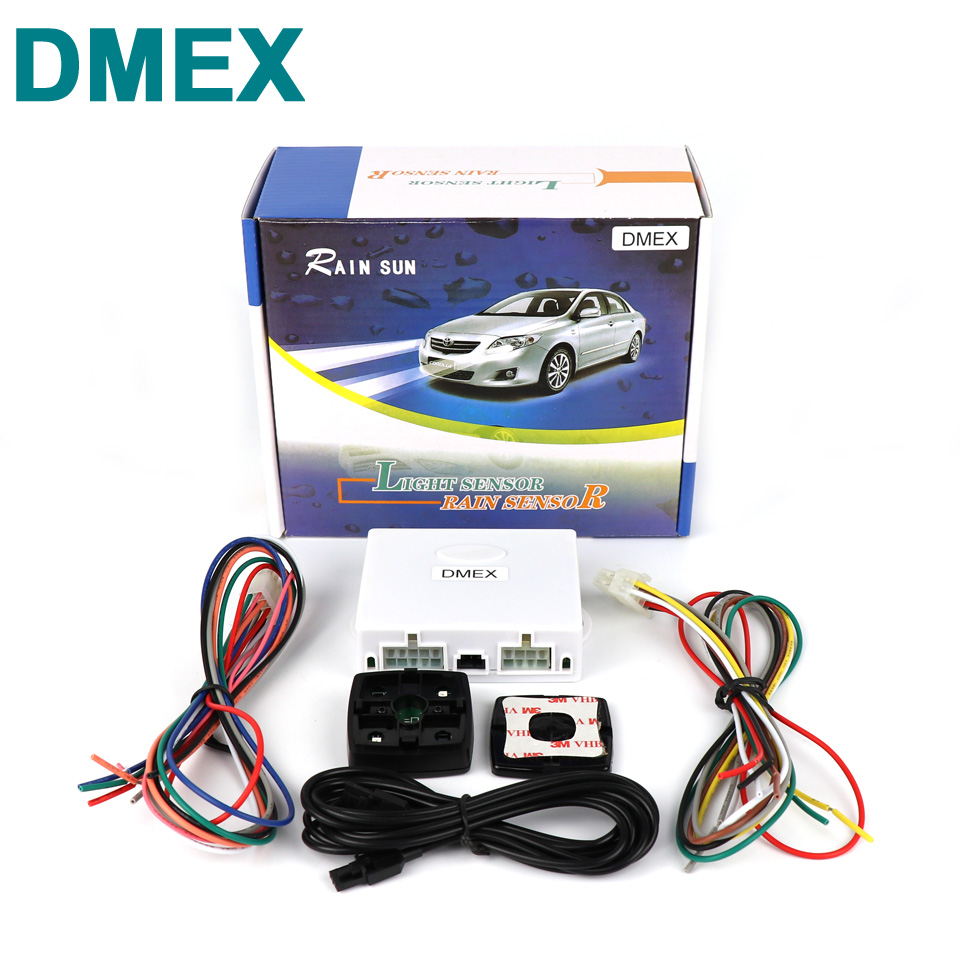
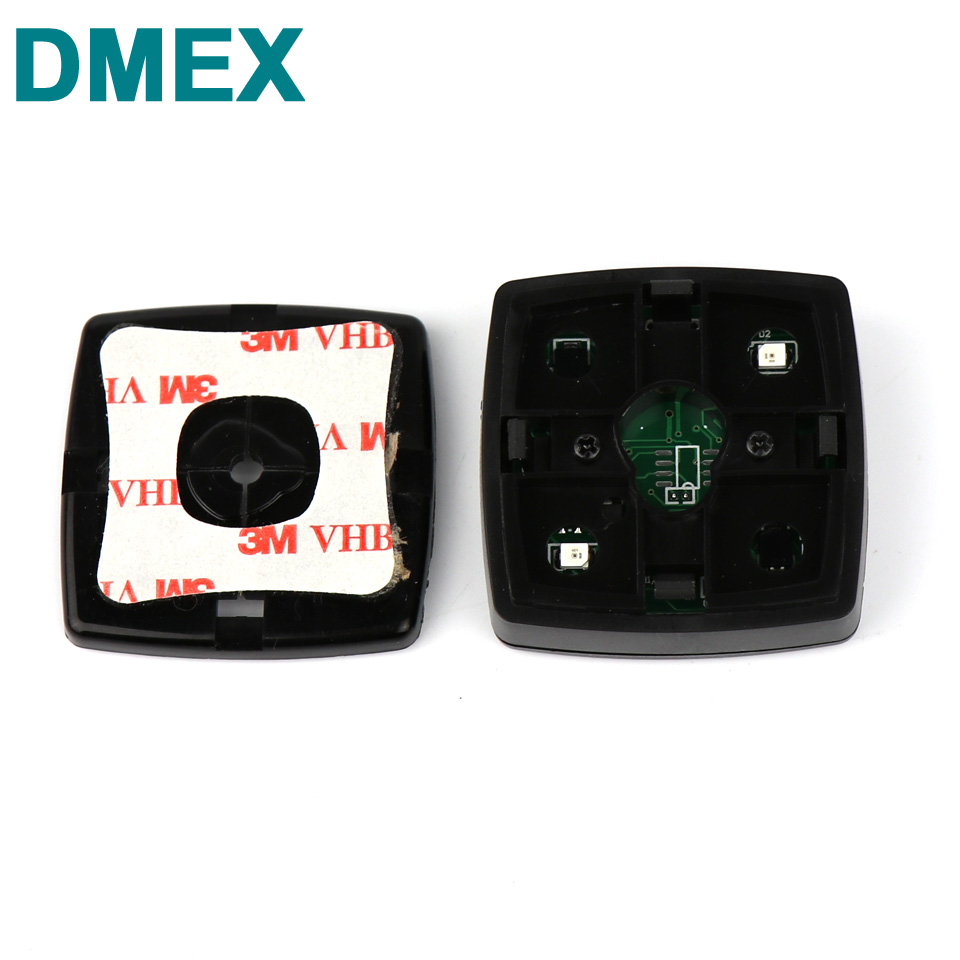
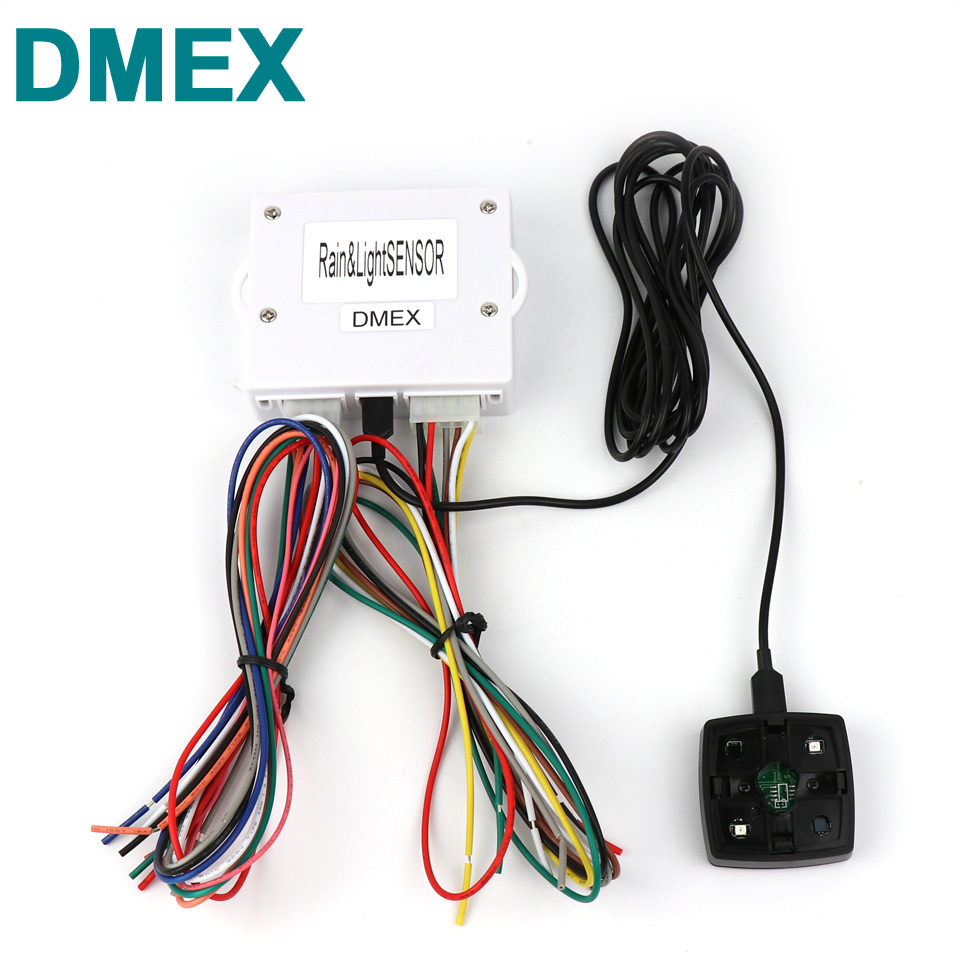
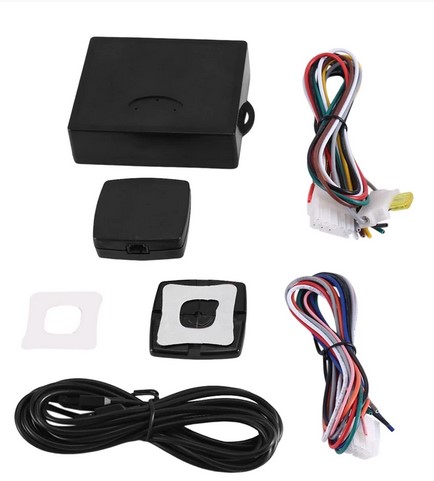
This is the new module I ordered from FRUUGO (China):
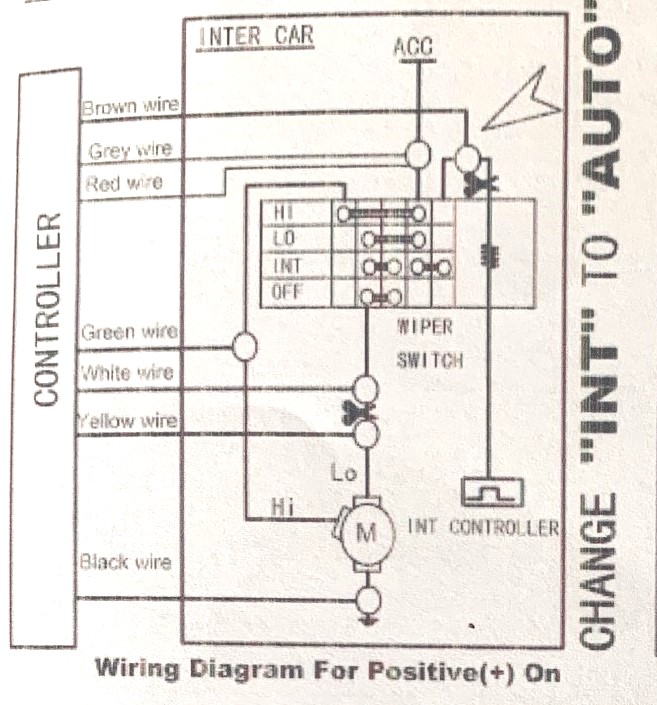
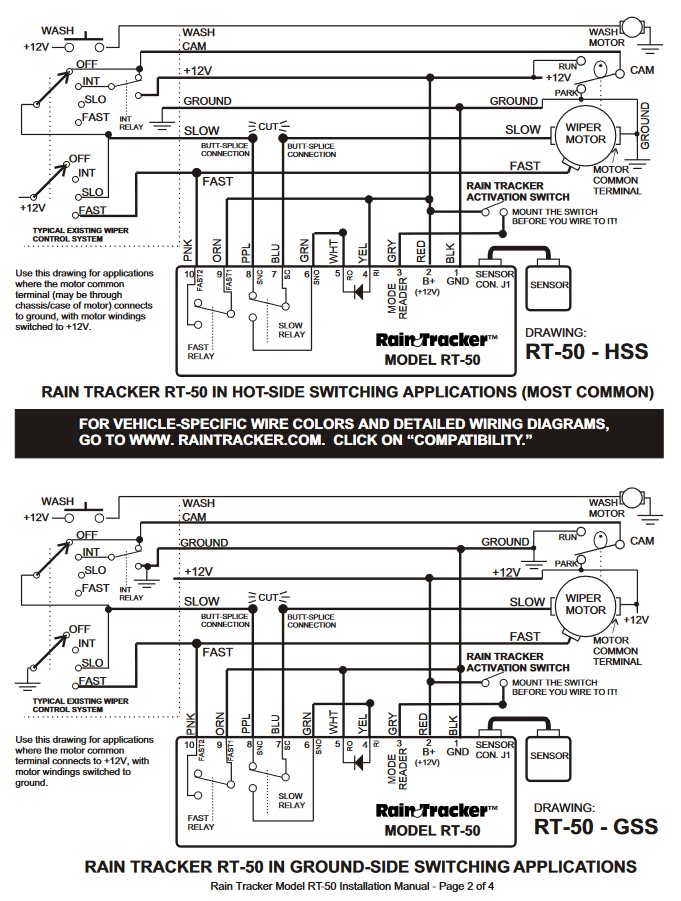
As shown in the above wiring scheme for a system where the wiper motor is used in the ‘positive’ power ON way (*and the motor’s common connection is towards GROUND), the connections of the following wires need to be made in the car:
CUT the existing connection from the interim controller to the wiper switch (that is on the steering column) AND connect the wire you just cut (that comes from the INT switch) to the new module’s BROWN wire. This is the main connection that sends a 12V pulse whenever rain is detected by the newly installed rain sensor.
Furthermore, connect the Grey and Red wires from the new control box to the switched 12Volts so the new module receives working power supply voltage.
Also, connect the Black wire to Ground, anywhere on the car.
Tham CUT the connection between the steering column’s wiper switch that is responsible for the SLKOW connection to the wiper’s motor an conne ct both cut ends to the White and Yellow wire from the new controlmodule. Be aware to connect the in the right way, i.e. YELLOW towards the wiper motor and WHITE towards the wiper switch!
Lastly, the GREEN wire from the new connection box needs to be connected to the HIGH speed wiper cable.
Since there is no on/off switch in the setup, the rain sensor will always be active as long as you set the existing wiper switch to the setting where the INT (or a chosen INT position, as for the Atto3 has multiple INT settings) position is connected to the module’s active pulse wire (BROWN).
Hopefully the wiper switch will not be based on OBD2, since this will make it a bit more difficult to get the rain sensor module installed because it will then need to be hacked into the wiring of the wiper motor directly, and will require a to be installed hardware switch to choose between the old and new situation.
For the Atto3, I will make a dedicated wiring scheme for the above whenever I will get to install the new system, that will probably be during my summer holidays 2023 July/ August.
All in all, this is not a difficult installation BUT if you don’t get it right, you could damage the car’s electronics and I will not hold any responsibility for any damage fiollowing my setup for this or any other install.
