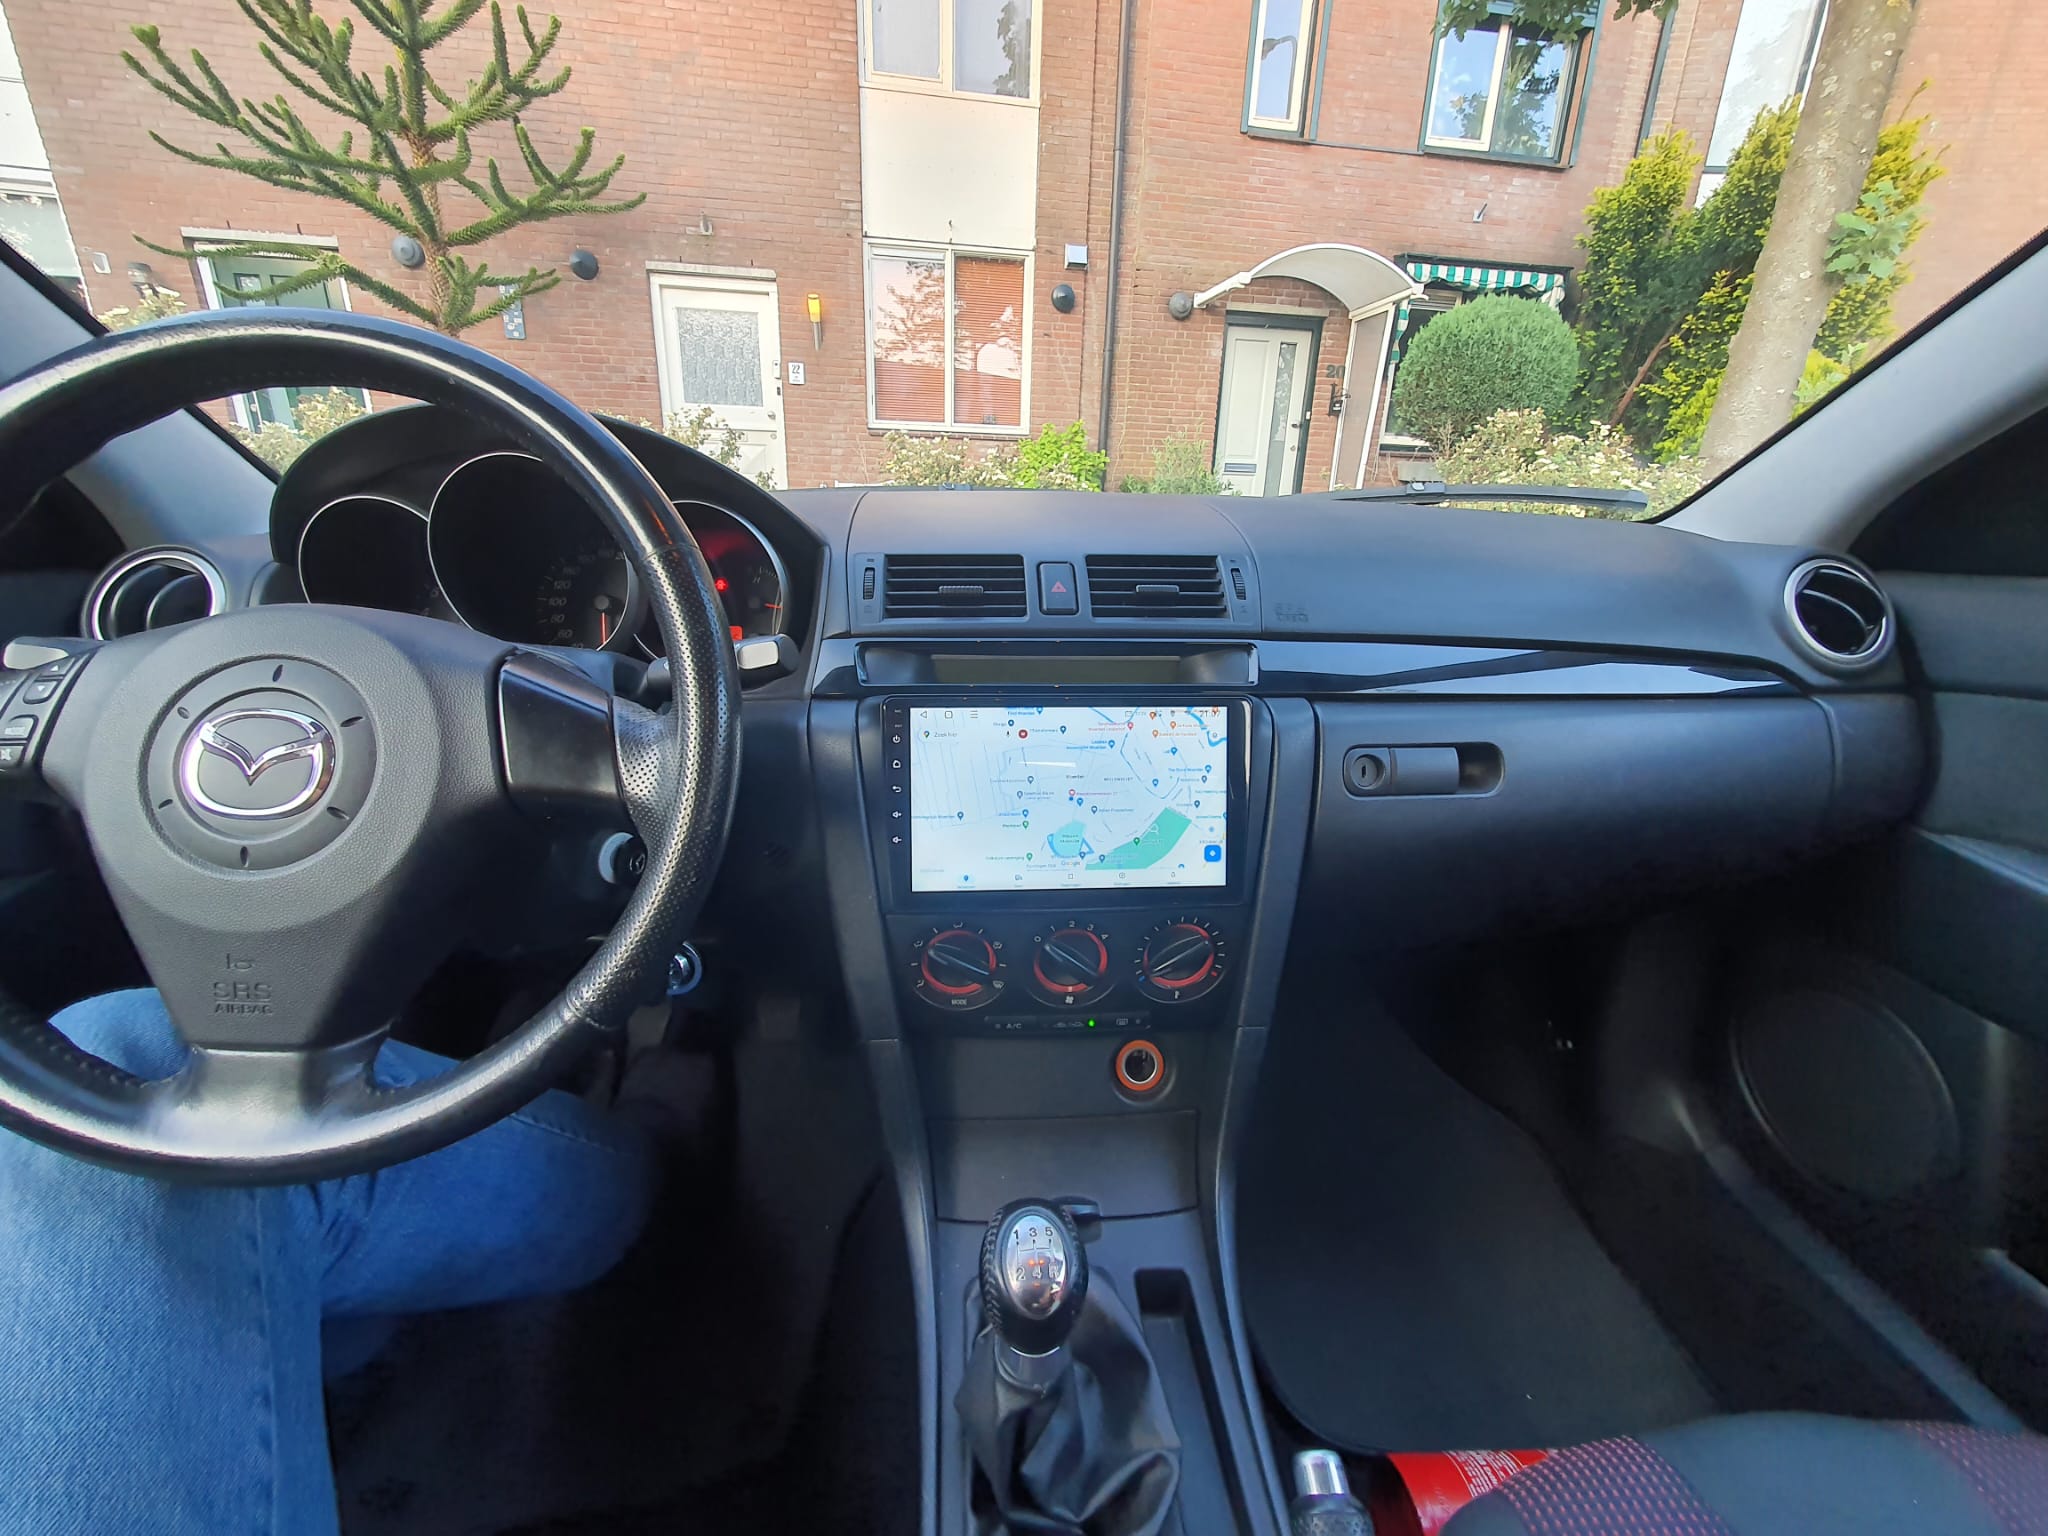
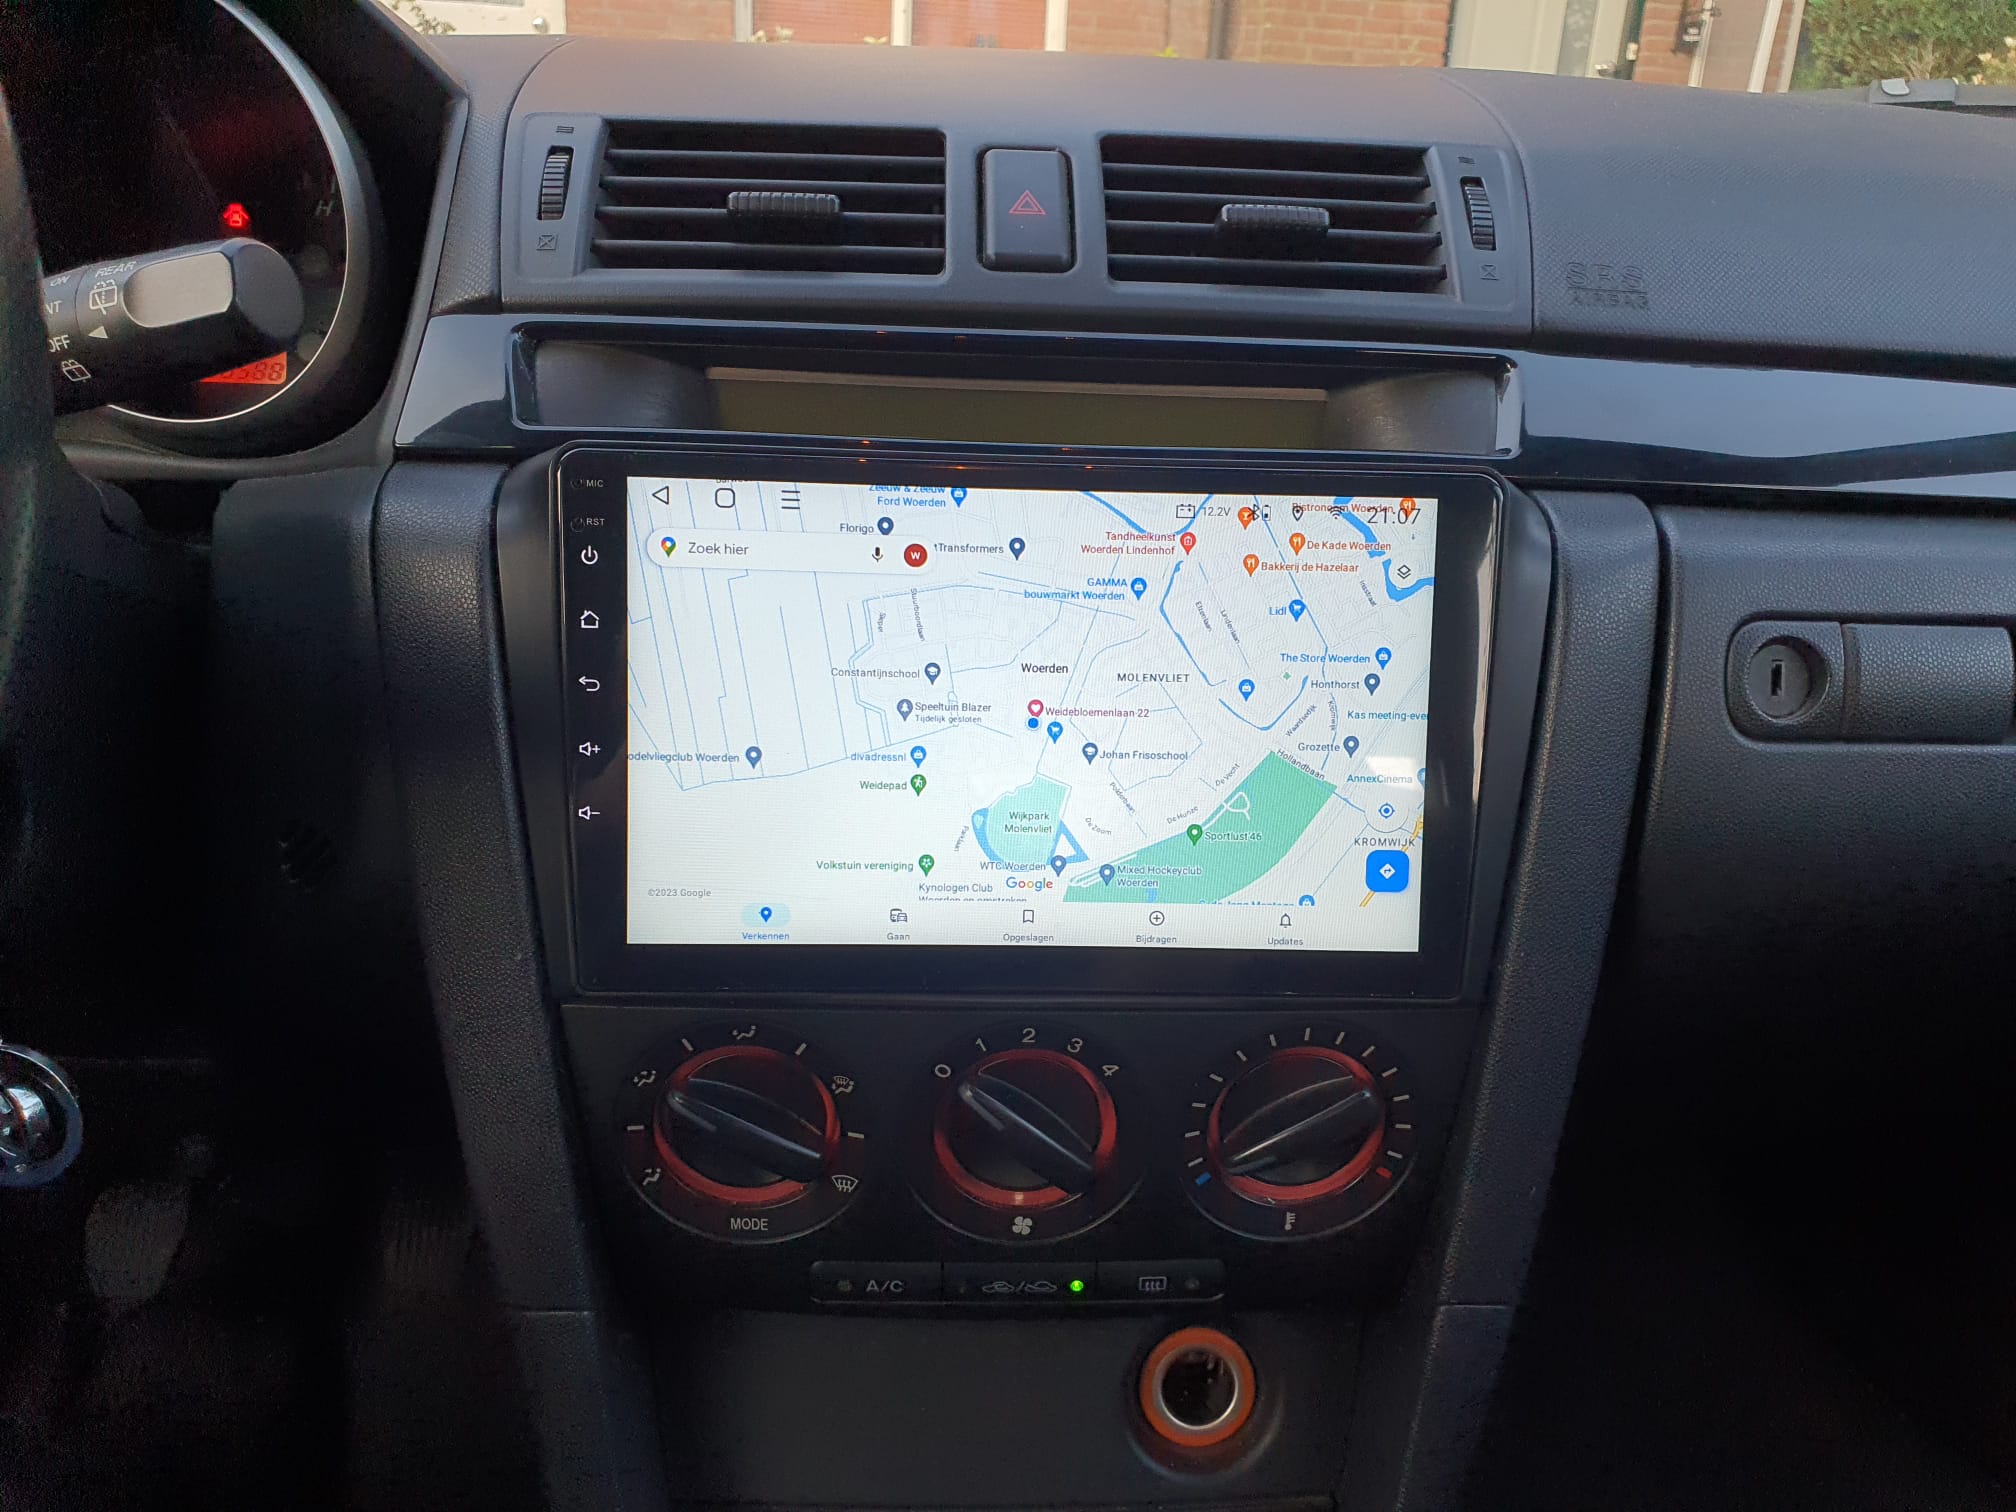
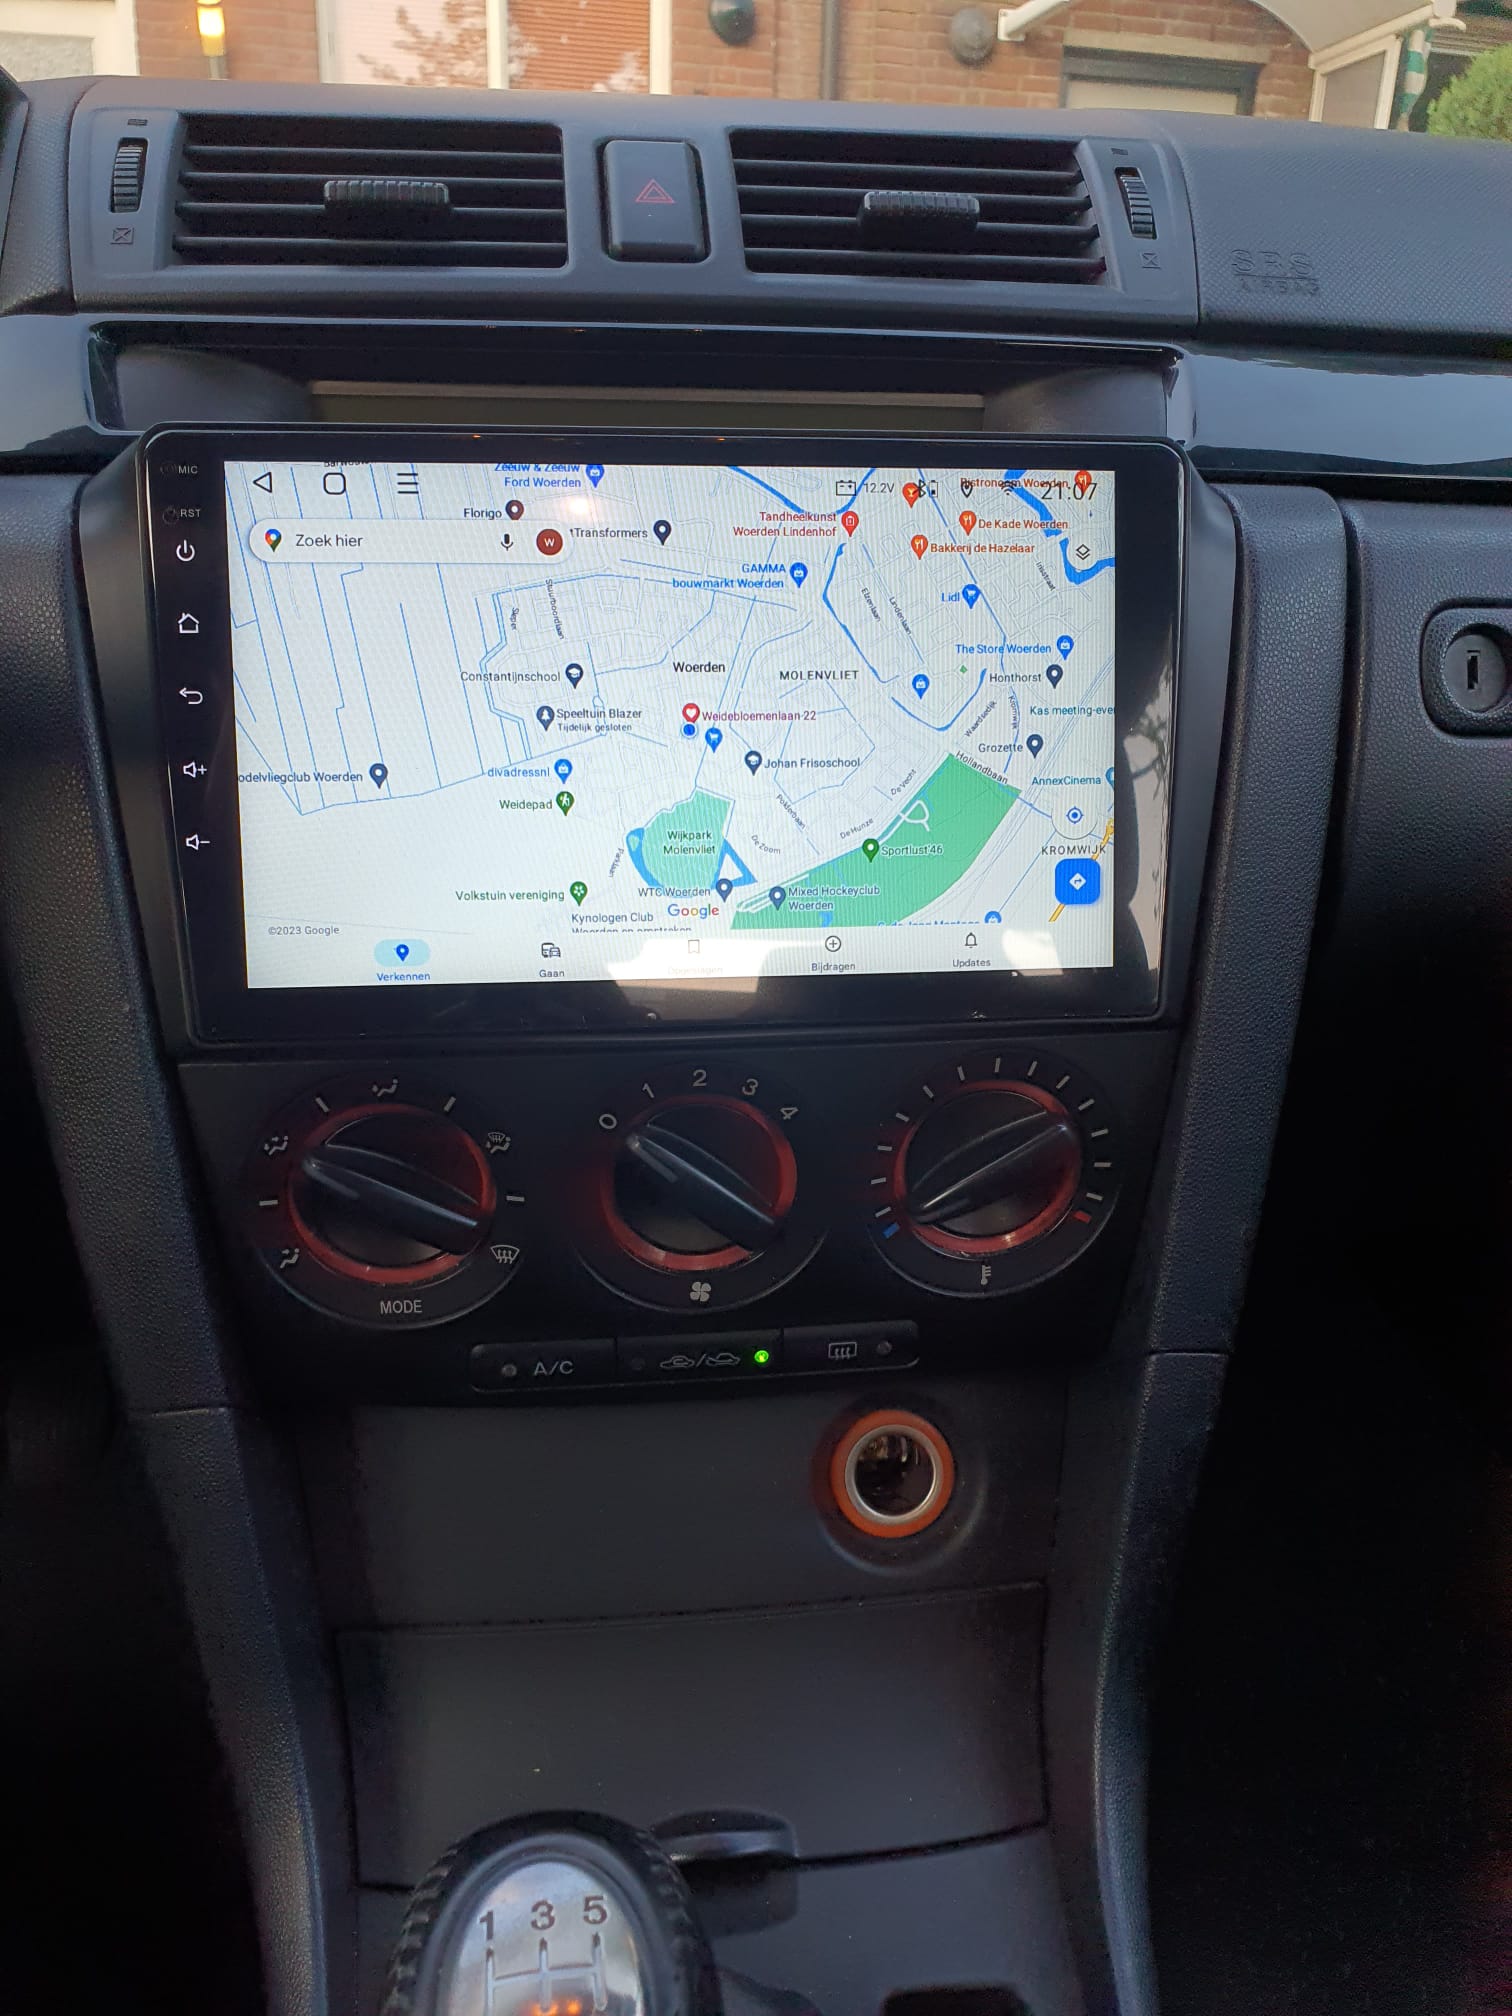
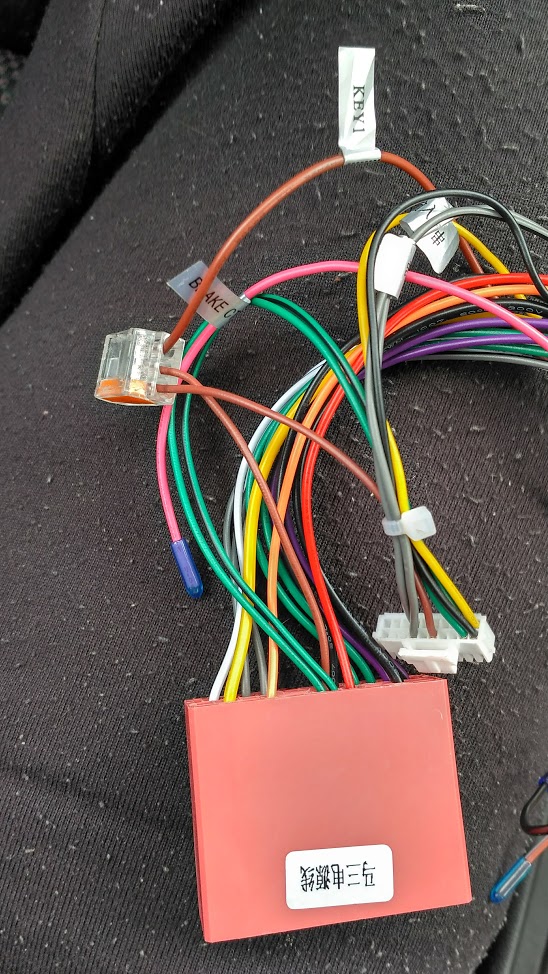
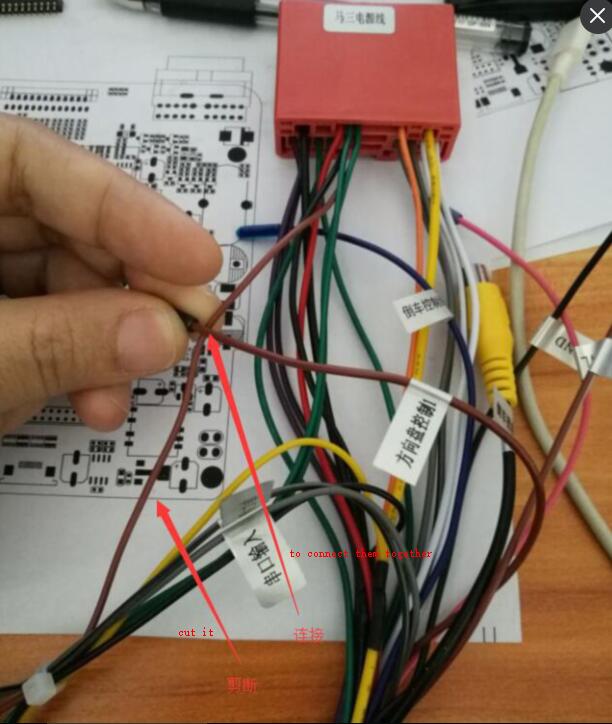
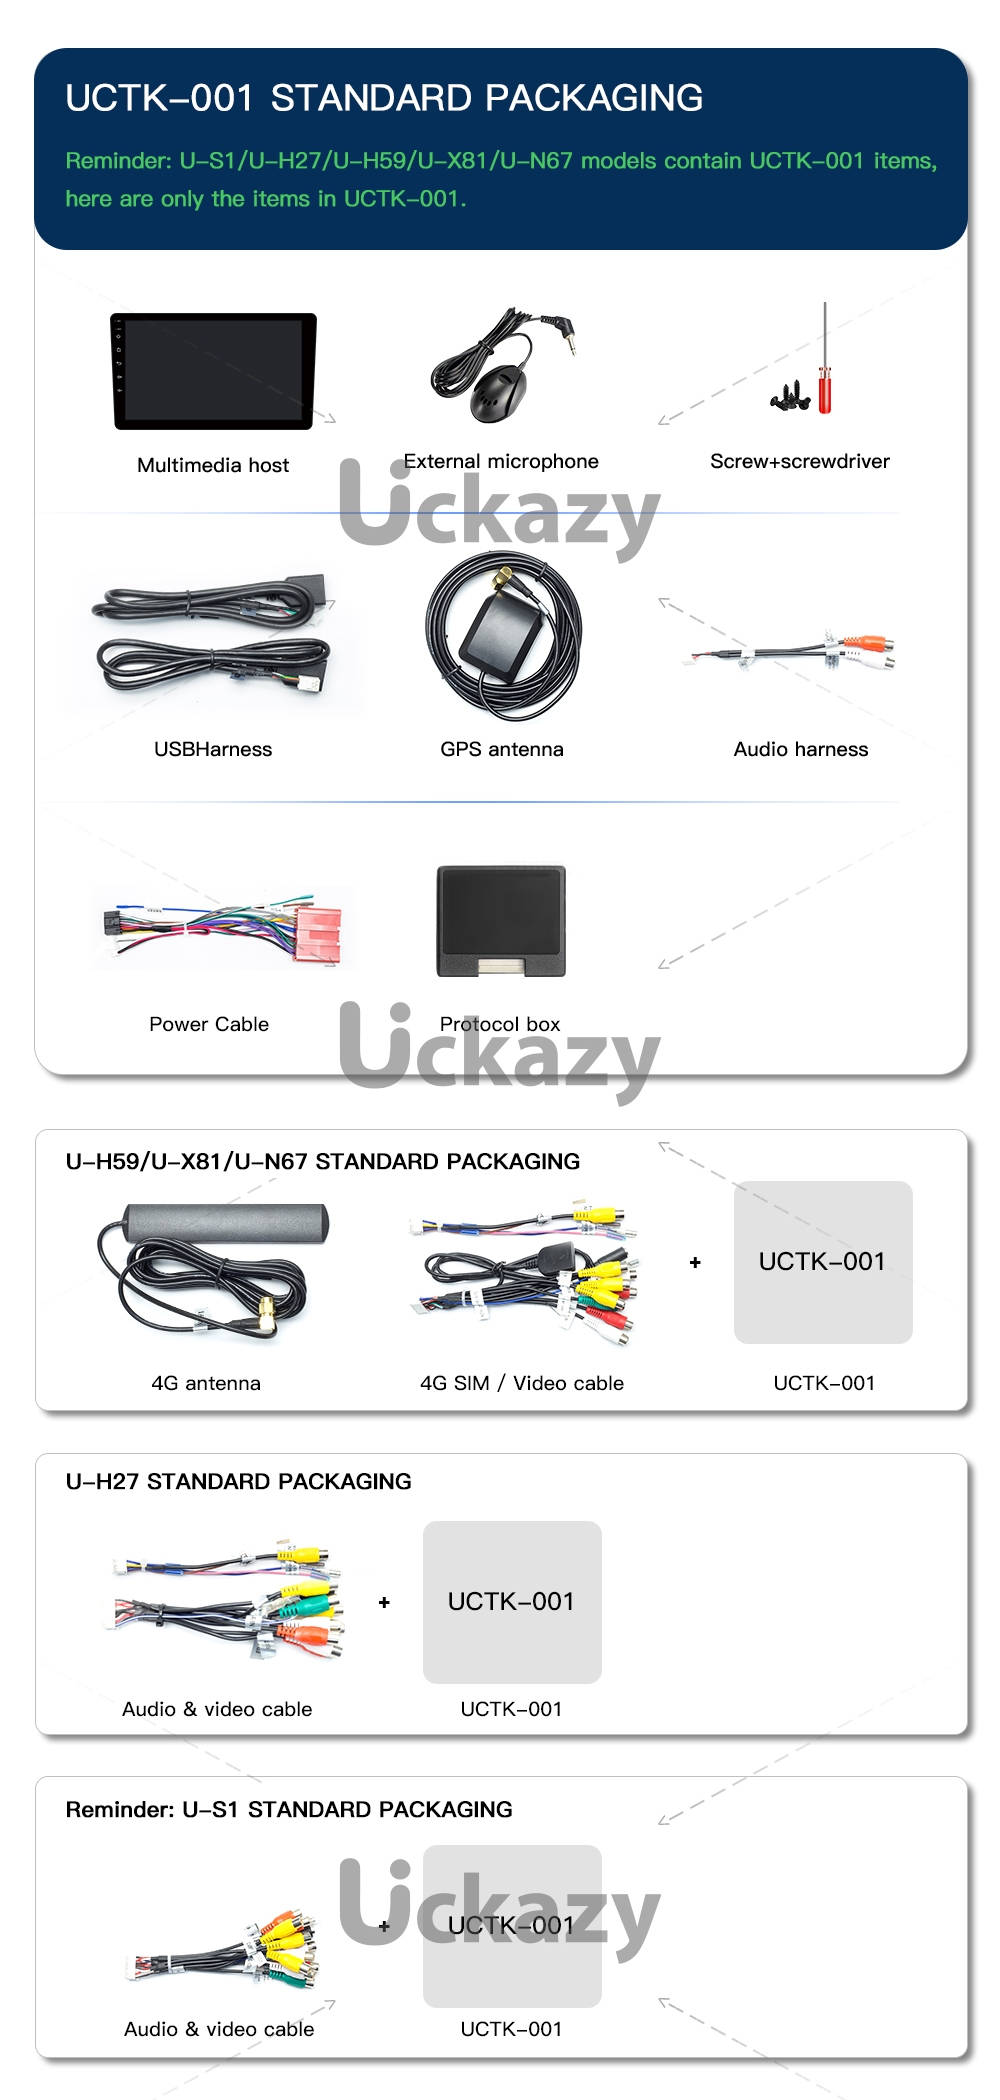
Just (2023-5-28) got the new Android 11 CARPLAY head unit installed in our red Mazda 3 // 1.3 BK(2004).
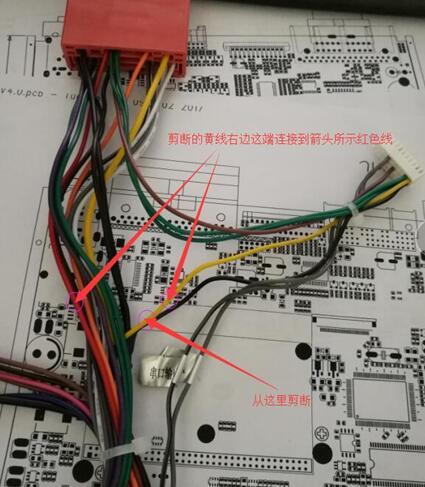
All went very easy, except the Steering wheel controls. Turned out I had to cut the delivered control connectrion for SWC2 that went into the OBD control module and reconnect this directly between the head unit and the Mazda’s big connector. Just like with our previous Android 6 head unit, which in the end got so slow that we decided to toss it for a new one.
The new one is a very fast Andoid 11, octacore 1,6 Ghz 6GB/128GB device, we expect it to outlive the car this time!
We use it mainly for navigating and the new head unit has 2 IMEI’s so we can install a simcard or just share internet with our phone. We also have android auto which can be sort of nice, although we’ll probably not use that.
The FM radio is very good, and the amplifier as well.
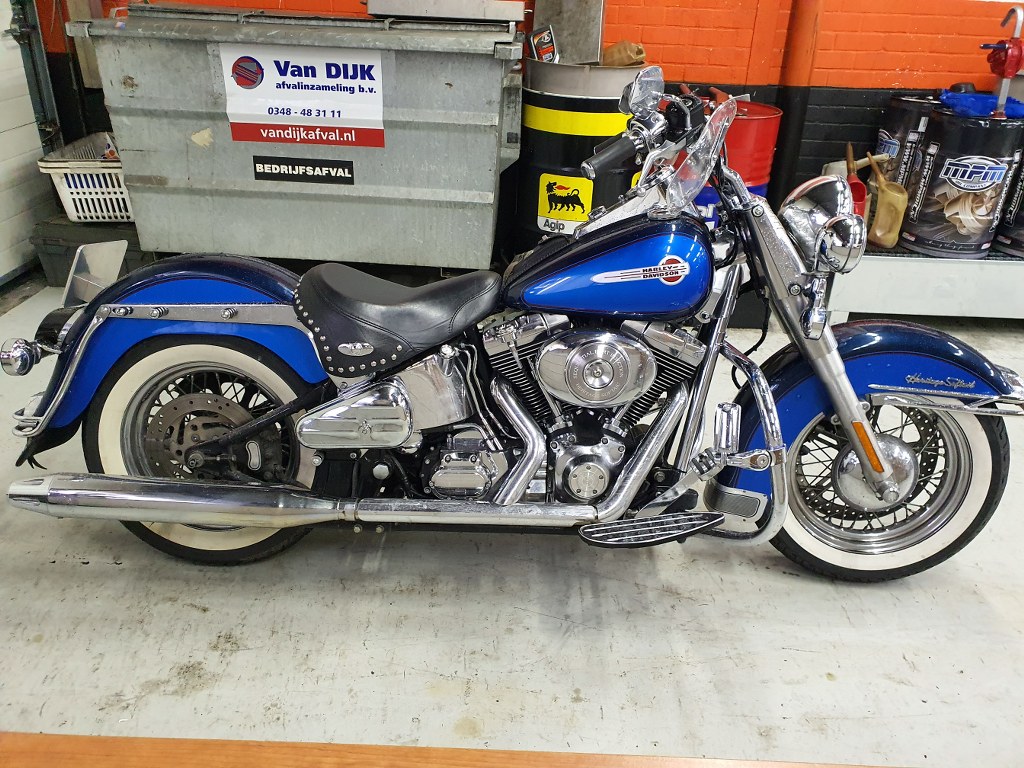
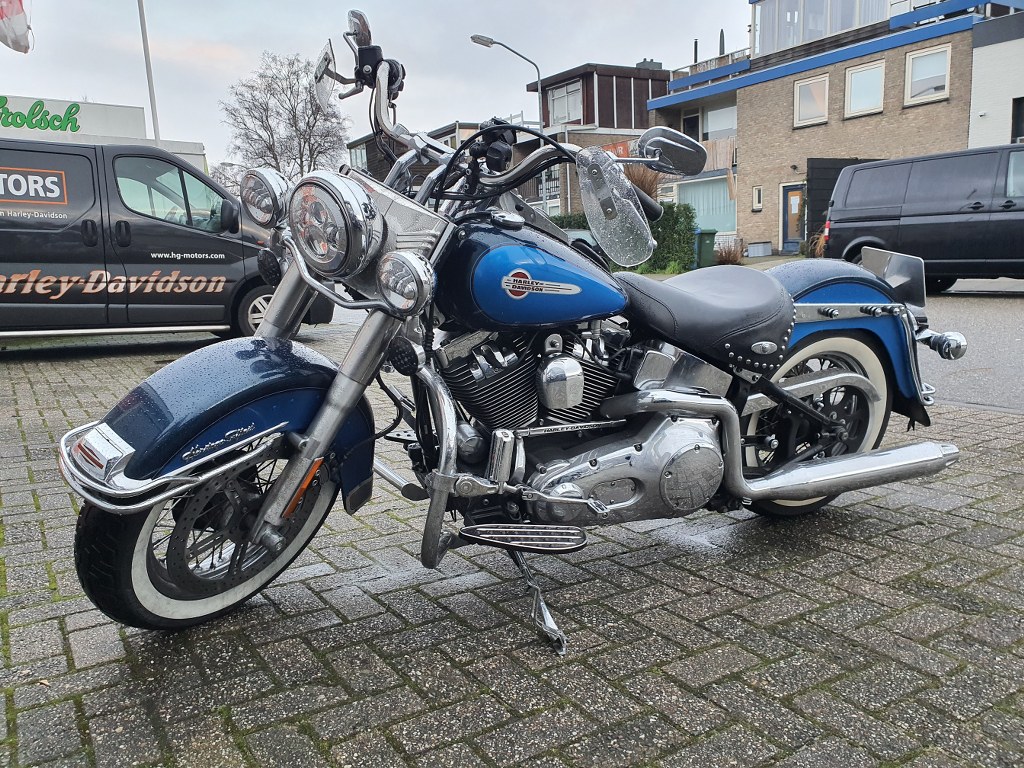
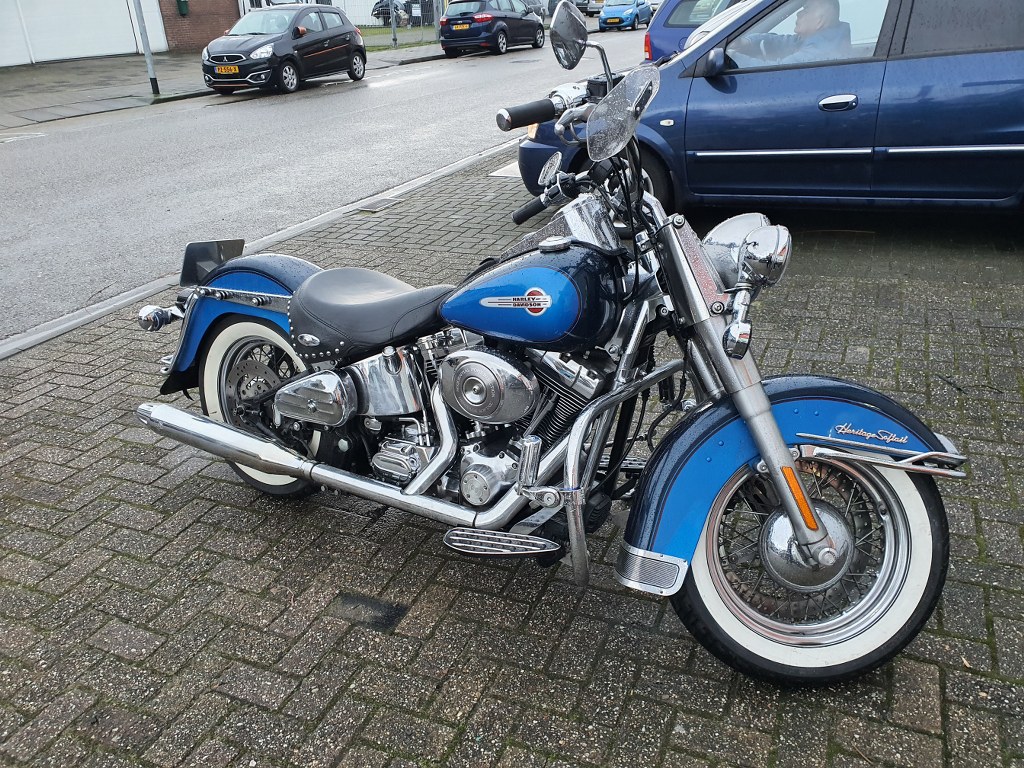
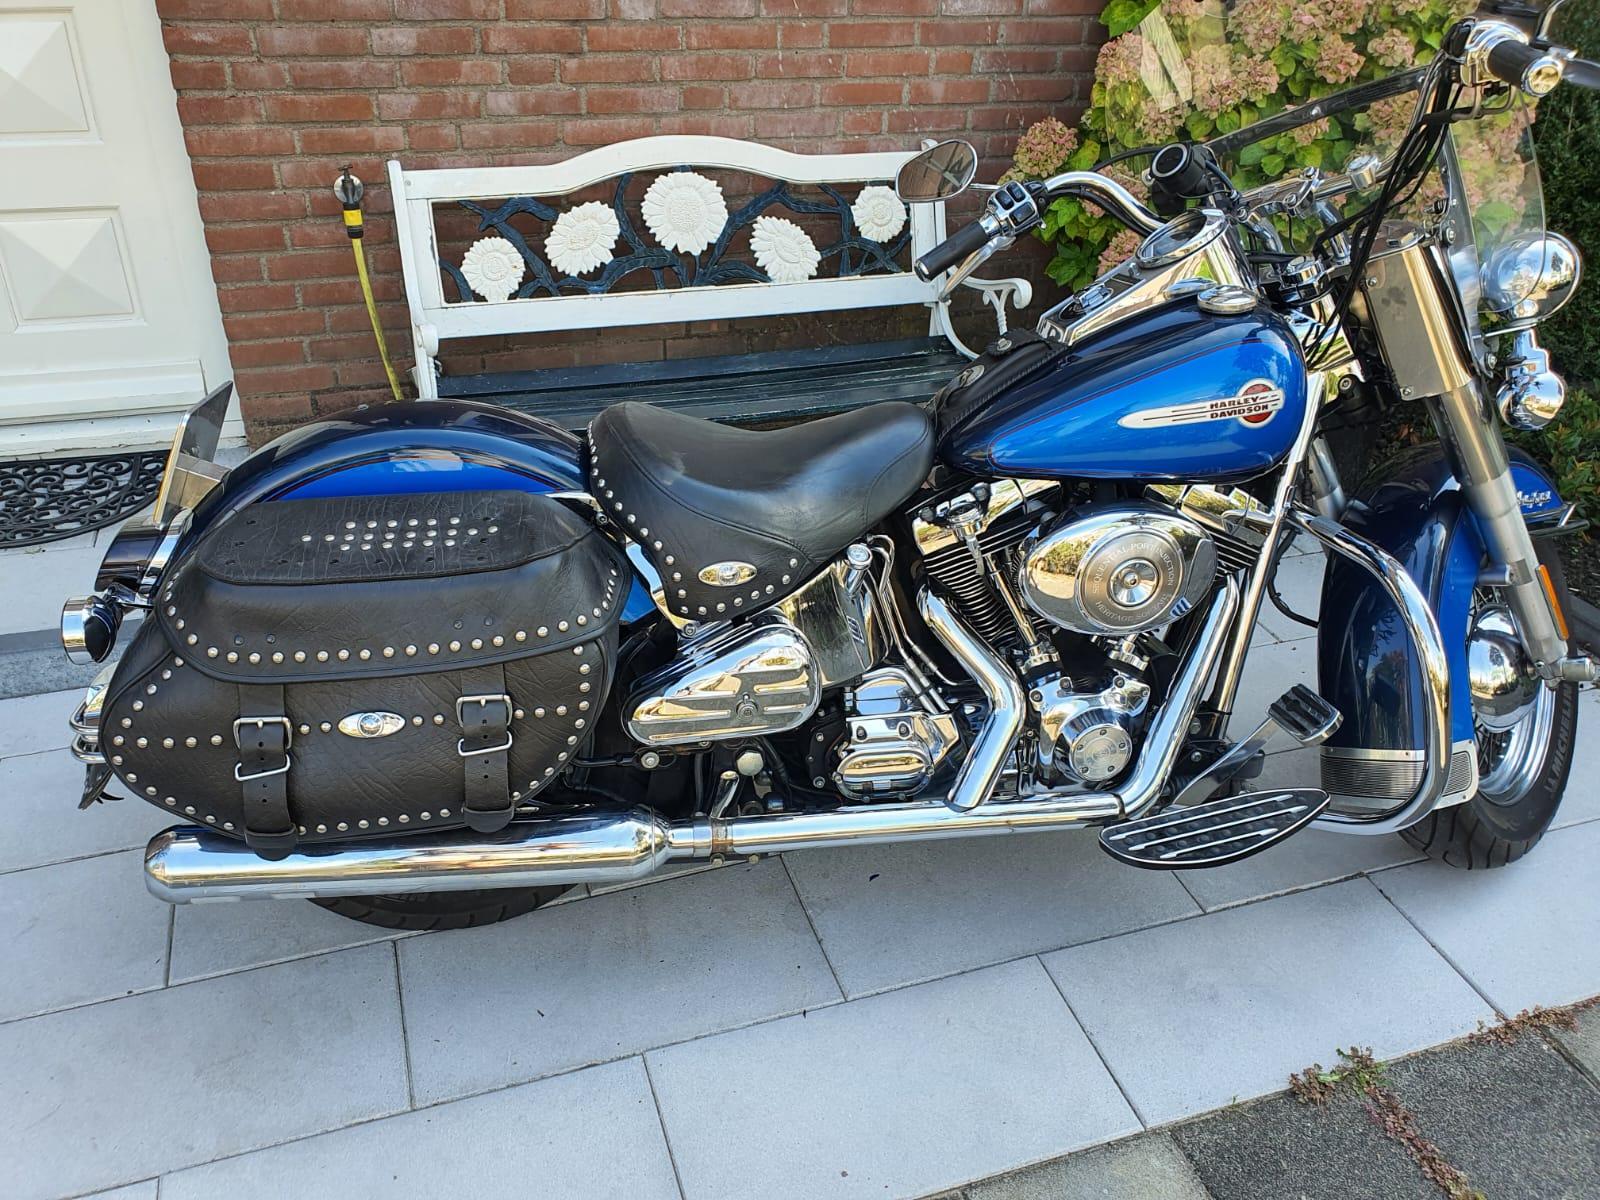
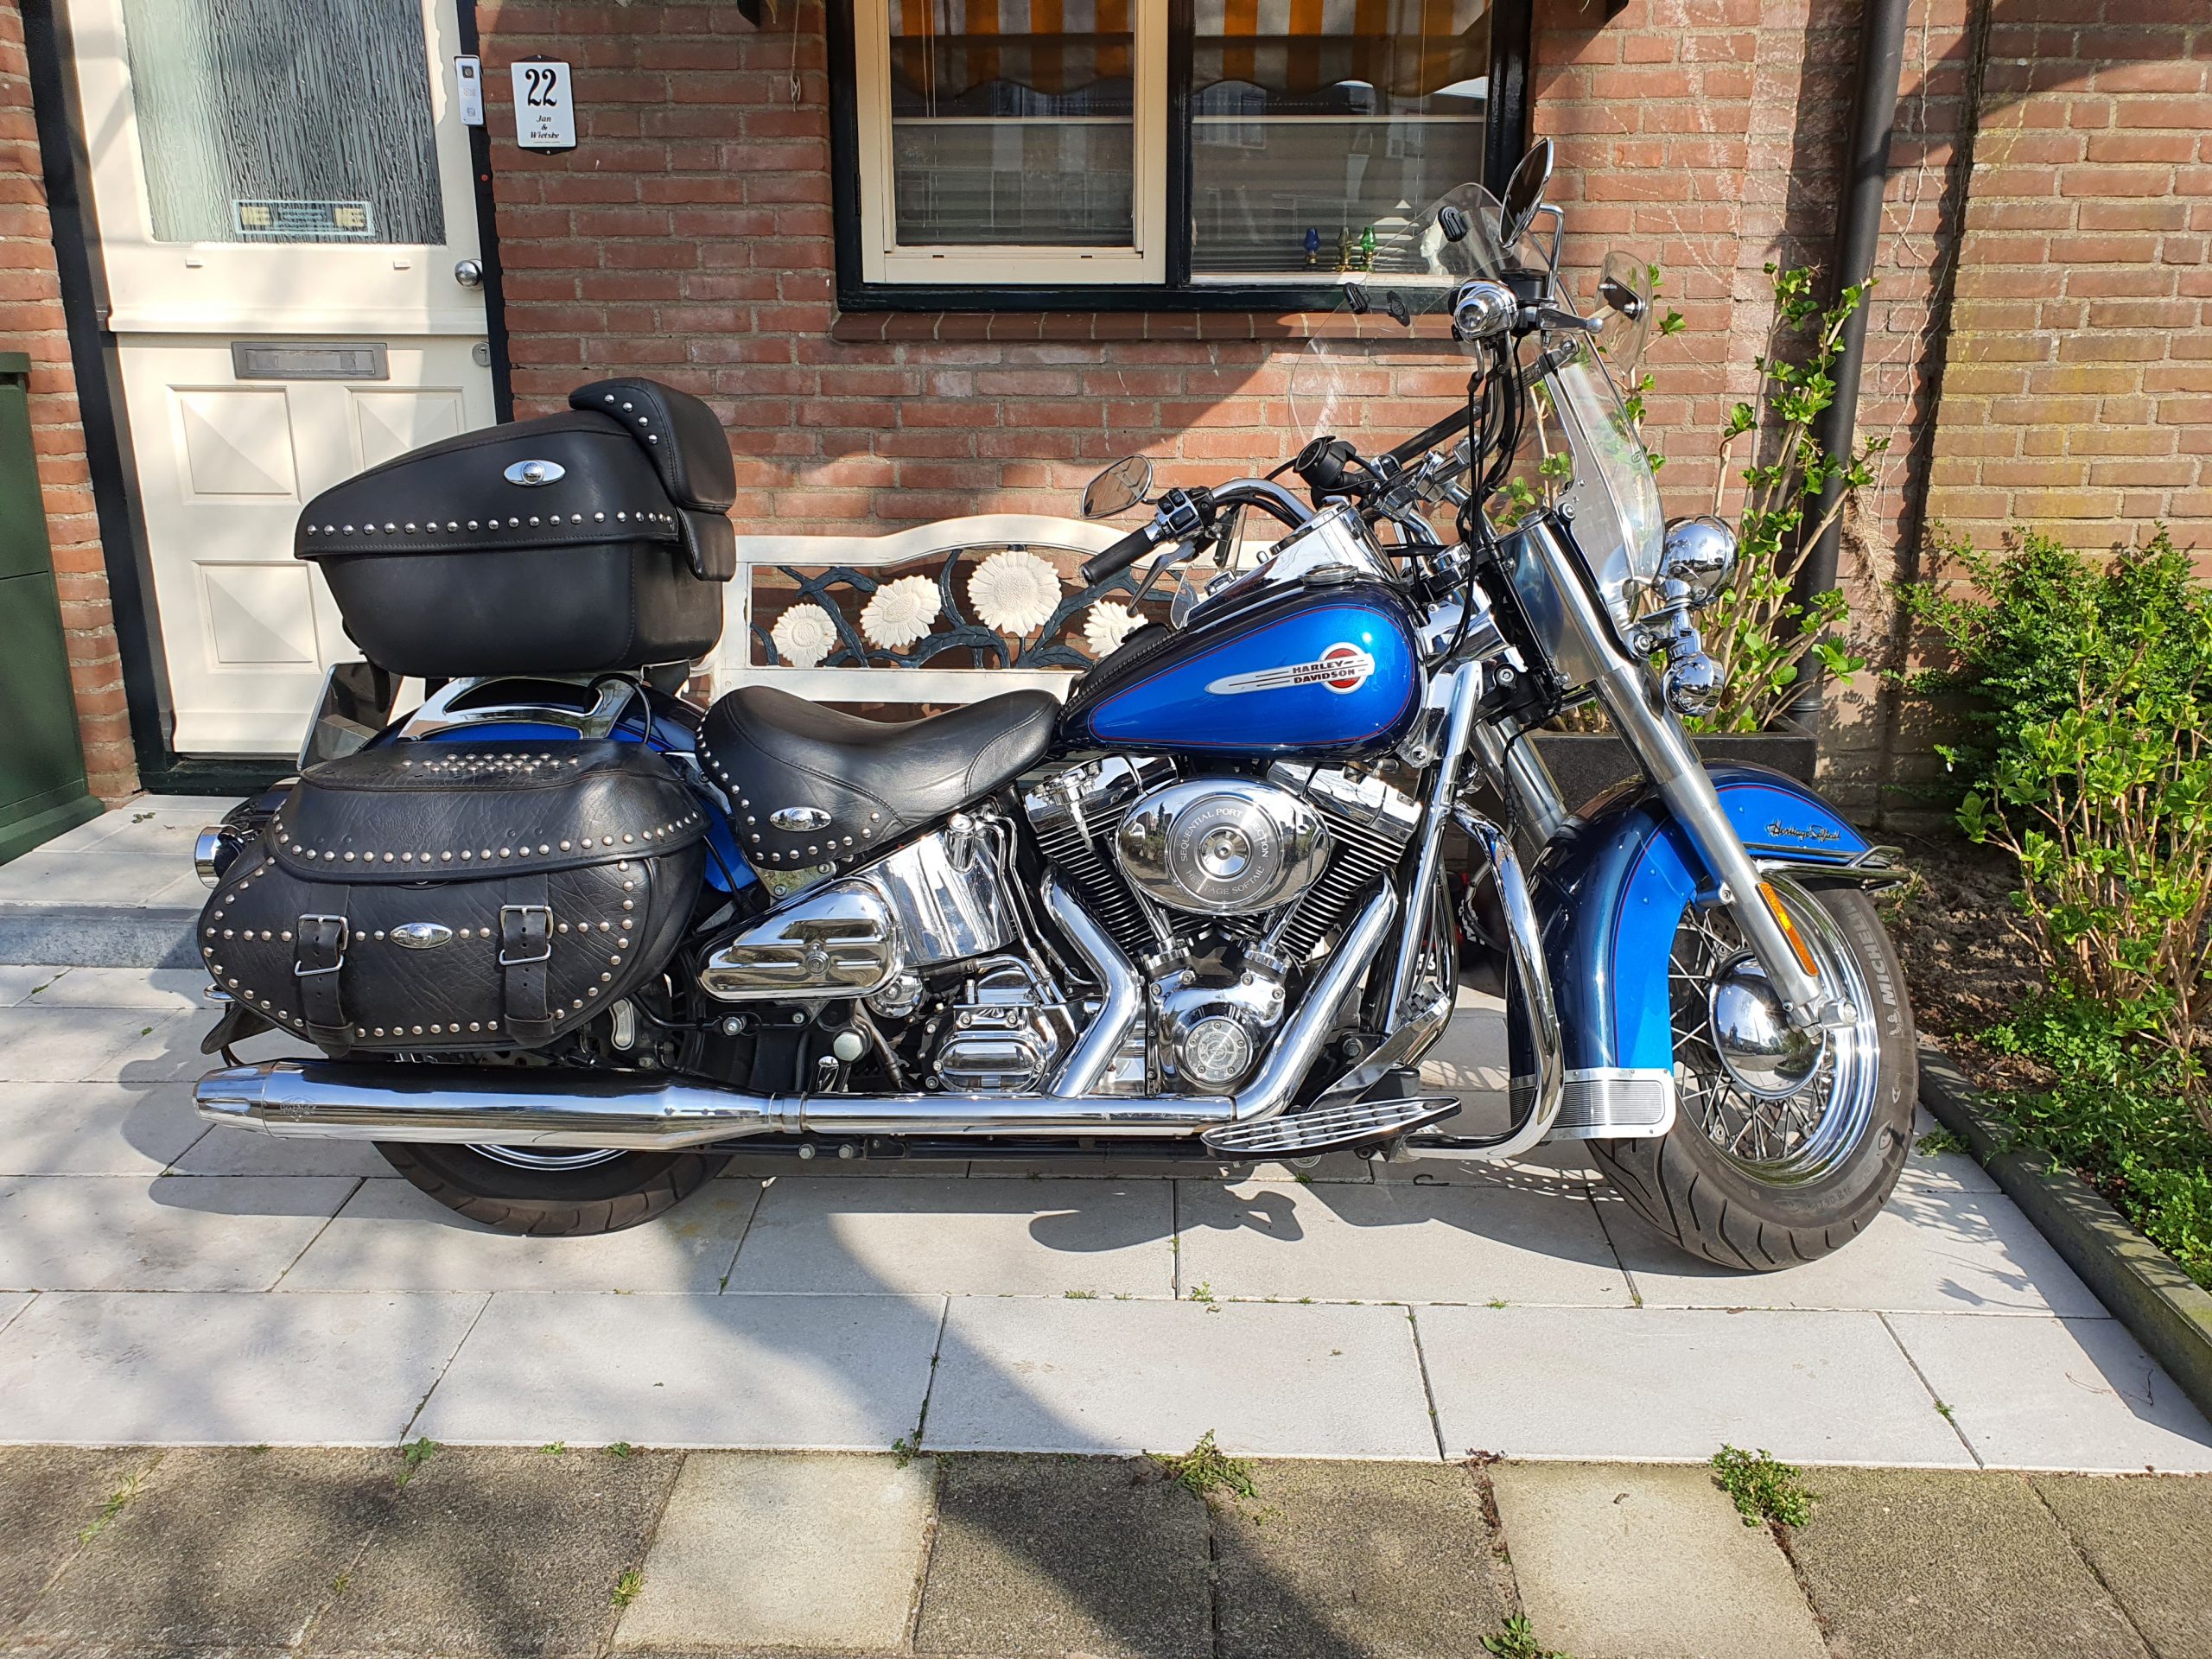
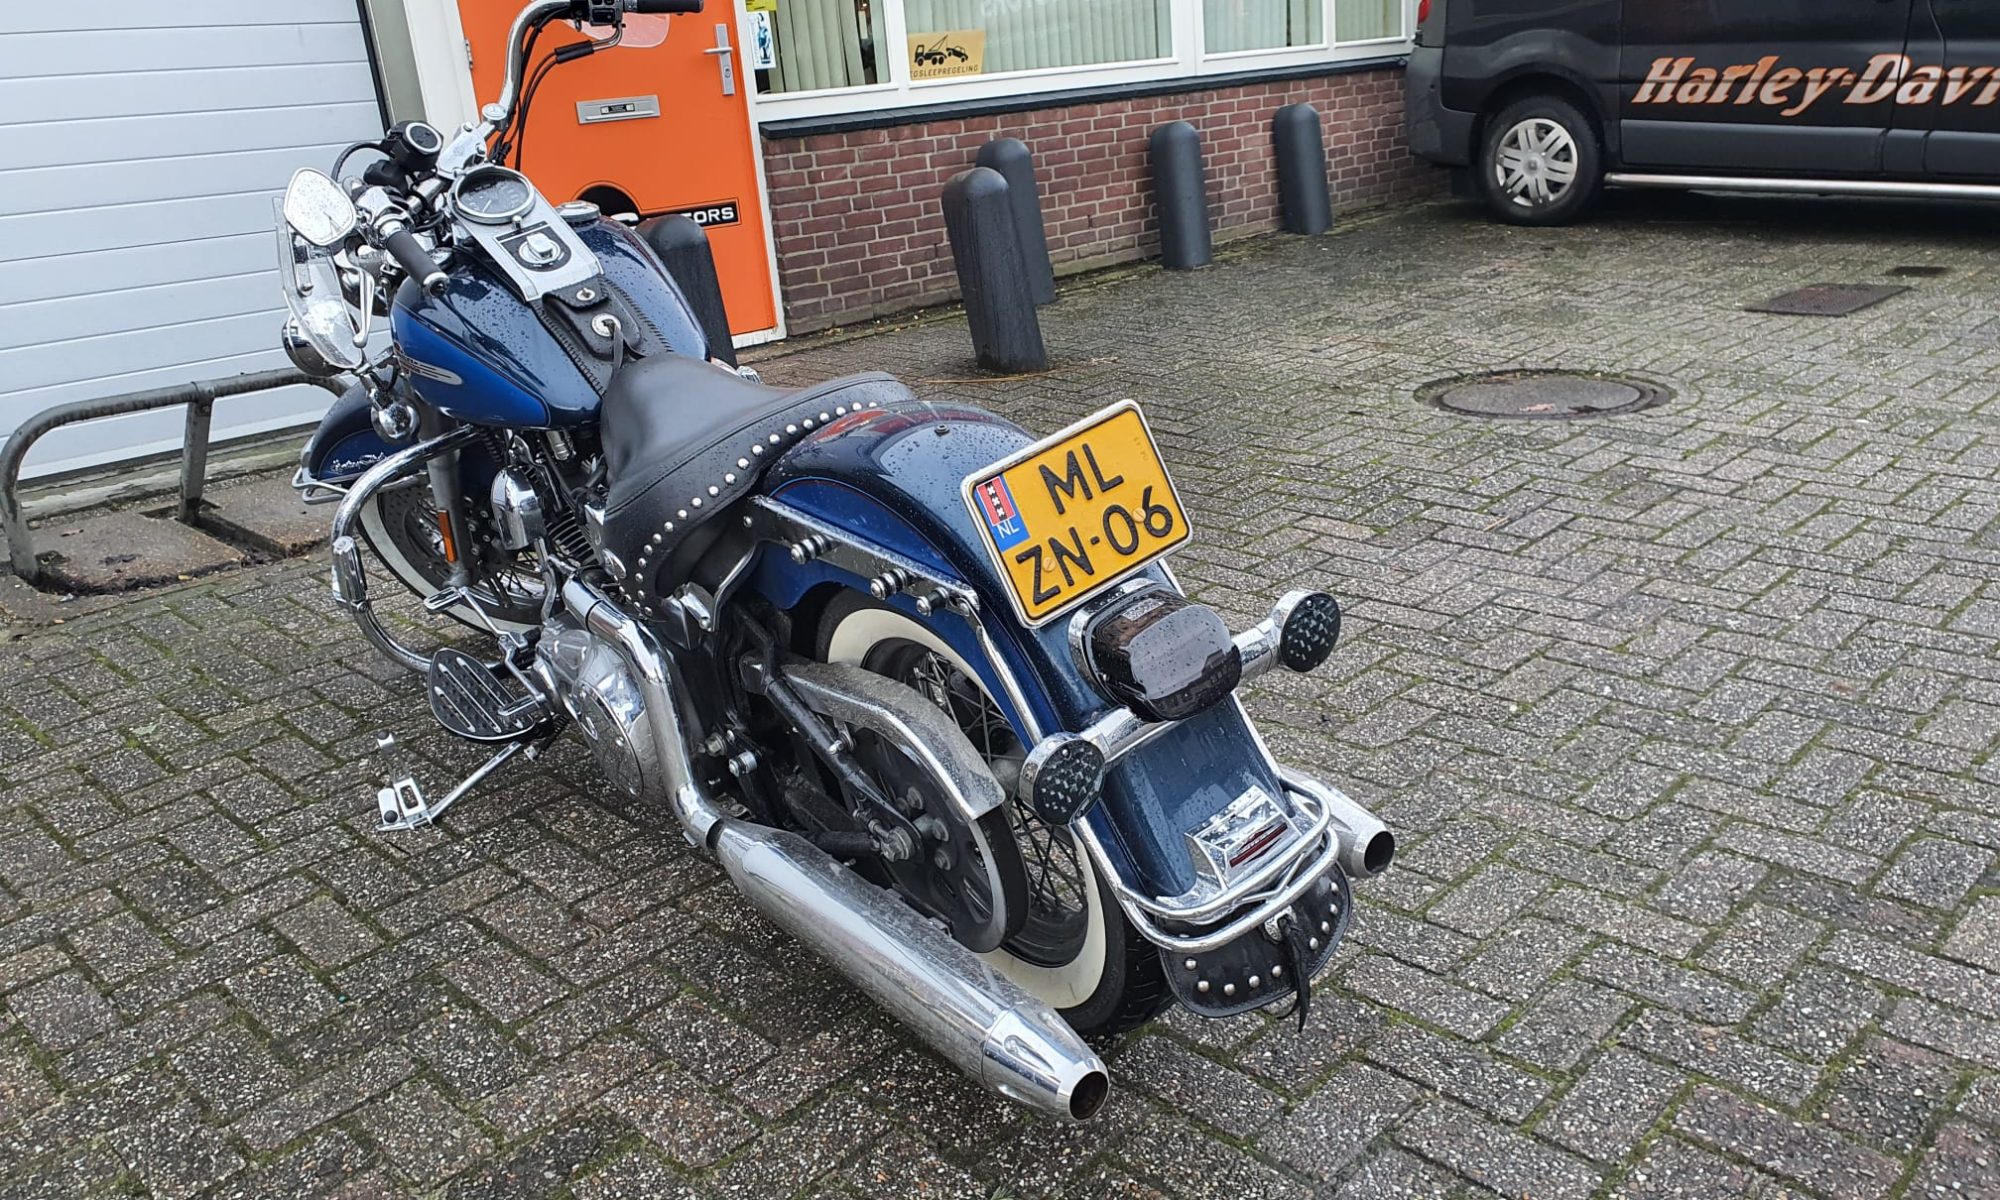
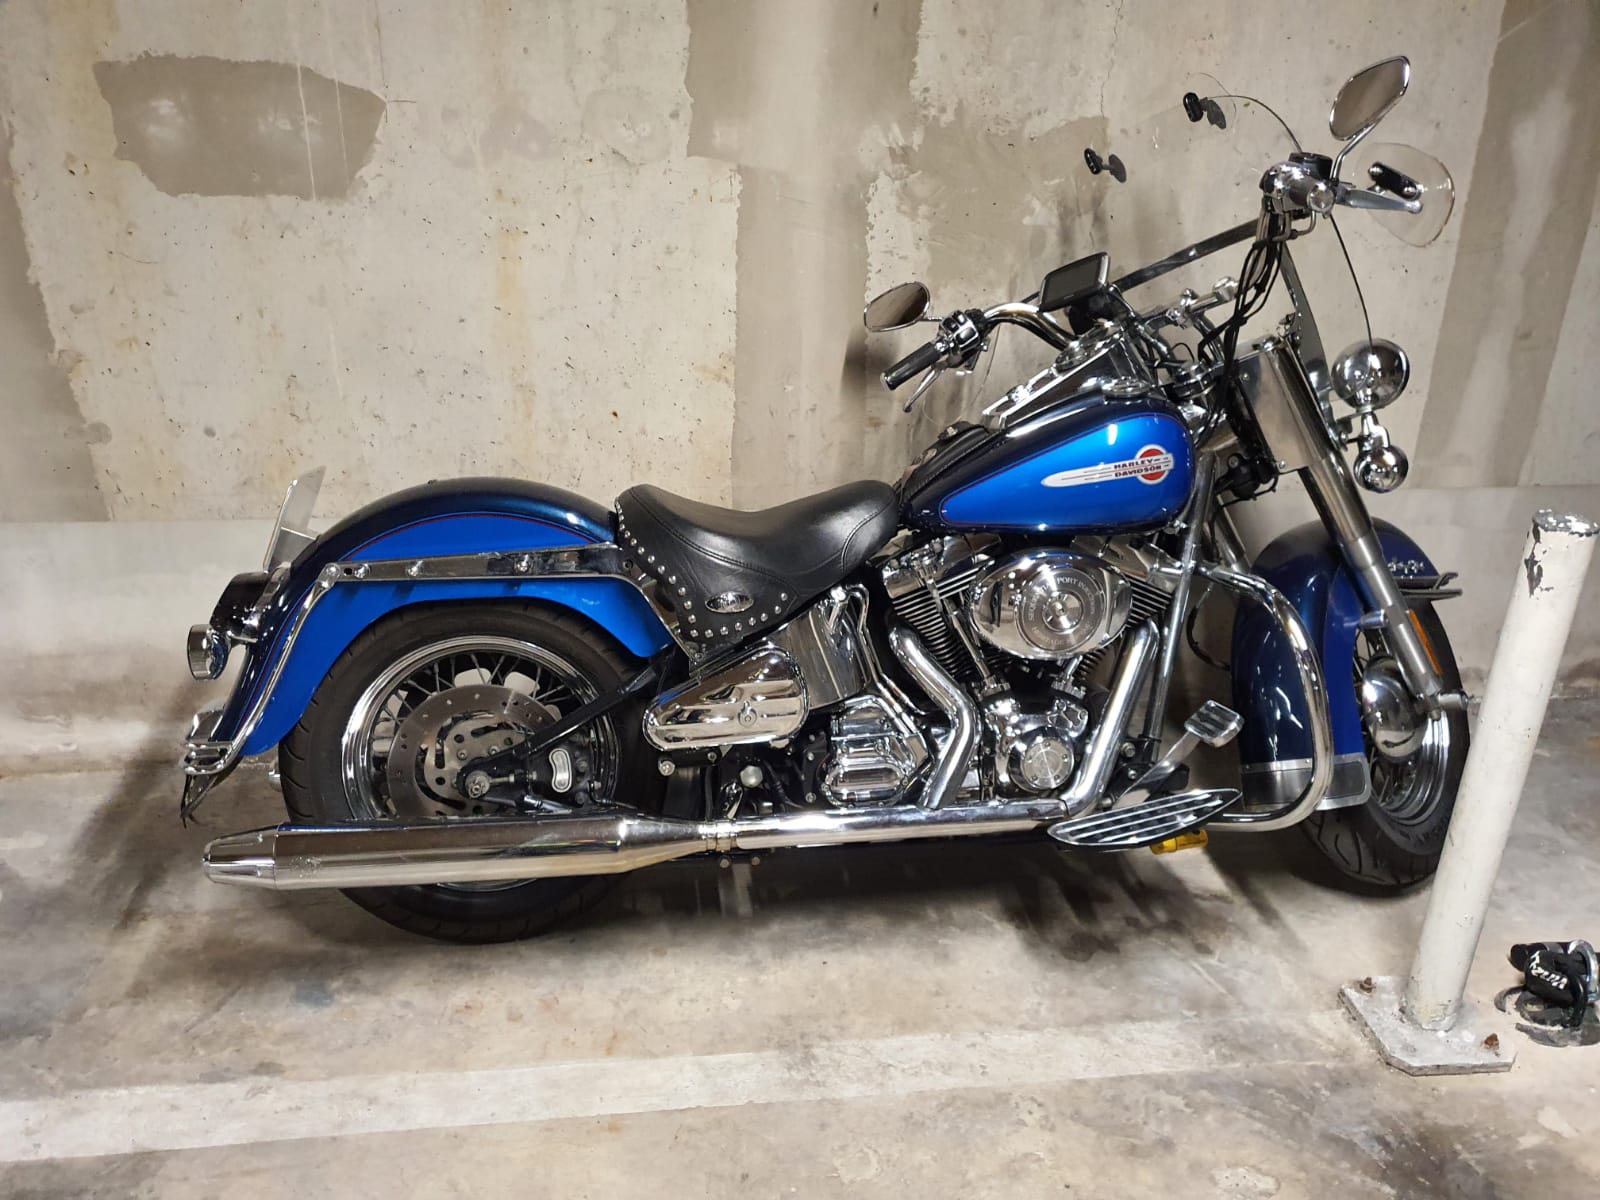
My 2004 fuel-injected HD Heritage is all original, except for the tyres. I decided to get Michelin’s instead of the HD whitewall ones, to get better grip during the rainy days..
The Heritage as I drive it presently
And- Next to the original saddle bags, I added an original Road King top case, also full leather. Top case and saddle bags are easily detachable with original HD detach kits. I added locks to all 3 cases.
The exhausts are also HD, but not as it came from the factory. Due to noise regulations in Europe, I installed extra baffles, full-length in both pipes.
And- the original primary frontwheel has been changed to a bit larger so I can drive on the highway with a bit less rev’s.
To get a bit better braking I exchanged the front brake disc for a larger one.
The lights all around are original HD LED.
Original toolbox was also an aftermarket add-on I installed.
I also exchanged the floorboards for a bit less wide ones, due to scraping the originals over the street now and then. We have quite a lot of roundabouts in The Netherlands and the softail design in combination with my drive style caused unexpected contact between the floorboards and the concrete. I did get the softail dampers (this 2006 version has 2 in parallel) at the highest possible position so the rear swing is a lot stiffer and this gave some additional much needed height…
The bike now has 52.000 Km’s on it, and I wil be driving it a bit more the coming years.
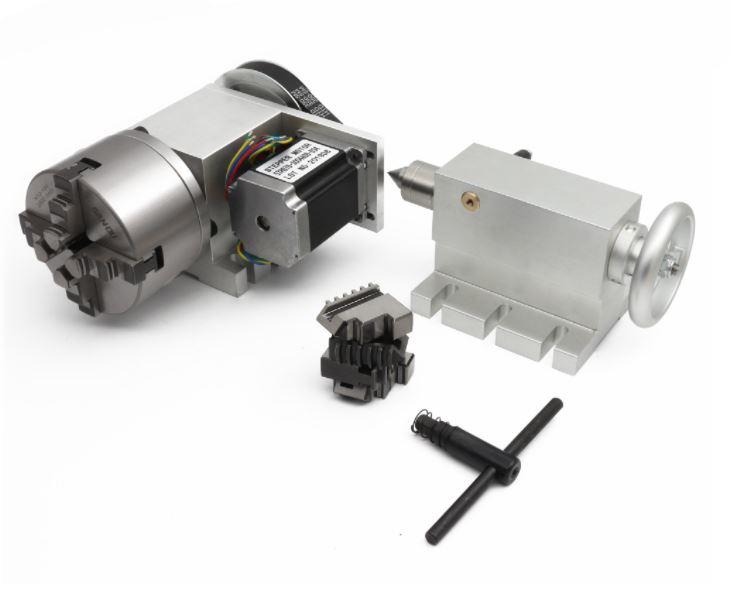
The Estlcam software is a very well working all-in one solution for CNC machines.
The software has the capability to work with many hardware providers of driver boards like f.i. a simple Arduino mega.
BUT- working with add-ons is limited. The Ramps shield configuration is supported but not with individually homing of any axes. However, if you let Estlcam program the firmware of the Arduino Mega, everything works out of the box. BUT-you will need to connect all the wiring directly to the Mega.
In my search for the best working and most simple solution for driving the Indymill, this Estlcam configuration will be tested as well.
I am still searching for a shield that -in combination with Estlcam and an Arduino Mega or Due- will do everything I want/need like inclusion of 6-7 TMC2209 drivers on 24-48 Volts, dual axes on X and Y, dual endstops (high and low), mist/flood switches, LED WS2812 steering, emergency switches/power cuts, spindle RPM and on/off control, et cetera.
The MPCNC shield looks promising but there are others available, also.
The Tillboard shield is also nice, however I am missing some driver positions for my needs.
One of the nice things of Estlcam is that it will also work with all of the parallel and USB CNC boards that are available like all Chinese clones. I have some laying around and tried these, they all work well providing you will set it up correctly within Estlcam.
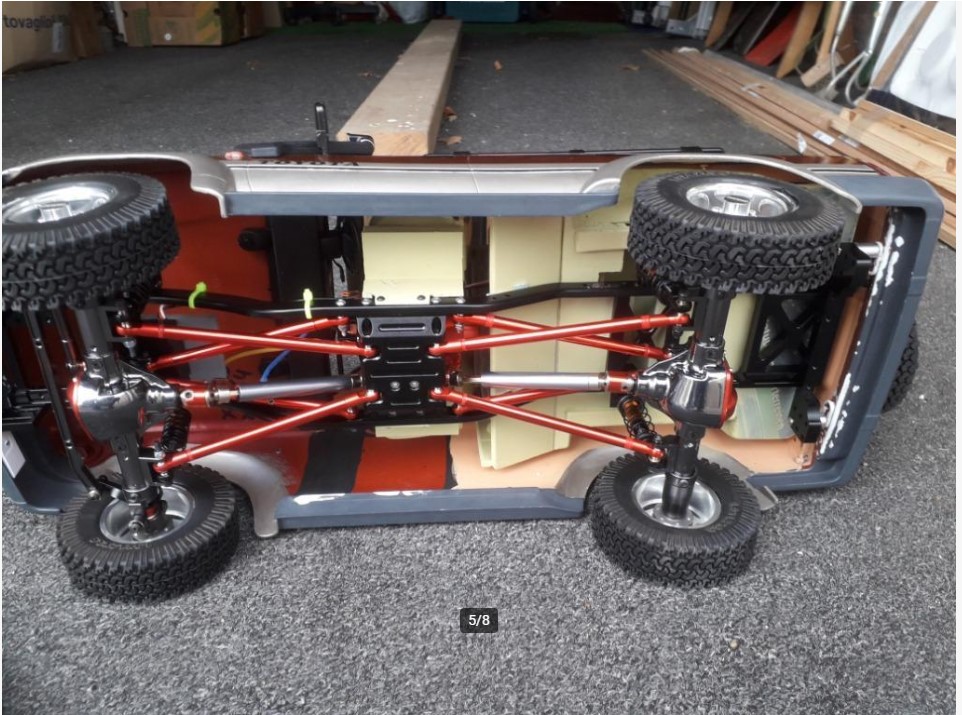
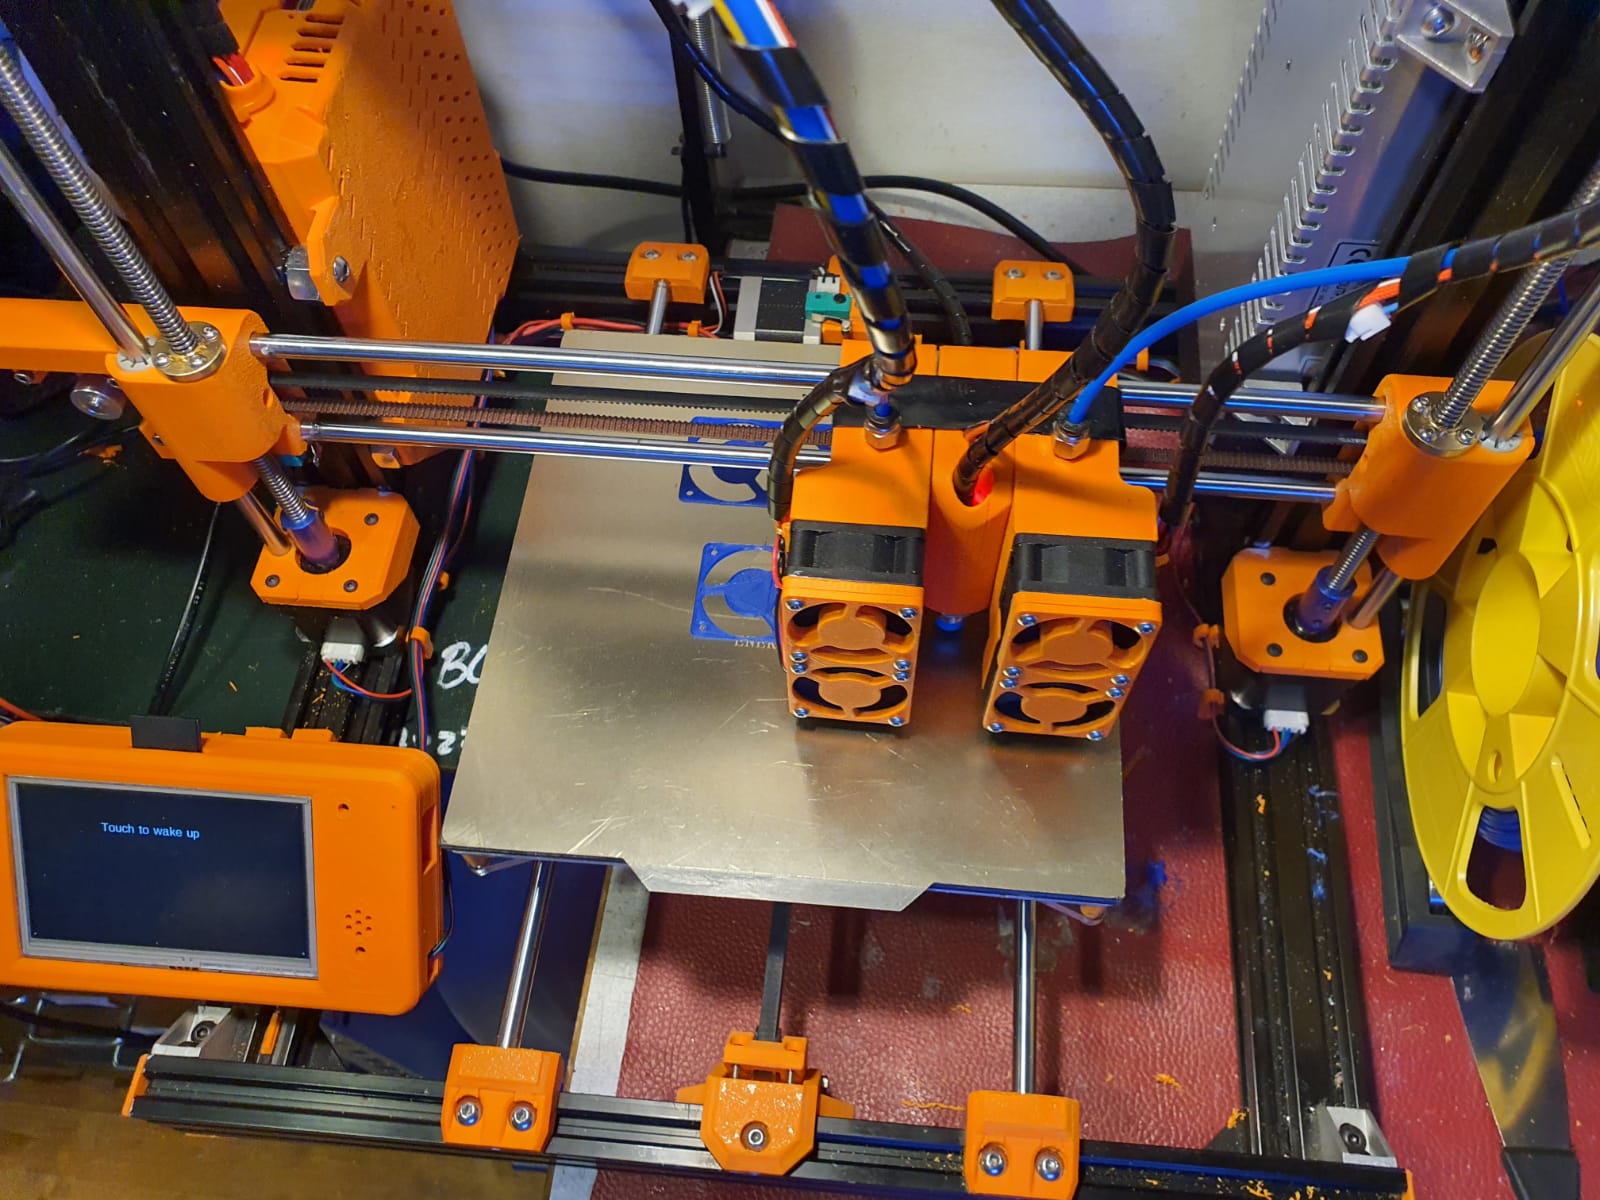
Above: Our Dual Bear I3 dual color 3d printer with independant carriages, remotely managed by DUET’s webinterface
The Octopi solution works with a Raspberry PI, and on it the Octopi firmware. The device you set up on your wifi and you connect it to your 3d printer’s USB. Then you have a web interface on the Raspberry’s IP address that allows you to manage all the things about your connected printer. All the settings like temperature, mesh, and basically anything else you can manage through a local LCD. And- you can upload your jobs to the raspberry and start/manage and adjust temperature and such. What I really like is that you can connect a raspberry camera and follow your jobs.
The Duet I find in use and possibilities more pleasant. because in addition to everything that the octopi can, you can also modify the system files online. And printer updates can do, directly in the firmware. Moreover, you do not need a separate box because the Duet2wifi already has everything on board.
The disadvantage is that you can’t attach a camera to the Duet. There is a possibility em an IP camera to integrate into the DWC, Duet’s web based remote app. And such a wifi IP camera is easy to make yourself with a cheap esp unit.
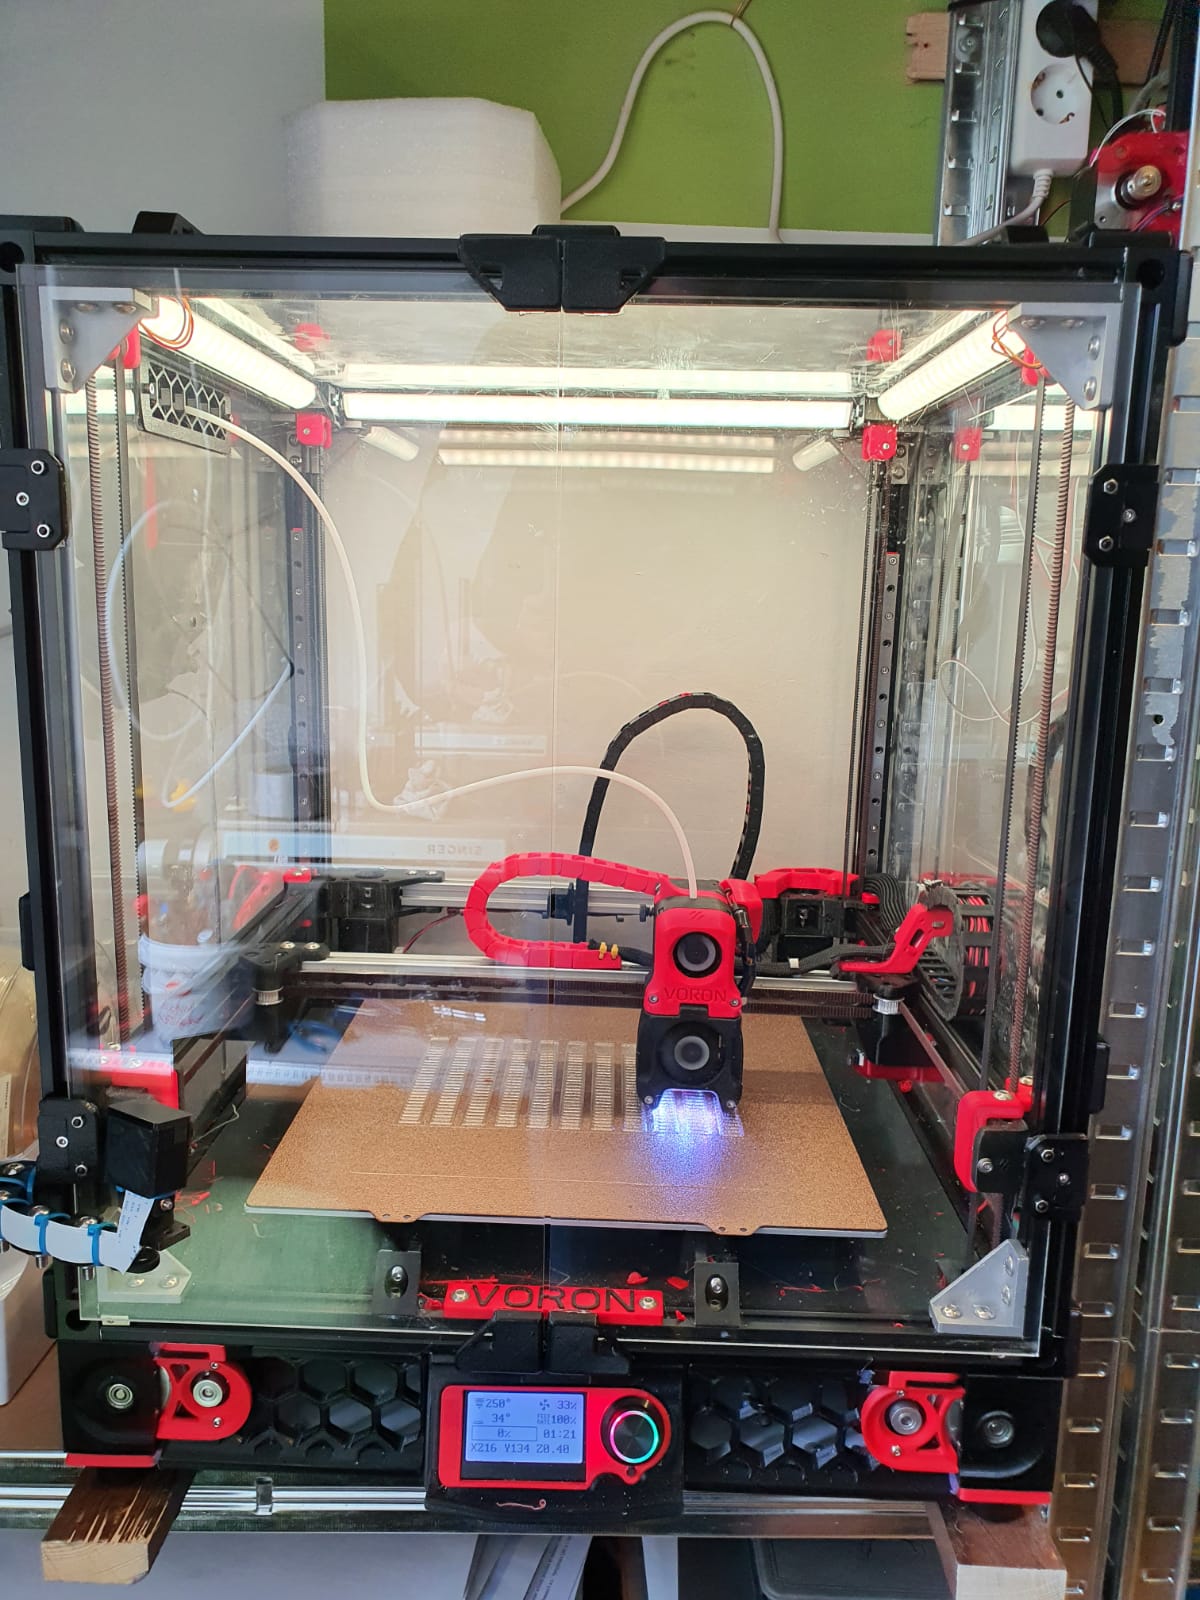
Above: The Voron 2.4, dimensions 300x300x220 mm
Prusa Bear I3plus with mods dual Z axis control
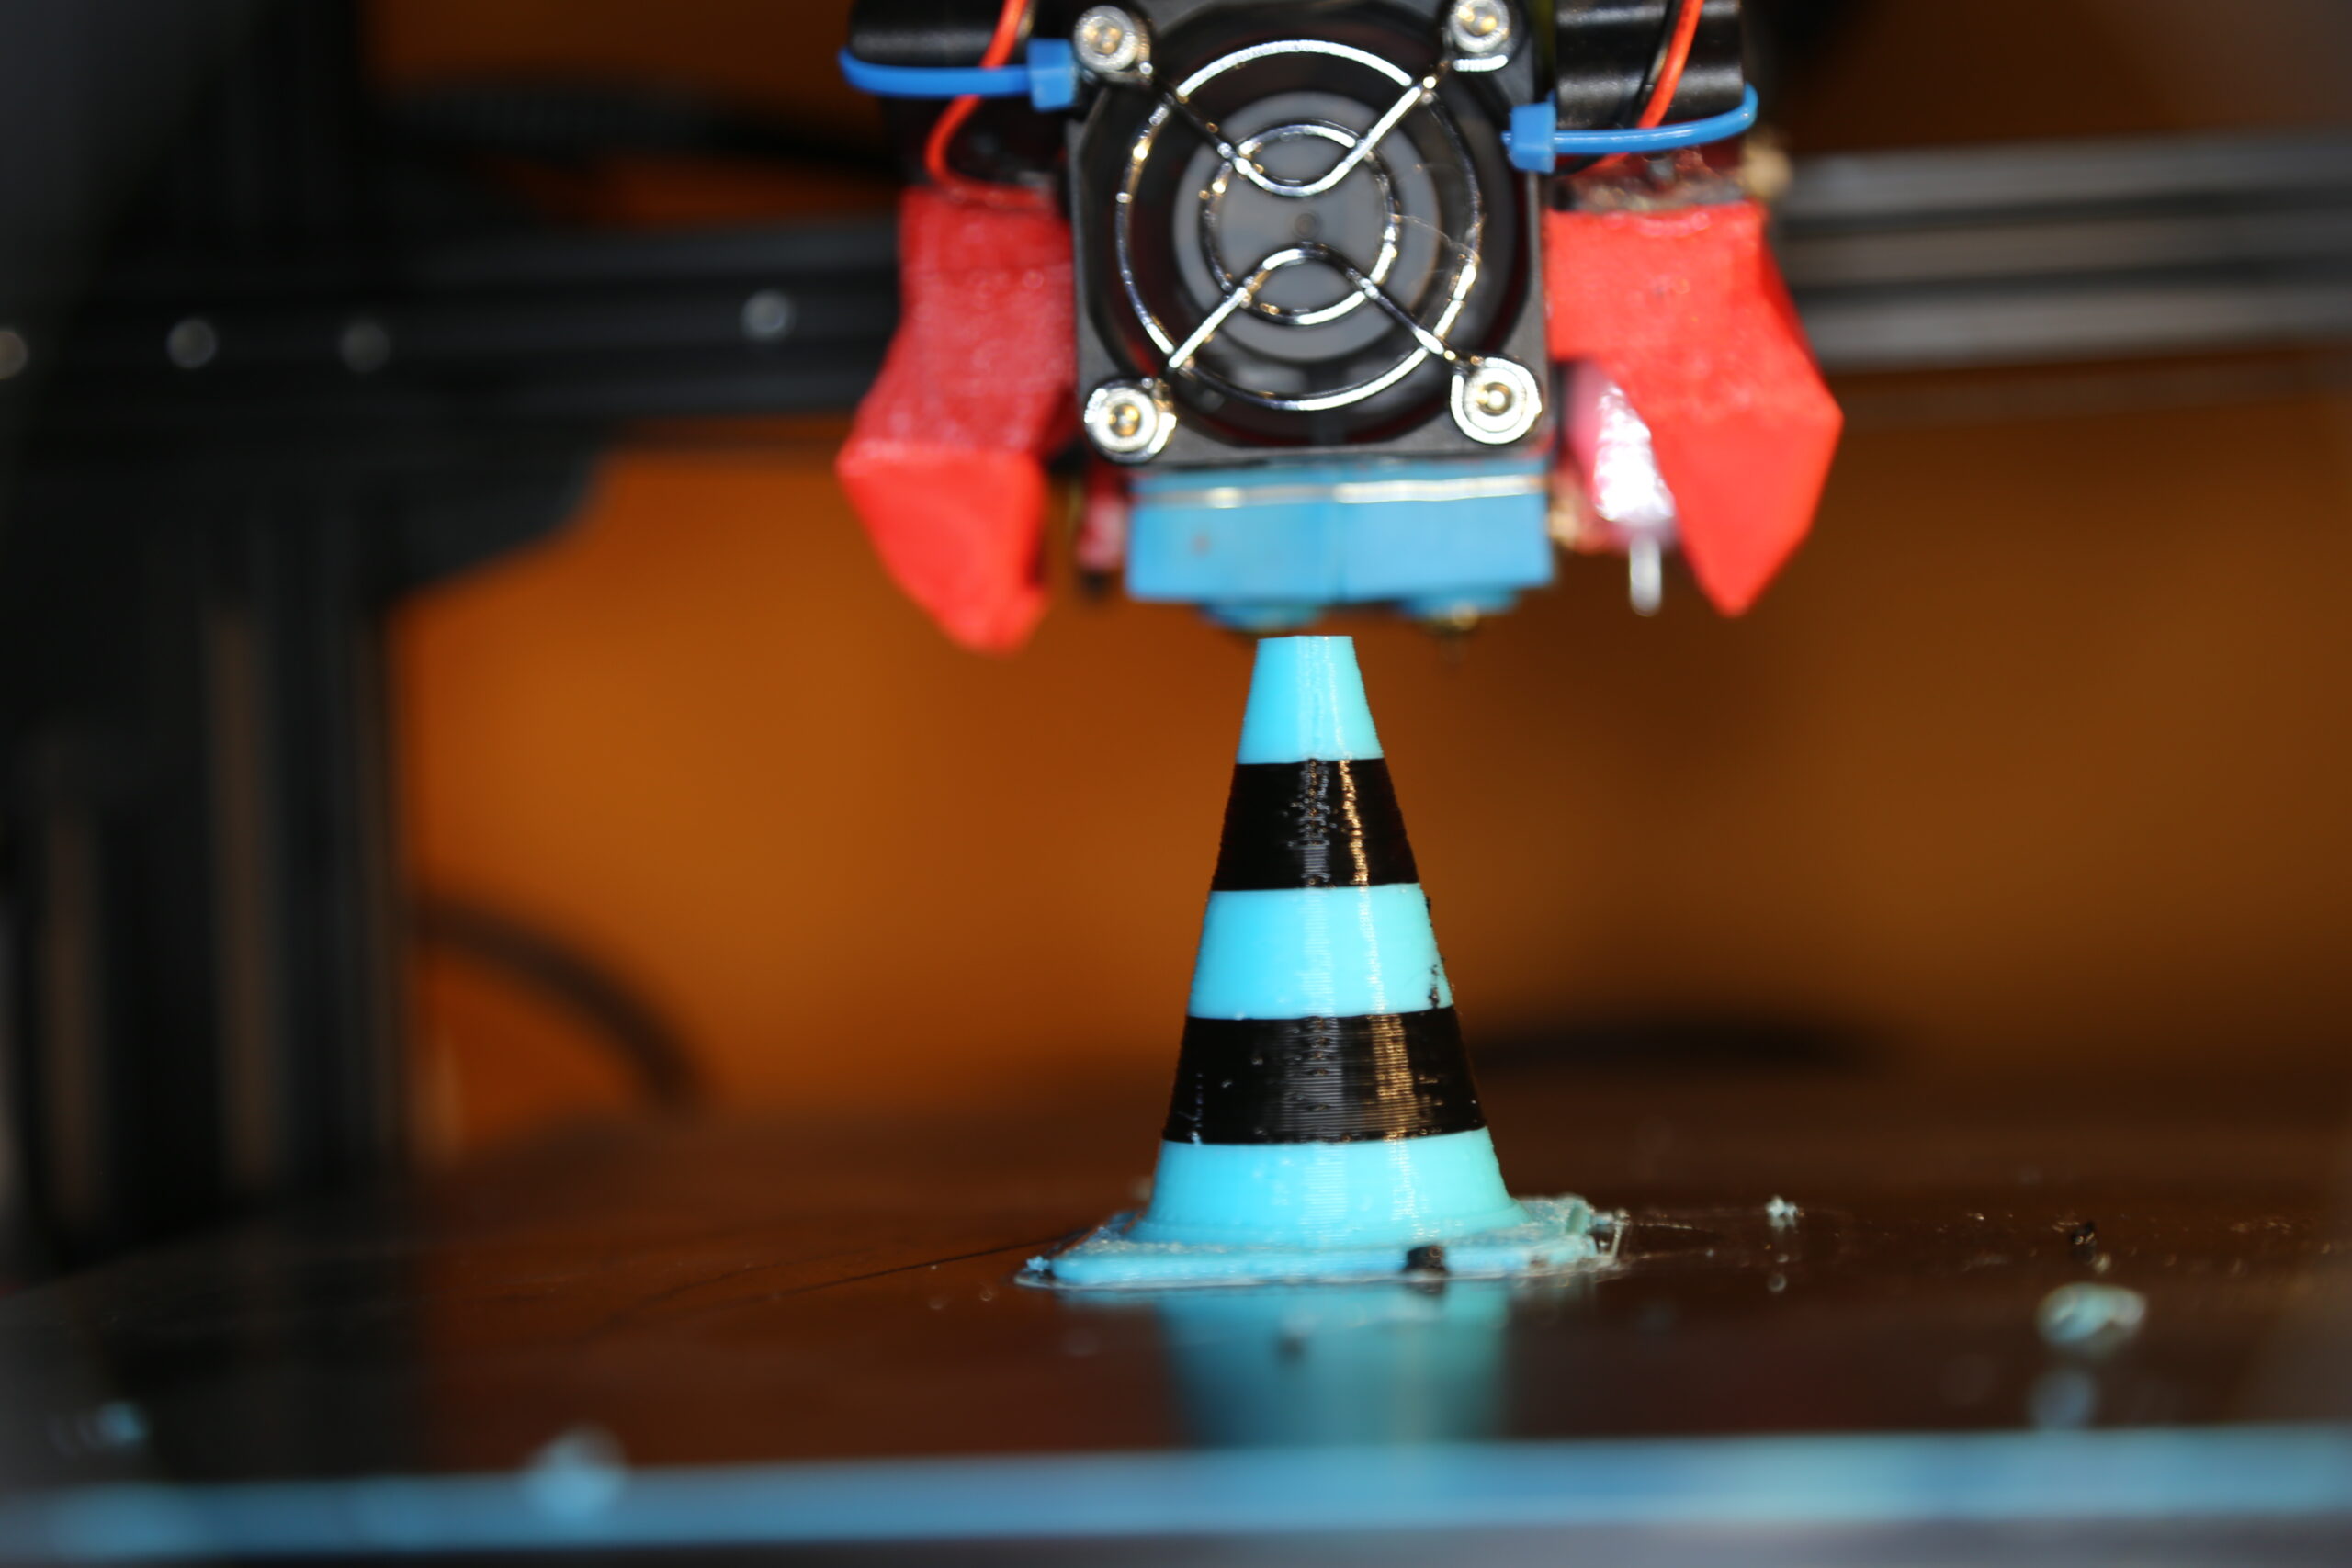
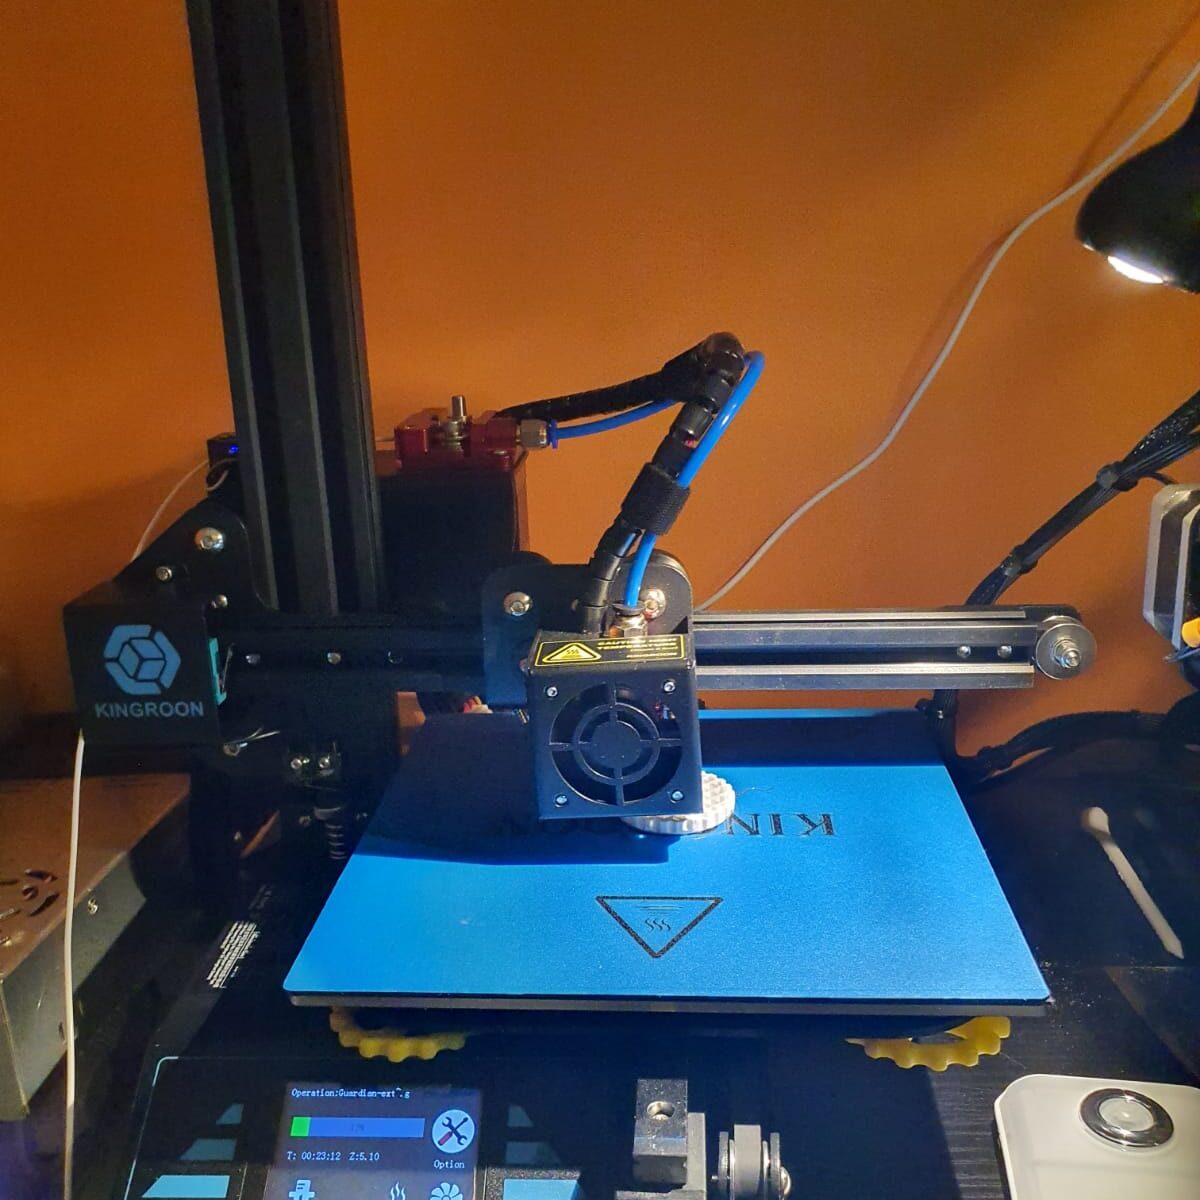
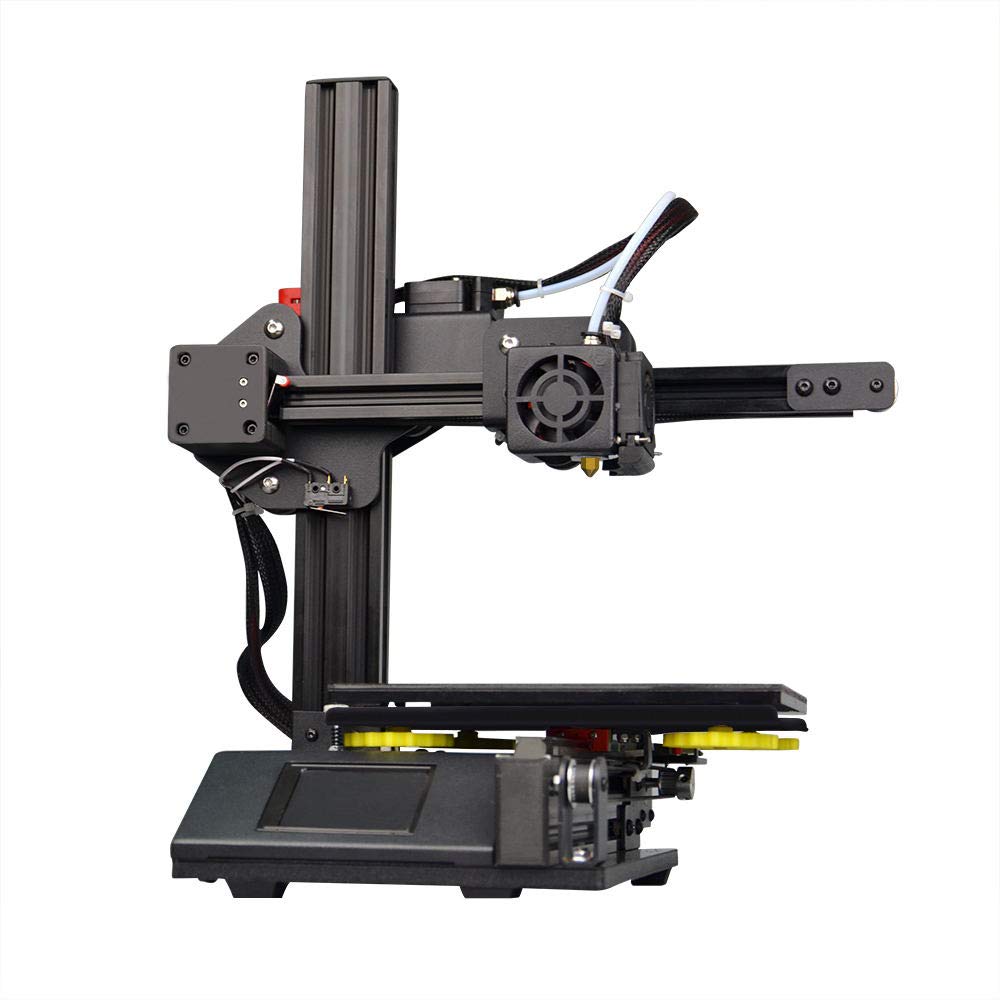
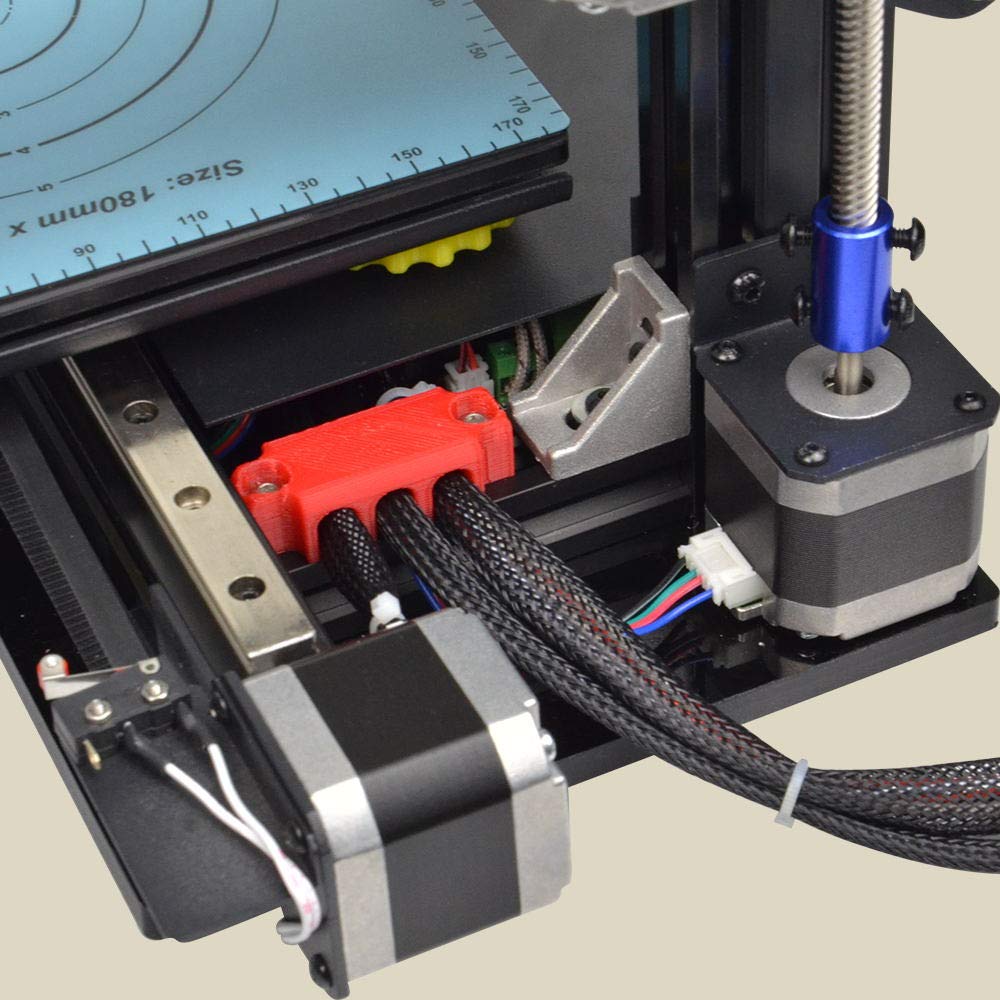
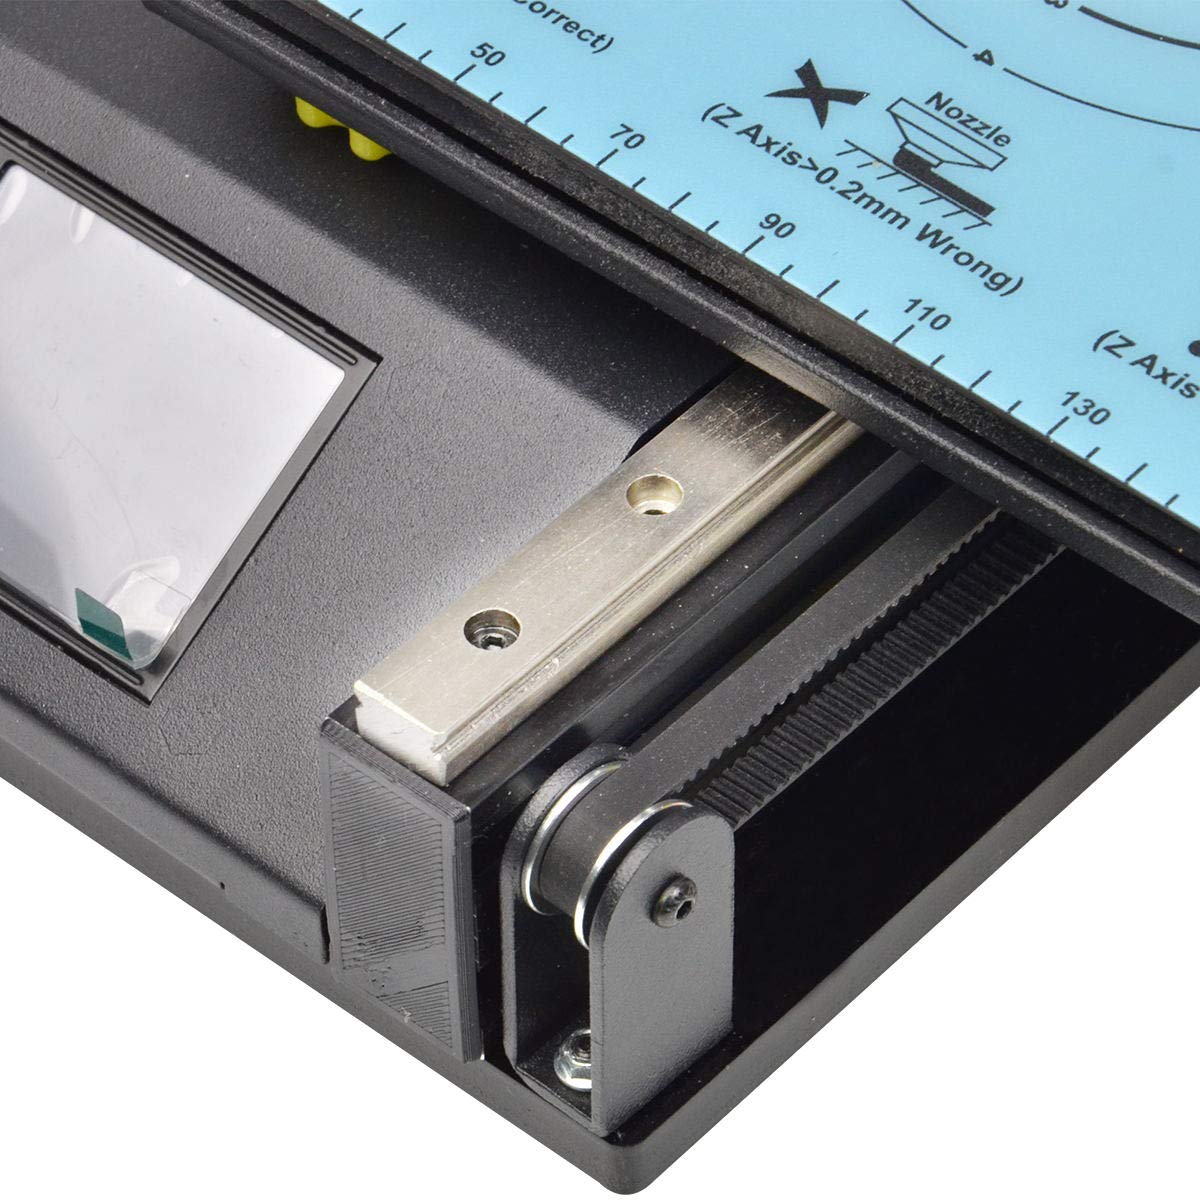
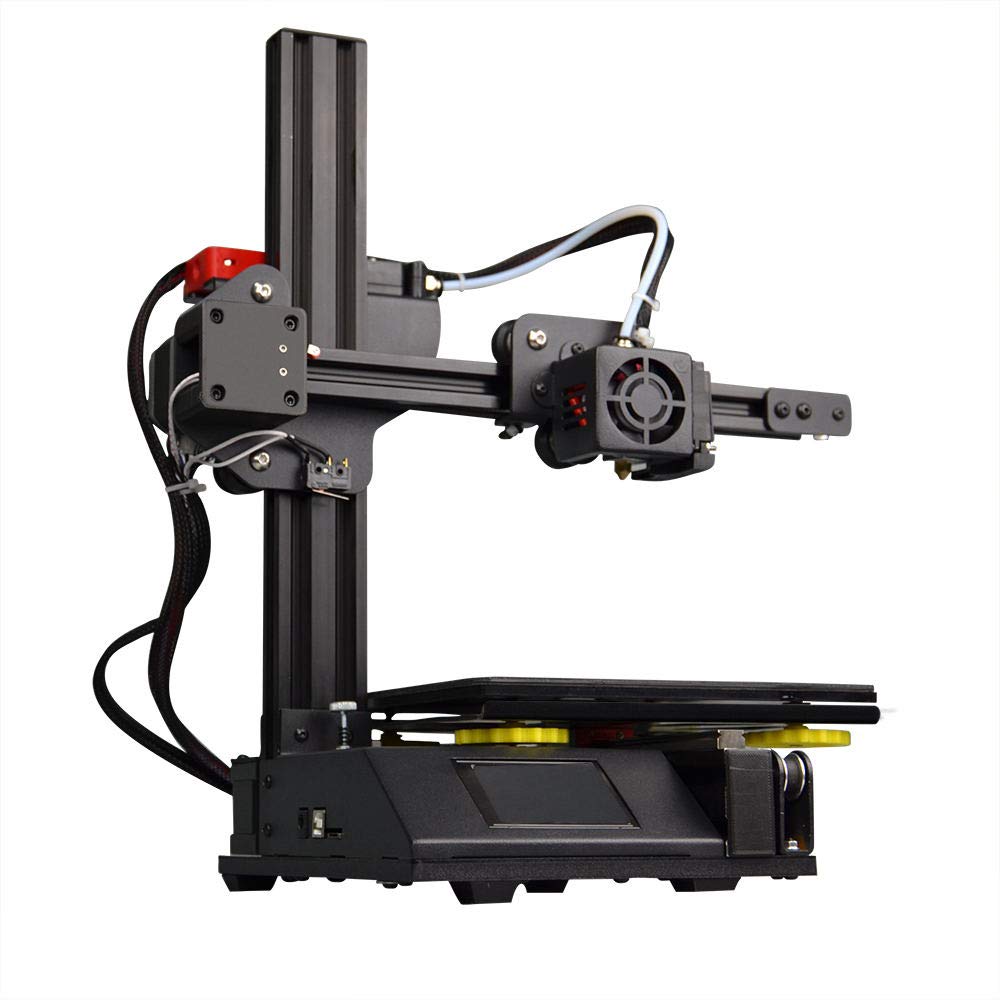
Kingroon Kp3S heavily modded with new firmware and tool fan
Twotrees Sapphire PRO with new firmware
Voron 2.4 for Nylon and ABS printing, with external exhaust and 300+ degC printhead, bed up to 150 degC
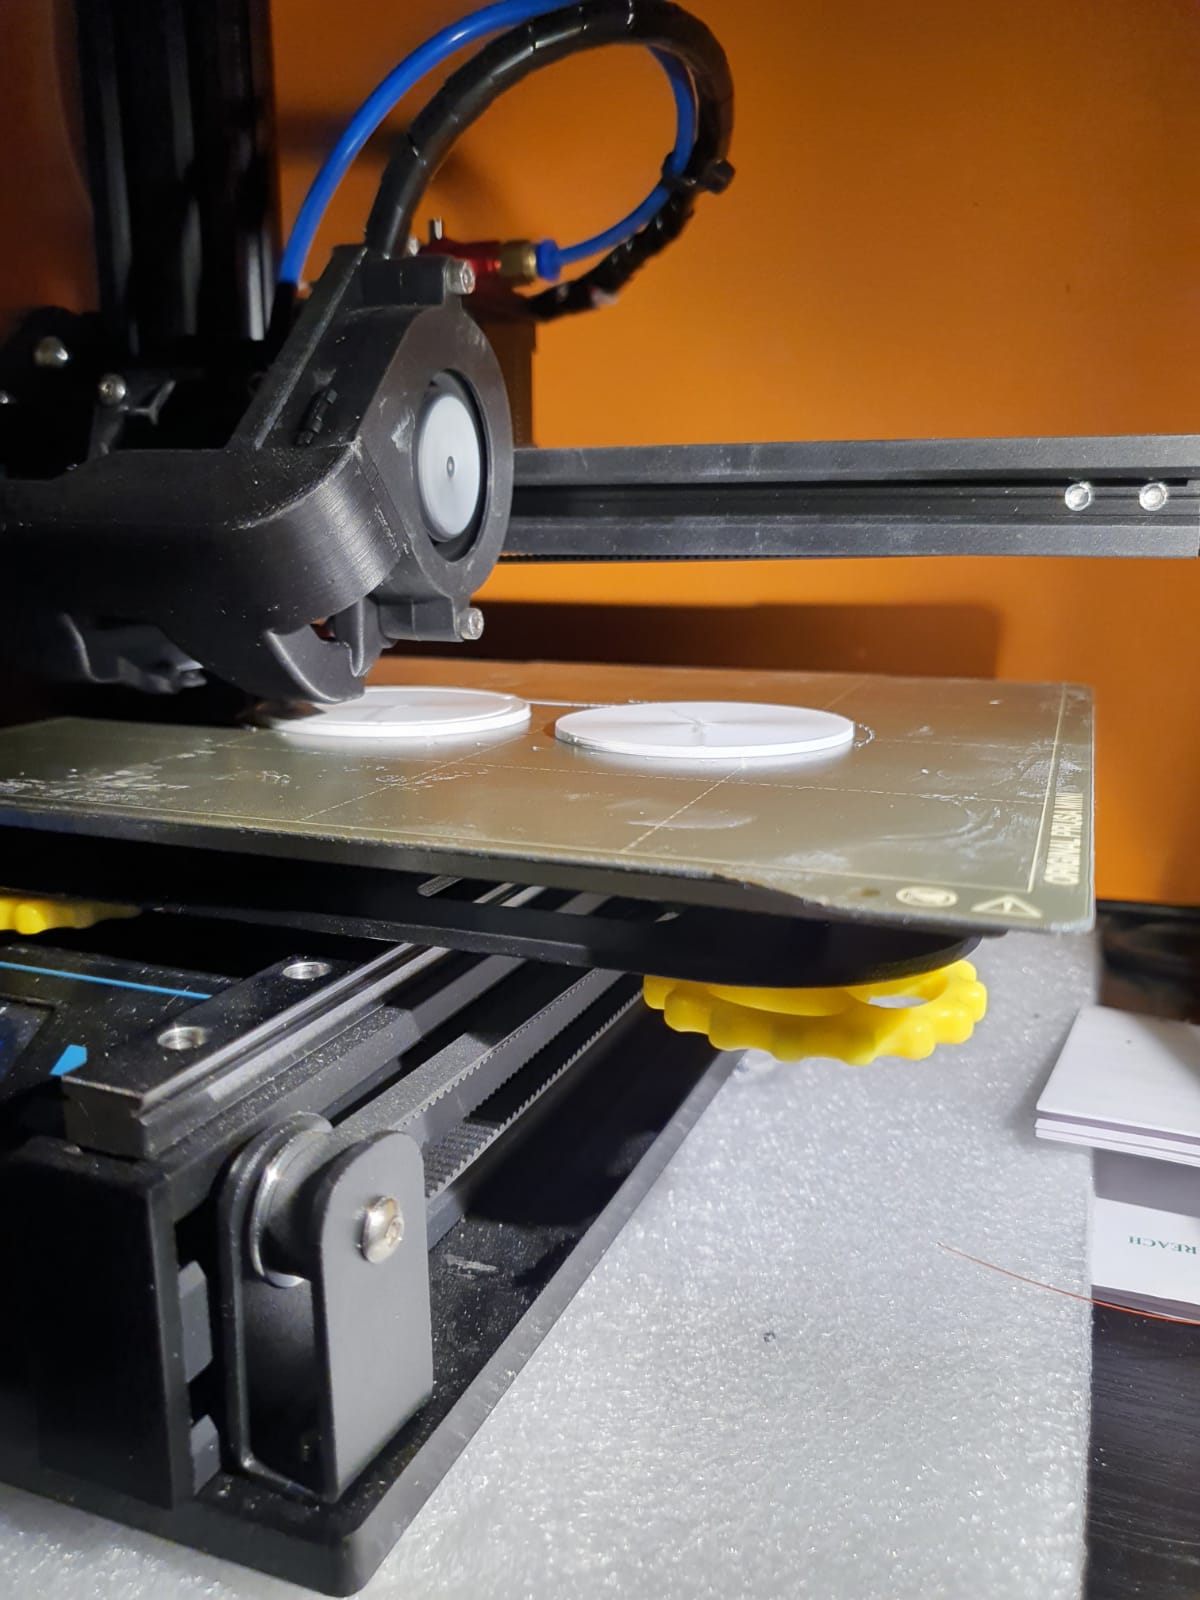
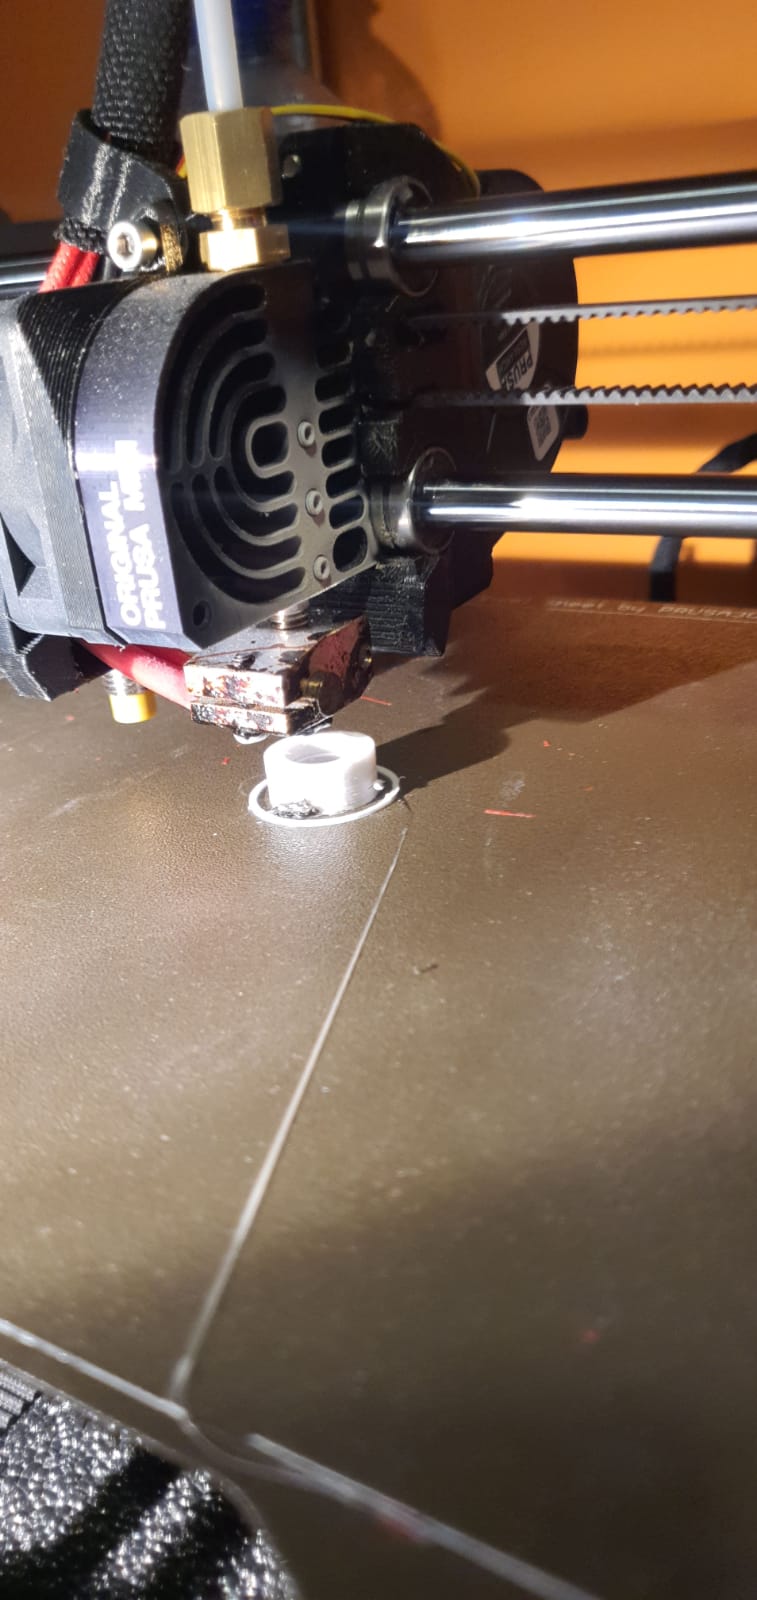
Prusa i3 mini original, the production monster for PETG
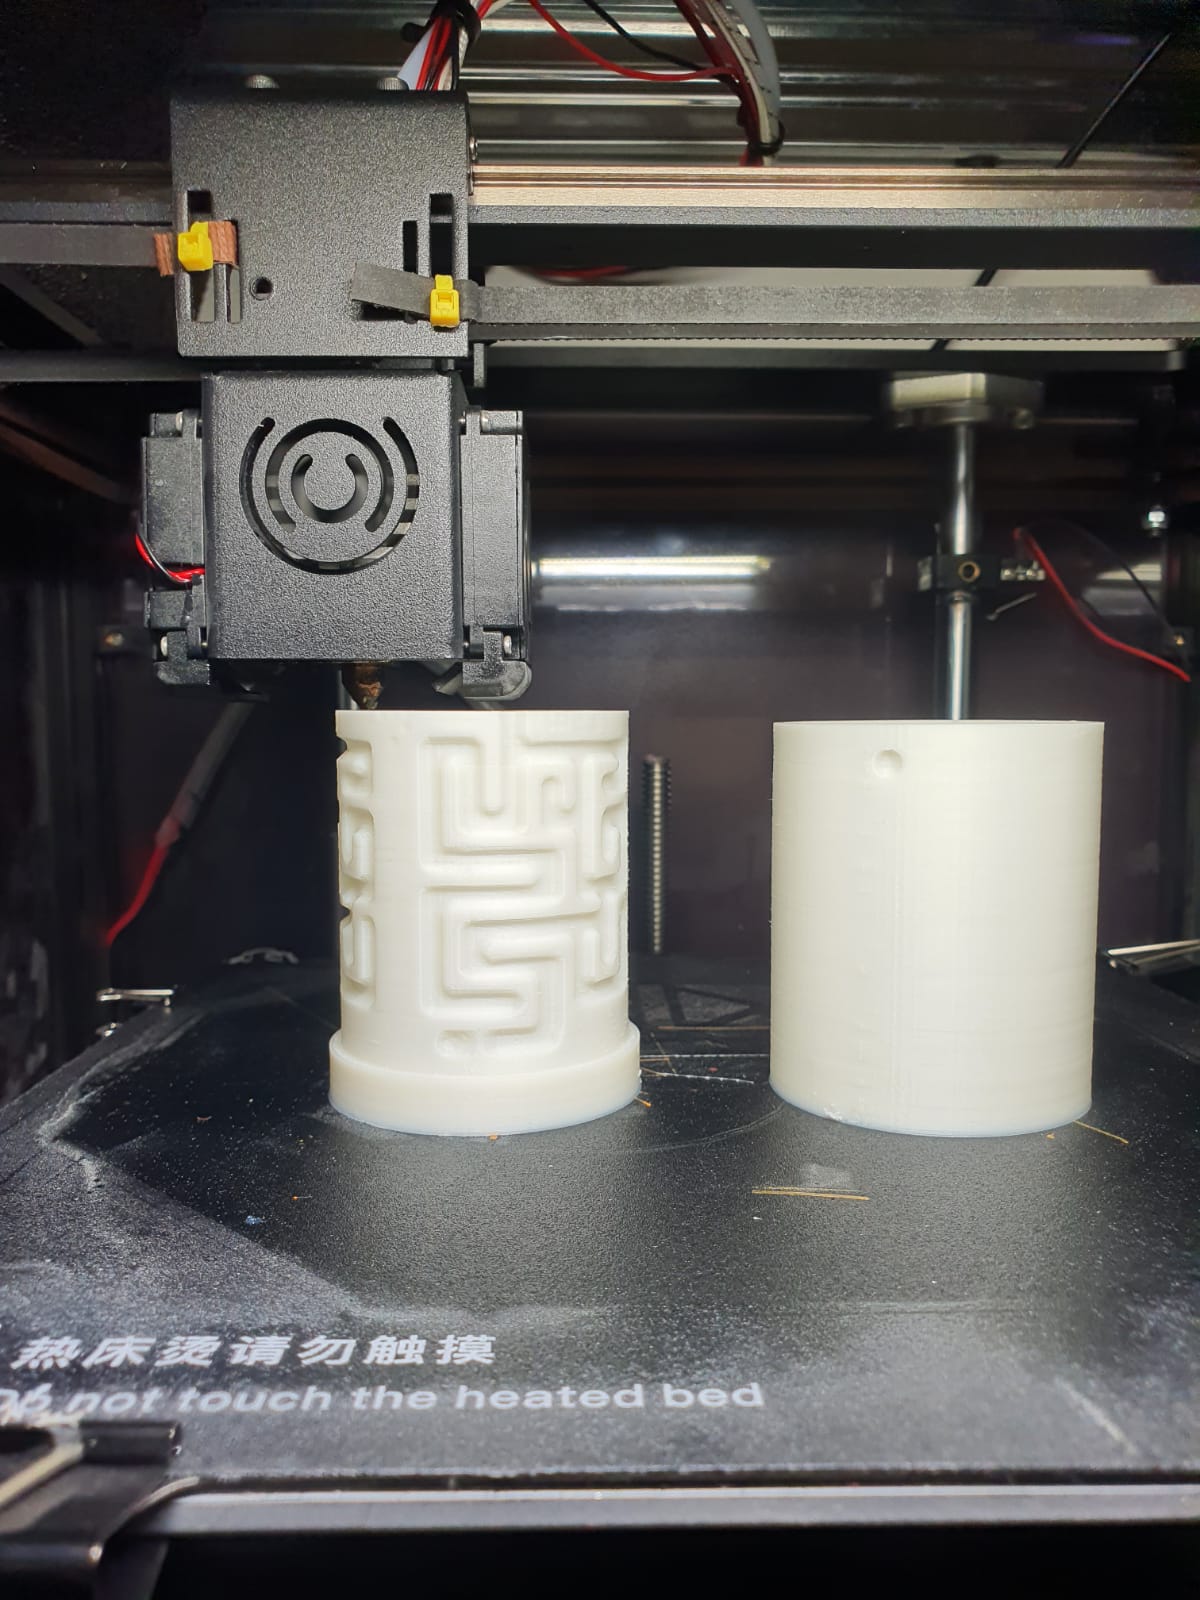
And the Twotrees Sapphire pro, our perfect printer for fast production
And the multicolour completely rebuilt Geeetech A30M dual head printer with a new Duet2Wifi motherboard, dual Chimera heatblock and direct drive extruders
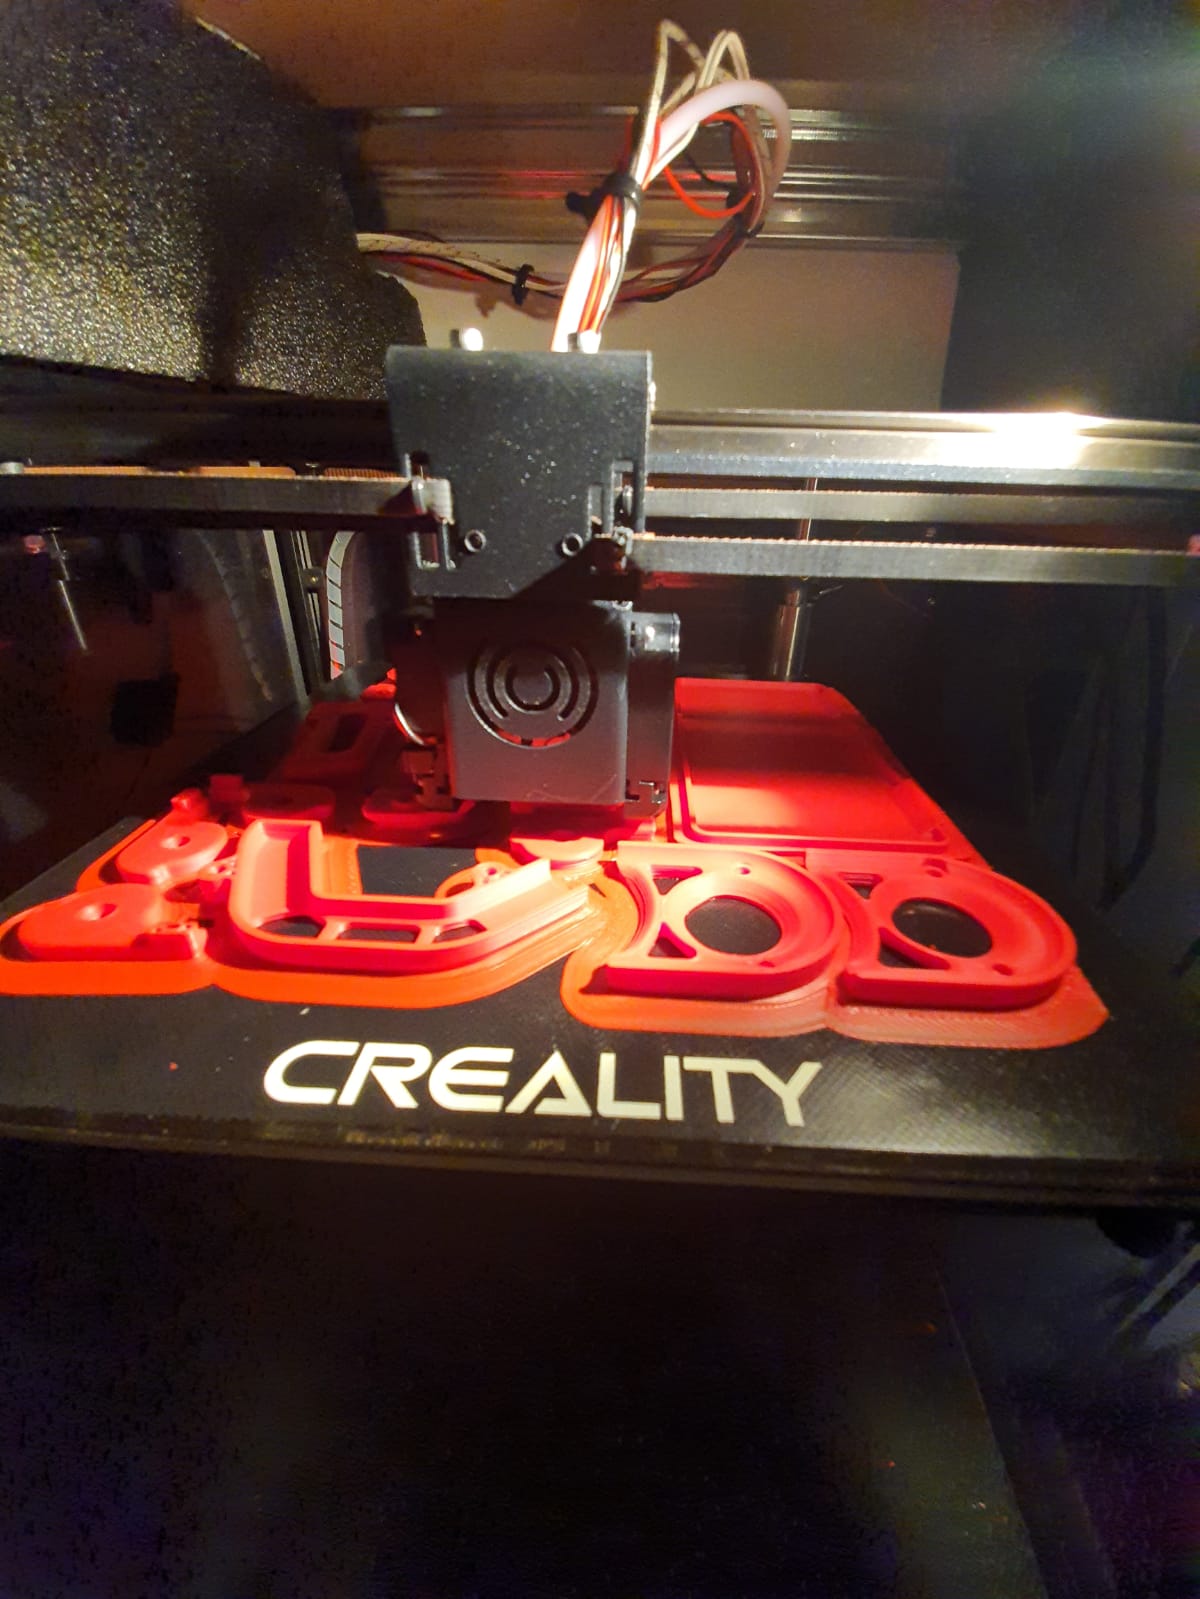
This is my spare machine, wrapped in – to use when any other machine should have an unsolvable problem (at least- short term). This 1st version Kingroon KP3 mini always works flawlessly on PLA and PETG. I did add some after market stuff like better cooling, new firmware et cetera. If I use this machine, I always manage it remotely with an Octopi on RPI.
Our MOT garage, not a Mazda dealer I should mention here, exchanged the brake fluid early 2018 from the original DOT3 to DOT4, without asking us.
Almost instantly we had problems. The front disc brakes did not return after braking.
The brake pads kept in place against the discs and when driving corners you heard the pads humming.
This is caused by the additives in the Dot4 brake fluid. This fluid is much more aggressive than DOT3 fluid. No problem for modern cars. But our 2004 Mazda could not cope with DOT4. The rubbers swoll and got thicker. Clearly to be seen at the filler cap. Hardly impossible after a month of DOT4 to get the rubber back in.
So, although trusted websites and garages, so_alled experts advice to upgrade to DOT4, Never Ever do this. There is a reason for the message ONLY DOT3.
I have exchanged the fluid with DOT3 now, and I hope that this solves our problems. Fingers crossed.. Otherwise a complete revision of brakes and clutch is required… 4 brake calipers, 1 master brake cylinder, 1 master clutch and the clutch servo… Not the costs, but a lot of work. Although, after this any DOT will be possible.. Hmmm. Maybe not that bad a thought after all.
If you really need to go from DOT3 to DOT4 without changing cups and rubbers, do the simple test as described below:
Take the rubber from the filler cap out, put it in a closed jar filled with fresh DOT4 for a week and fit it back in.
If it fits perfectly, go ahead with DOT4.
And the garage? They are the expert, no way they will repair our car… In their opinion the car is too old anyway and it should be EOL.
Inserted article:
3 Points To Take Note When Comparing Between DOT 3 Vs DOT 4 Brake Fluid
The brake fluid is the lifeblood of the braking system. It keeps the braking components lubricated so that they respond promptly when you press the brake pedal. With the help of the fluid, the piston can comfortably compress the rotors to slow down the vehicle. DOT 3 and DOT 4 are two most common types used in automobiles. If you are looking for the right fluid for your car, a comparison of DOT 3 vs DOT 4 brake fluid will help you to decide better.
What Is the Difference between DOT 3 vs DOT 4 Brake Fluid?
DOT 3 is the most common and popular brake fluid type of truck and cars. DOT 4 is also gaining momentum due to its compatibility with anti-lock braking system and traction control. The first one is the standard, low-cost option for average cars where there is little chance for the drivers to engage in aggressive braking actions. But, automobiles like racing cars and police vehicles that need frequent vigorous braking use DOT 4 fluid. Let’s find out some more points of difference between DOT3 vs DOT4:
A comparison will help you take a better decision.
1. Boiling Point
The major difference between DOT 3 vs DOT 4 is the boiling point – their tenacity to absorb water. DOT 3 is more prone to assimilate water because it has a lower boiling point. For this reason, it boils easily under hard and rough braking, which could ruin the braking components and cause subpar braking performance. For this reason, the DOT 4 fluid can easily replace DOT 3 but the second one should not be used as an alternative to the DOT 4 type until it’s absolutely necessary.
2. The Chemical Structure
Another slight difference between DOT 3 vs DOT 4 brake fluid is their chemical components. DOT 3 has a blend of ether and polyalkylene glycol whereas a mixture of glycol and borate creates the DOT 4 fluid. The glycol-ether blend holds very well in hot and wet conditions, which is perfect for regular vehicles where the brakes get heated up easily. On the other hand, DOT 4’s chemical ingredients that show a high level of water tolerance and stability under high temperatures.
3. Boiling Capacity
DOT 3 is the winner in this comparison section between DOT 3 vs DOT 4 brake fluid. It functions well in both water and open air because it has both wet and dry boiling capacity. DOT 4 has an excellent dry boiling capacity but it does not work well in water.
Which one should you choose? DOT 3 or DOT 4 brake fluid? Well, the first one is the best option if you are driving a standard vehicle. However, if it’s a racing car or you like rough driving, DOT 4 will take better care of the braking components.
DOT 4 will take better care of braking parts.
Are There Any Cautions to be Aware of?
Yes, there are a few things to be aware of. Both fluid types eat paint, so don’t spill them on the car body. Also, they can react badly if mixed with other fluids used in a vehicle.
You should keep the fluids in tightly sealed containers. The moisture in the air degrades their chemical components. So, it’s not safe to use the brake fluid from an open bottle.